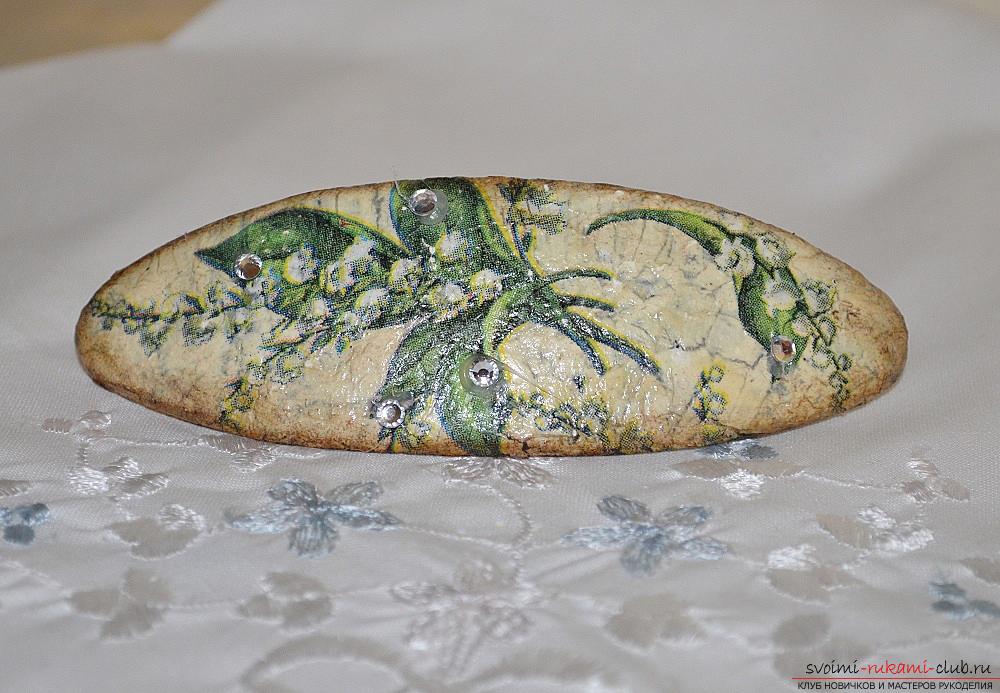
This master class will teach how to decorate a hairpin in the technique of decoupage using a one-step craquelure.
 I took for my fantasies the following materials:
- Nail polish remover
- Cotton pad
- White acrylic building paint
- Acrylic paints Sonnet
- Synthetic brushes
- Foam Sponge in clerical clasp
- Crackle lacquer
- Glue PVA construction-universal
- Fragment of paper napkin with flowers
- Acrylic lacquer Eurotex
- Glue gun with glue rod
- Rhinestones
The first stage: preparatory. The upper part of the barrette is plastic, almost smooth, therefore, for better adhesion to the paint, I walked on it with sandpaper.  Then I wiped the disc and liquid to remove the varnish.
 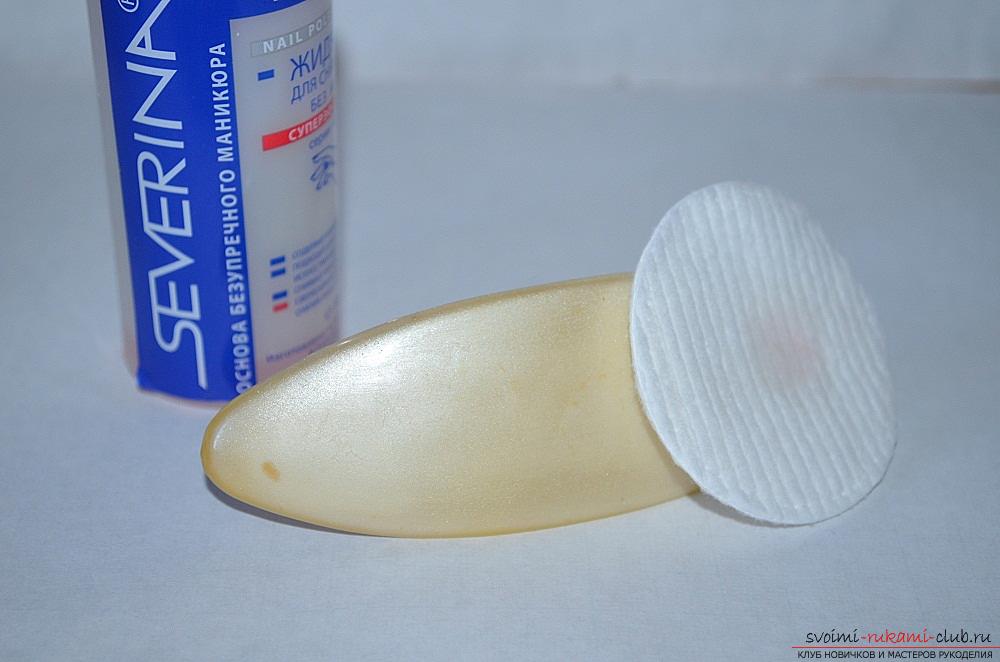 She covered the hairpin with a thin layer of white paint.
  The second stage: the implementation of a single-step craquelure. To do this, put a layer of dark paint on the surface of the barrette.
 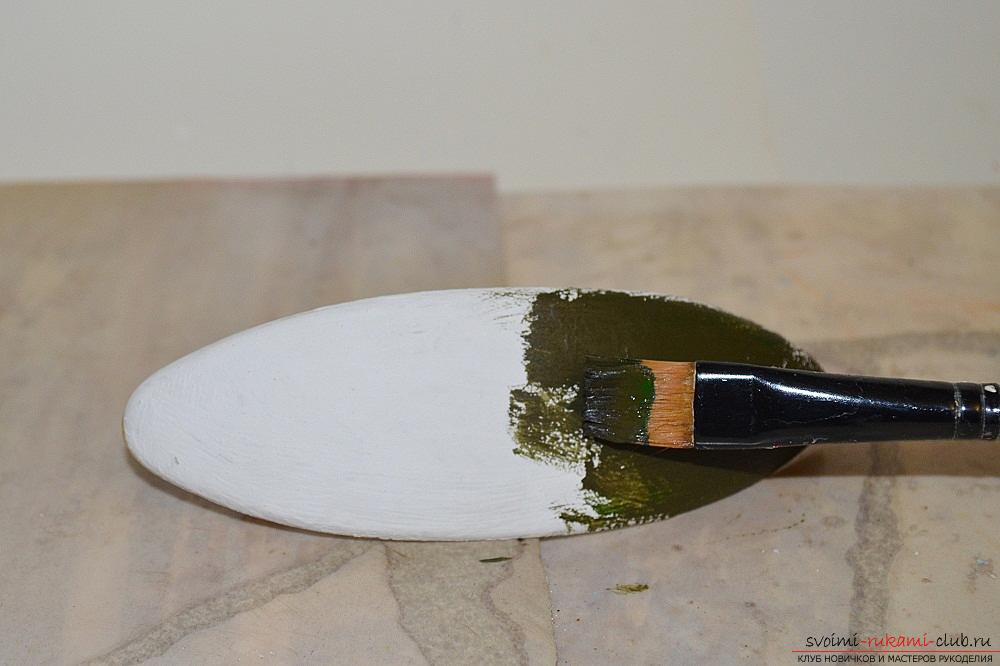 This layer will contrast with the light, the main and appear through the cracks. Has dried up.
  Has covered a dark layer krakeljurnym a varnish.
 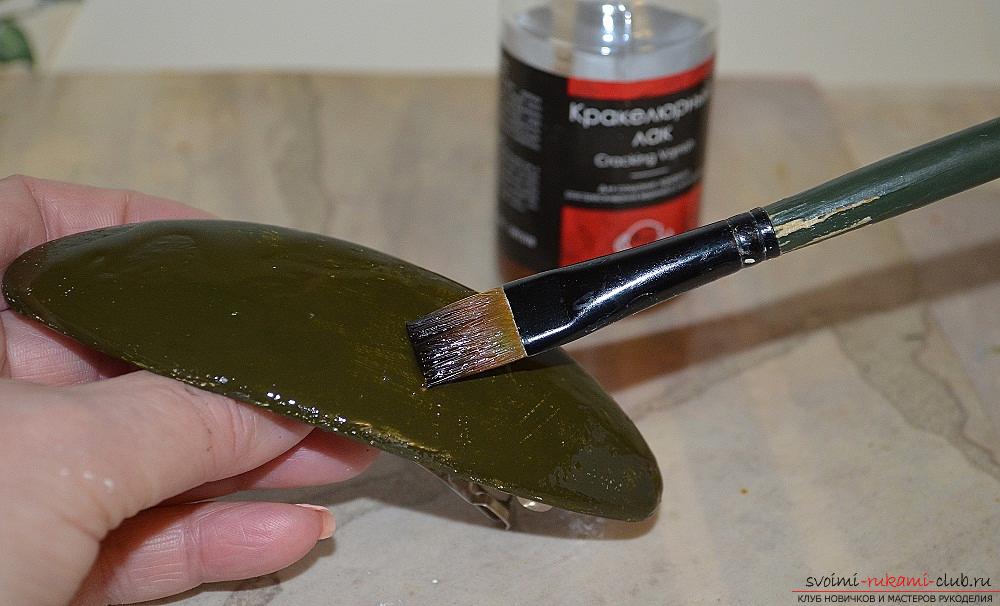 Has dried up, but not up to full drying. The varnish should remain slightly sticky. Has put a light layer, conducting a brush with a paint only once on each site of a surface.
 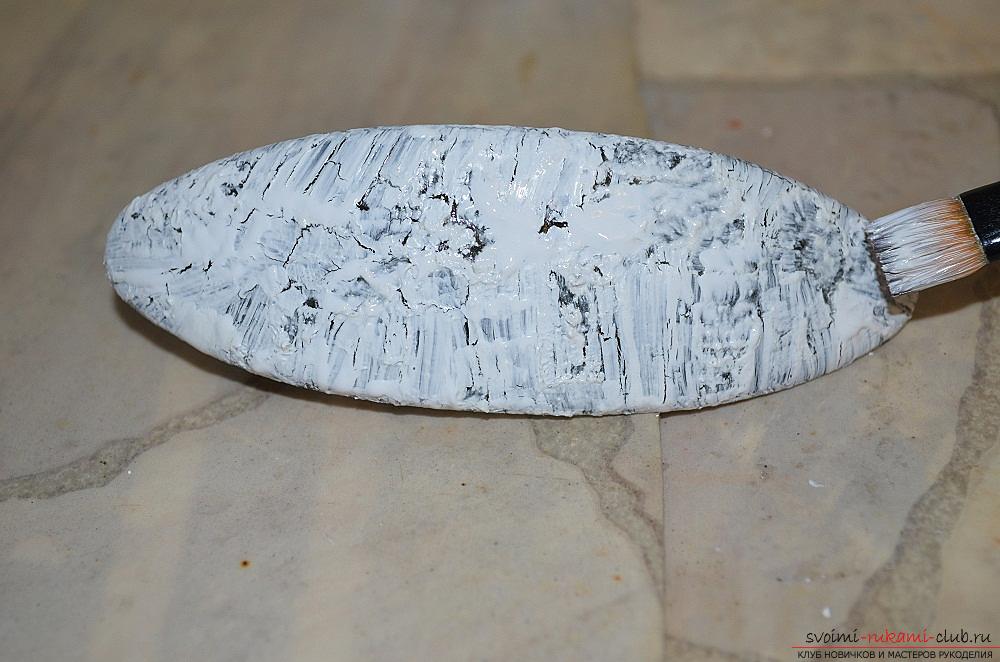 The paint drying up, cracked and through the lightthe layer is visible in dark. Has dried up to full drying. The third stage: decoupage hair clips. Separated the top layer of the napkin with a pattern and glued it to the prepared surface. First I glued a large fragment with a flower.
 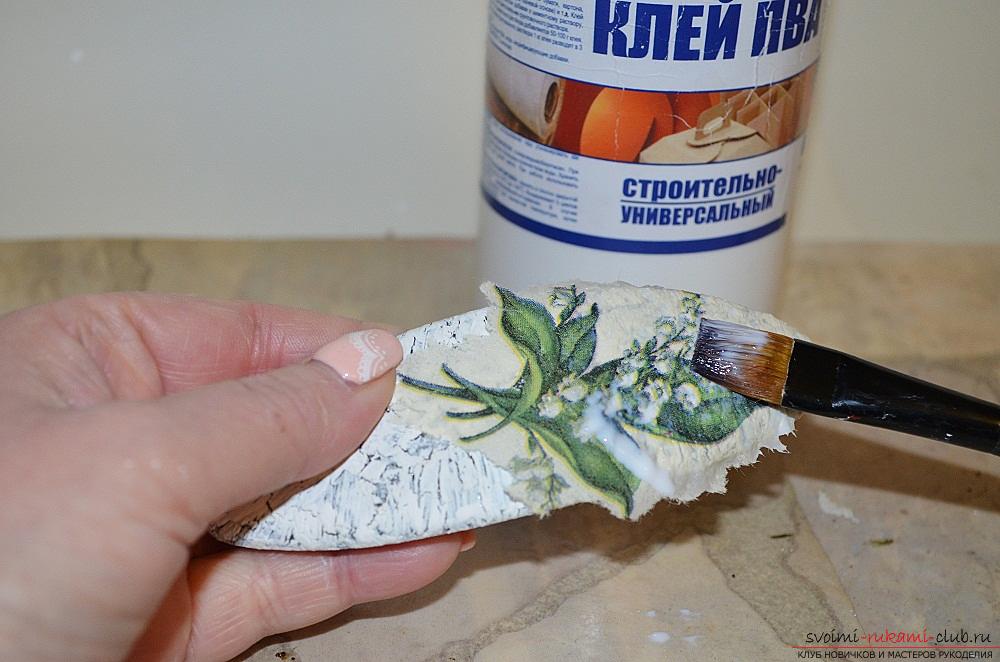 Then, for the rest of the place, I stuck a small fragment and finished the composition.
 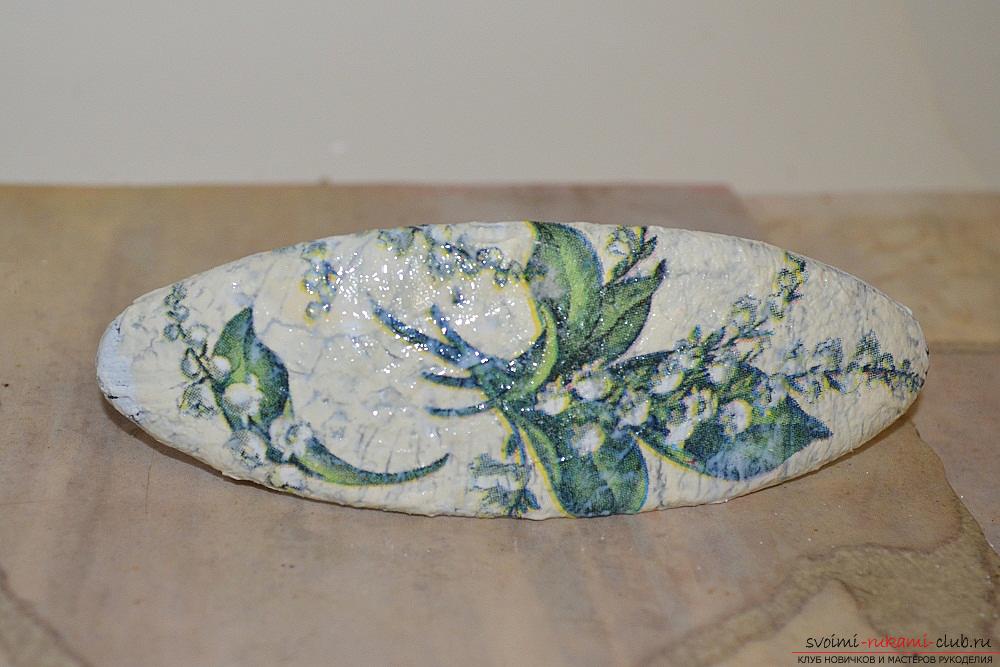 The edges of the barrette were tinted with bituminous varnish.
 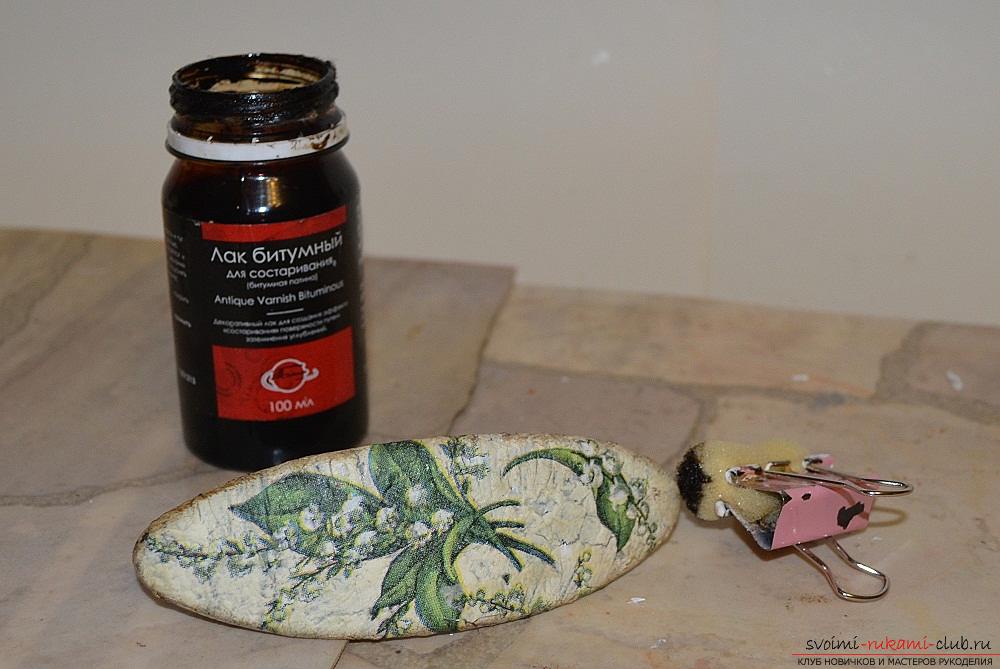 Thus, I made one more touch in aging the hair clips. She dried it and covered it with a shovel.
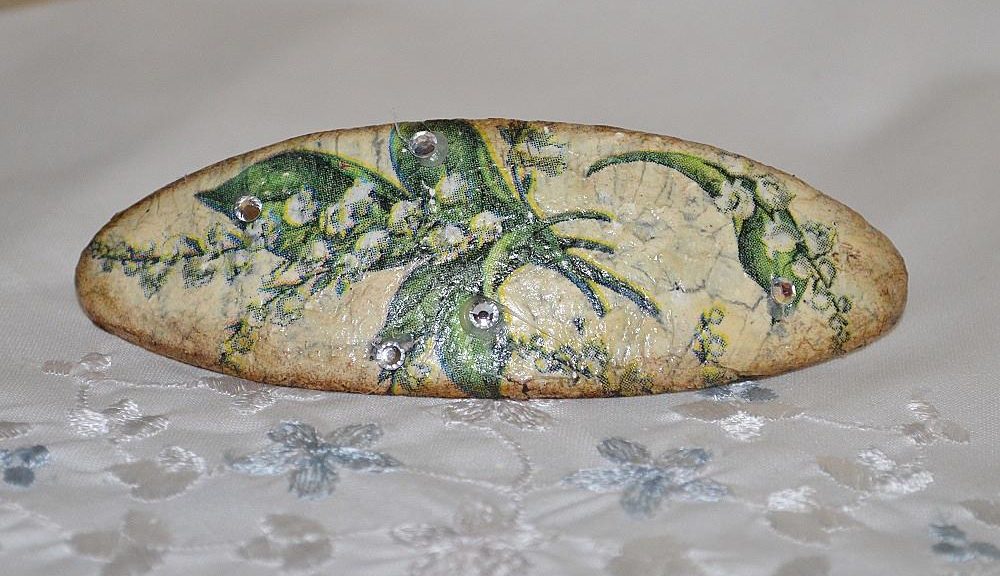
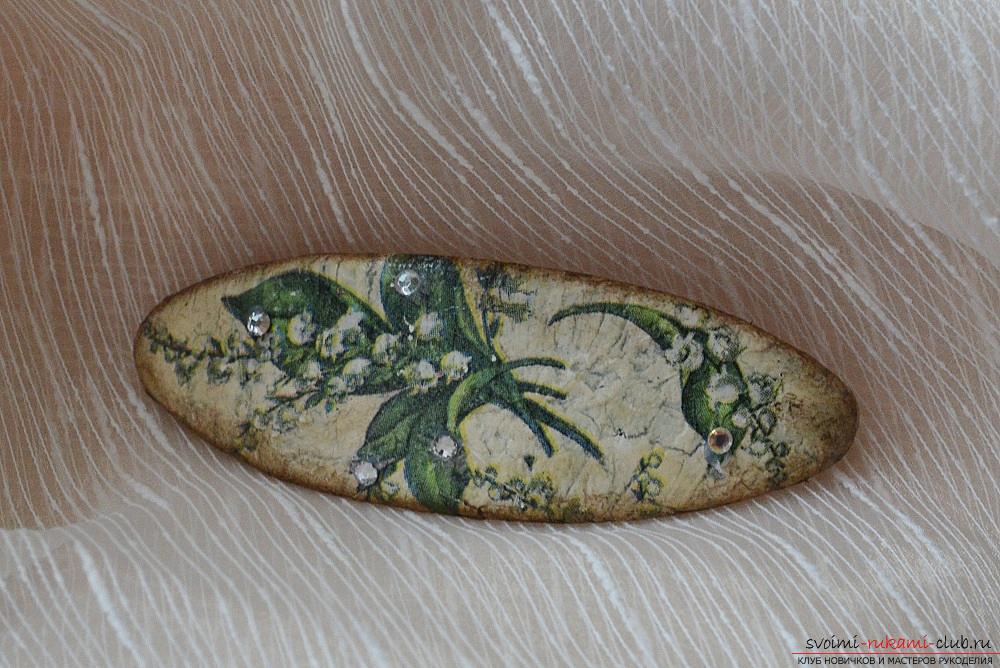
 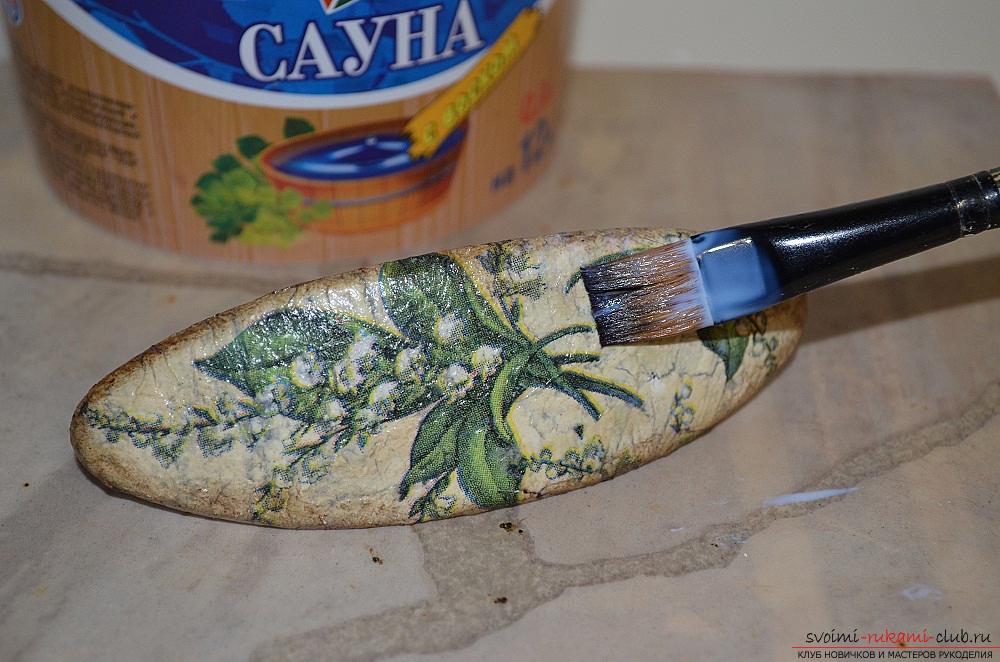 The final stage: decoration with rhinestones. I switched on the gun, waited for the gun to warm up, and glued it to the hot paste of the rhinestones, created an imitation of water droplets on the leaves.
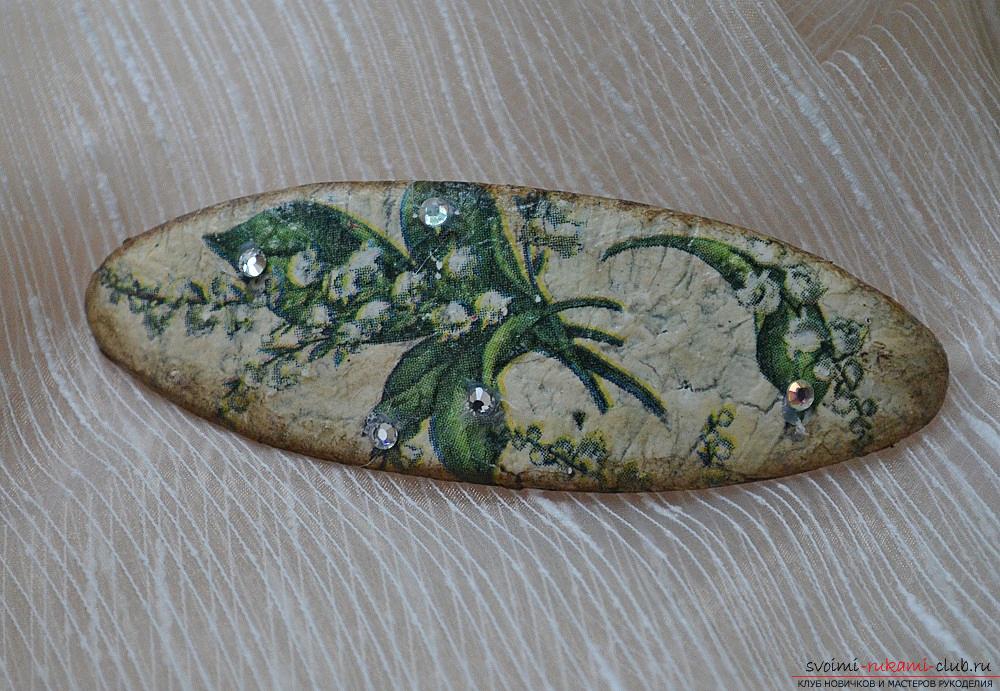
 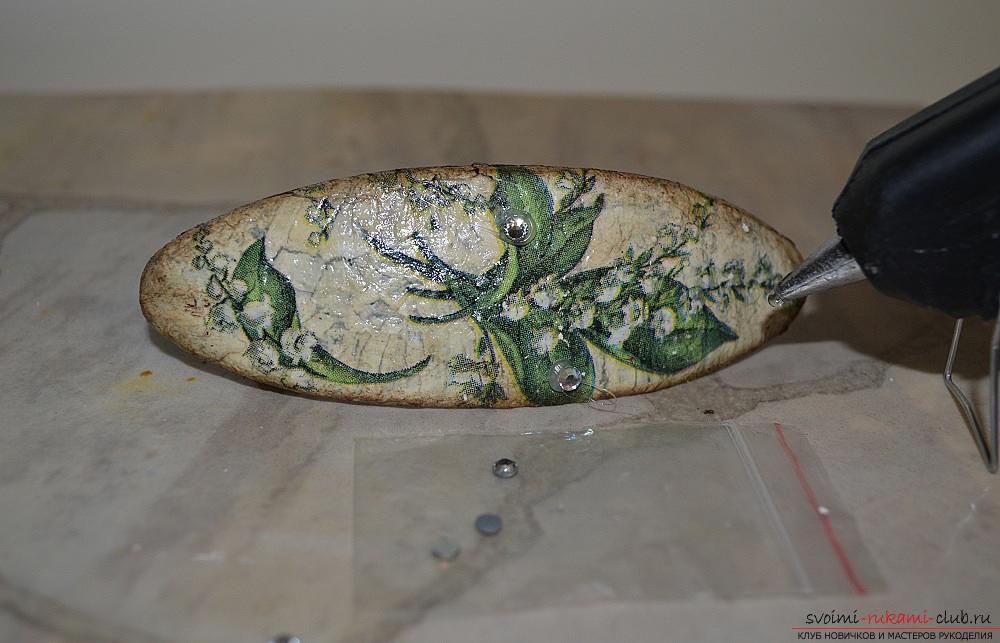 Well, here's the barrette ready.
Comments
Related posts:
 This master class will teach you how to make decoupage of coffee cans by yourself.
 This master class will teach you how to make your own hands decoupage of a cutting board in the technique of a two-step craquelure.
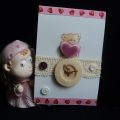 This master class will teach you how to make postcards with Valentine's Day in the technique of decoupage by yourself.
 Master-class will teach how to decorate the original tea house, using decoupage
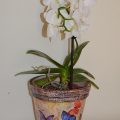 This master class will teach you decorating pots using decoupage techniques and decoPatch.