
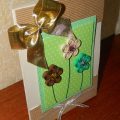
This master class will tell you how to make a card by yourself for a celebration.
A unique card with a bouquet of flowers will bea suitable gift for Birthday and other holidays. Such a product is actual as a gift for women. In the manufacture of postcards there is nothing difficult, only it is necessary to have a list of materials presented below. A detailed description with step-by-step photos will be an excellent hint in the execution of the product. 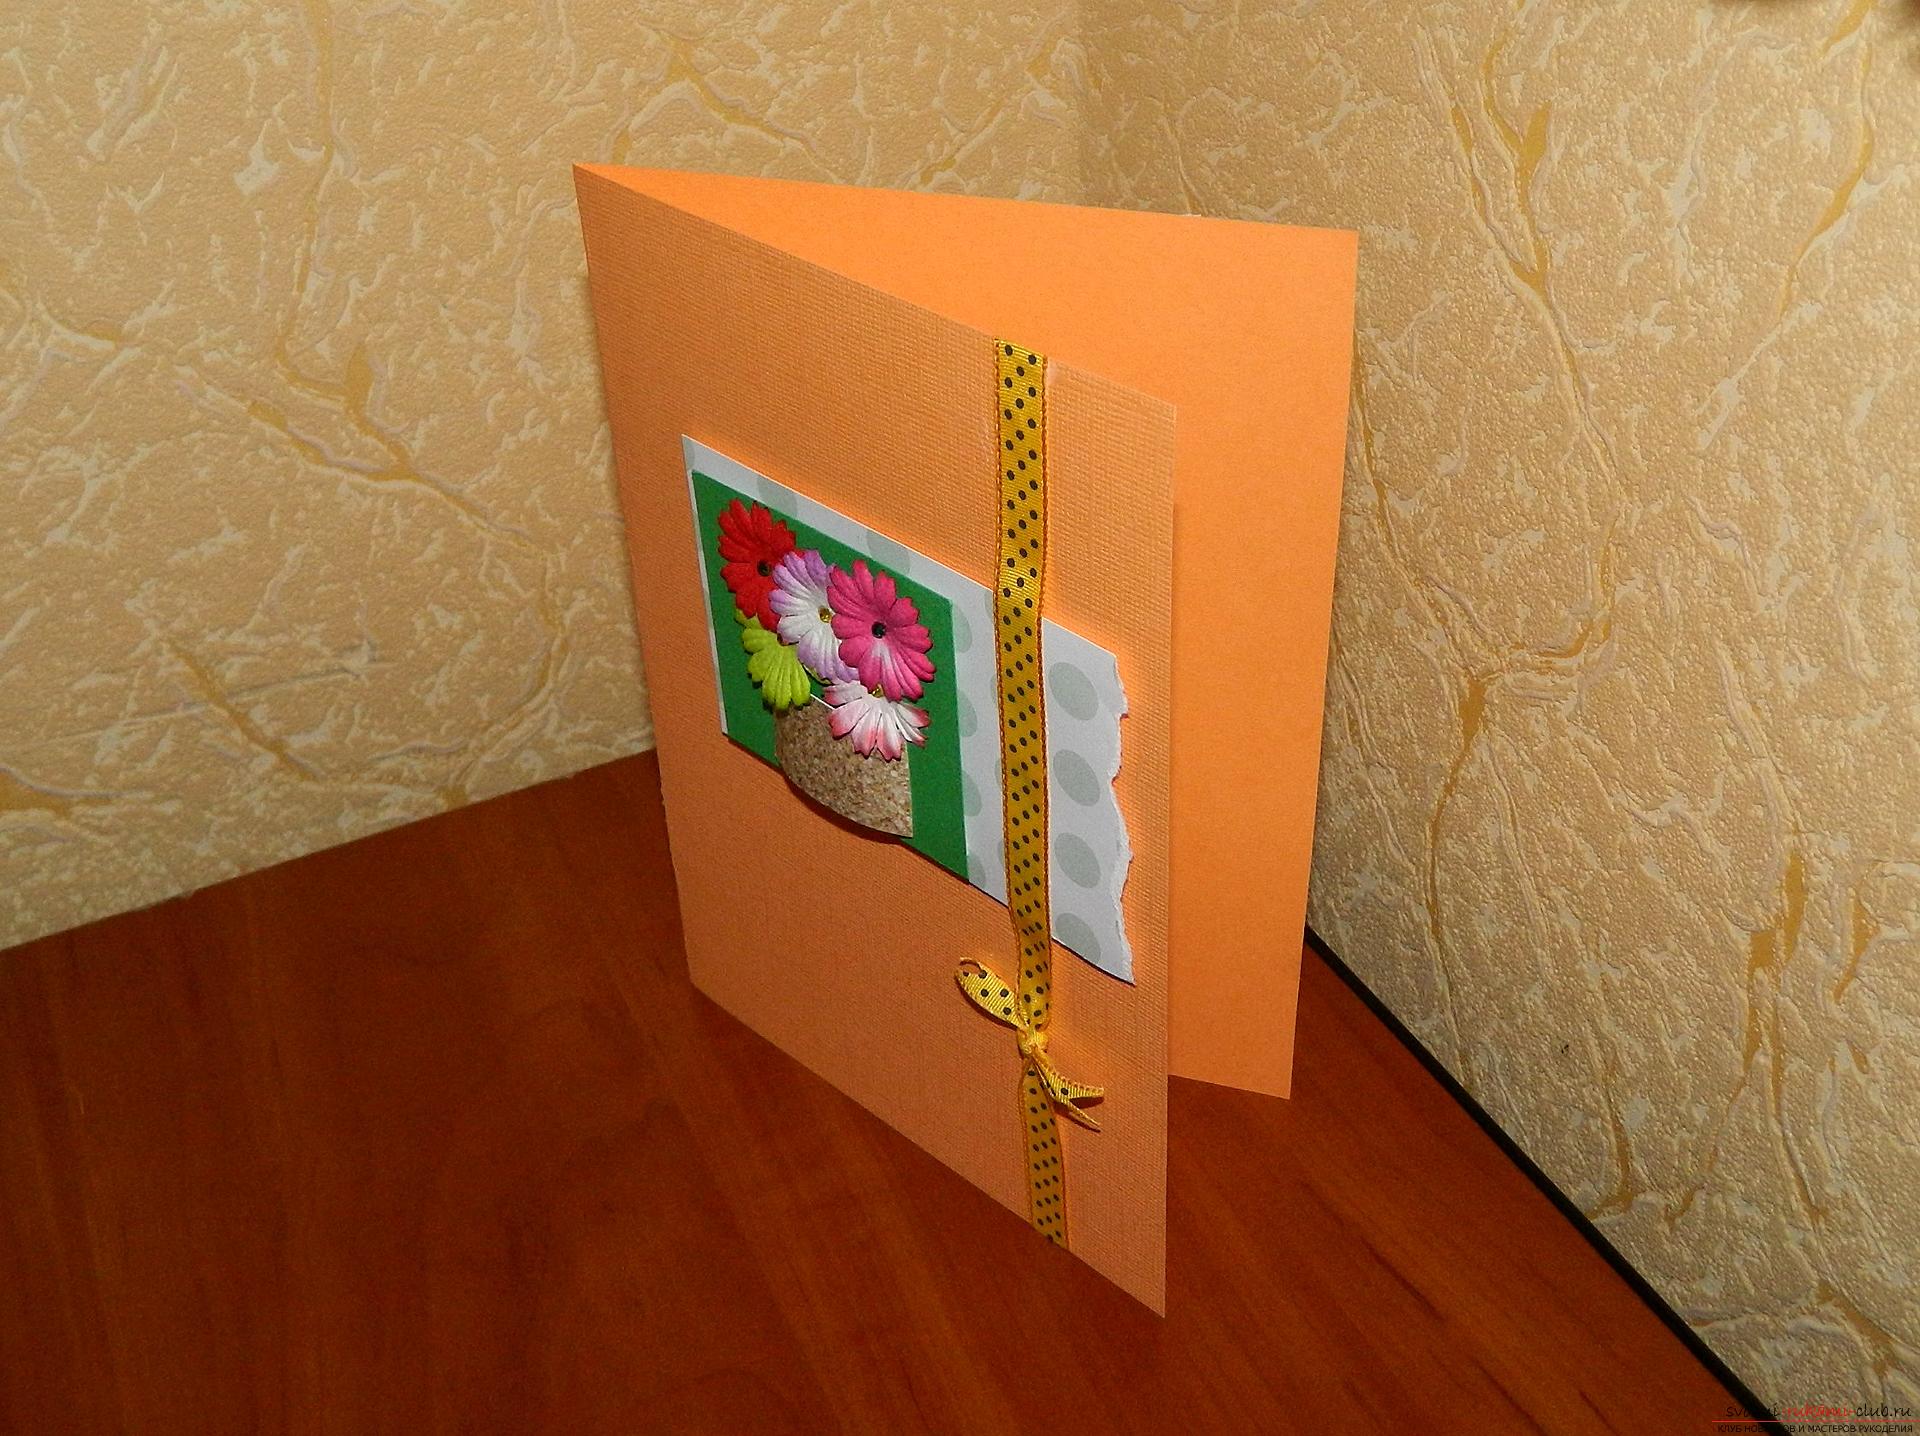 List of materials for the production of postcards:
The orange sheet of cardboard is bent in half, having executed a basis. From the design paper in light green peas, cut out a rectangle 7x13 cm. We keep it horizontally and unevenly tear off one edge. 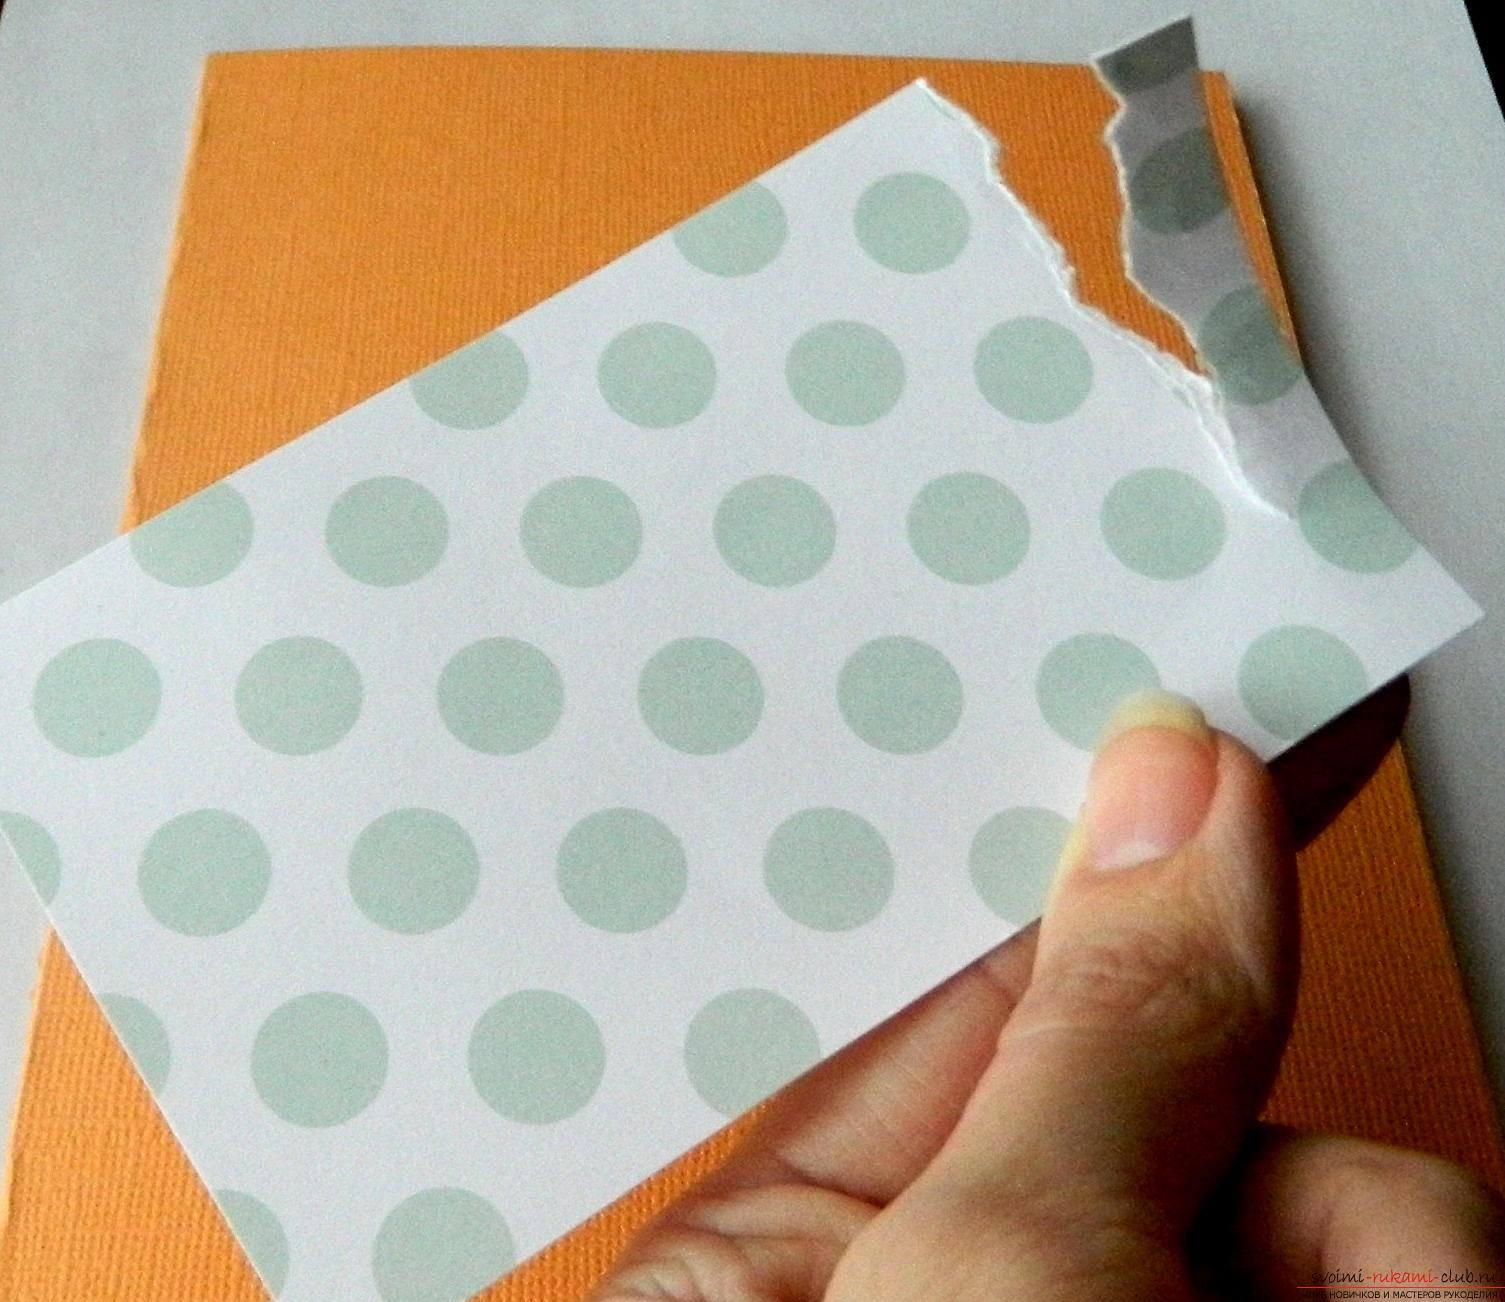 On the back of the details we attach foamed tape.
 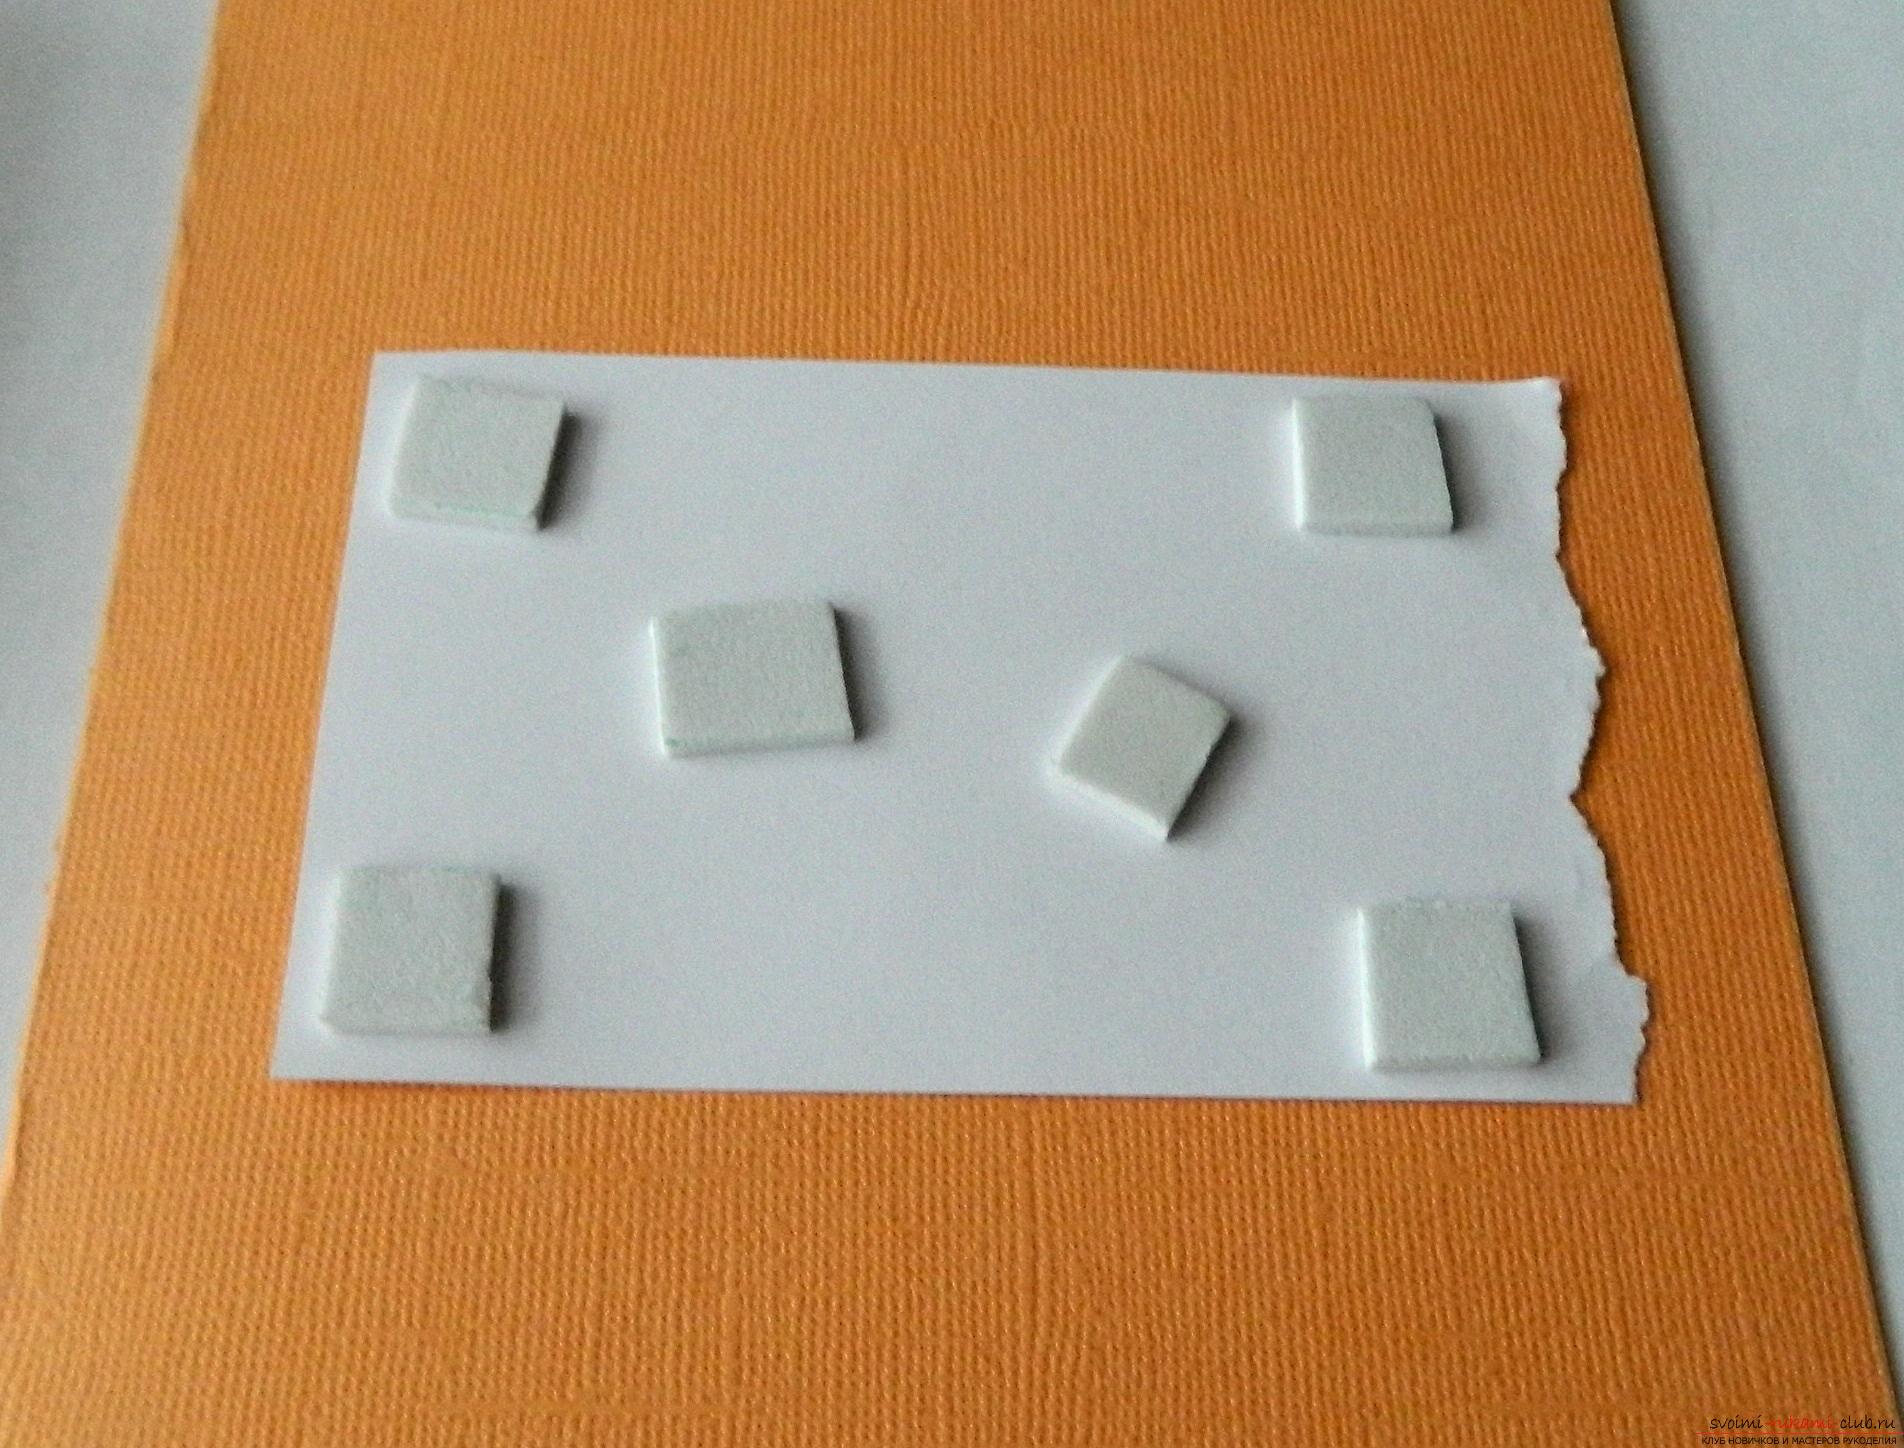 The finished part is glued to the base of the postcard.
  From a green cardboard we cut out a square in the size 6,5х6,5 sm. On the back side also we paste with squares of double-sided foamed tape.
  We fix on the base from above to the previous part.
 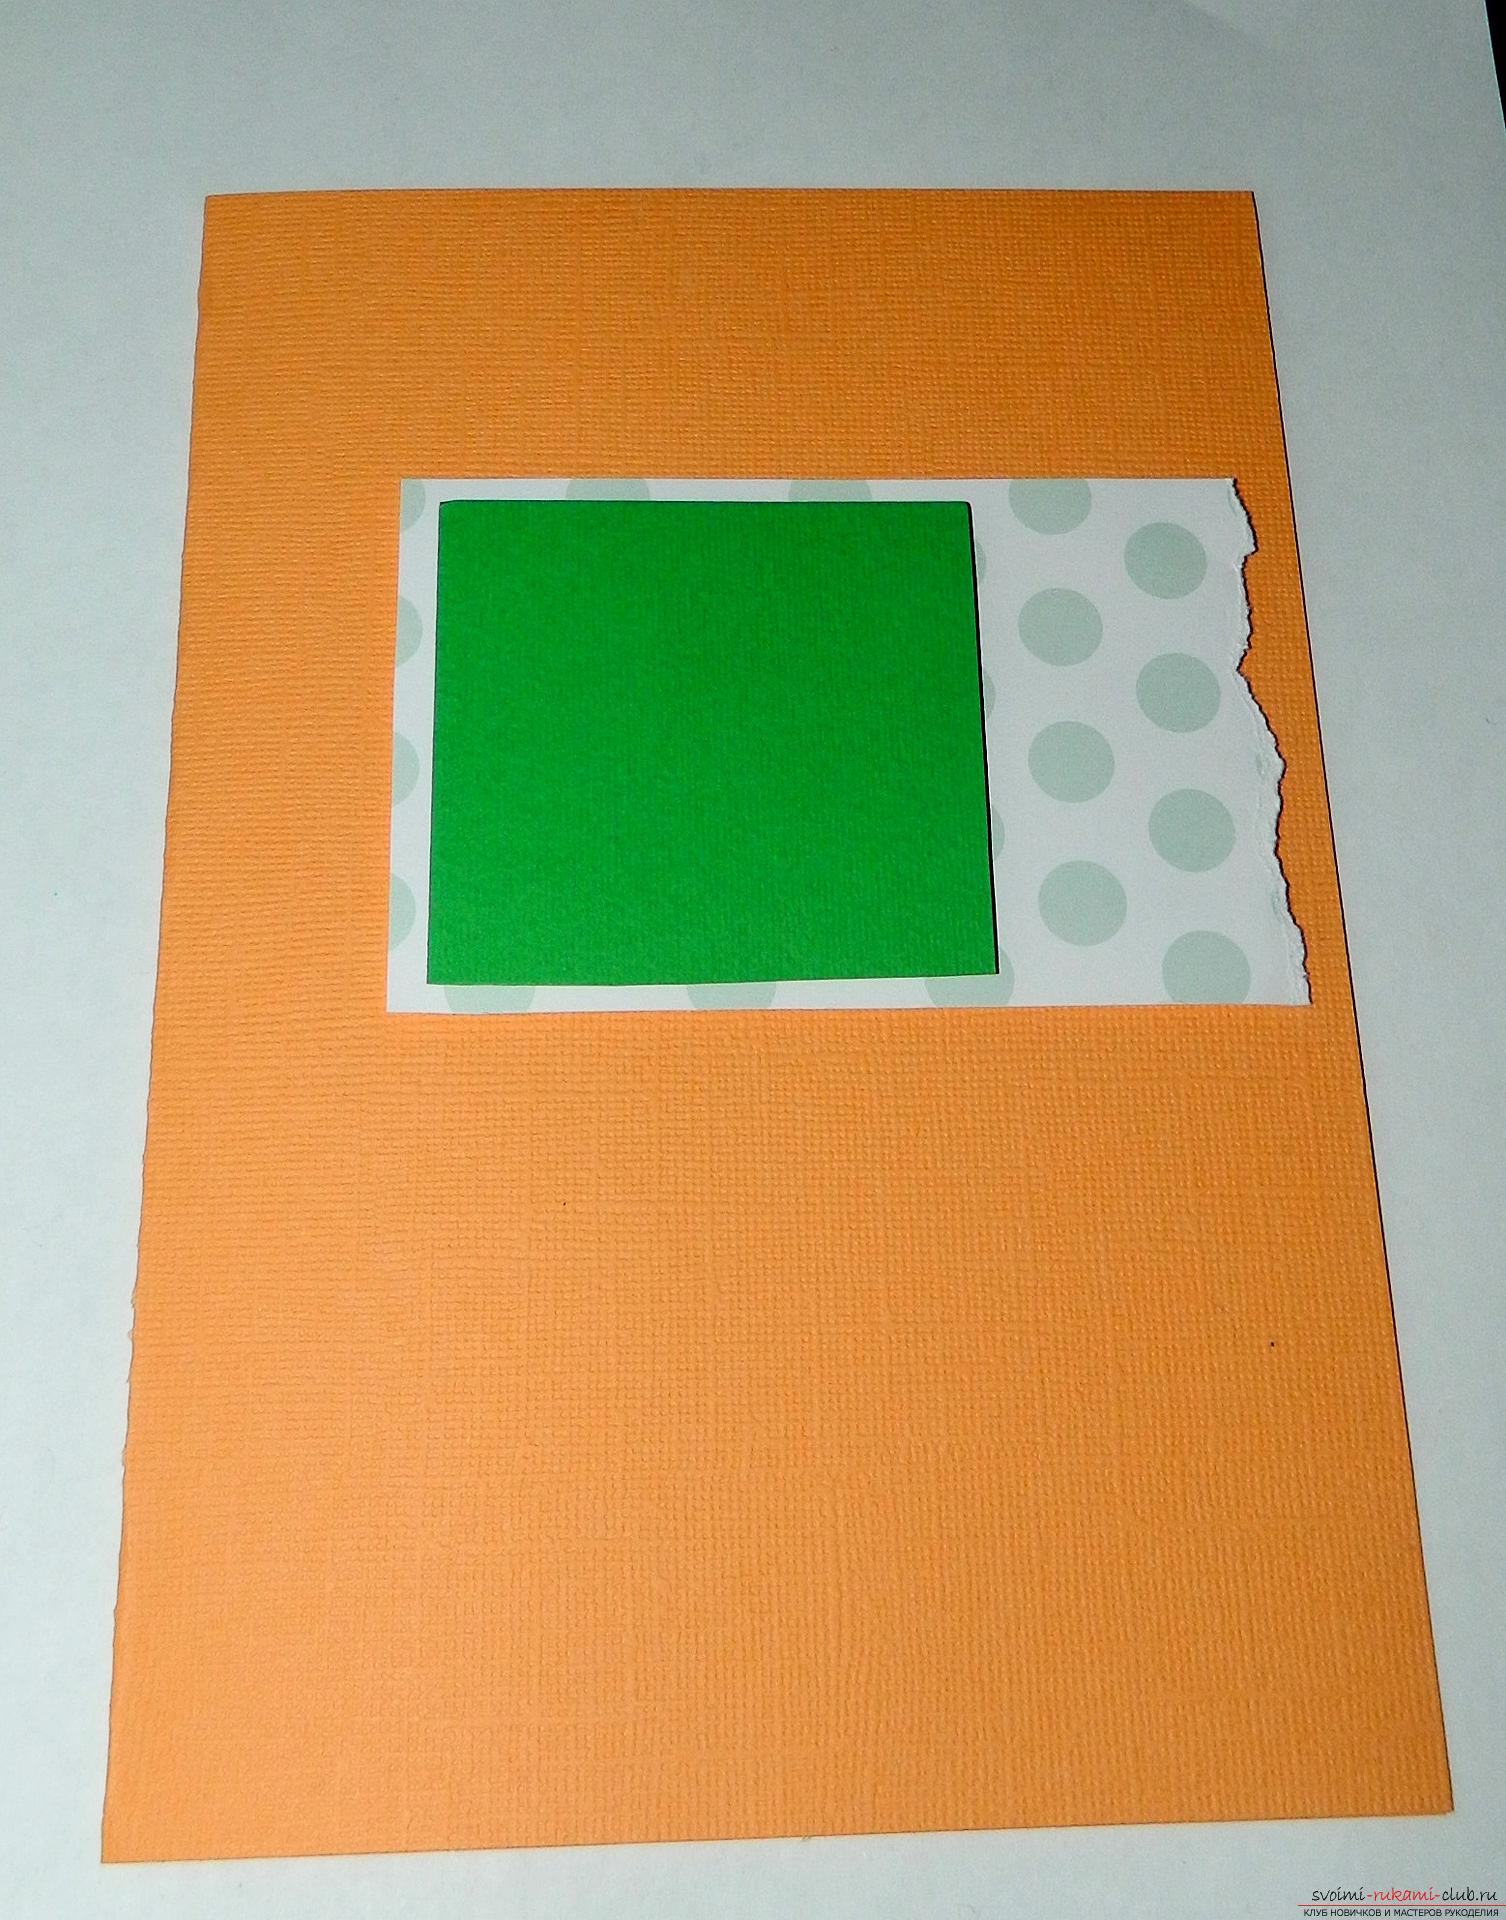 From a design cardboard "under a stone" we cut outrectangle 2.5х4 cm. It is important to use high-density cardboard in order to make a curved part from it. You can use brown or beige cardboard. From the resulting rectangle we make a curved part.
 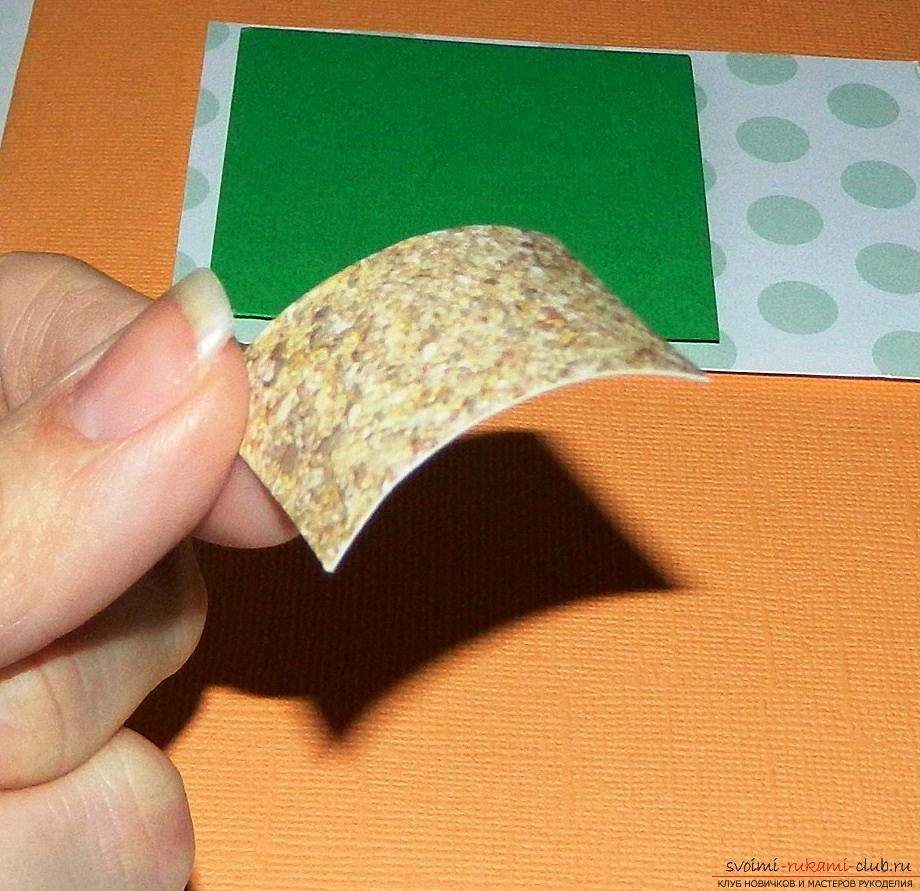 From inside, we fix the foamed tape in two layers, the edge of the part is smeared with glue.
  We attach to the base on the green square below.
  With the help of glue we fix the flowers from above, and in the center of each flower with the help of tweezers we attach small colored rhinestones.
 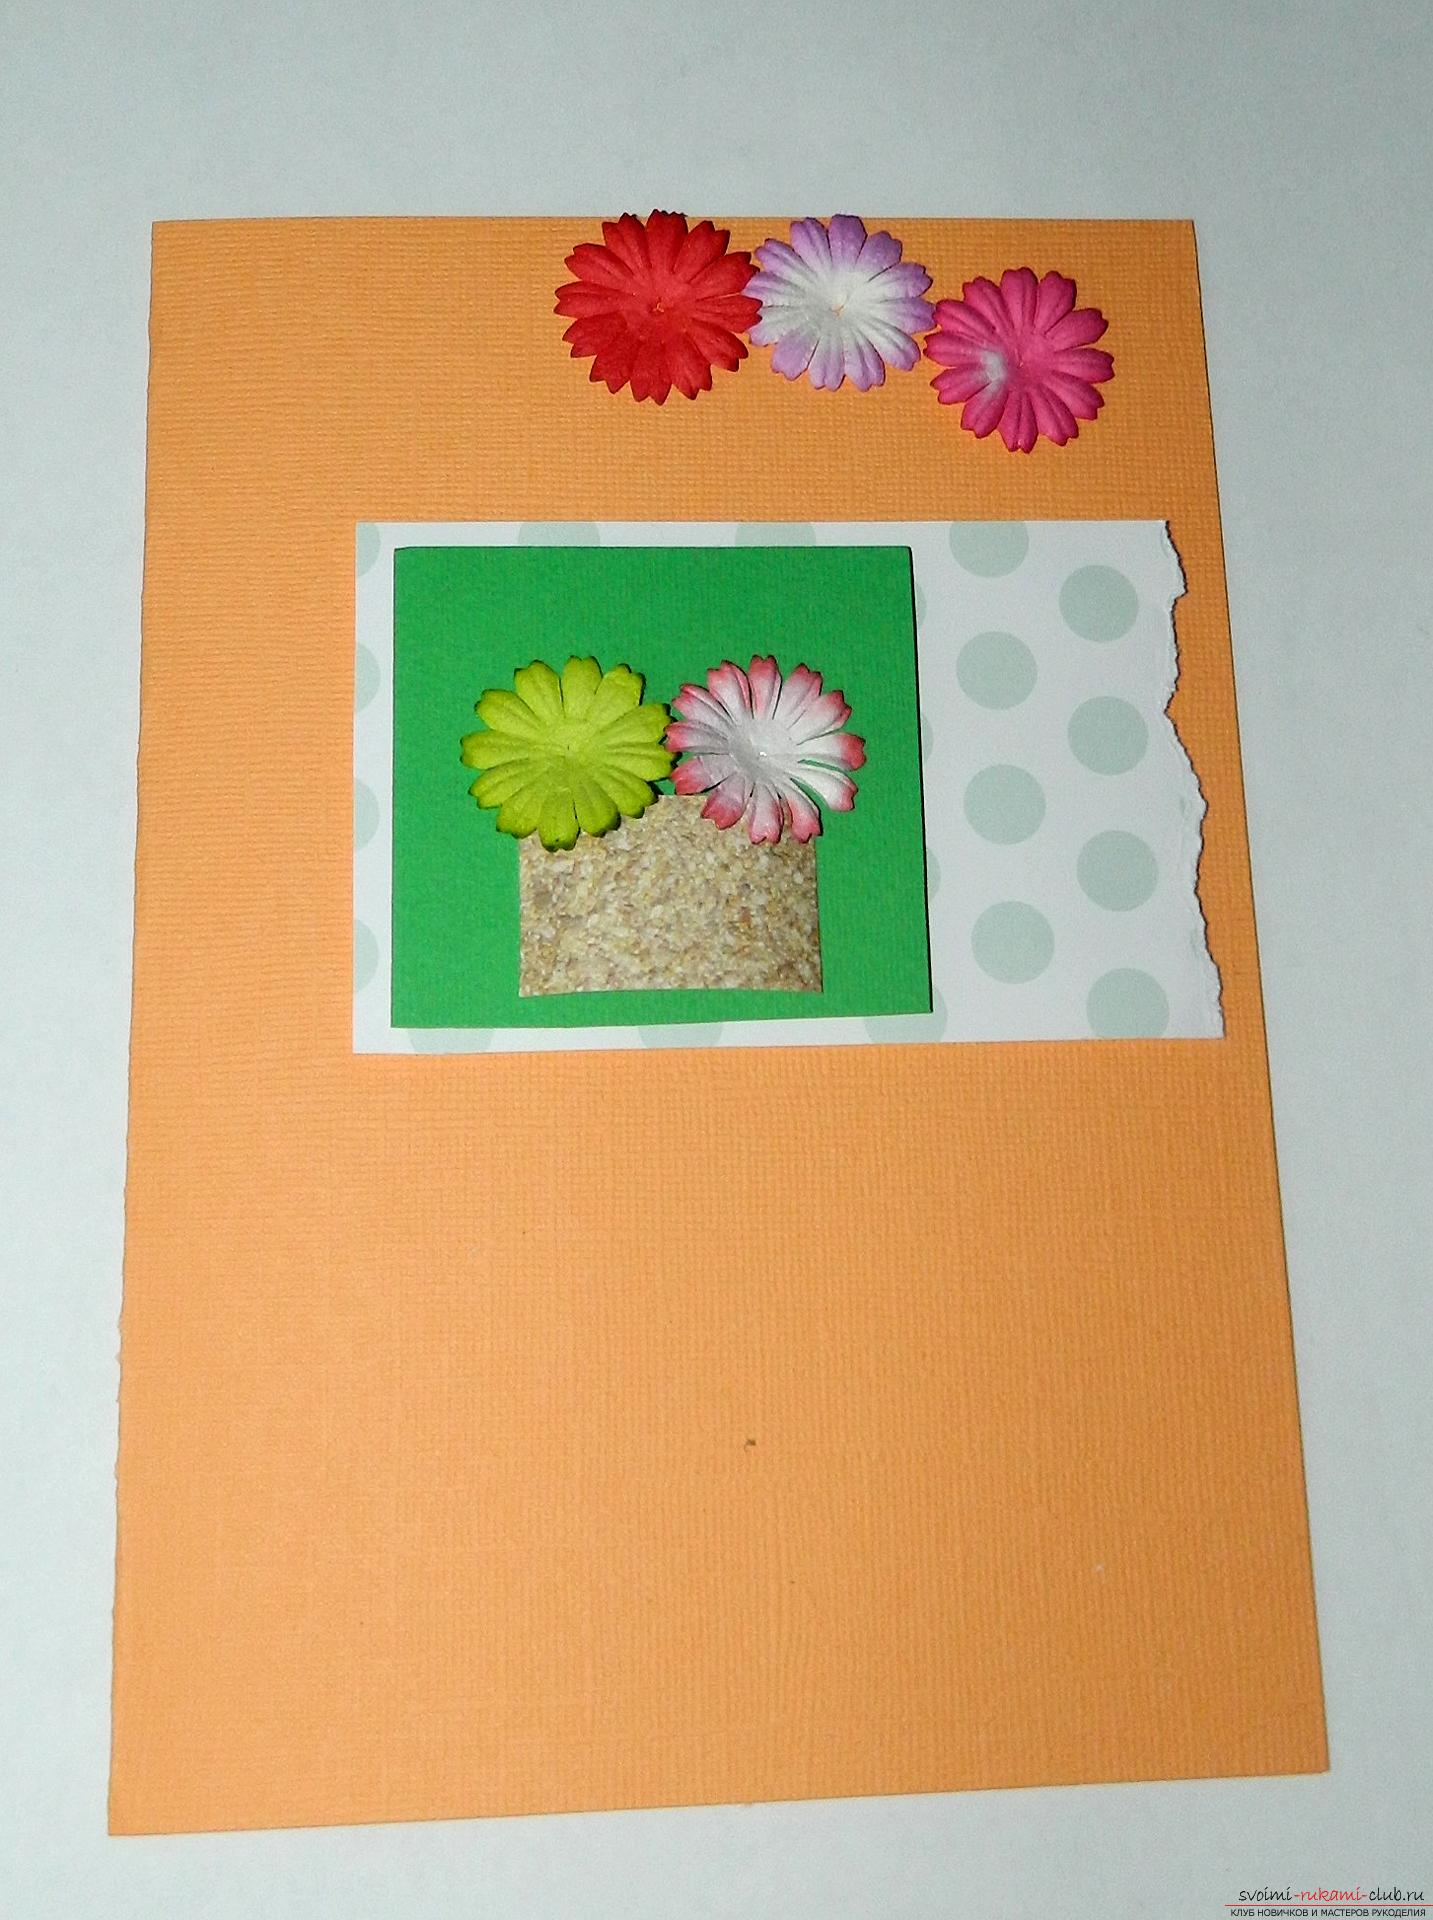 Cut off two pieces of orange tape in peas 18 cm and 10 cm, tie them together in a tight knot. We give the nodule a beautiful shape.
  The edges of the knot are trimmed with a "house" so that they look beautiful.
  We fix the tape on the right to the base through the whole postcard. The remaining edges of the tape are cut off.
 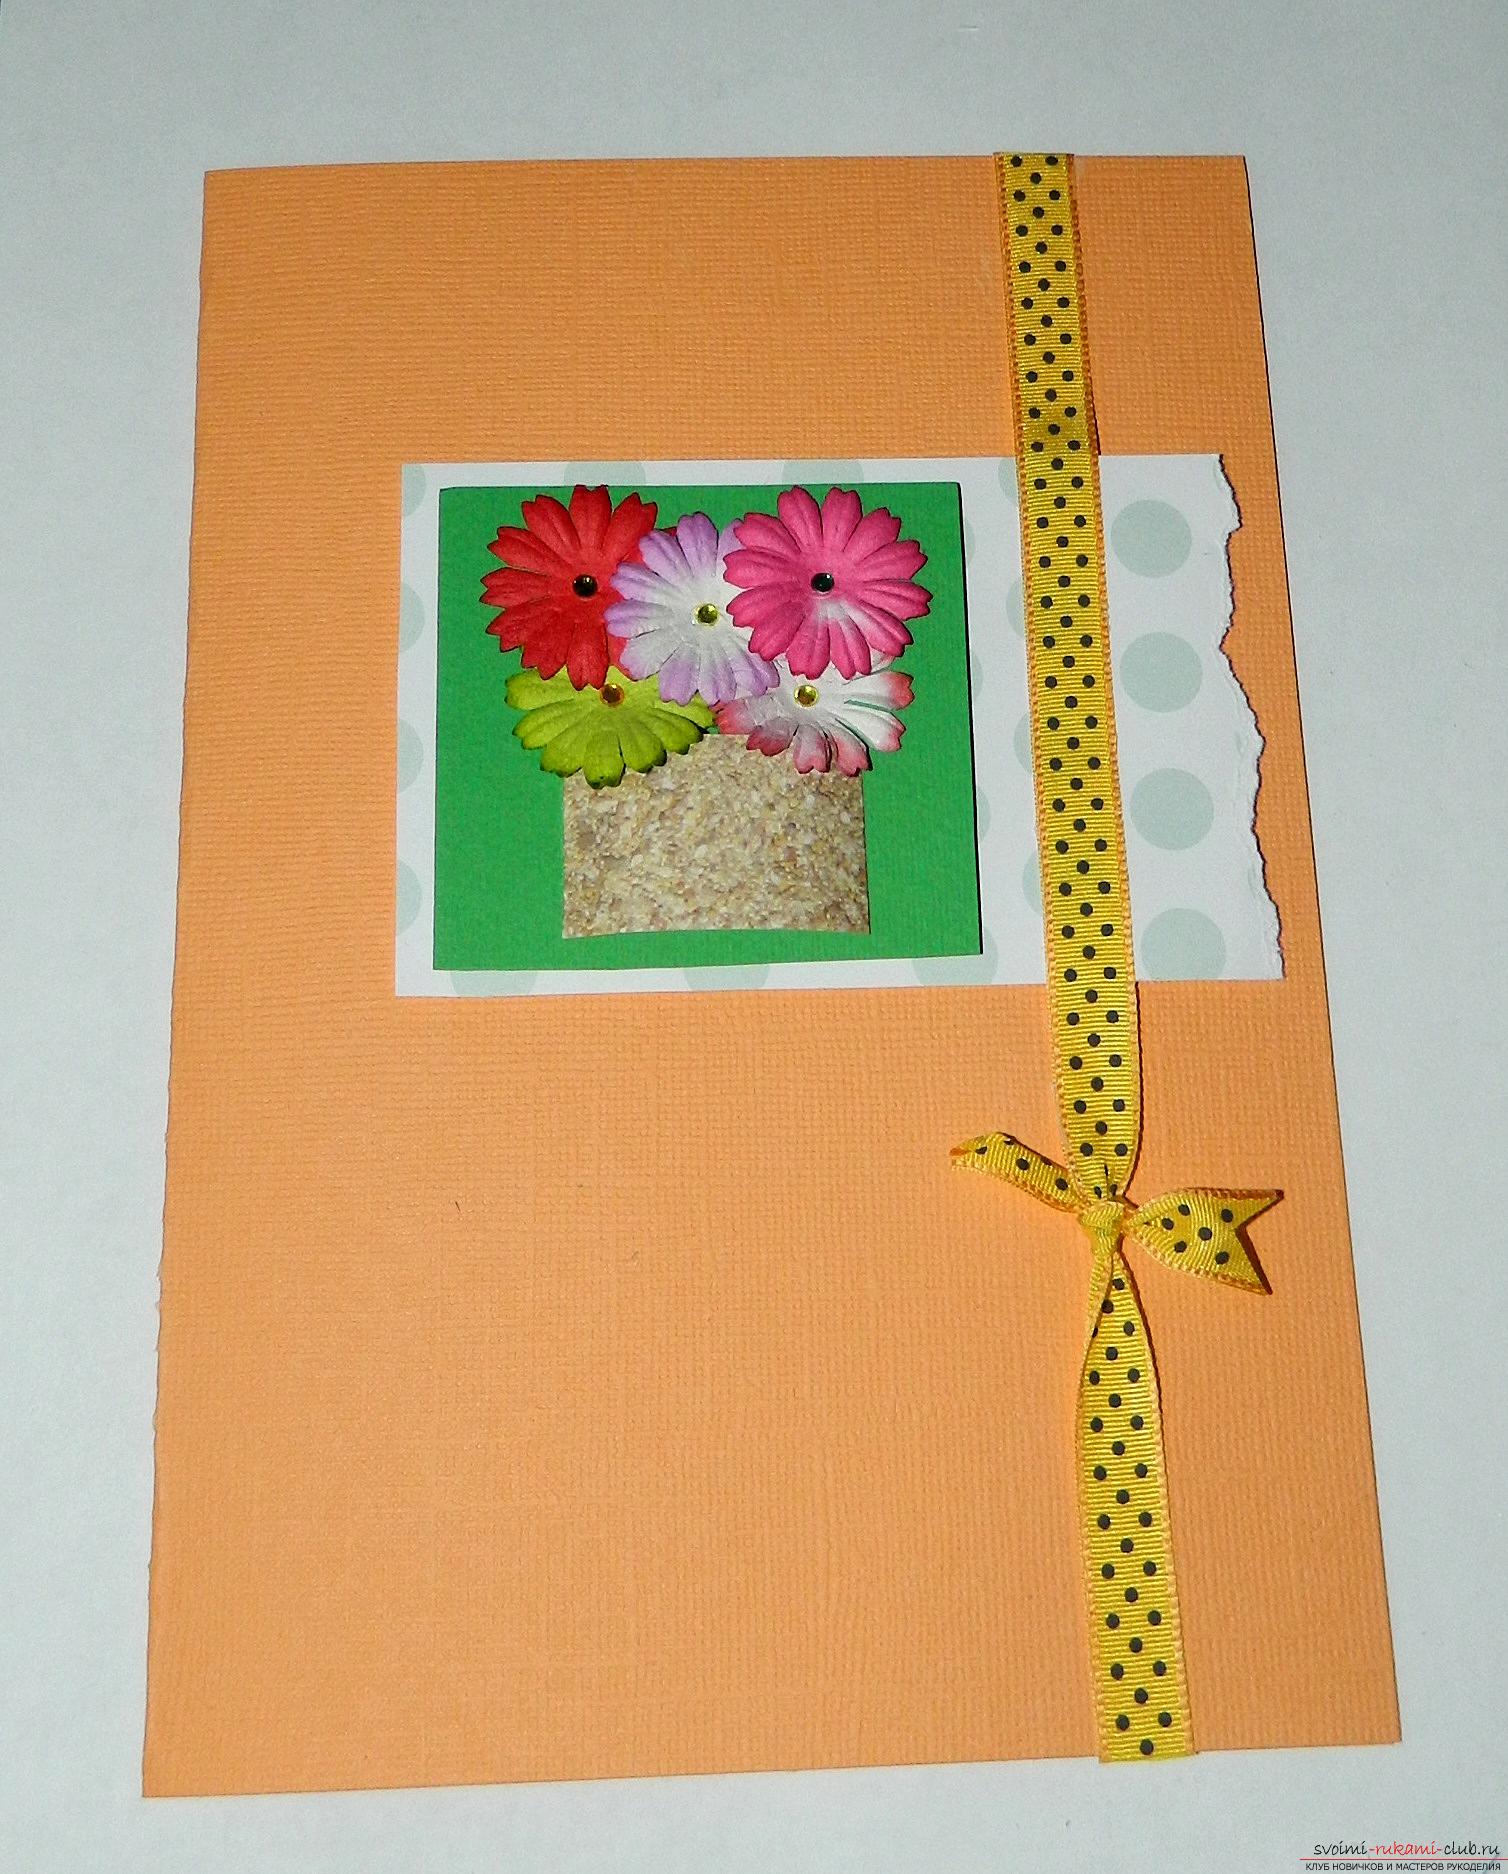 Very beautiful, unusual festive handmade greeting card is ready!
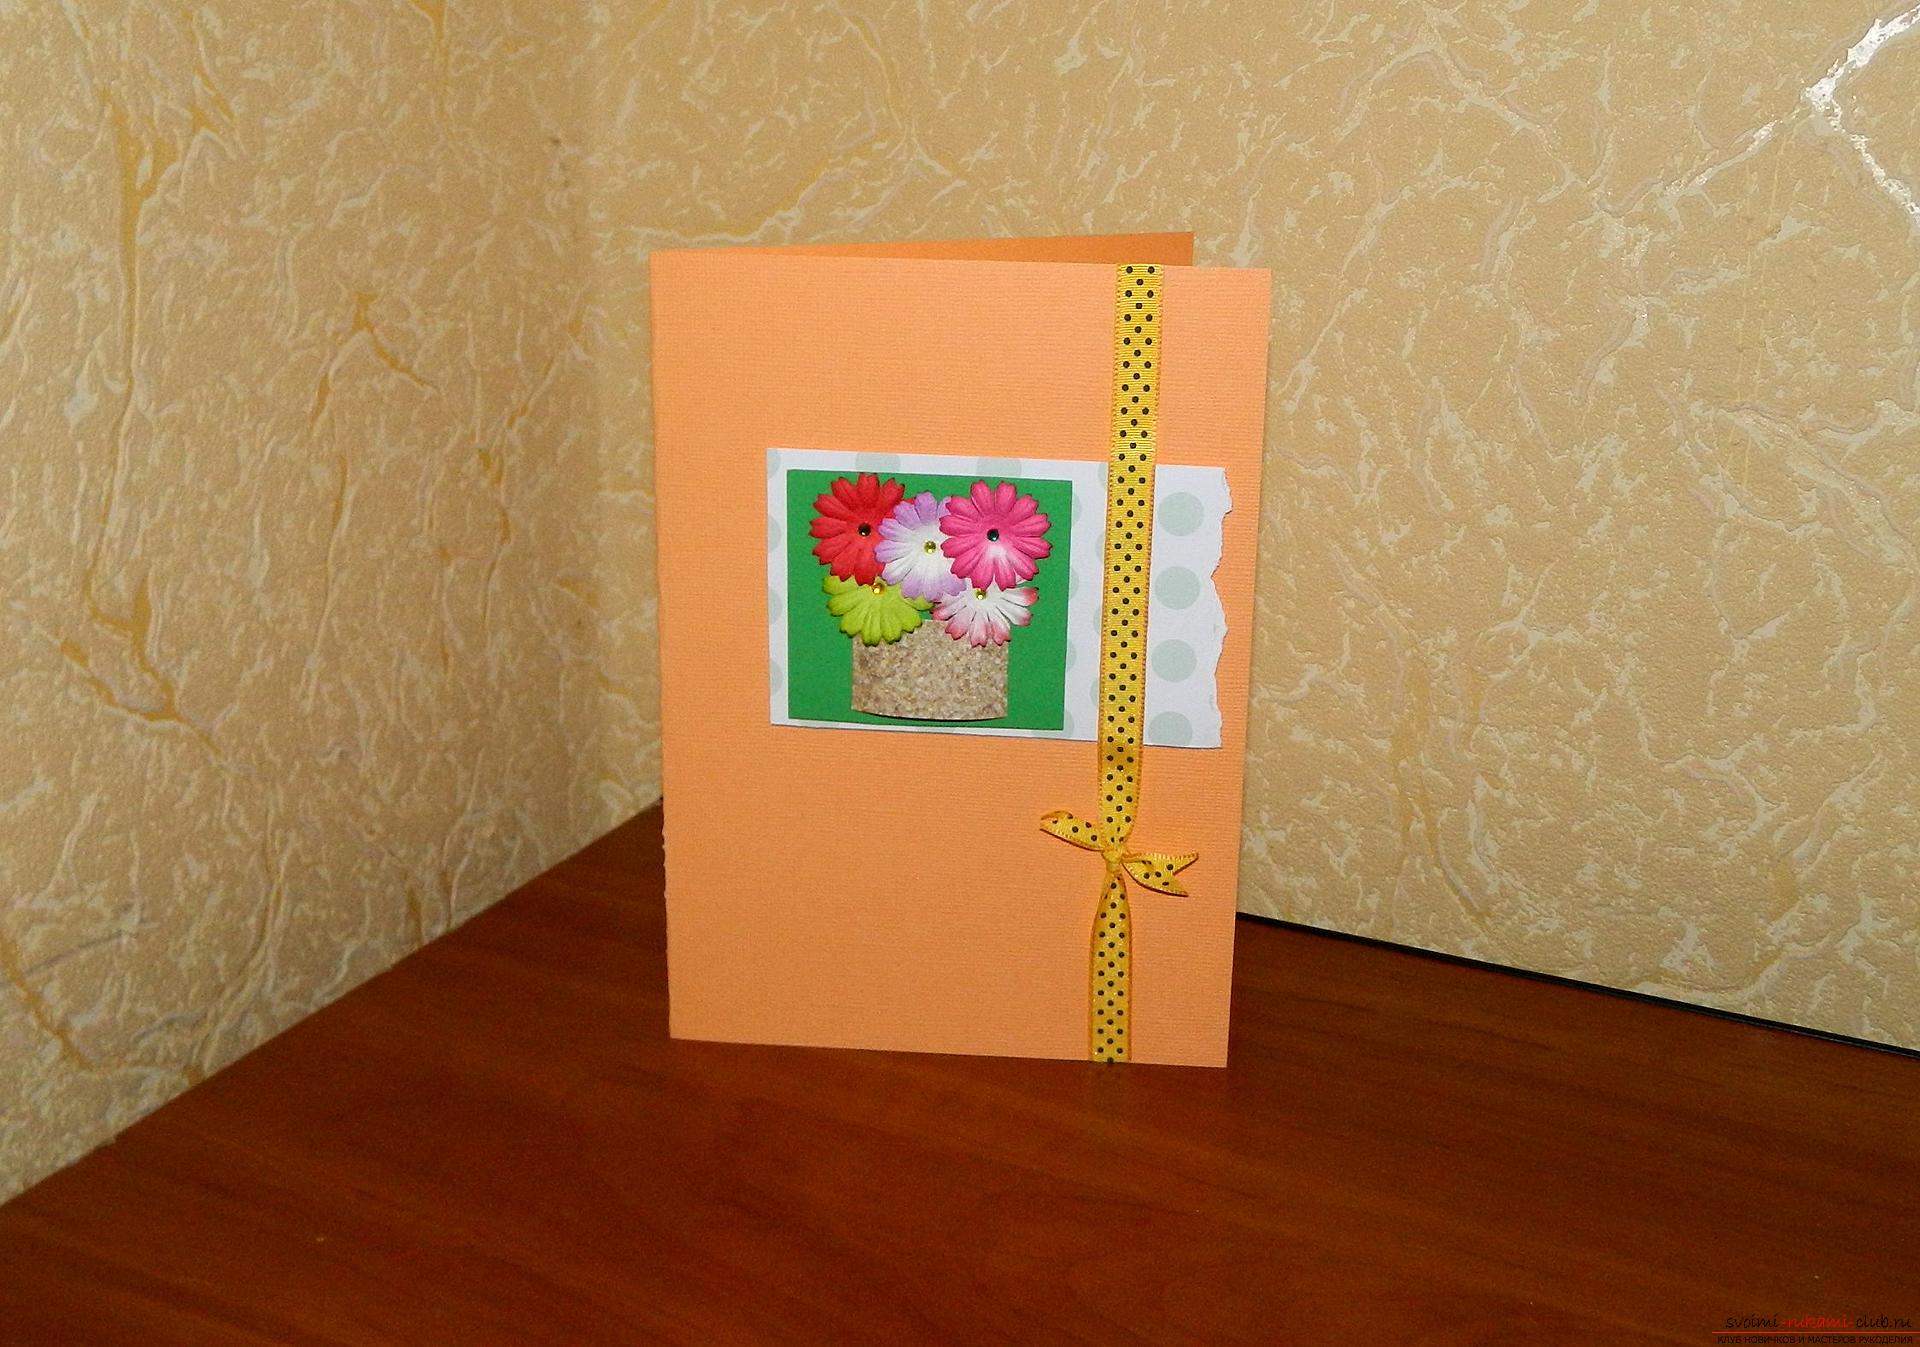
Comments
Related posts:
 This master class will tell you how to make a birthday card with your own hands.
 This master class will teach you how to make a quilling card - valentine - with your own hands.
 This master class will teach you how to make a postcard with your own hands in quilling technique.
 This master class will teach you how to make your own hands a New Year greeting card.
 This master class will teach you how to make a card with your own hands in the style of ayris folding.