
This master class will teach you how to make a card with your own hands using the technique of ayris folding.
Iris folding - with the English. "Rainbow folding" is a very unusual and incredibly simple technique that is used in the implementation of handmade cards and other products. The essence of this technique is to fold the strips of paper in a certain way, thus creating a very unusual and beautiful drawings. 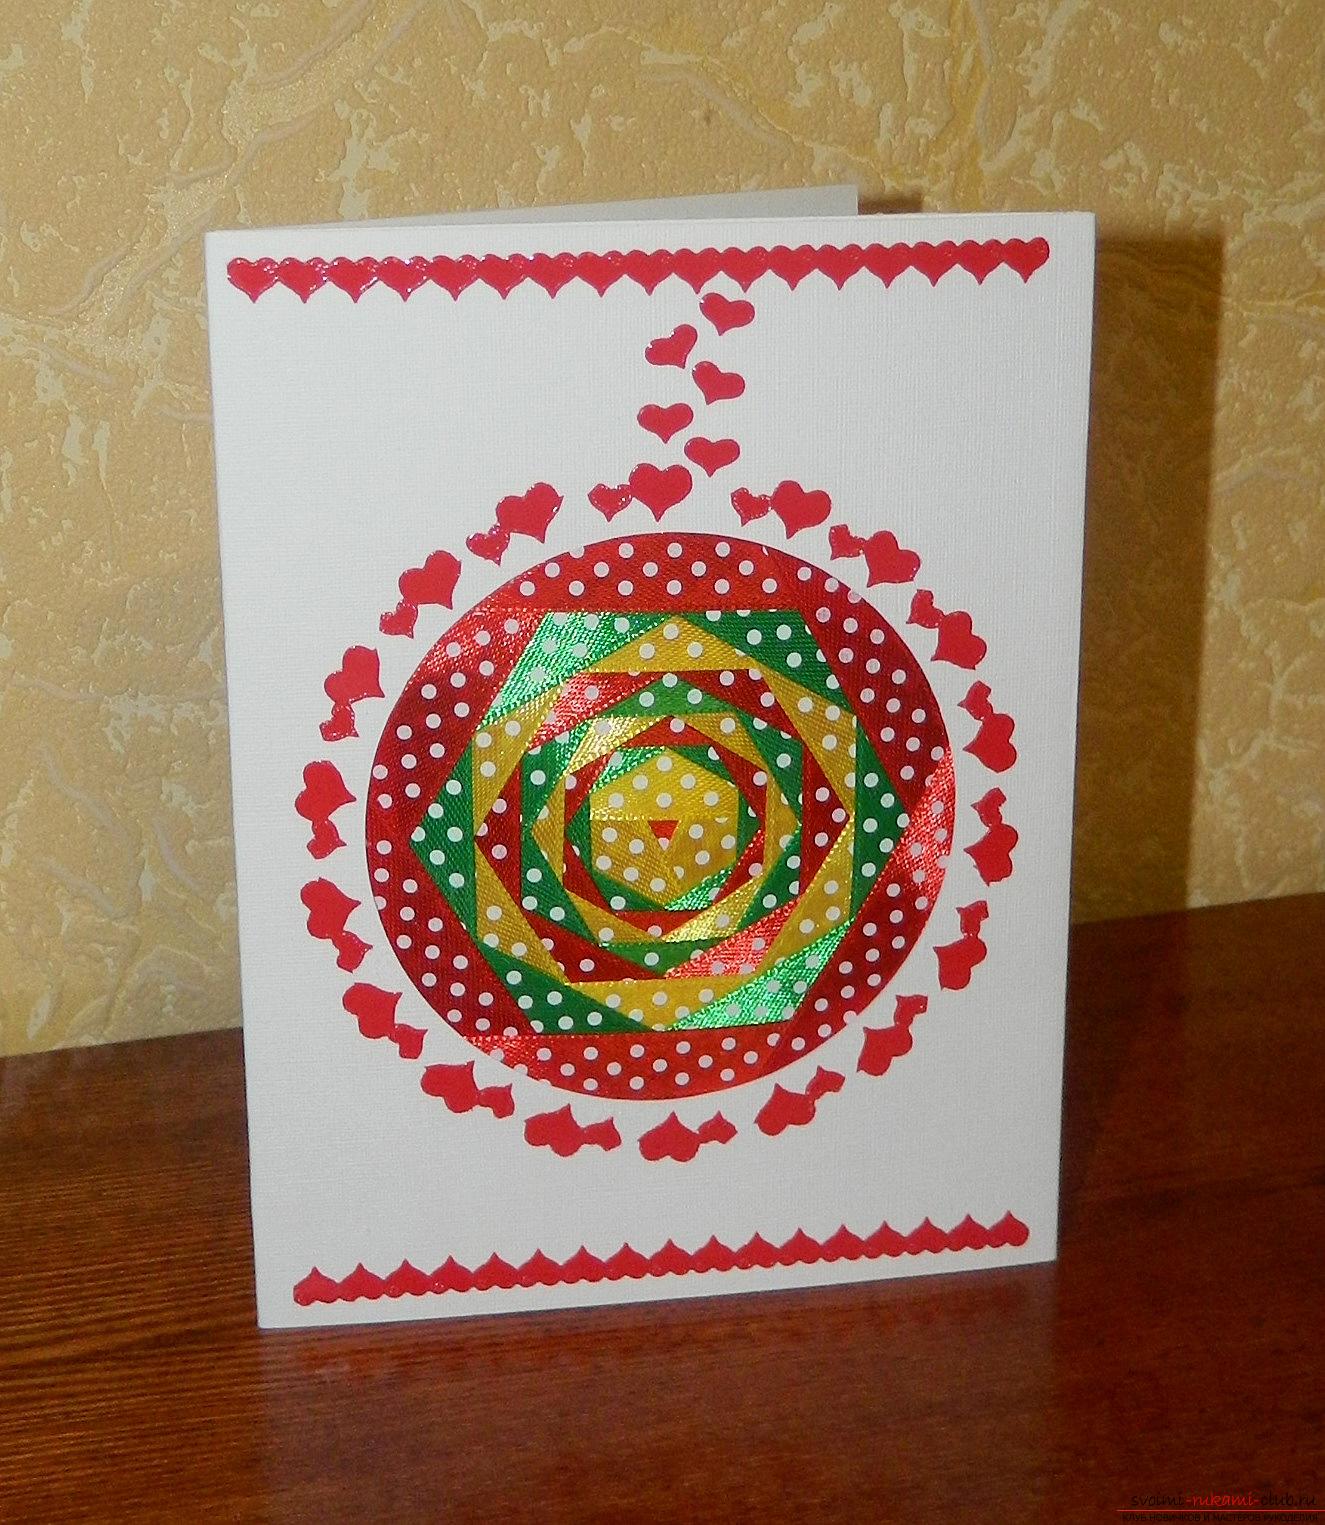 To create a job you must have at your fingertipswhite cardboard or already prepared base for a postcard in the form of a frame with a round hole on the front. You will also need stickers in the form of hearts, ribbon in white peas of three colors - red, green, yellow. But the most important thing in this work will be a template, which must be previously printed.
 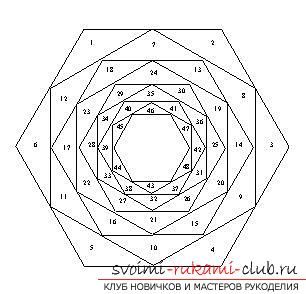 List of necessary materials for the card:
First, you need to cut out the template, so that it's more convenient to attach it to the stem. 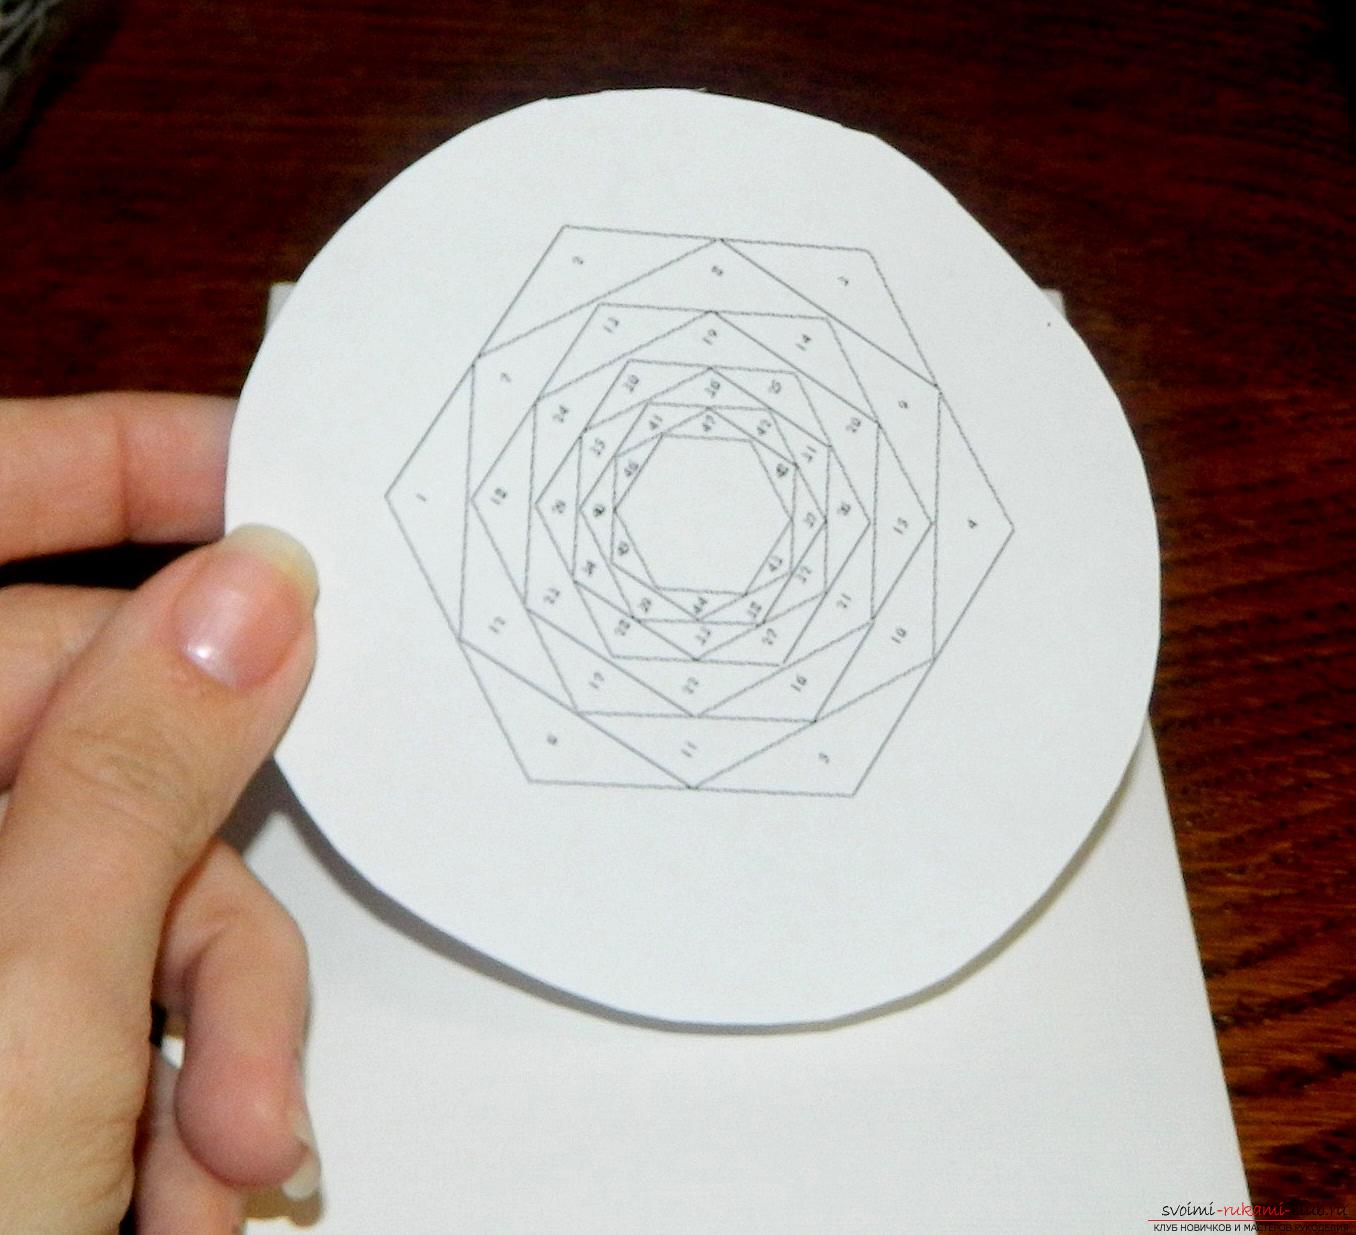 Then you need to open the card and attach a template from the front. Work will be done from within.
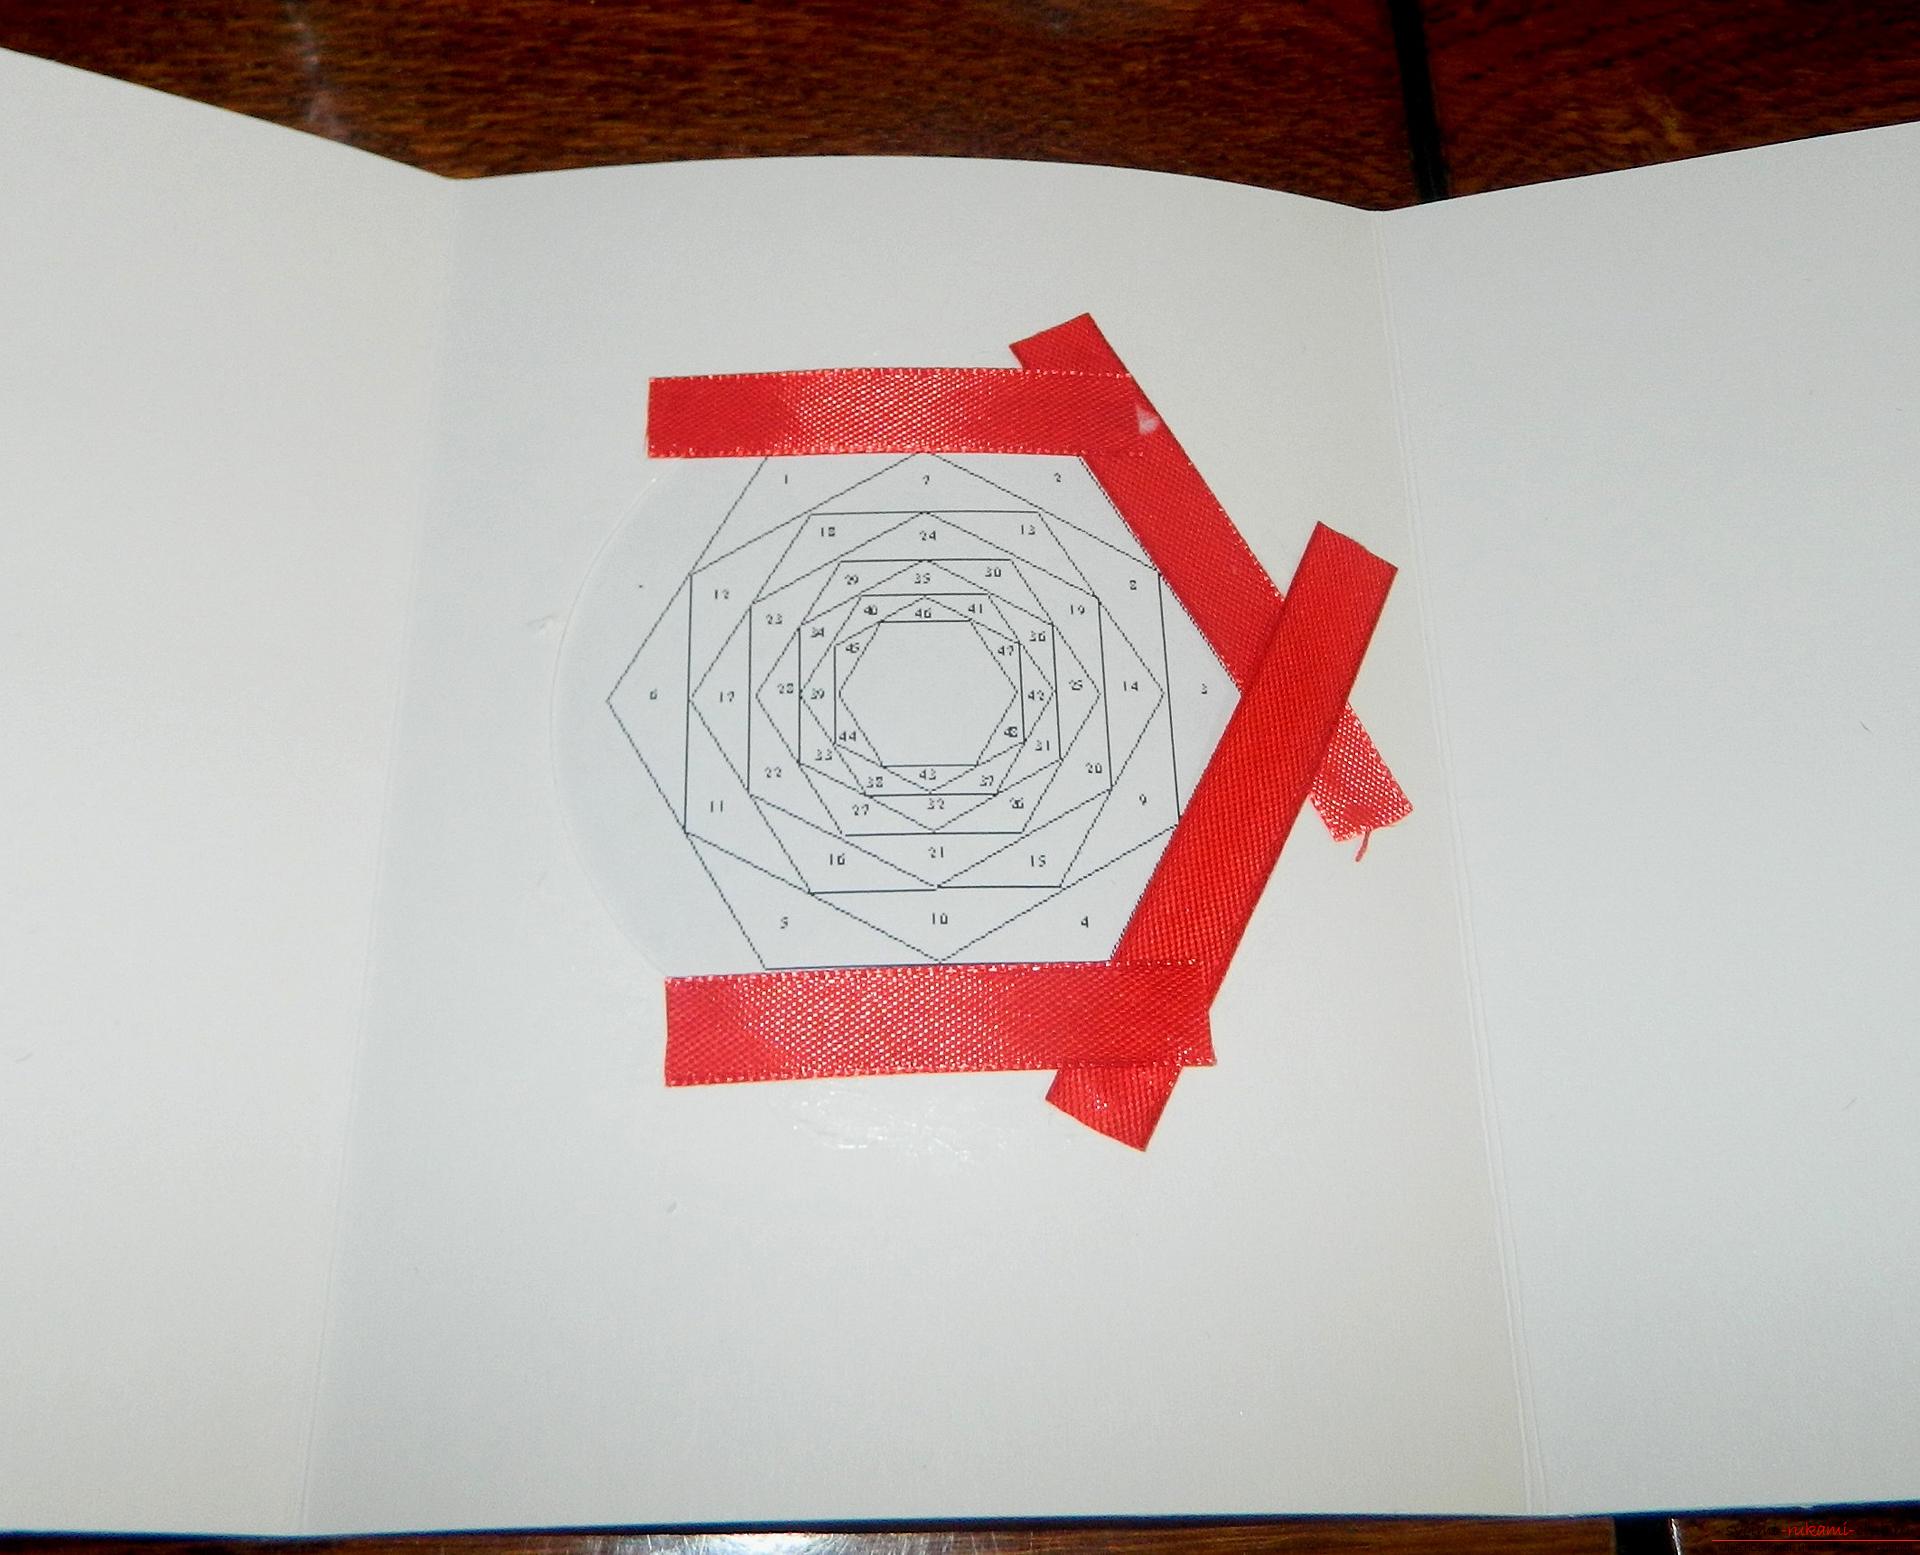
 Cut about 4-5 cm of red tape, attach it to the glue face down. First, "close" the free area.
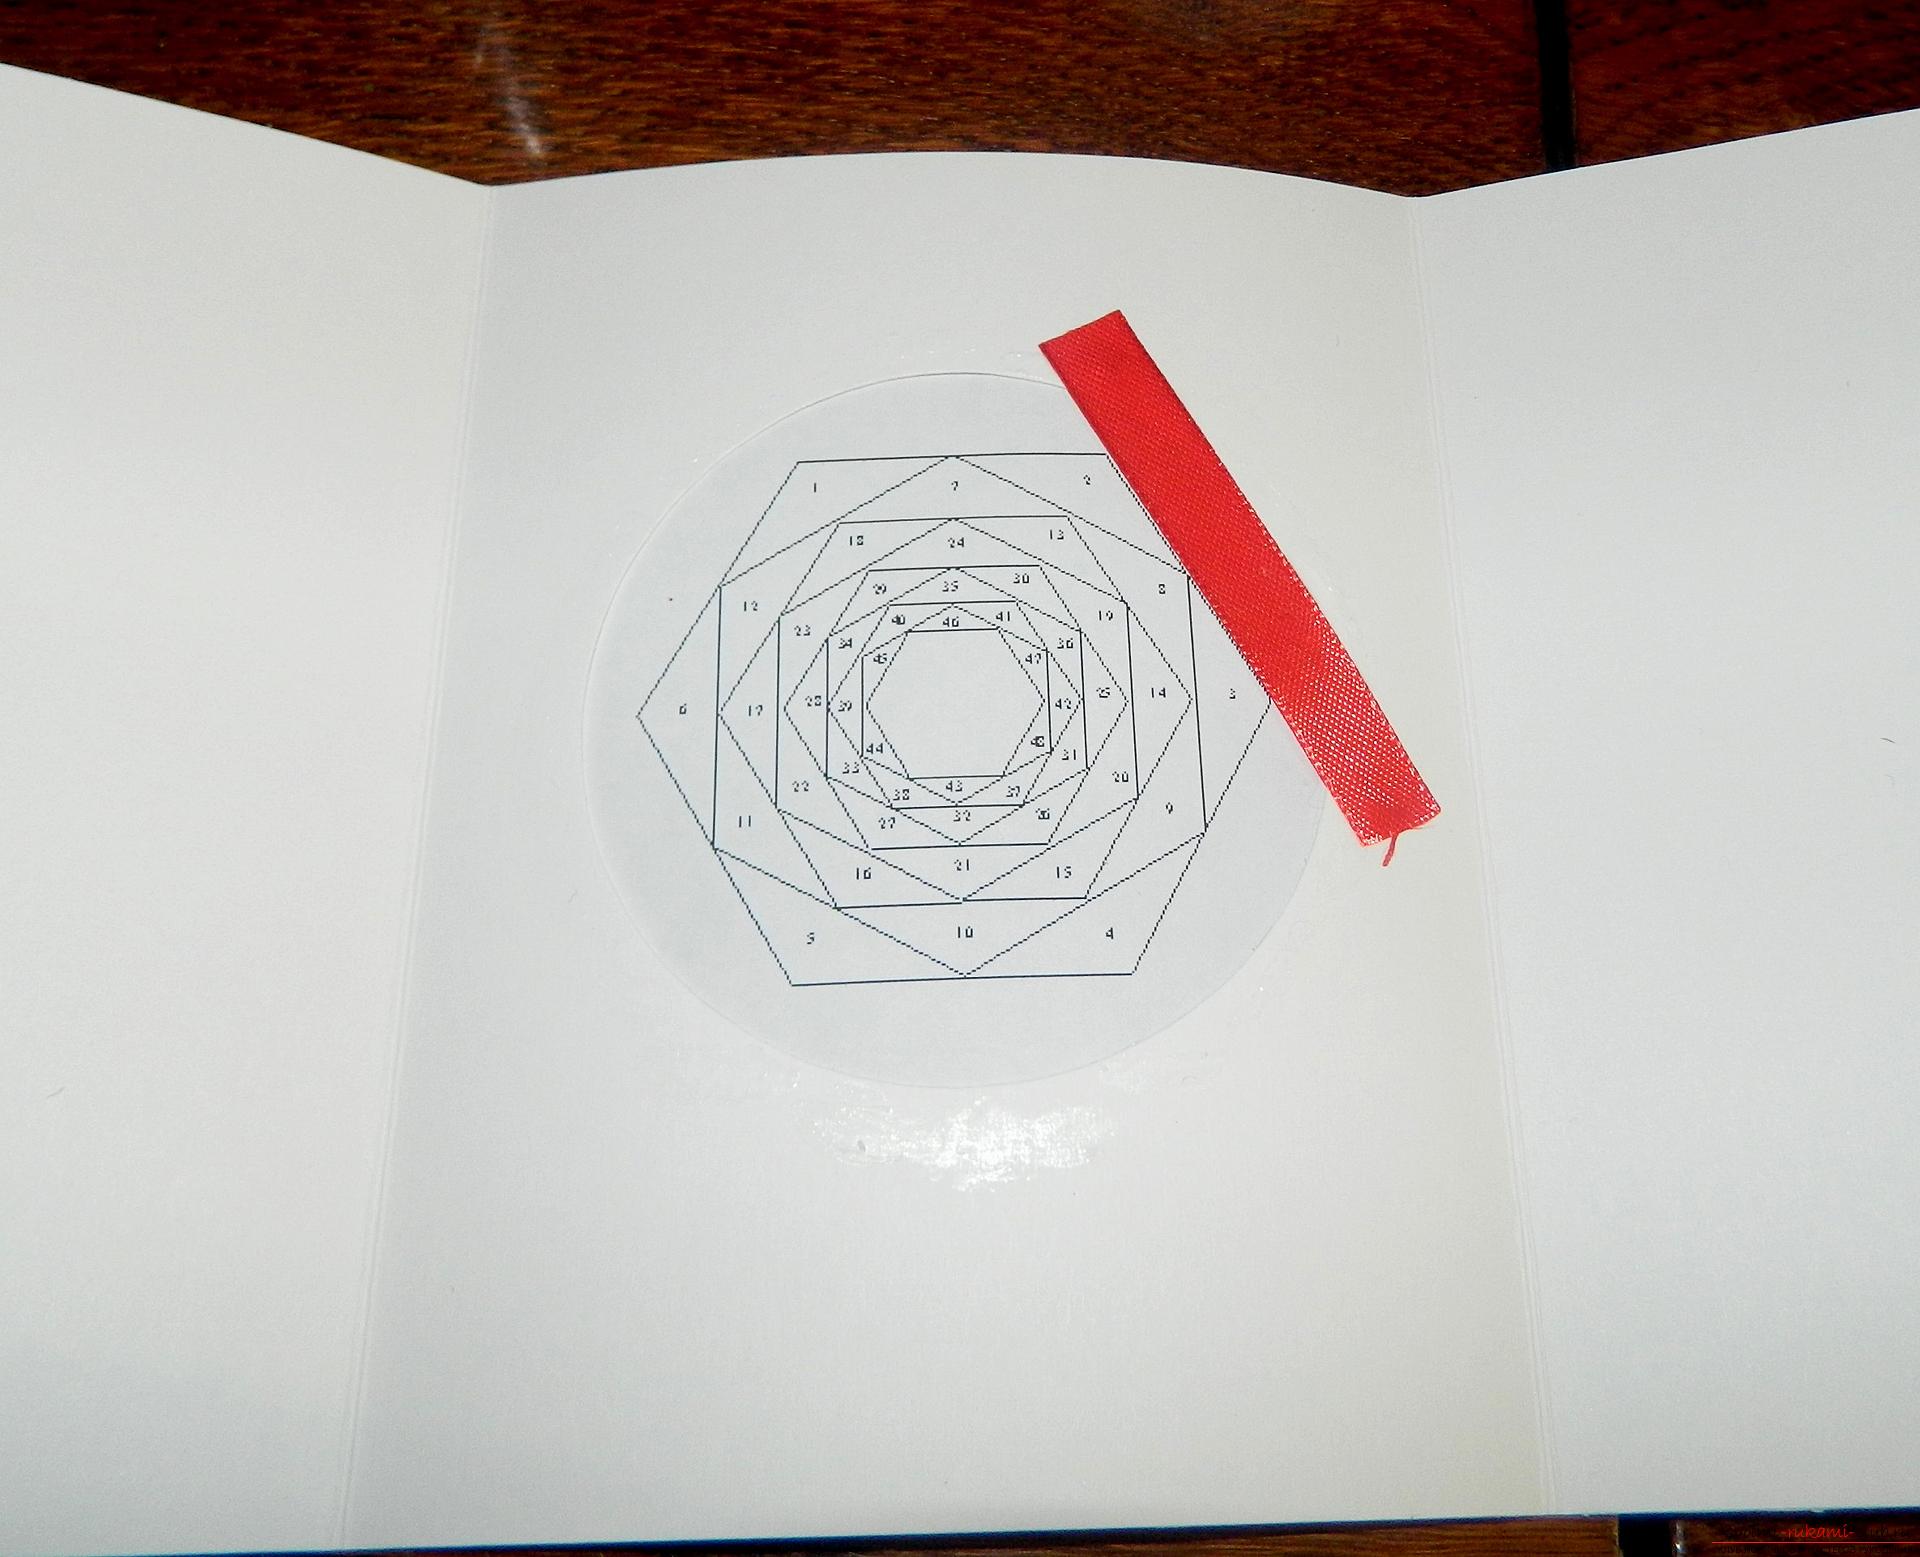
 Then it is necessary to fill the template in order, starting with the number "1" and so on. To do this, cut off about 4 cm of green tape, fasten the front side of the bottom of the order of each digit.
 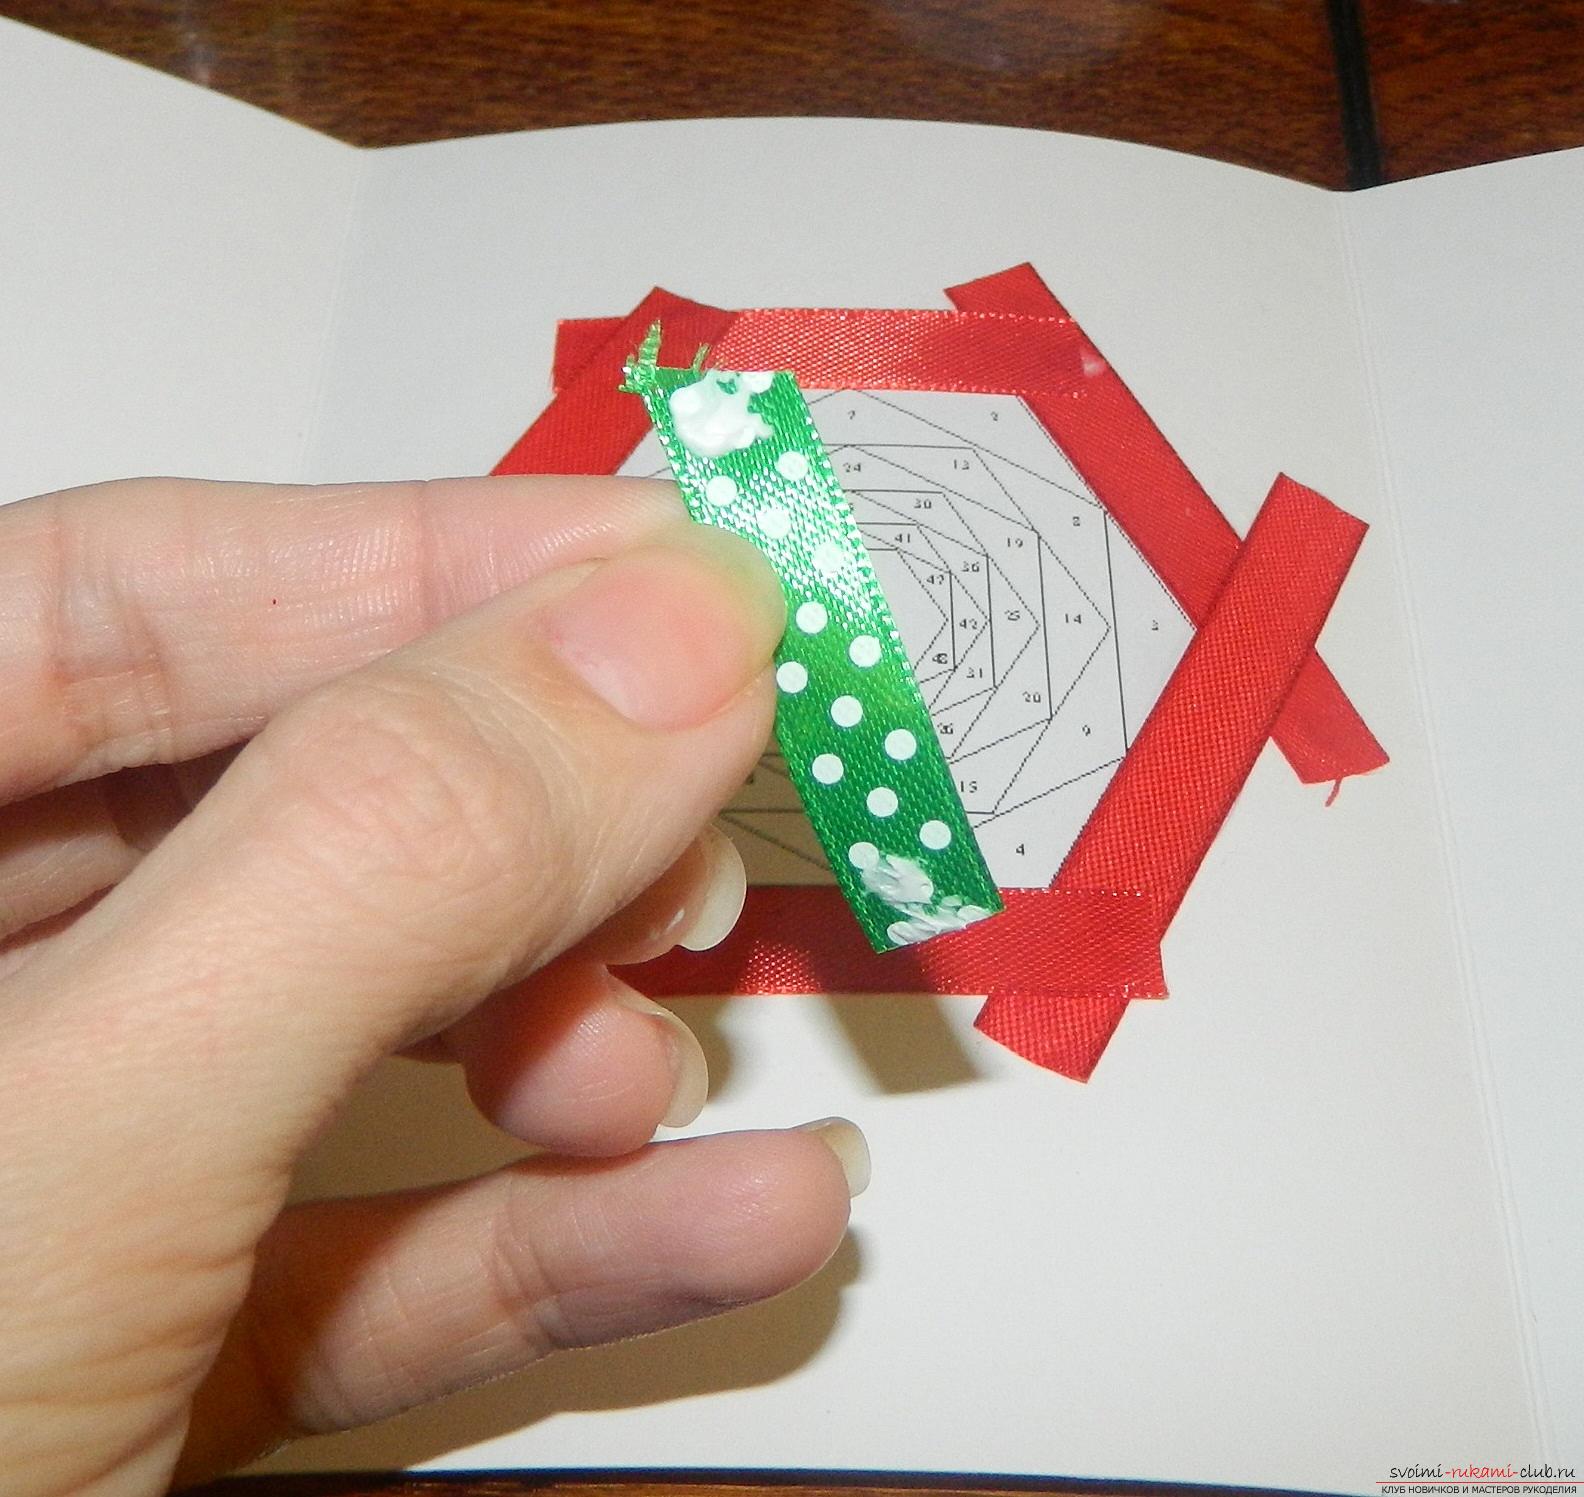 The next row is filled with a yellow ribbon.
 In the closing rows we use halvesribbons. Center fill with a yellow ribbon, and if there is even the smallest space, it should also be filled with tape. We unfold the card face-down and enjoy the beautiful work.
  When the work is ready, cut the rectangle from the design paper to the size of the postcard and attach it so that "close" the area of gluing the ribbons.
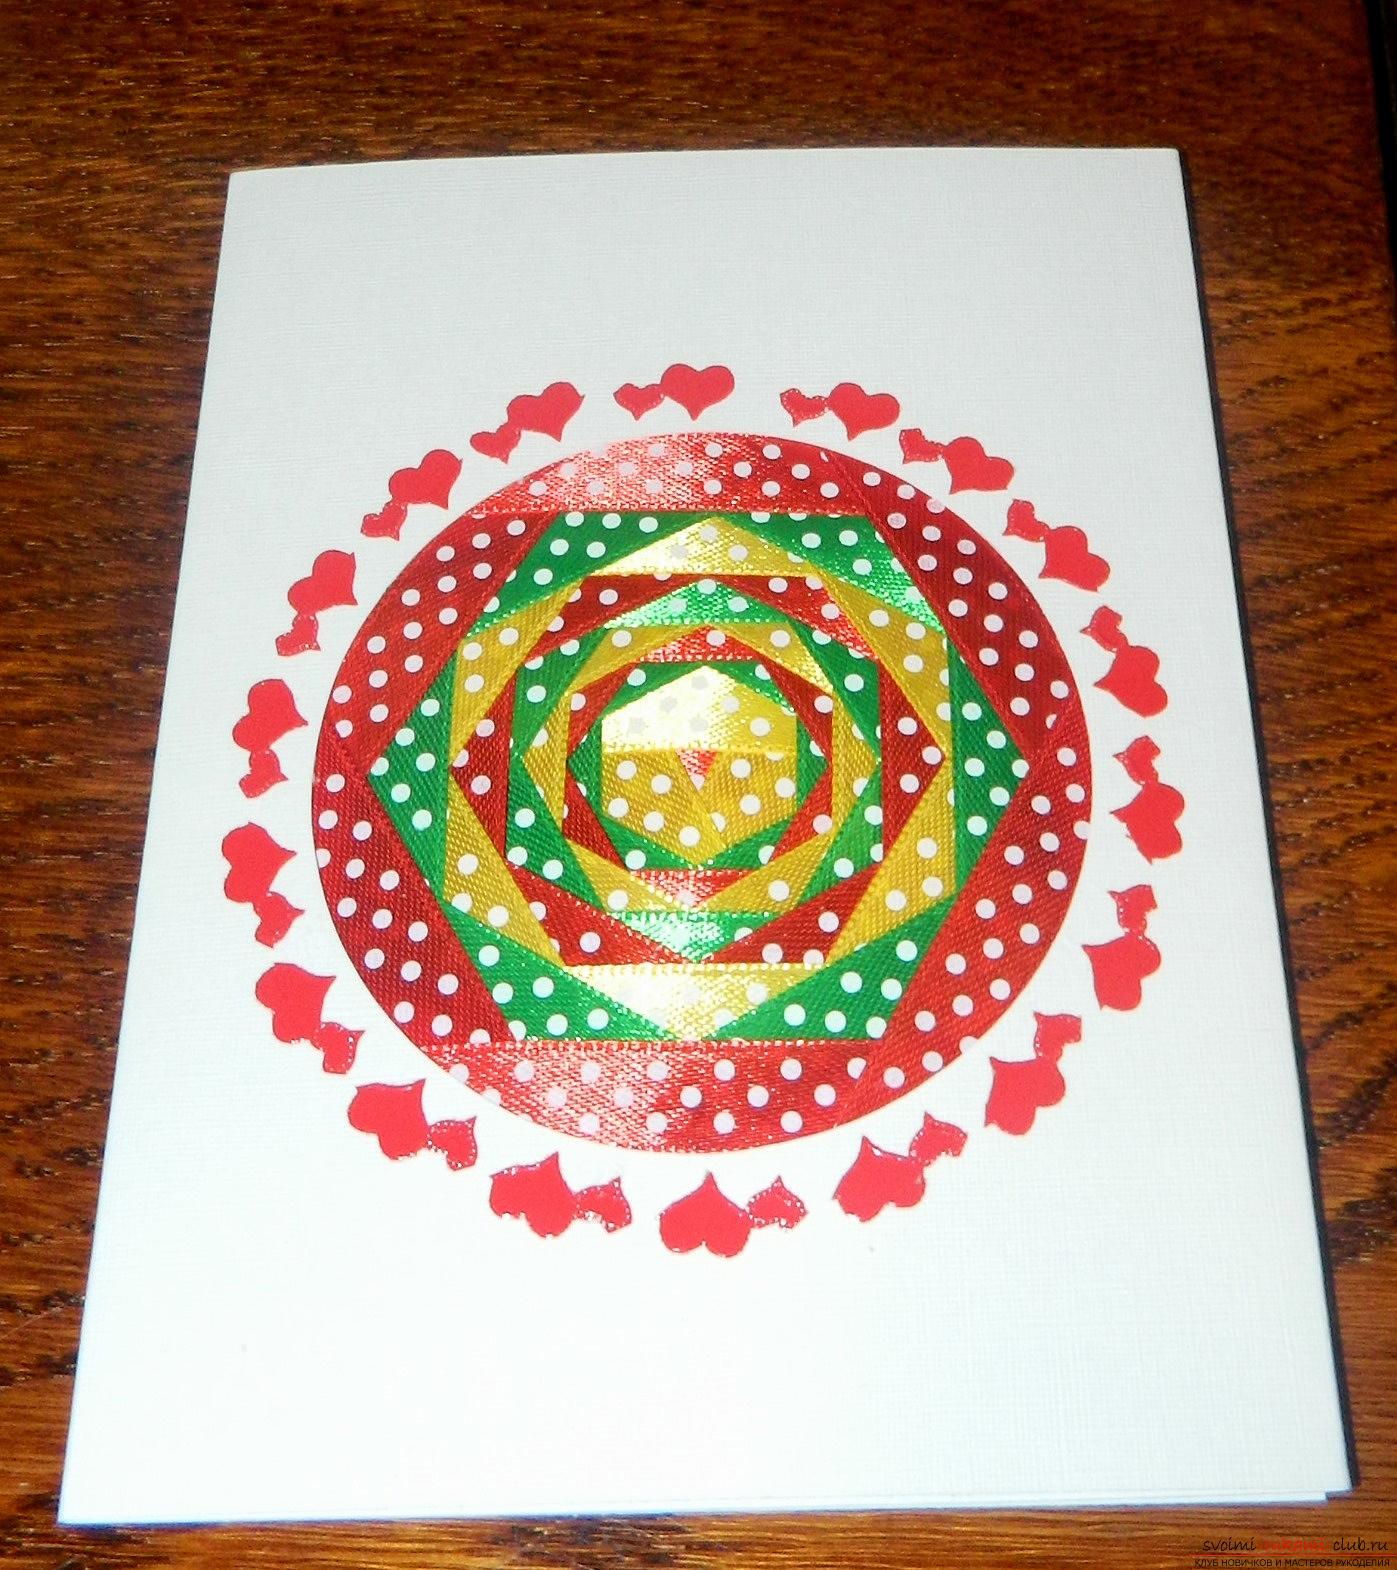
 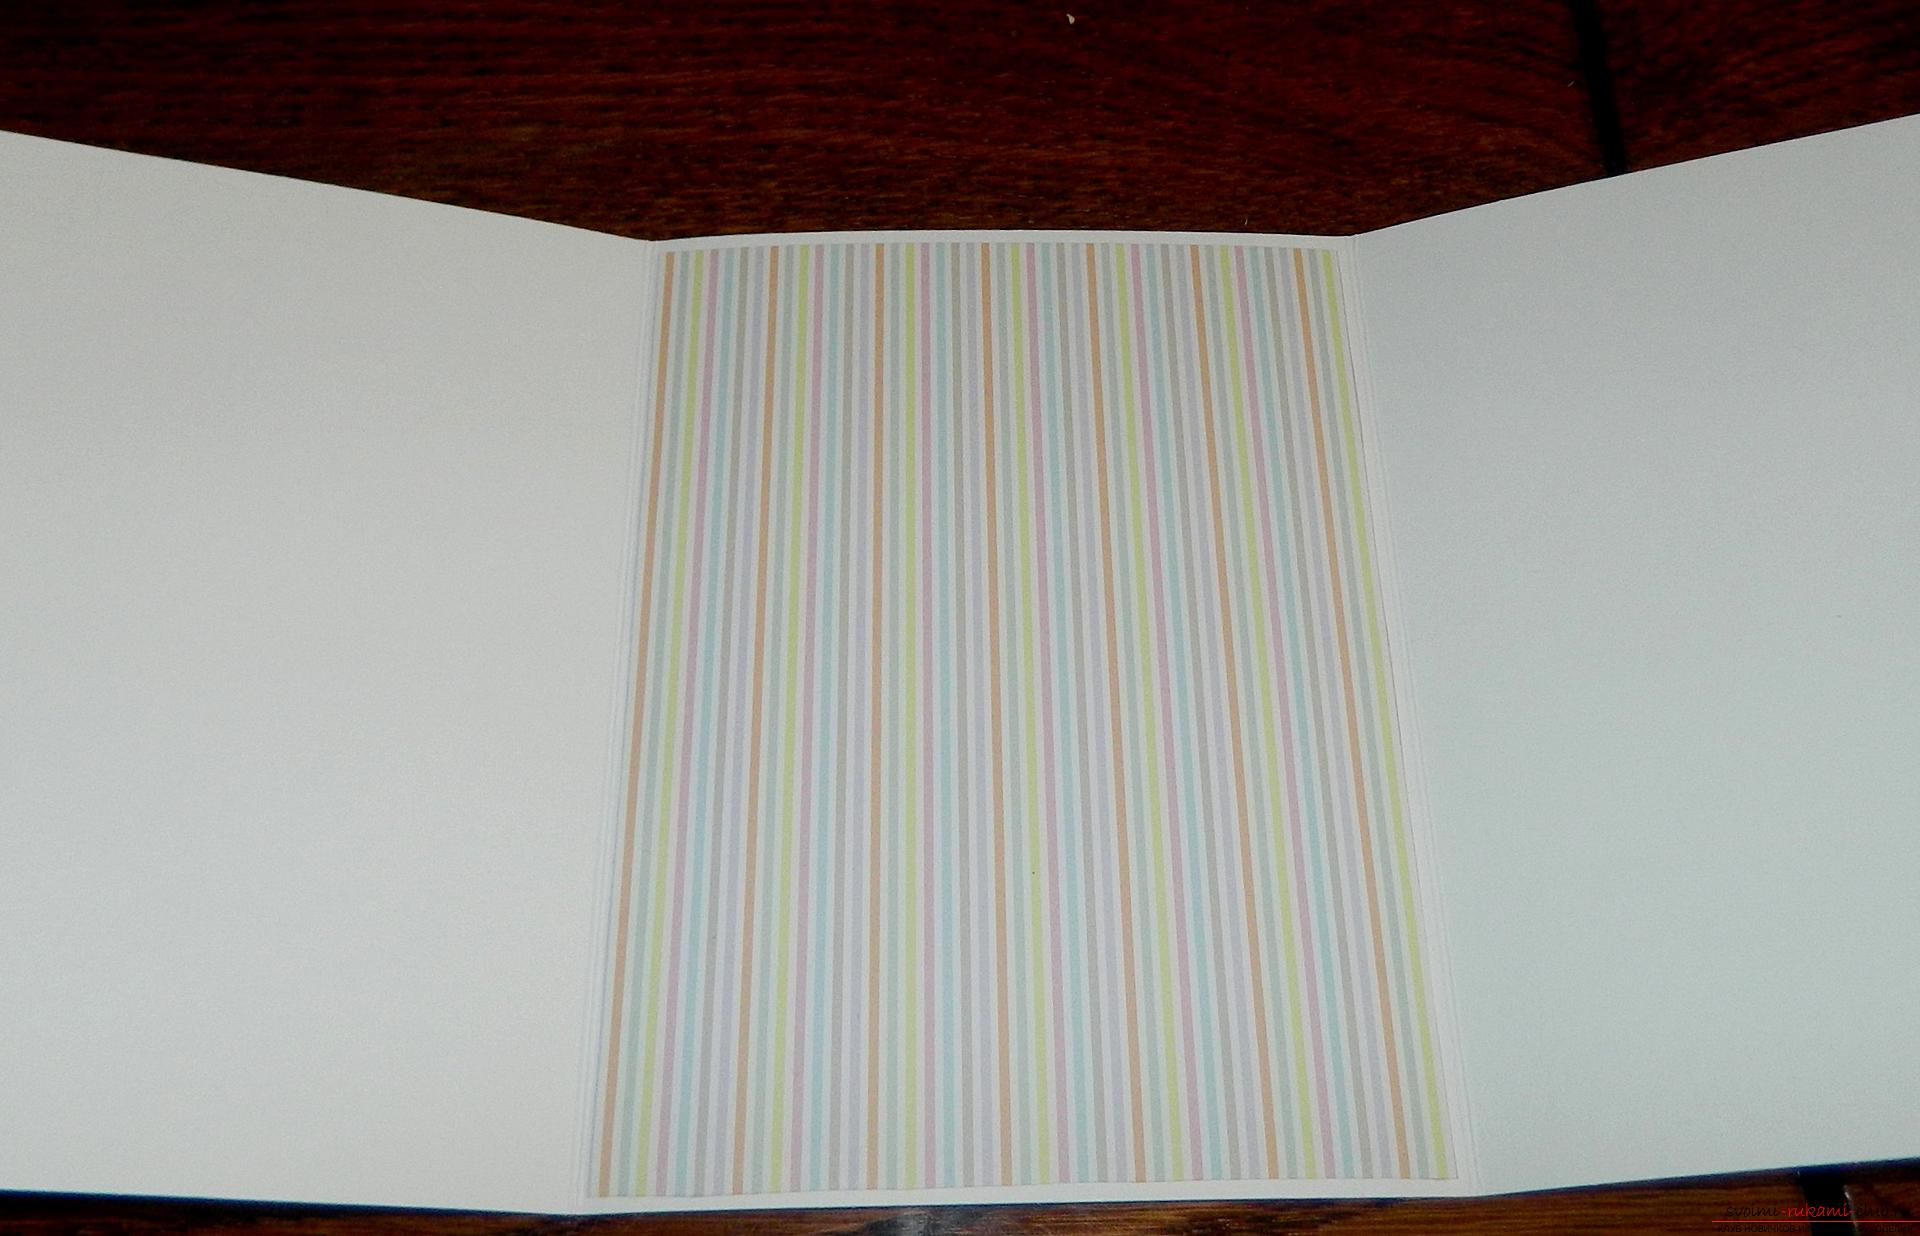 We take red stickers in the form of hearts and decorate the card from the front side in a circle.
 Inside there is a beautiful background for signing a postcard.
  Very bright, beautiful postcard with your own hands is ready!
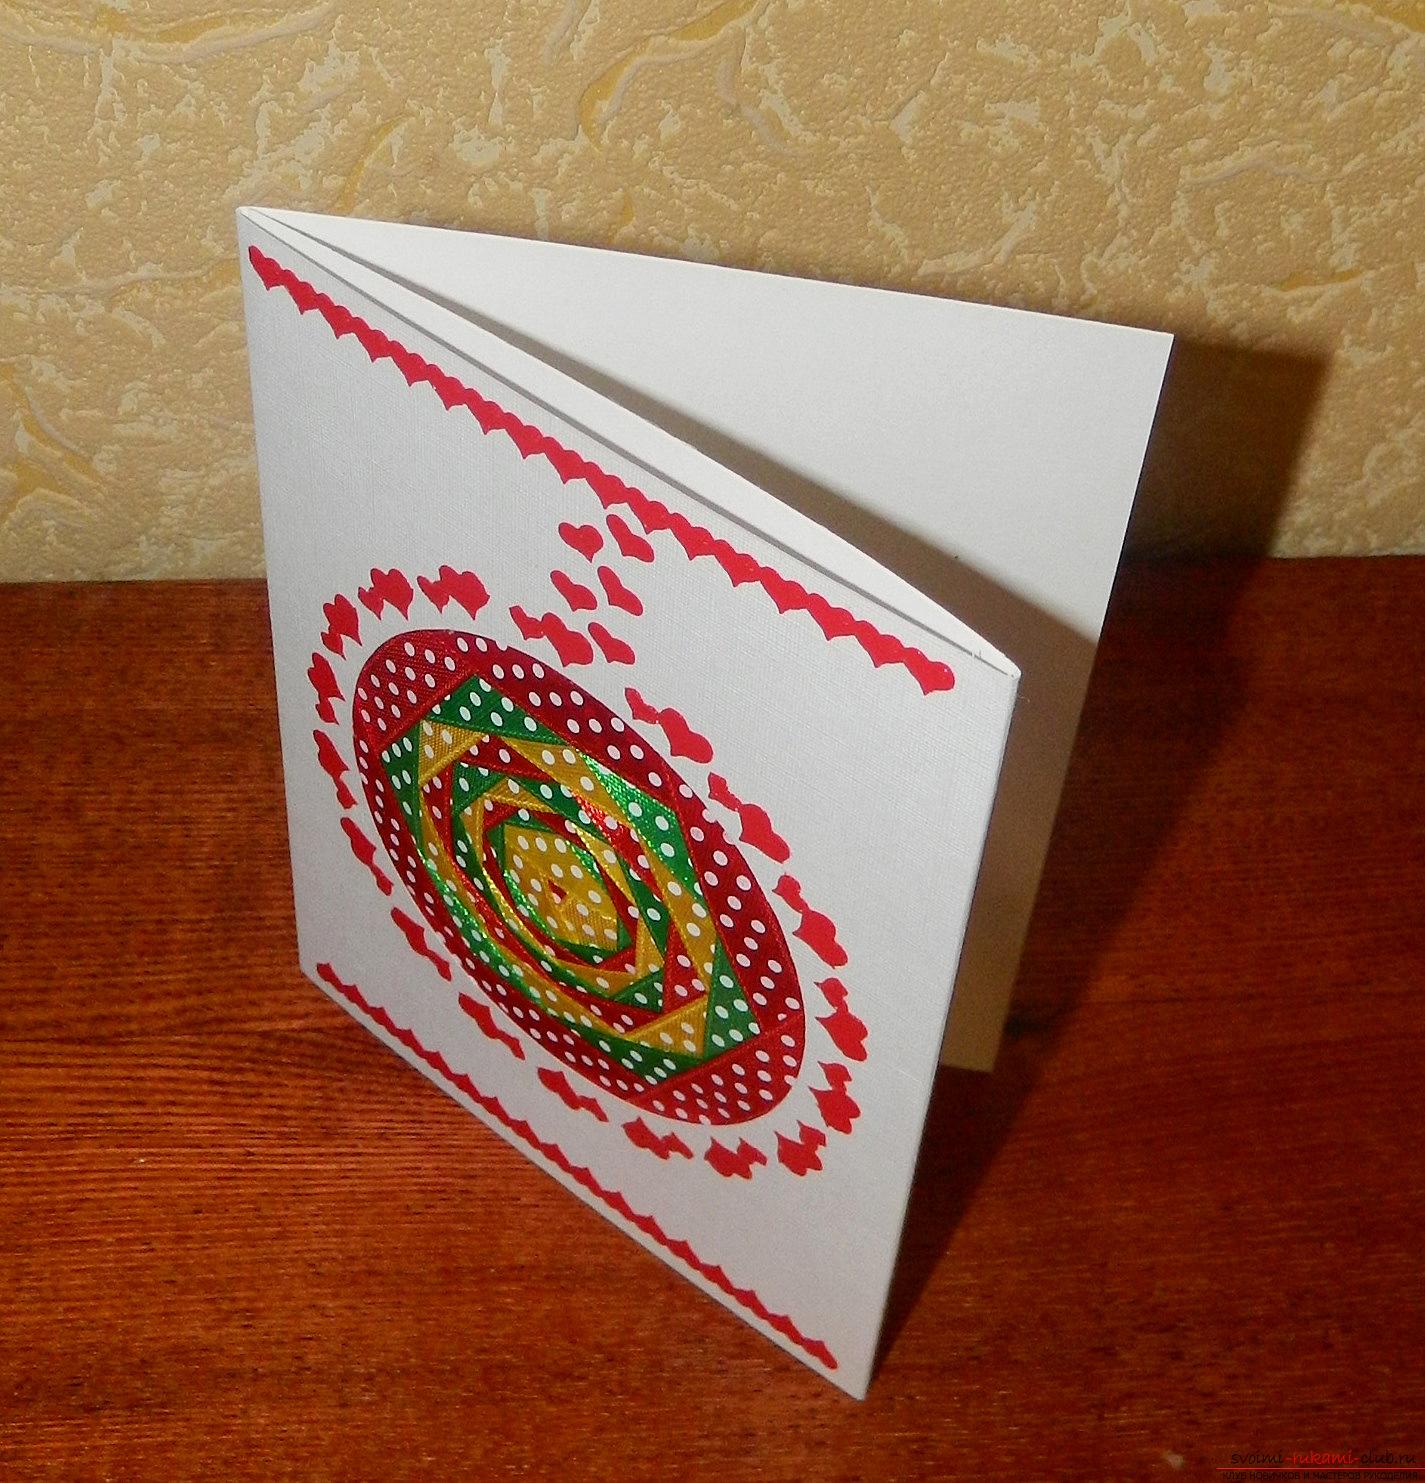
Comments
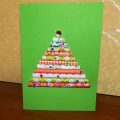
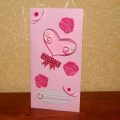
Related posts:
 This master class will teach you how to make a card with your own hands in the style of ayris folding.
 This master class will teach you how to make a quilling card - valentine - with your own hands.
 This master class will teach you how to make a postcard with your own hands in quilling technique.
 This master class will teach you how to make your own hands a New Year greeting card.
 This master class will teach you how to make a postcard by yourself in the technique of quilling.