
This master class will teach you how to make a modular origami - a fly agaric mushroom.
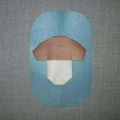
 Materials: - Modules of red or pink, and also white colors; - transparent glue. Description of work: Fly of fly agaric: 1. Take 2 red and 1 white. module. We arrange them as illustrated in the photo.
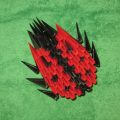
  The module on the left forms the first row,modules located on the right - the second. The modules are connected to each other. 2. We collect the following two series: the first is formed by 6 red modules, the second 3 red and 3 white. Further we close the chain in the ring. Here the modules must be glued together to give strength to the product.
  3. We put in another places of the previous row (see photo) 6 more red. modules.
 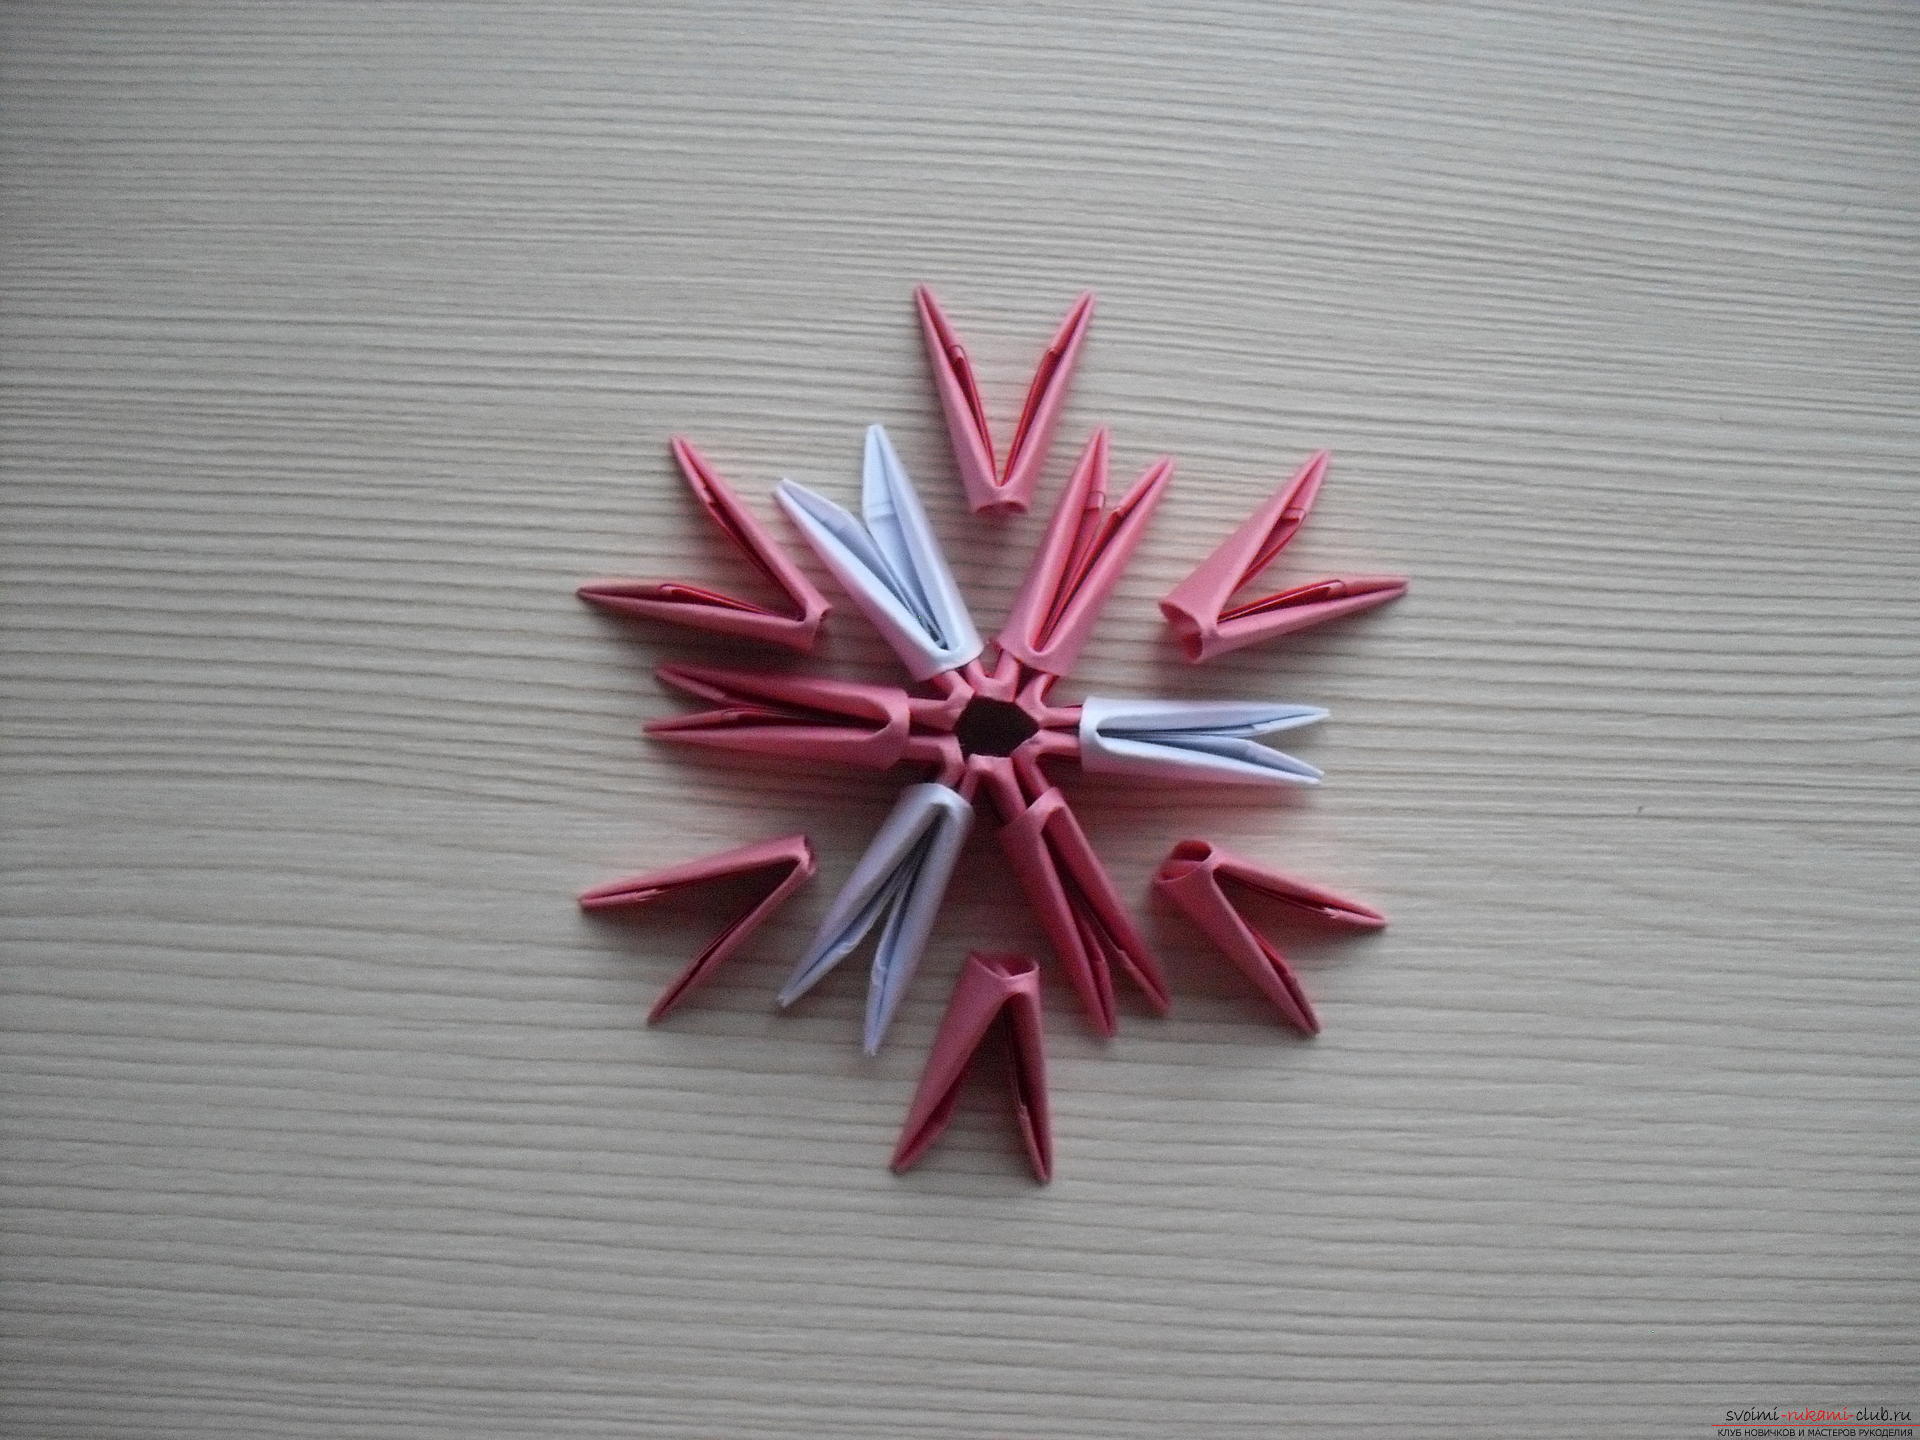 4. We collect the next row of 12 modules, using the additional modules inserted in the previous row.
 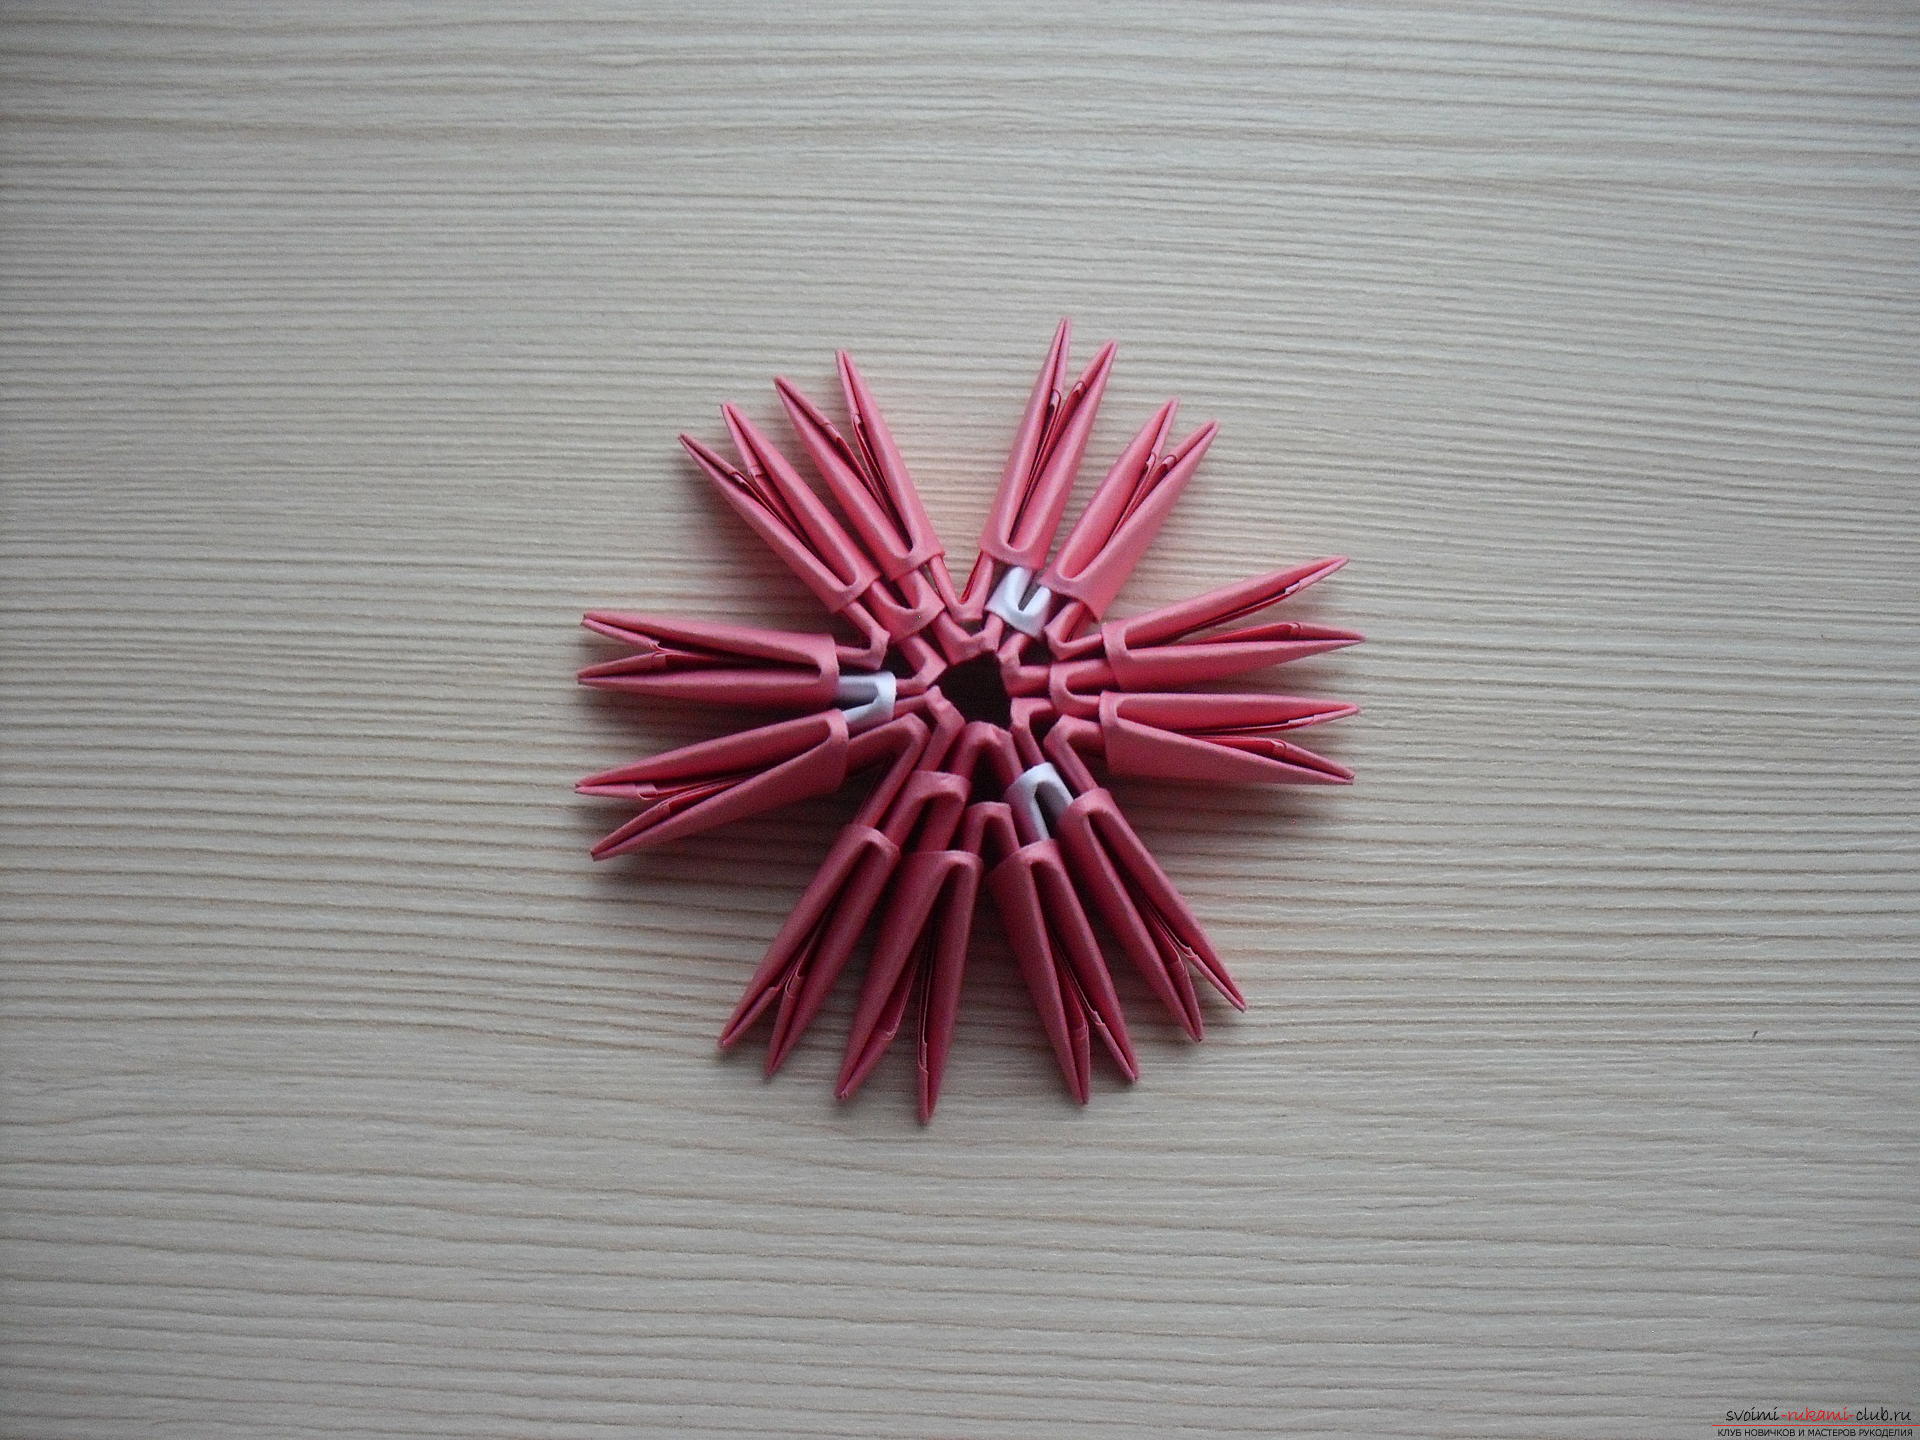 5. We put in another place in the previous row (see photo) 6 more white. Modules.
  6. 4 rows are assembled from 12 red. and 6 bel. modules.
 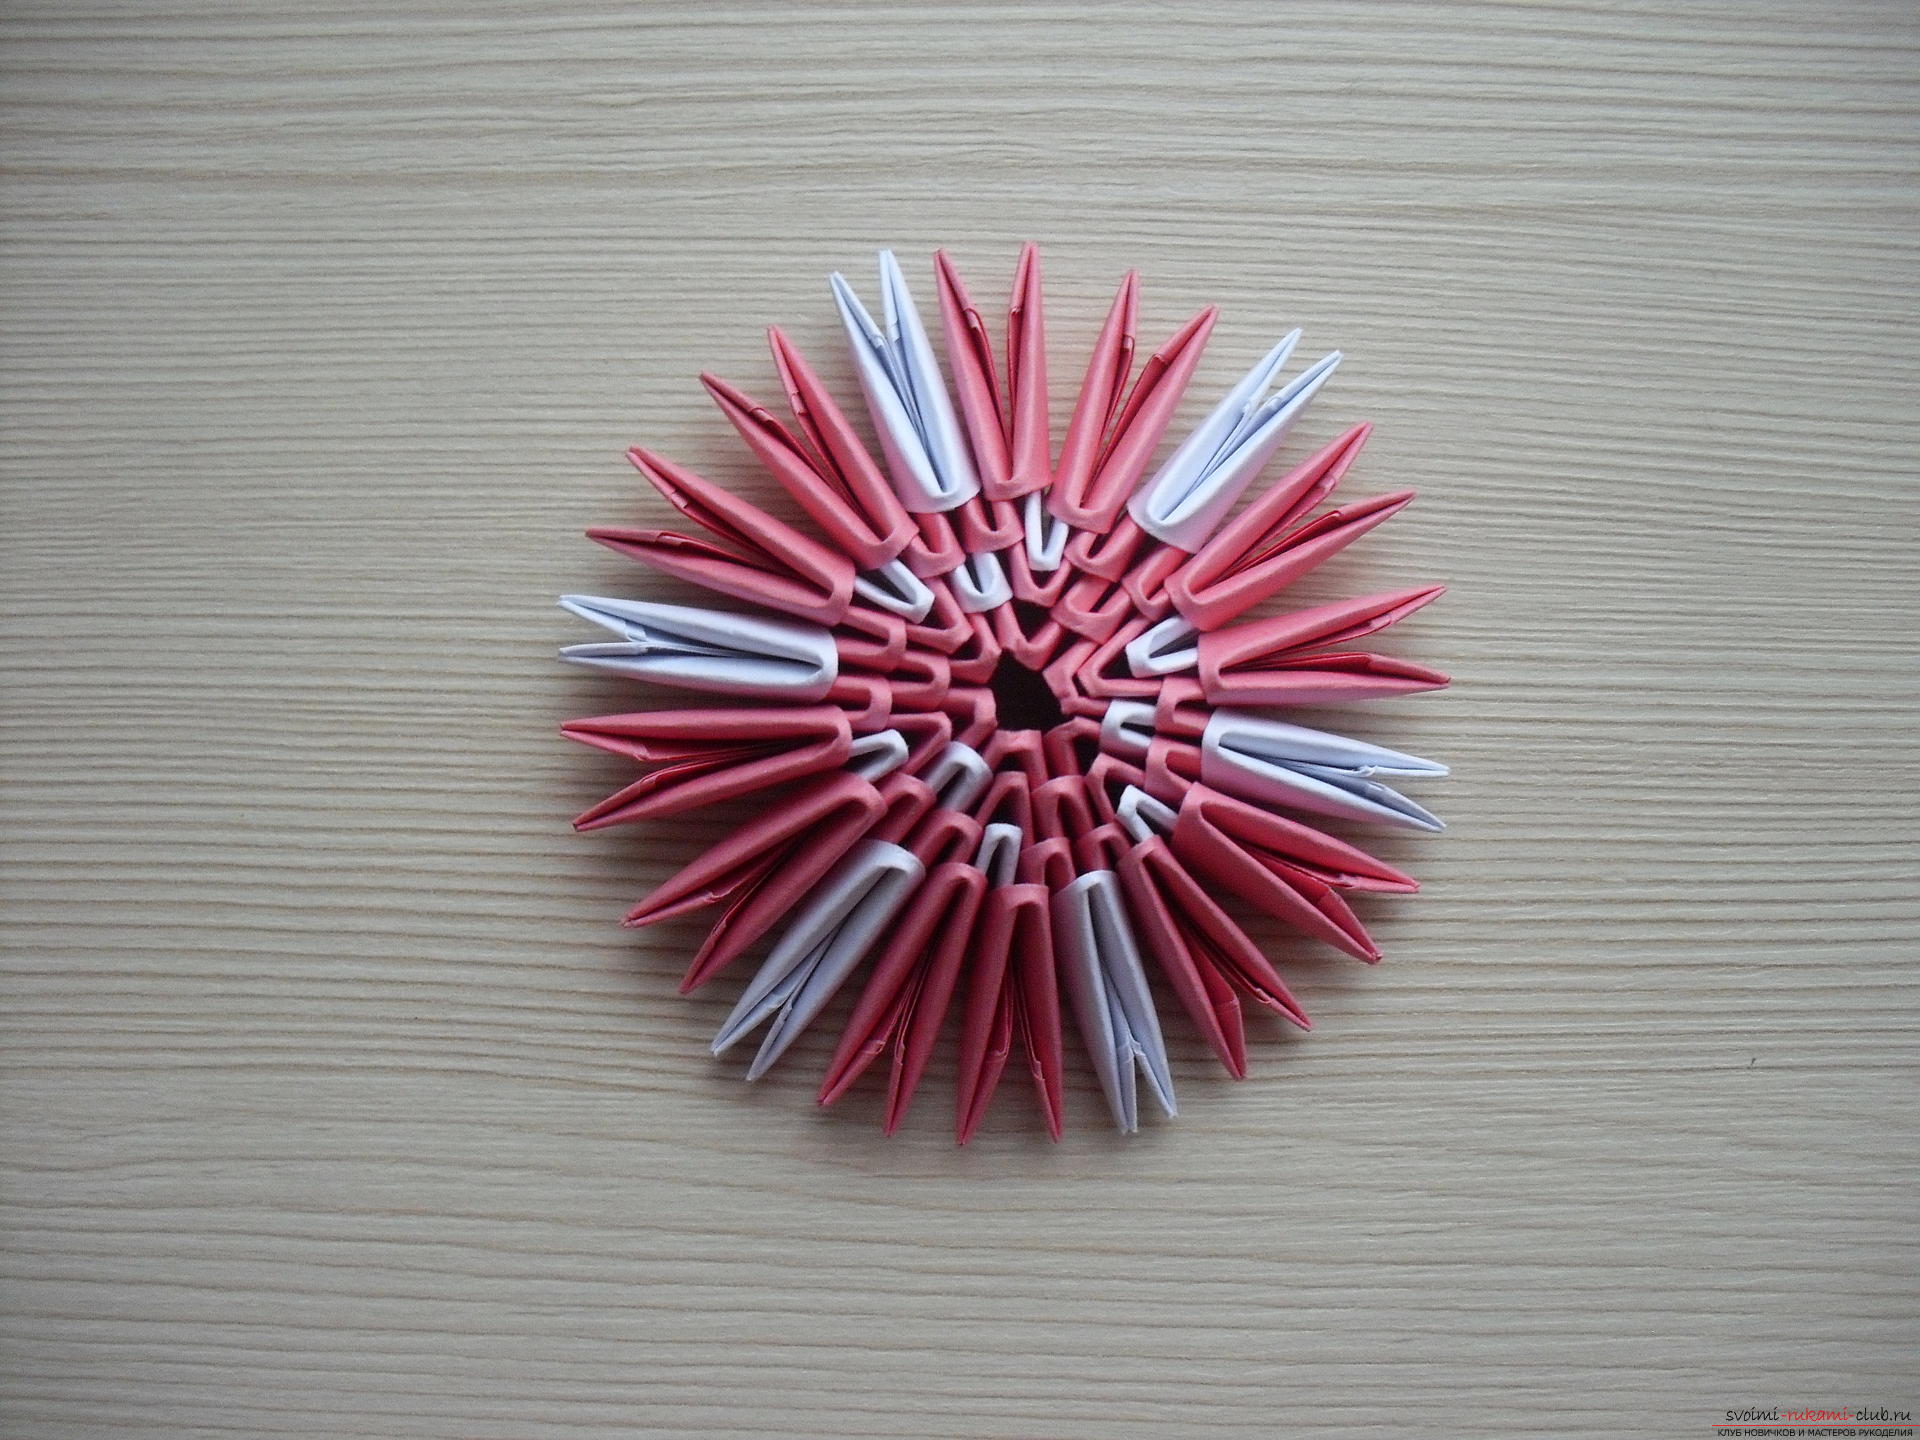 7. 5 rows are collected from 12 bel. and 18 red. modules. For every white. the module of the previous row is strung 2 red. (2 pockets free). The pairs are red. - white, red, white. (2 pockets free).
  8. 6 row: fix b white. modules and 24 red, without adding.
 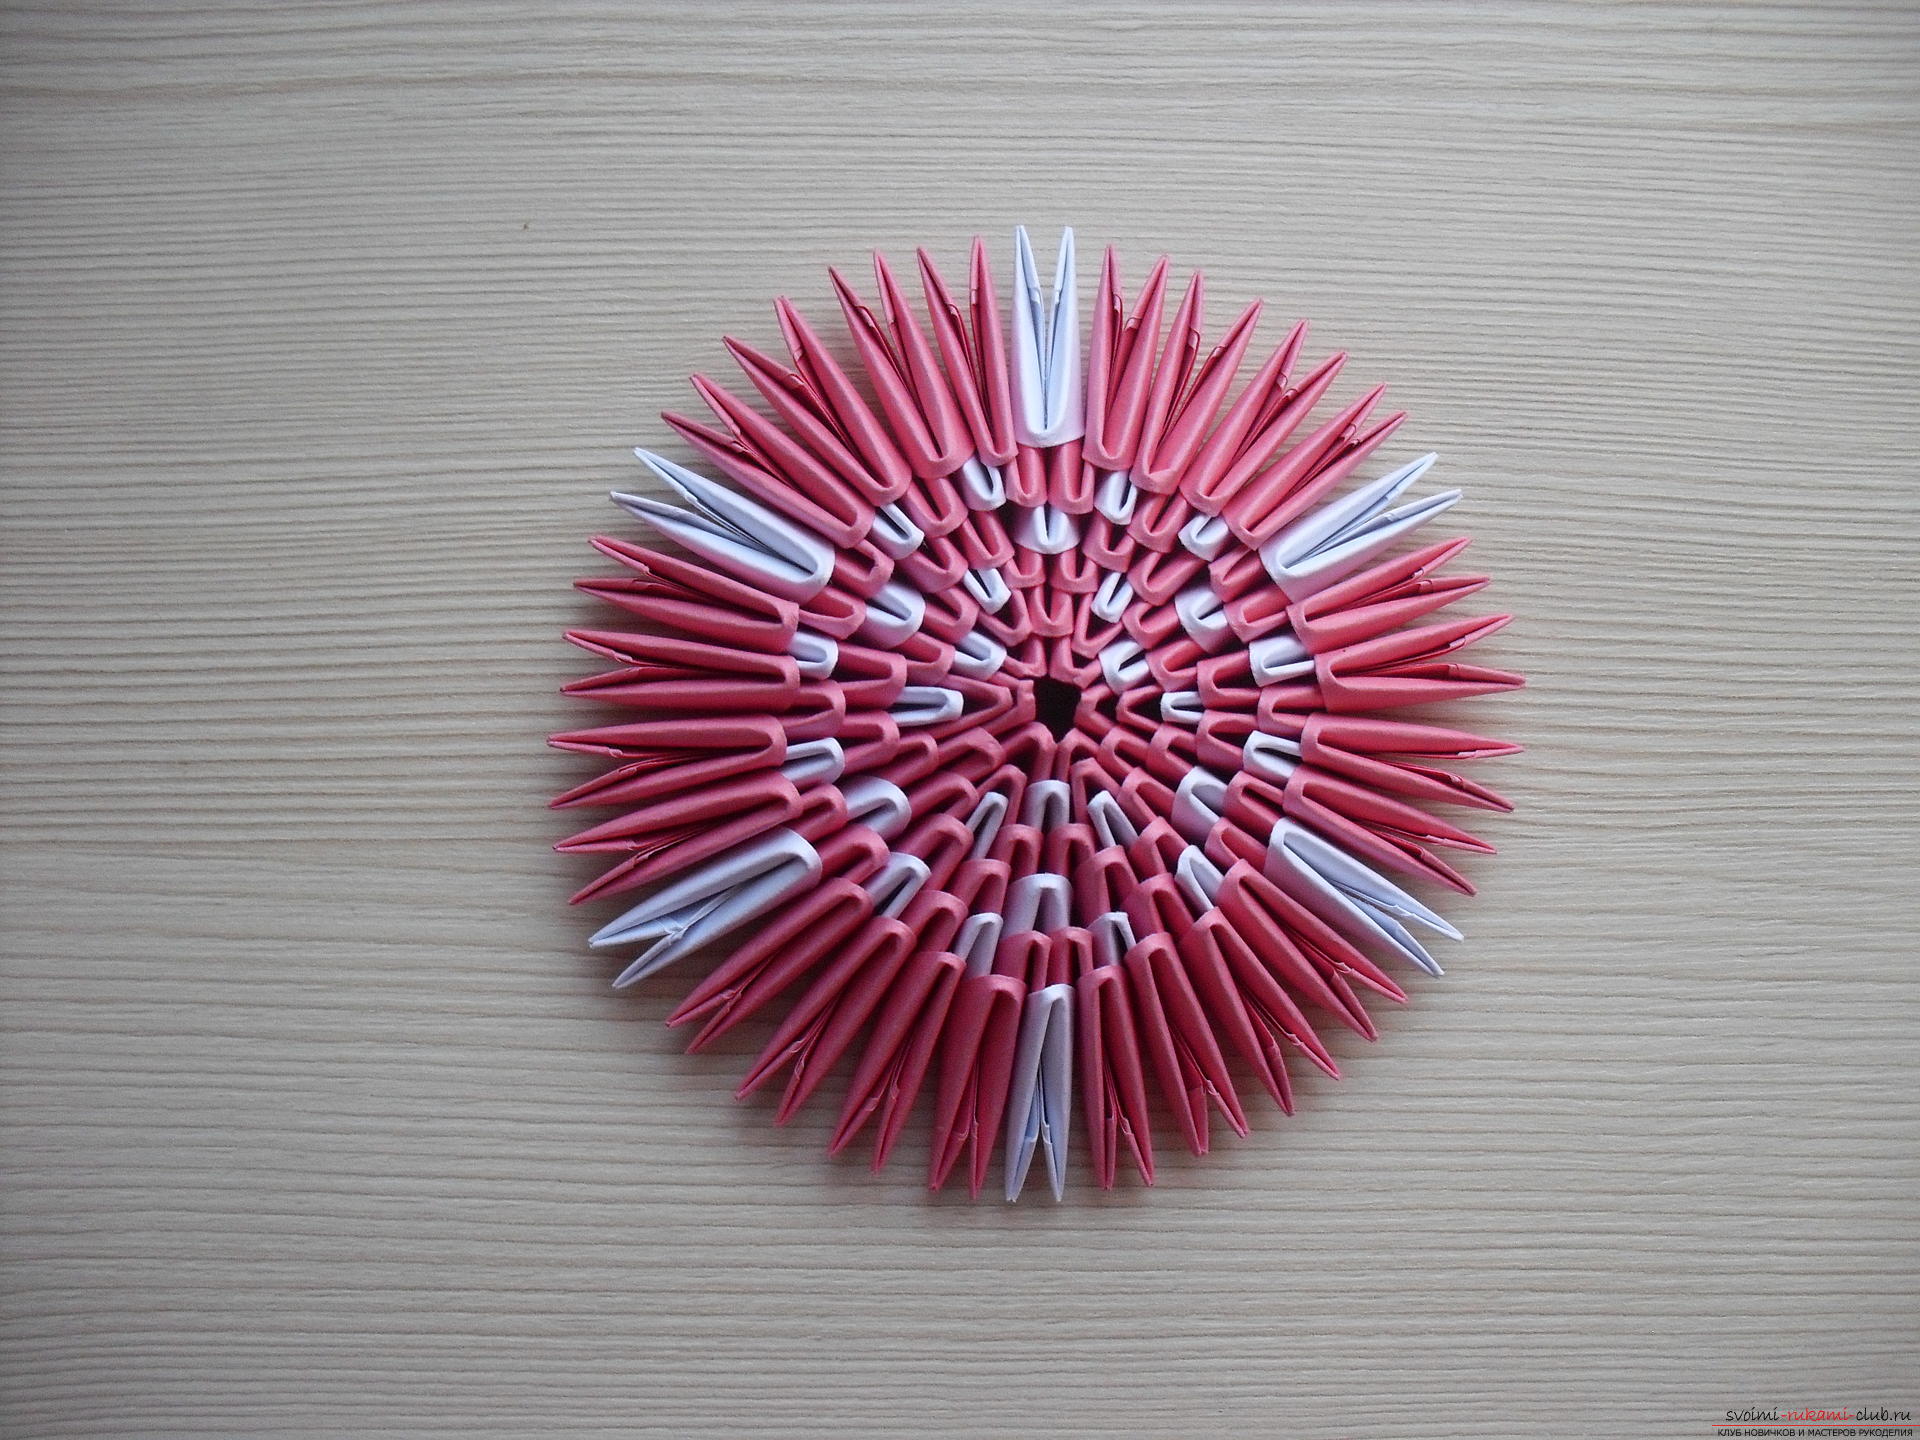 9. 7 row: 12 bel. and 36 red. modules. Initially, we dress all white. modules directly over white. modules of the 5th row. On the remaining corners string red. modules in one pocket.
 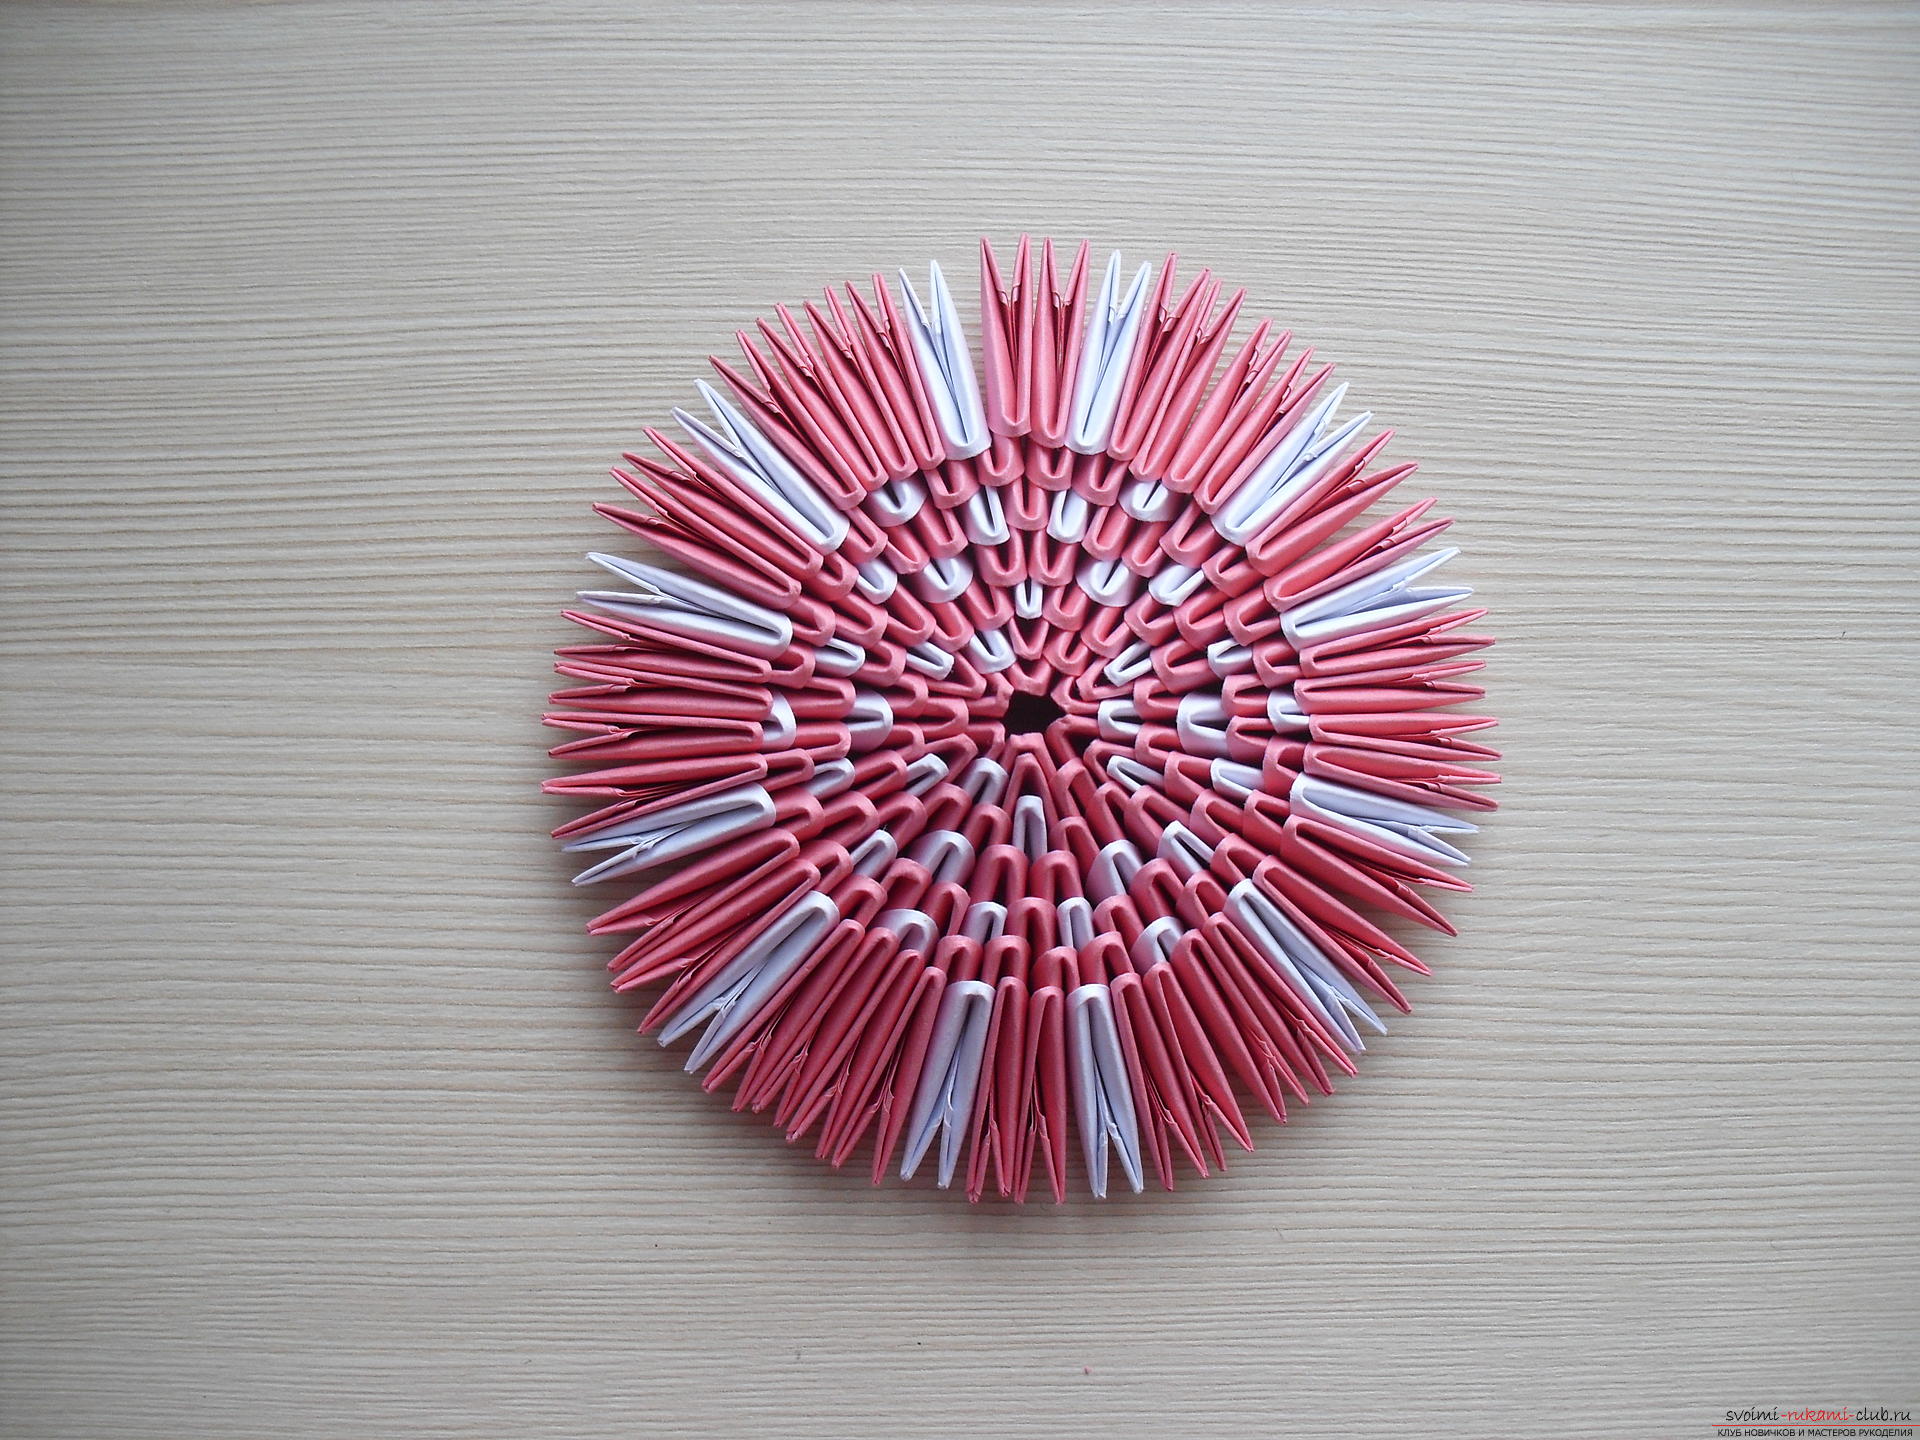 10. 8 row: dress 48 red. modules. The assembly of the cap is completed.
 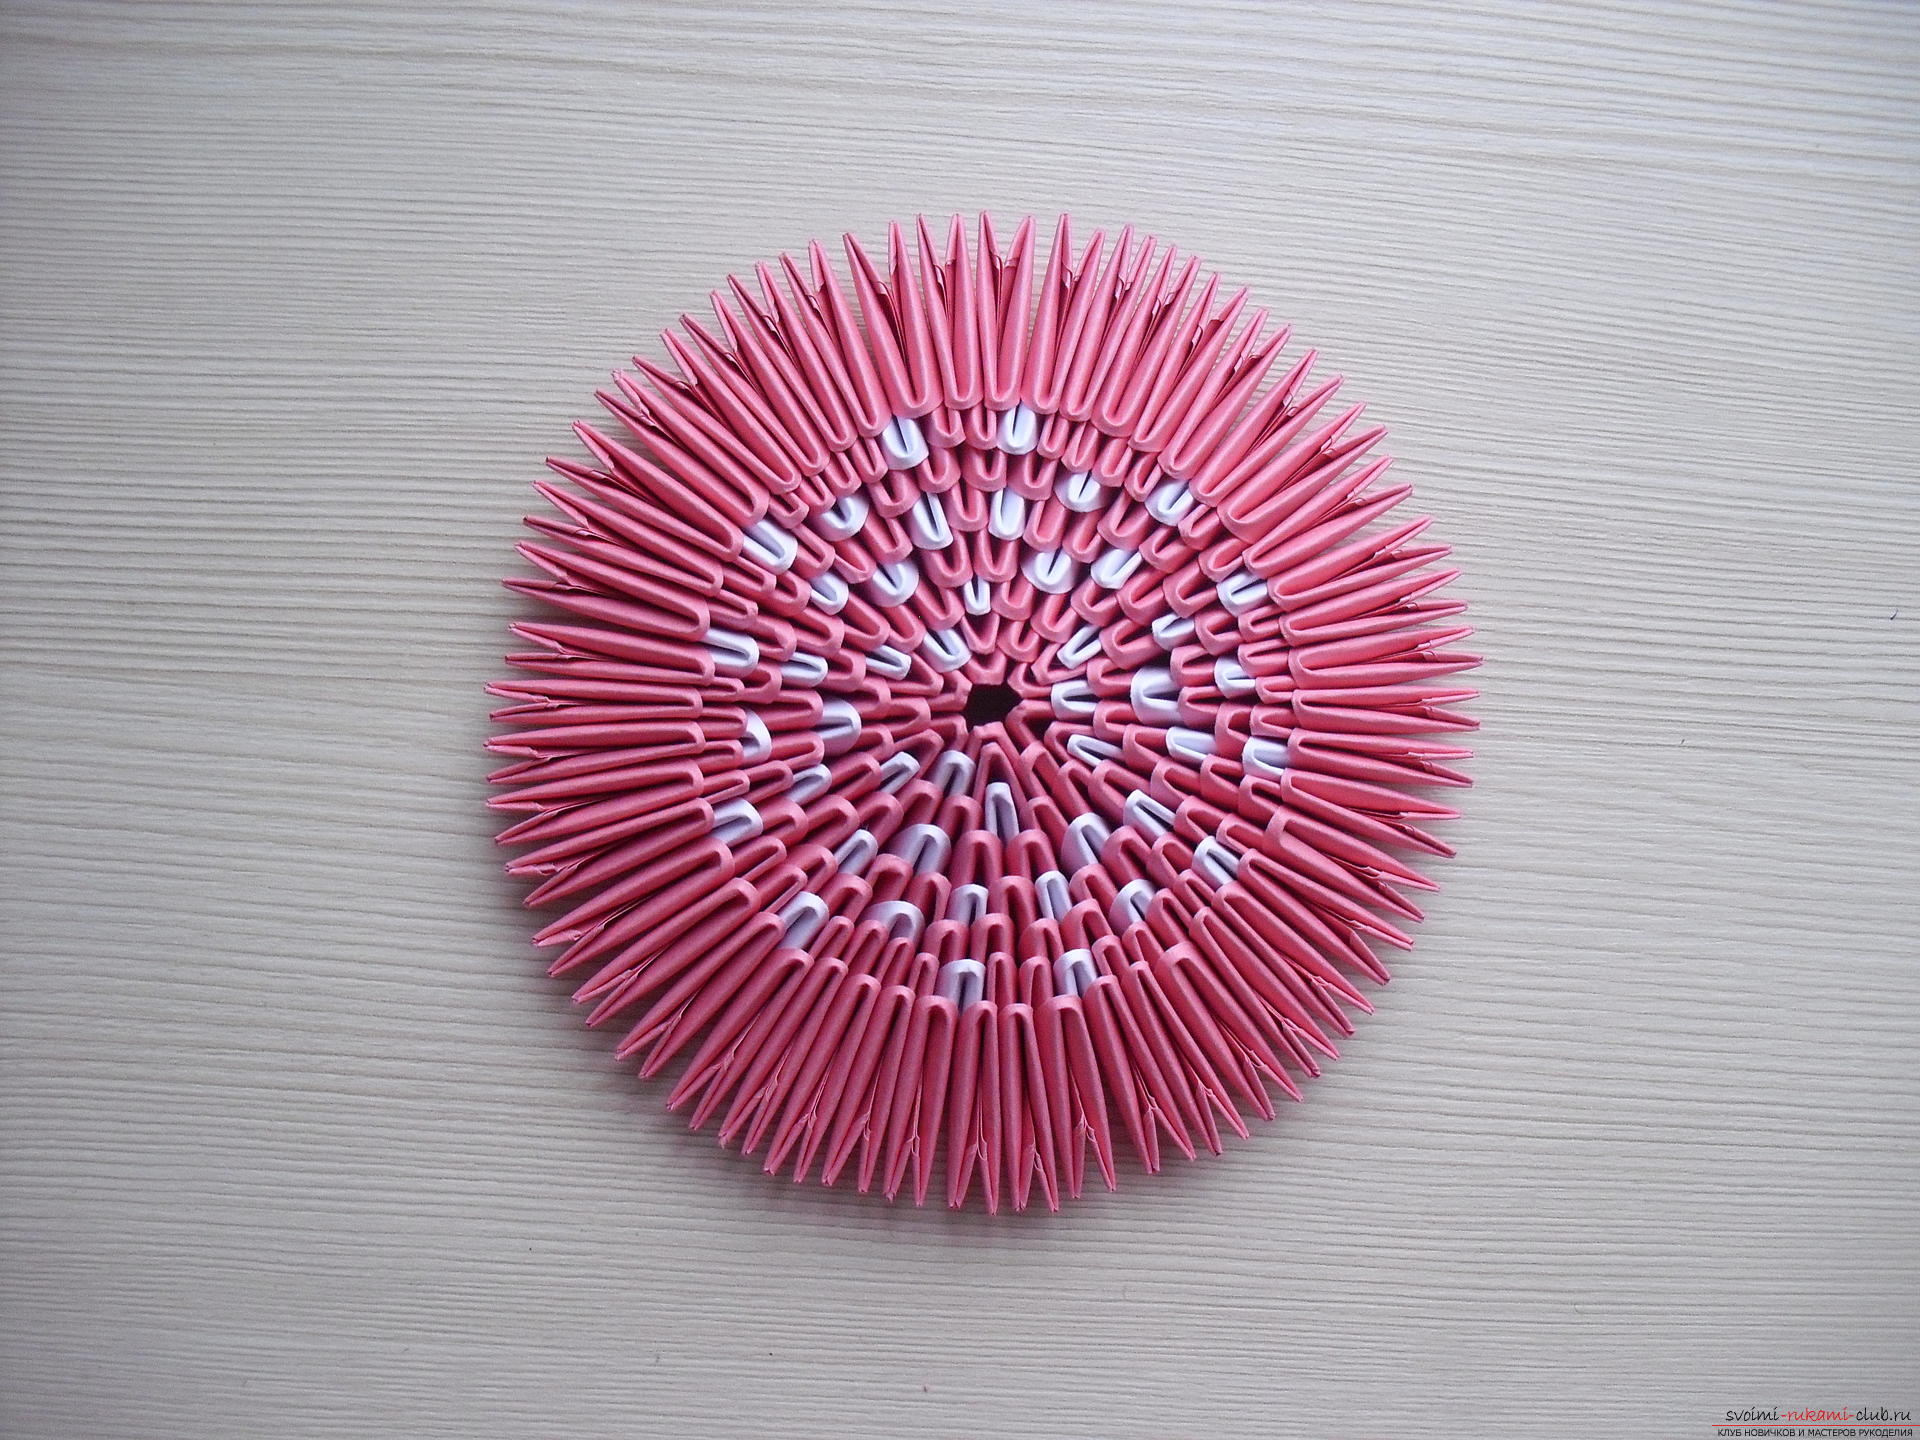 Base (leg) of the fungus: We take pre-prepared white modules and collect 6 of them as illustrated in the photo.
  Then close them in a circle.
 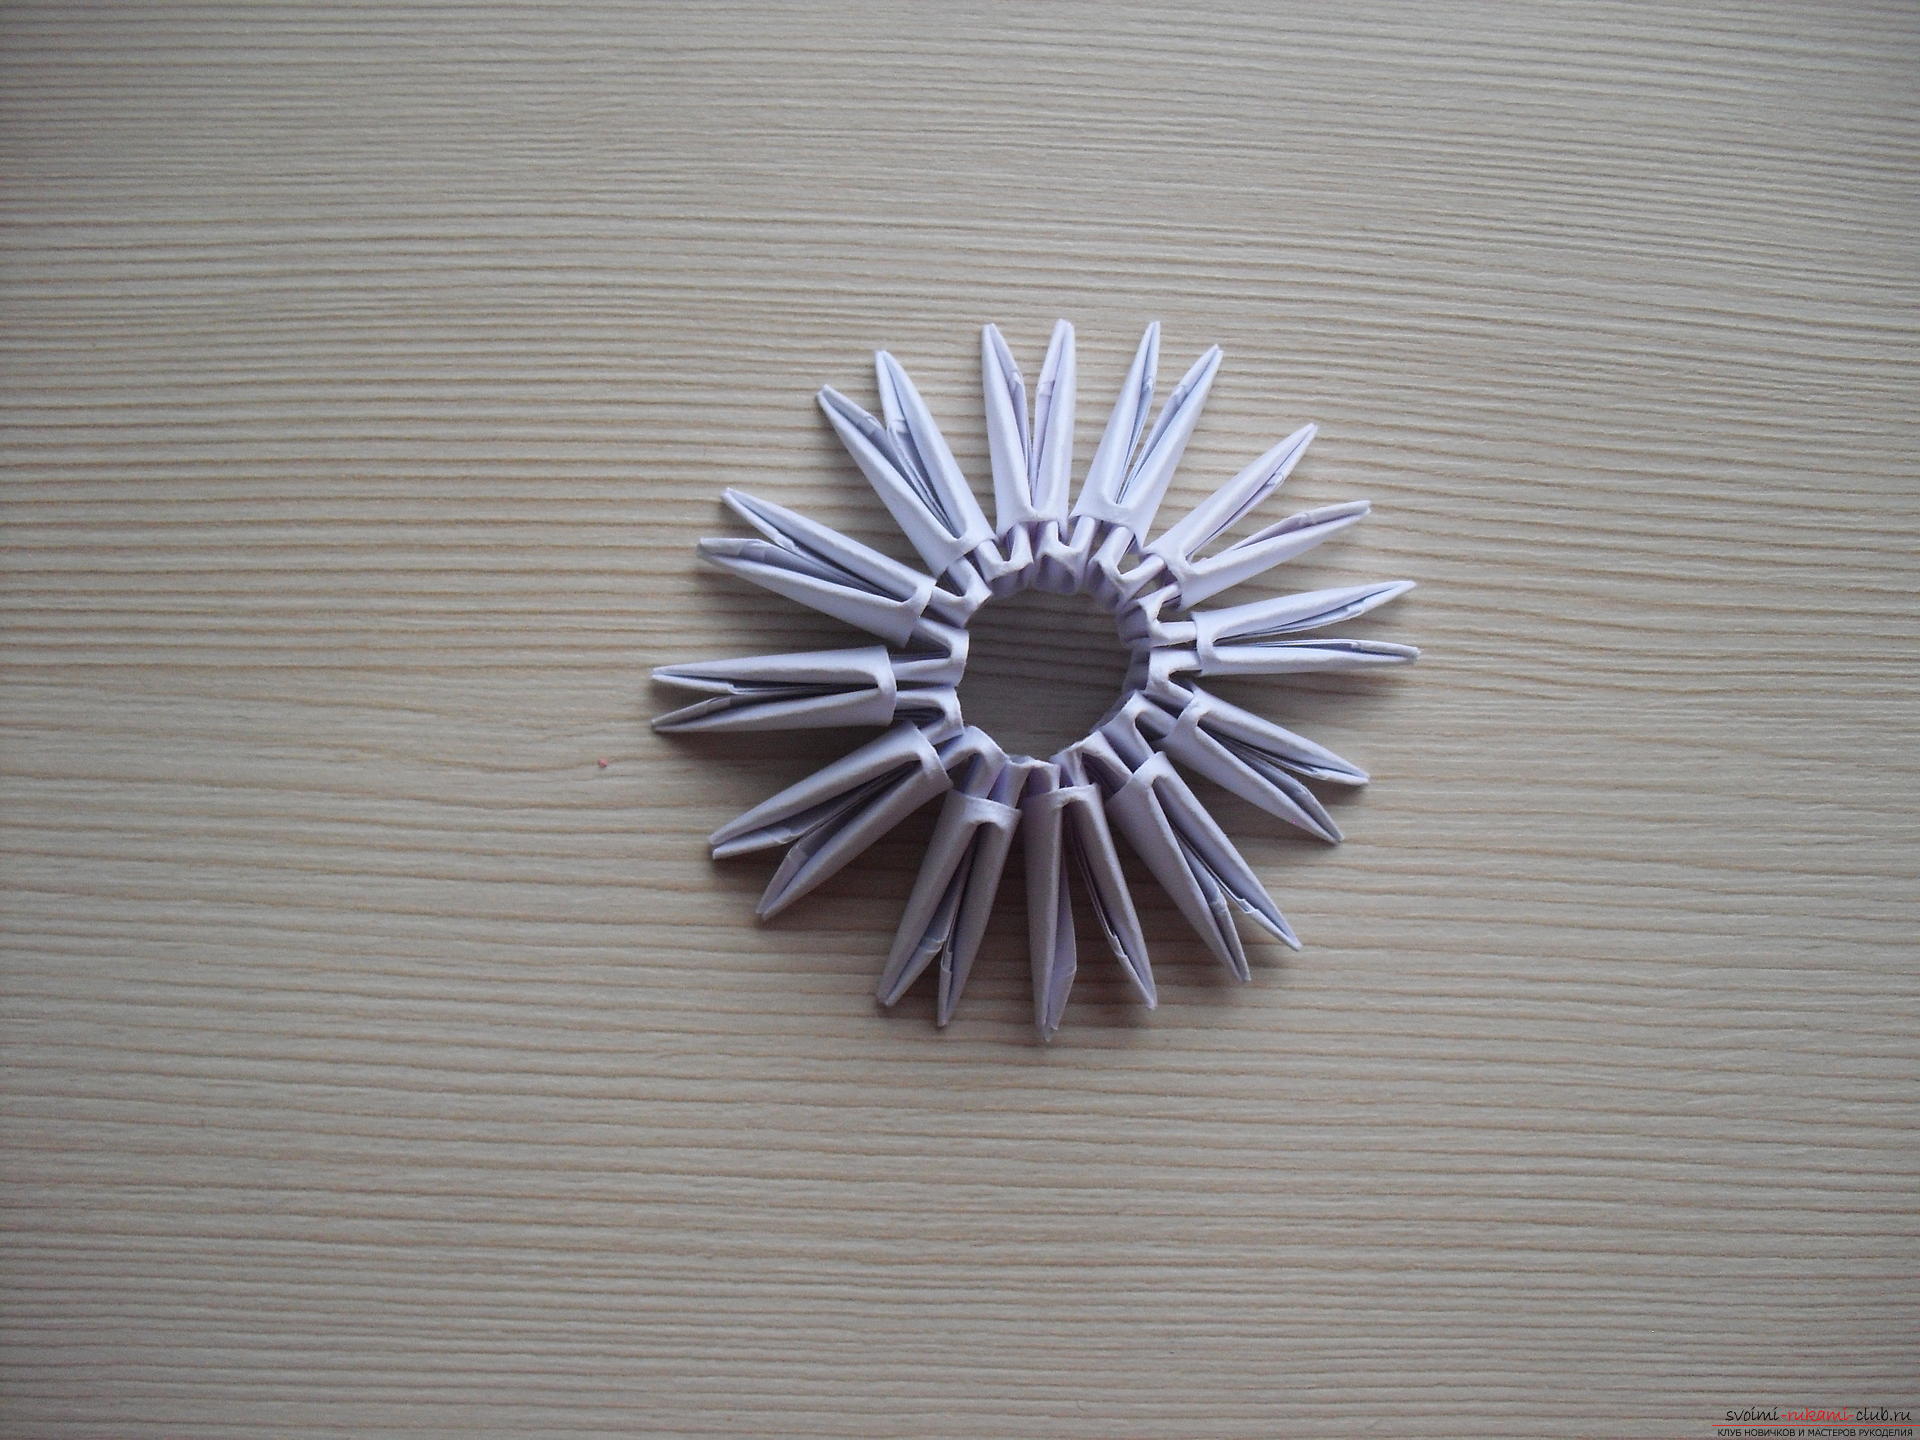 We continue to collect the stem, stringing the modules in staggered order with the long side up to the 6th row inclusive. 7-10 rows - 12 modules we put on the short side.
 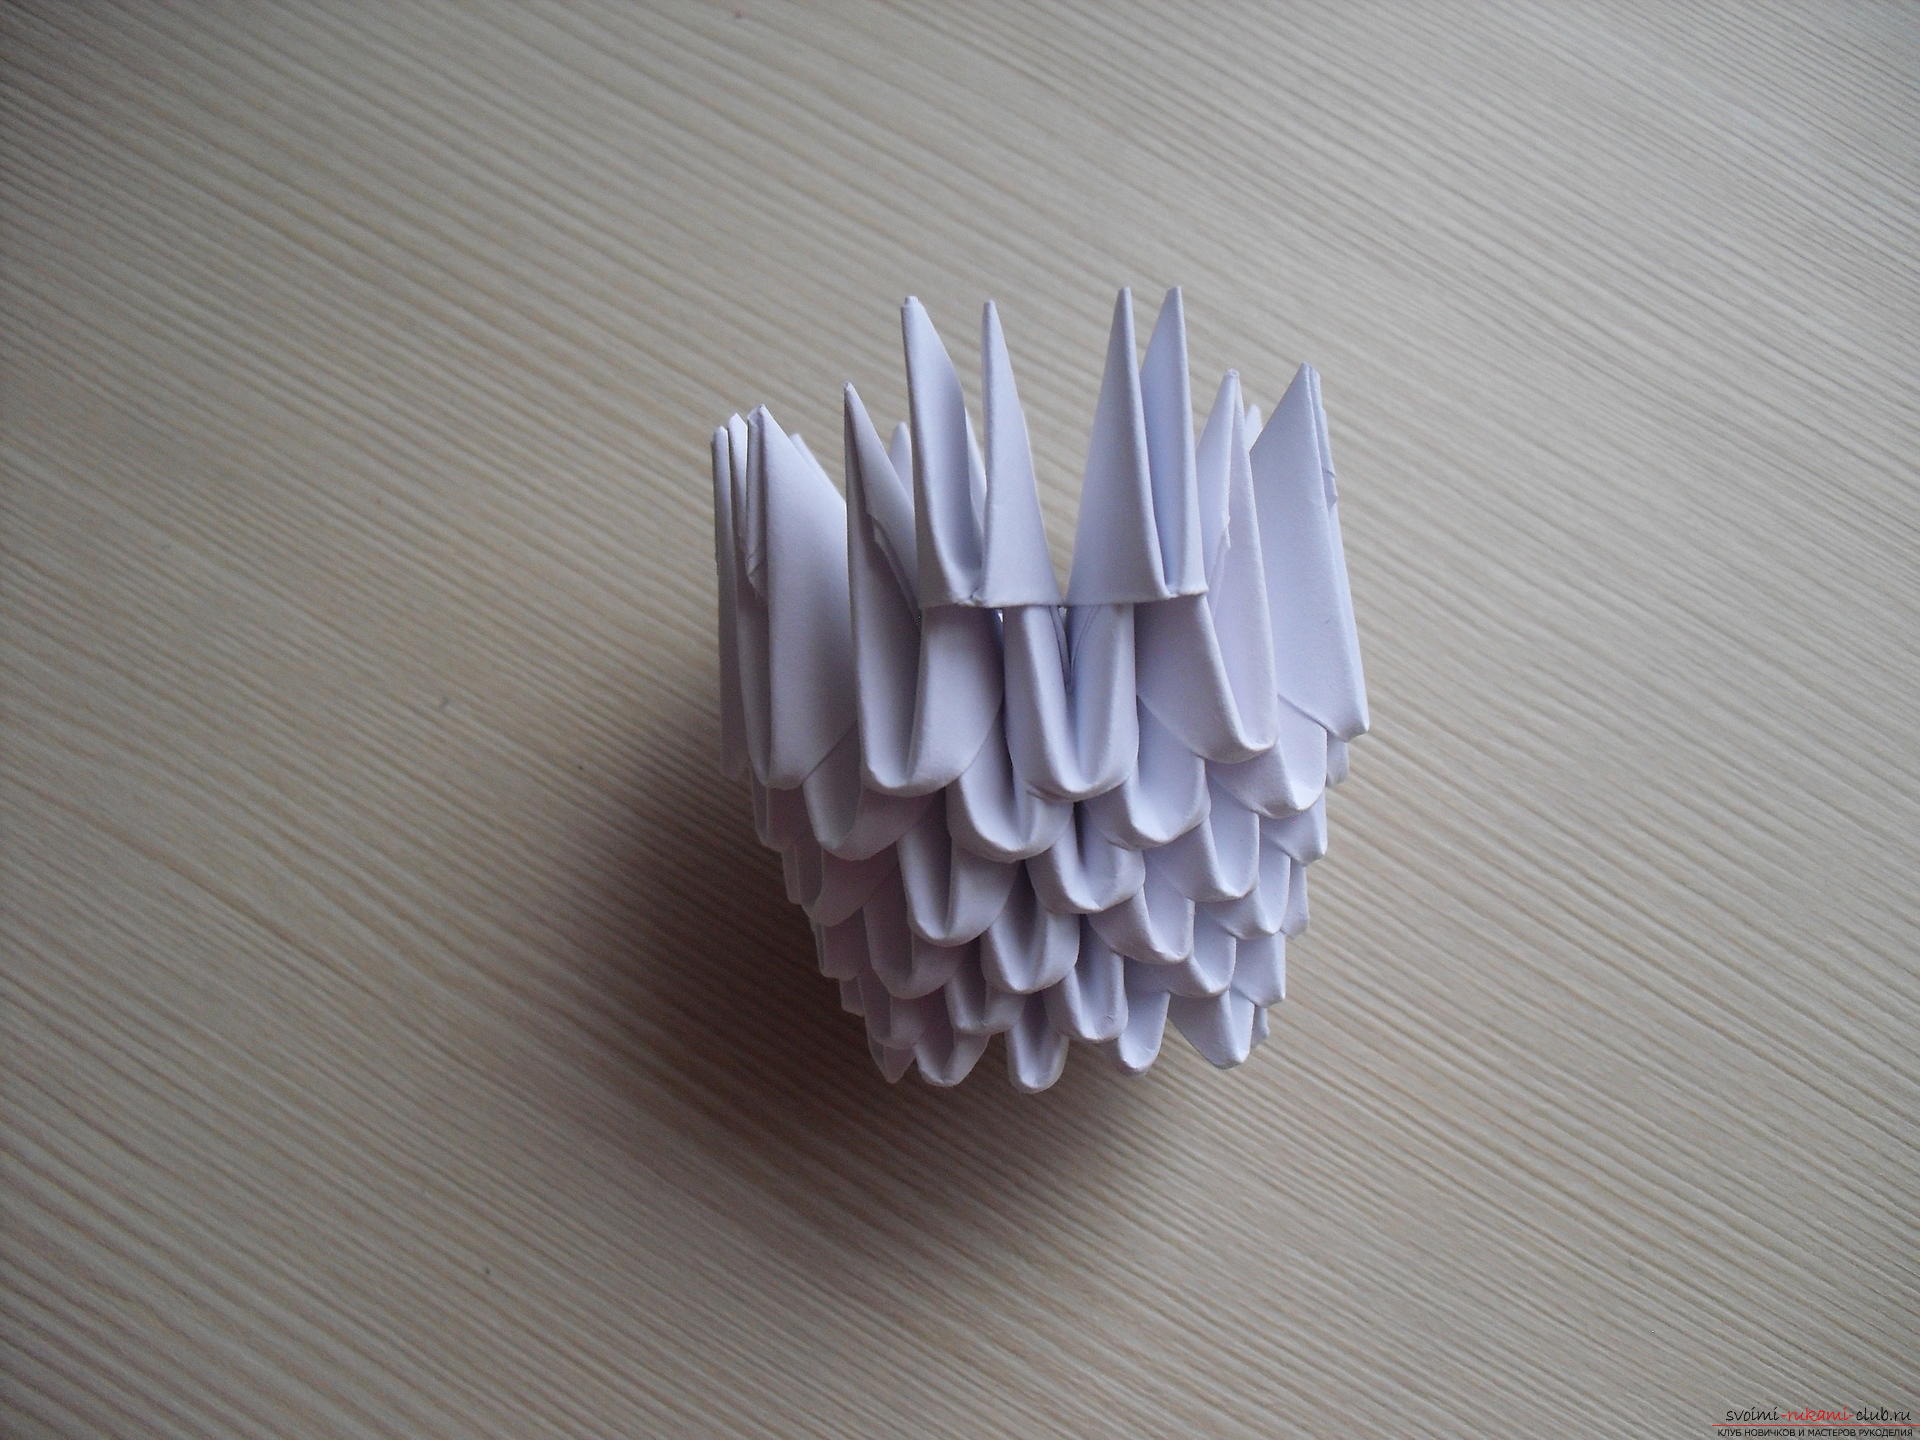 The leg is almost ready.
 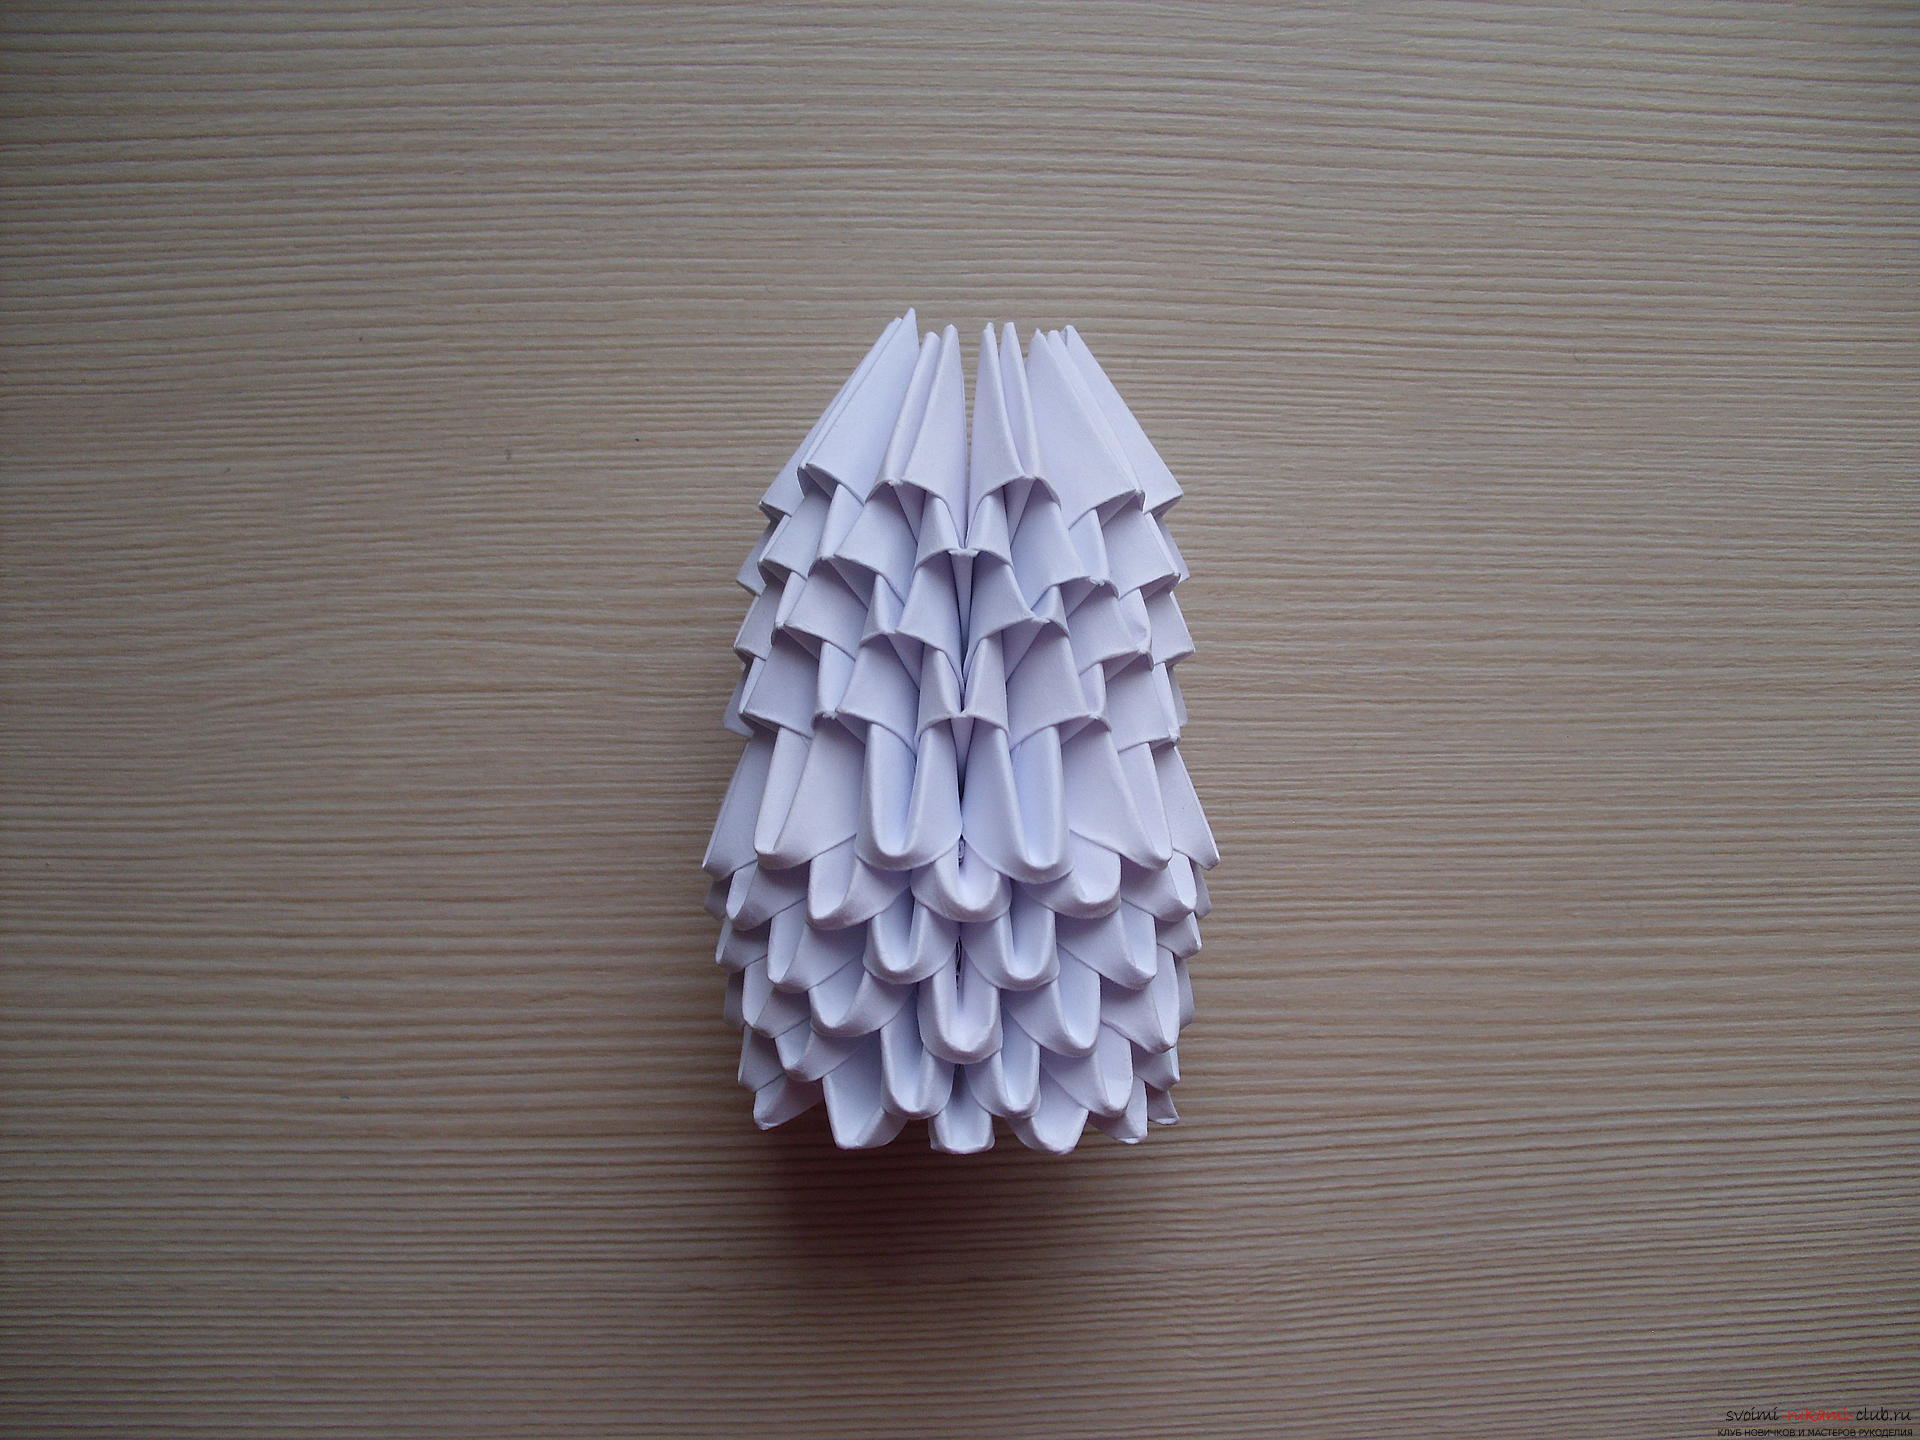 Finally, insert the white. modules between the modules of row 6.
  And put on the hat. Mushroom assembly completed.
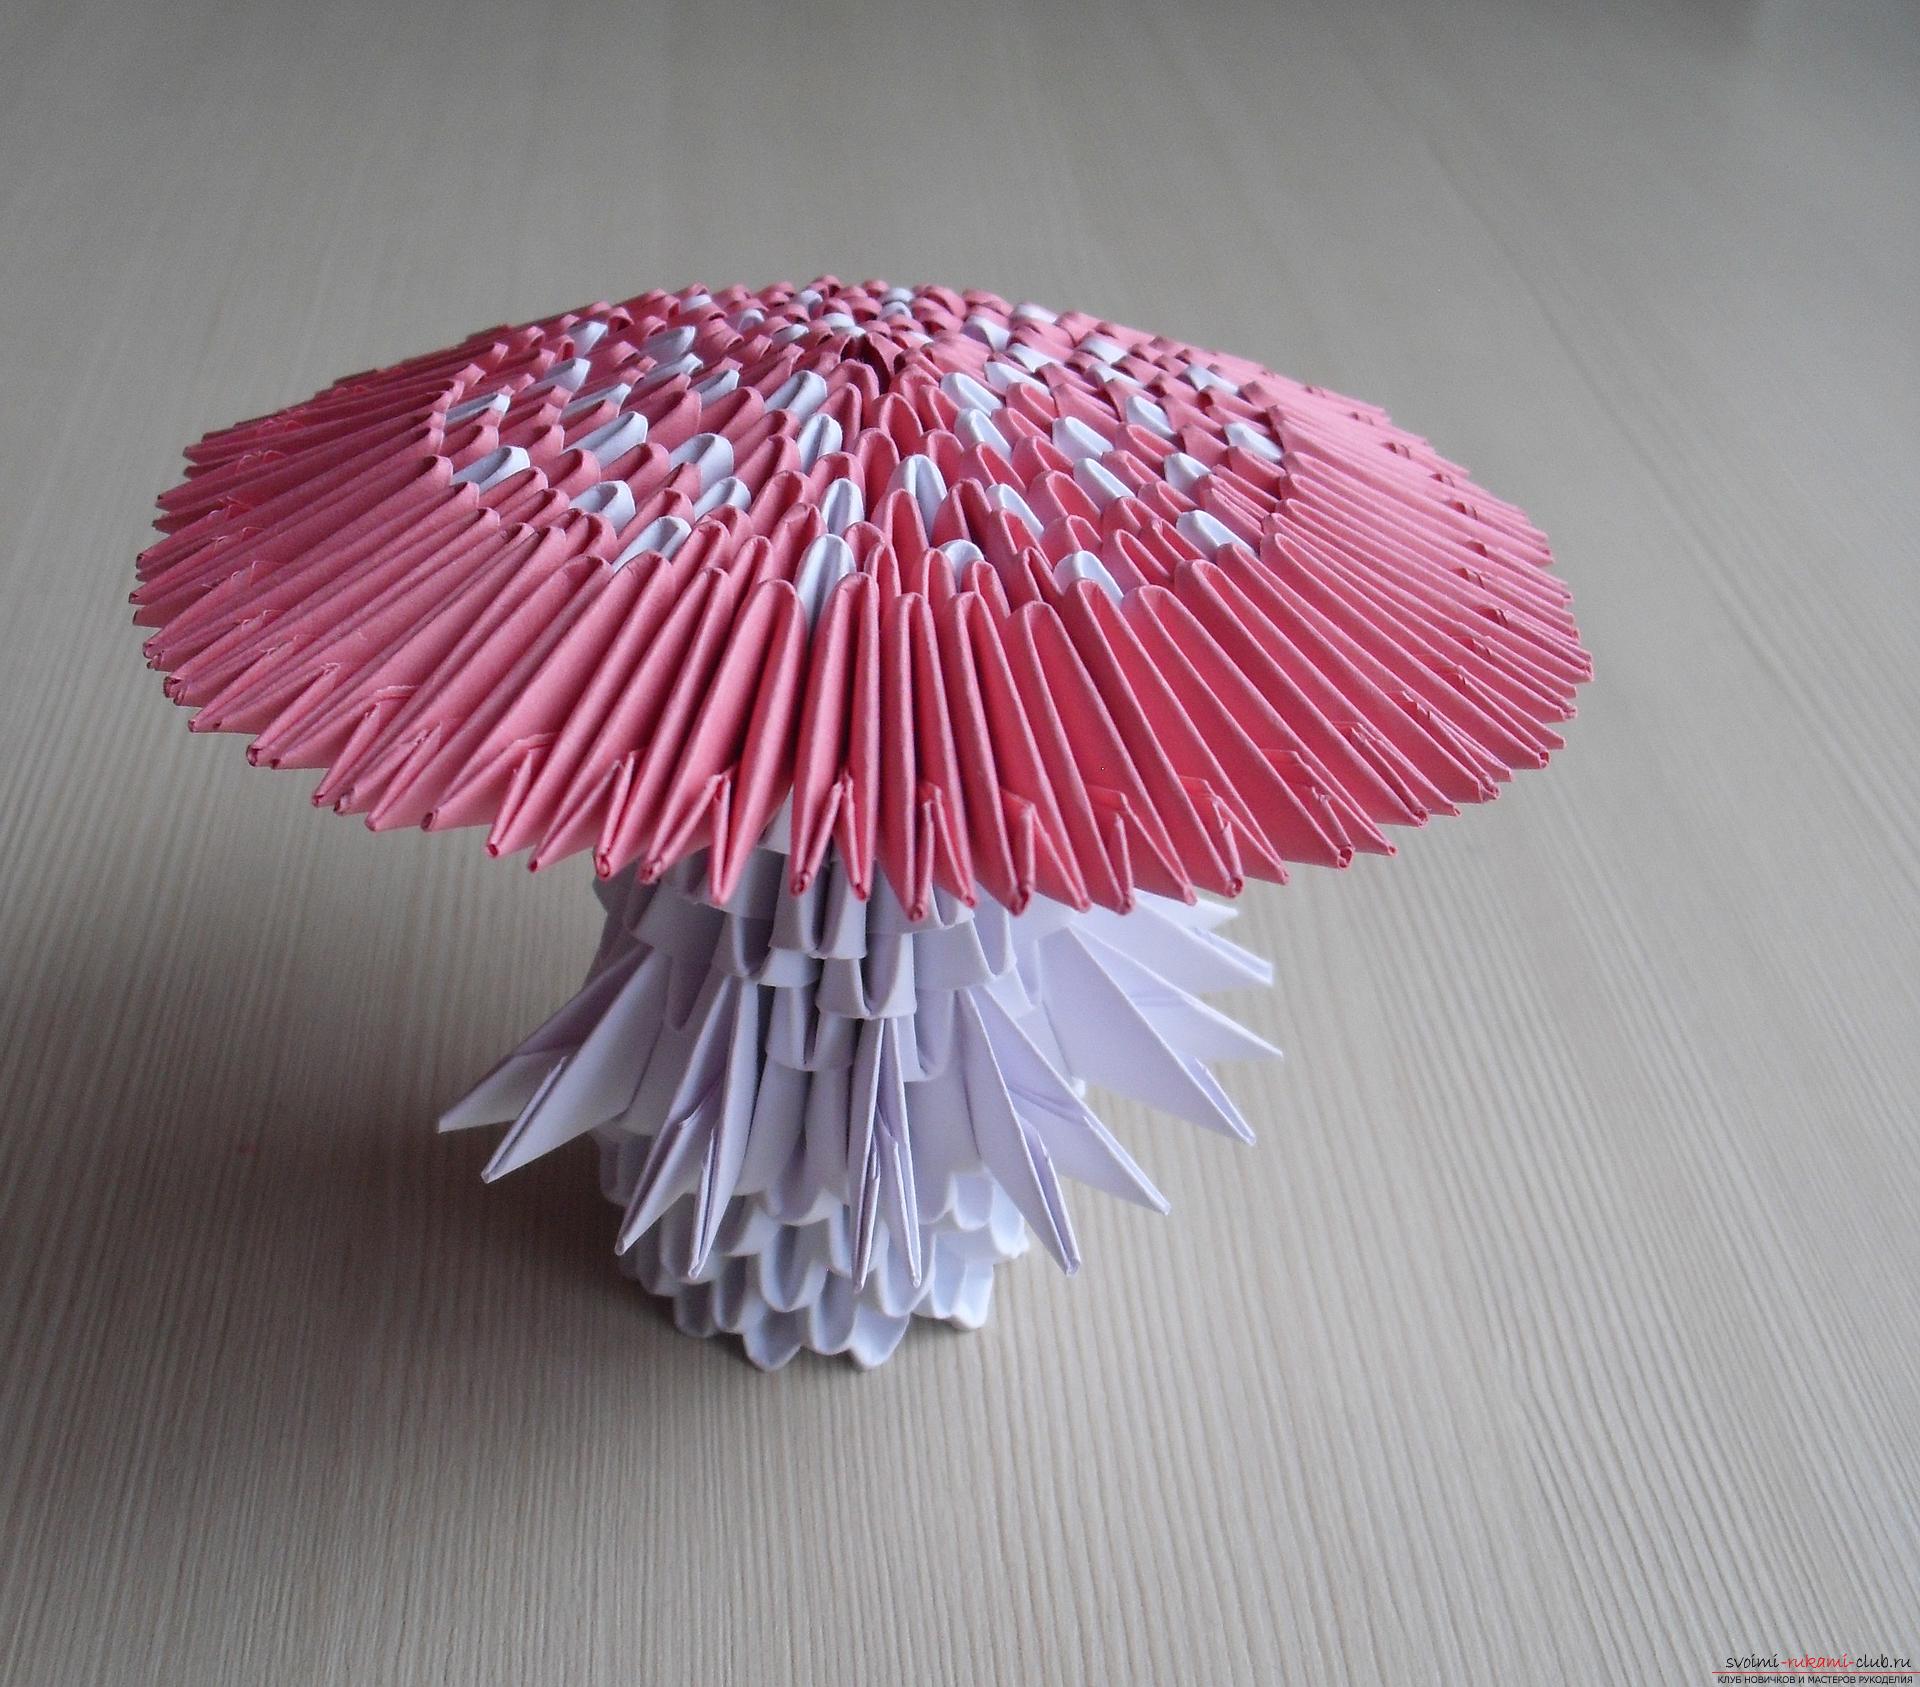
Comments
Related posts:
 This detailed workshop of origami for children of 8 years will teach how to make an origami-mushroom from paper.
 This master class will tell you how to make a modular origami from paper - a ladybug.
 This detailed master class with a photo and description will teach you how to make origami for beginners - an origami-crown made of paper.
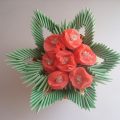 This master class will teach you how to make a violet in a vase in the technique of modular origami.
 Modular origami: the swan. Master-class for the 2015 Competition, master classes on modular origami