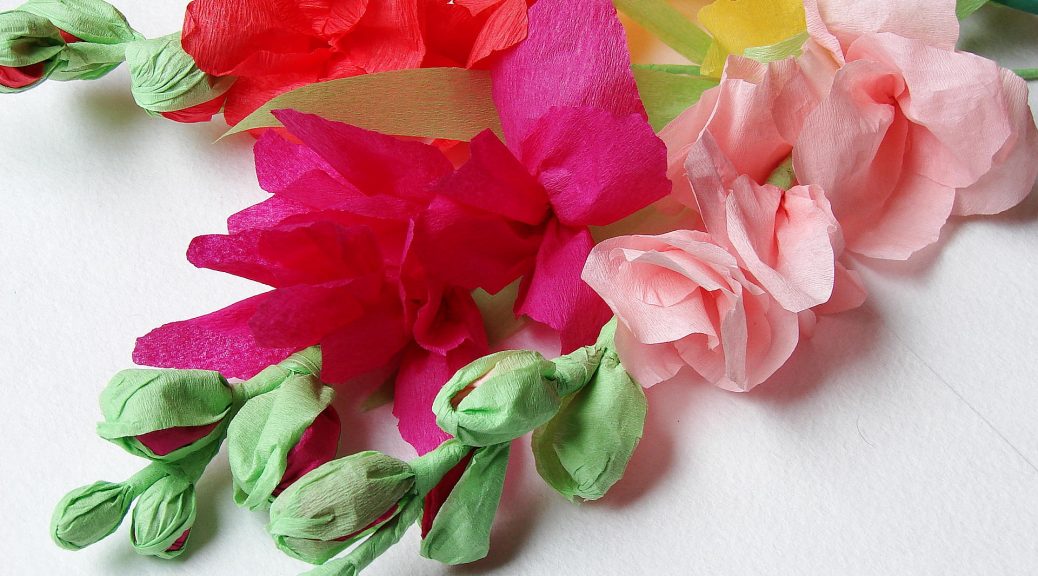
This master class will teach you how to make gladiolus flowers from paper with your own hands.
Today we offer you to master one of the most interesting techniques for creating a gladiolus made of paper! 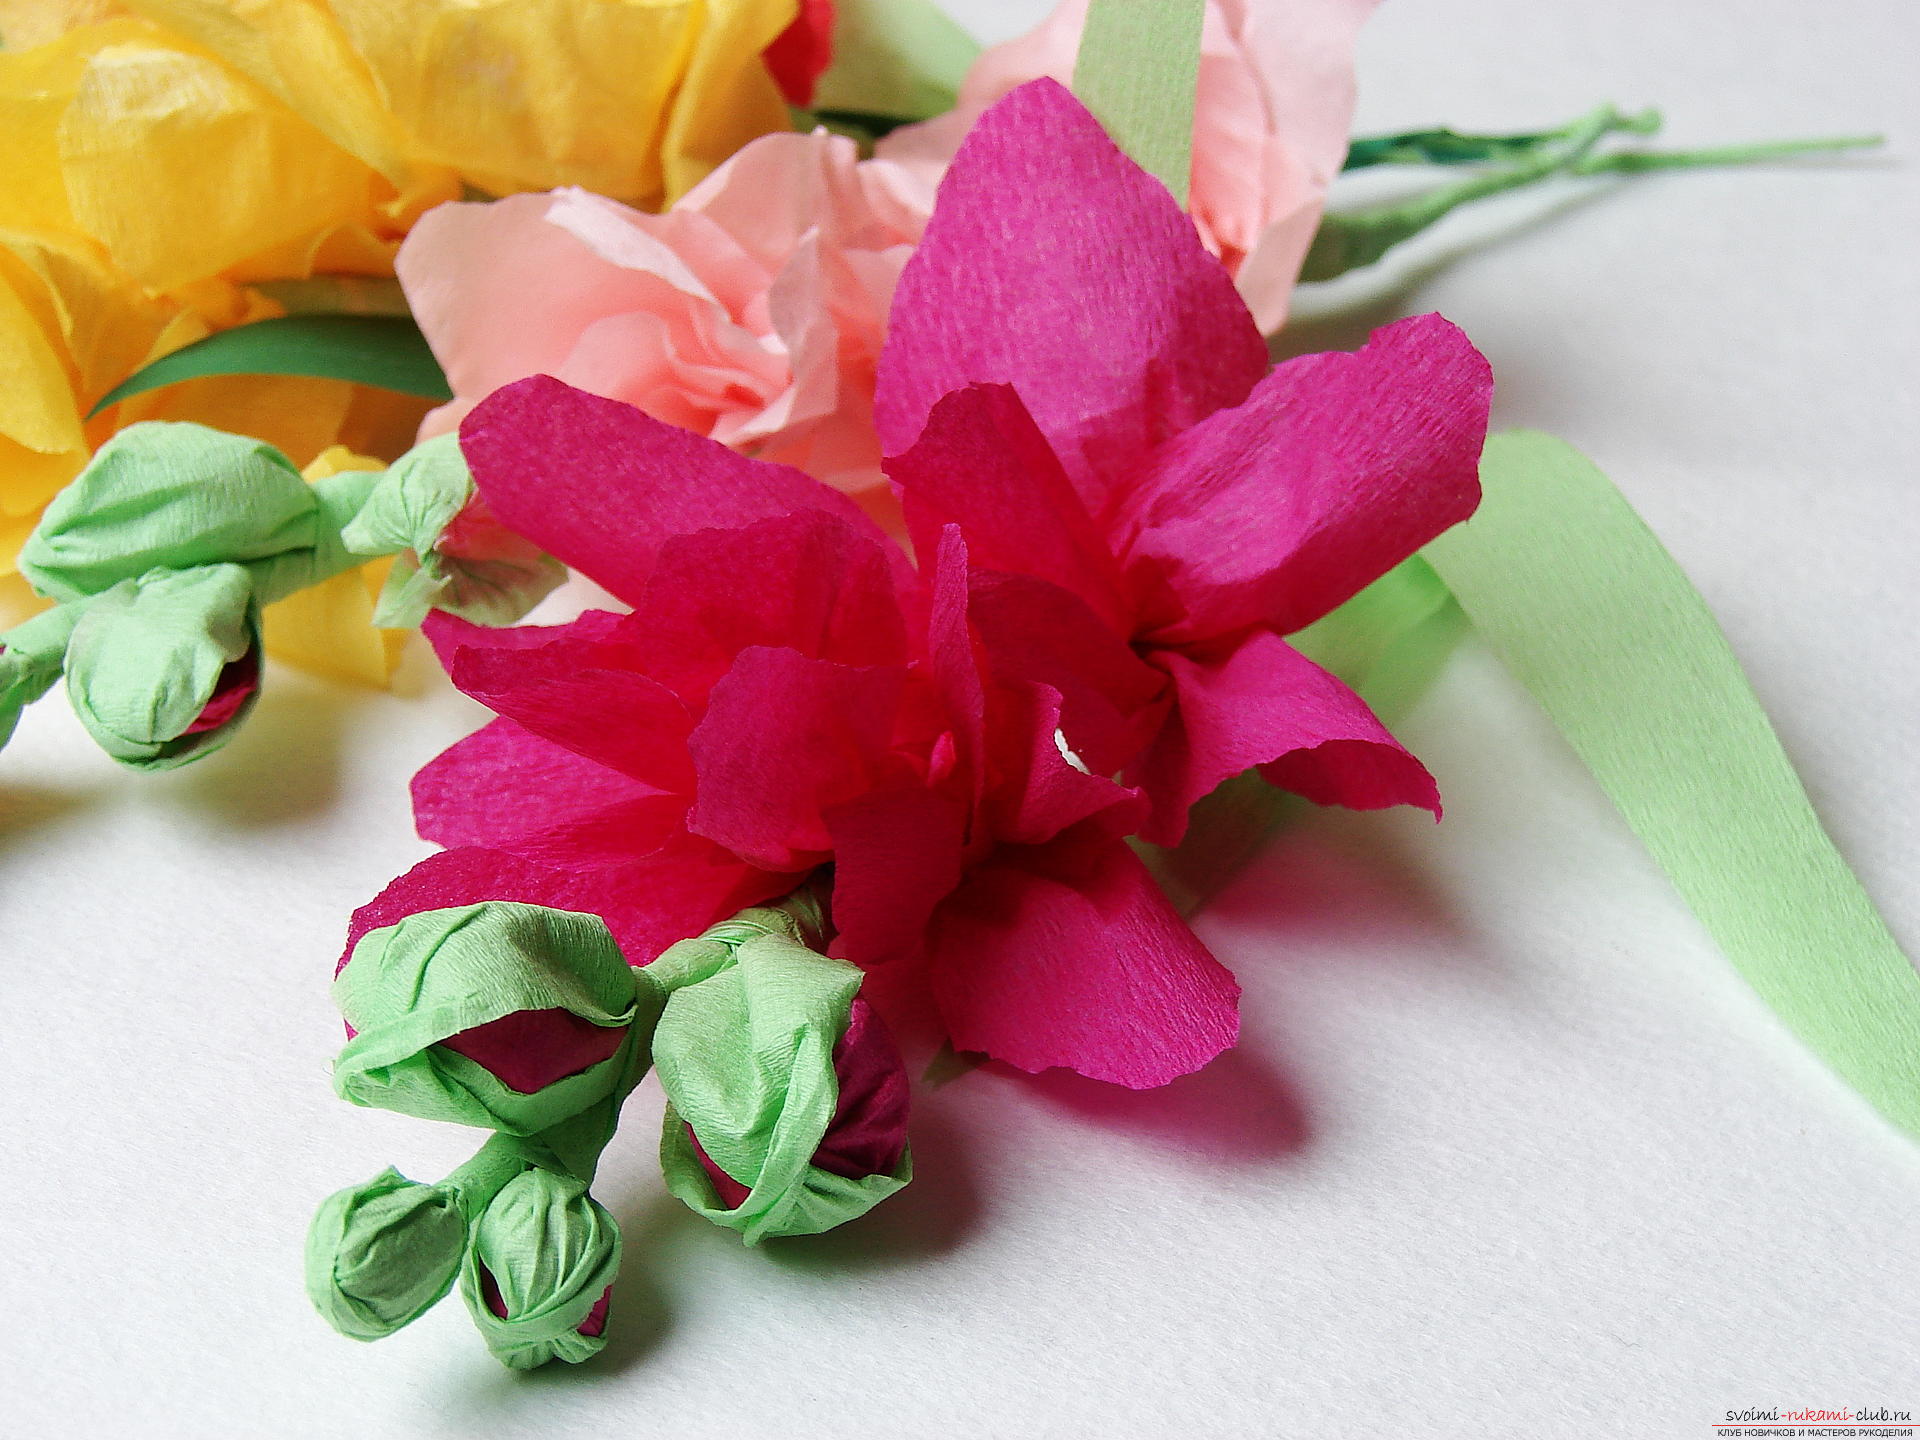 So, we will prepare everything necessary for work:
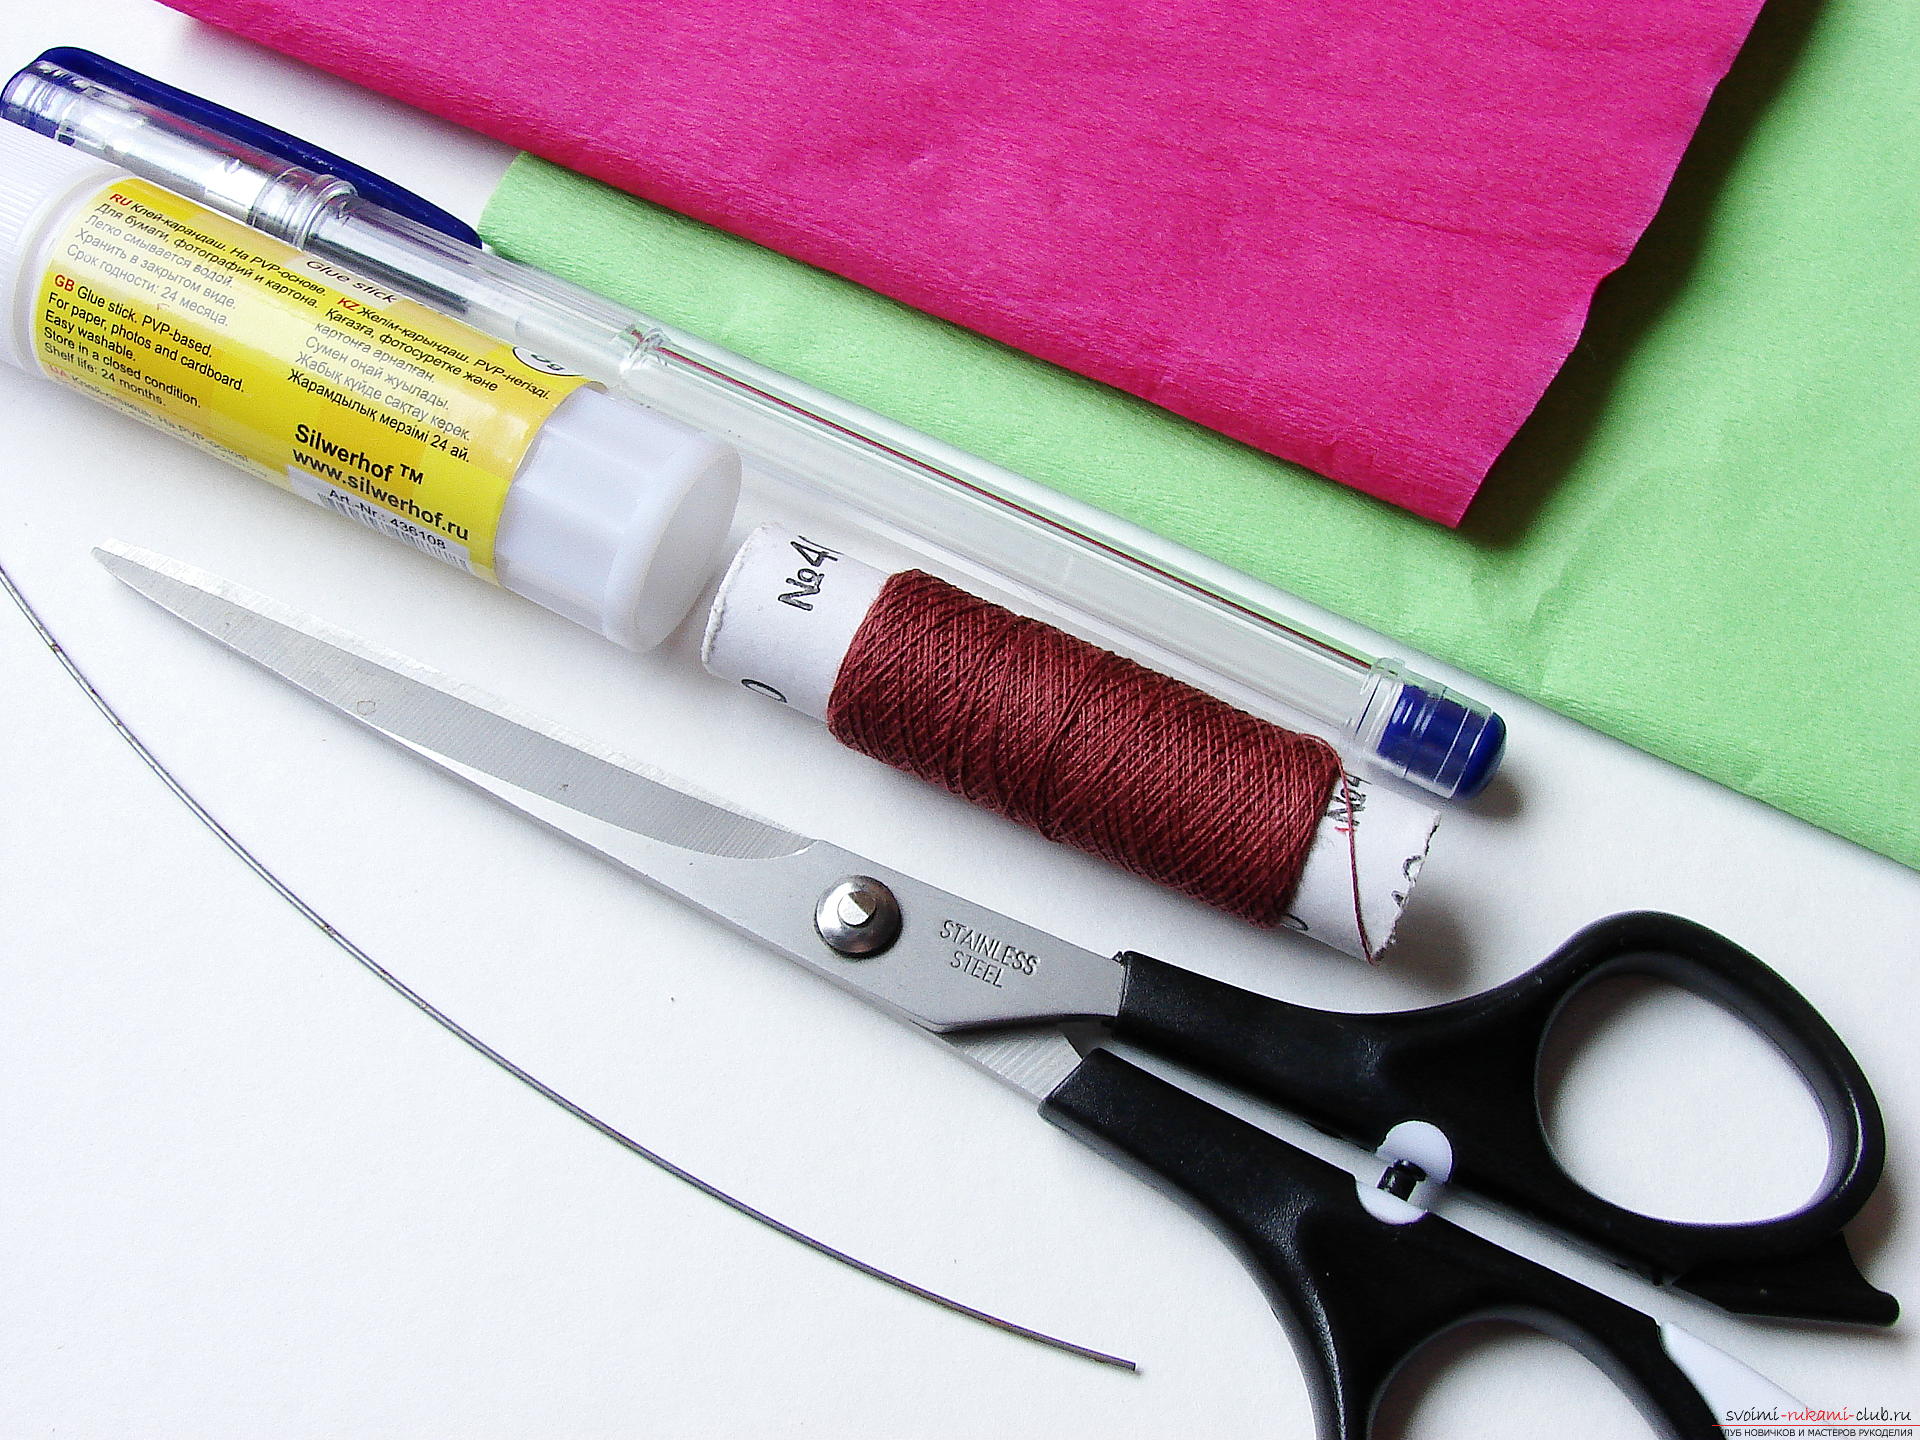
- crepe paper fuchsia tone;
- green crepe-paper;
- thread;
- scissors;
- a ballpoint pen or a soft pencil;
- glue;
- a piece of wire 25-30 cm in length.
 Step 1 First, create large flower petals. For this we need to cut off a strip of 7-8 cm wide from a roll of crepe paper.
  Divide it into two equal parts.
 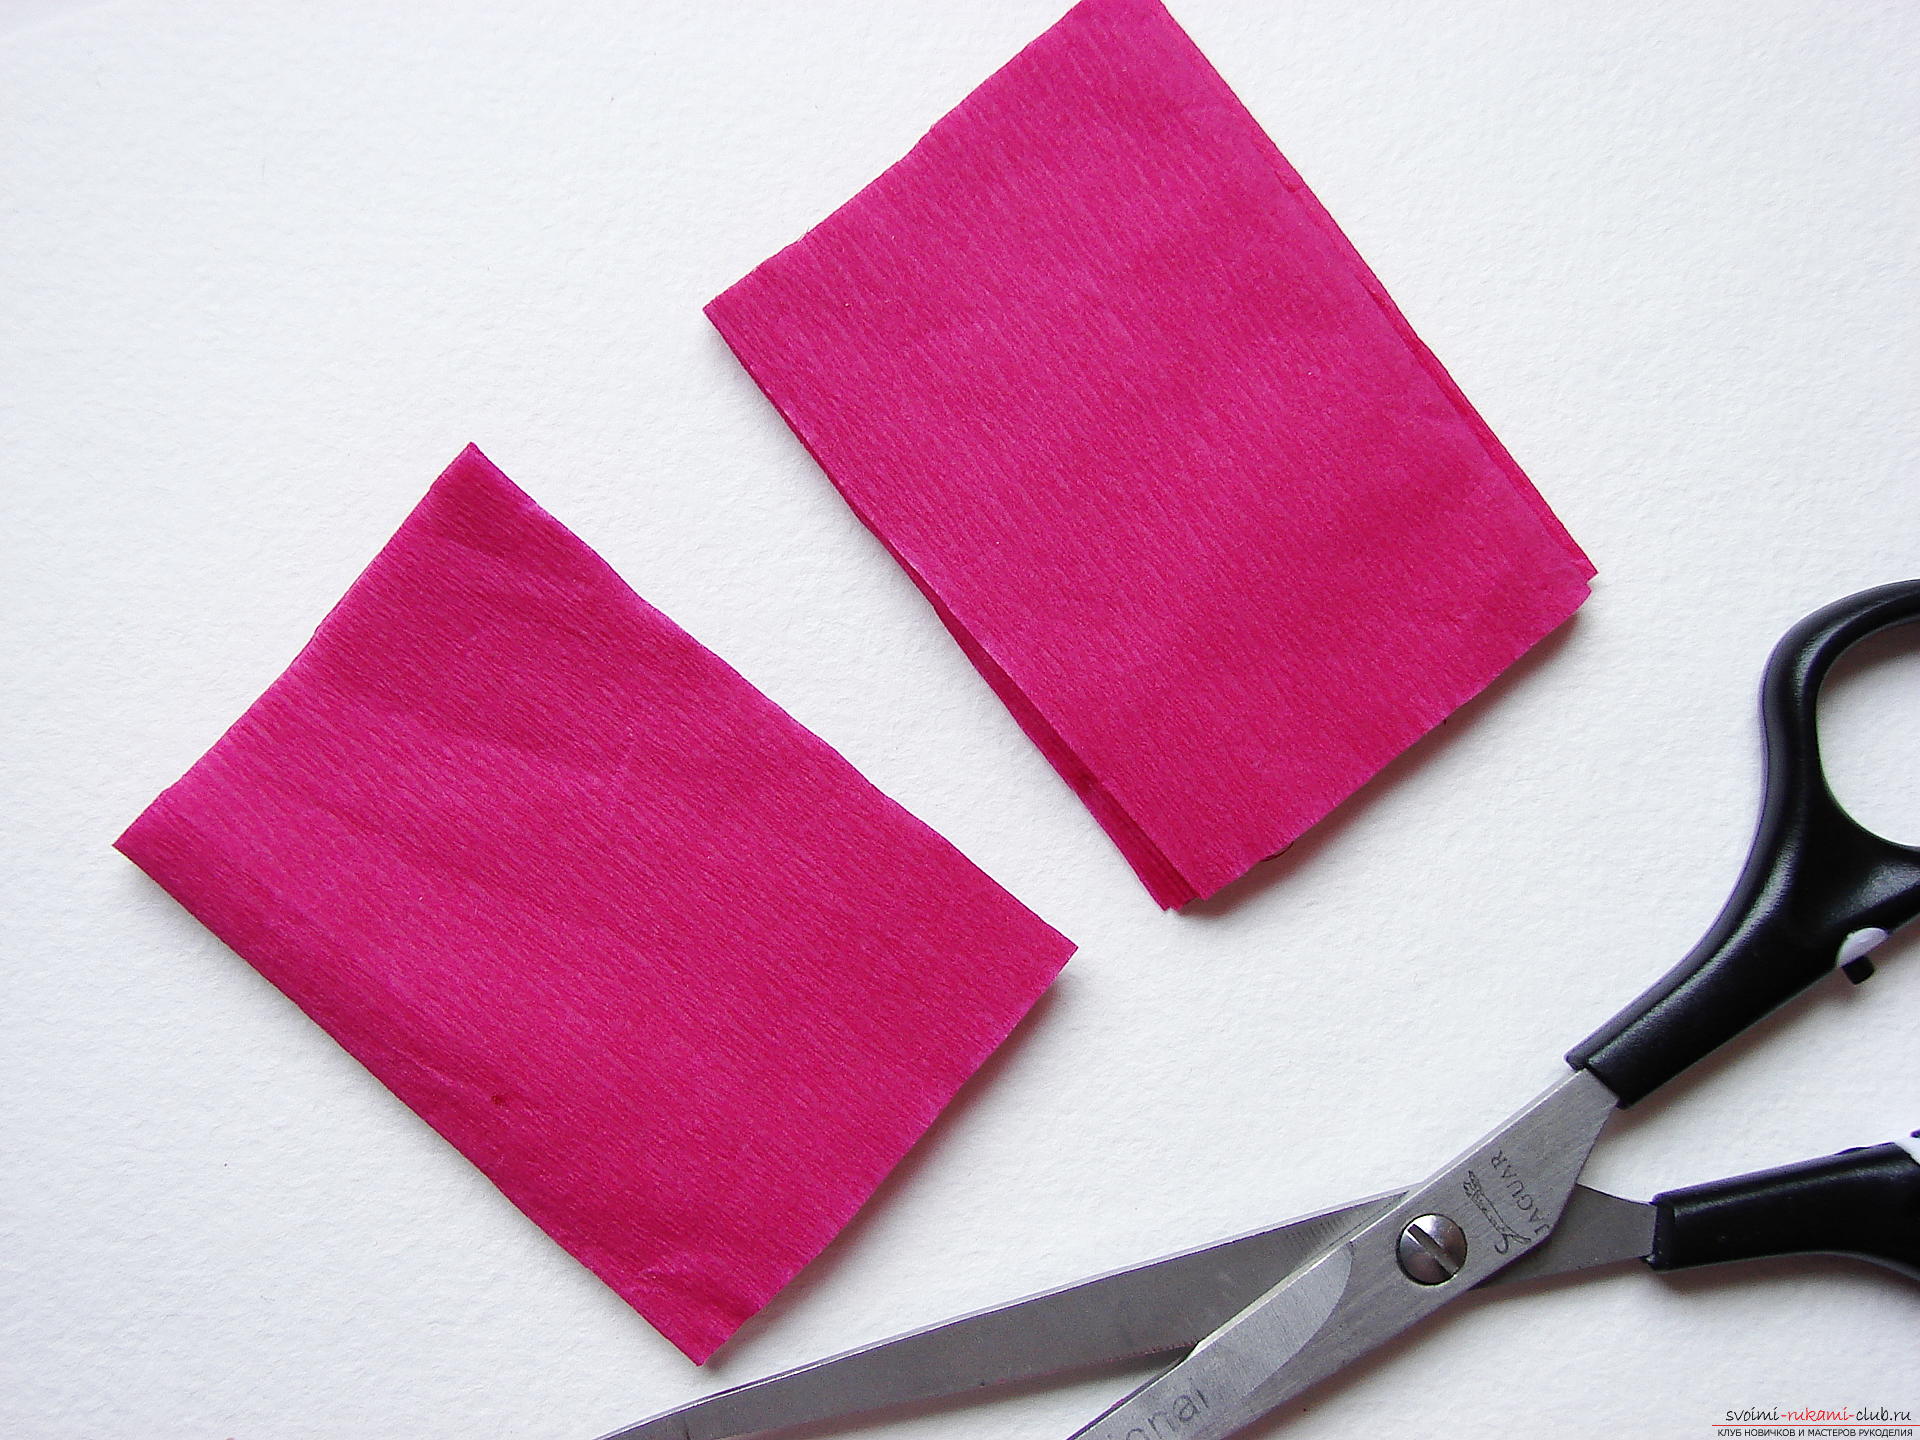 On any segment, draw the contour of the petal with the handle. Then cut out the blanks along the contour.
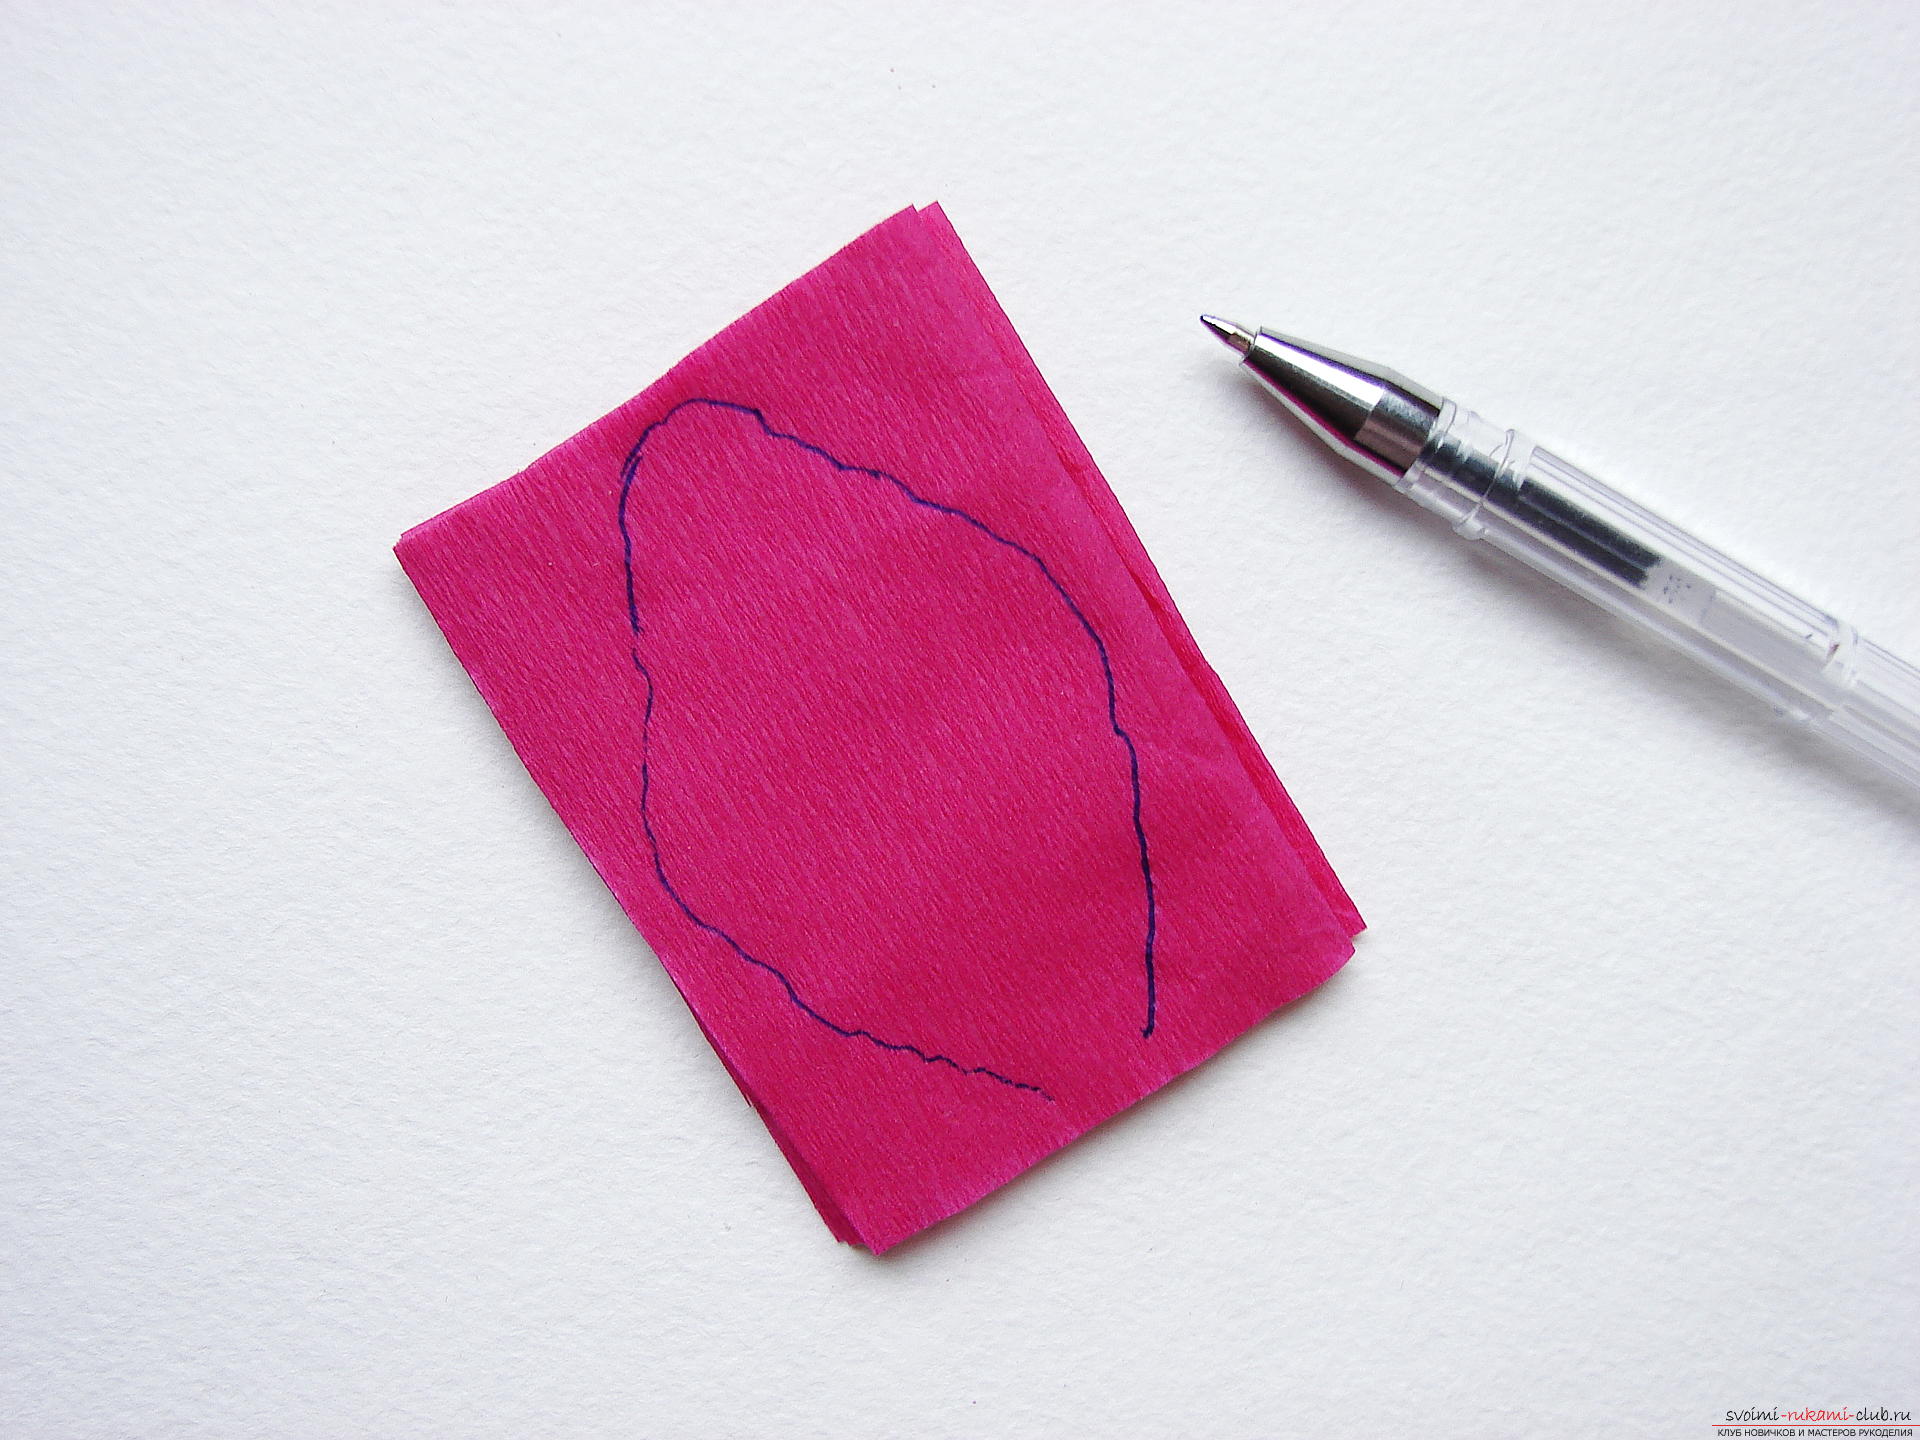
 Step 2 The upper petal with the contour will be postponed, and the rest of the petals will be given a realistic shape. .
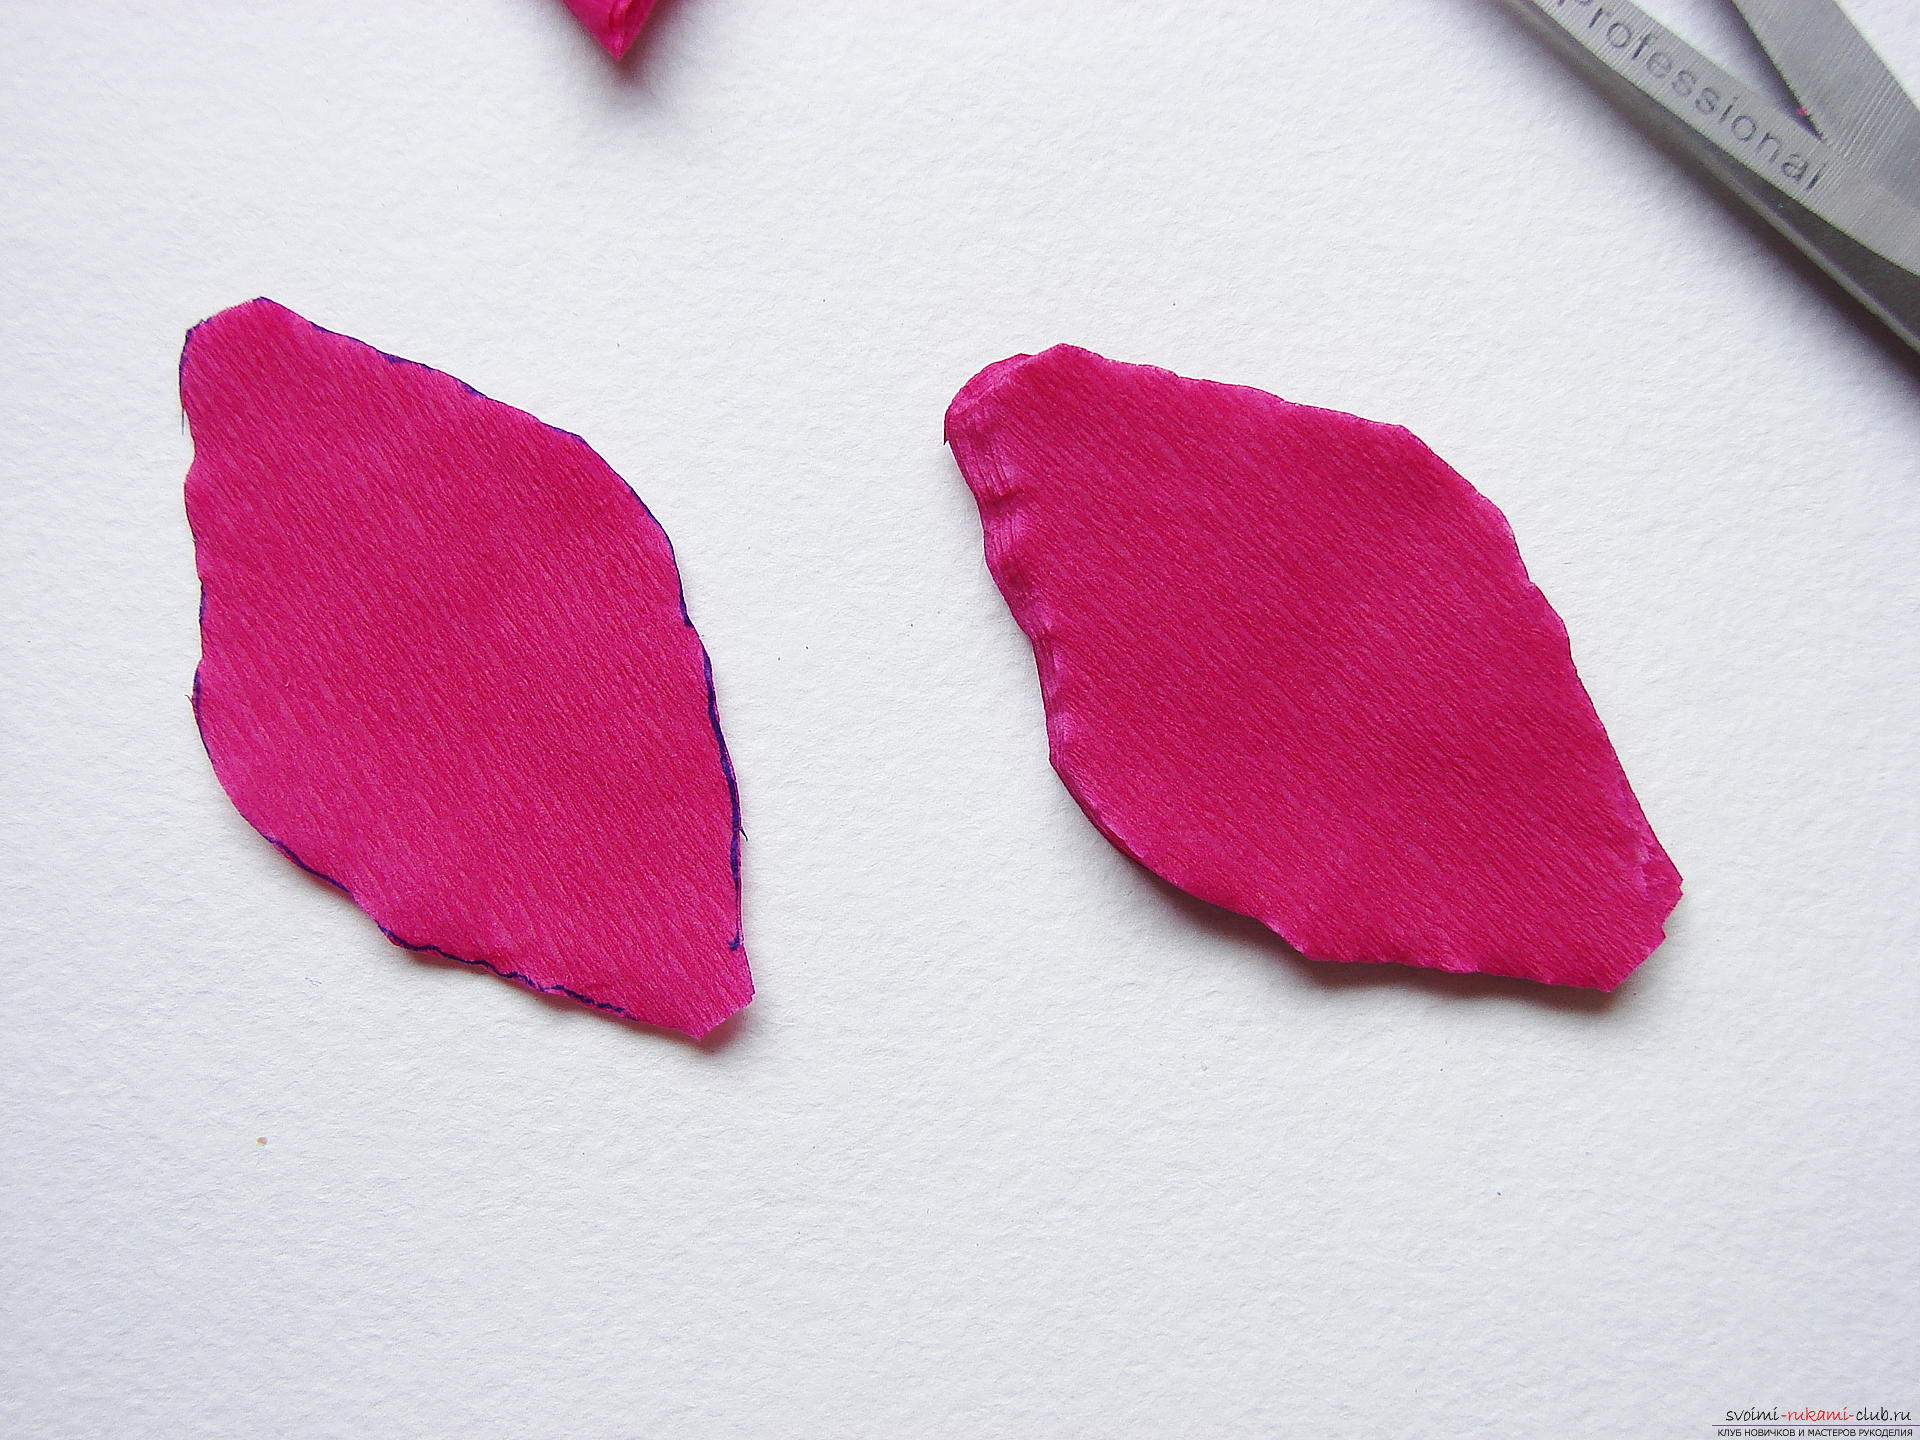
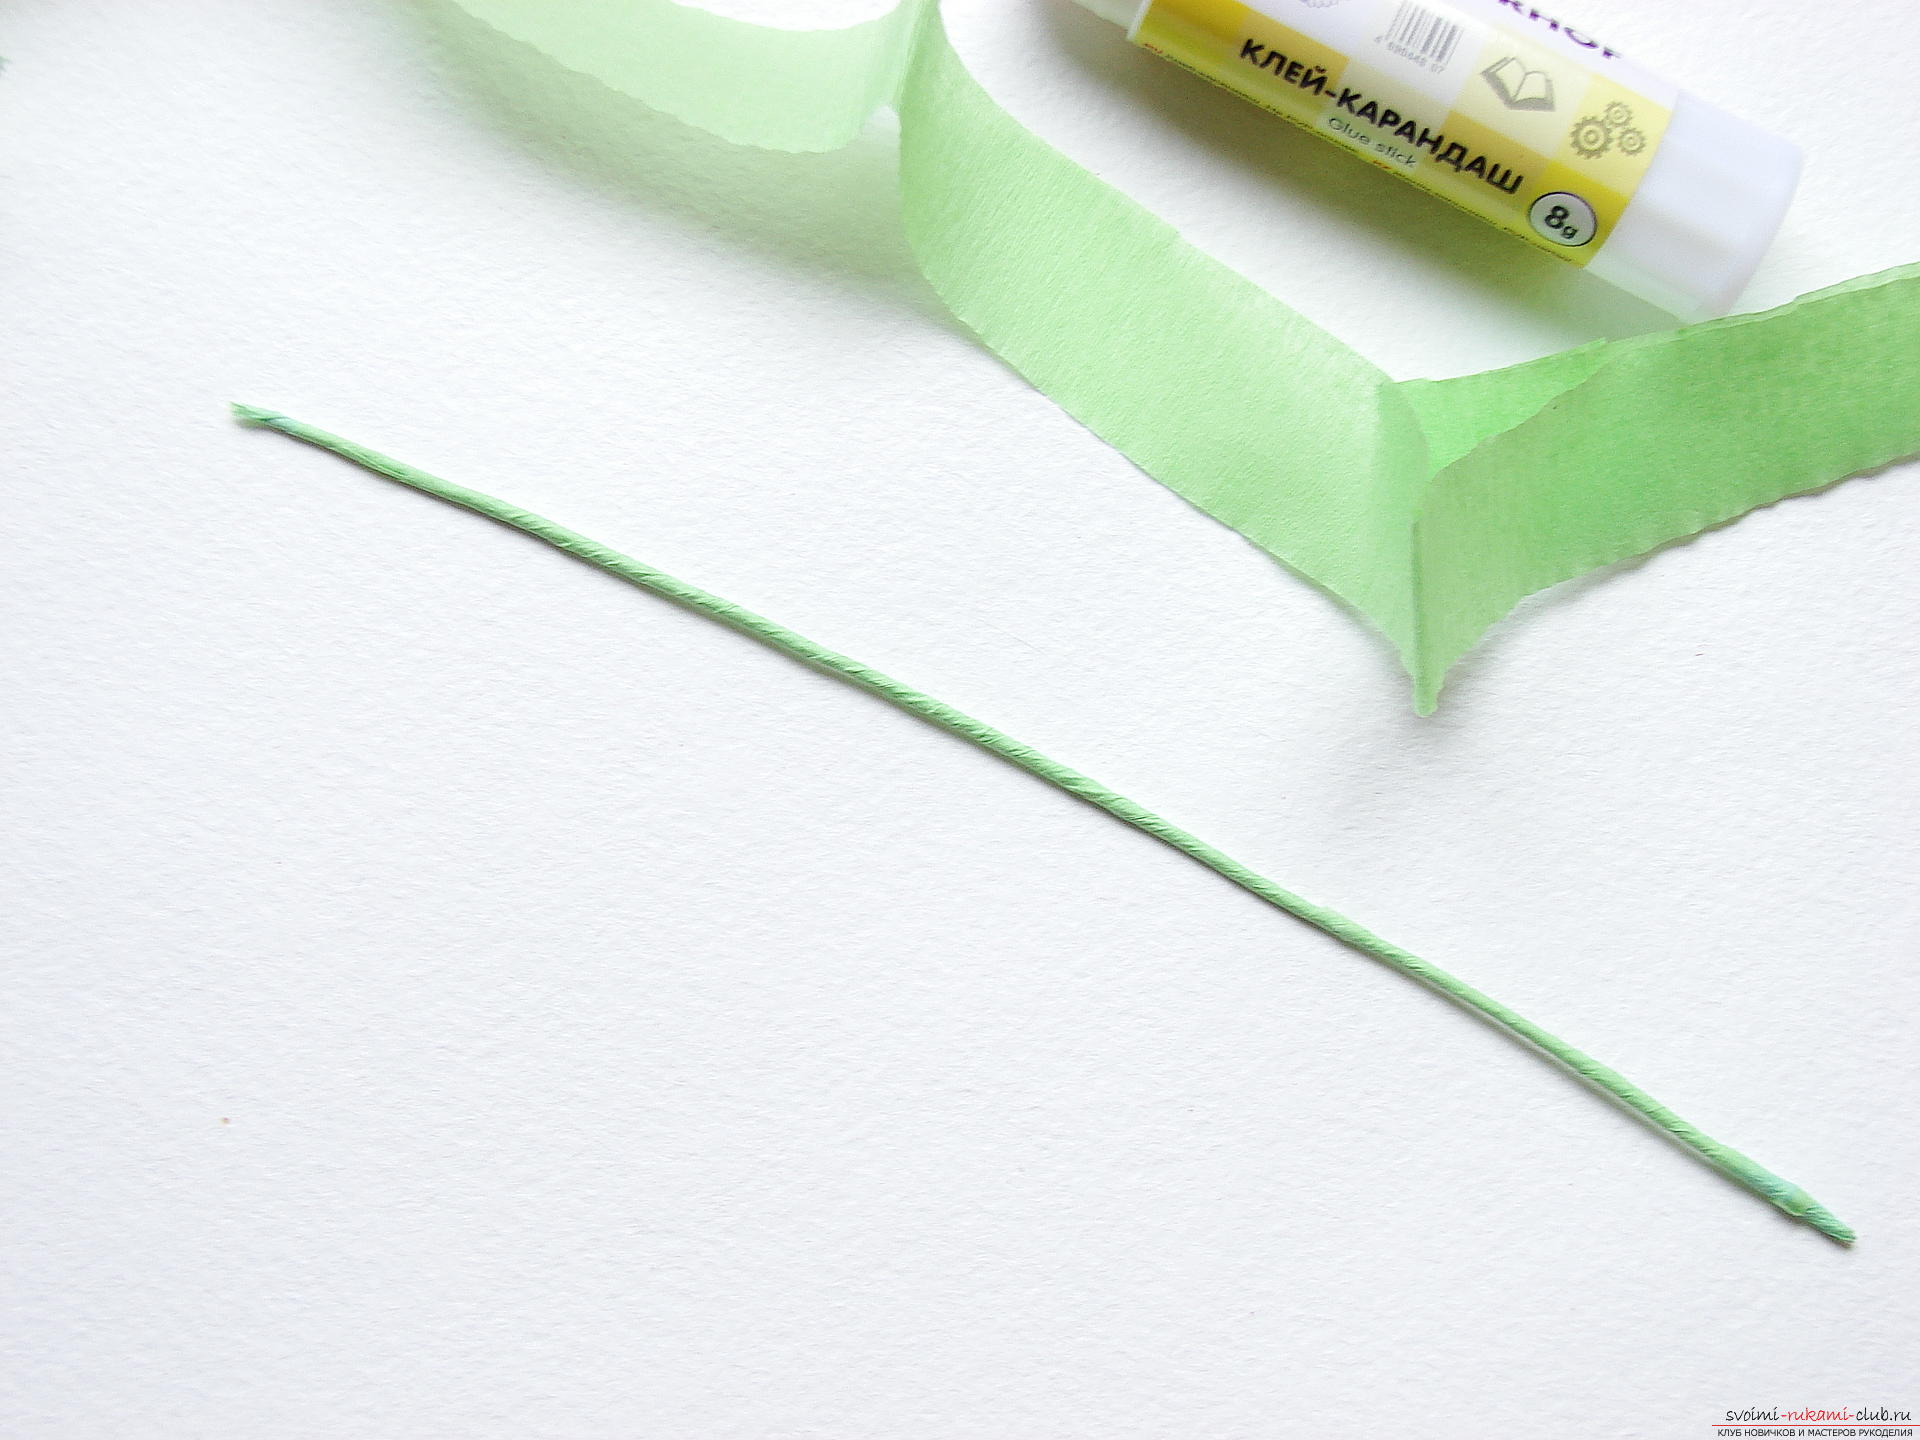
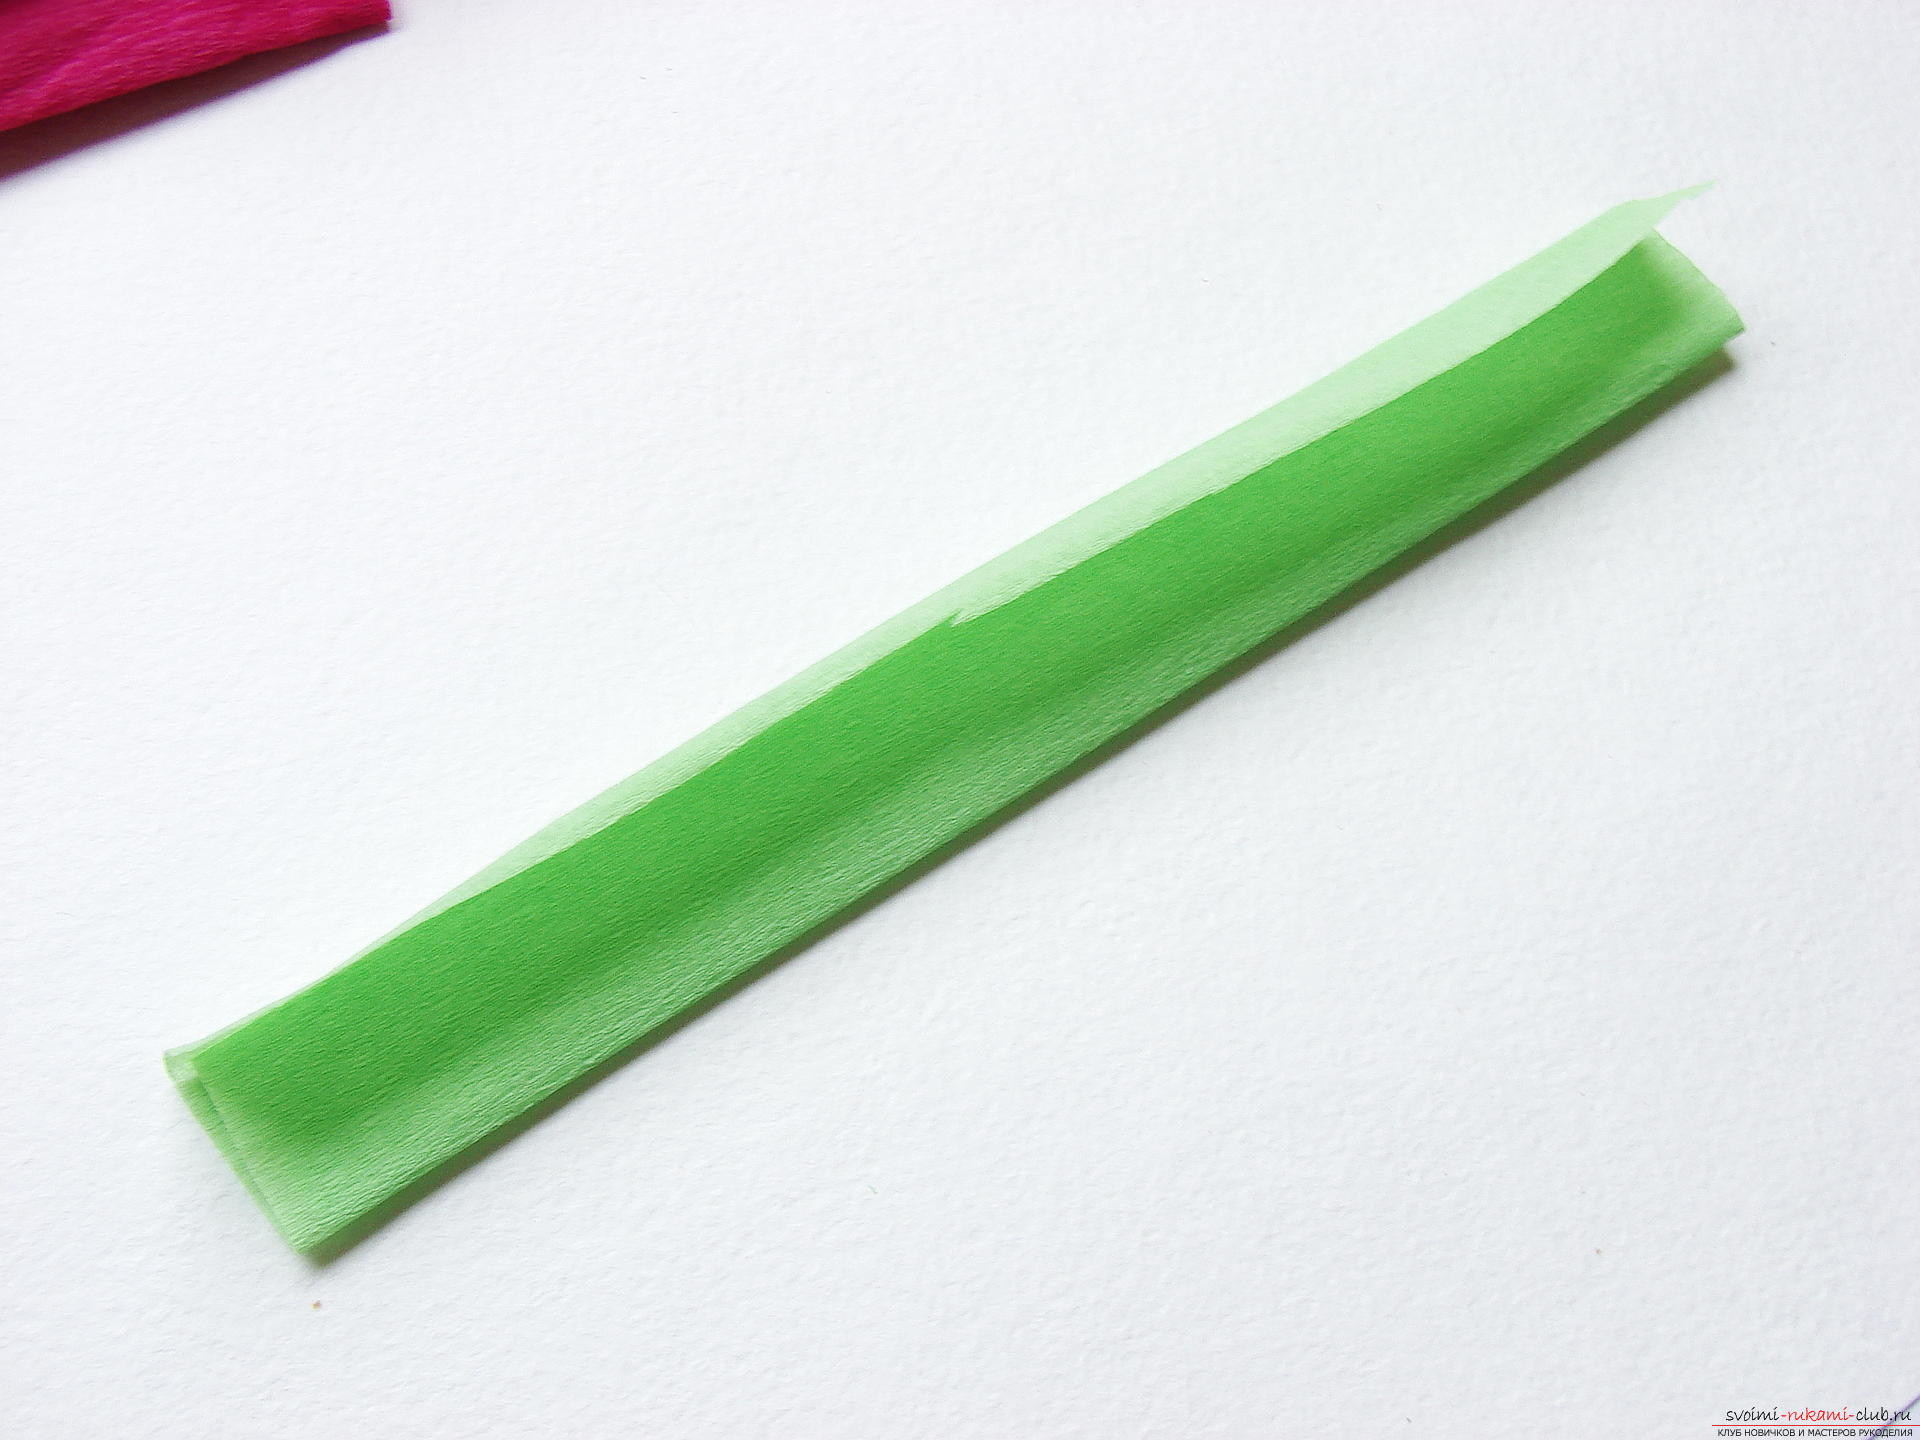
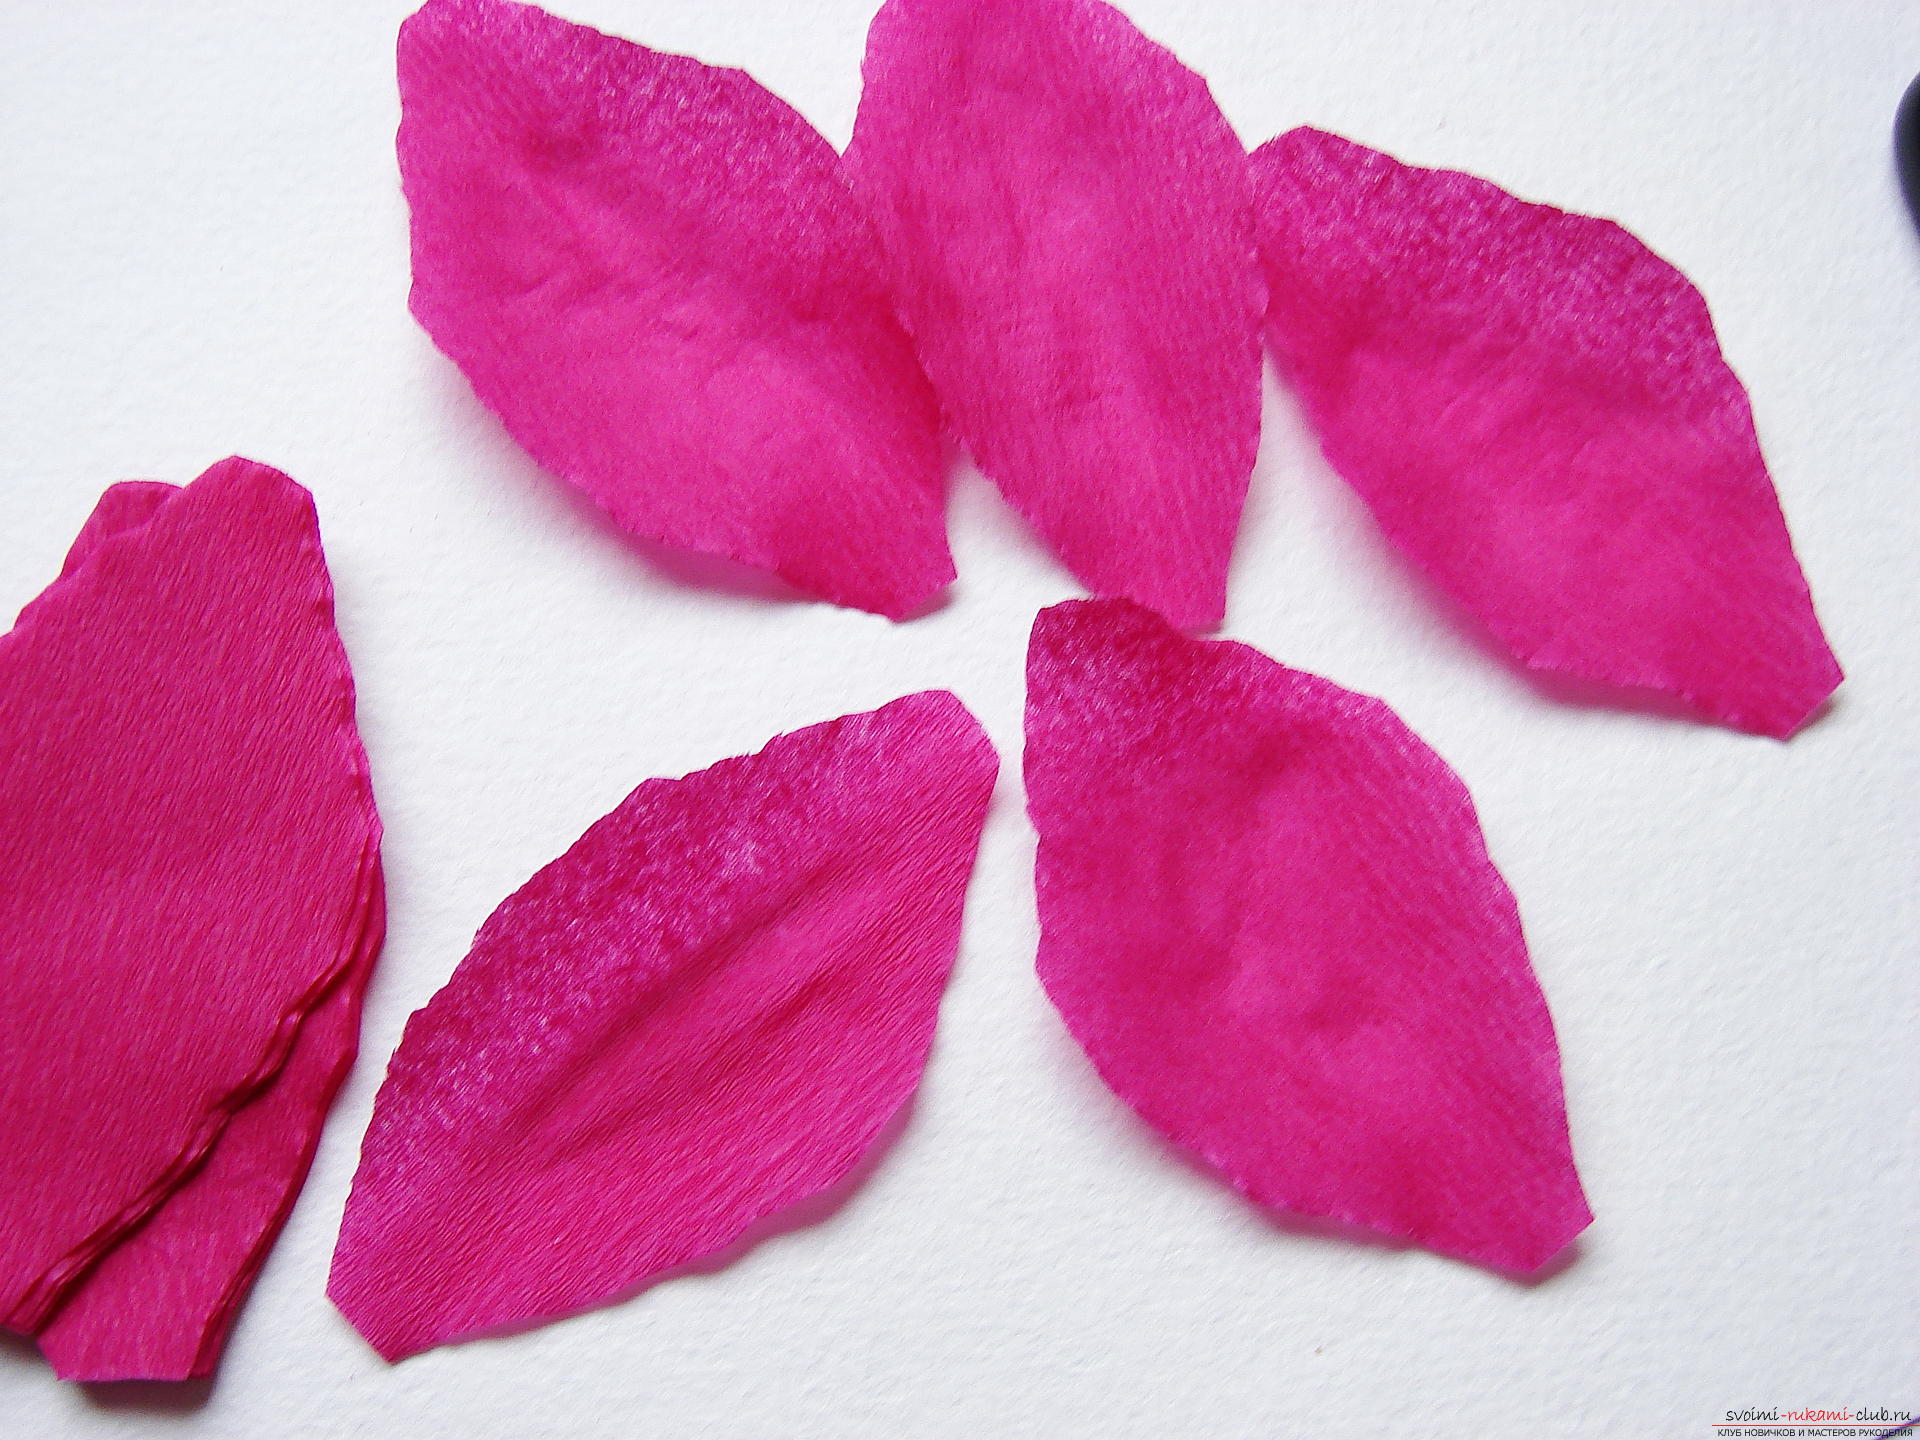 To do this, take the petal for the upper and lowerpart and begin to stretch it to the sides. We perform this stage of work very carefully, so as not to tear the thin piece of the petal. Step 3 We wrap the piece of wire with green crepe paper. The end of the tape must be fixed with glue, otherwise the tape may unwind during operation.
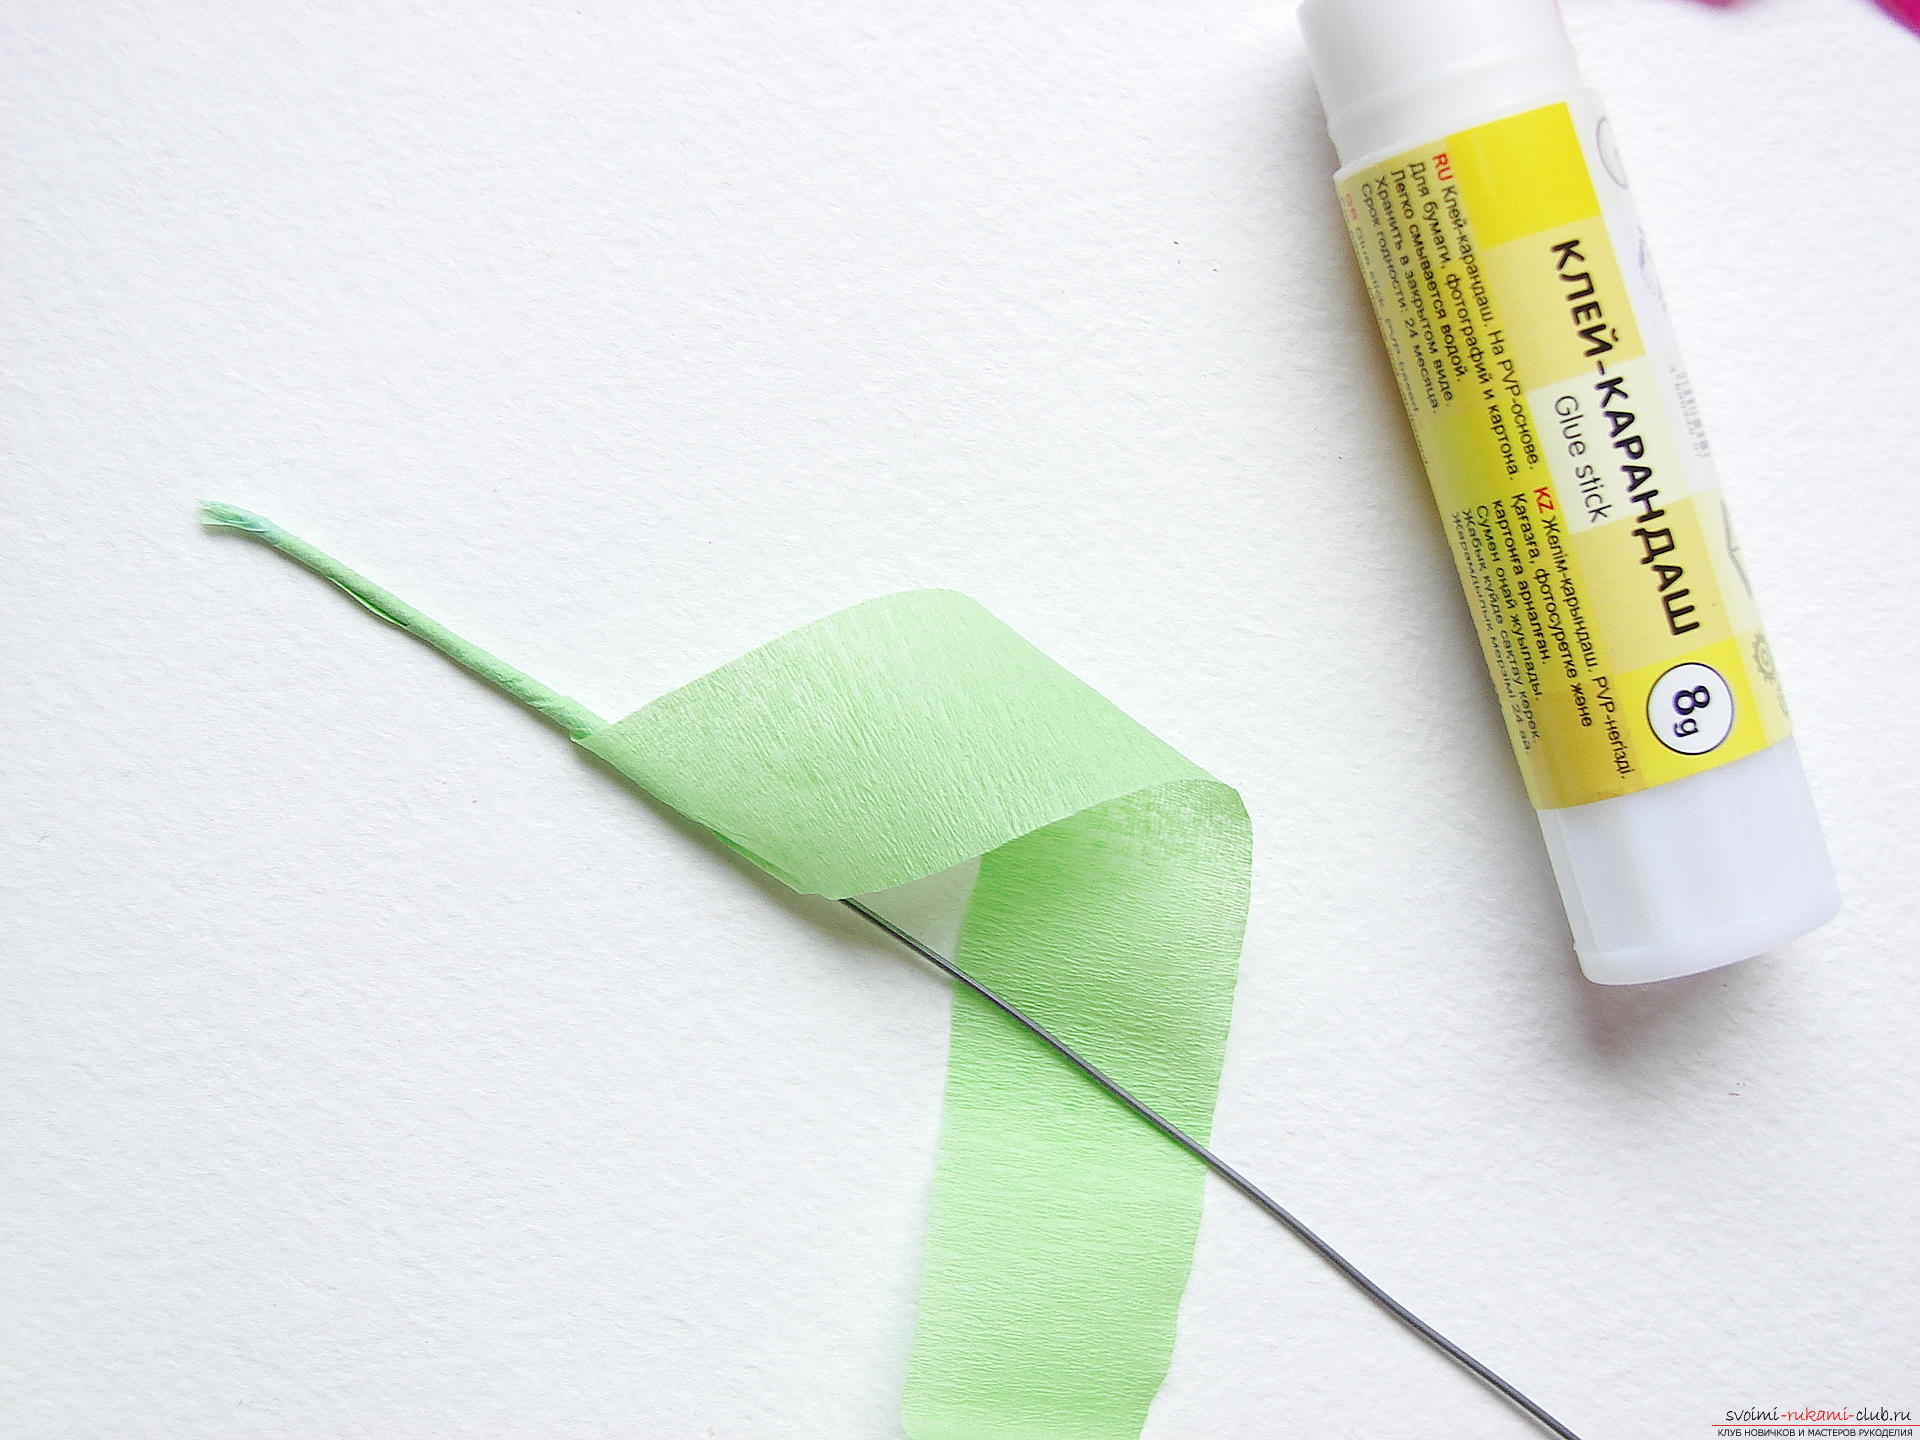
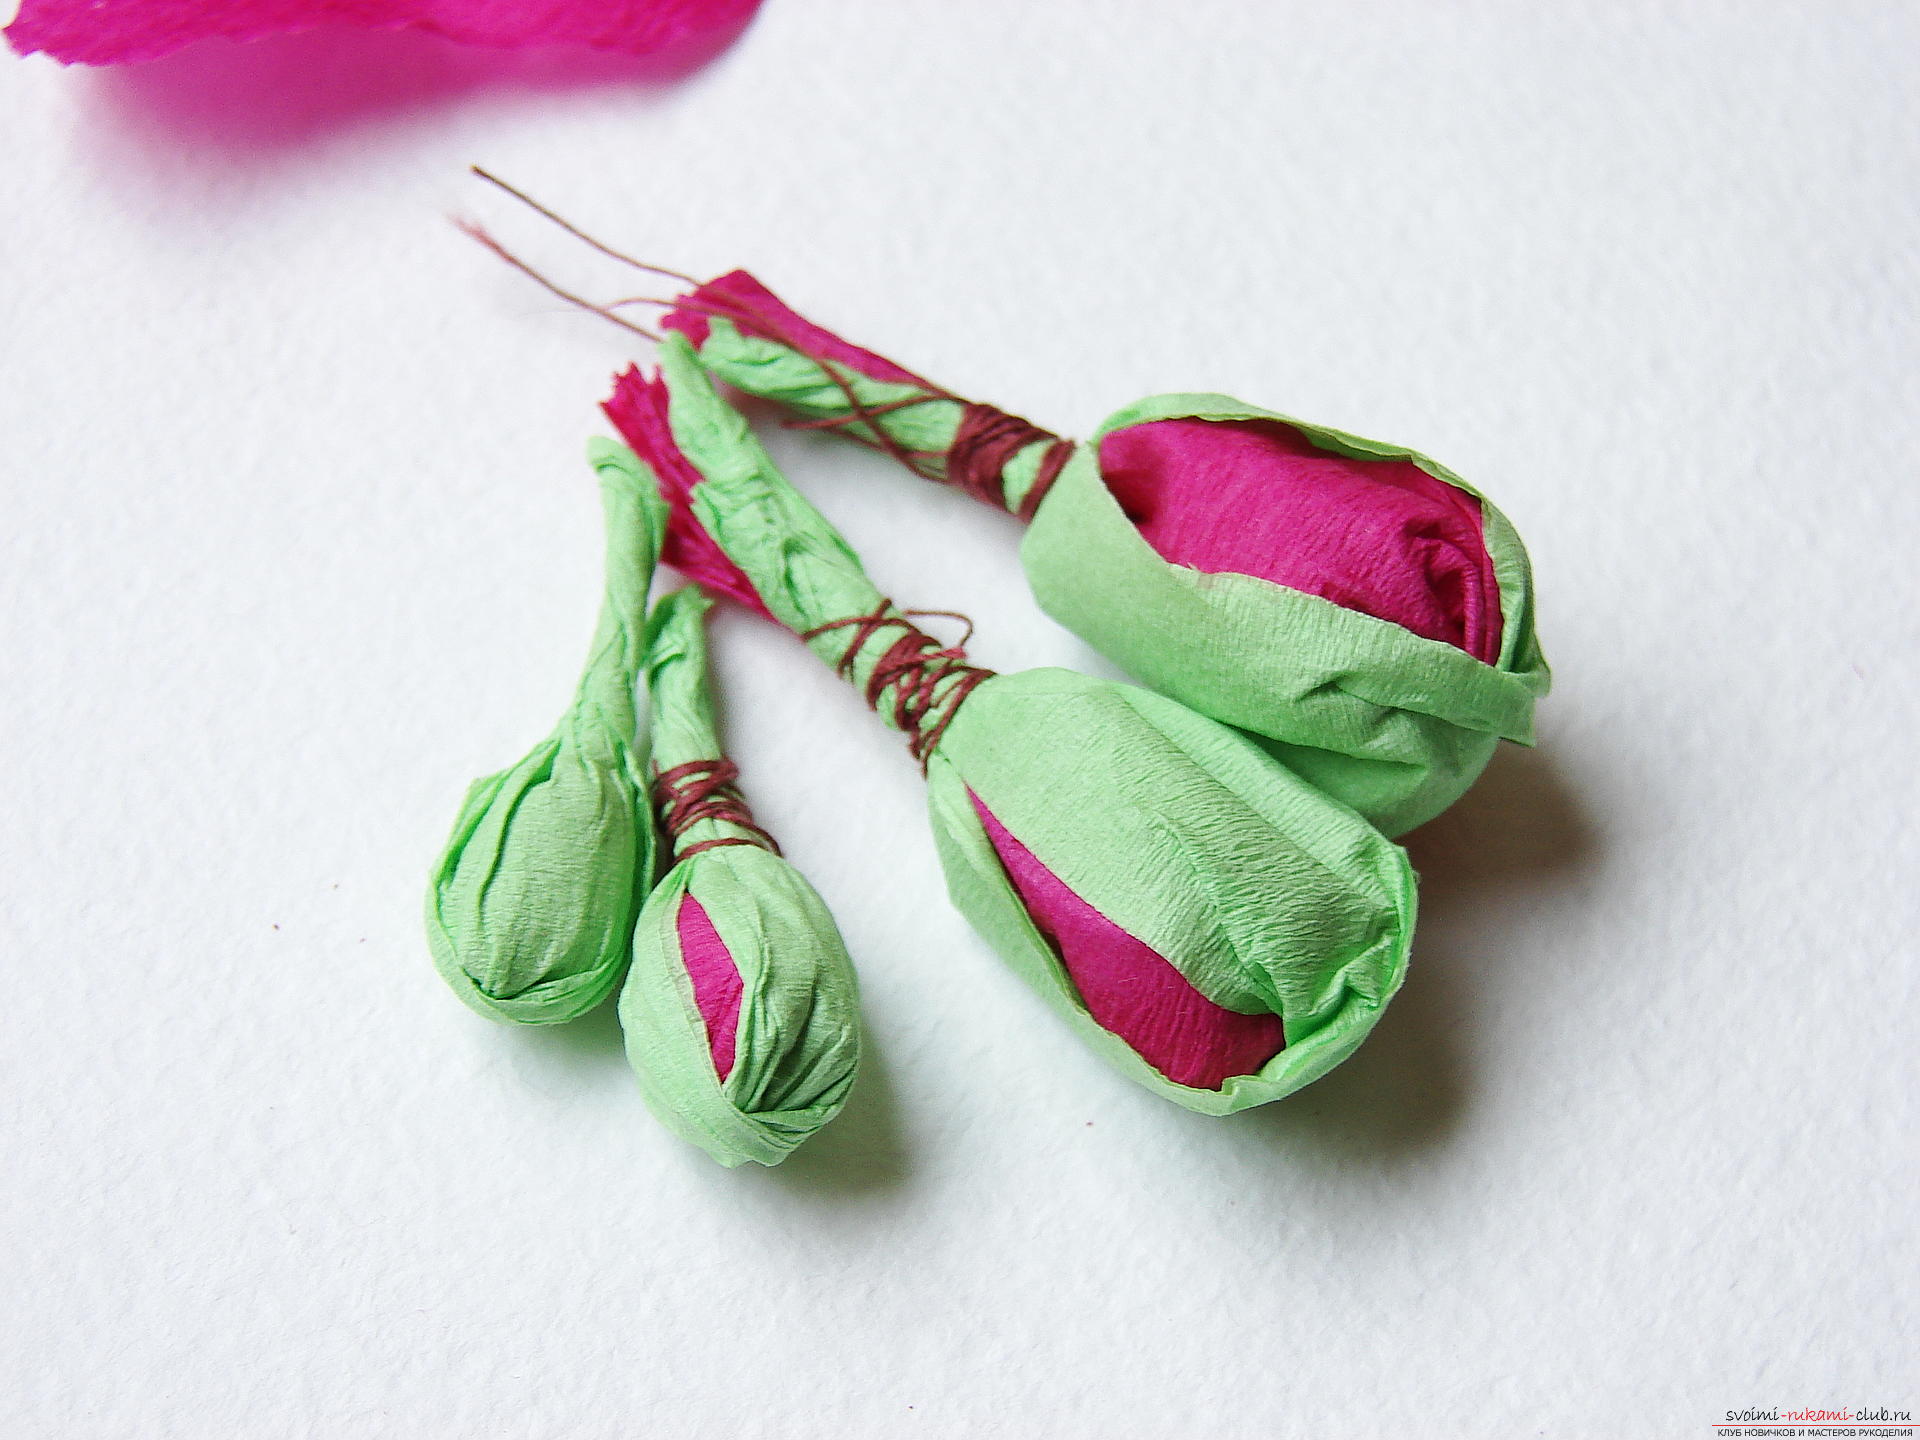
 Step 4 Now, make a few small undecayed gladiolus buds. We need this piece of crepe paper.
  Fold the part several times. Center the ribbon once.
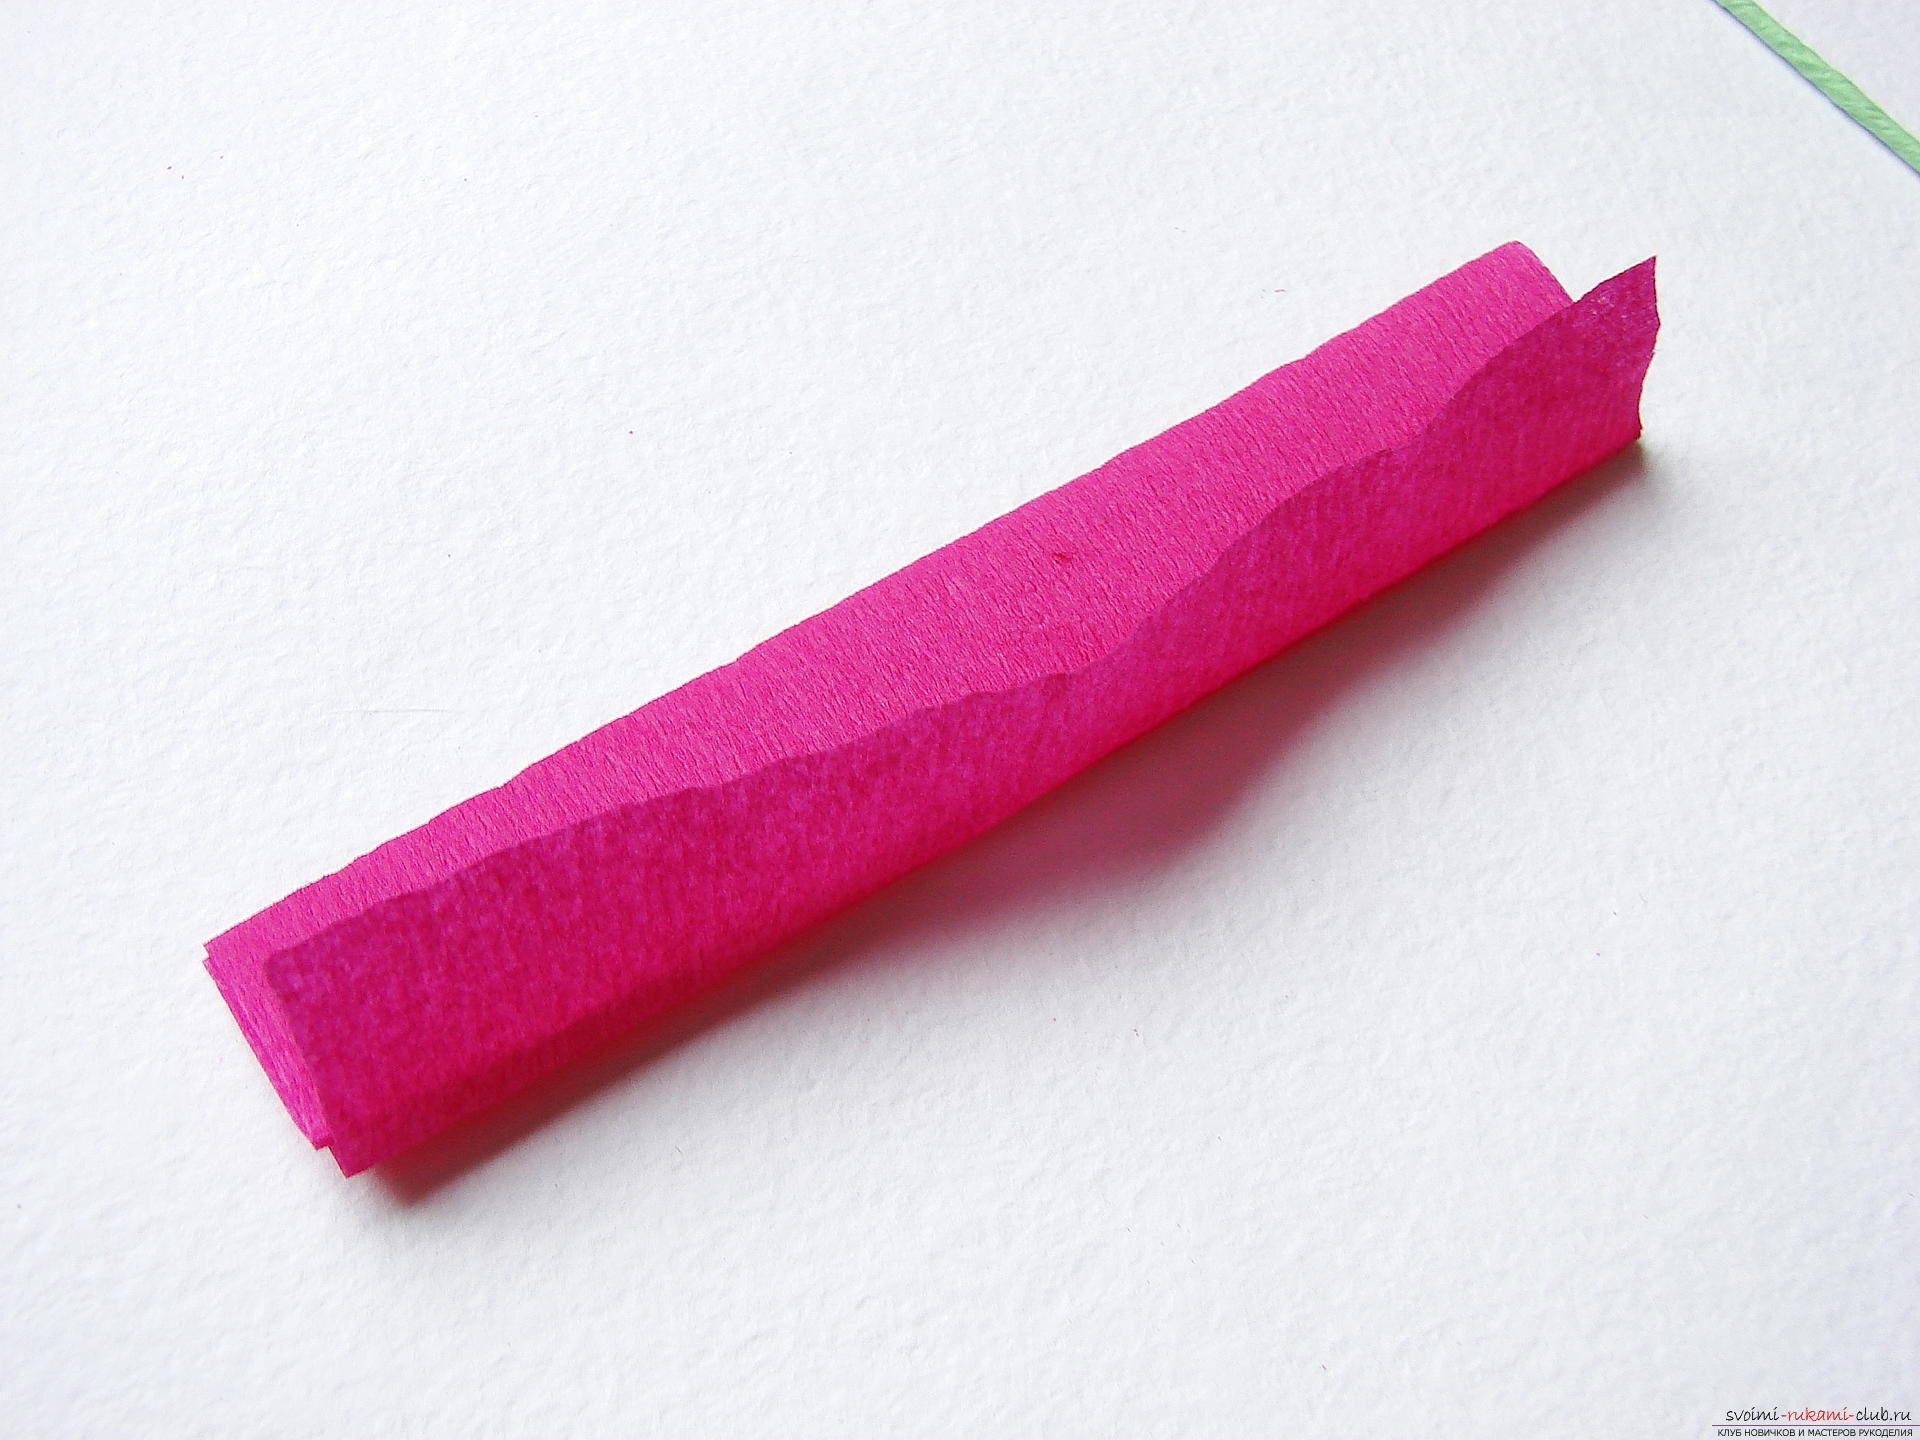
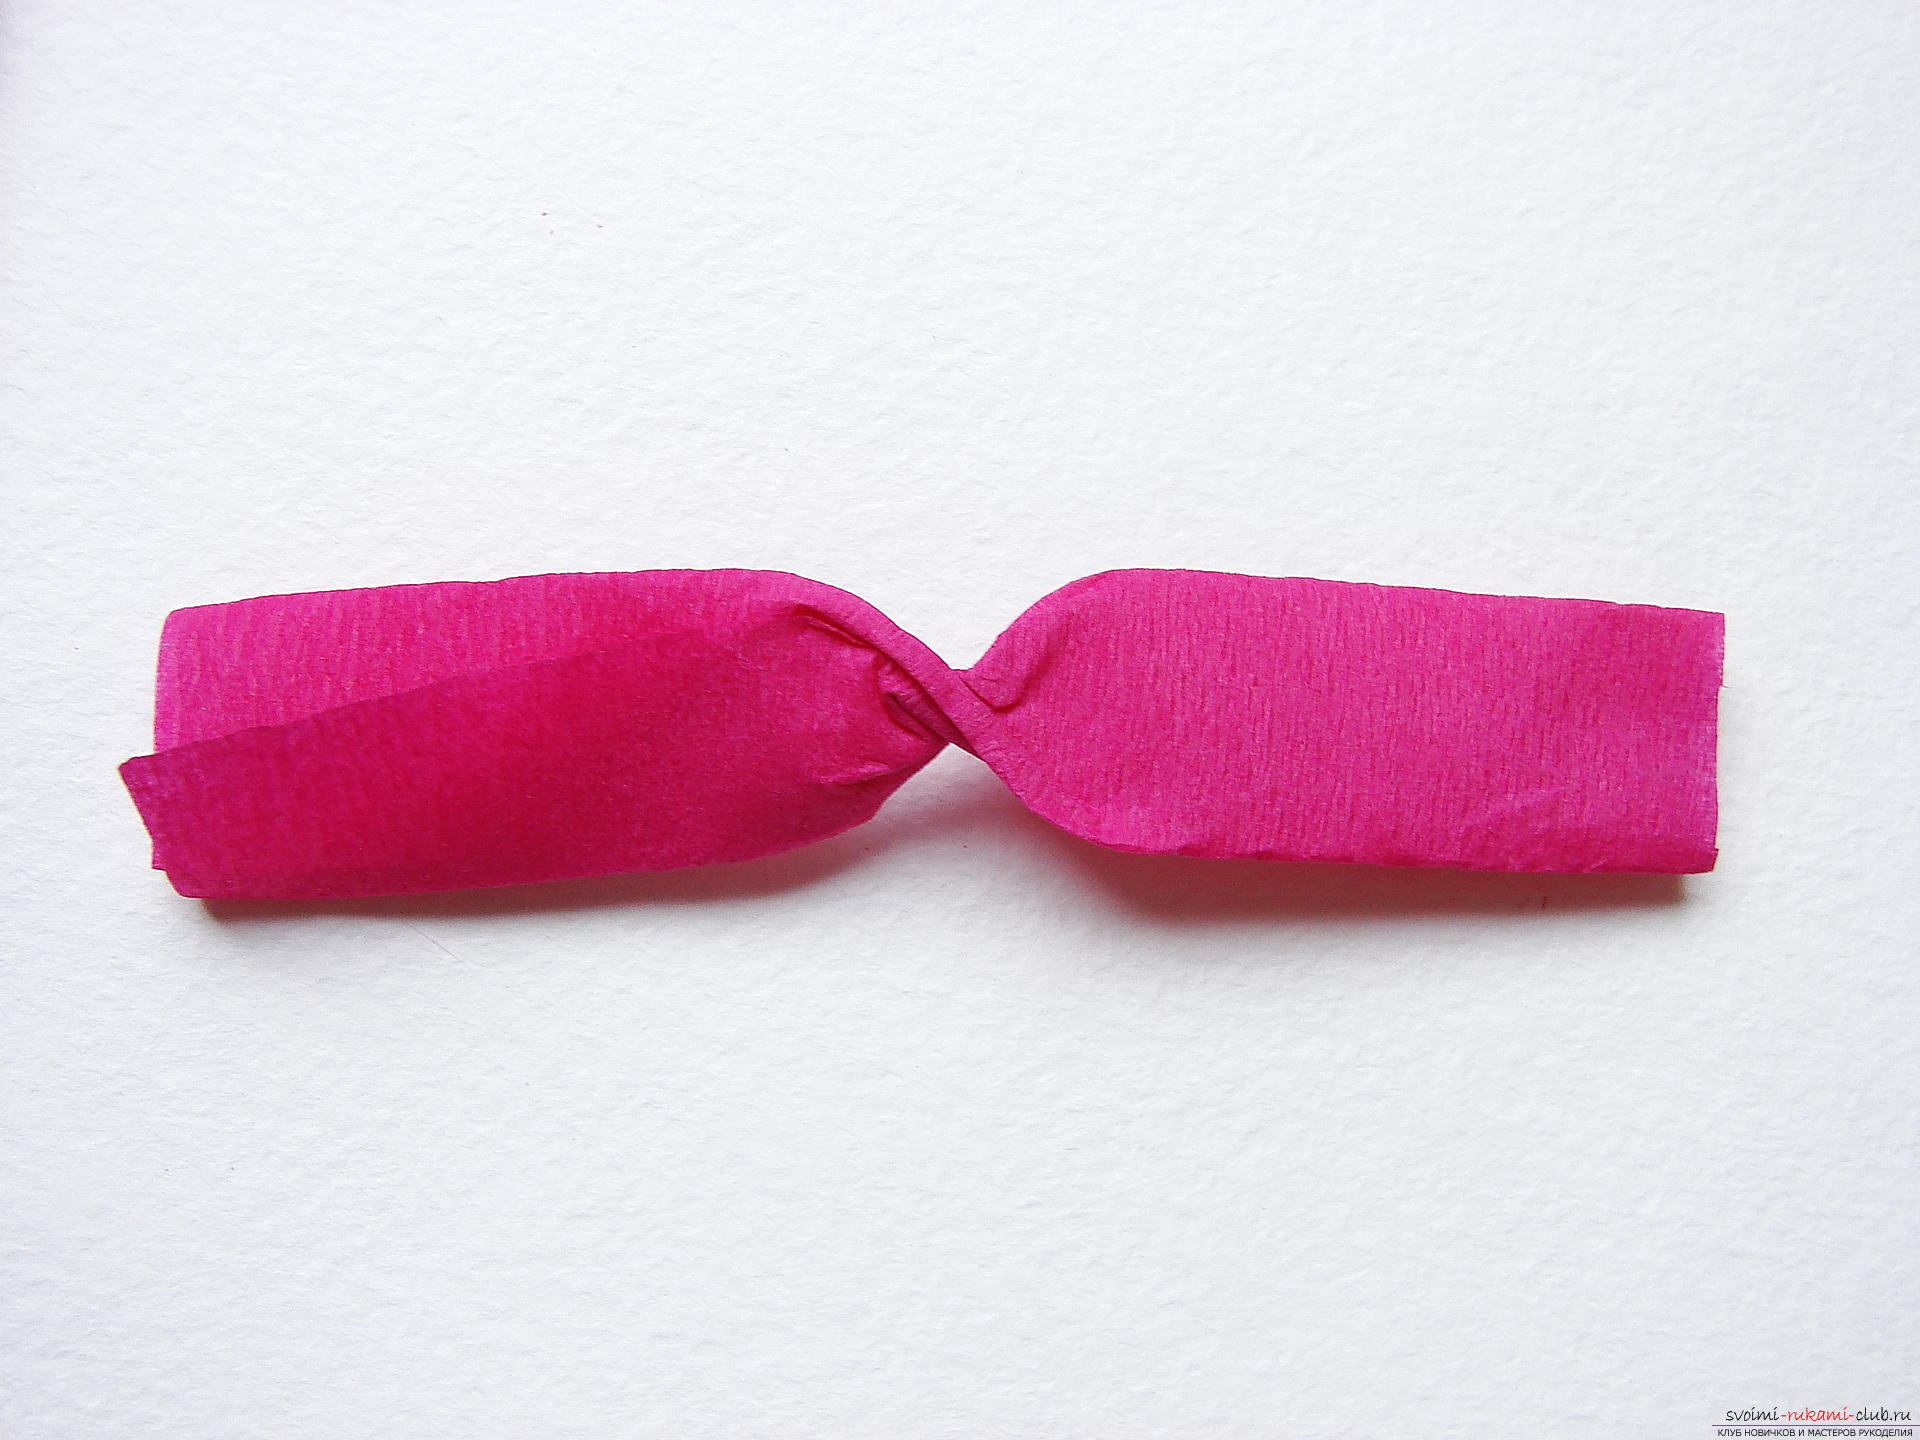 After folding the tips together and securely fix them with a thread.
 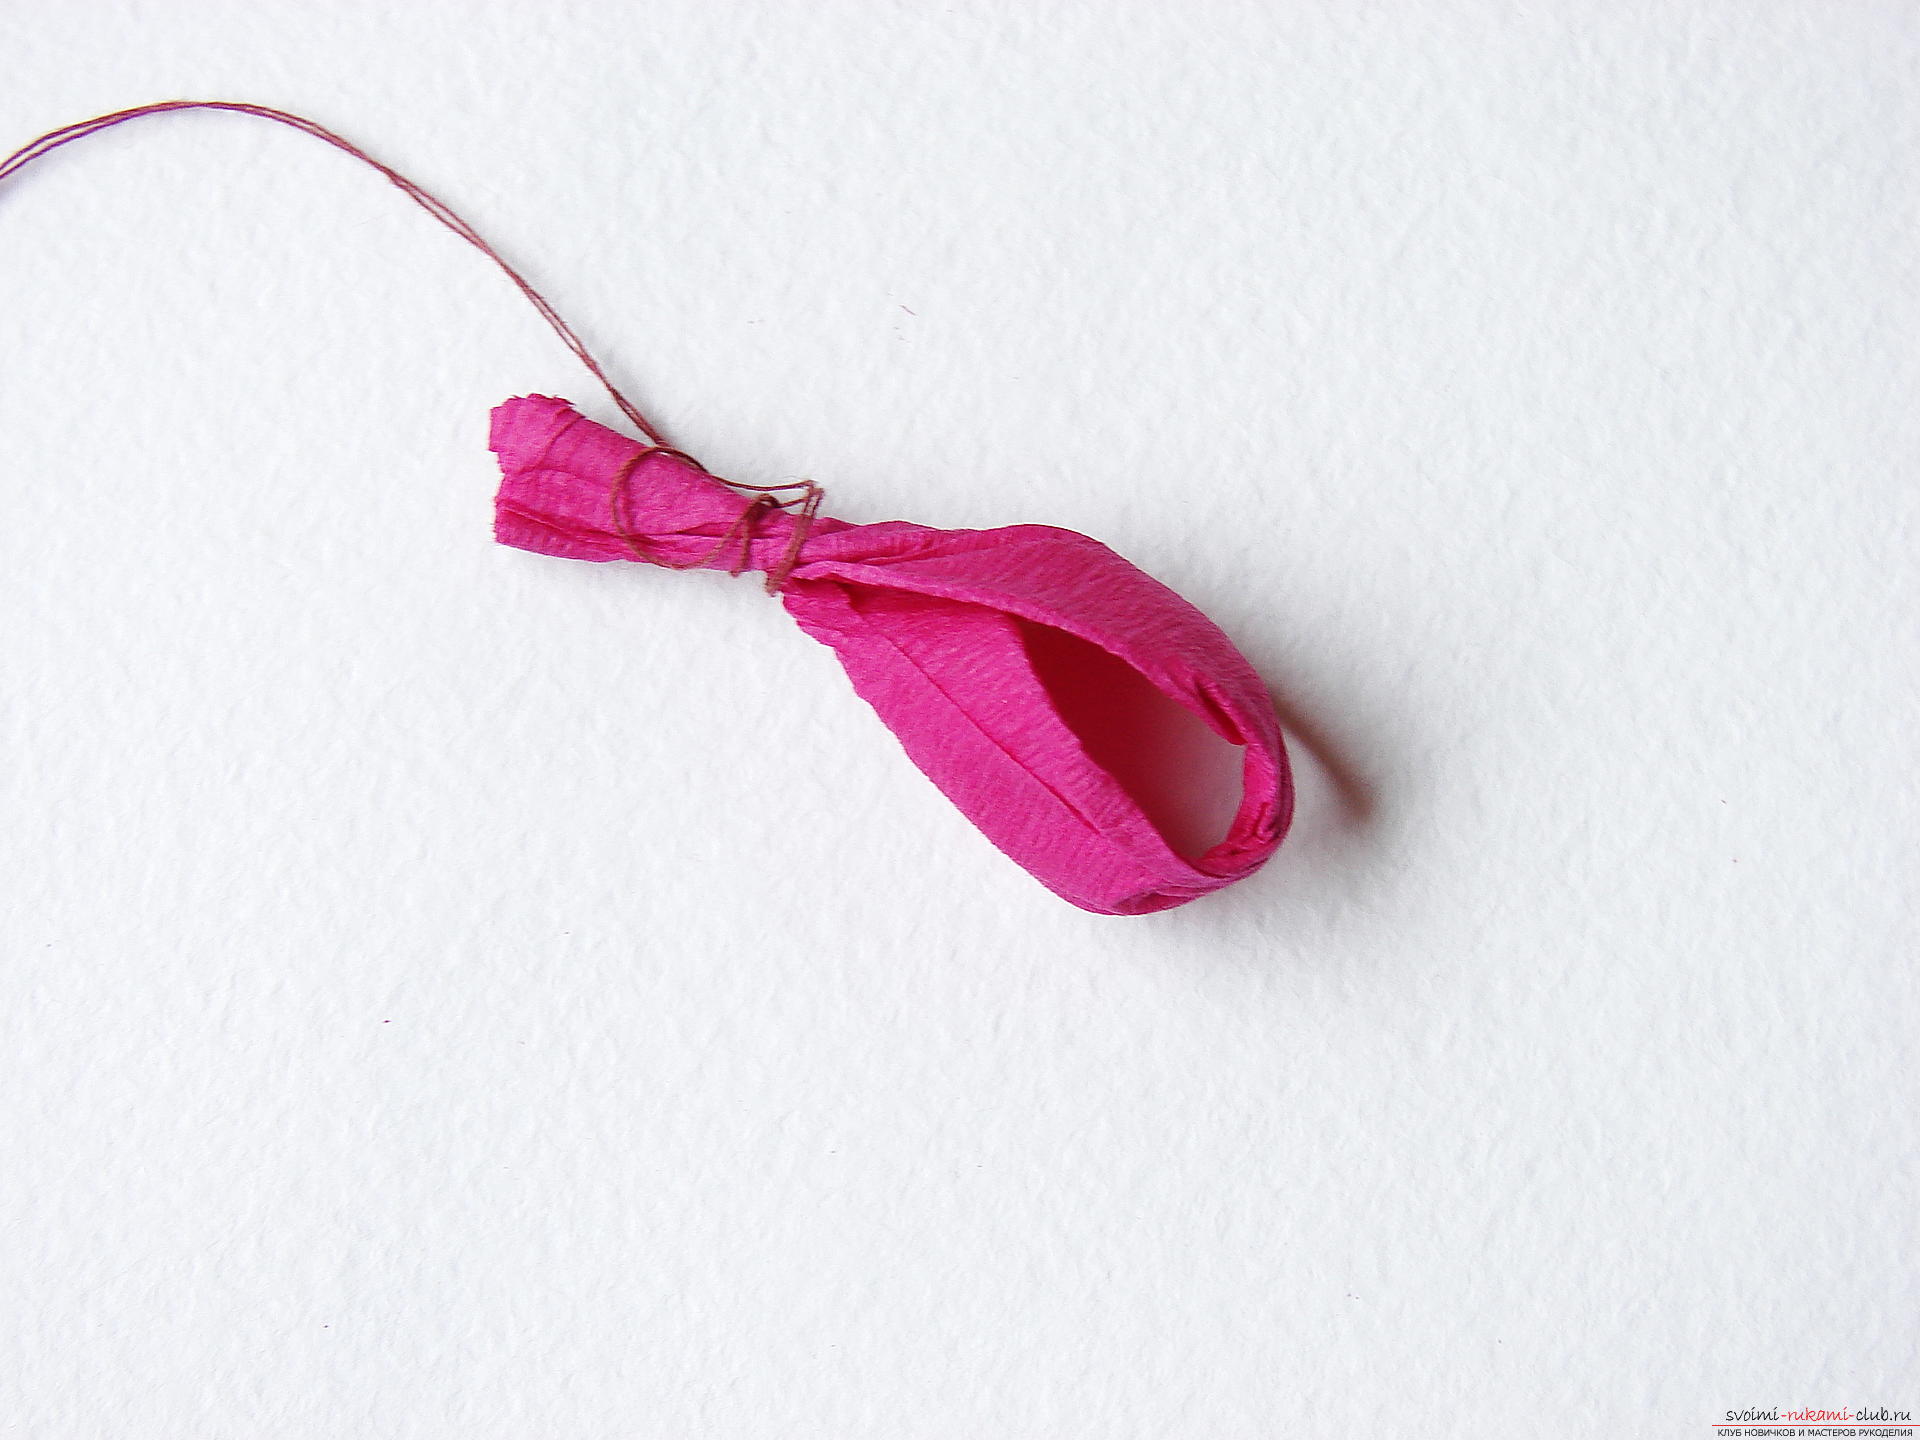 Step 5 Next, with a piece of green creped paper, we'll do the same manipulations.
 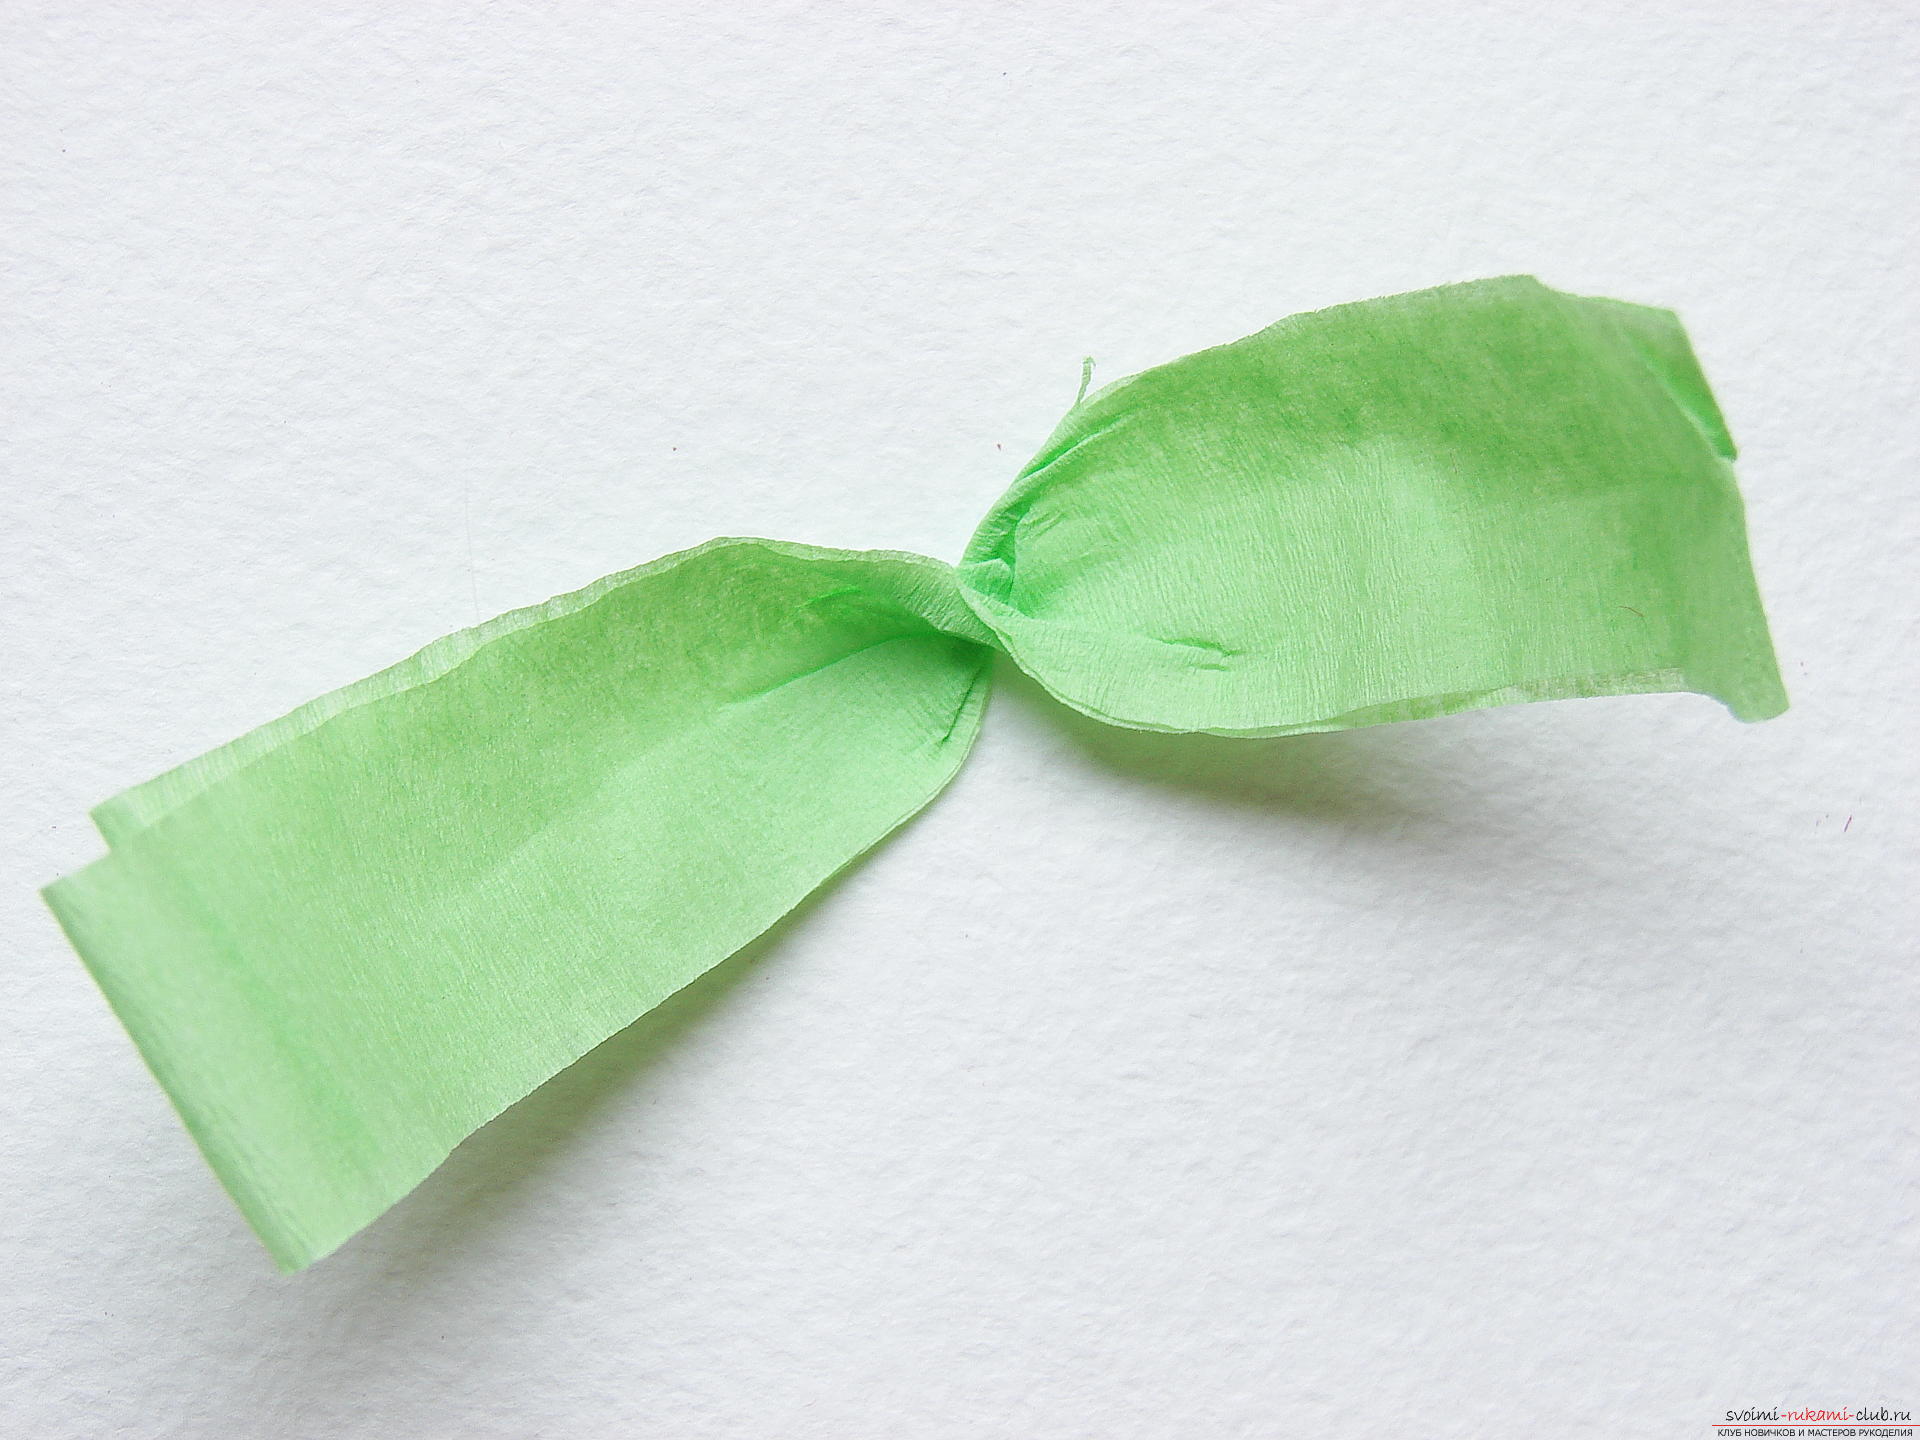 Step 6 Put the first detail of fuchsia in the middle of the green workpiece.
 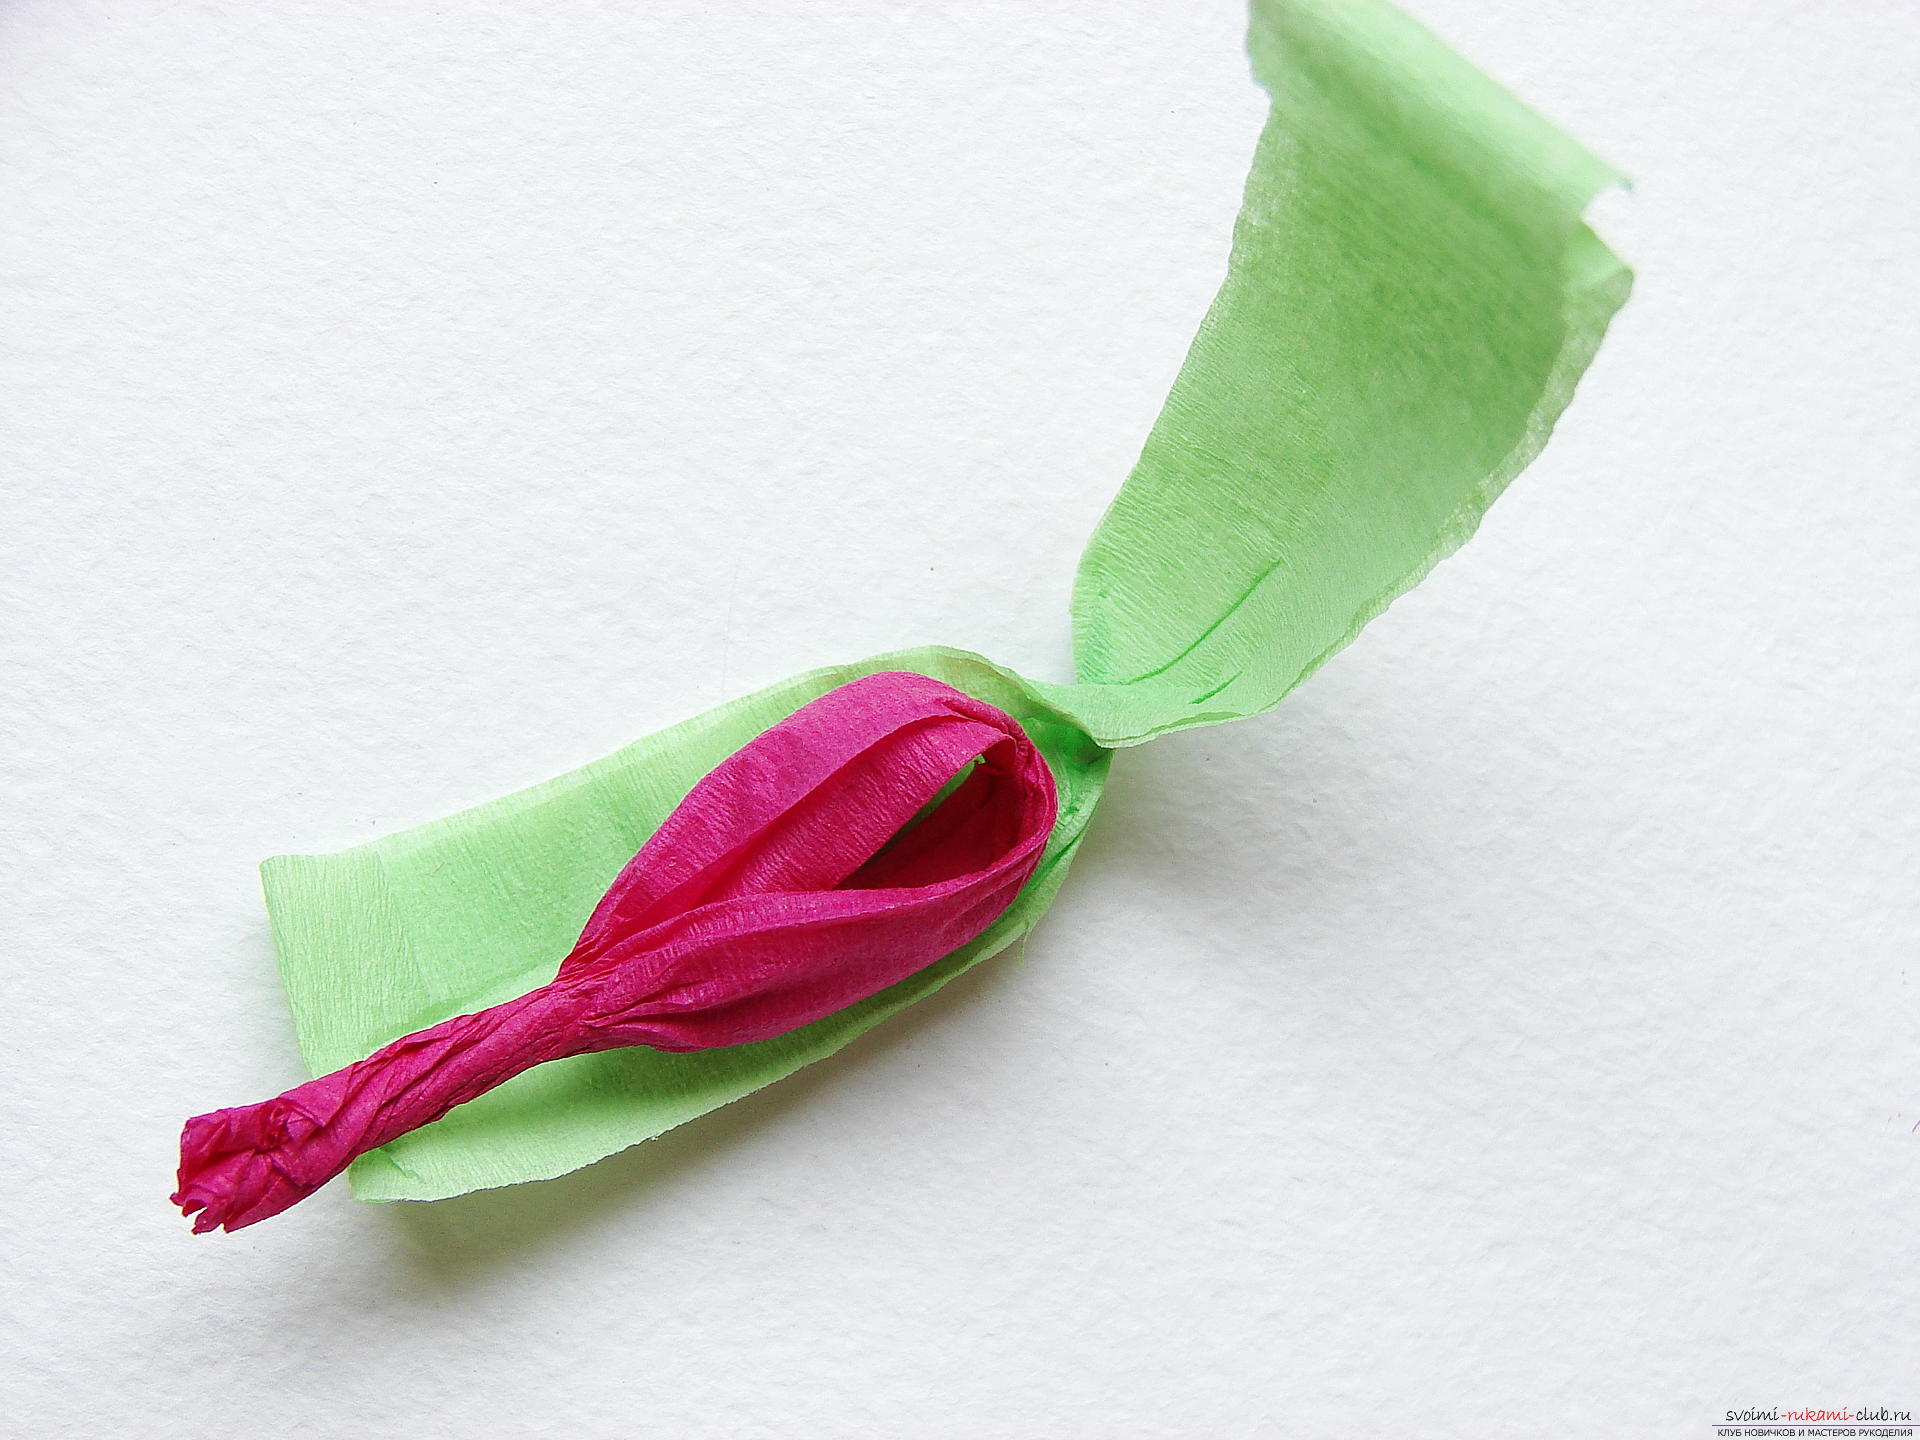 We close the second end of the billet and wrap it with a string so that the buds do not lose their shape.
 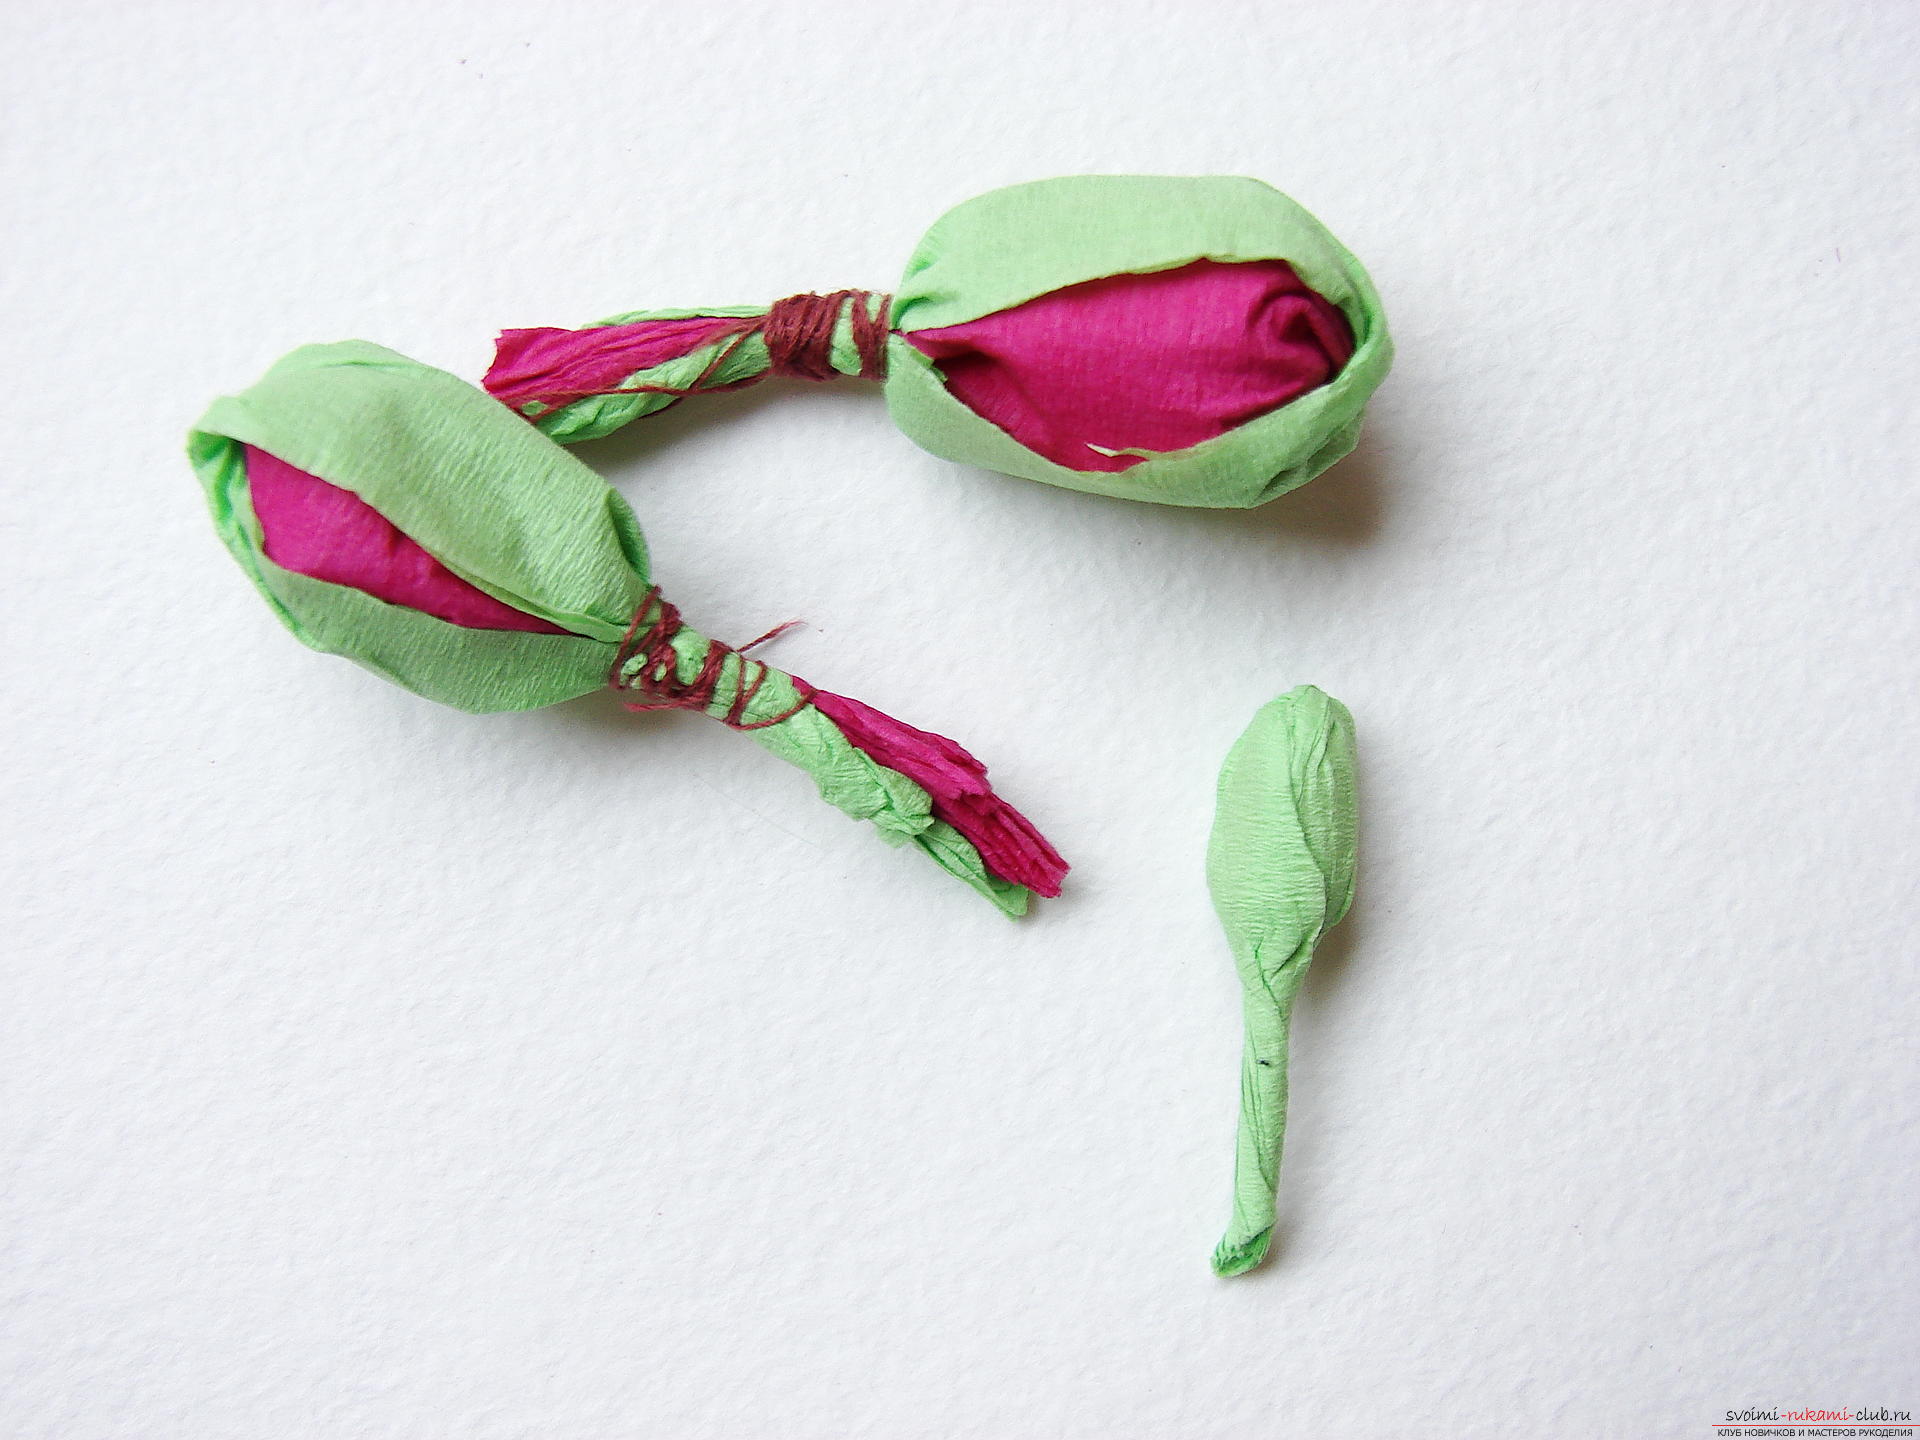 If you can not do such a largeparts, then create a few balls of crepe paper first, and then attach the workpieces twisted to the center. Step 7 We also create one small blank from the green crepe paper.
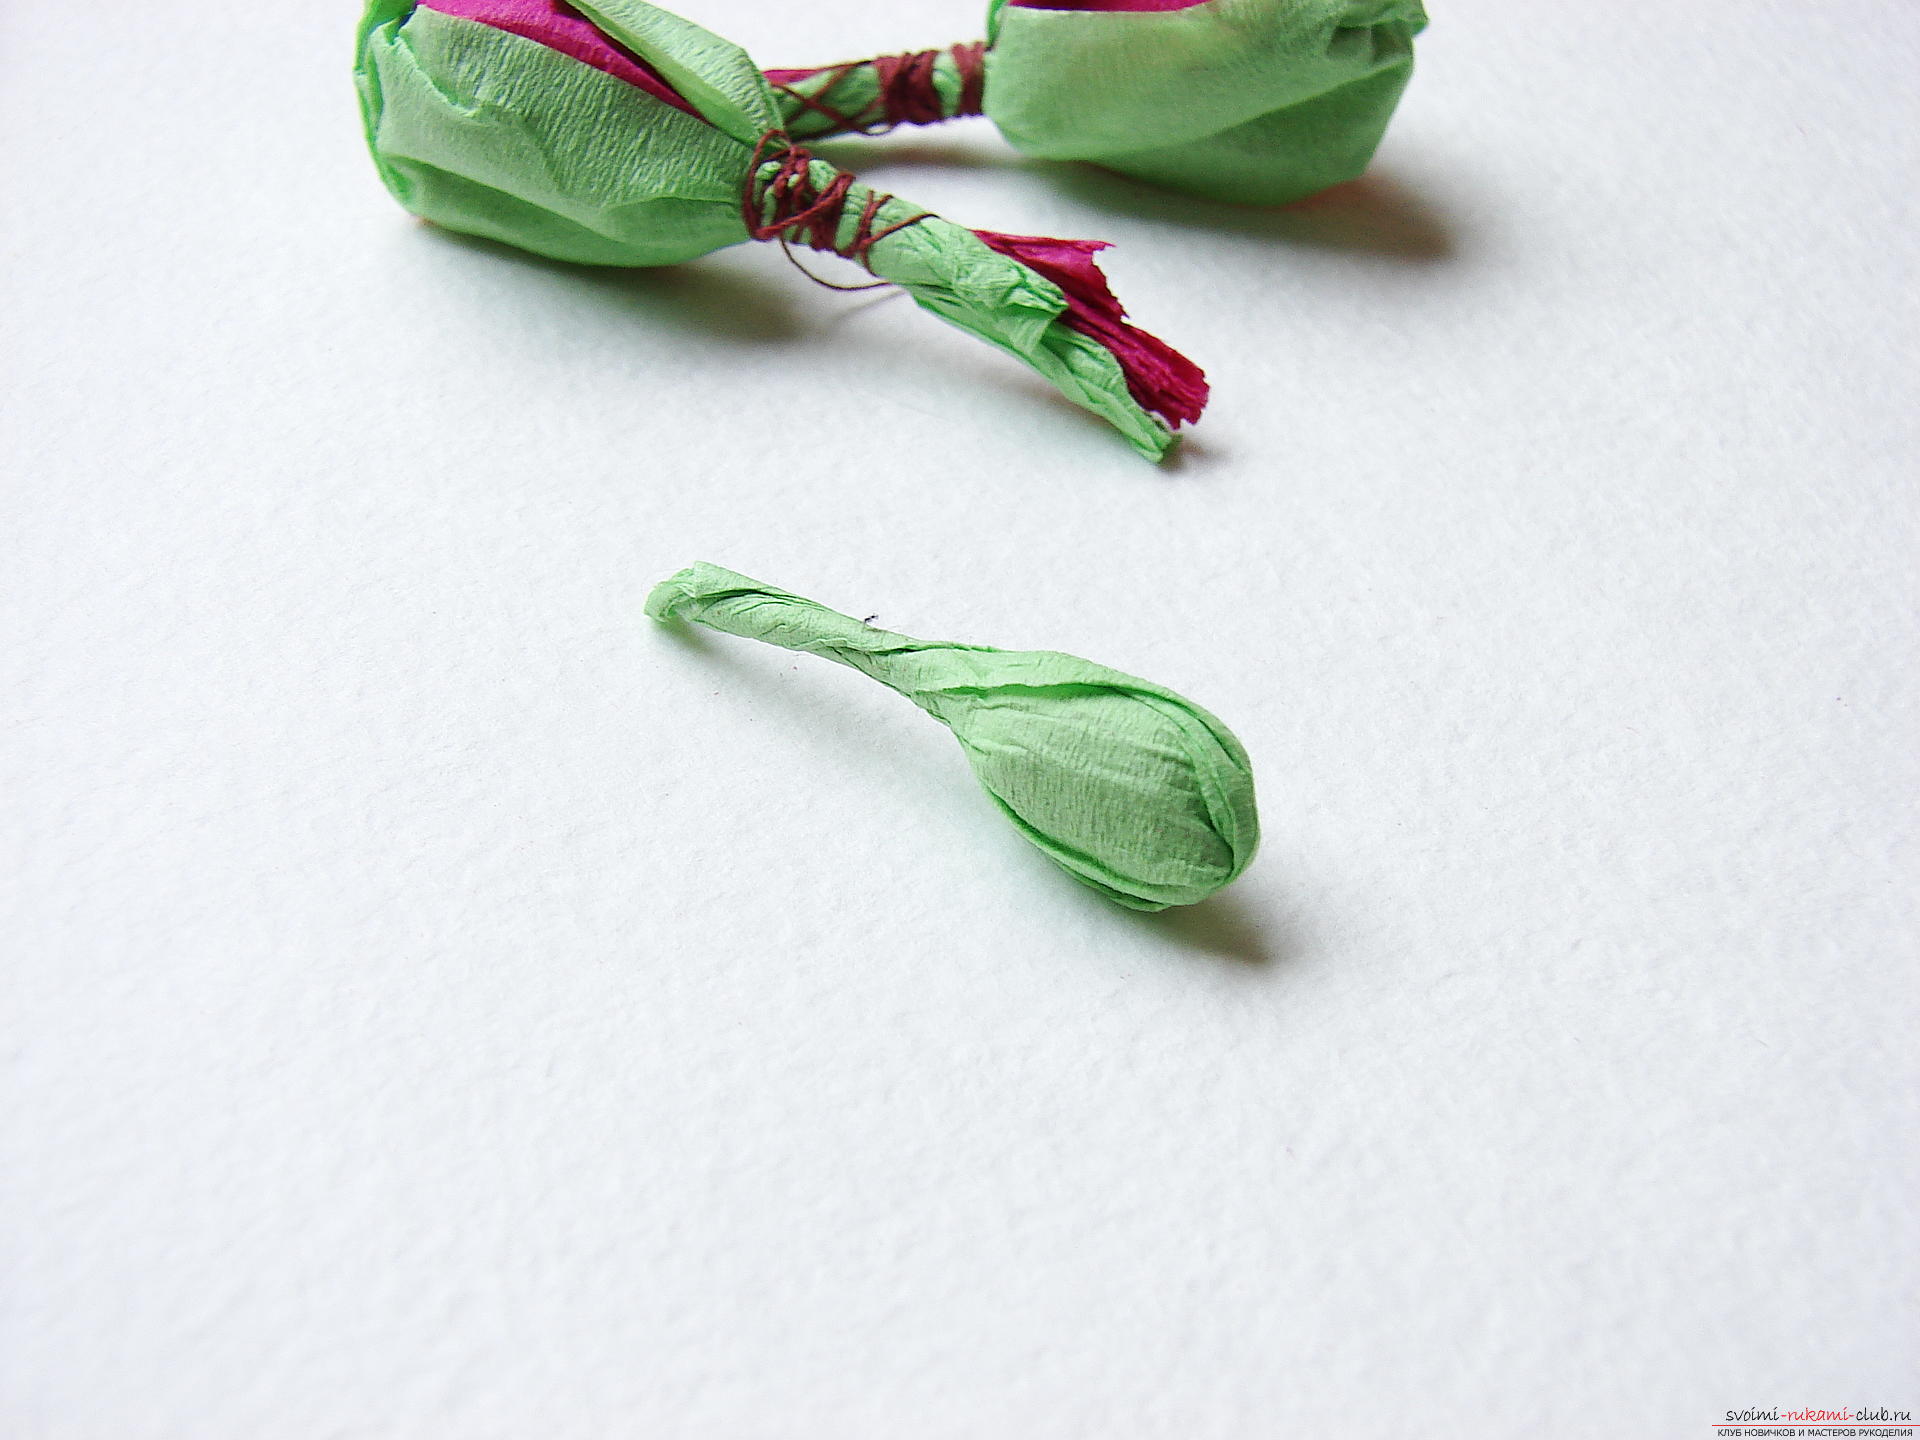
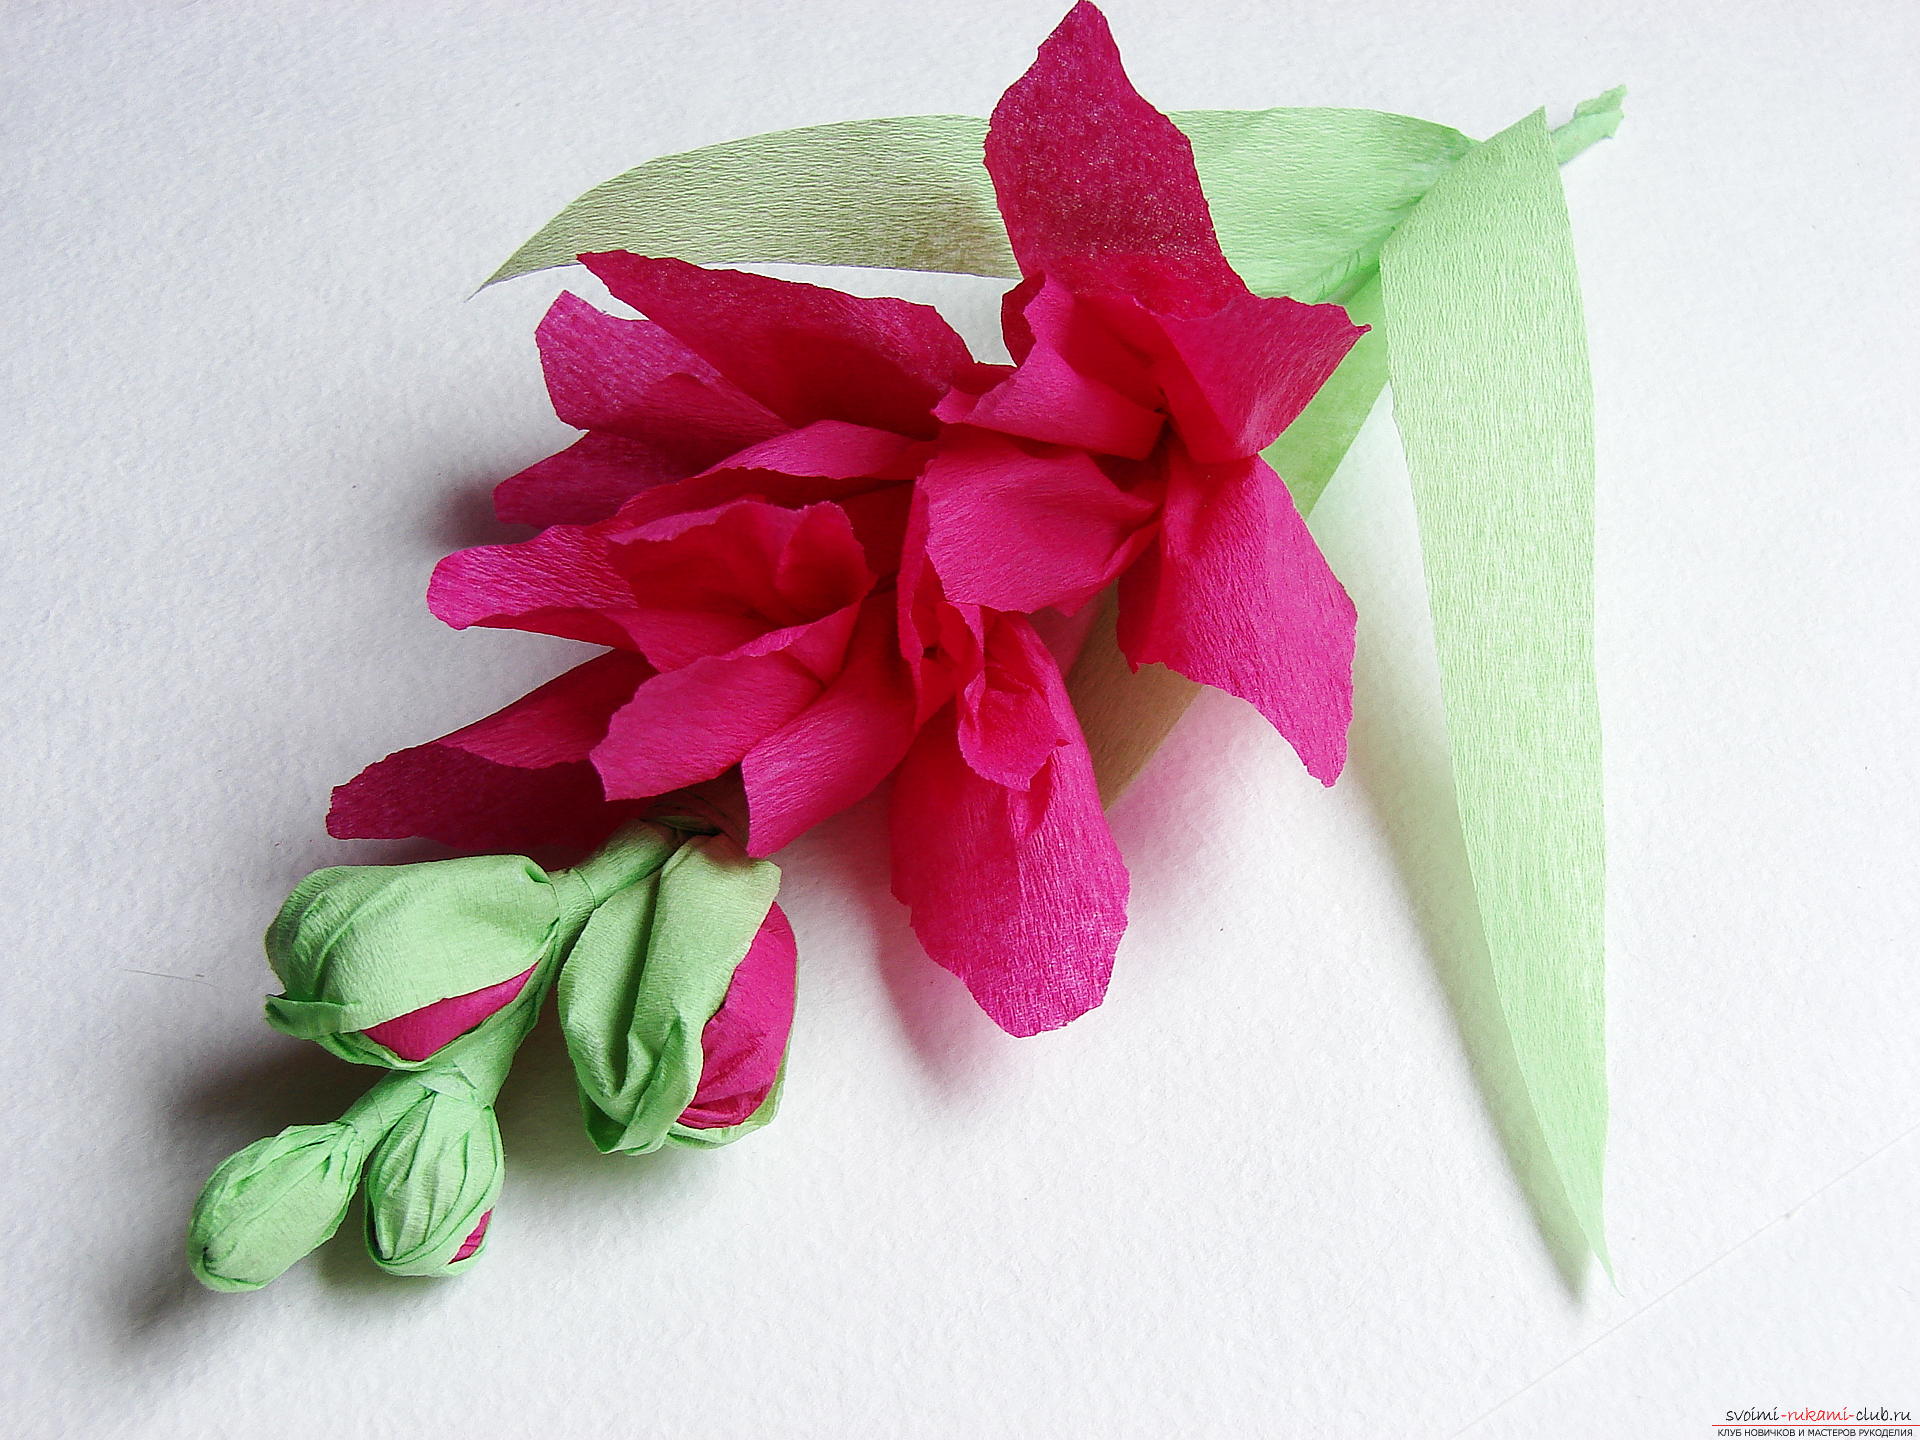
 In the future, we will place at the top of the stem. Step 8 When all the unblown buds are ready, proceed to the formation of the main buds. We connect the first two petals in this way, by twisting their base with their fingers.
 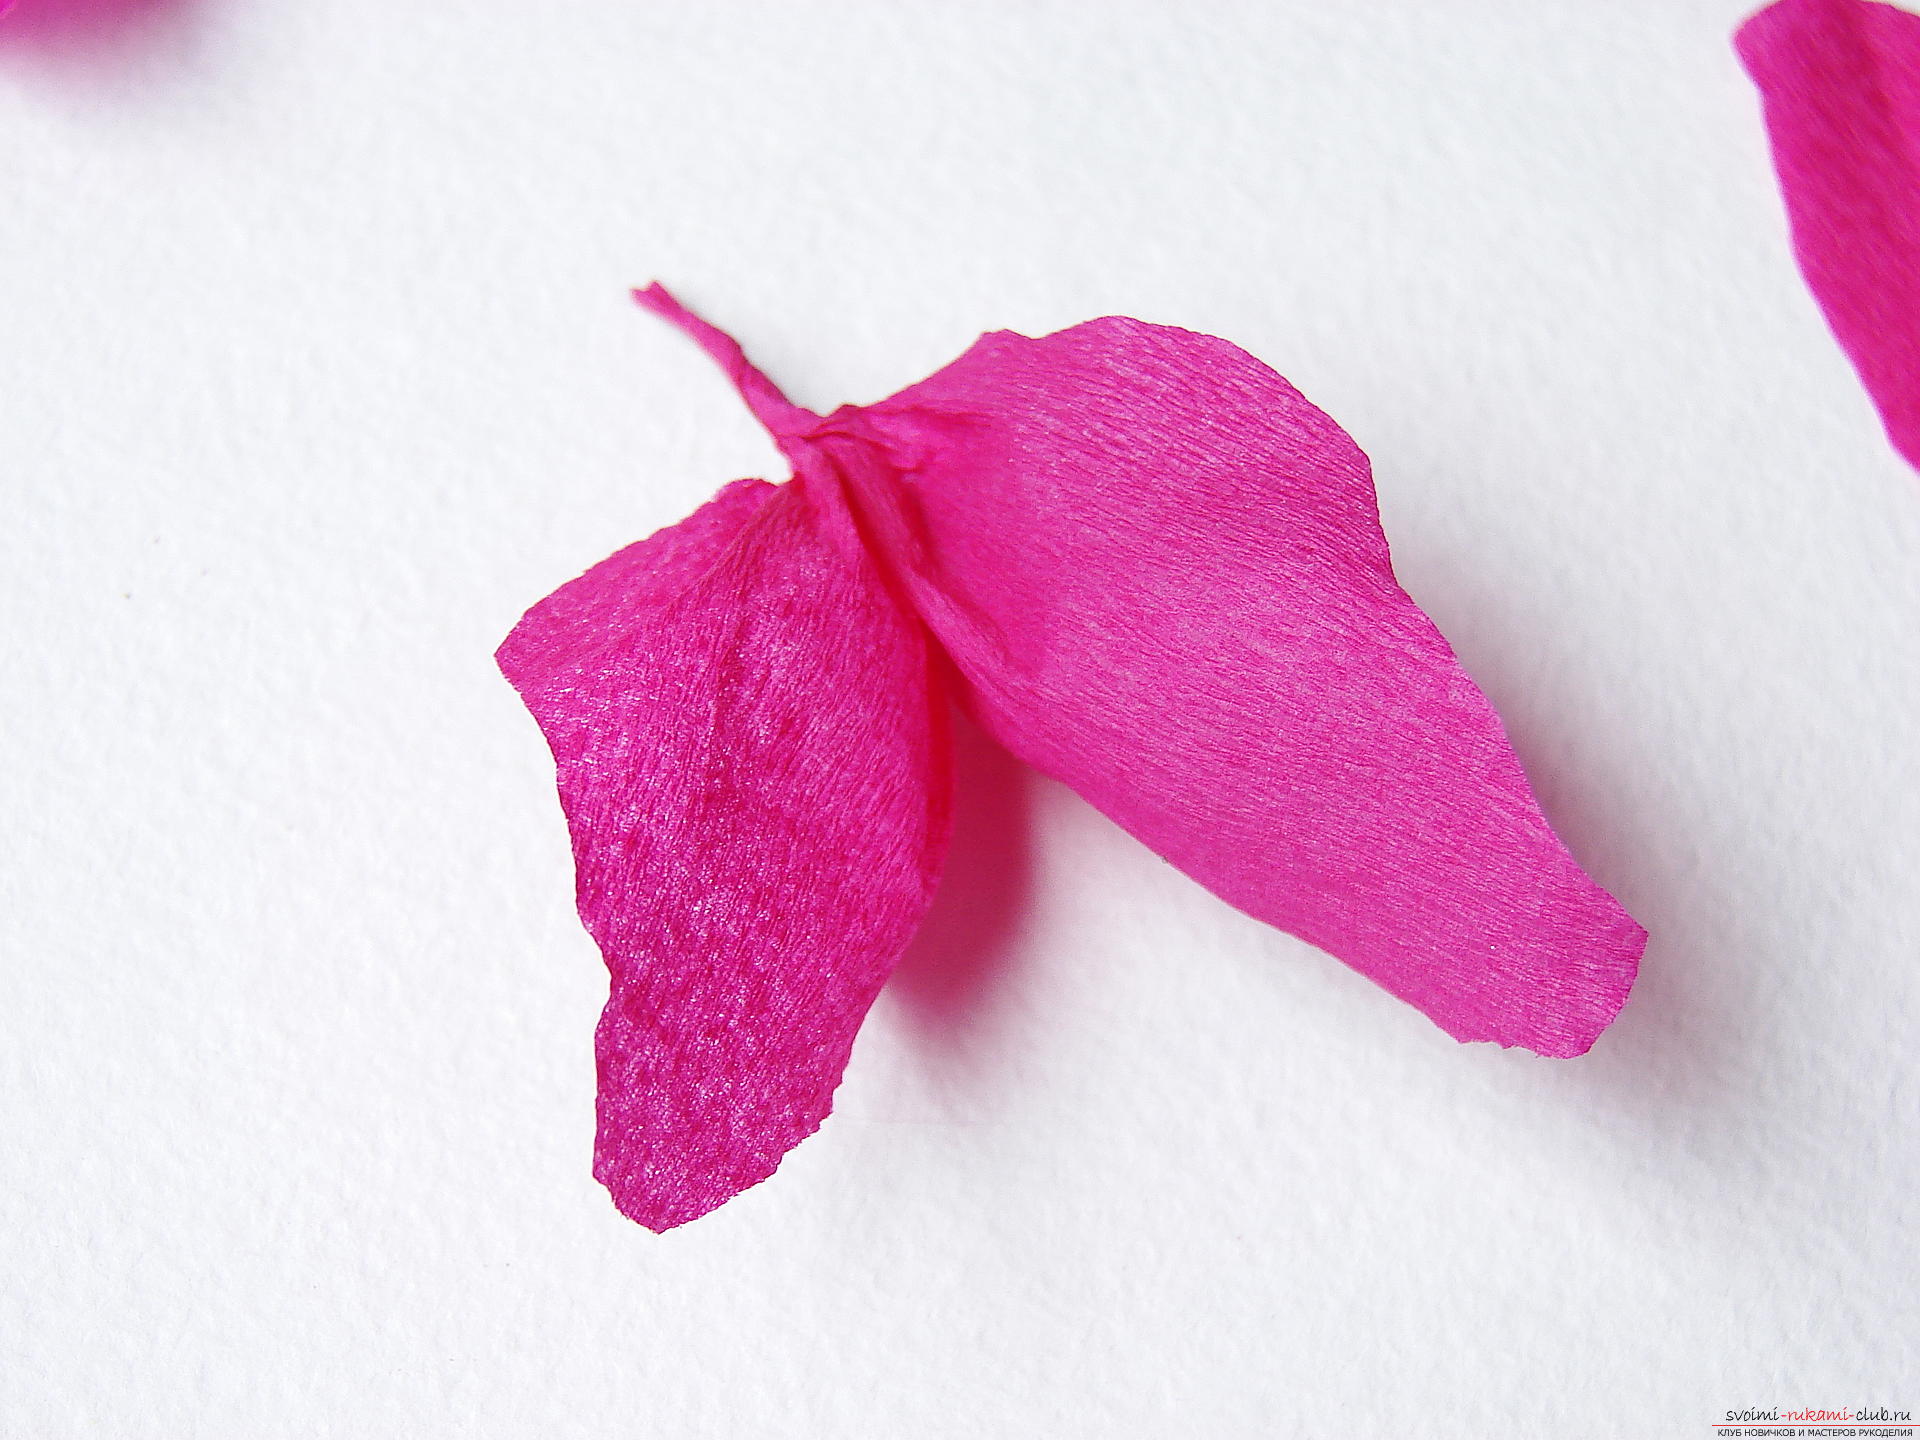 Next, carefully attach three more petals. We should get here such a voluminous bud.
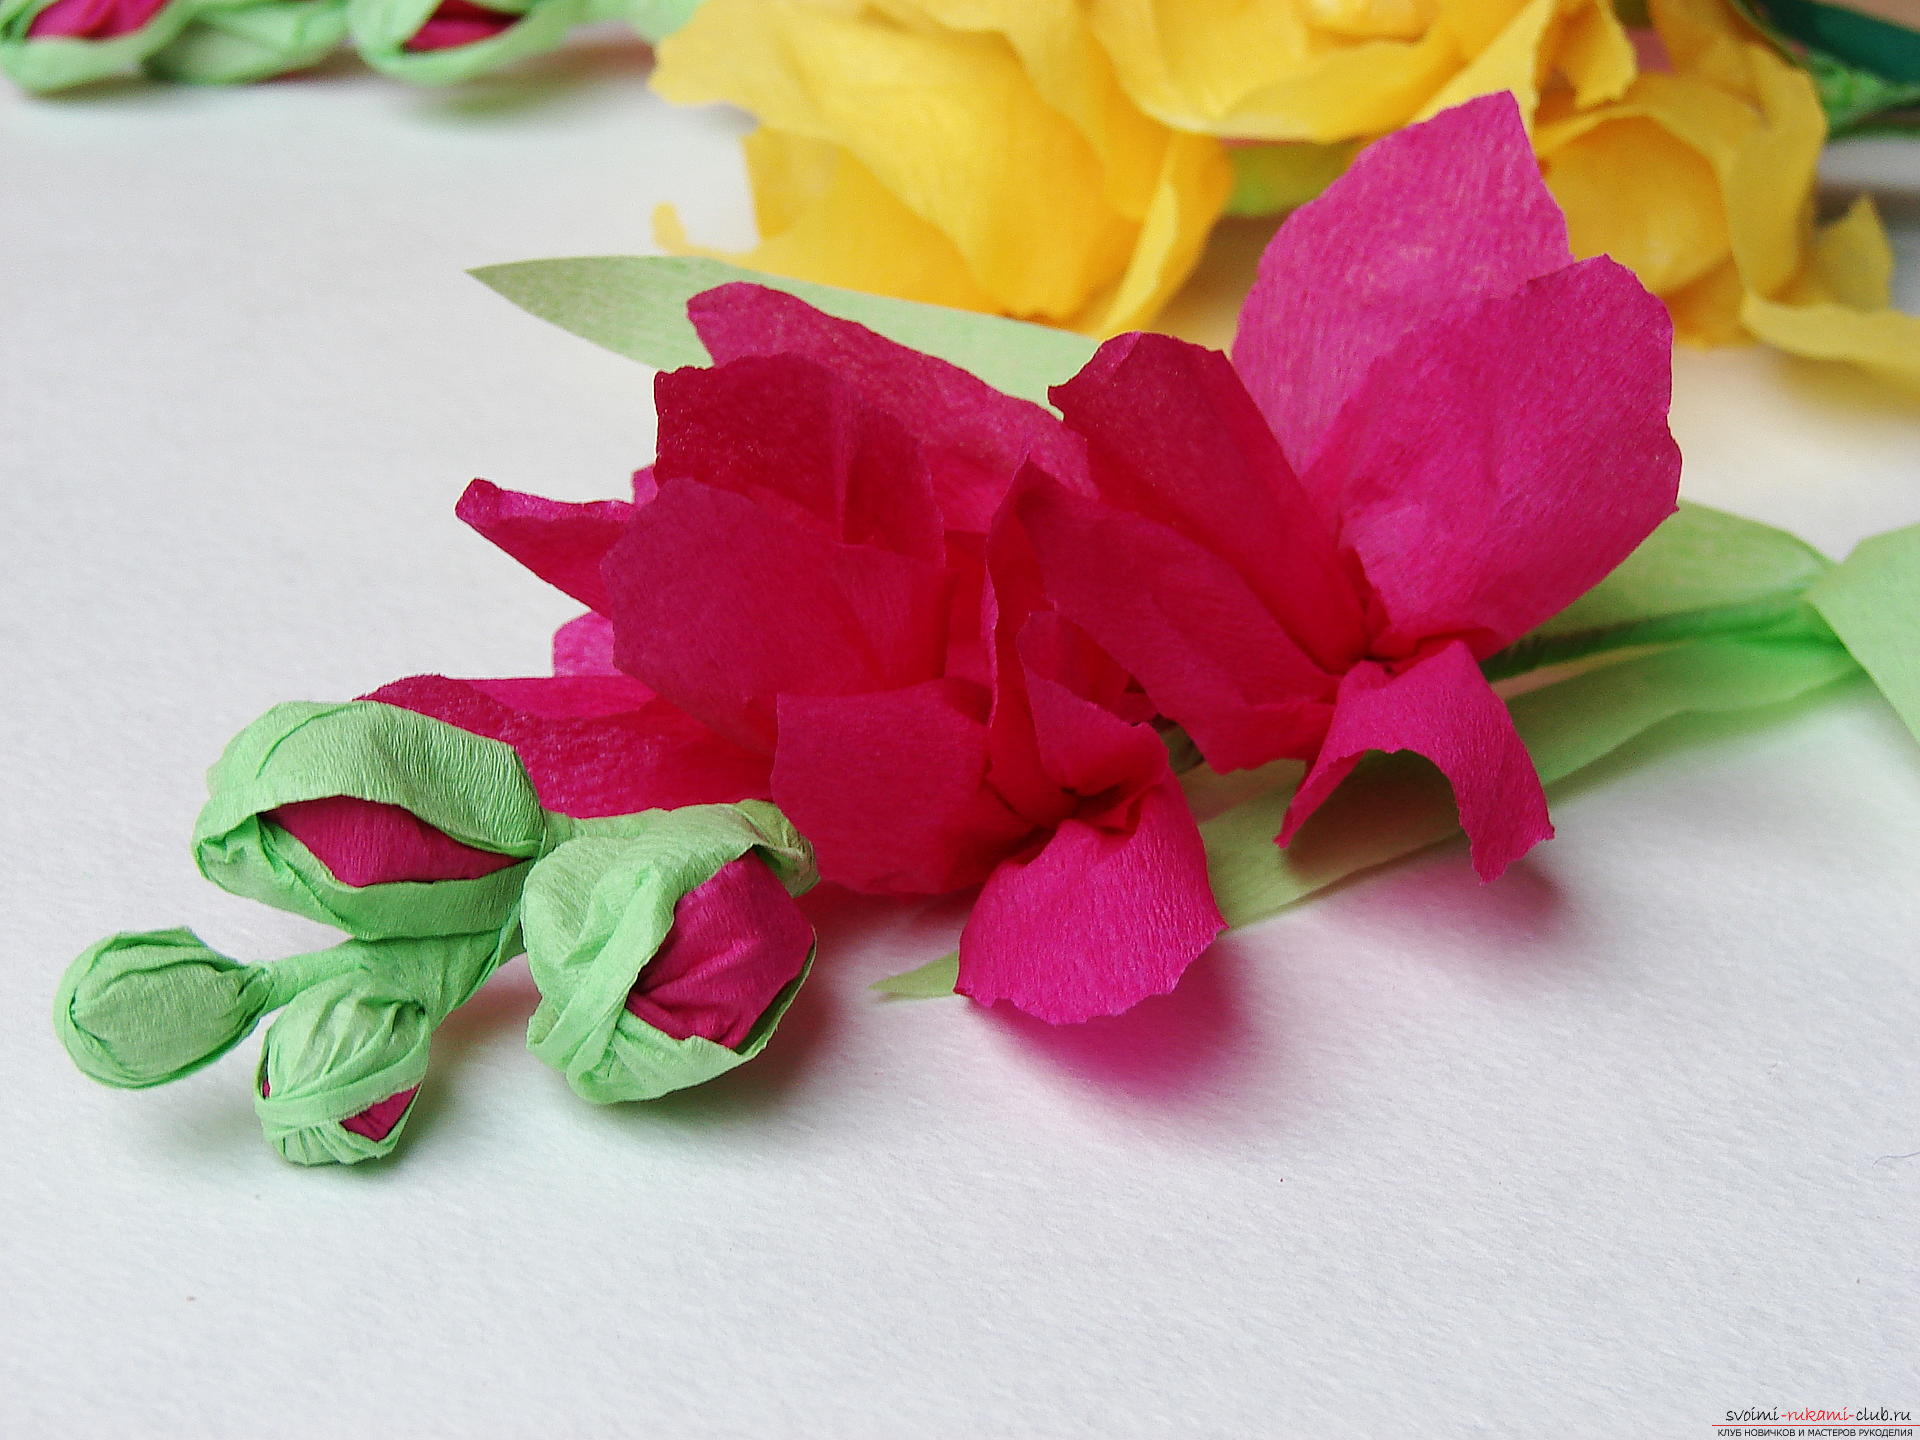
 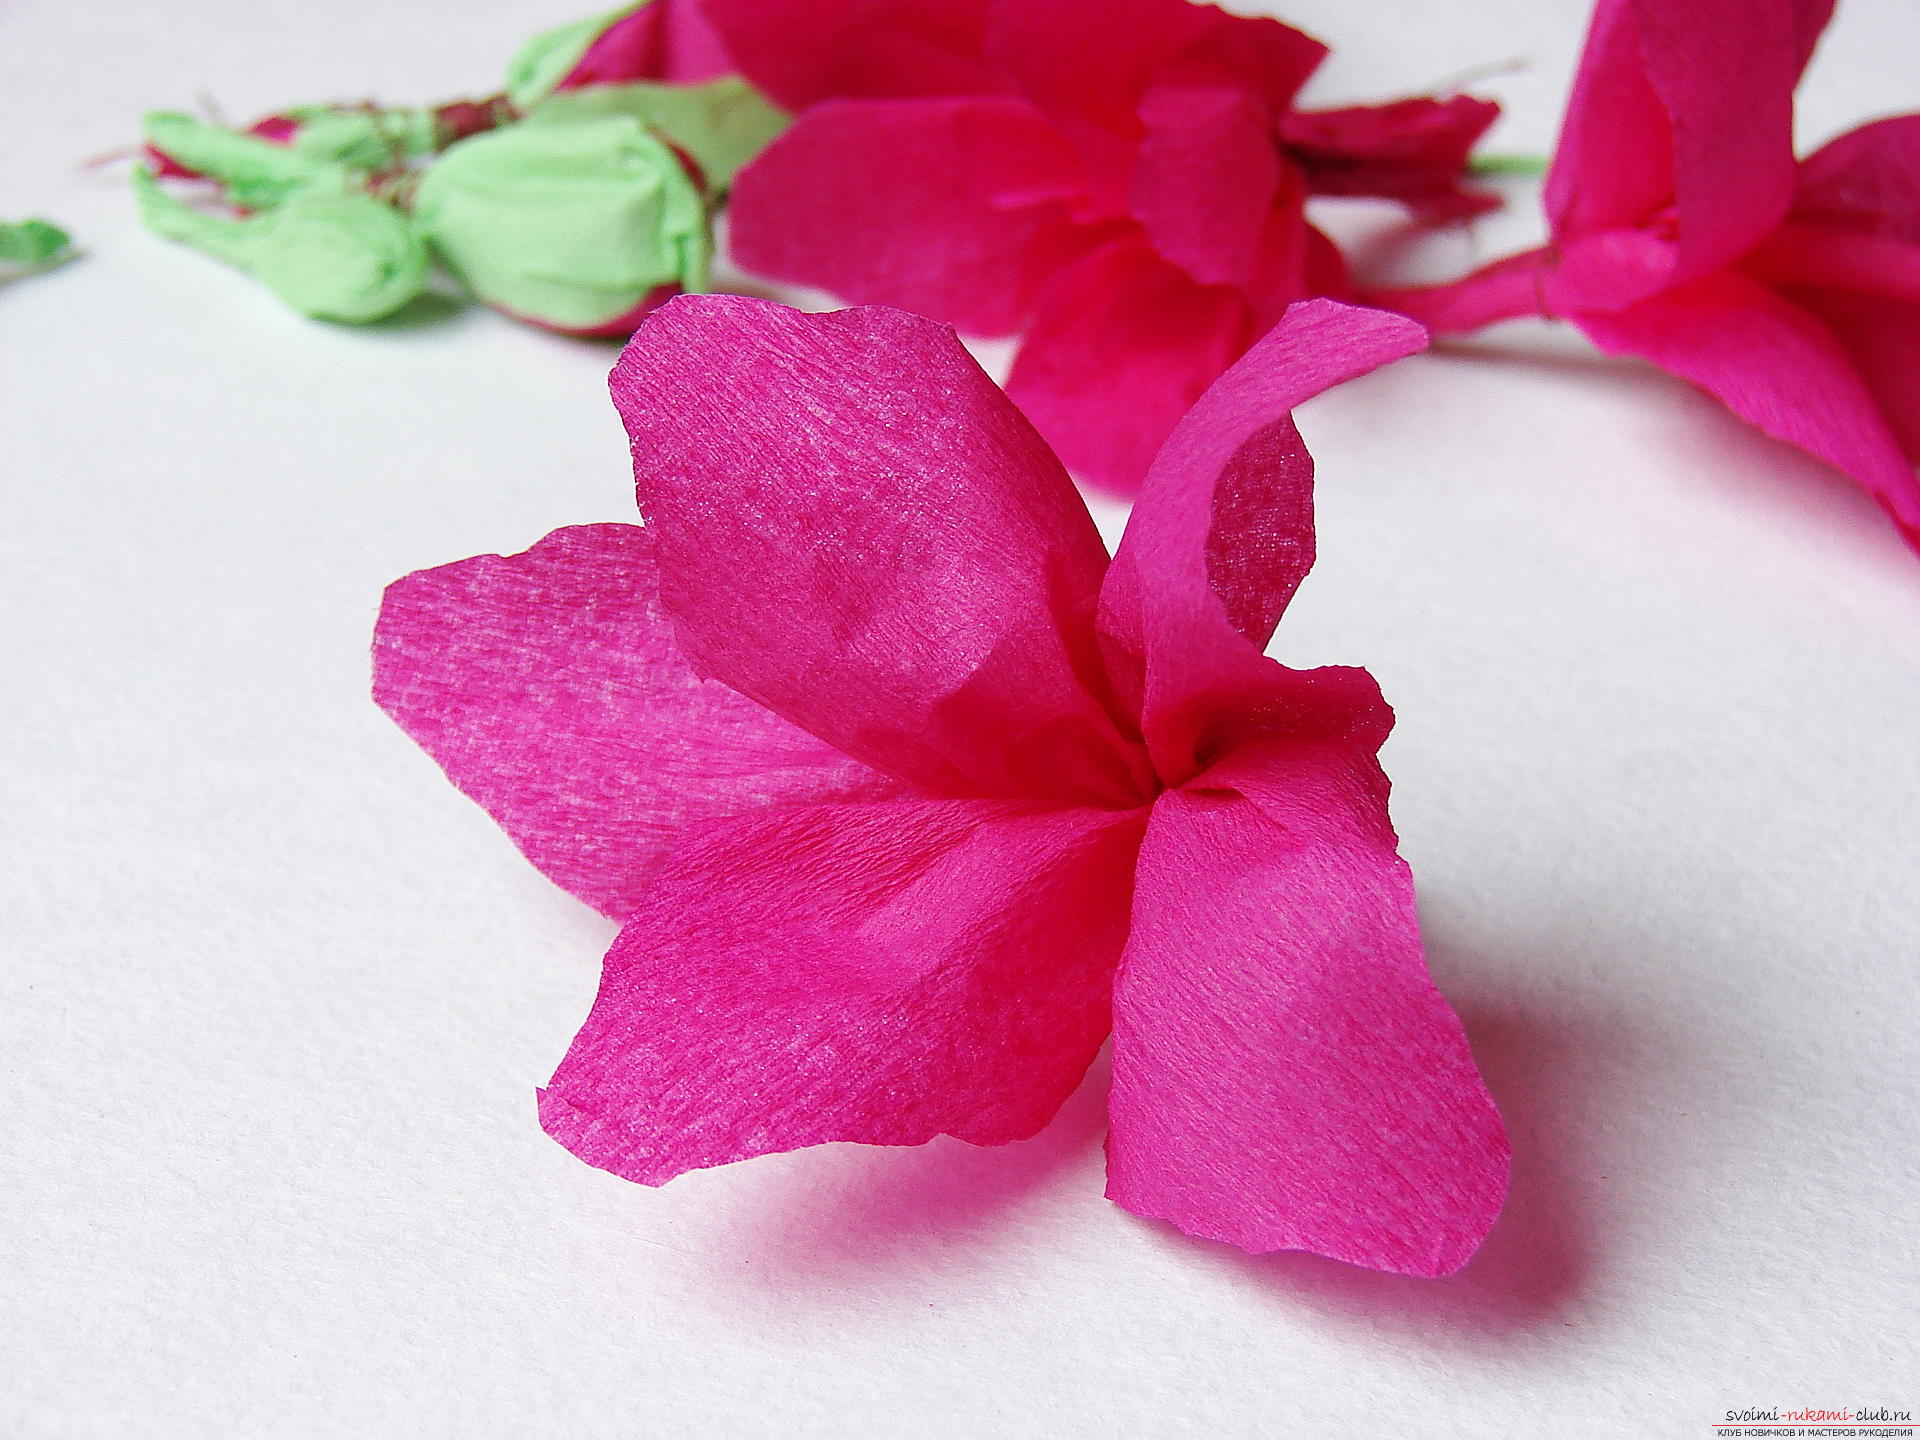 Step 9 To each bud preparation we put the correctshape. Inflorescences that will be in the upper part of the stem, make half-open. The lower flowers should be fully opened for this, you need to turn all the petals outward.
  Step 10 We begin to attach all the inflorescences to the stalk using crepe tape. First we attach the smallest bud.
  Below we have all the others.
  After small unbroken buds, we attach large flowers.
  Step 11 The gladiolus branch is almost ready to only create a few leaves. We cut out their green crepe-paper.
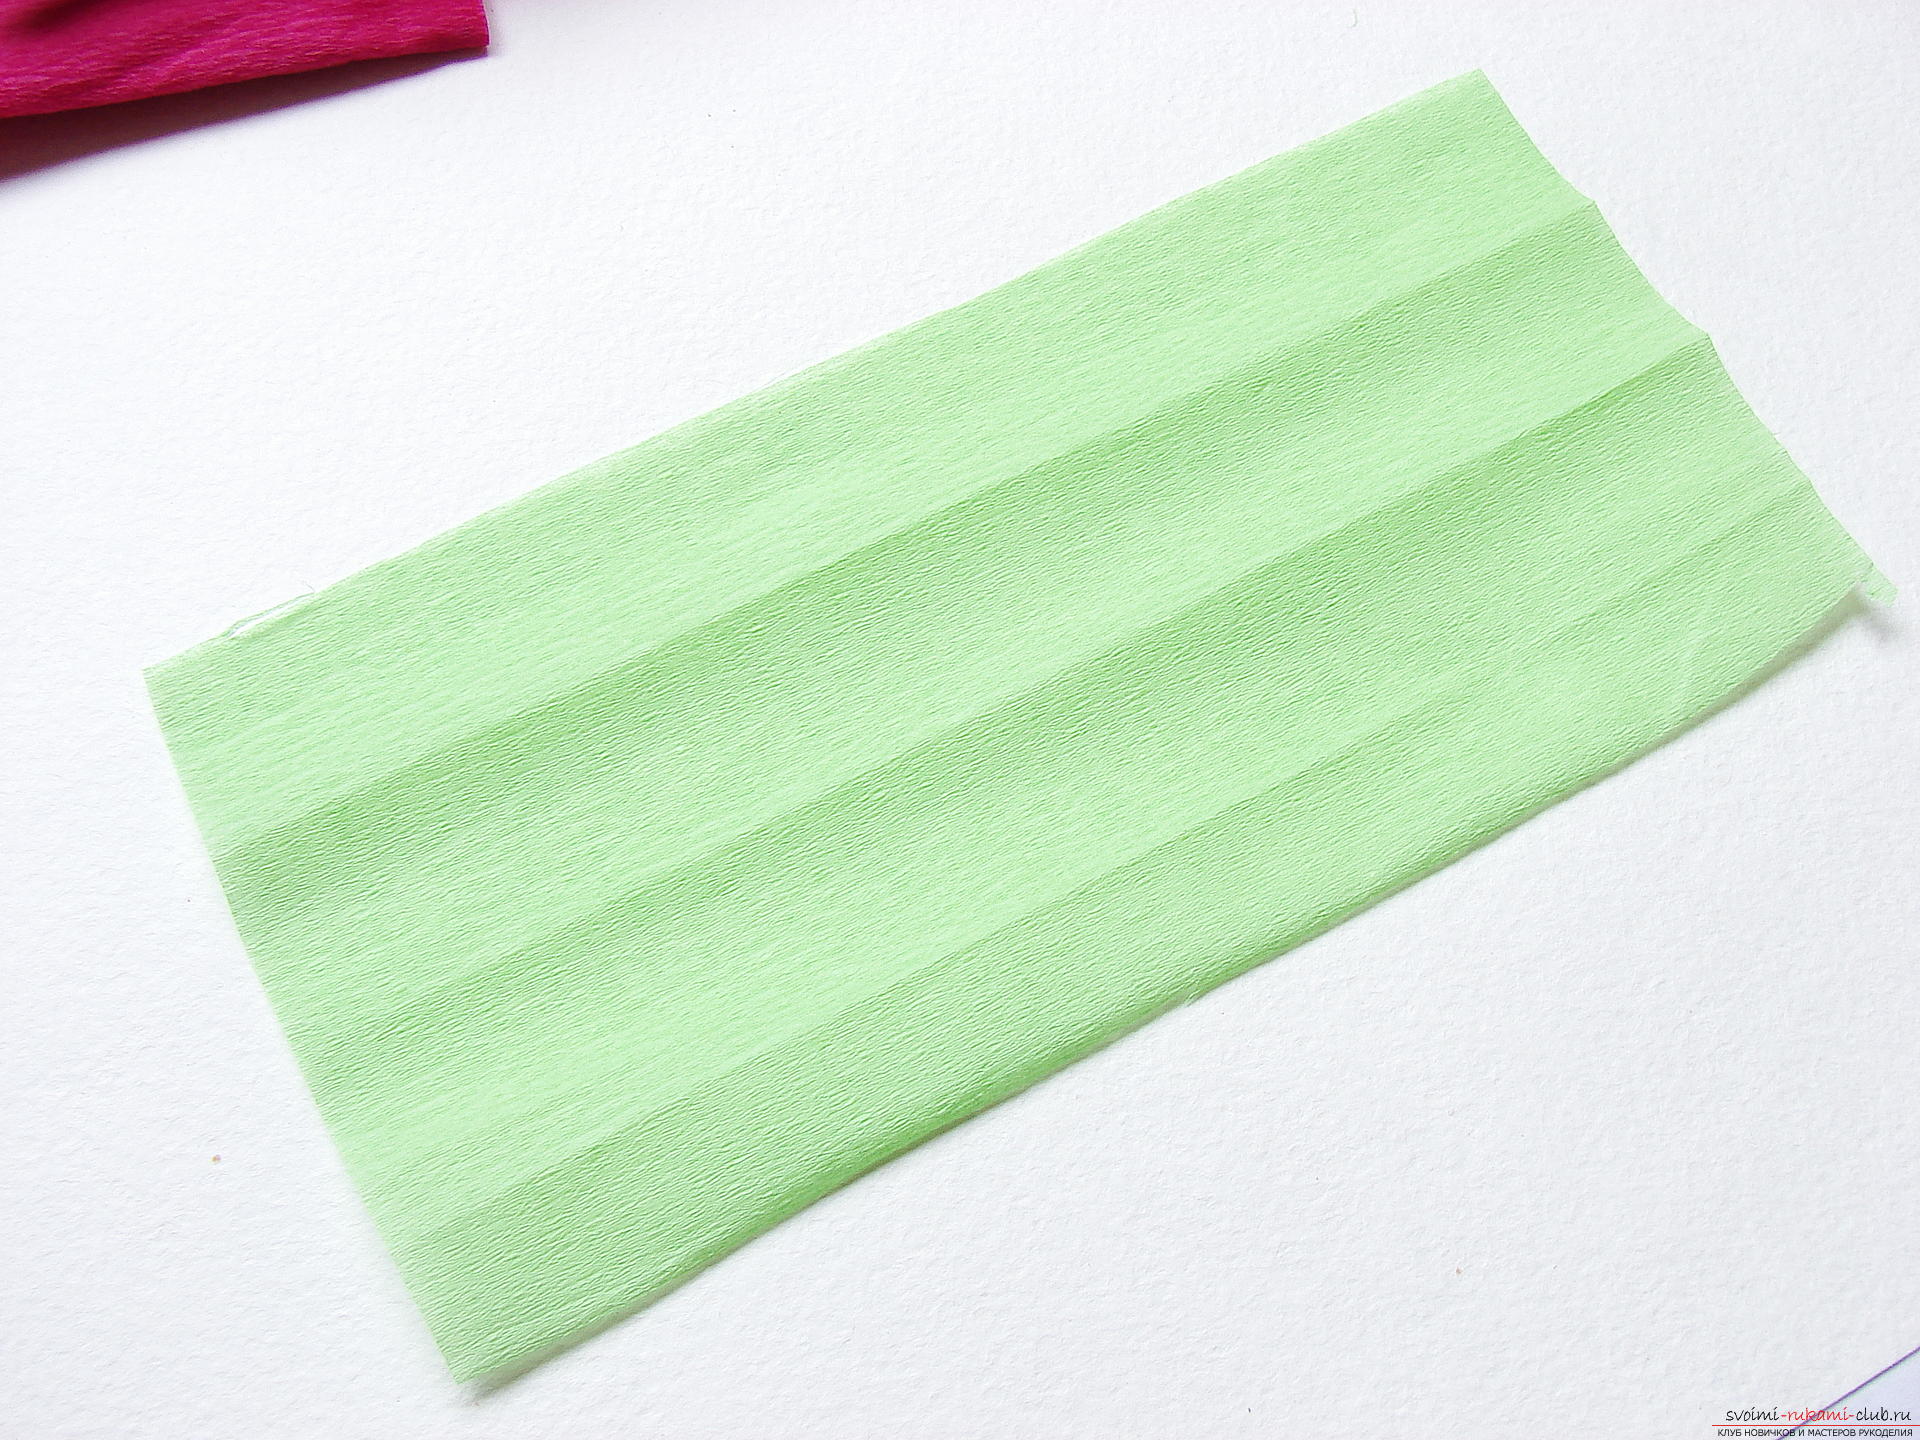
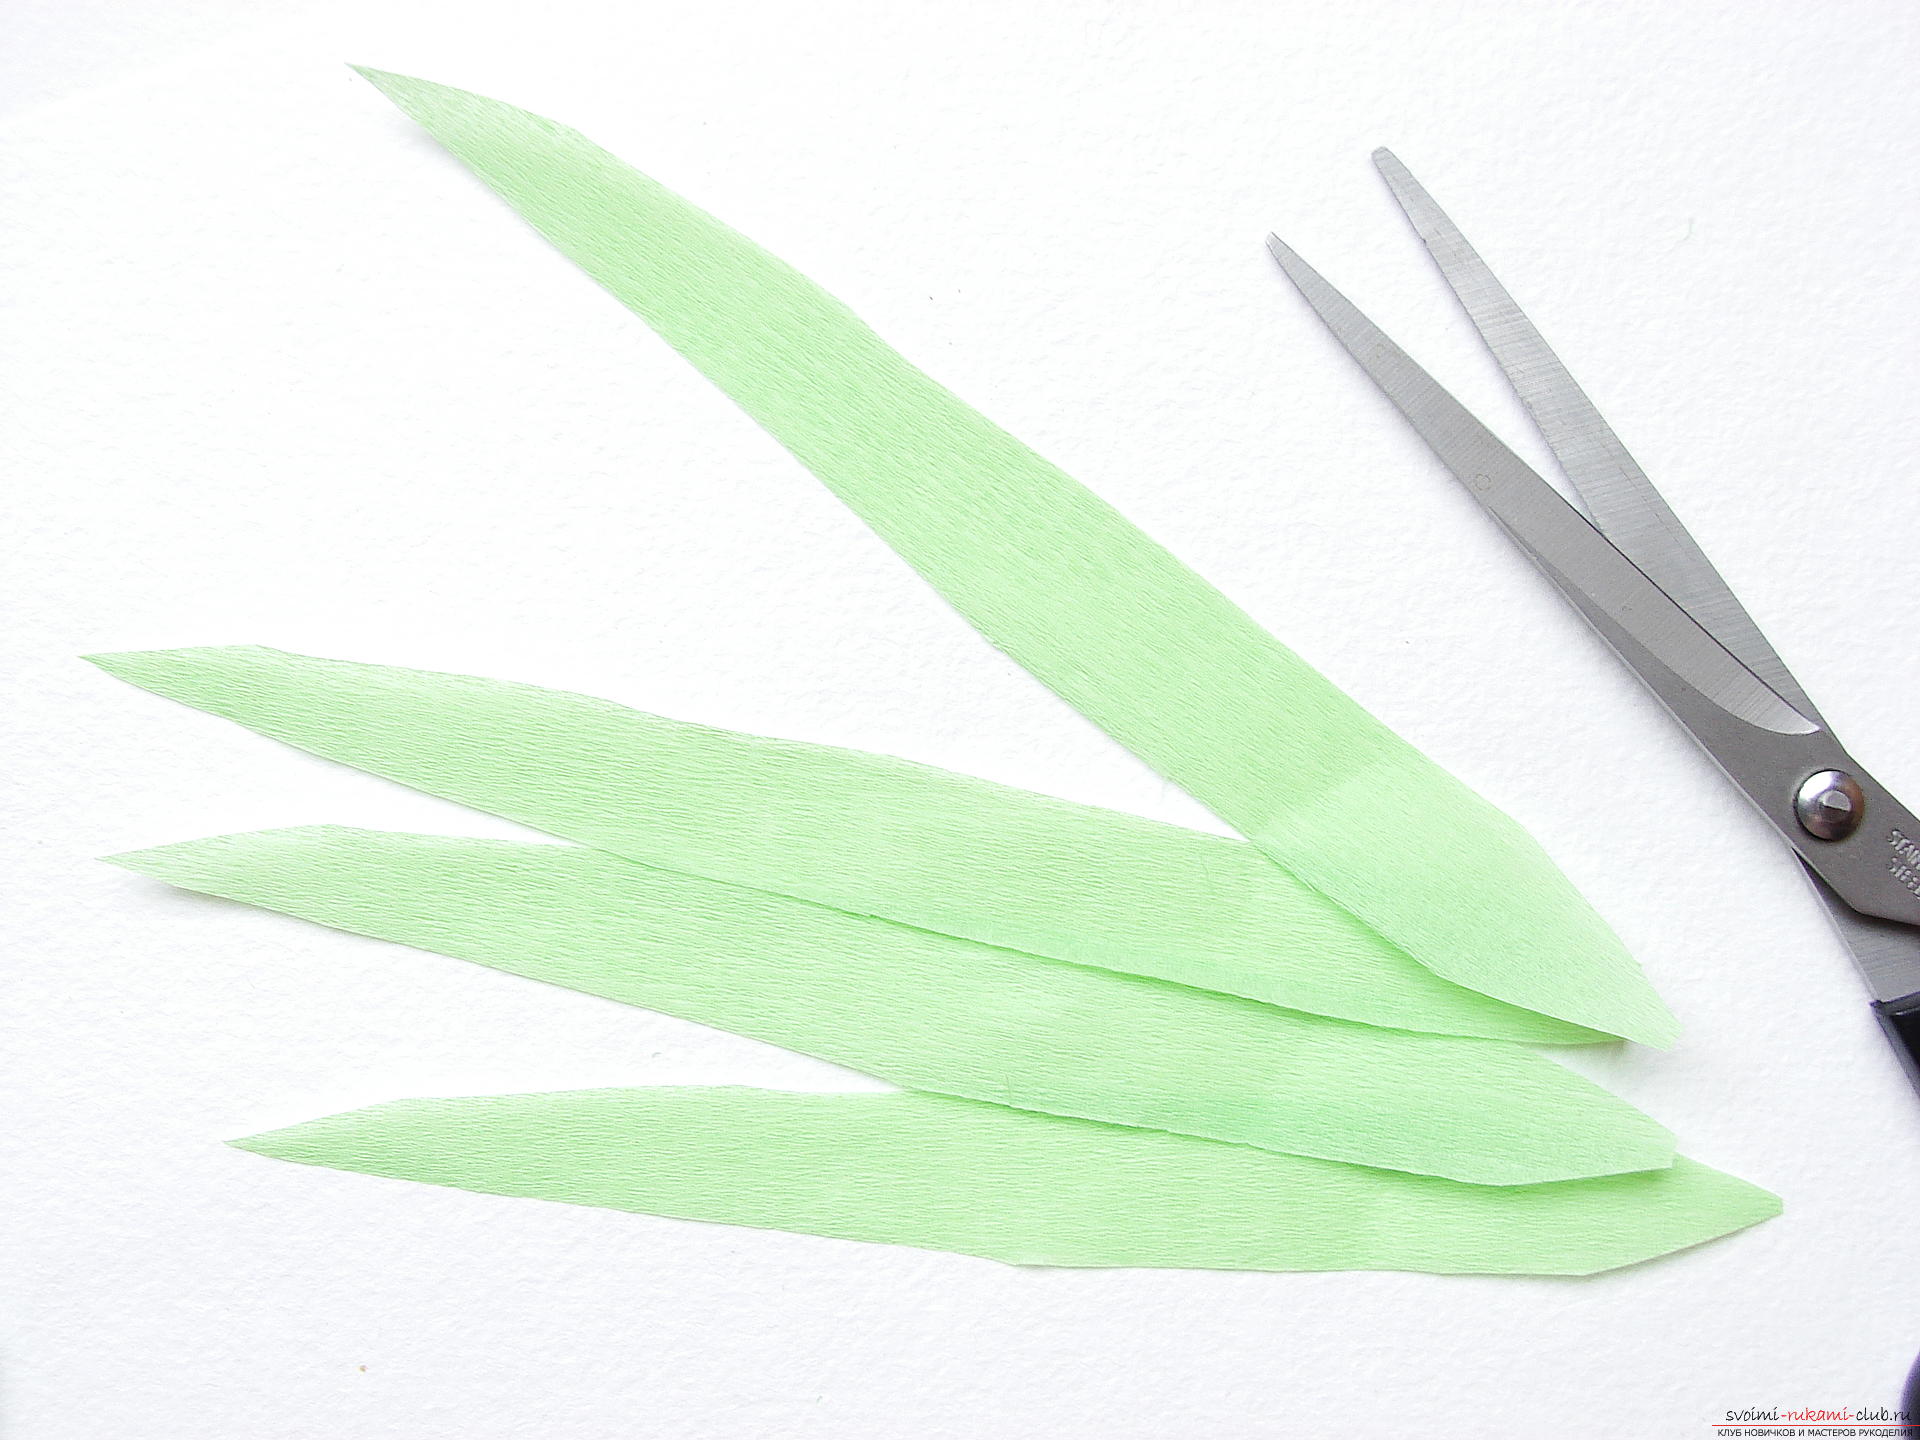 Then one by one attach them to the bottom of the pedicel.
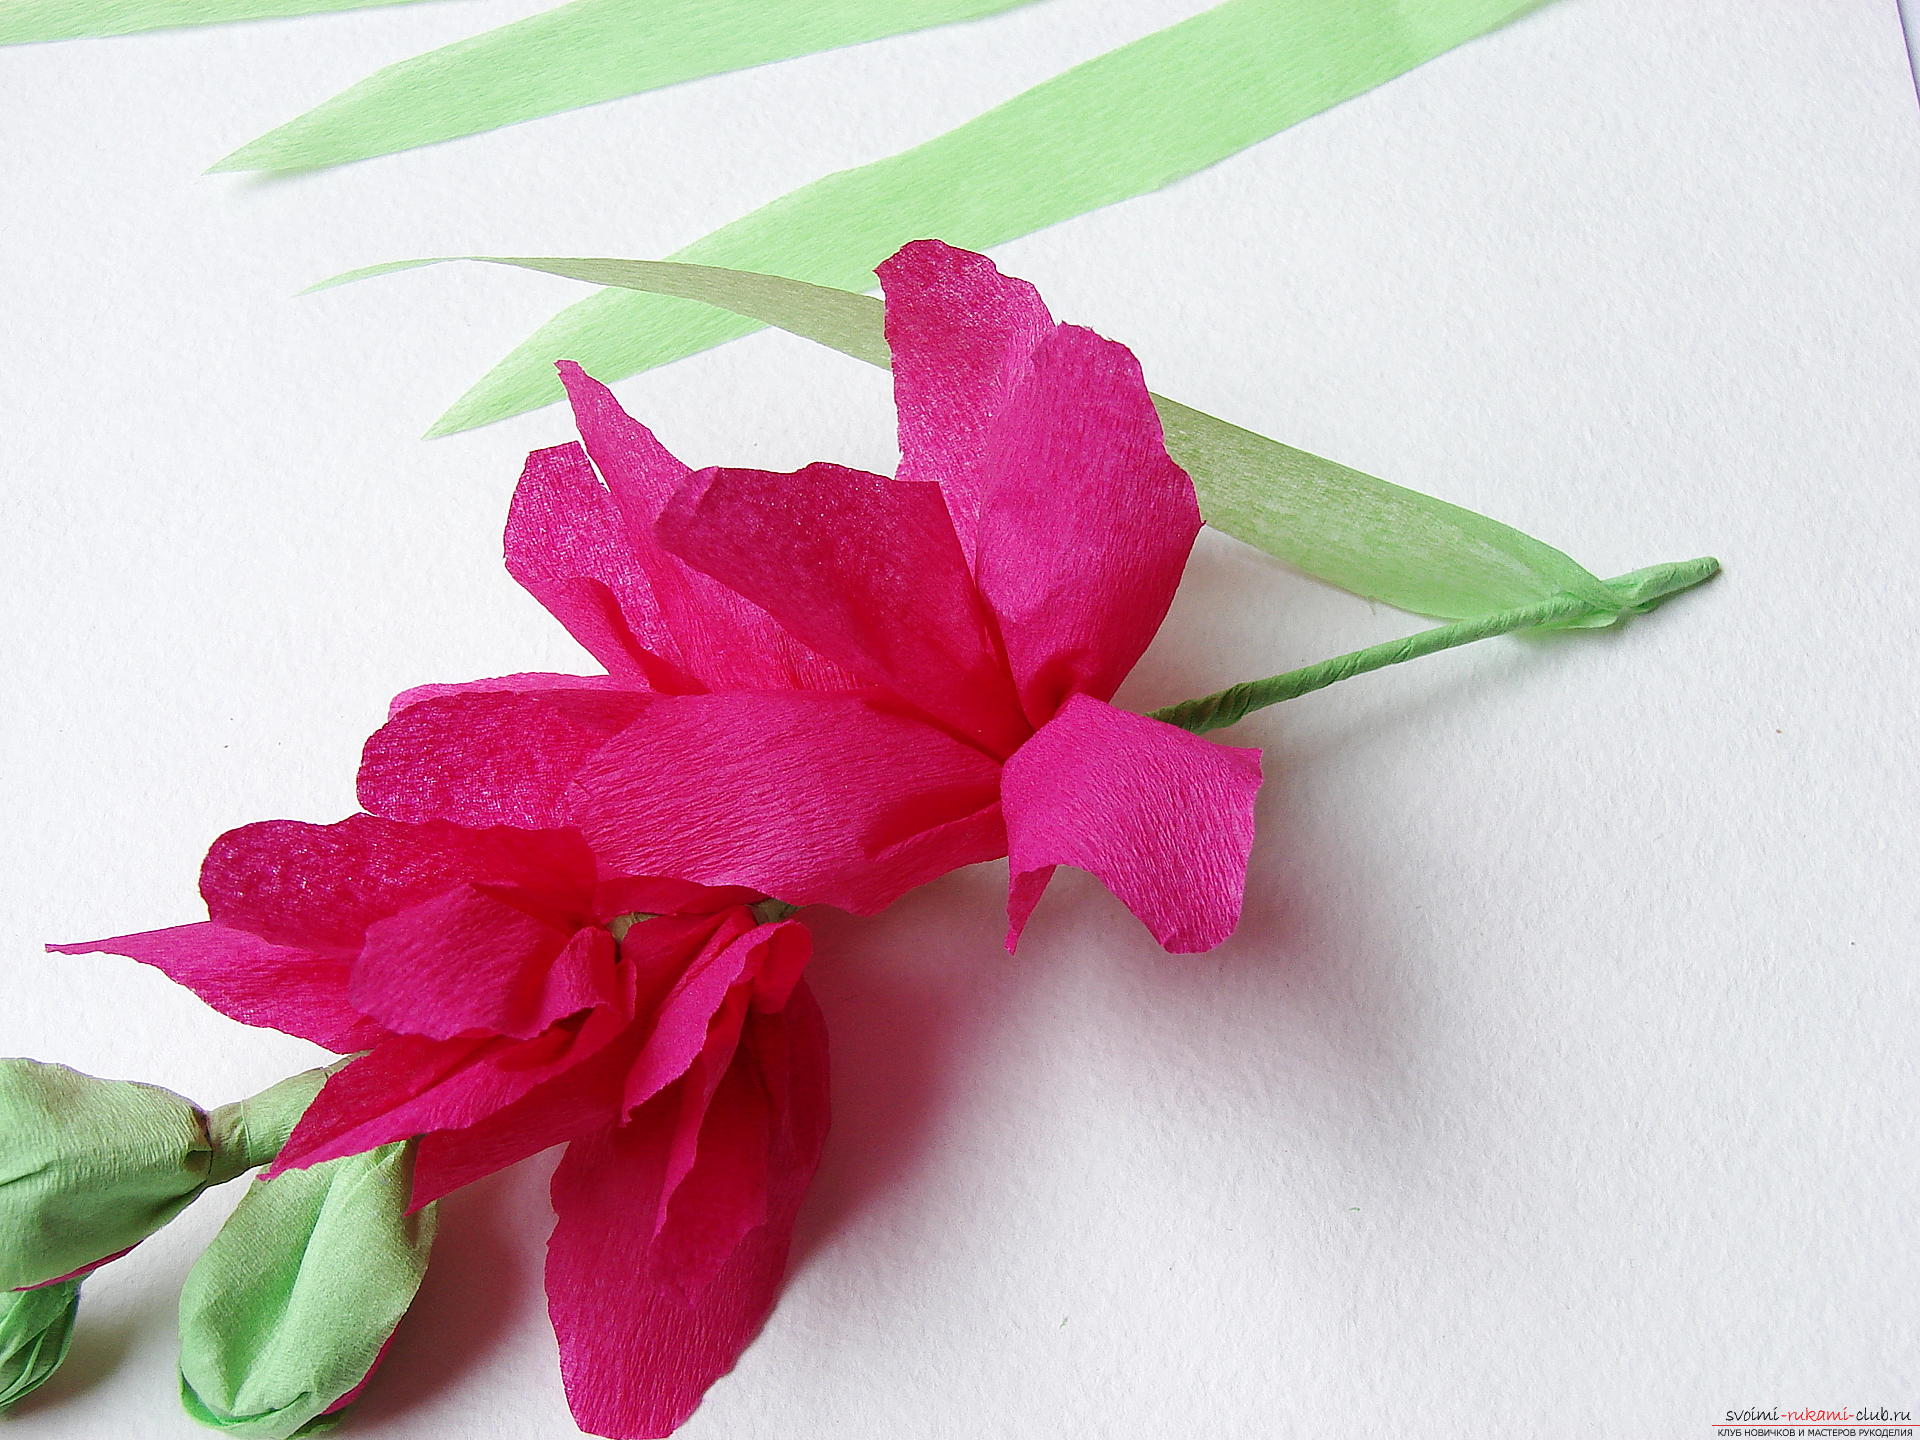
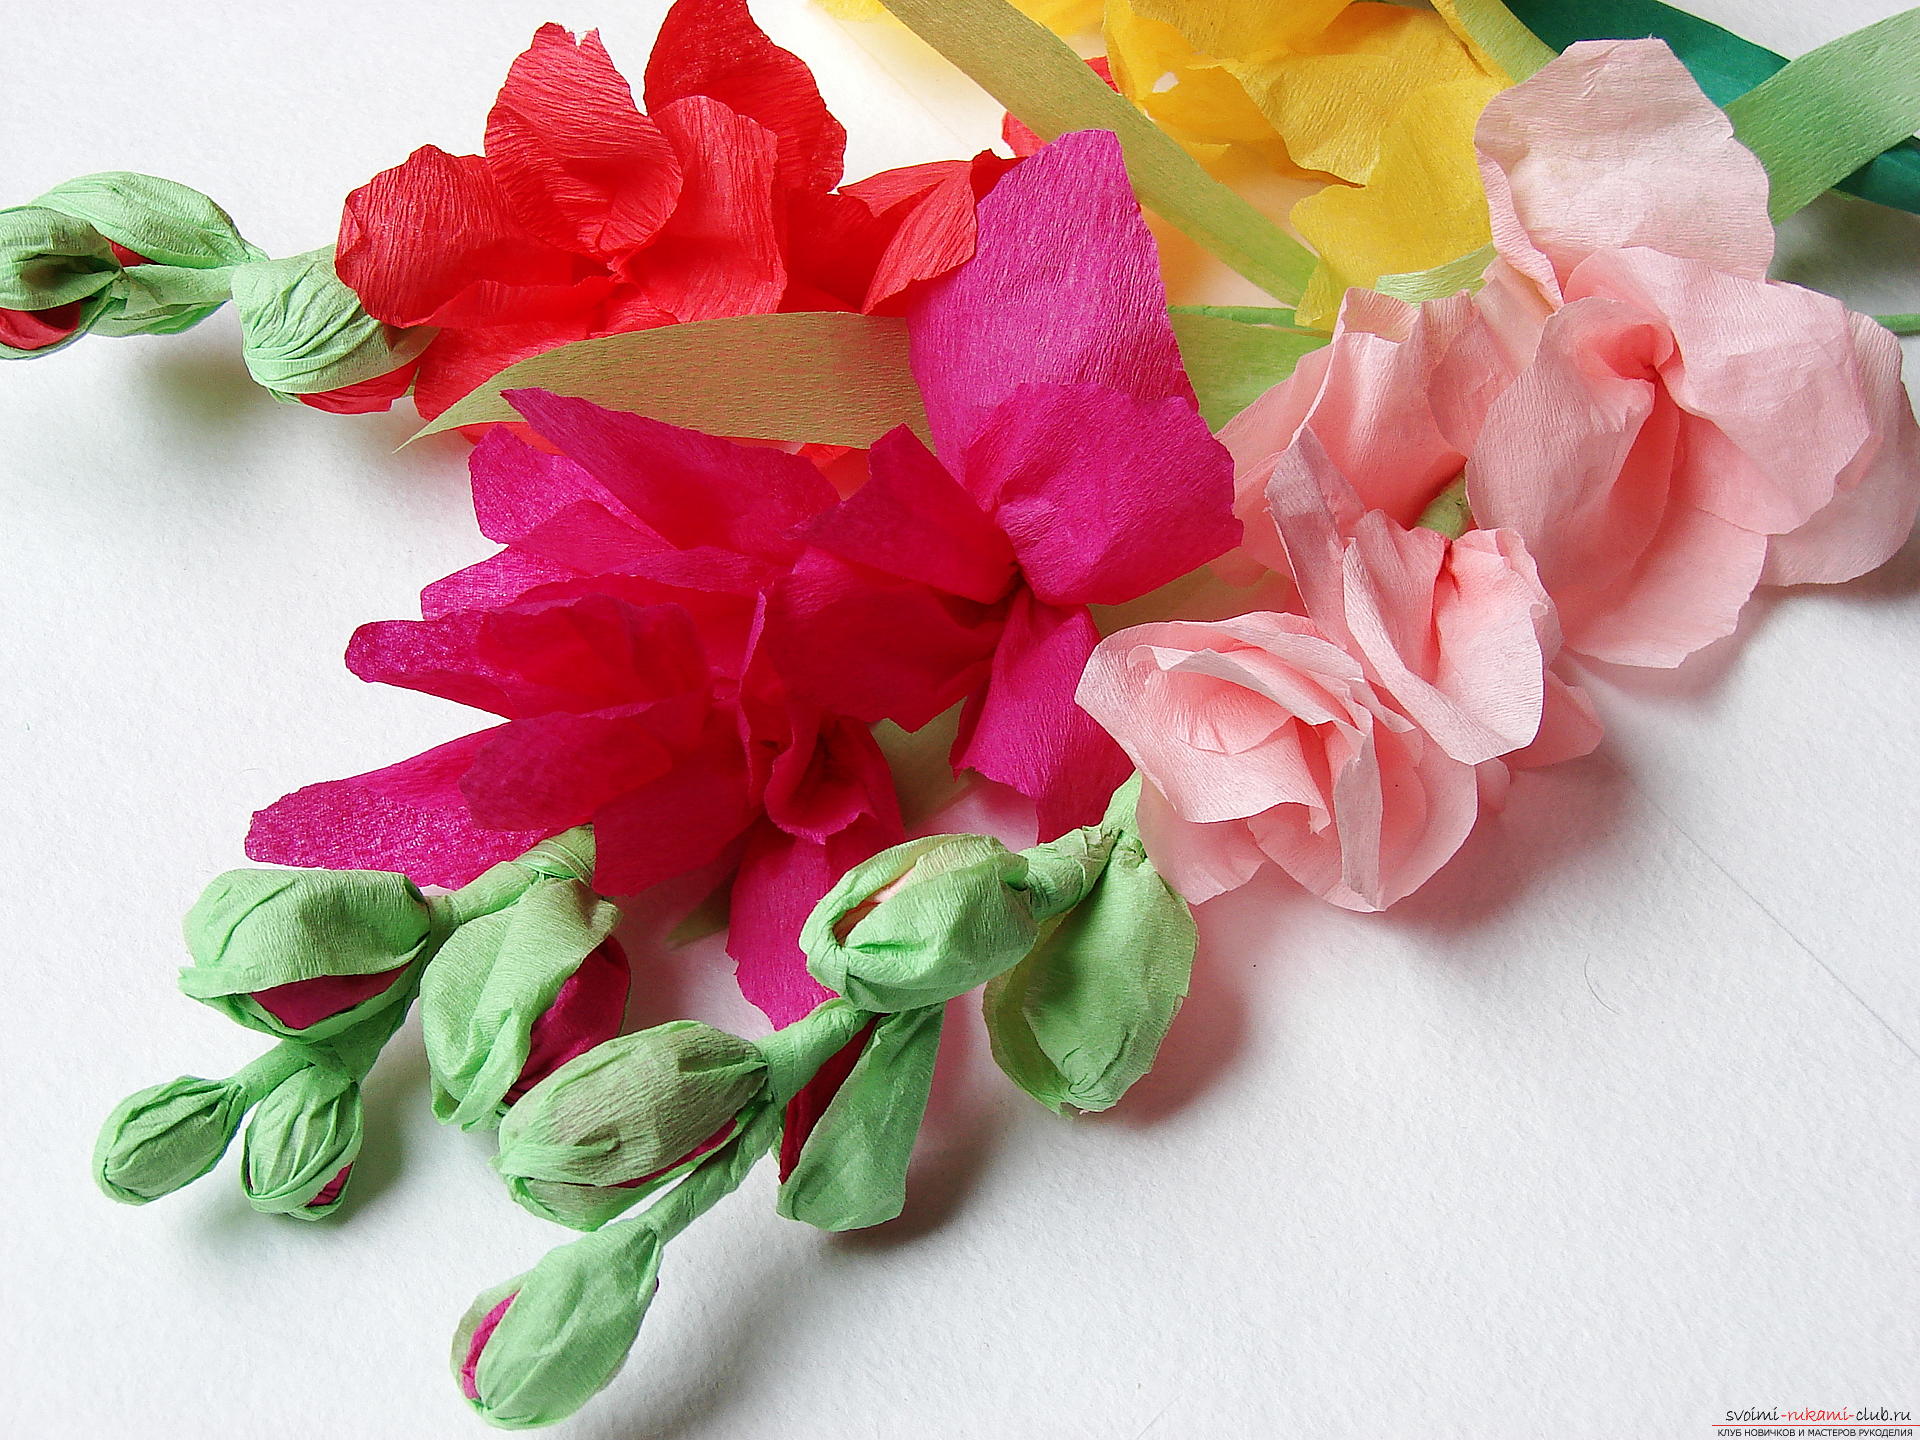
 That's all, the gladiolus of the paper is ready!
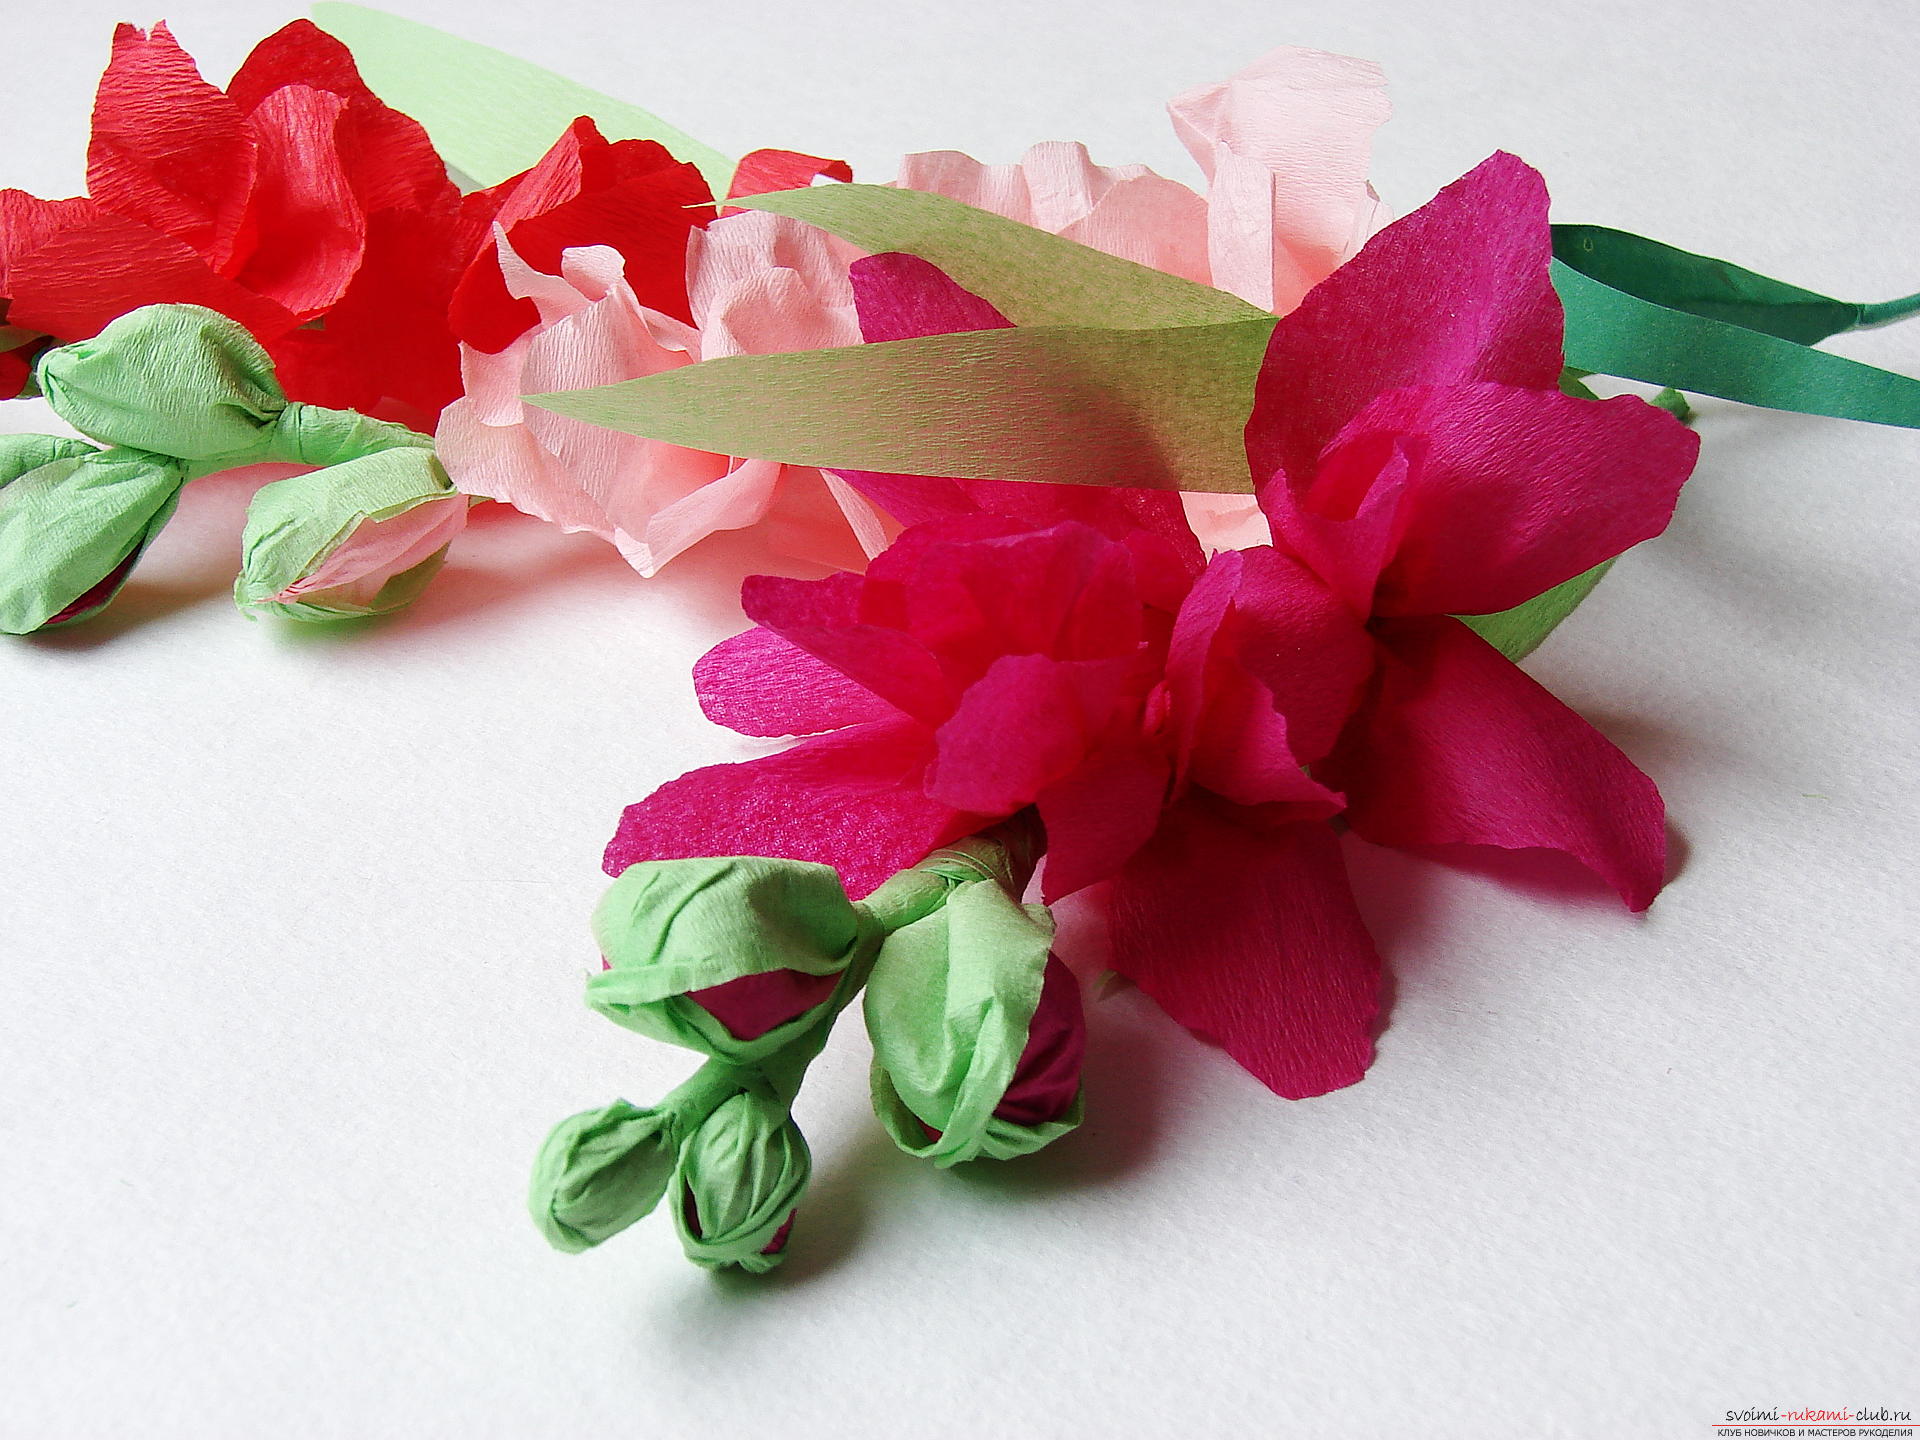
Comments
Related posts:
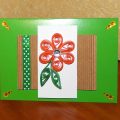 This master class will teach you how to make your own beautiful quilling cards.
 This master class will teach you how to make your own hands a New Year greeting card.
 This master class with photos will teach you how to make a house of paper with your own hands.
 This master class will teach you how to make a gift to your mother with your own hands - a paper panel.
 This detailed master class with photo and description will teach you how to make your own flowers from polymer clay for hair clips.

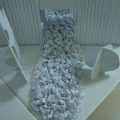
 To make a sachet, we need to take:
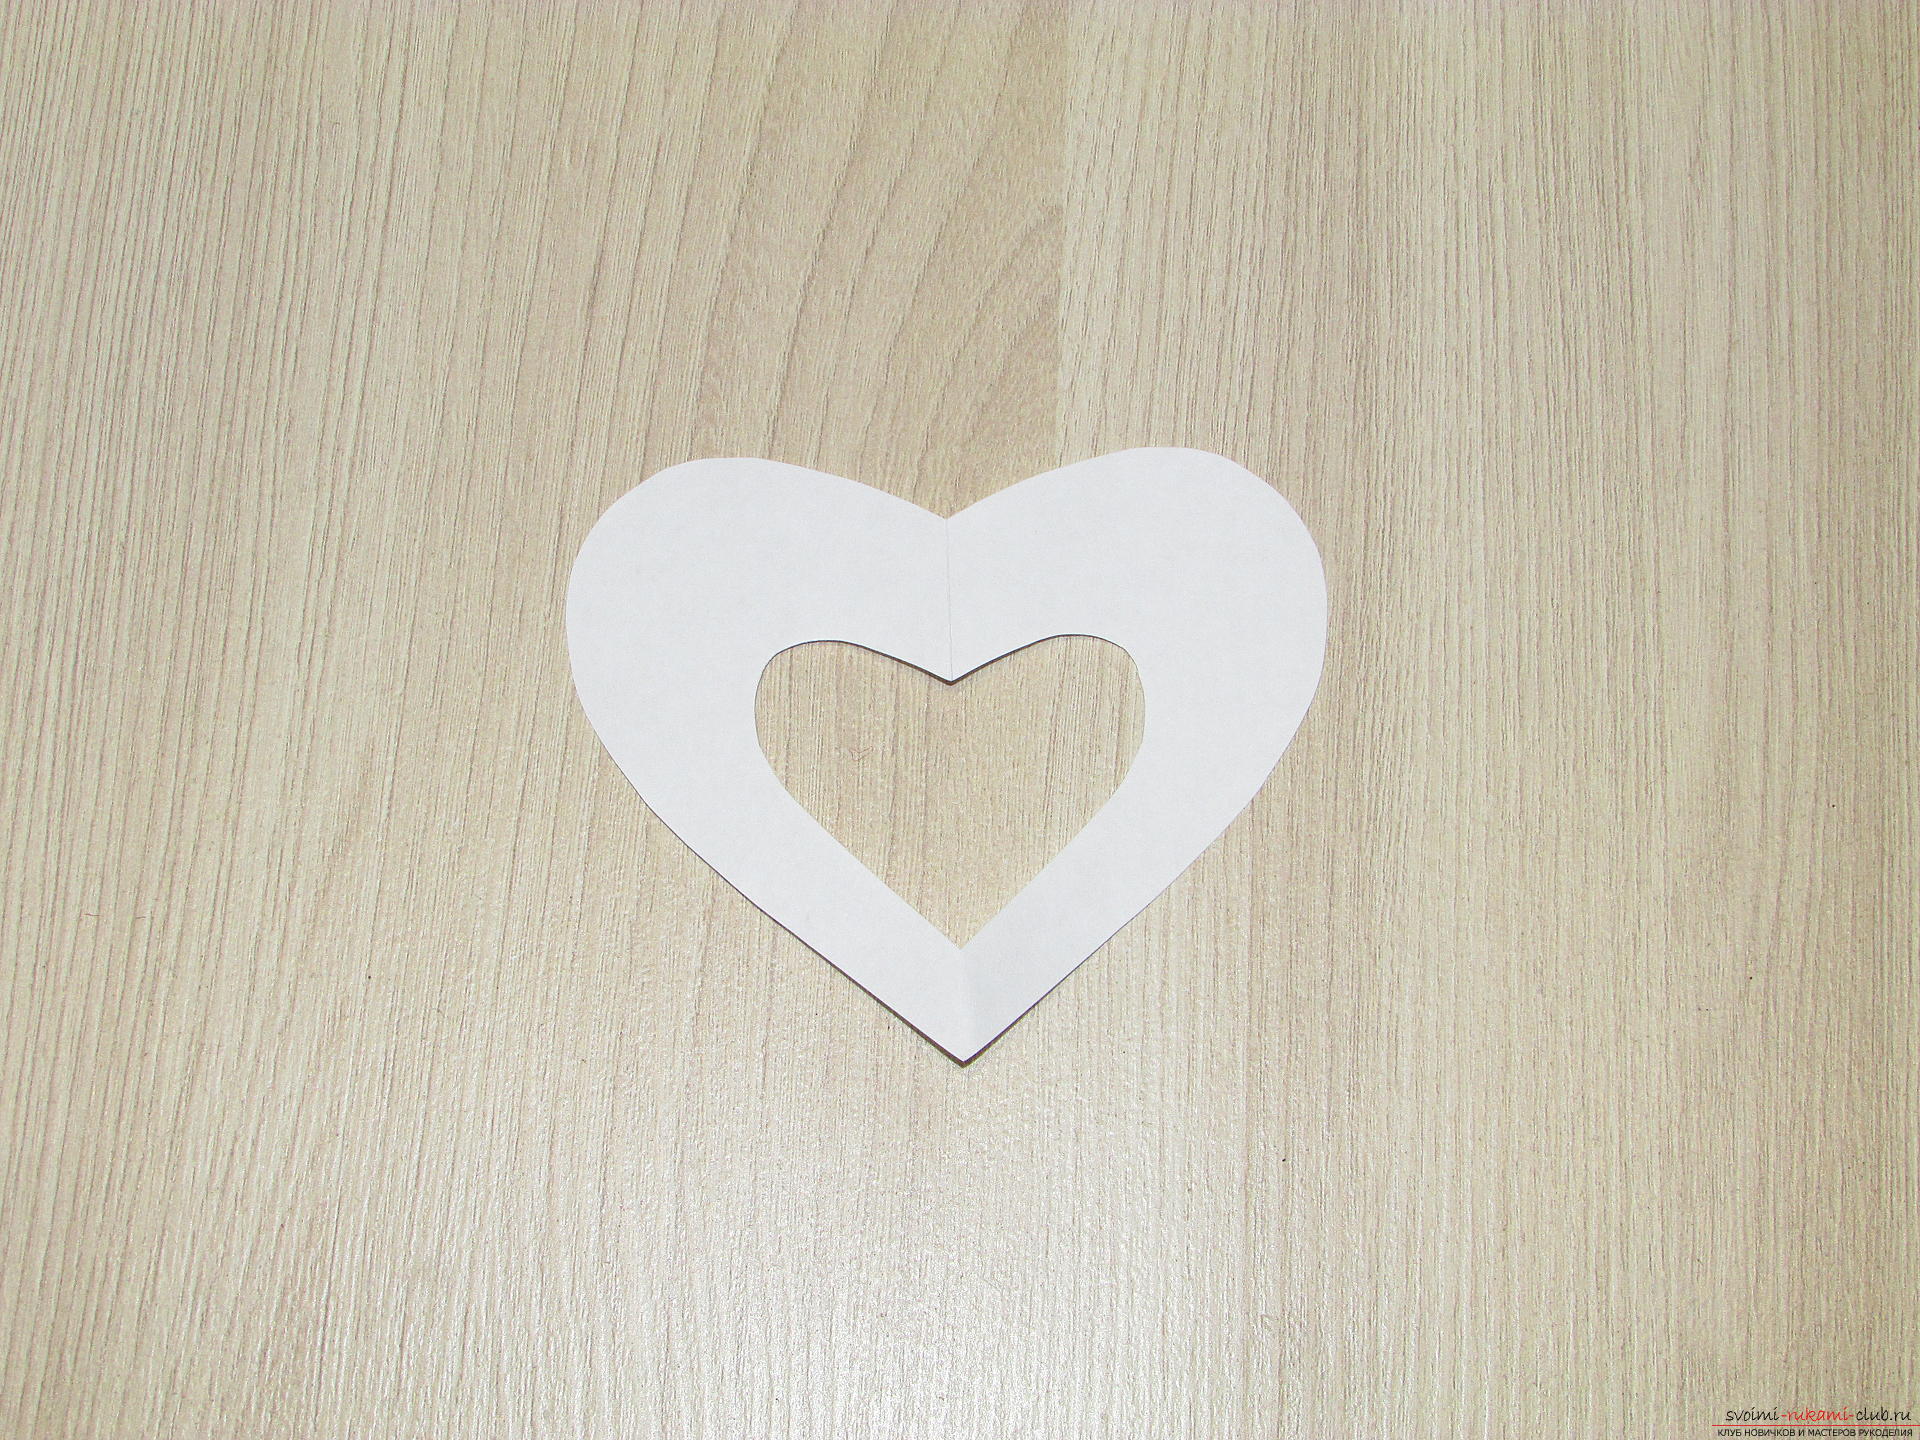
  For the first heart we need to cut forstart out paper templates. The back of the heart is whole, the front part with a slot in the form of a heart. In this place canvas fabric is visible. Due to its friability, it will pass the fragrance of the filler well enough.
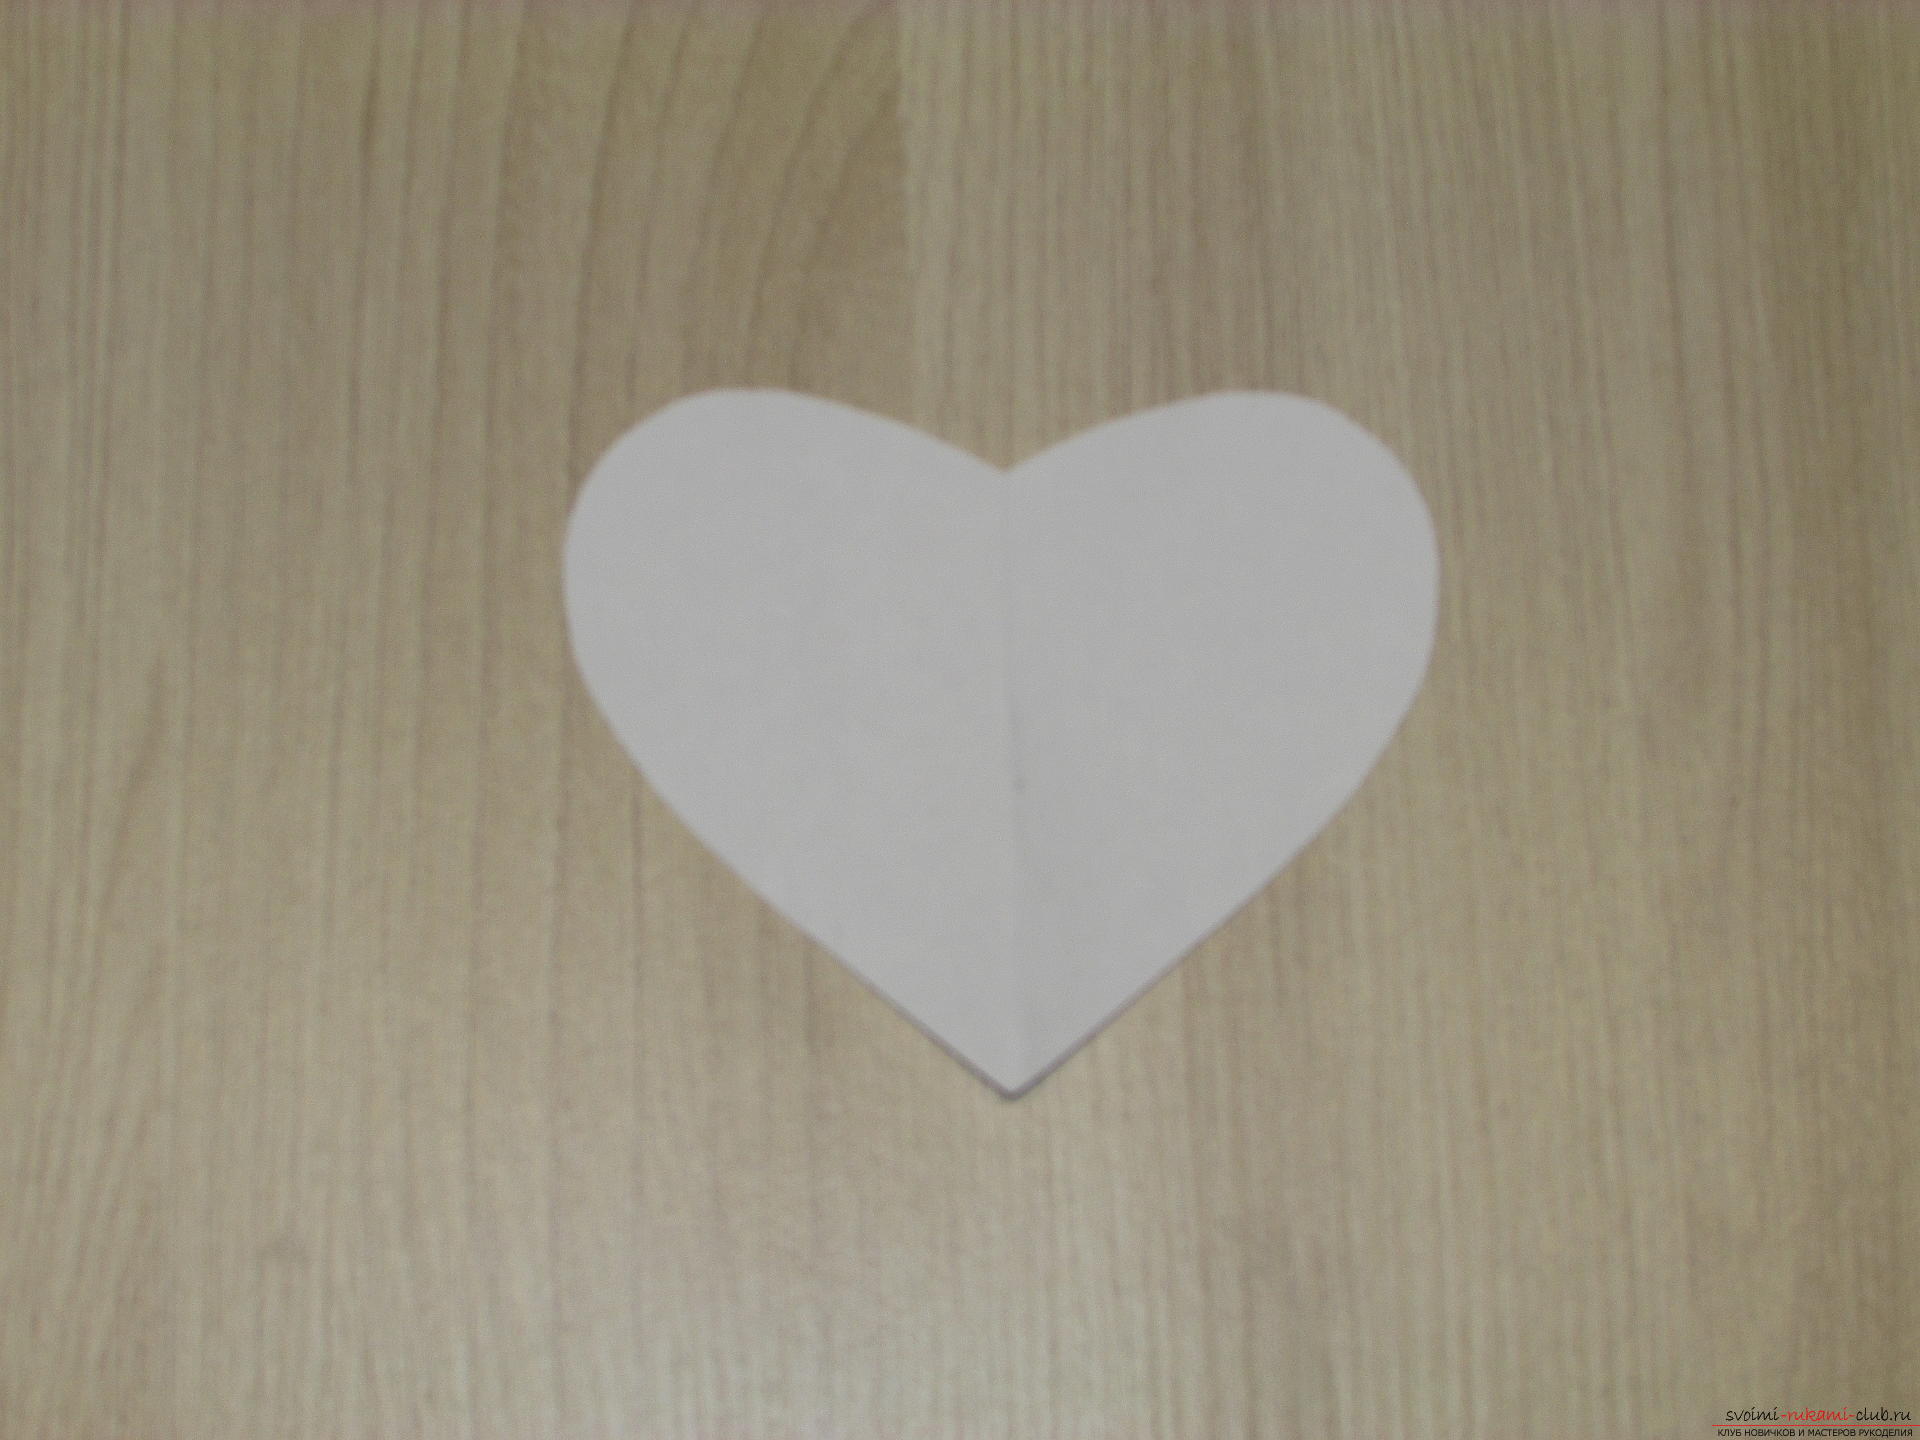
 We translate the contour to the material and cut out the necessary details.
 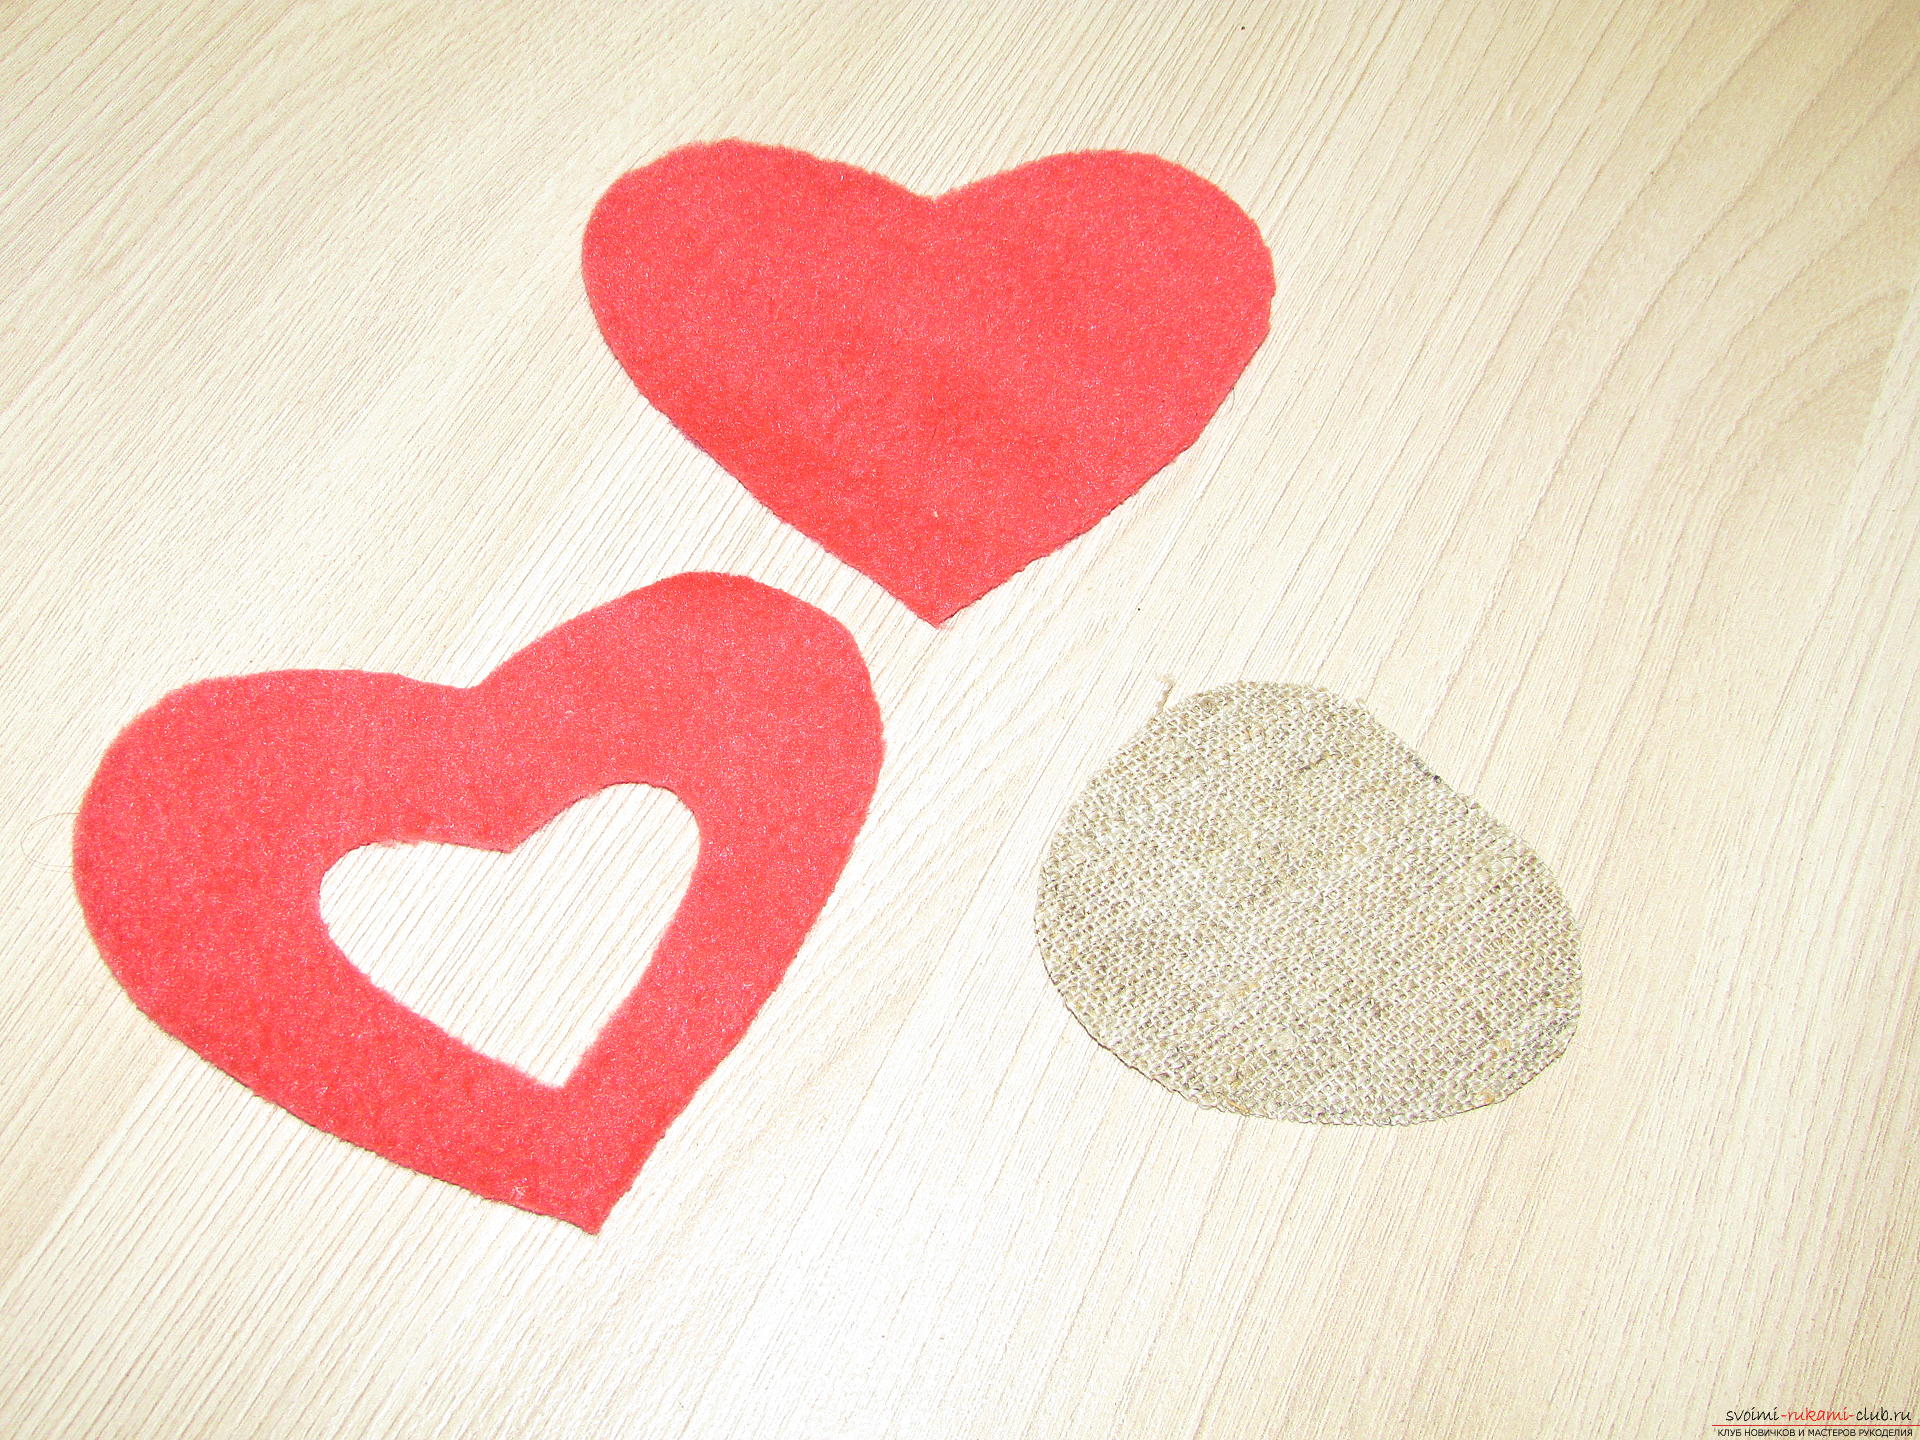 Select the contrasting color of the thread and sew stitch details, first the front part, and then the whole heart.
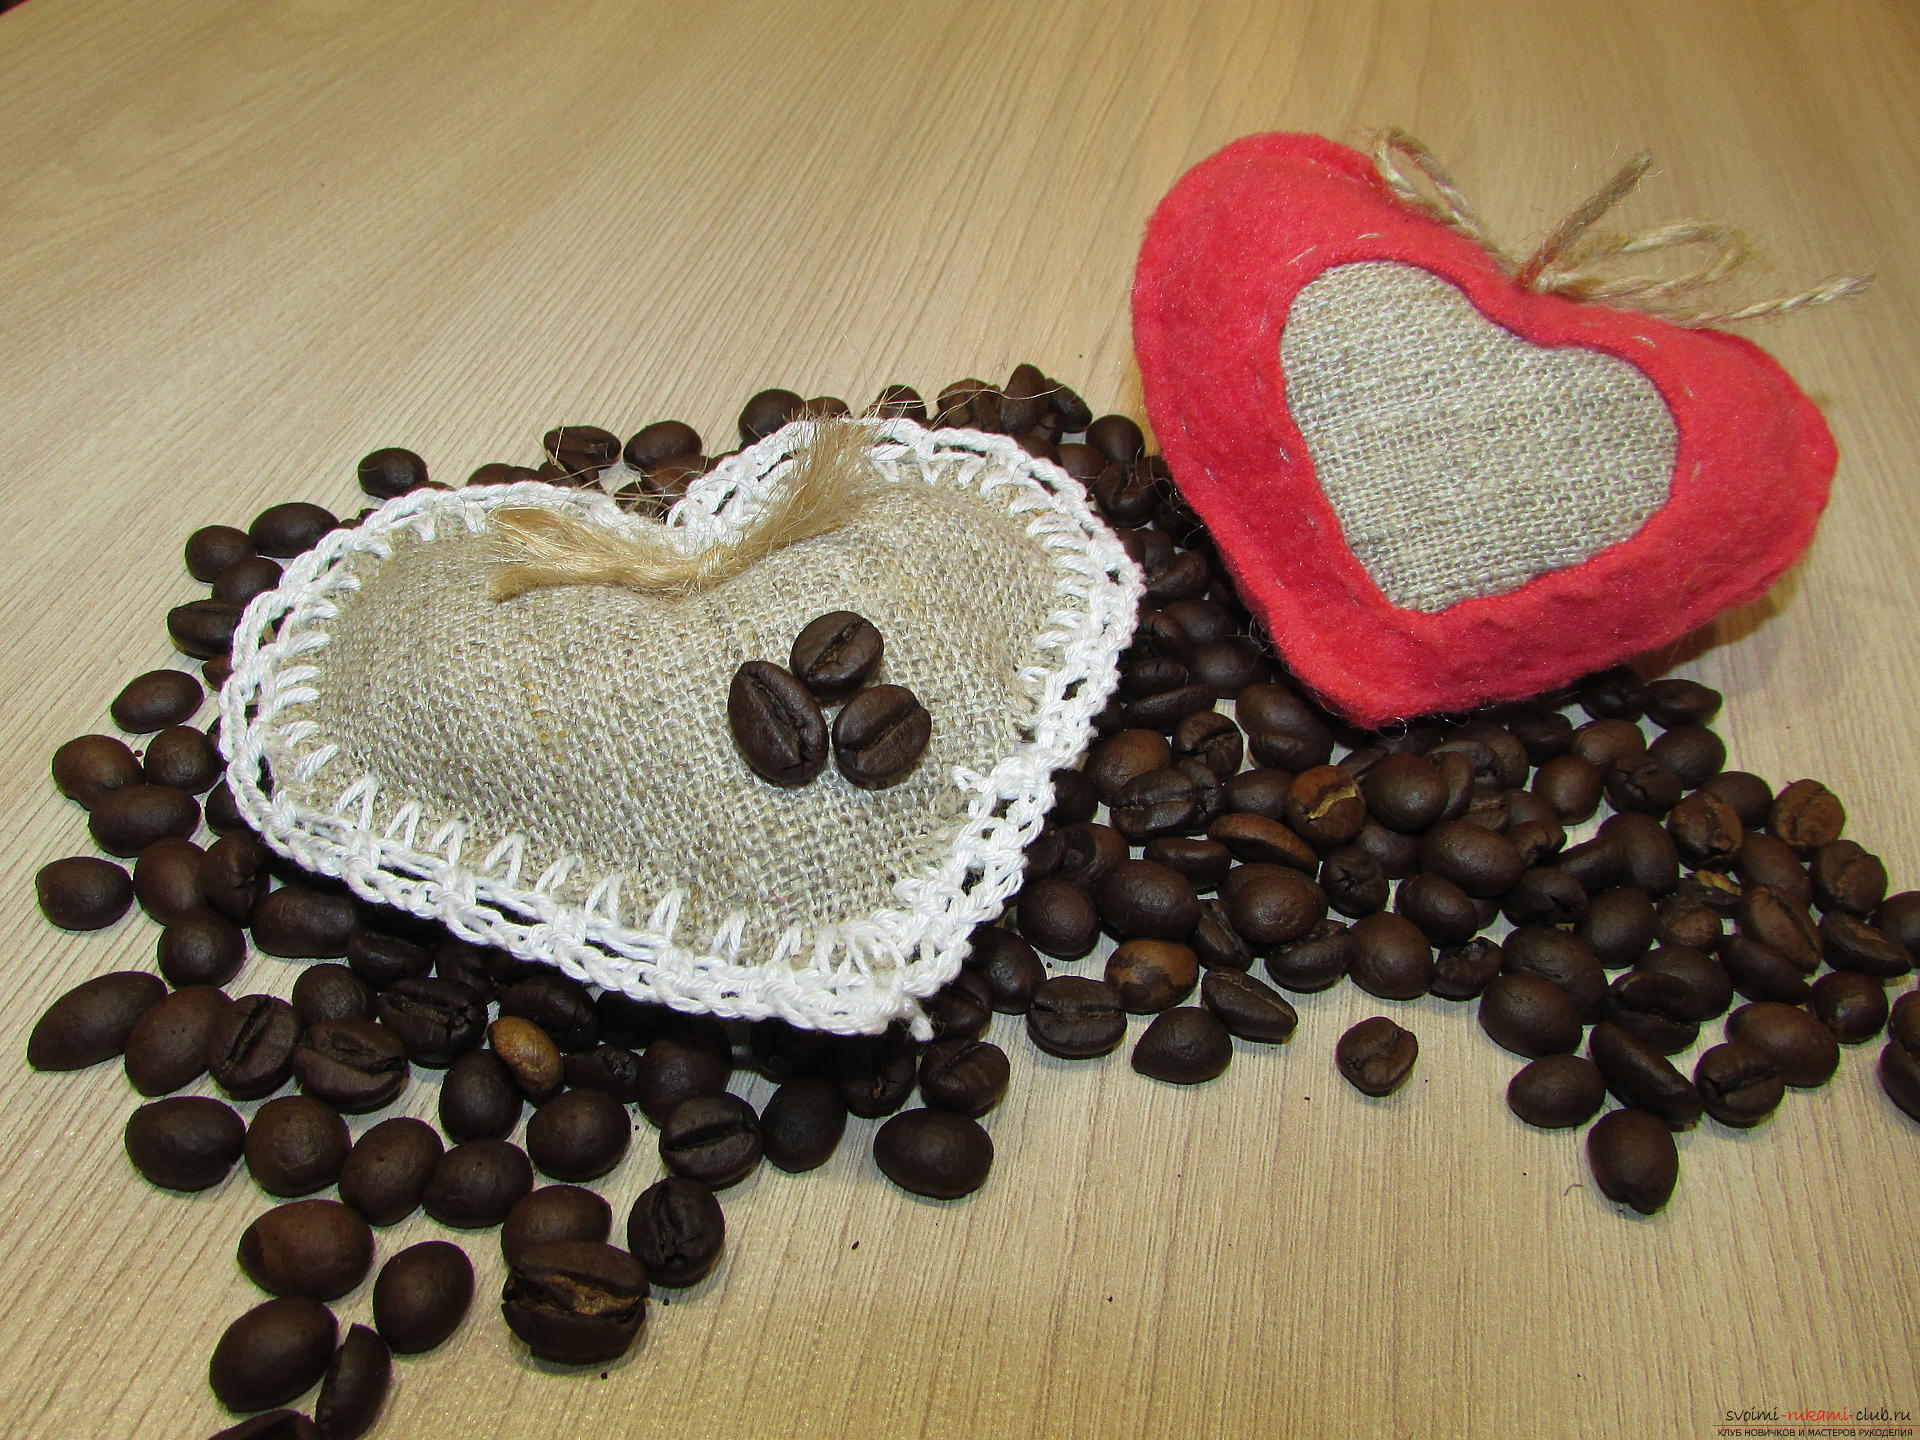
  It's time to fill our sachet with fragrances! I use coffee beans. We fill them with a heart. You can punch them a little more, so the coffee will become even more fragrant.
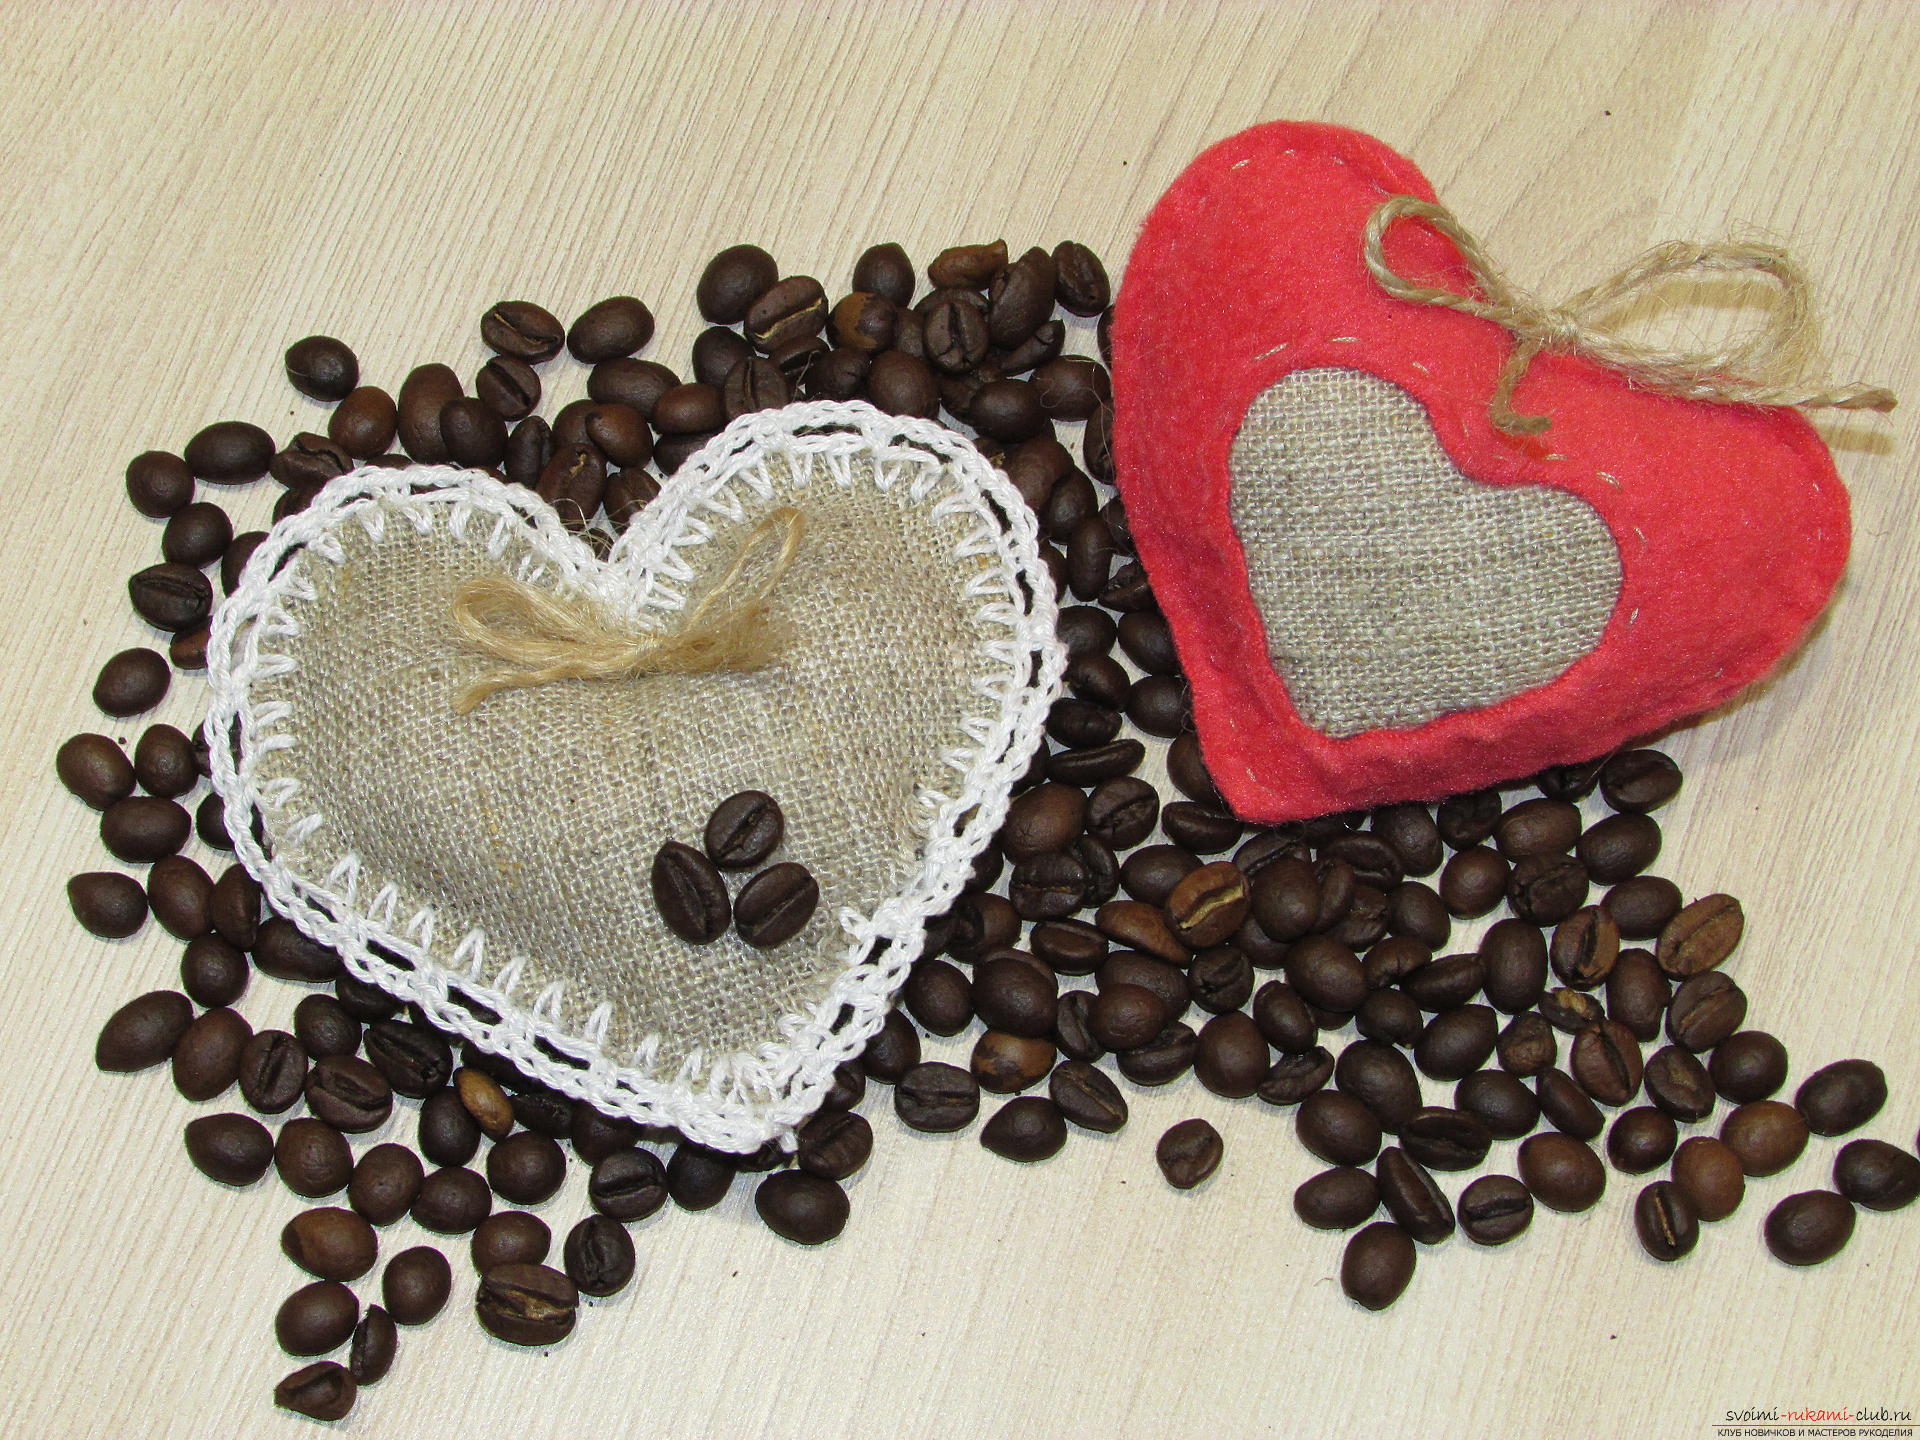
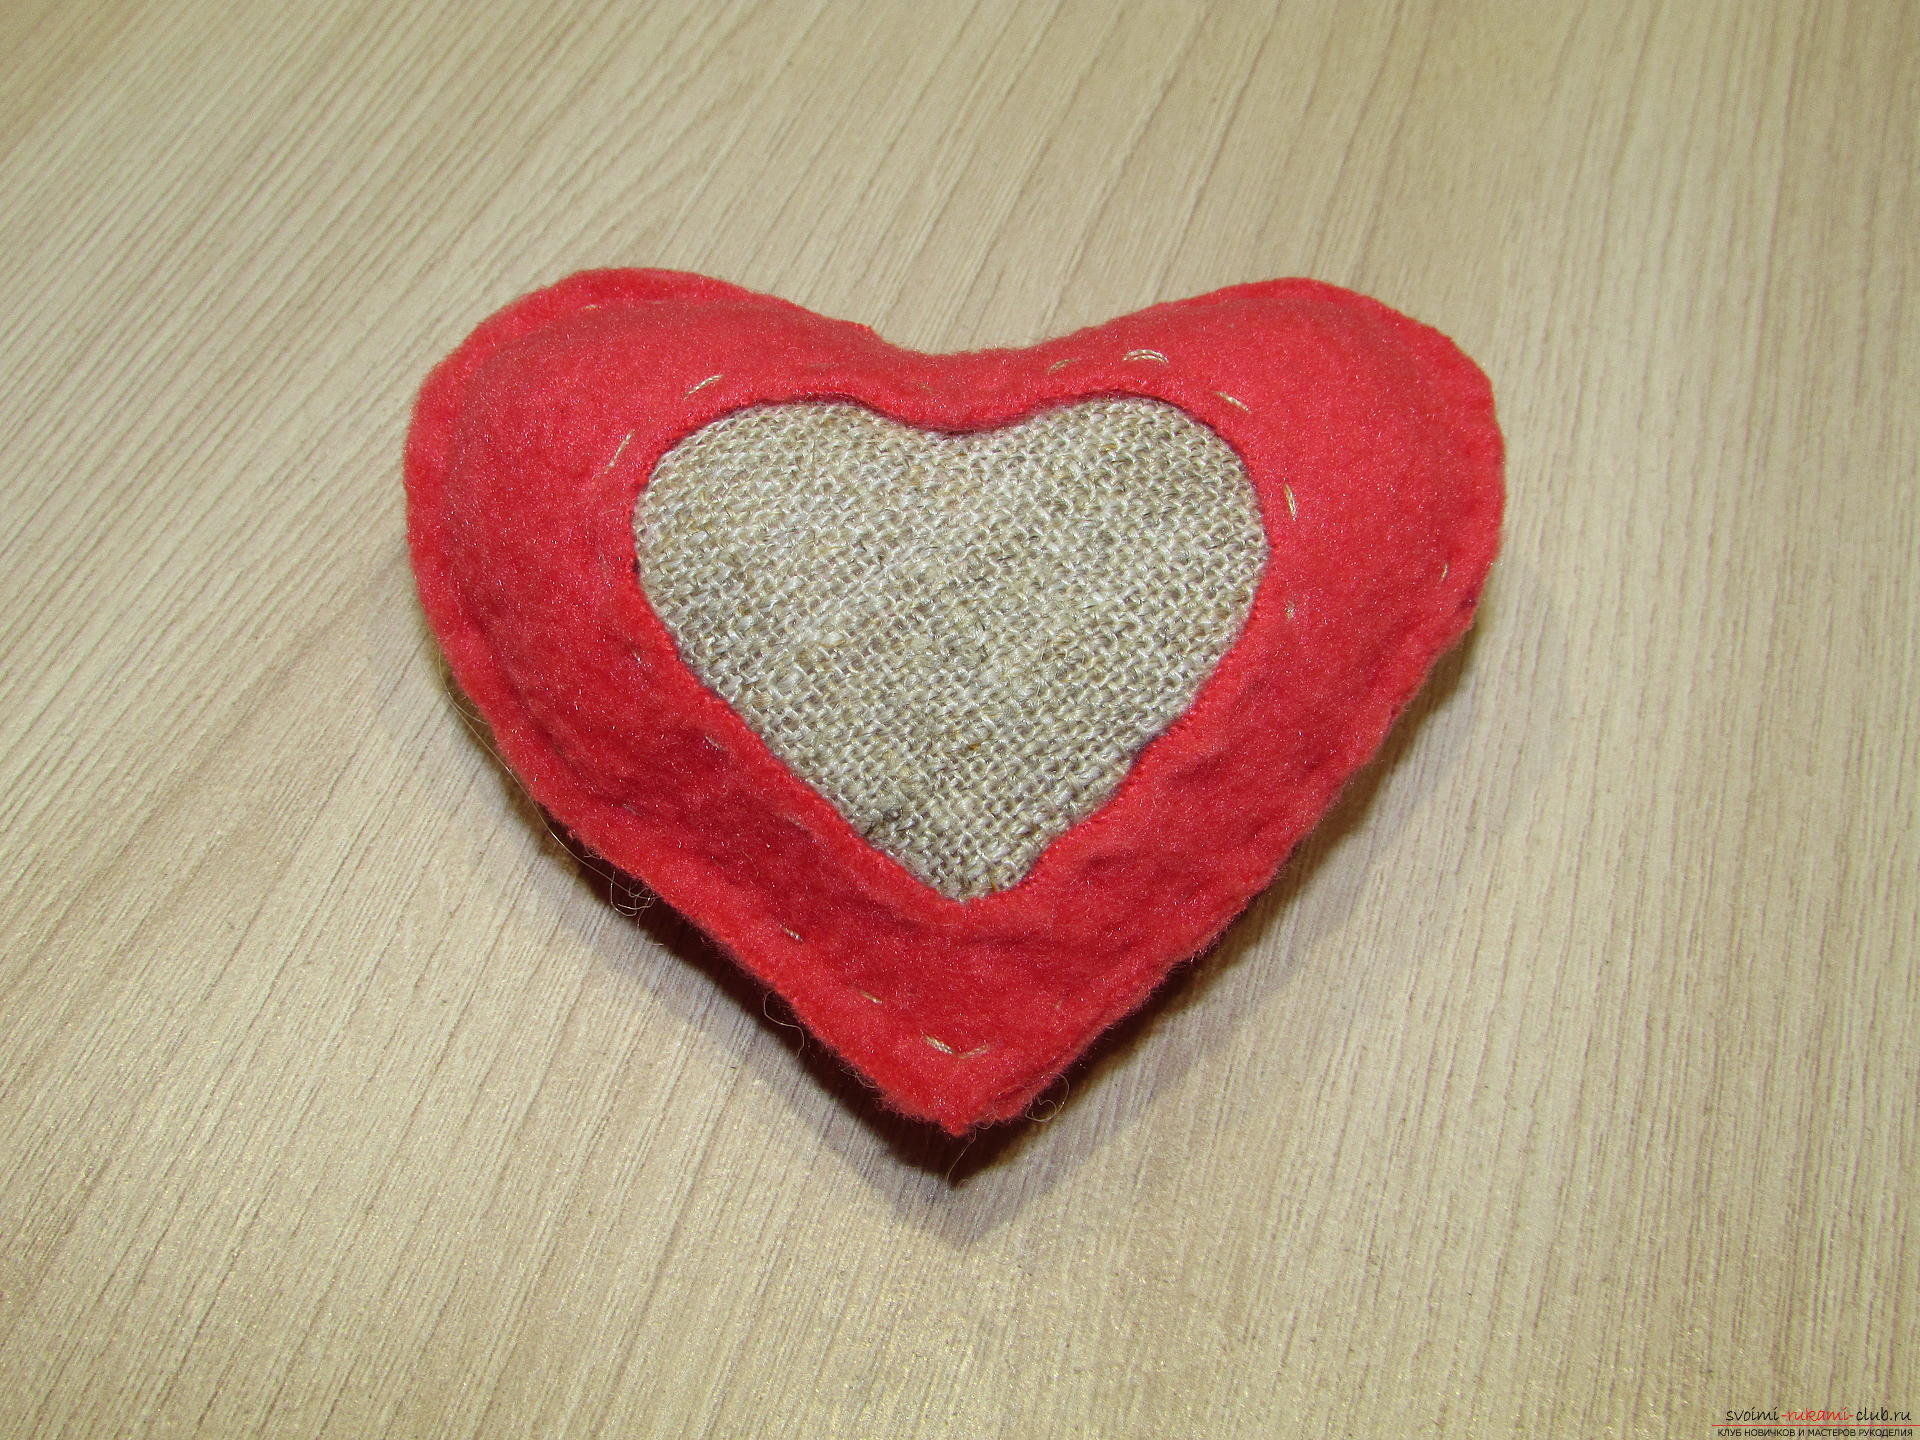 We adorn the heart with a bow of jute thread.
  That's all - simple and original, and what flavor! This sachet can be hung in a room or even in a car. And the smell of coffee not only fills the room with a pleasant aroma, but also neutralizes extraneous unpleasant smells. The second heart is cut from linen cloth. It will look like a rustic style. We tie his tables without a crochet with a white thread. The second row is tied with arches from the air loops - 3 air loops and a column without a crochet, passing one loop of the previous row.
 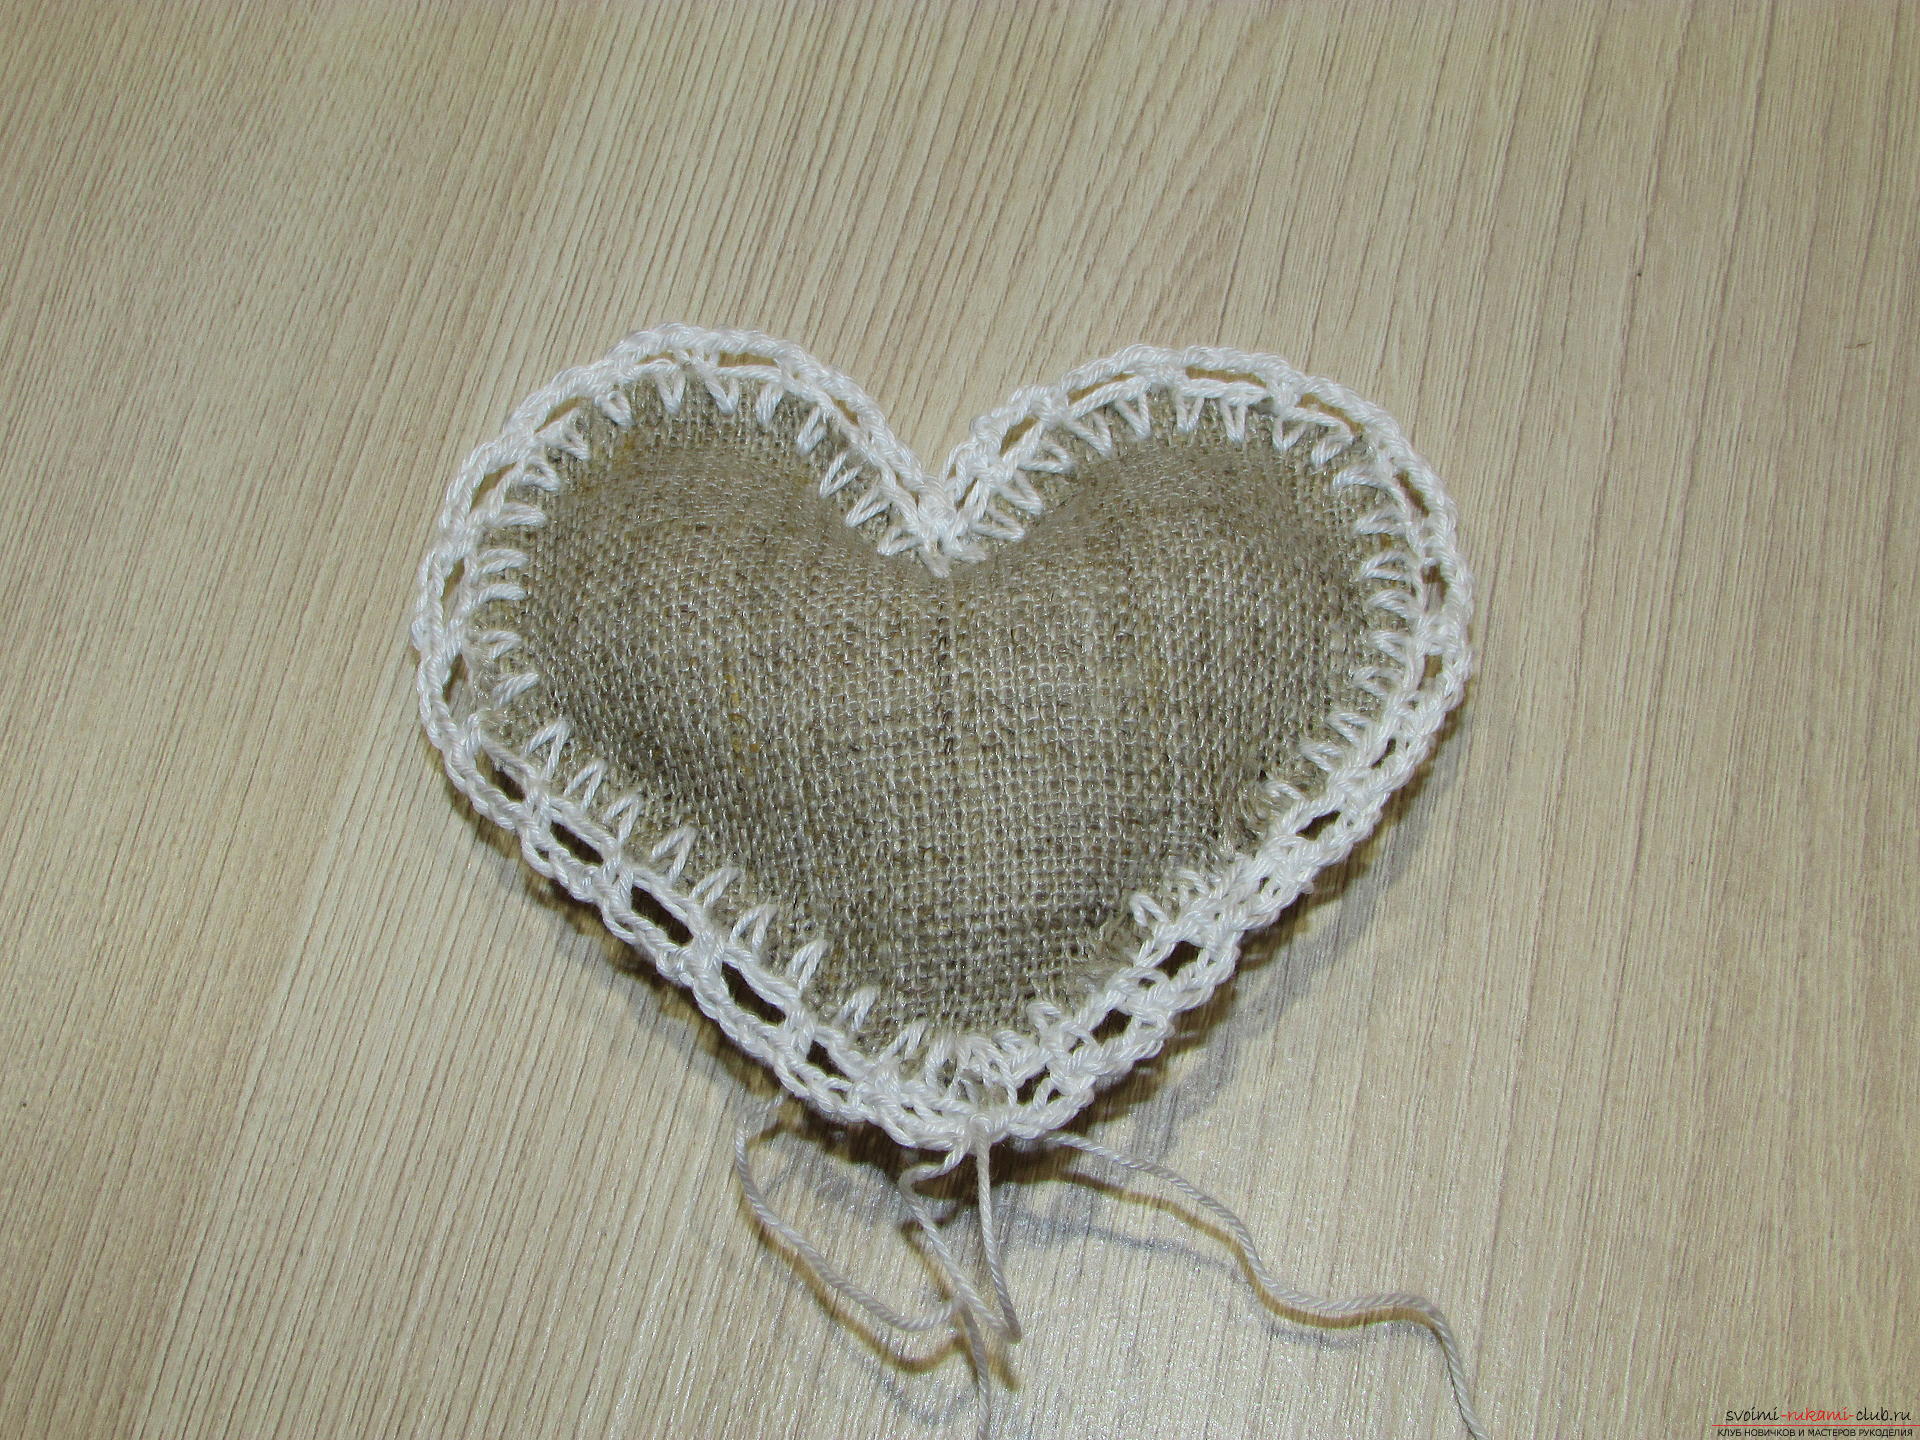 The heart looks very affectionate and elegant, and most importantly is environmentally friendly. Fill the heart with coffee beans, decorate with jute thread and coffee beans.
 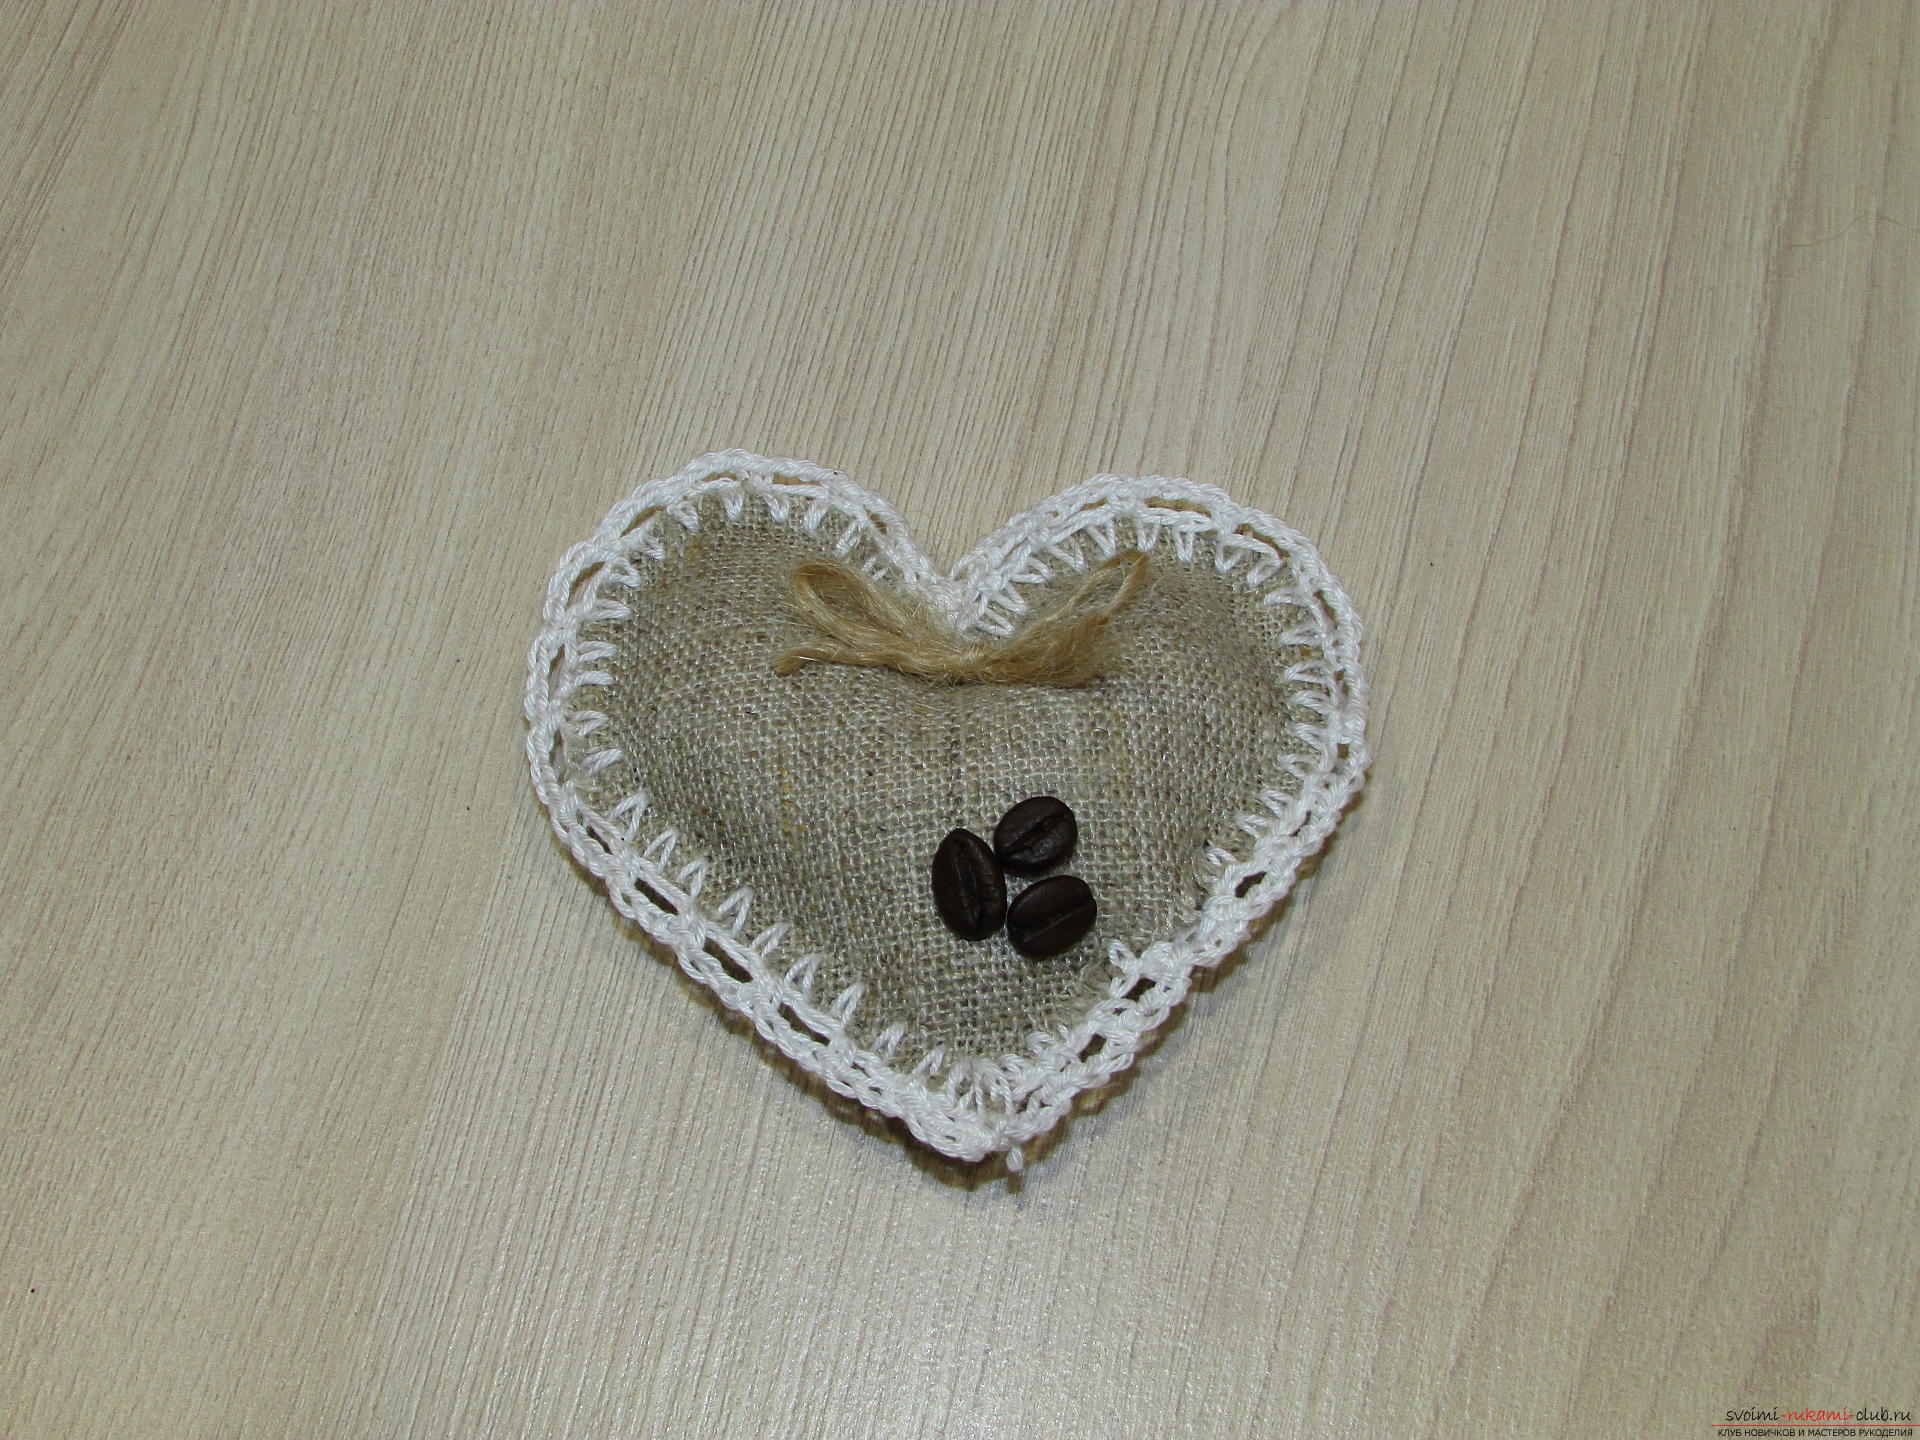 Here we have such wonderful aromatic hearts.