This master class will teach you how to make a hare from your toe with your own hands.
 1. Of course, you can choose any colored sock, but winter and hares are still white. And you need a filler for the craft. You can take a sintepon, sintepuh or holofayber. What to choose depends entirely on you. And still need thread white and colored, 2 black buttons. For the heart you need a piece of red cloth. It is desirable that it was dense and did not dissolve. In my case, it's a synthetic fabric. It's a pity that I forgot to take a picture of her.
 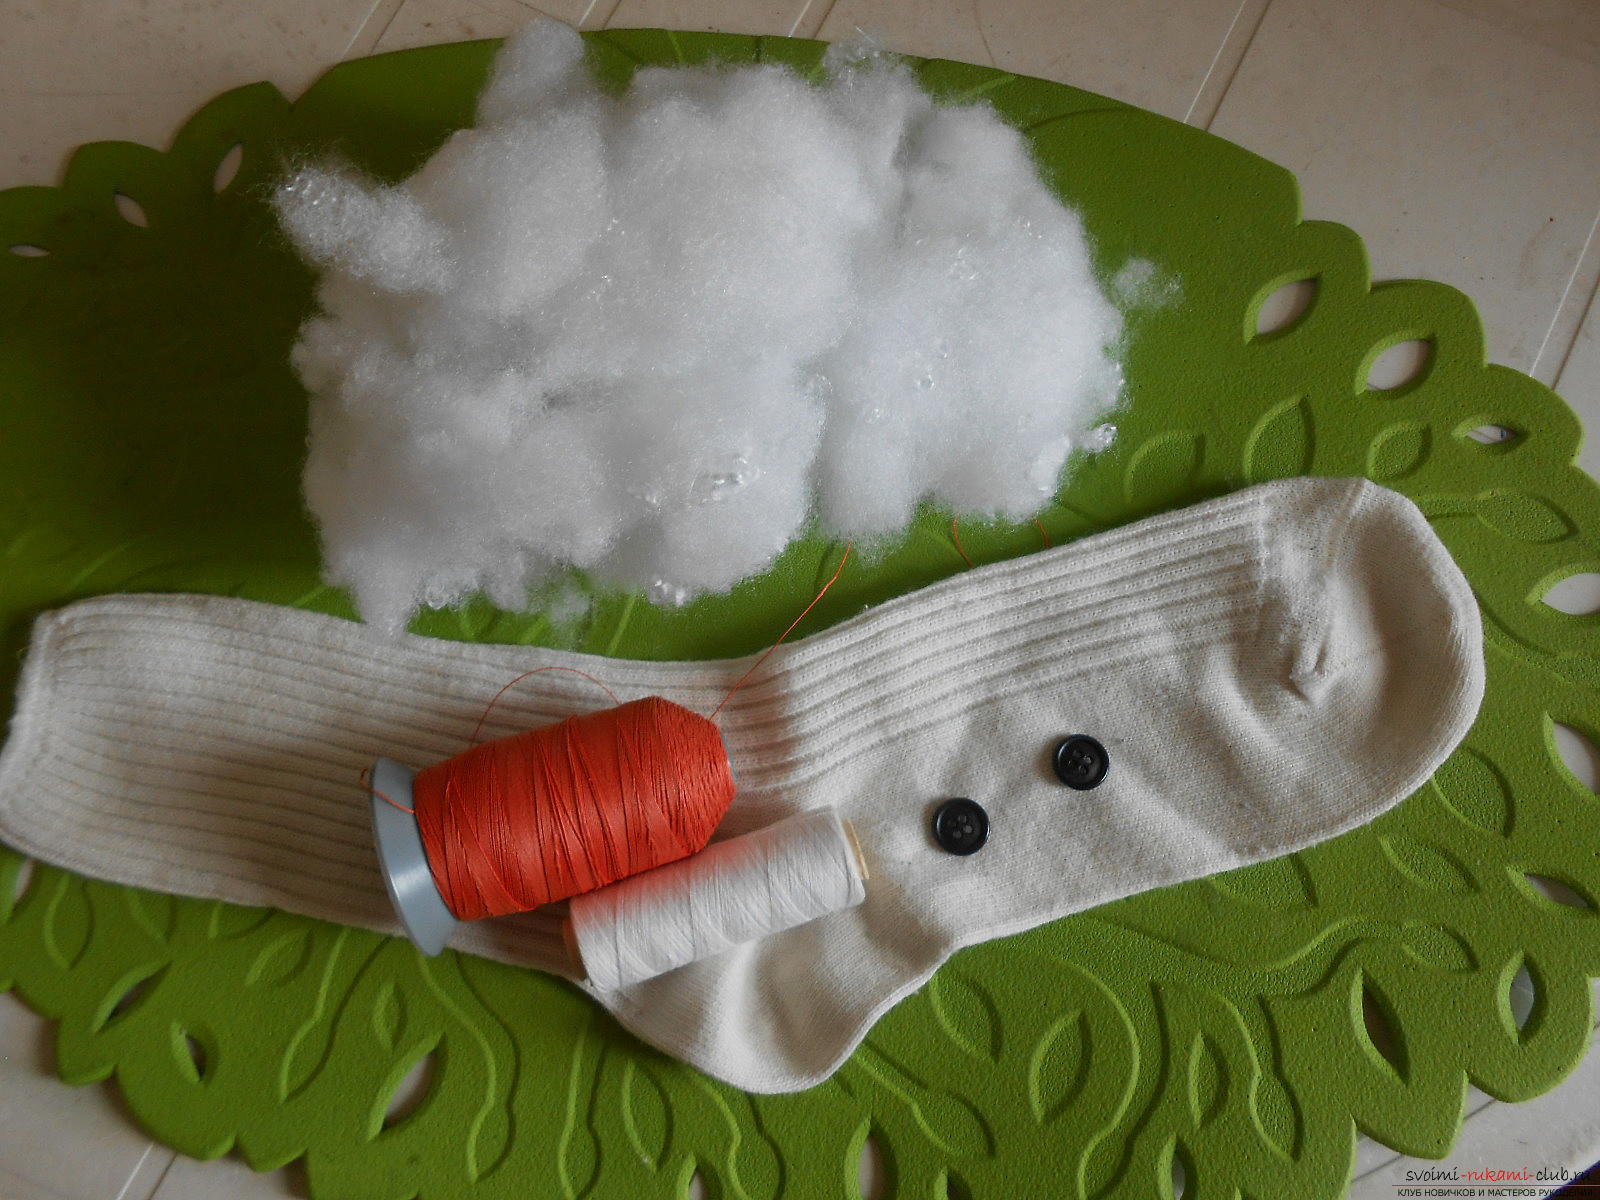 2. Large sock. From this it will turn out to be quite an adult big beast. We put the toe on the heel up. Draw pencil outlines of our parts. Head with ears, nose, body, tail, paws.
 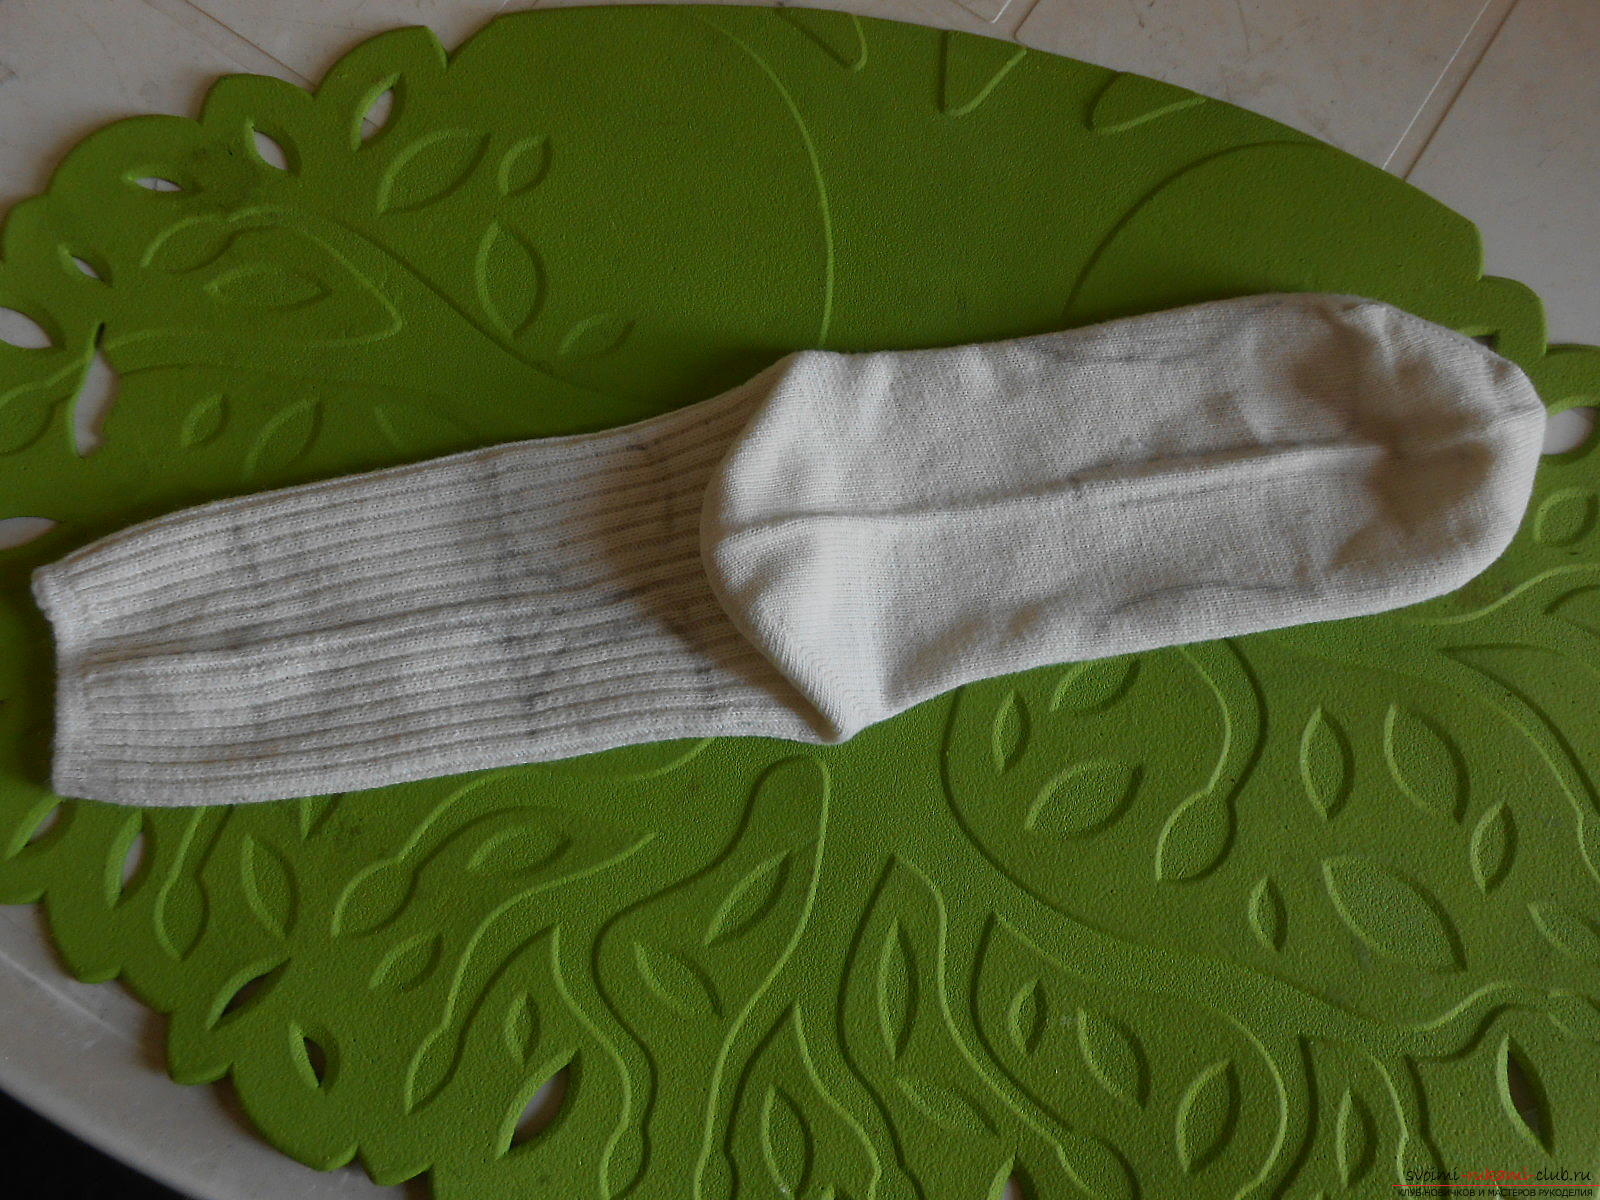 3. Cut out the details of the toy.
 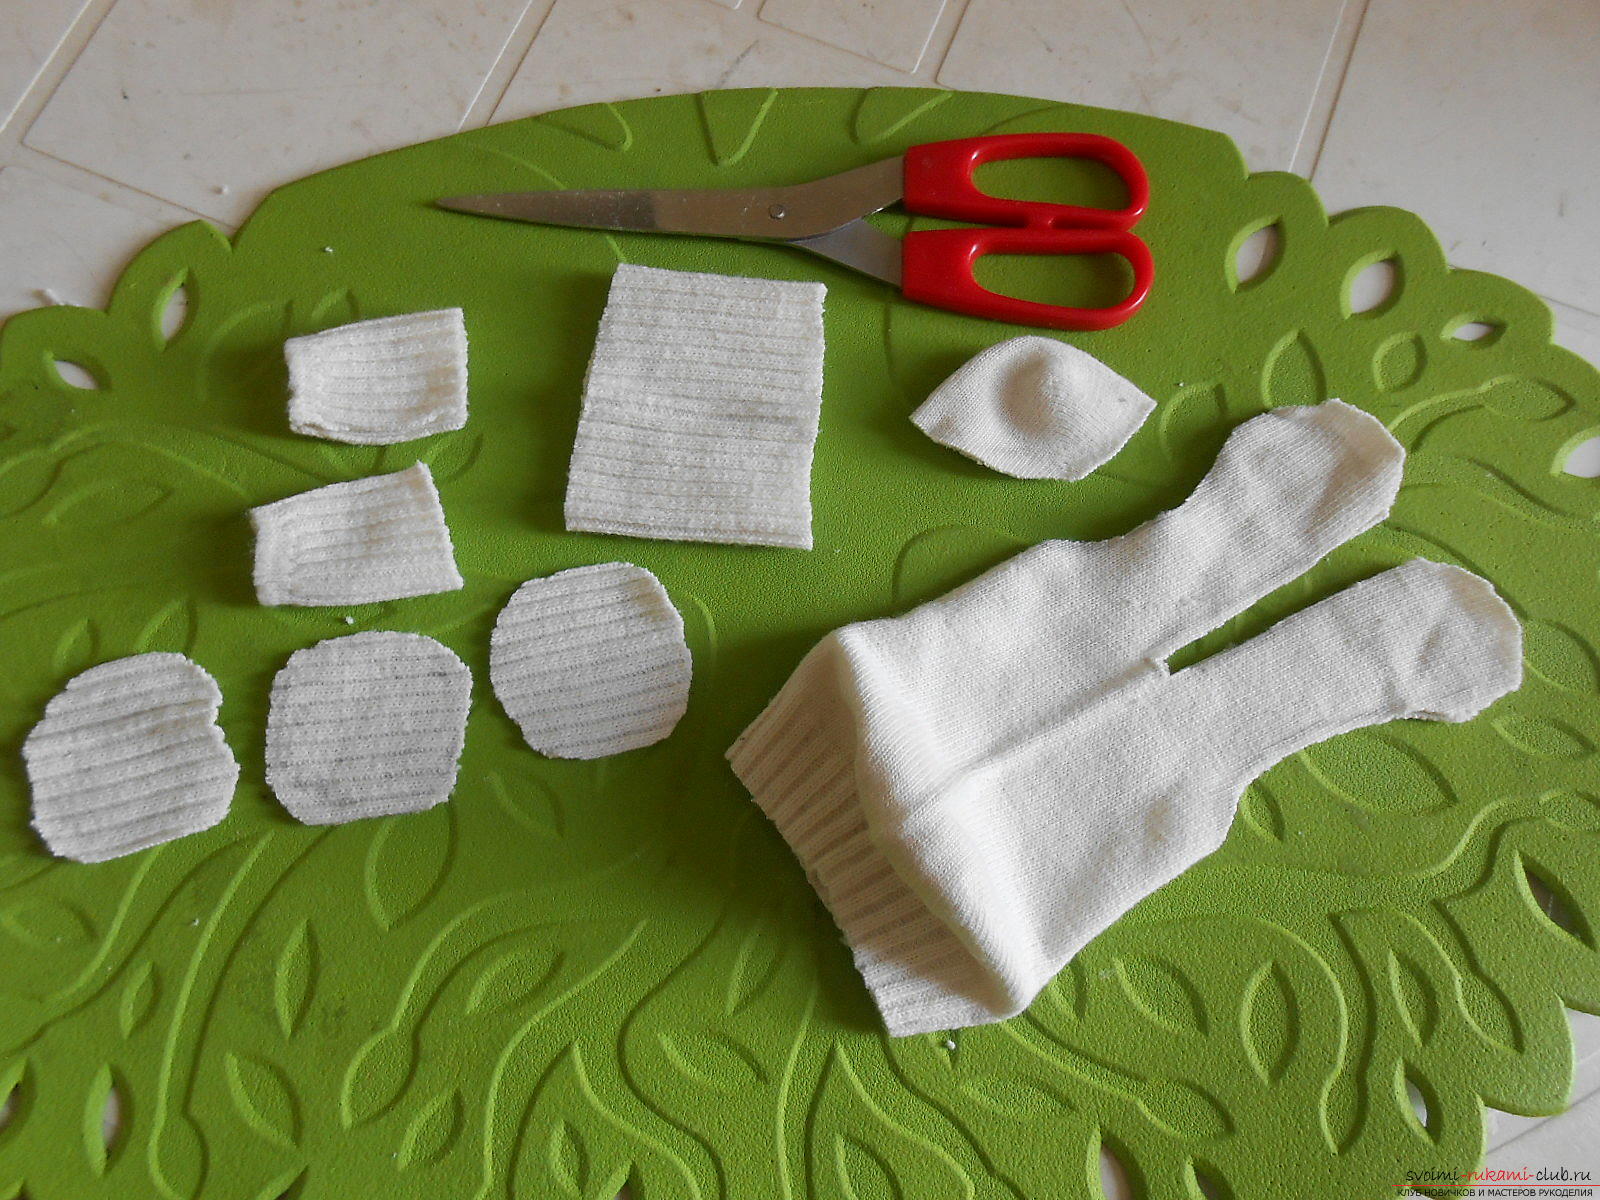 4. Turn the hare's ears on the machine. We retreat from the edge of 0,5 cm.
 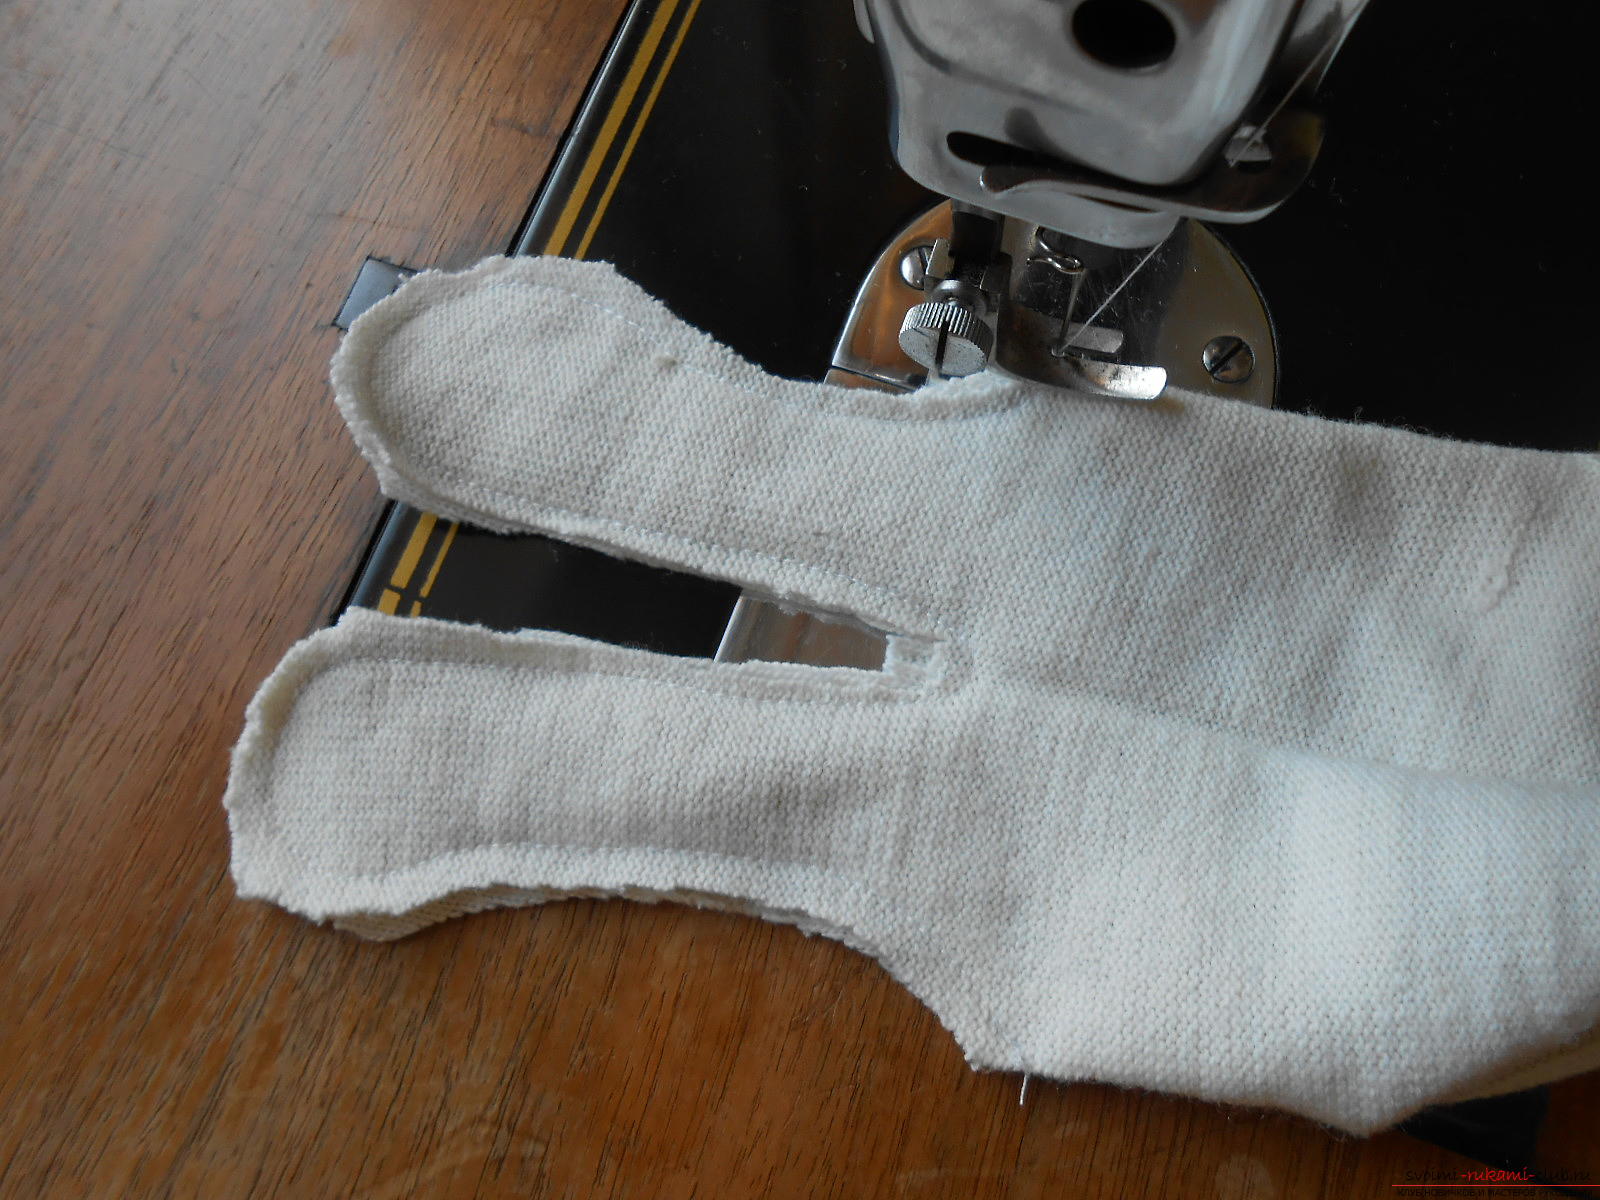 5. Grind the workpiece paws on the machine. We sew on three sides, rounding the edges of the bottom of the feet. Fourth, we will fill the inside of the paws.
 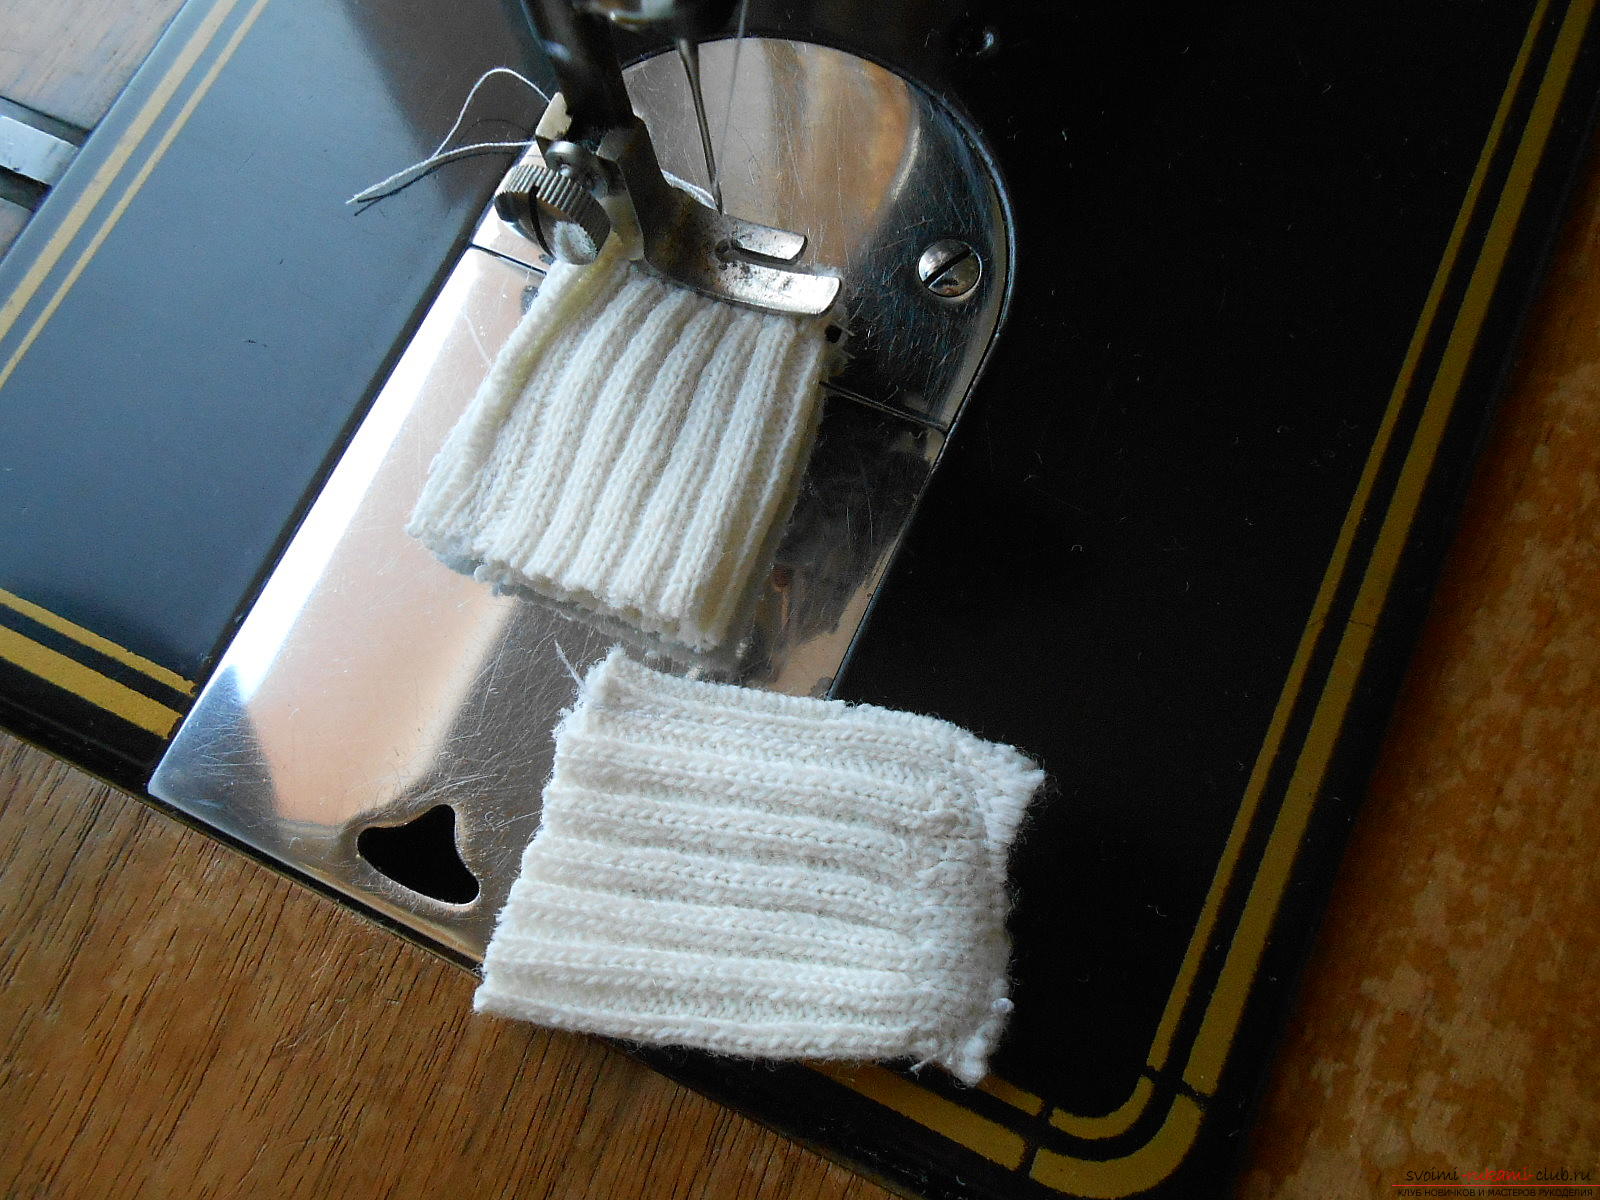 6. We turn on the front side of the head part with ears and paws.
 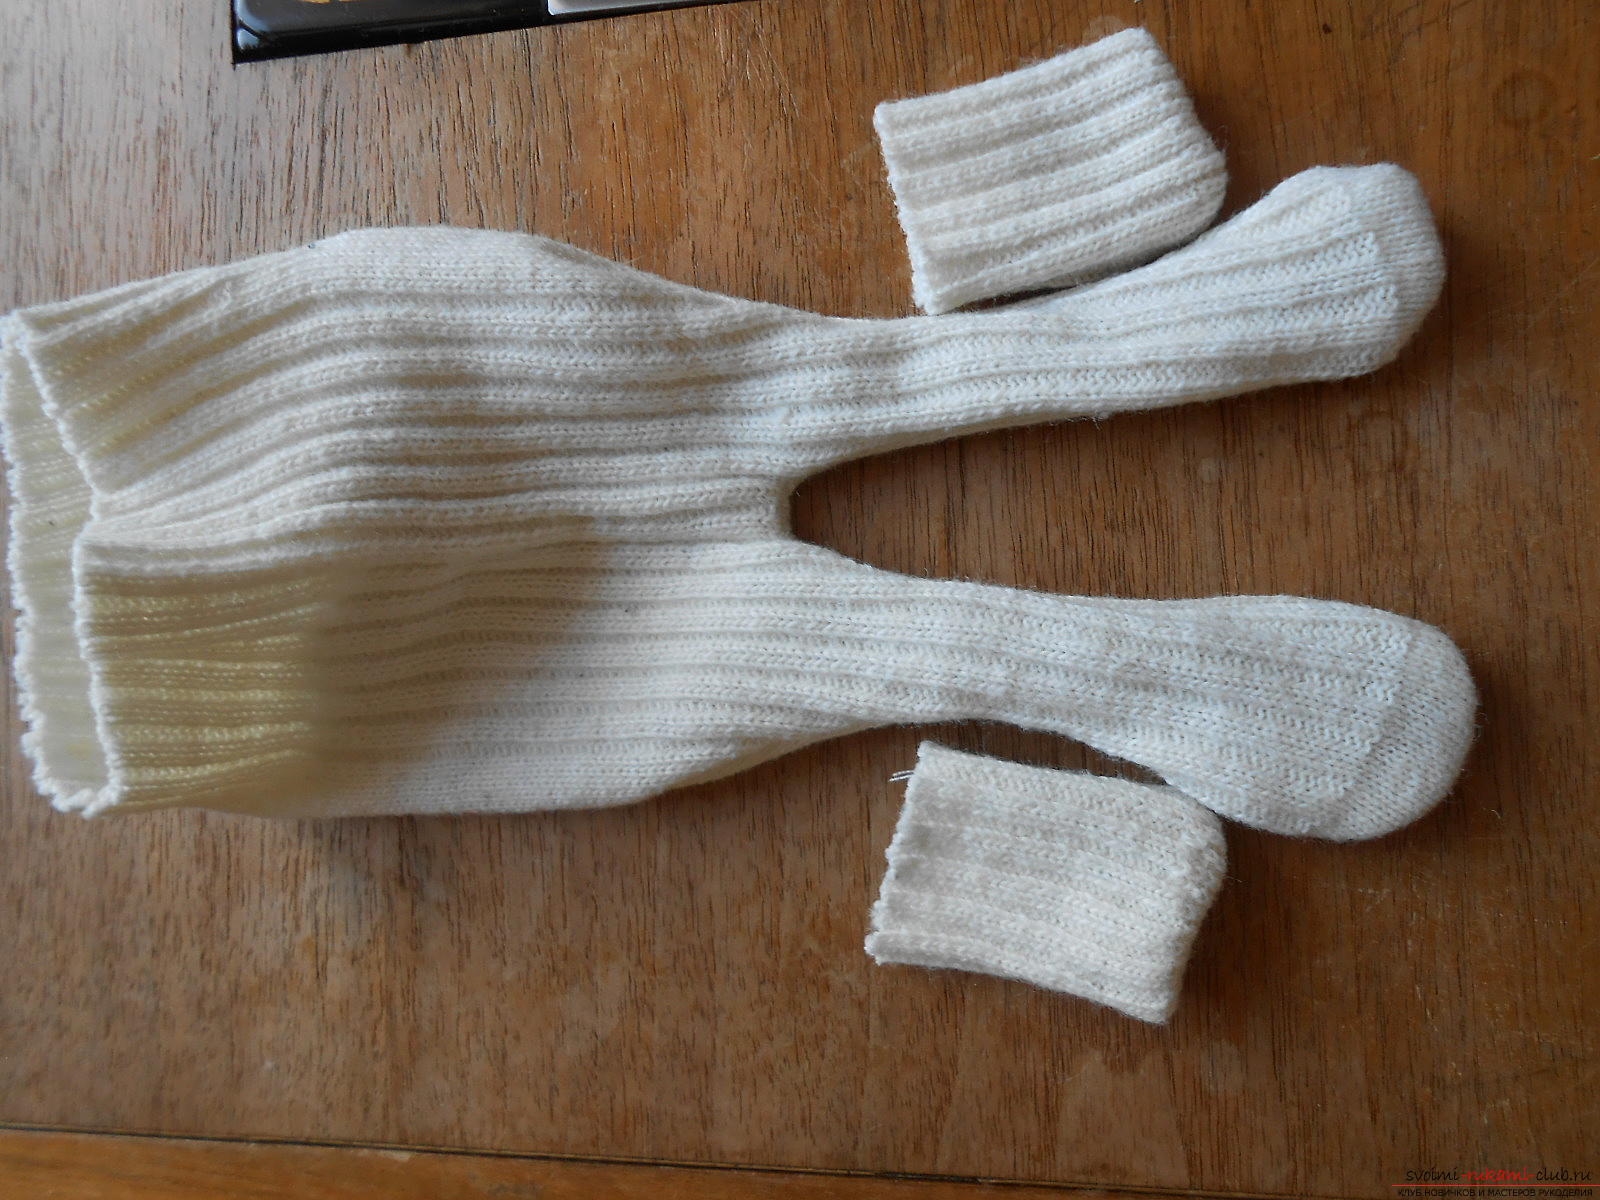 7. We fill the insides of the head and ears. Do not stuff your ears tightly, because they will only grow up from this, and they will not bend.
 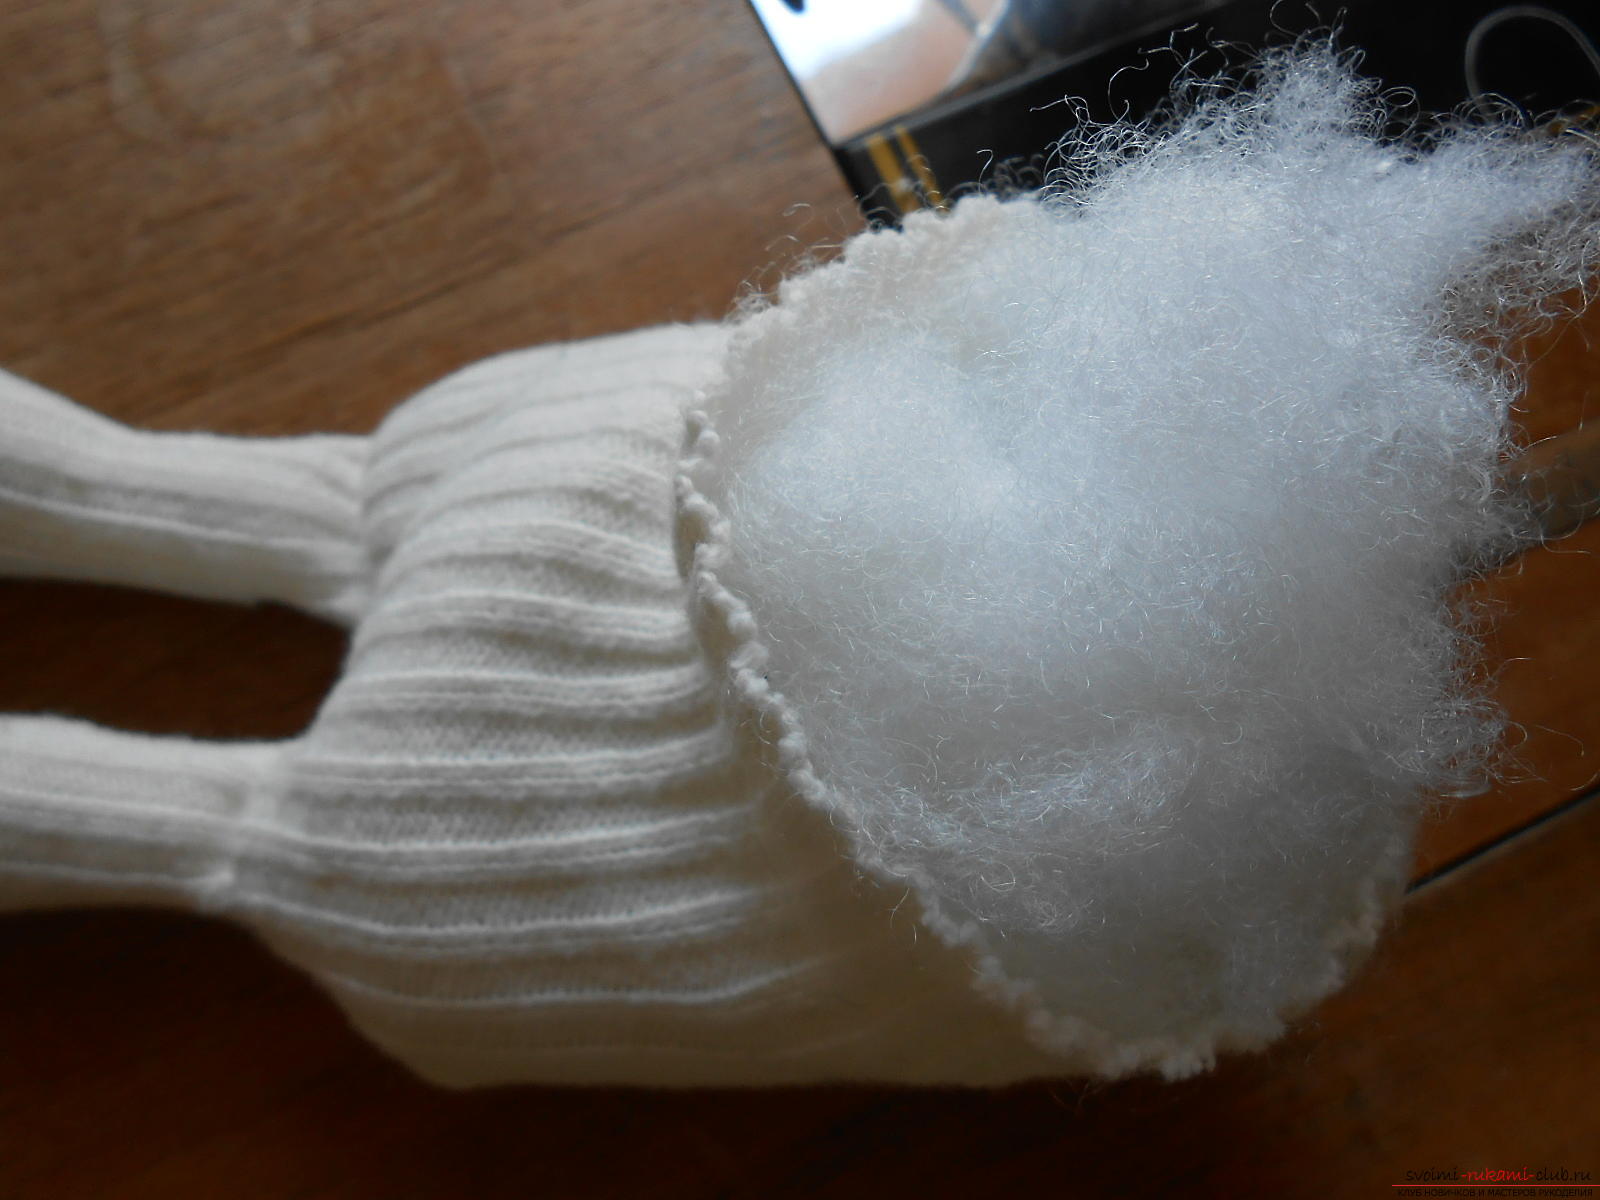 8. Hole on the head, we sew a needle with a seam on the thread.
 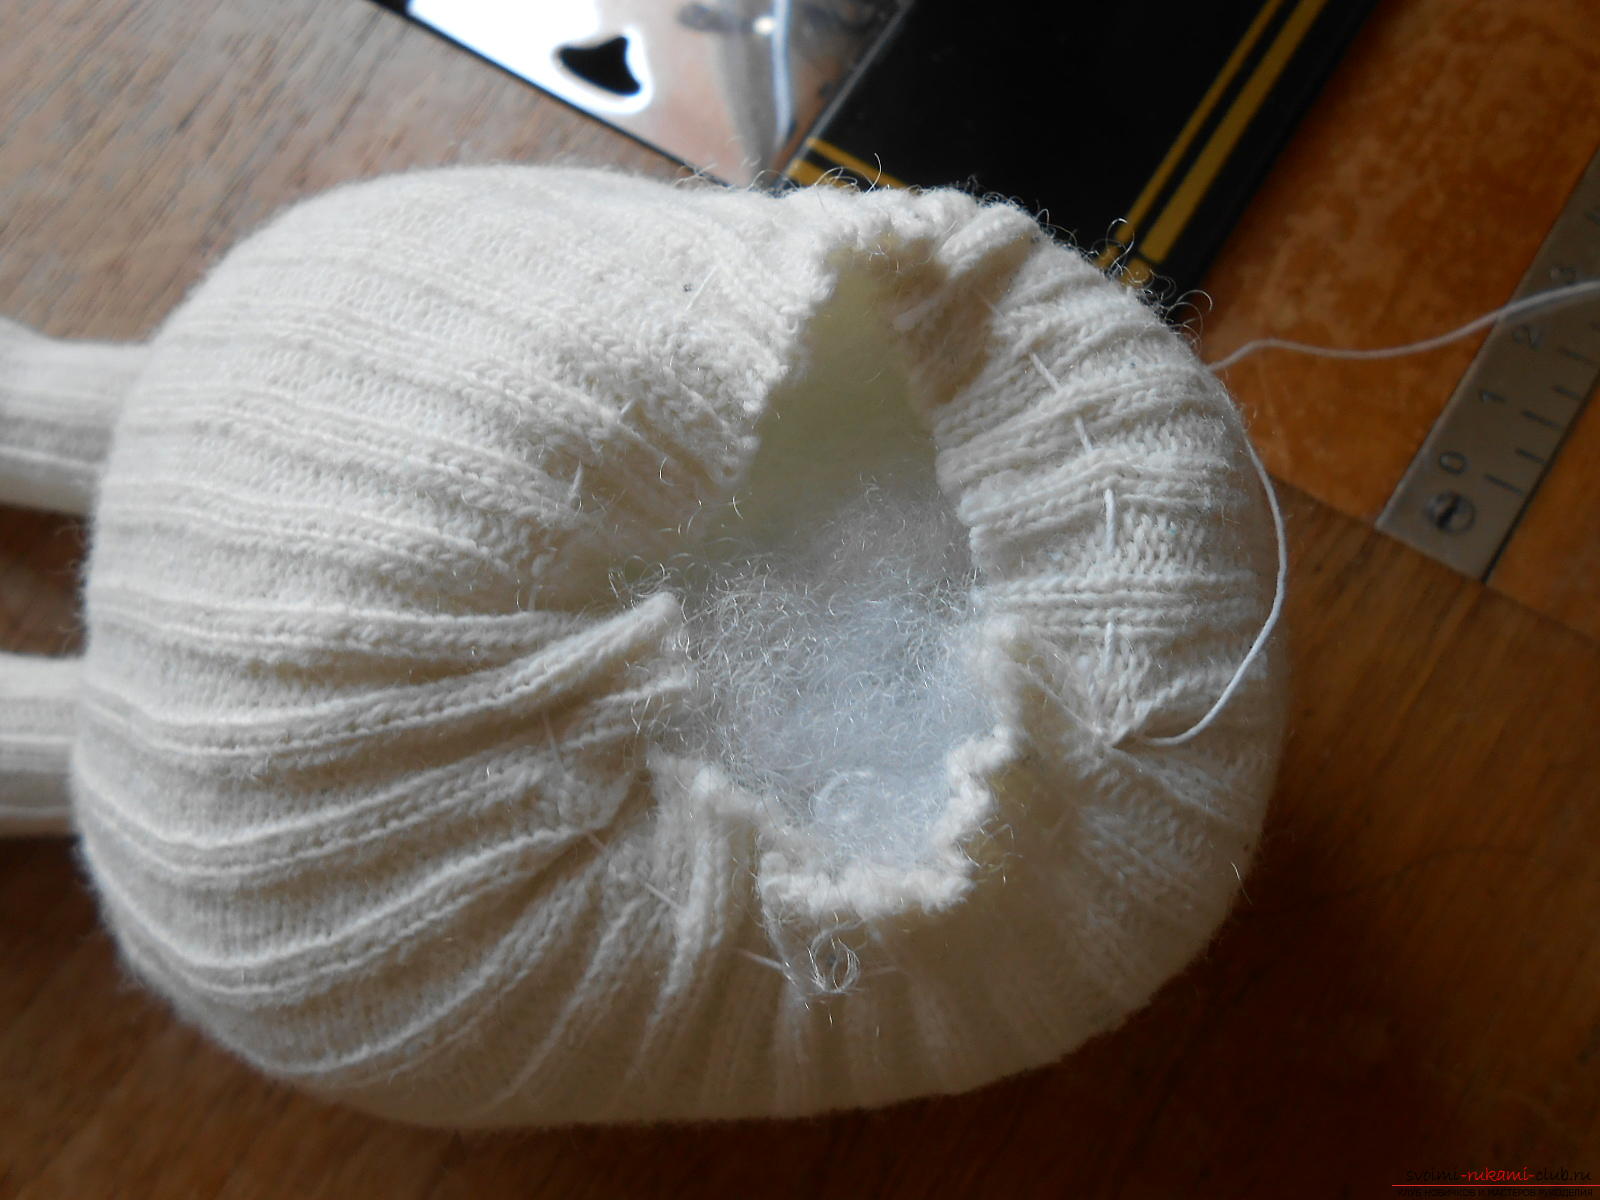 9. We pull the thread. Sections bend inward.
 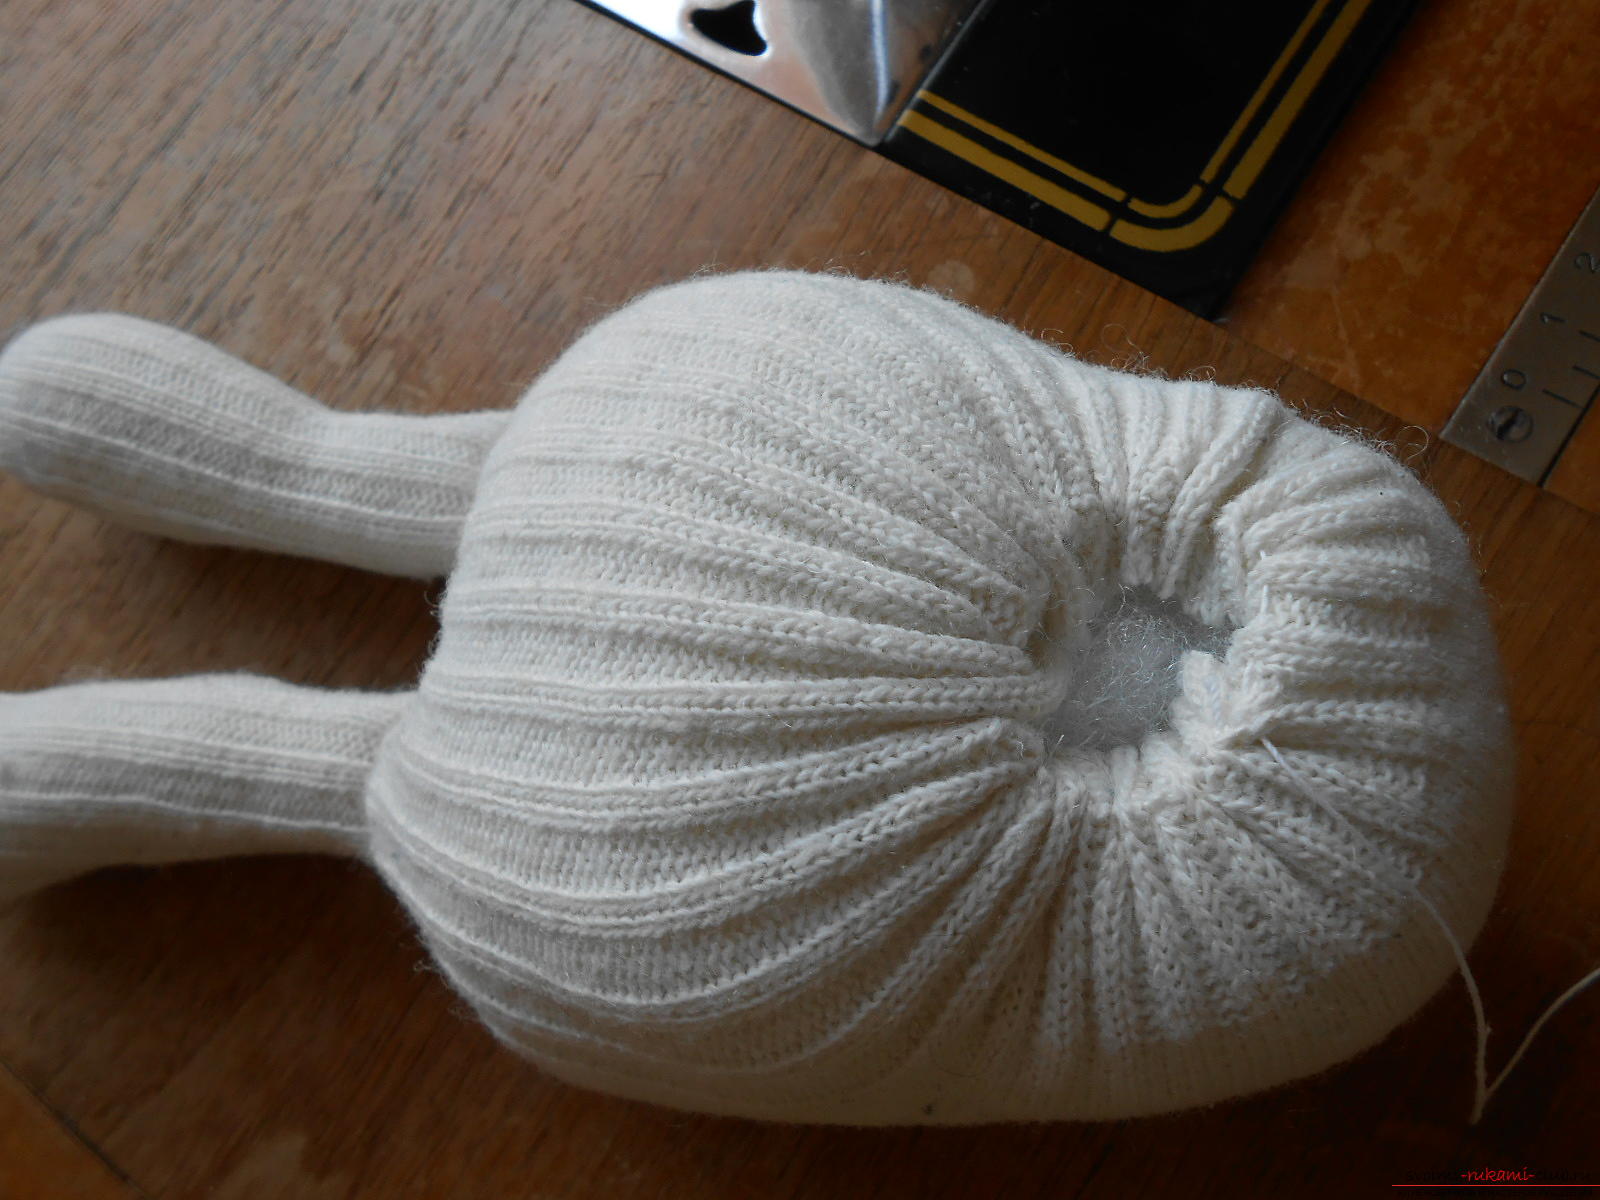 10. Sew a hole in the head with white thread.
  11. The part for the nose will be made from the cut piece on the toes fingers. We collect the cloth over the edge.
 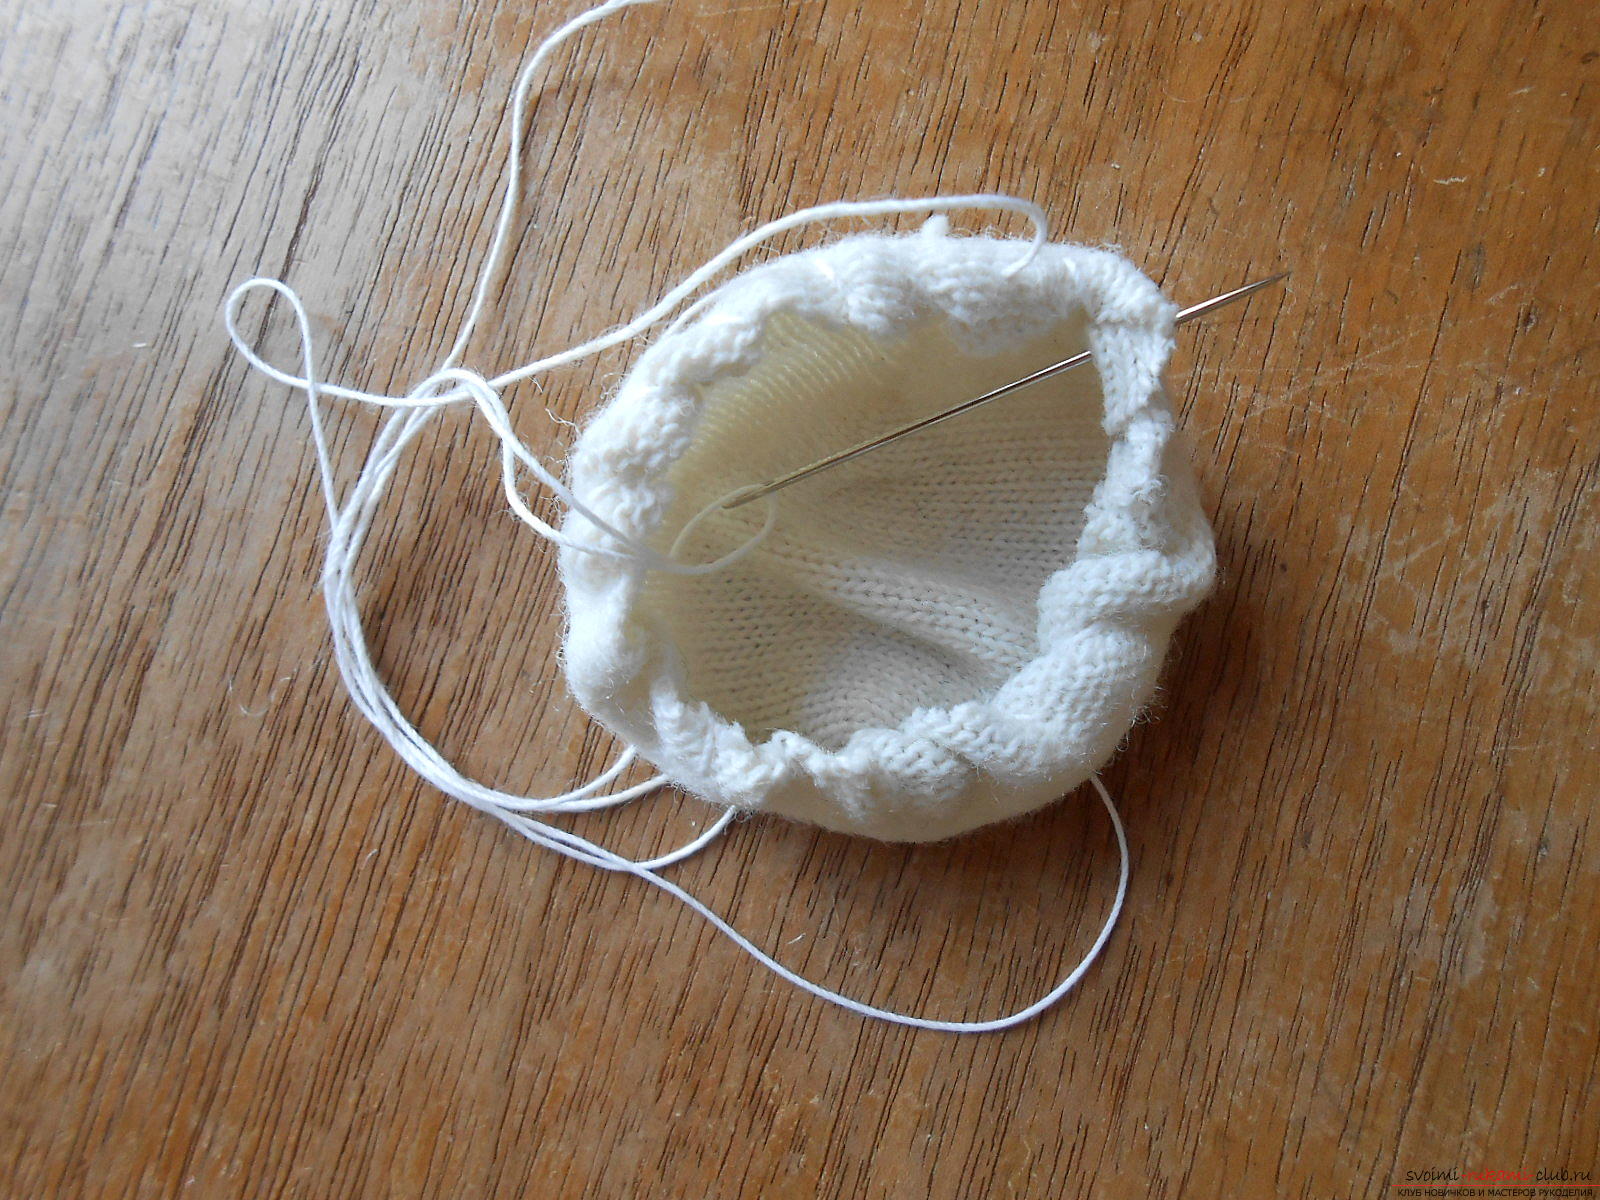 12. Put a piece of filler in the billet for the nose and pull the thread. Apply the nose on the muzzle and begin to sew it manually.
 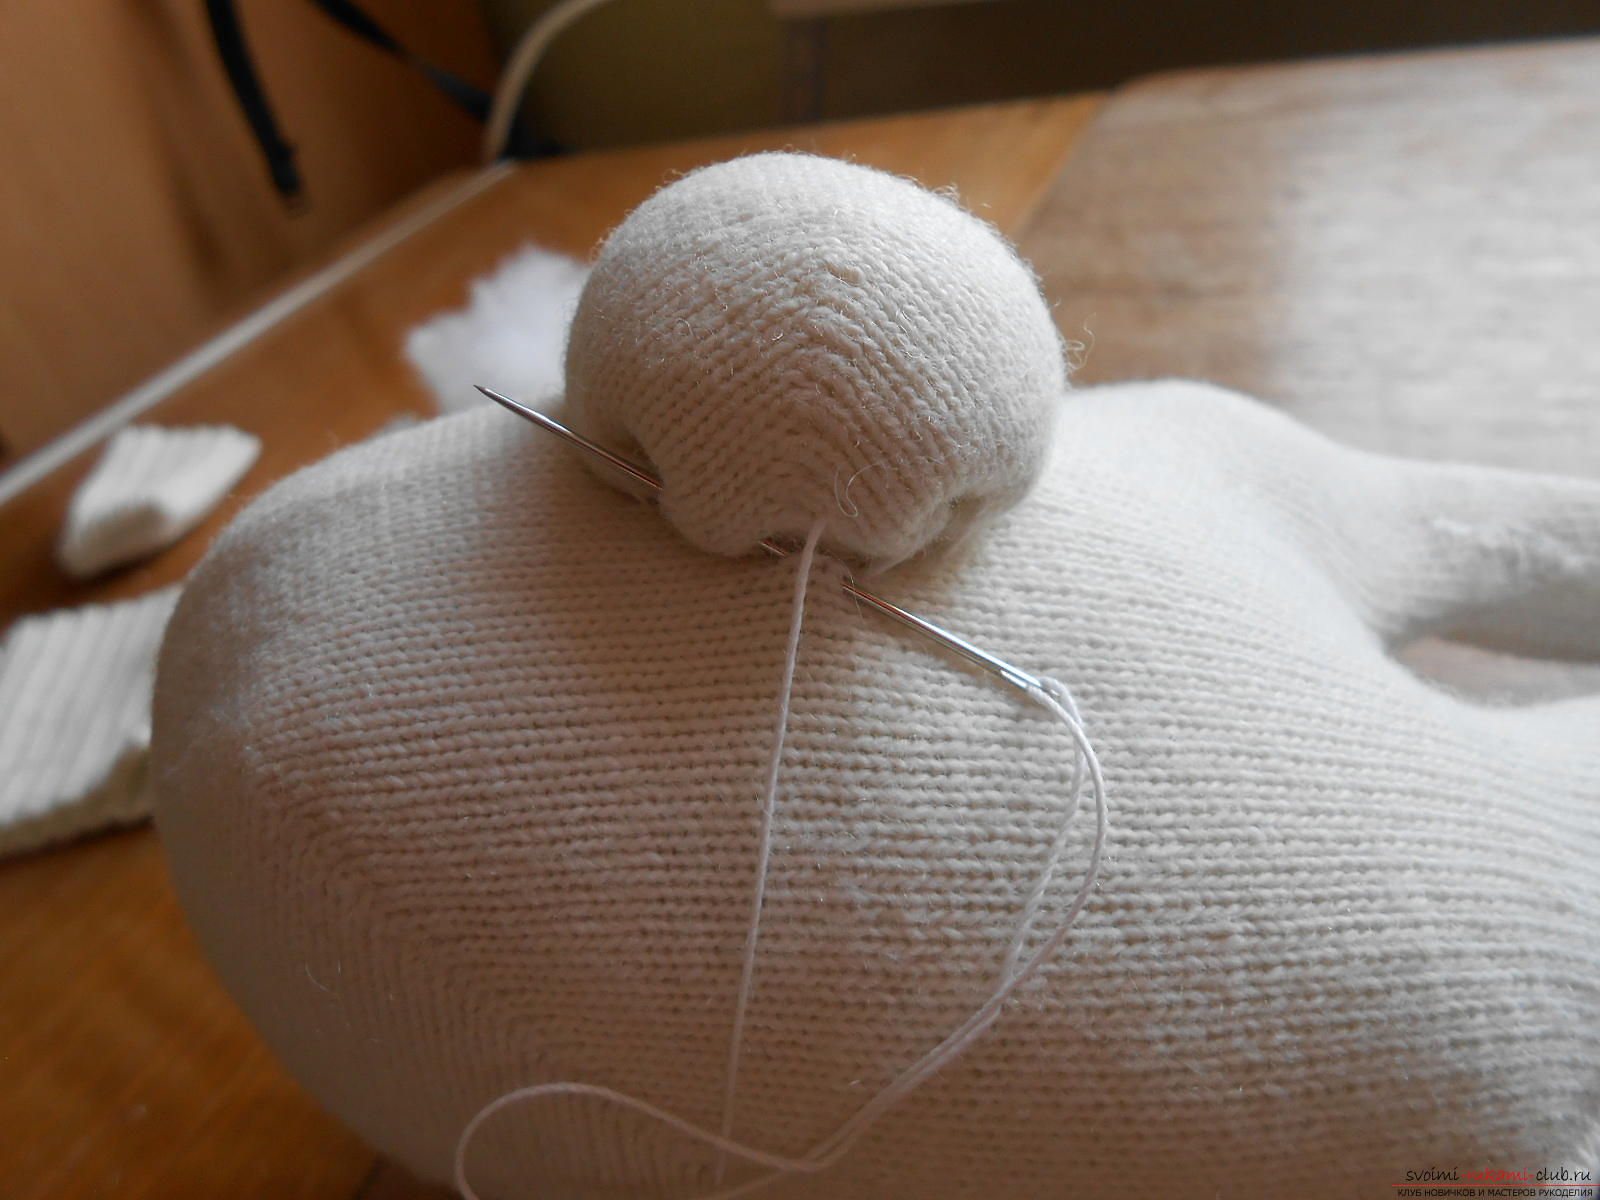 That's how the nose decorated the muzzle of the toy.
  13. Make the body of a hare from a rectangular detail. We collect on the thread the bottom edge.
  14. Fill the workpiece and sew a hole in the body of the hare by hand.
 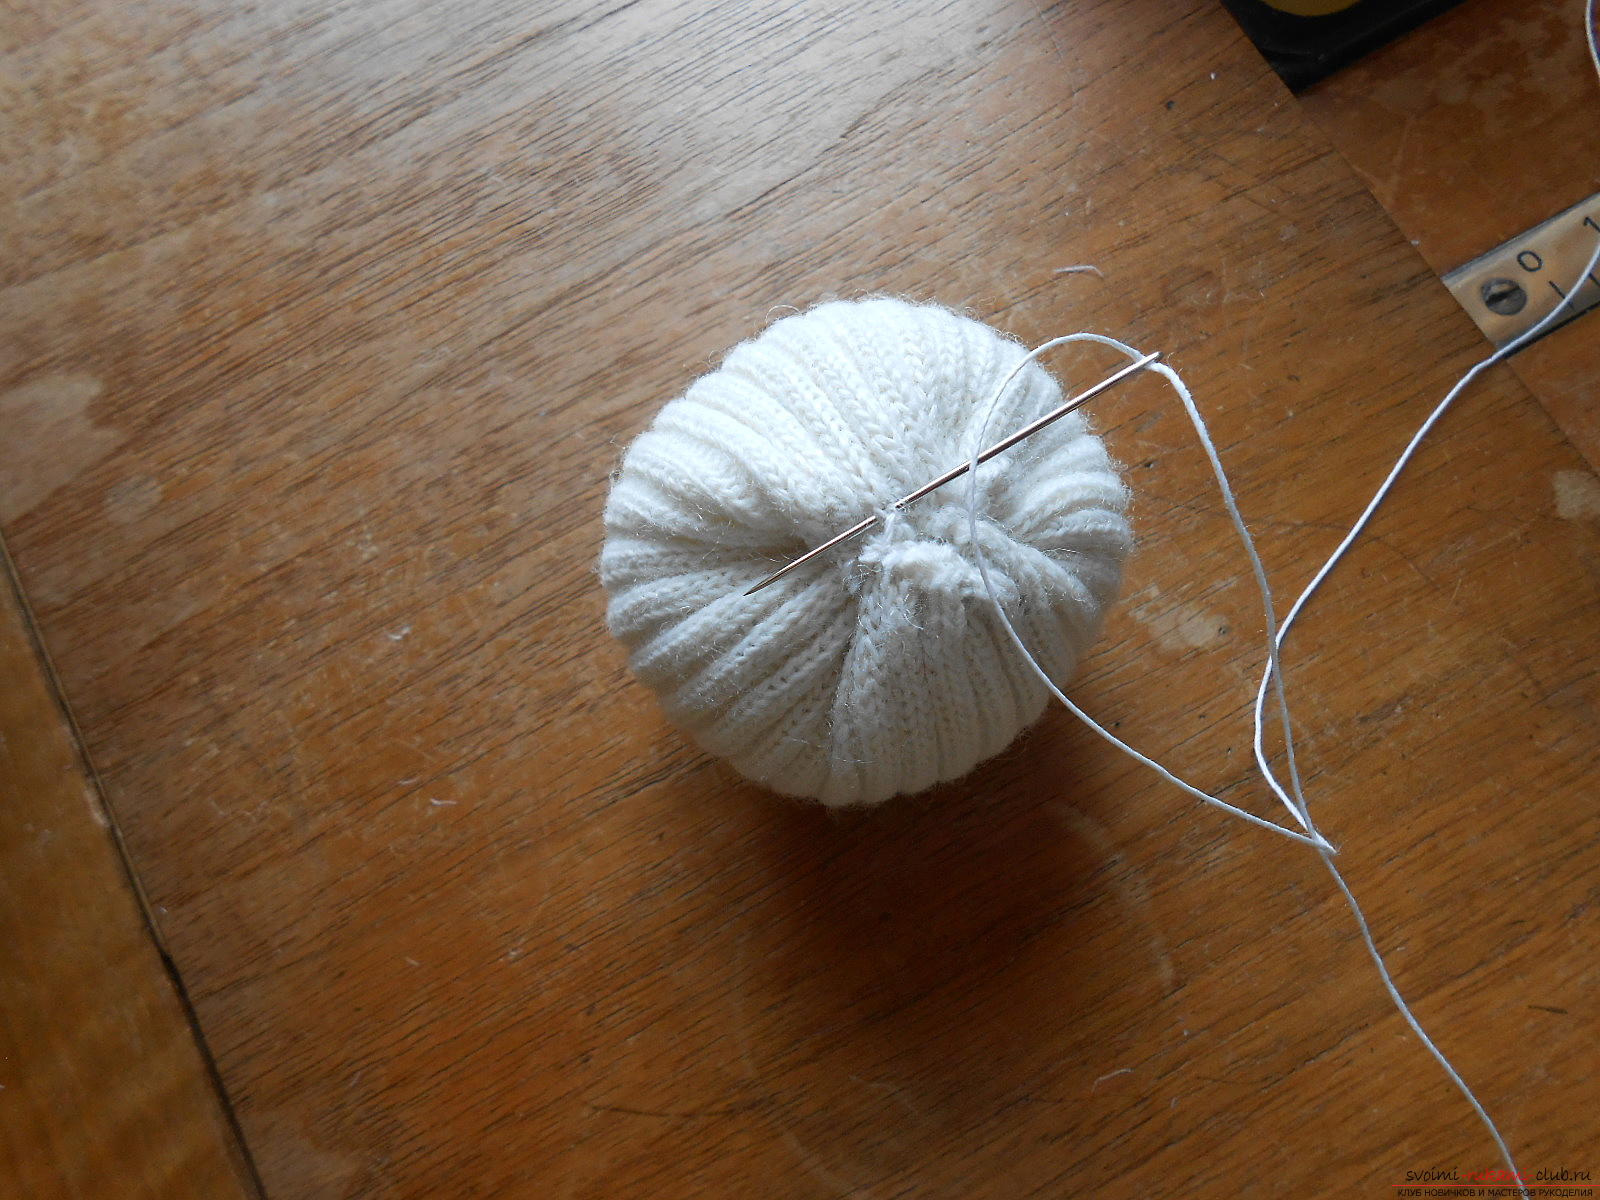 15. Sew the body to the head.
 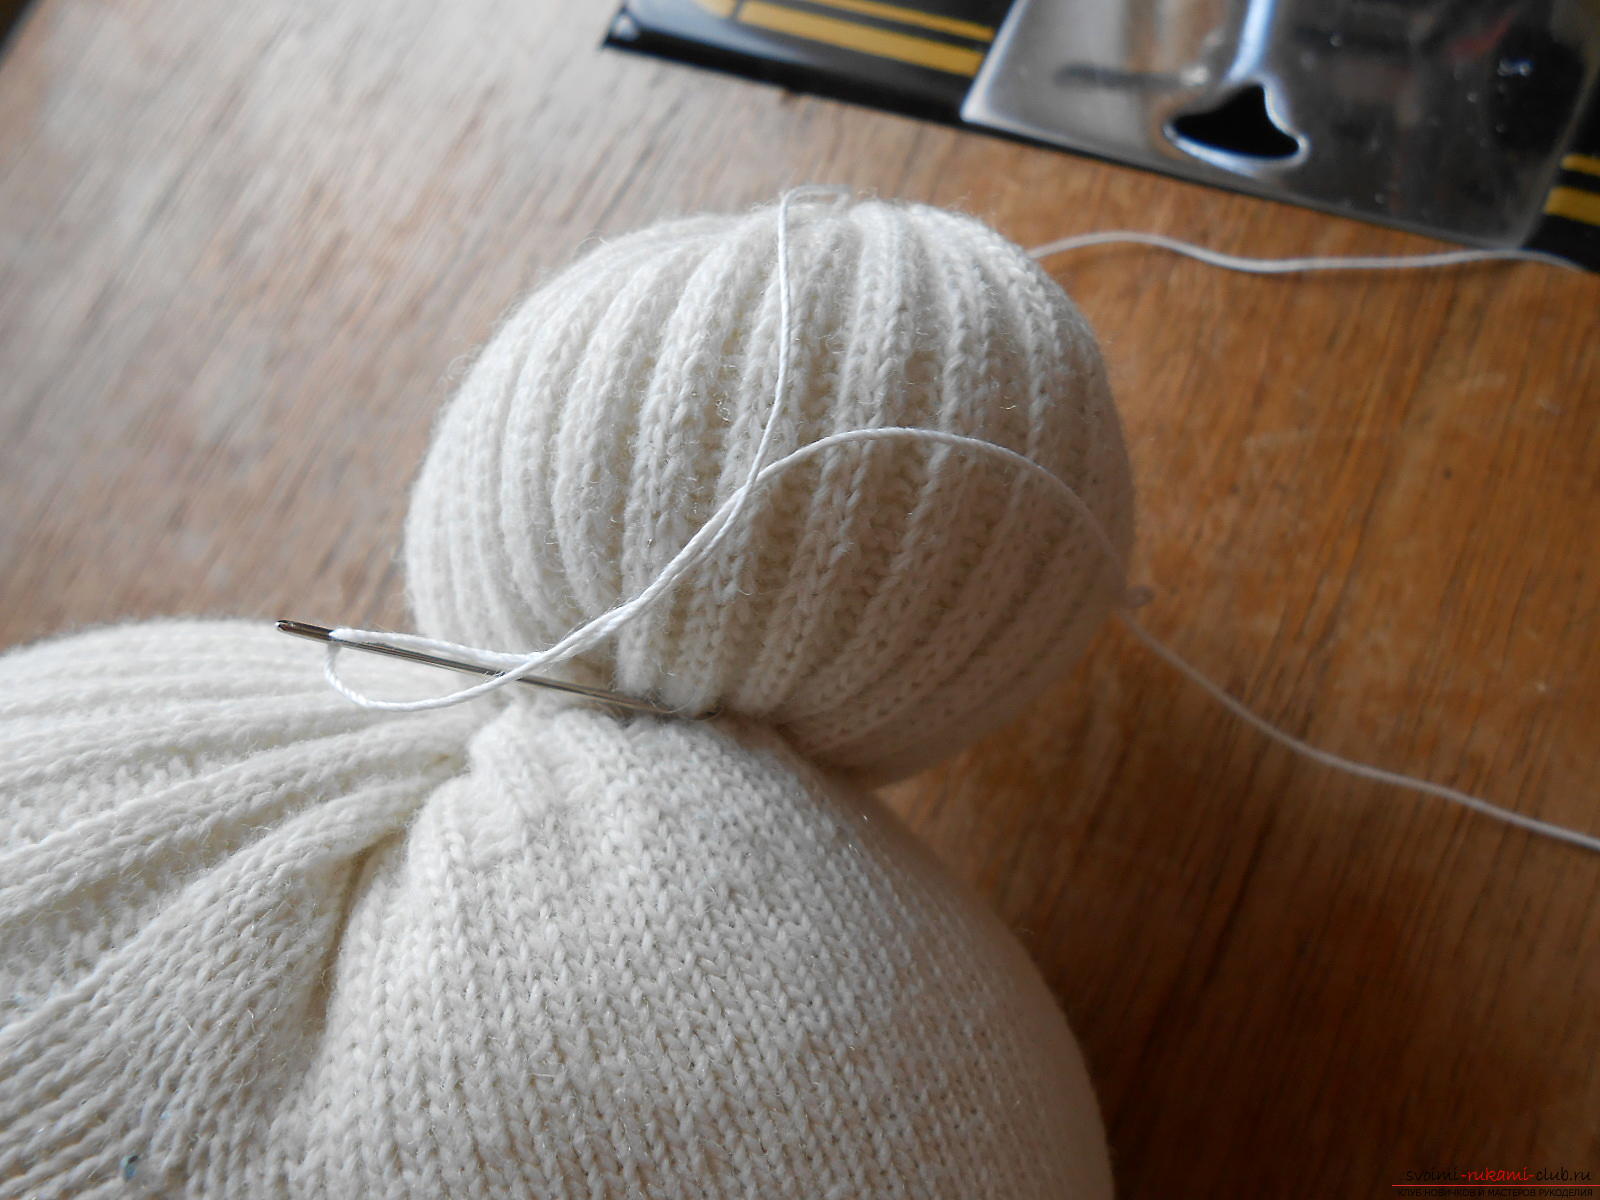 16. The paws were stuffed with filler. The edge is assembled on a string.
 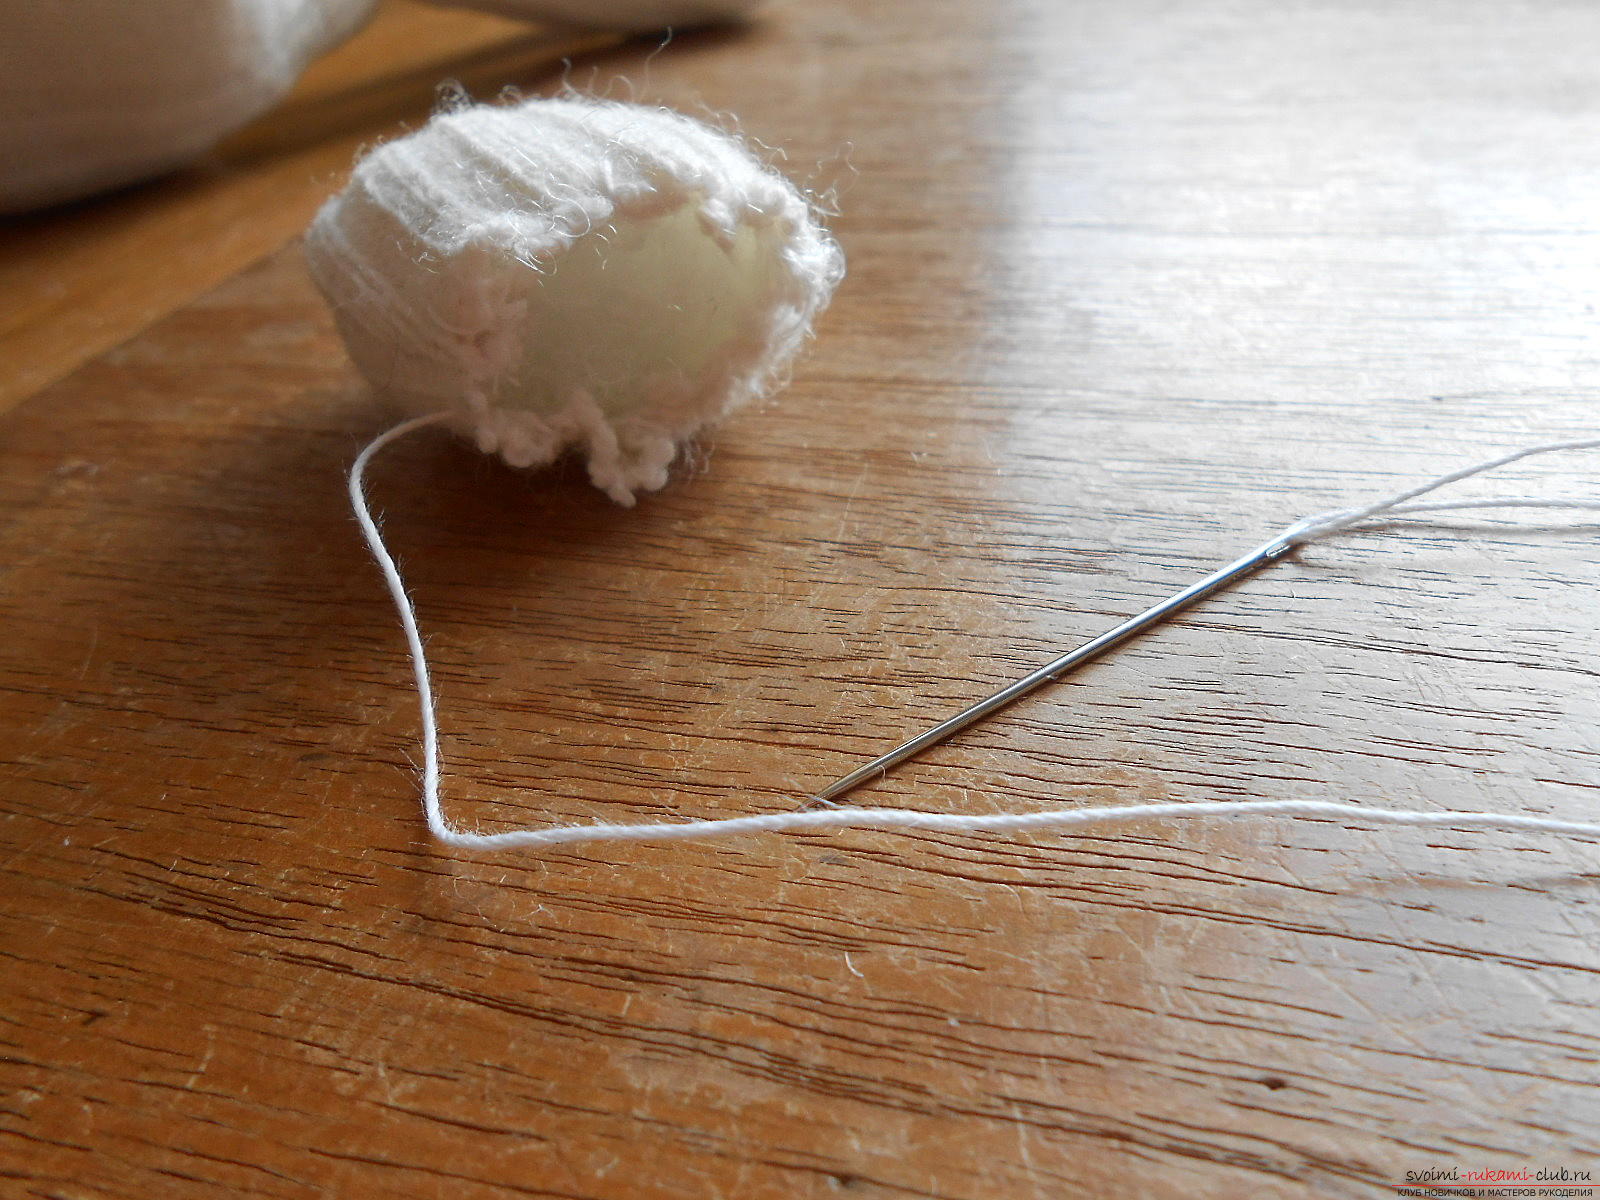 17. We pull the thread.
 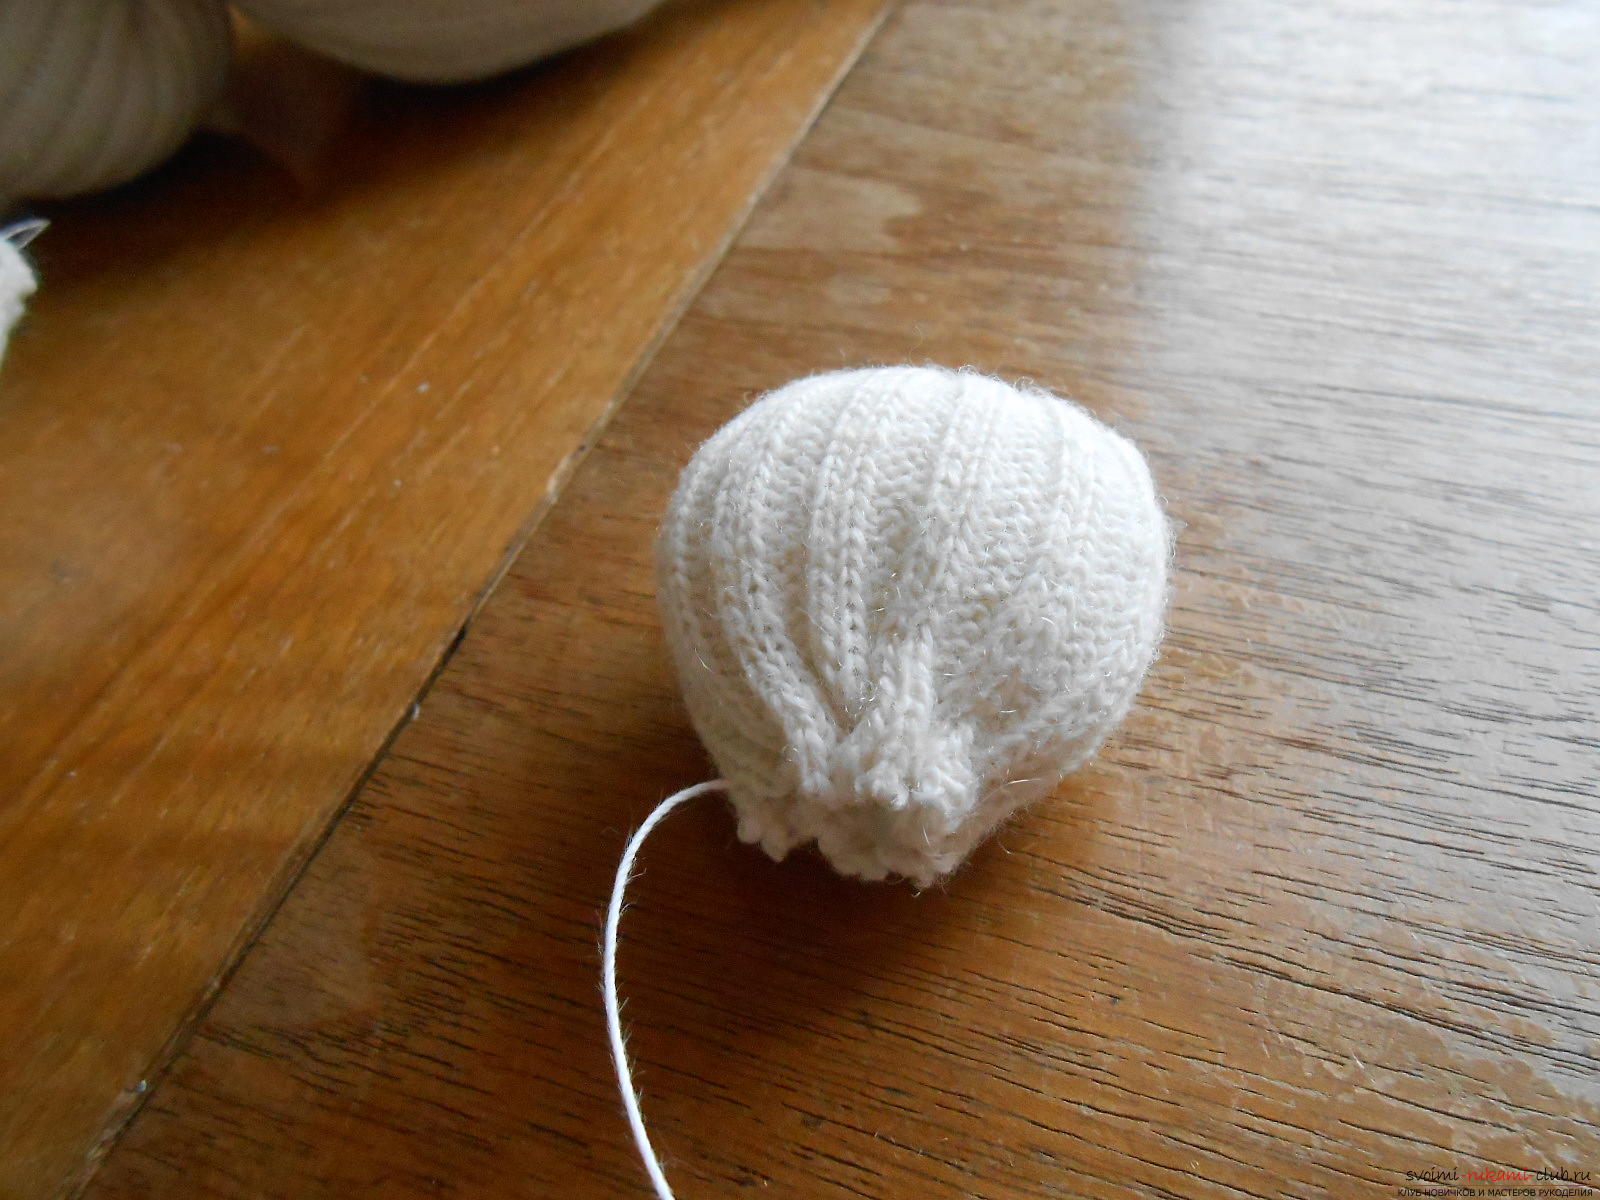 18. Choose a place for the legs and sew it manually to the body of the hare.
 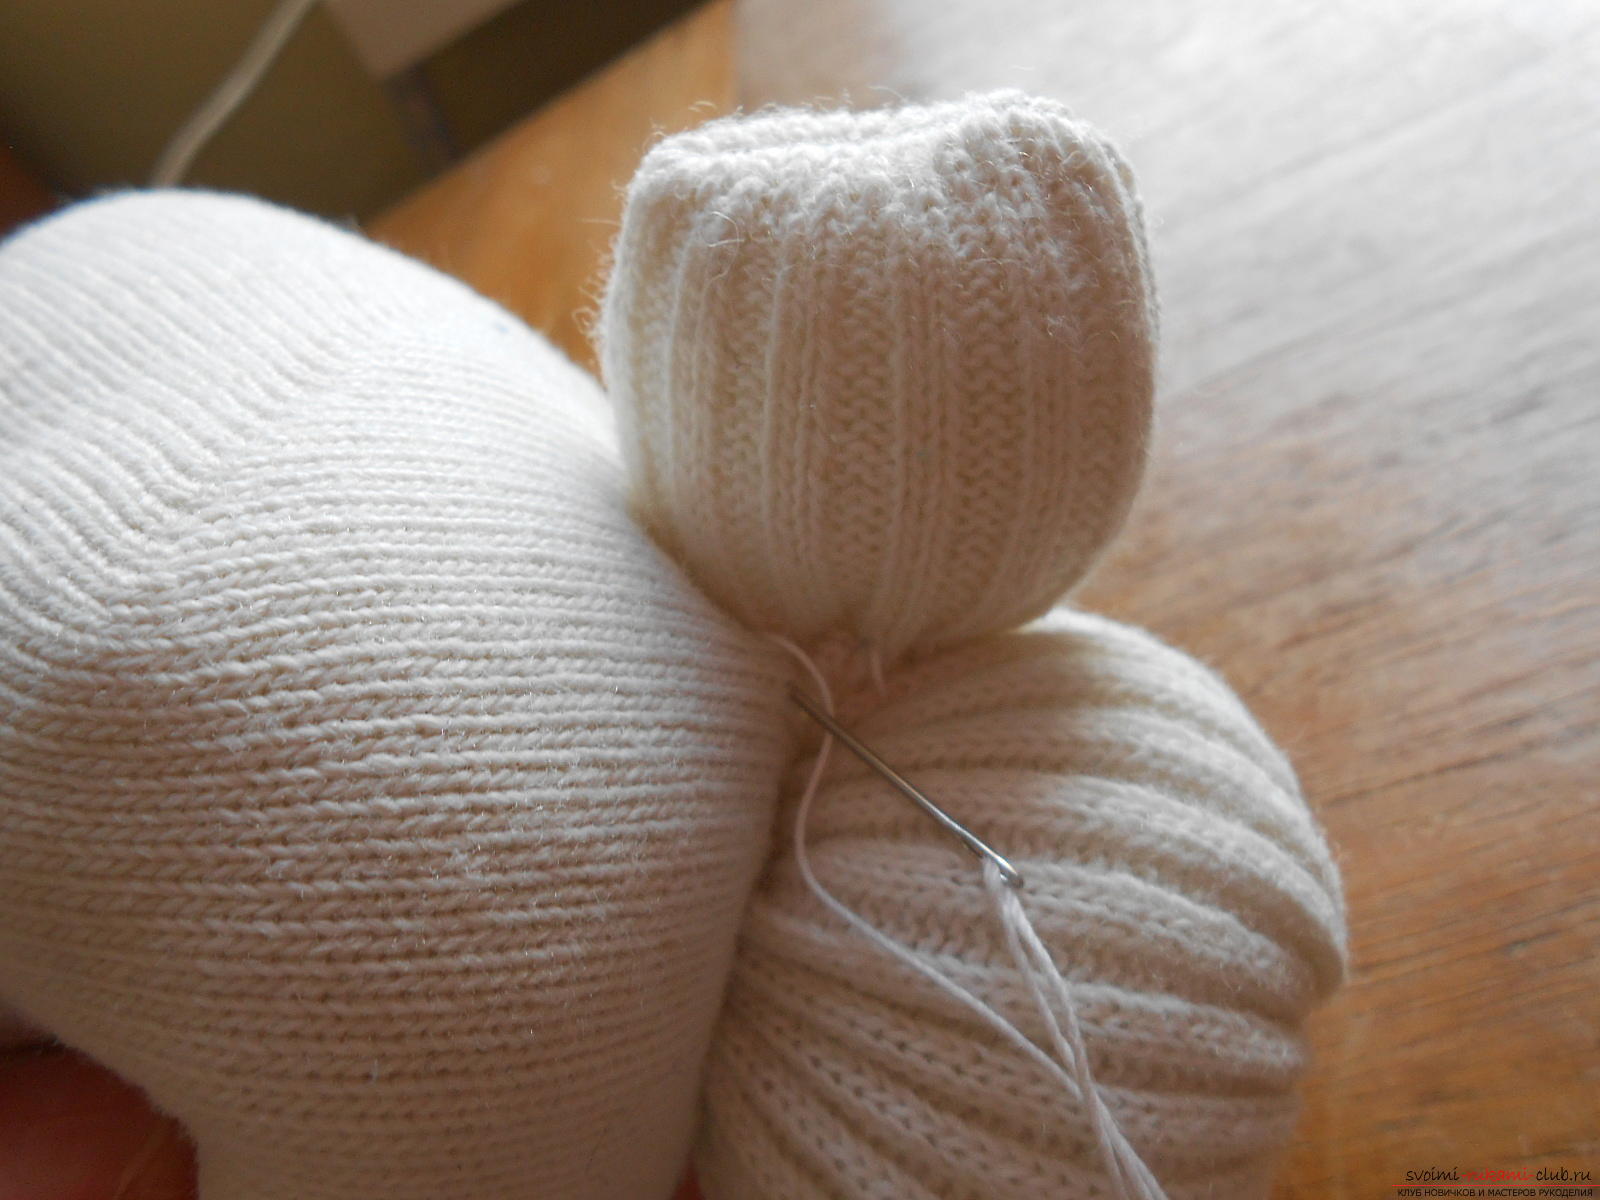 Sewn the body, head and legs.
  19. Make 2 front paws and a tail. For this we cut out 3 identical circles. We collect a circle on the thread. We put the filler and pull the thread.
  20. Here are 3 of our tail items, 2 paws.
 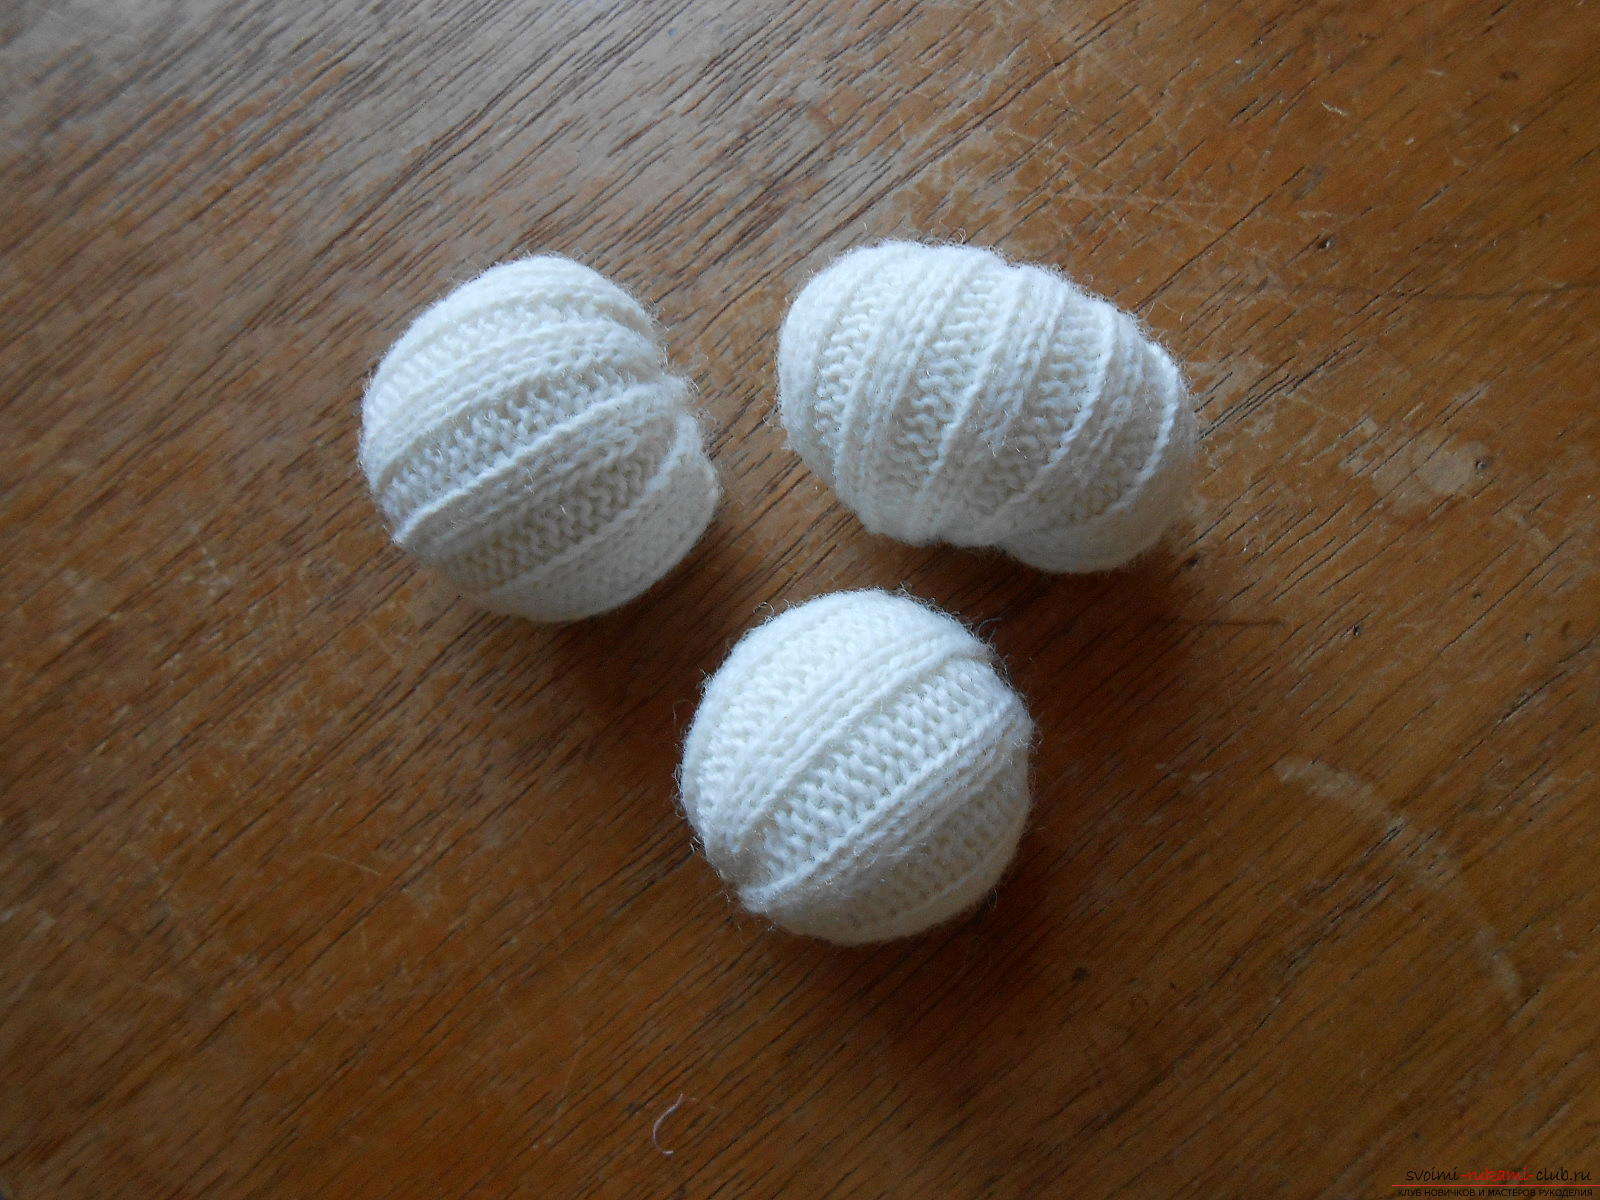 21. Sew the tail manually.
  22. And on the paws with colored thread embroider the marigold nails.
  23. Sew pads.
 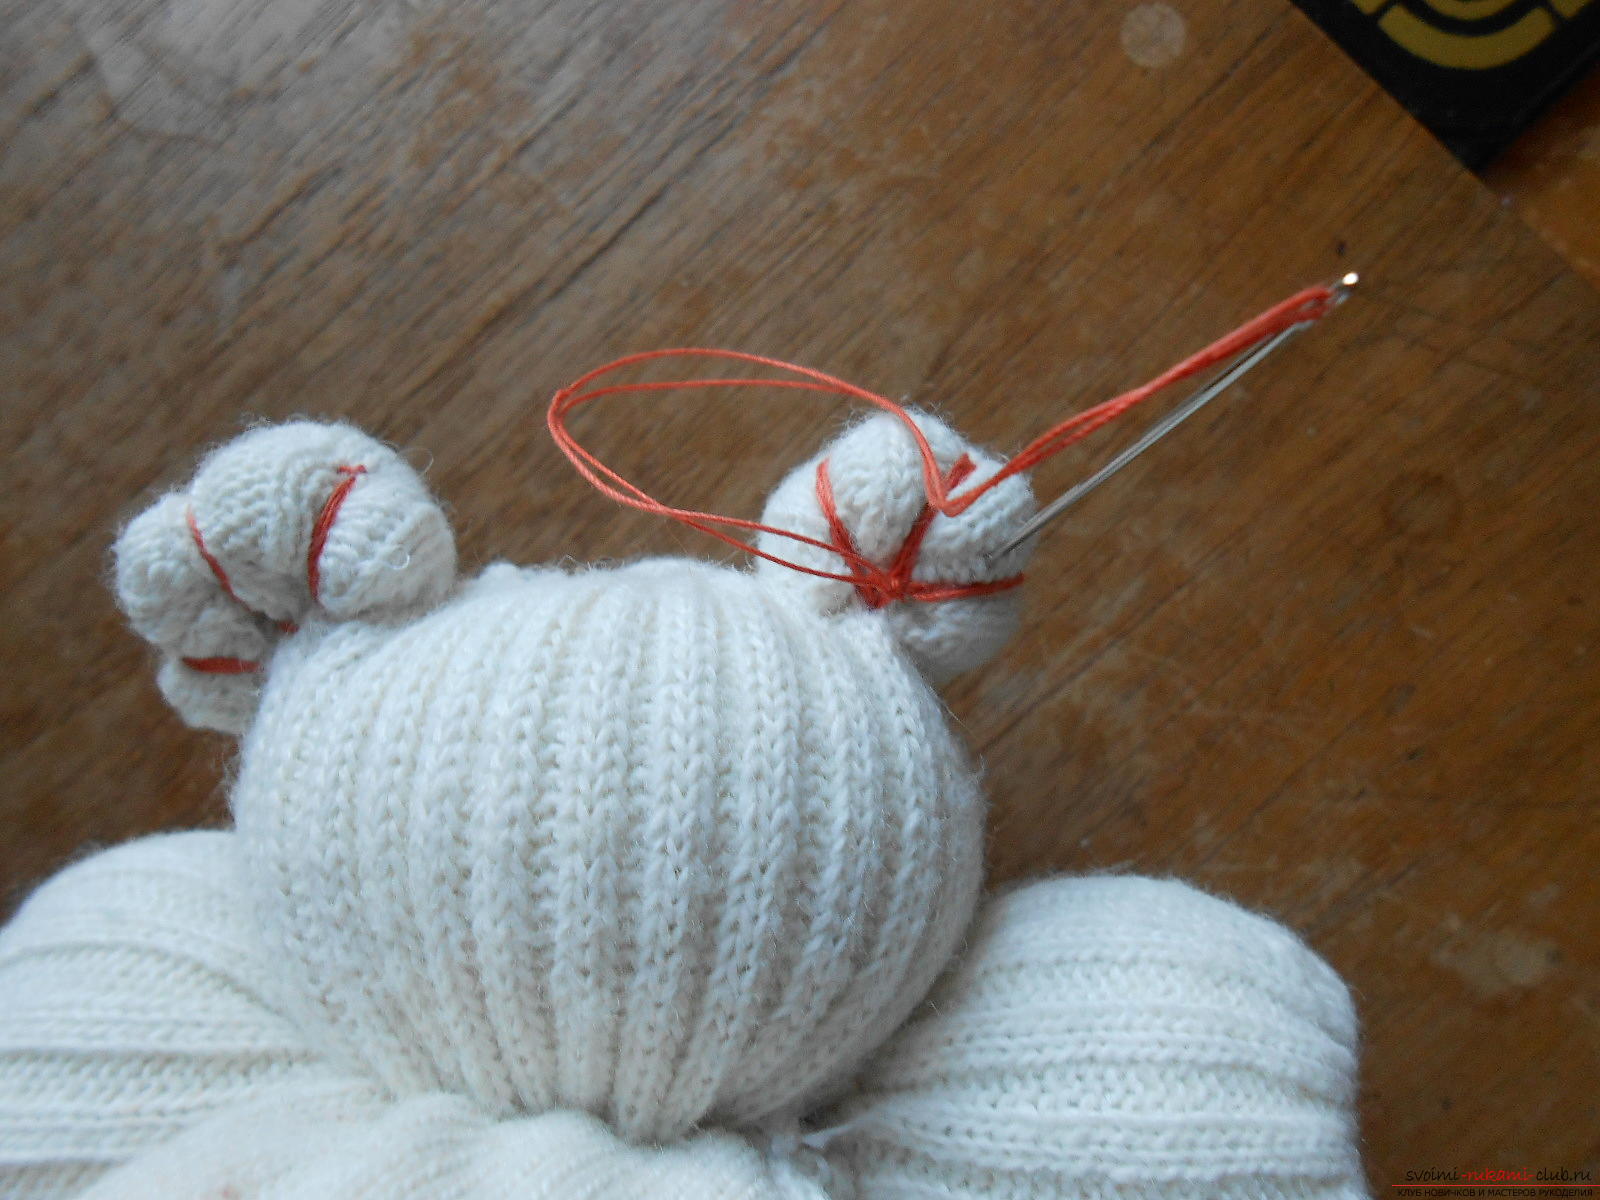 24. On the muzzle we embroider the mouth with straight stitches forward with a needle.
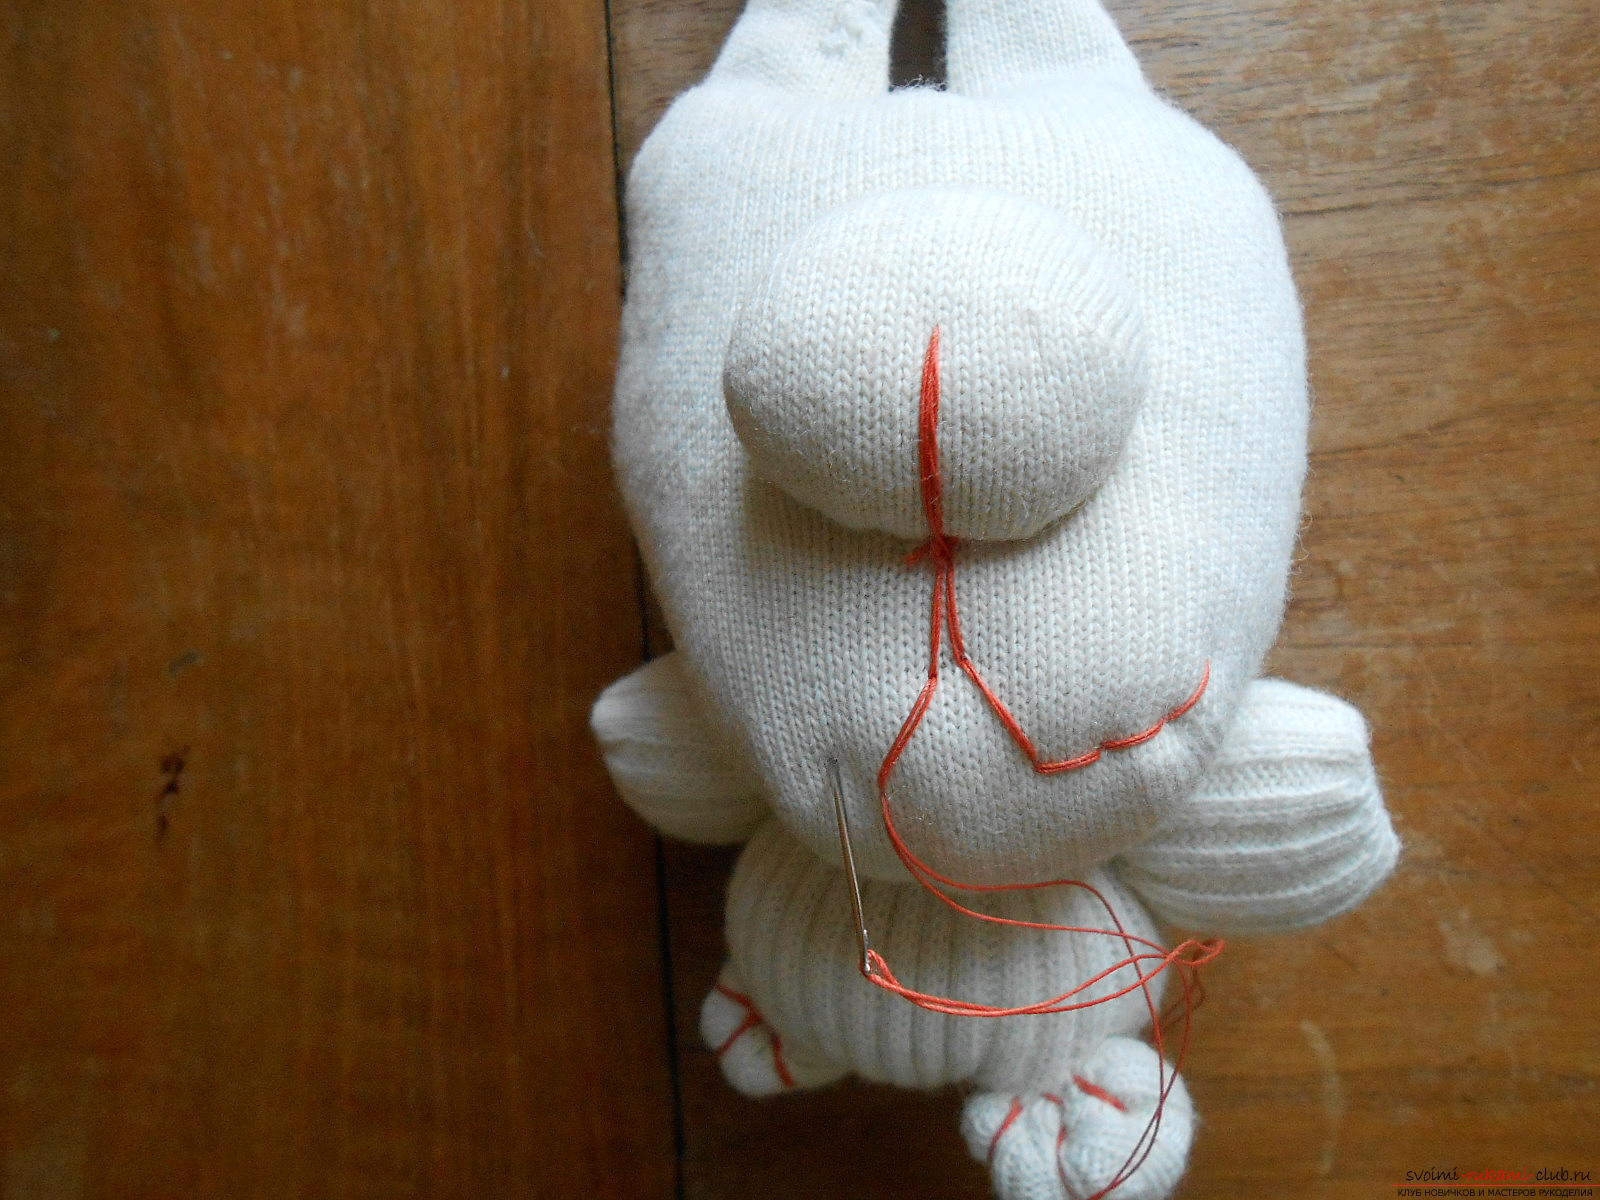
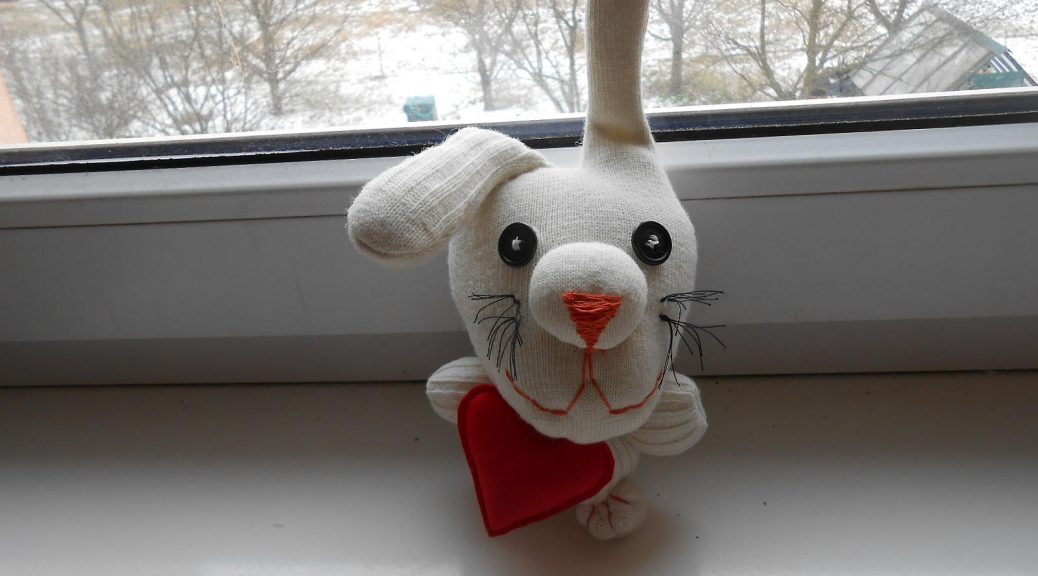
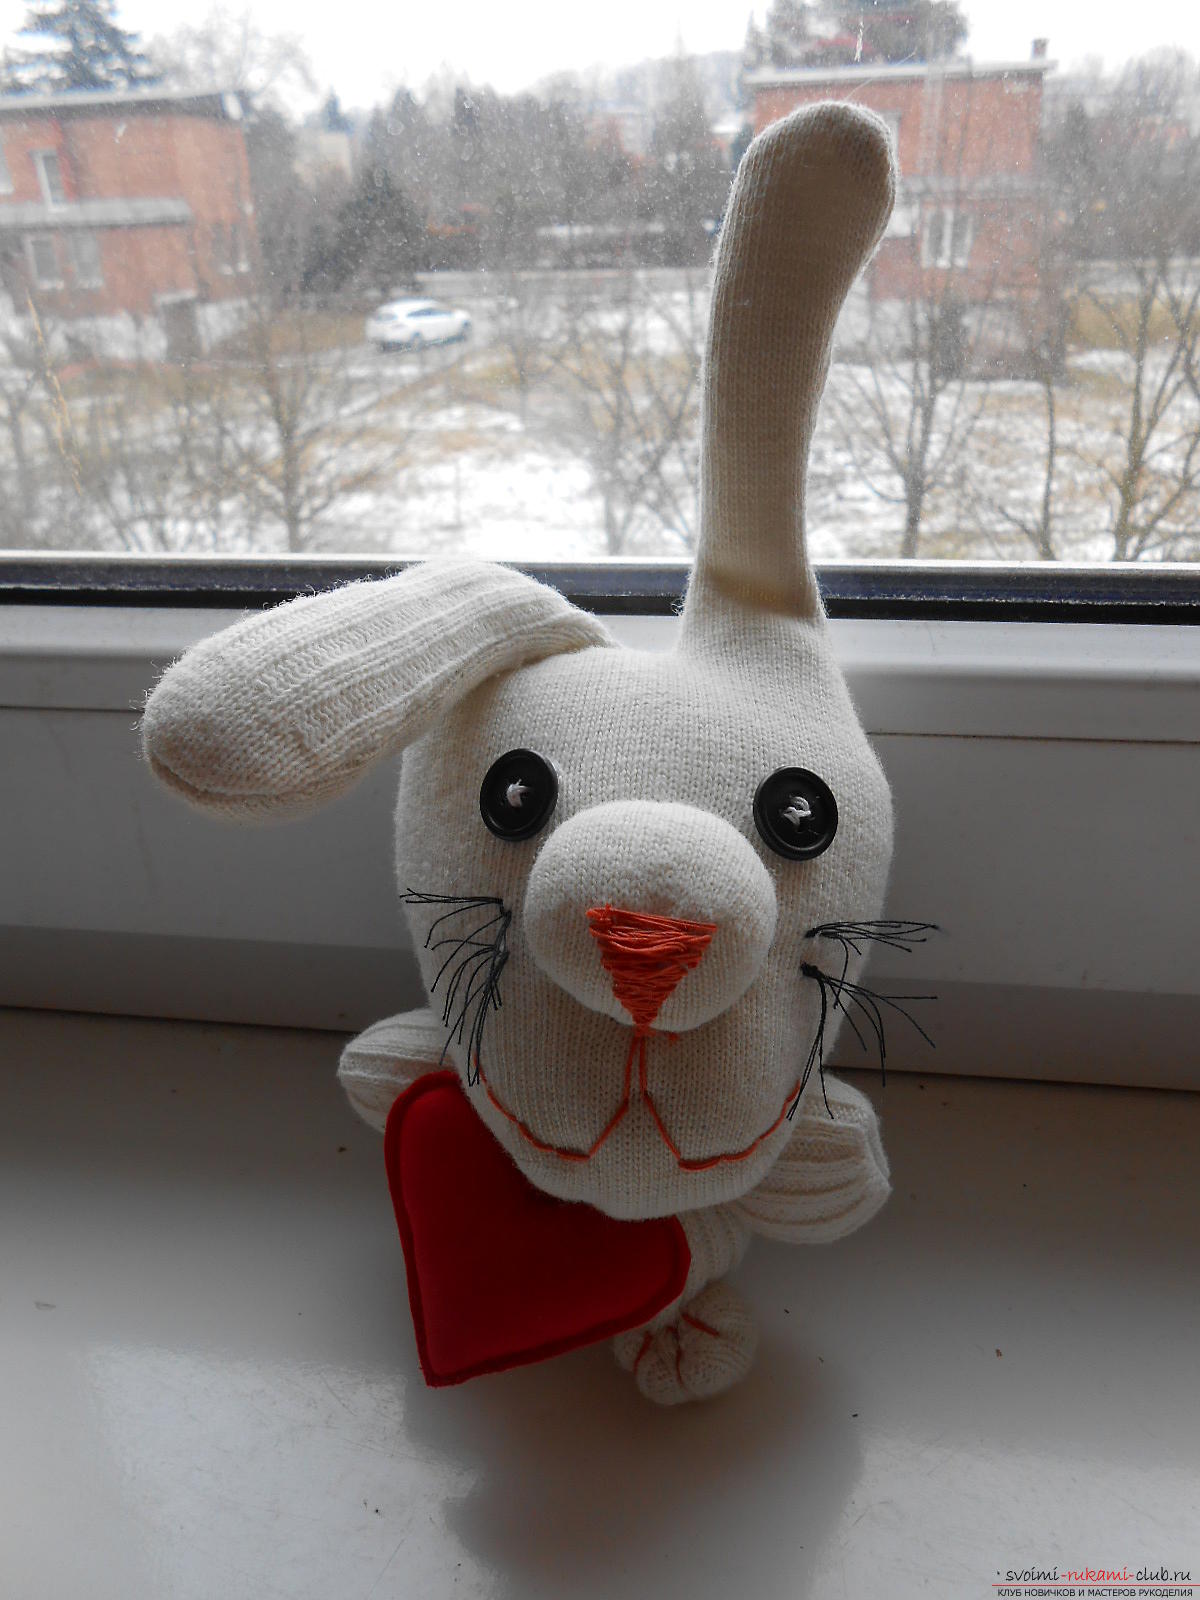
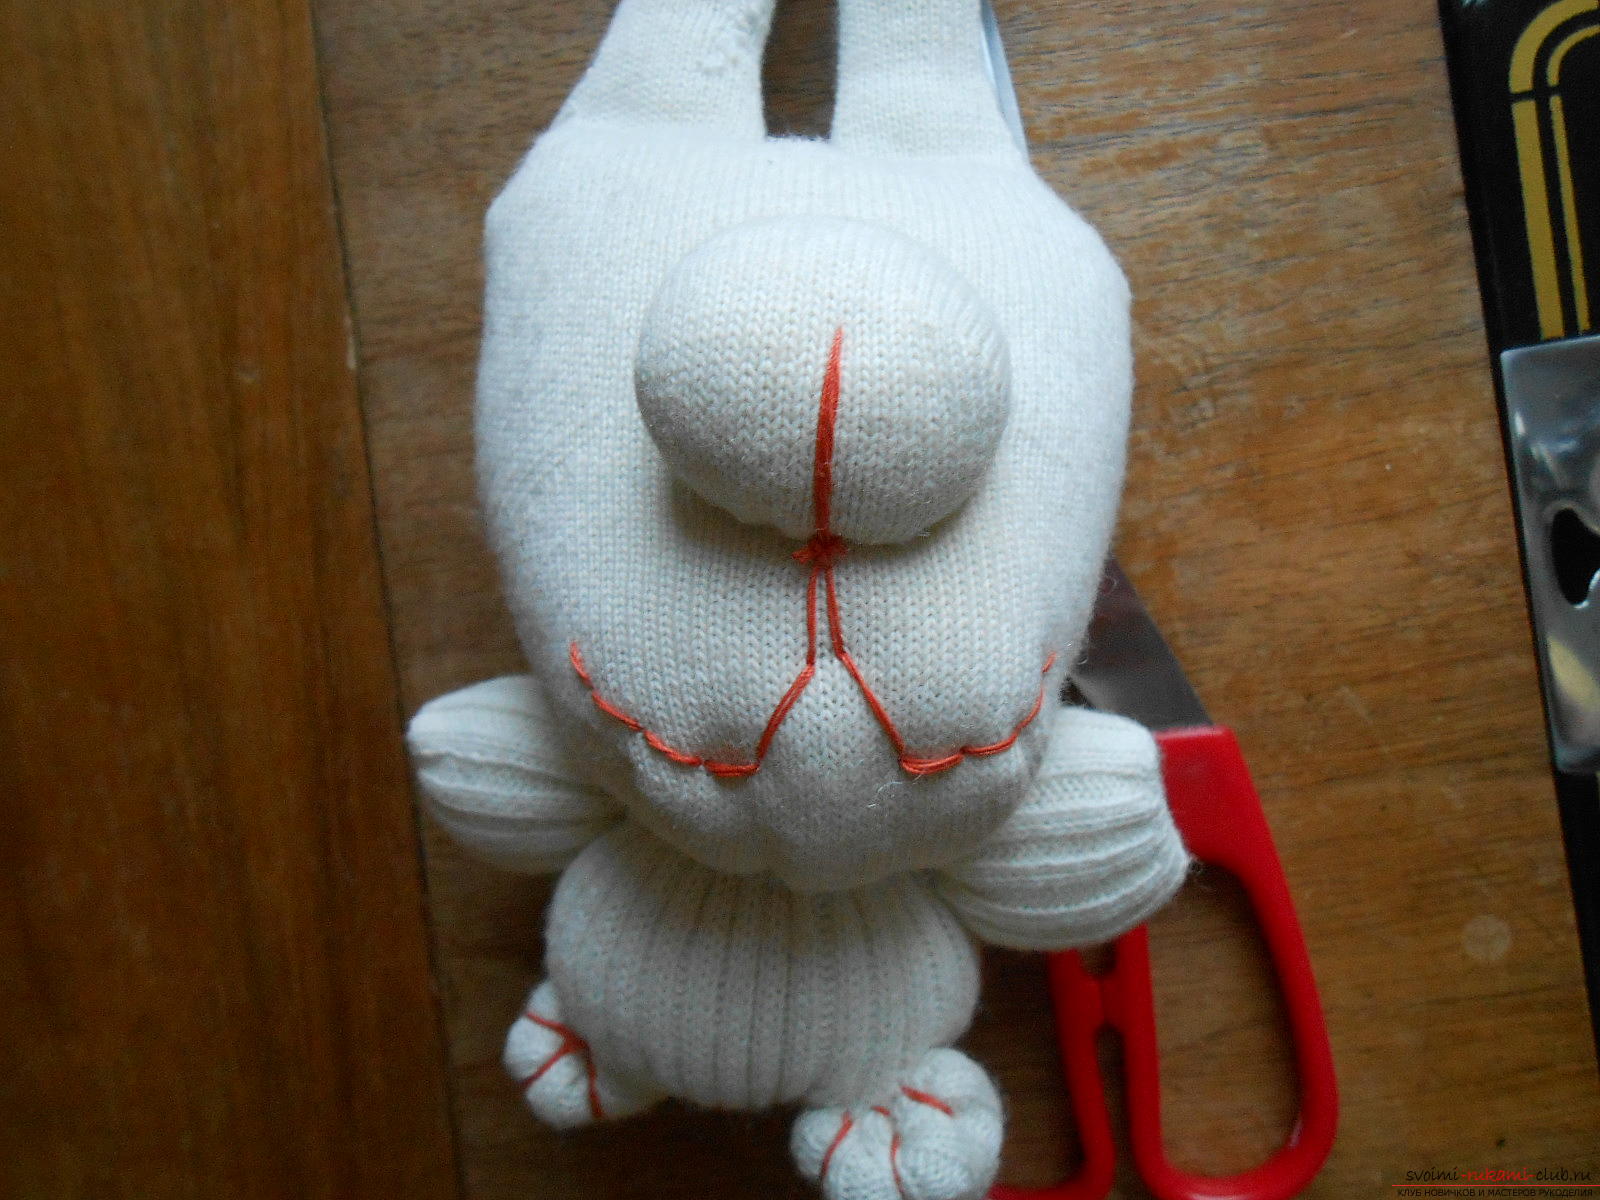 25. Two black eye buttons decorate the little animal.
  That's such a handsome bunny turned out.
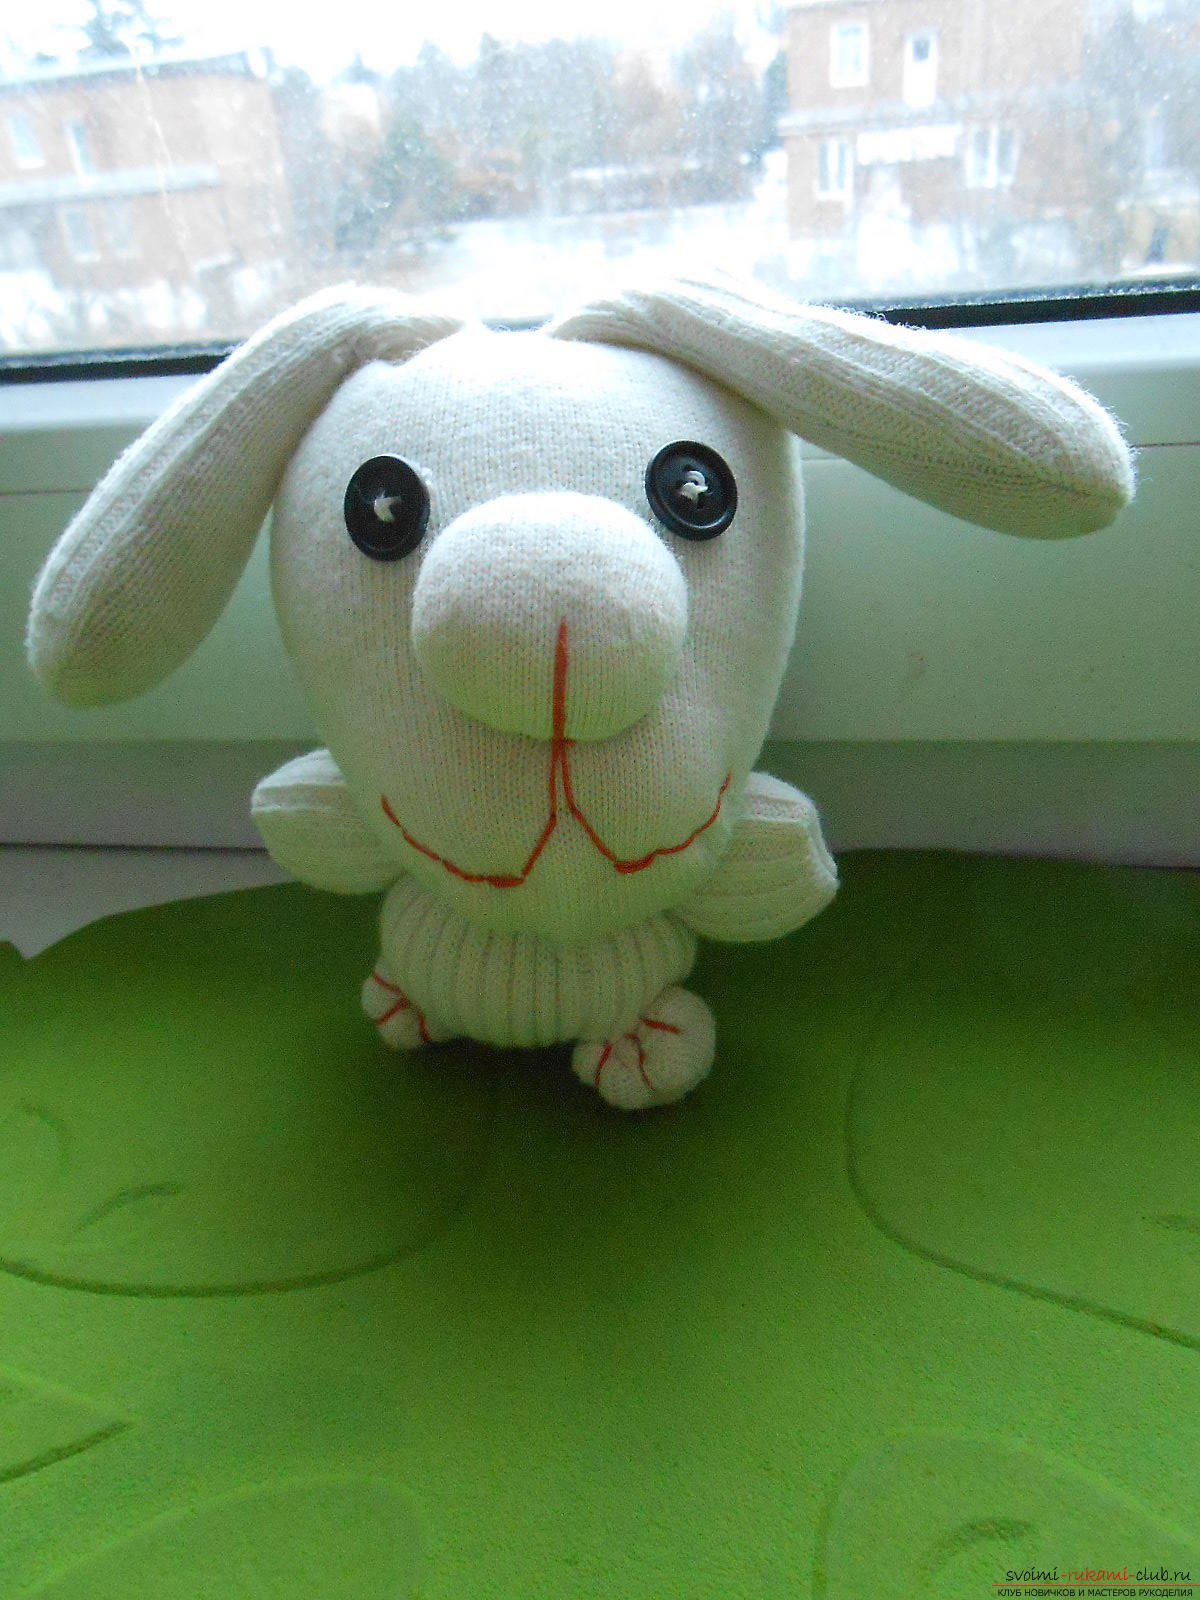
 But, I decided to refine it. You need to make a heart !!! For this I have found 2 details of the heart.
 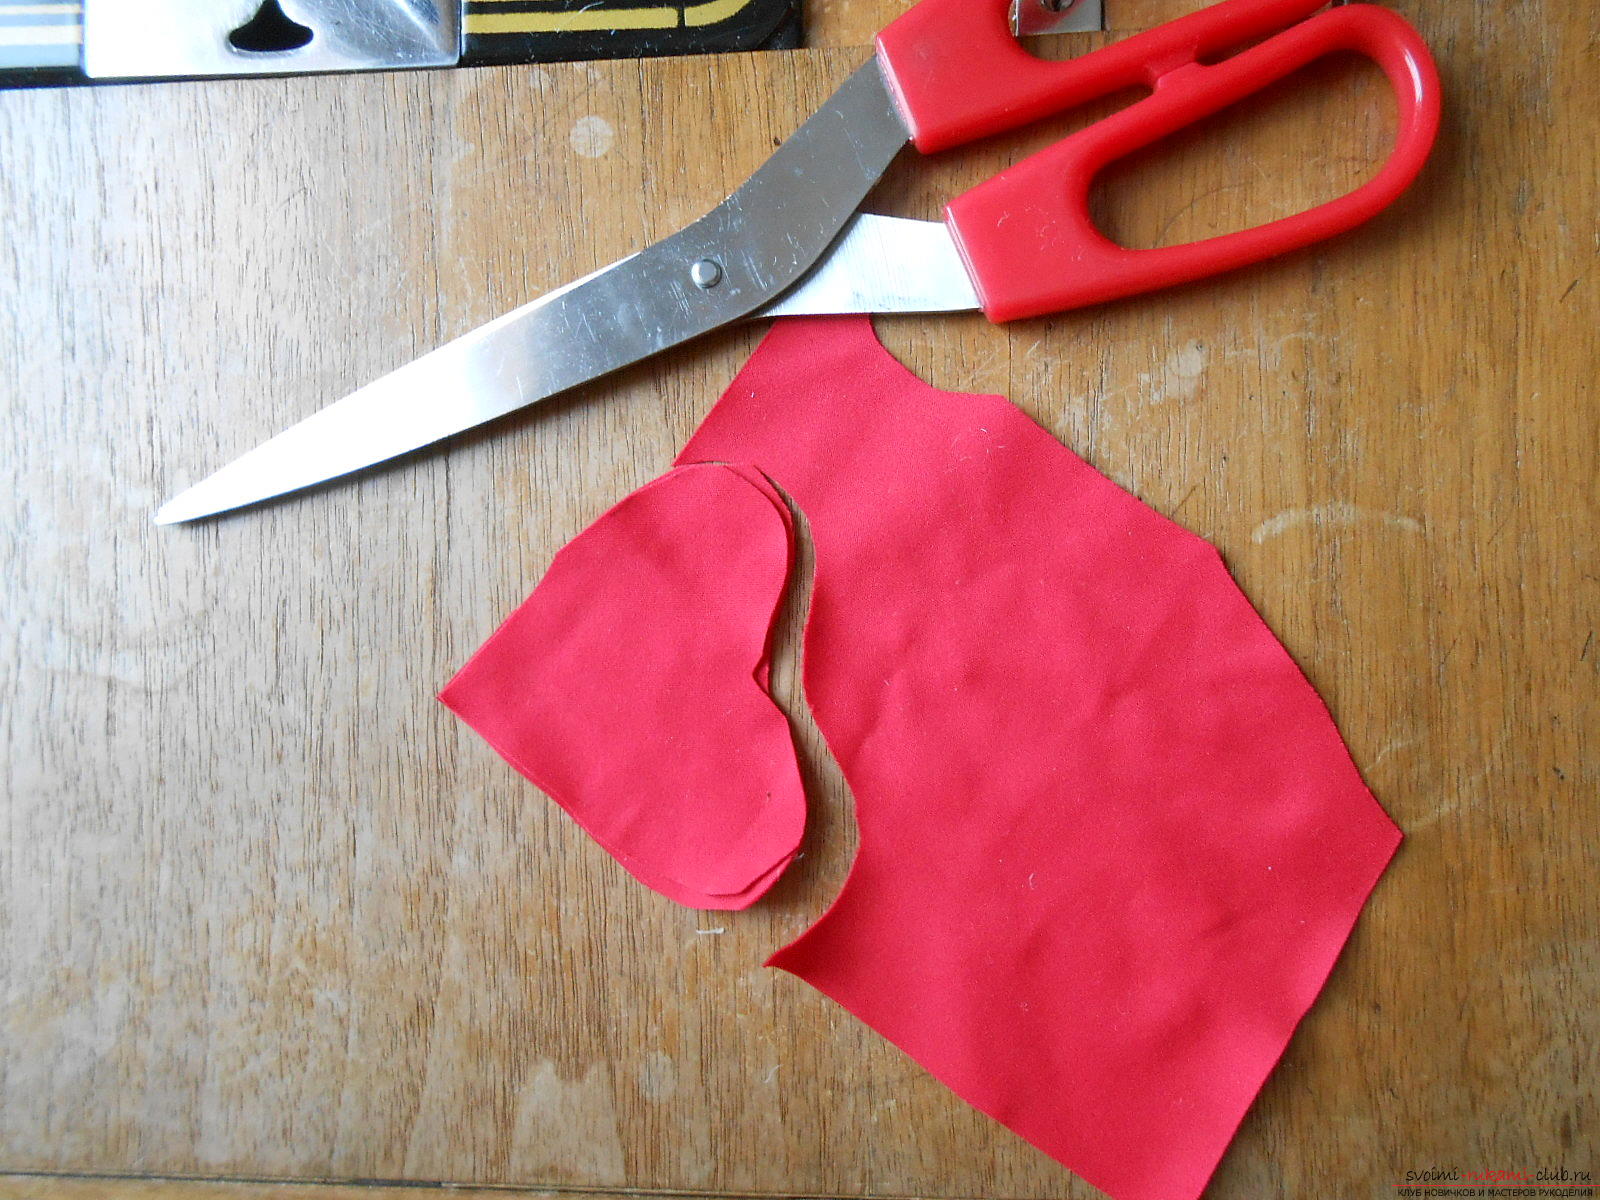 And began to grind along the slices on the machine.
 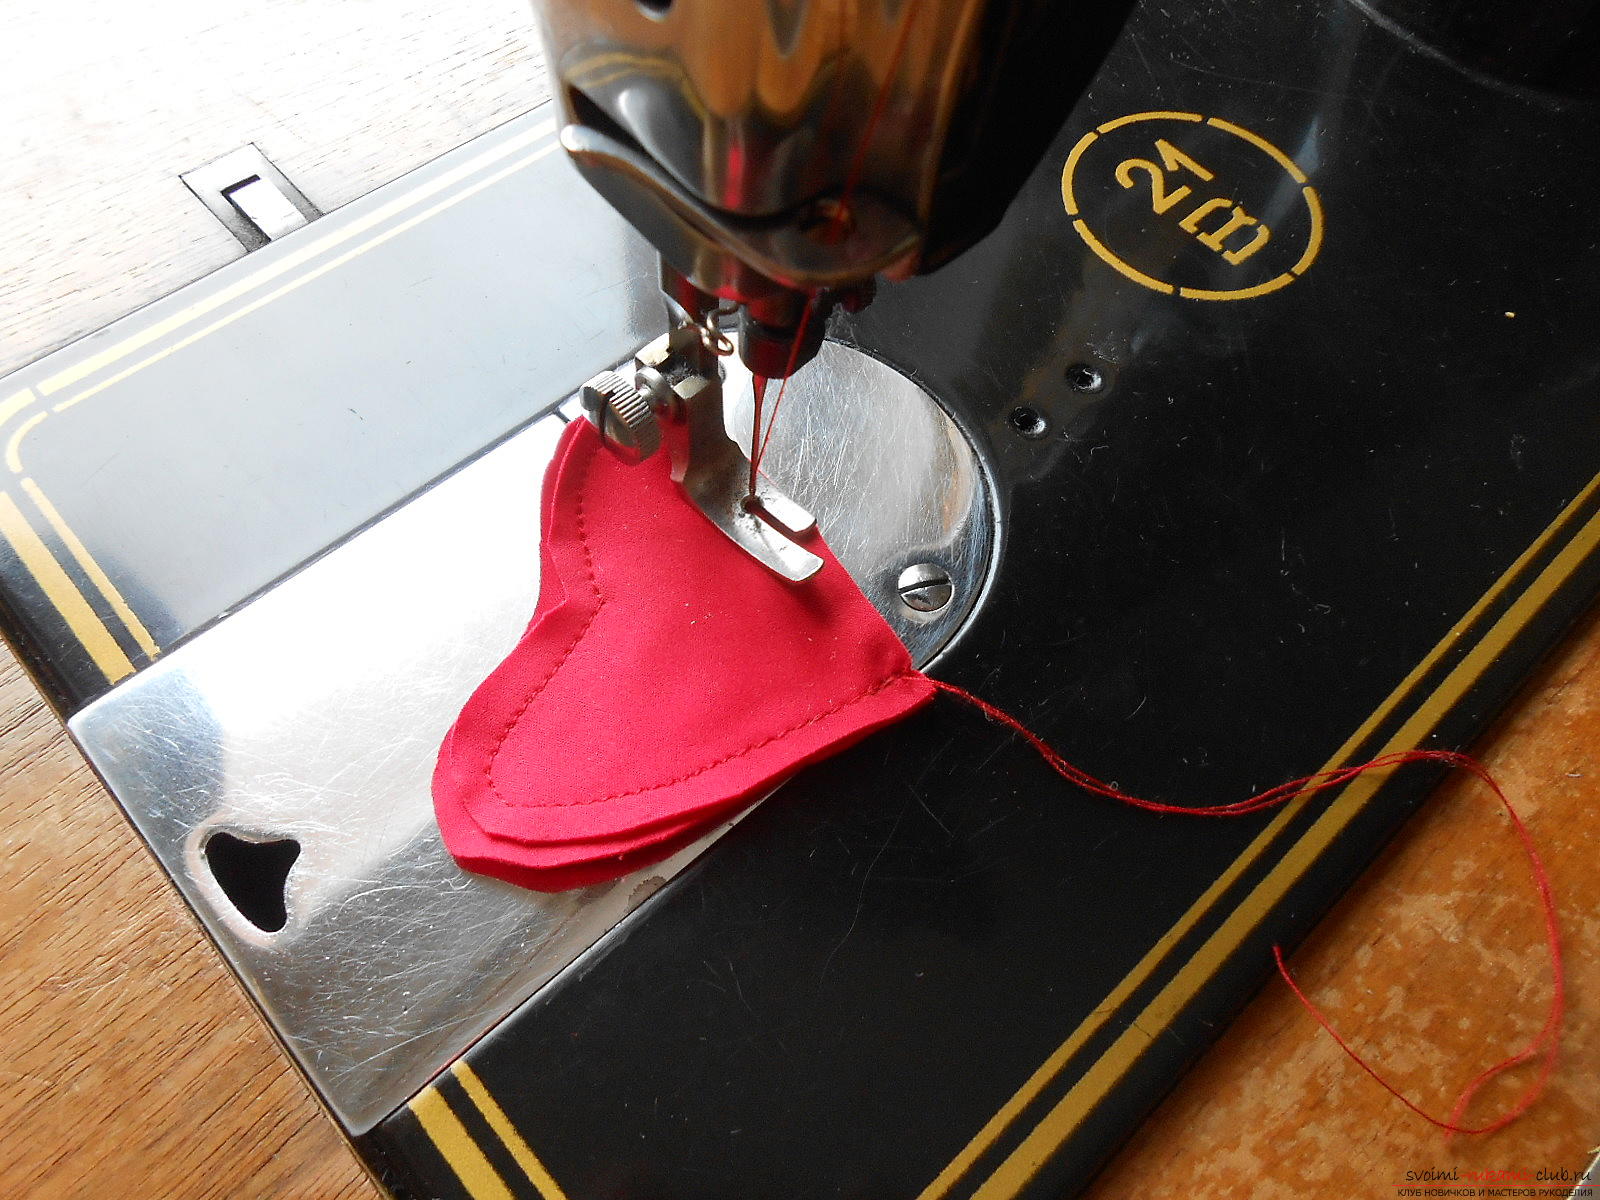 Leave a hole of 3 cm through it we fill the heart with filler.
 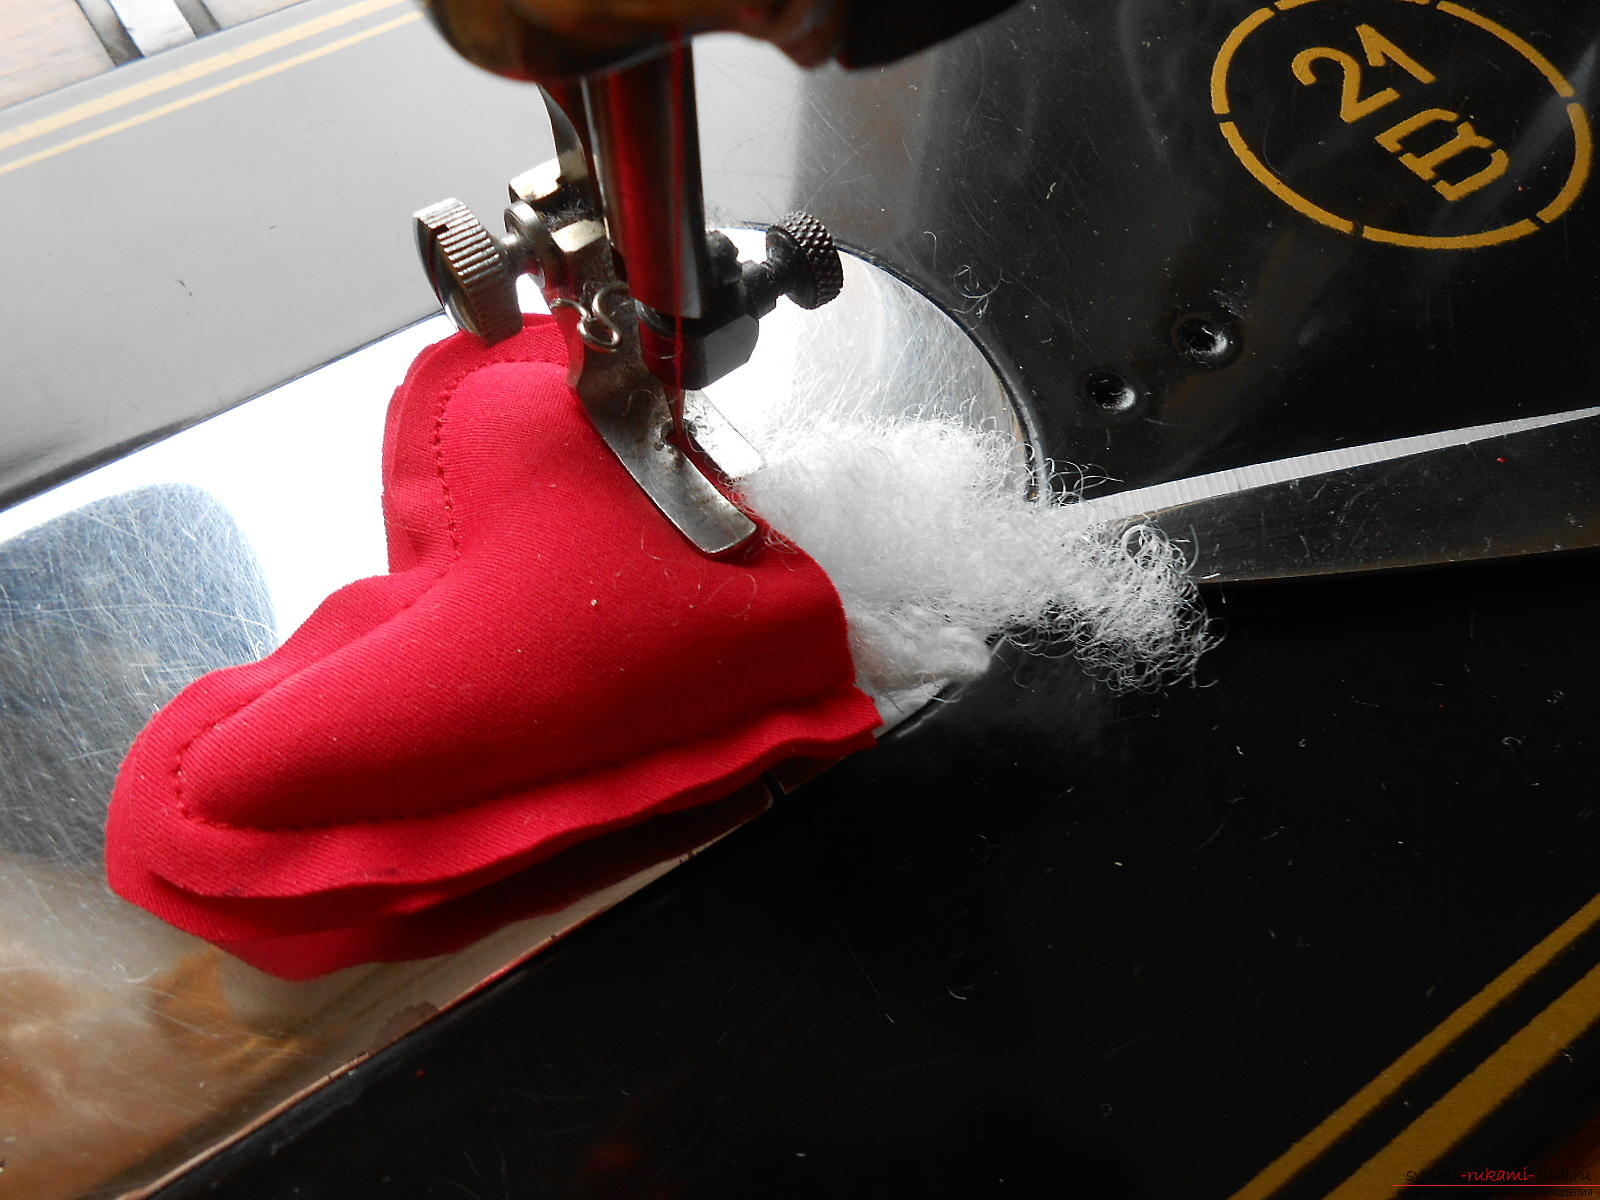 Stitching it to the end. Make the basting at the end of the line.
  Cut the excess fabric gently along the cut.
 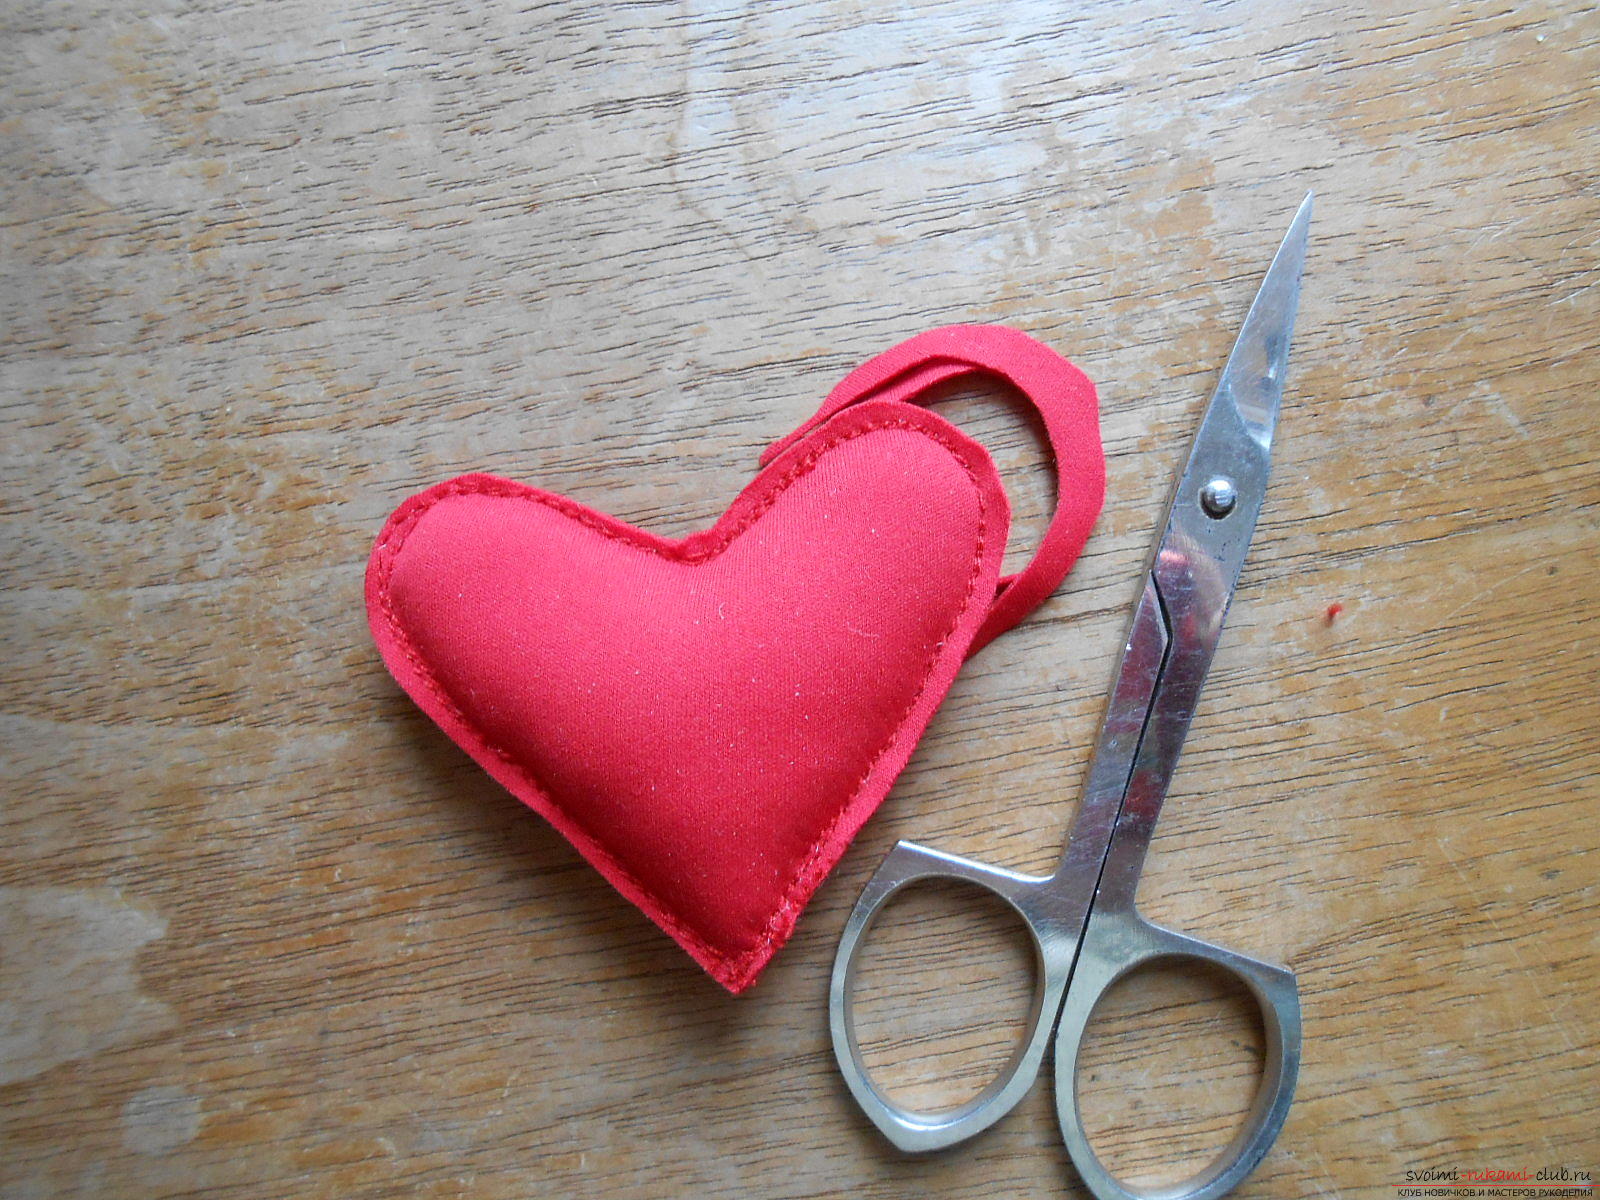 And I decided to embroider a bunny triangle on the nose.
 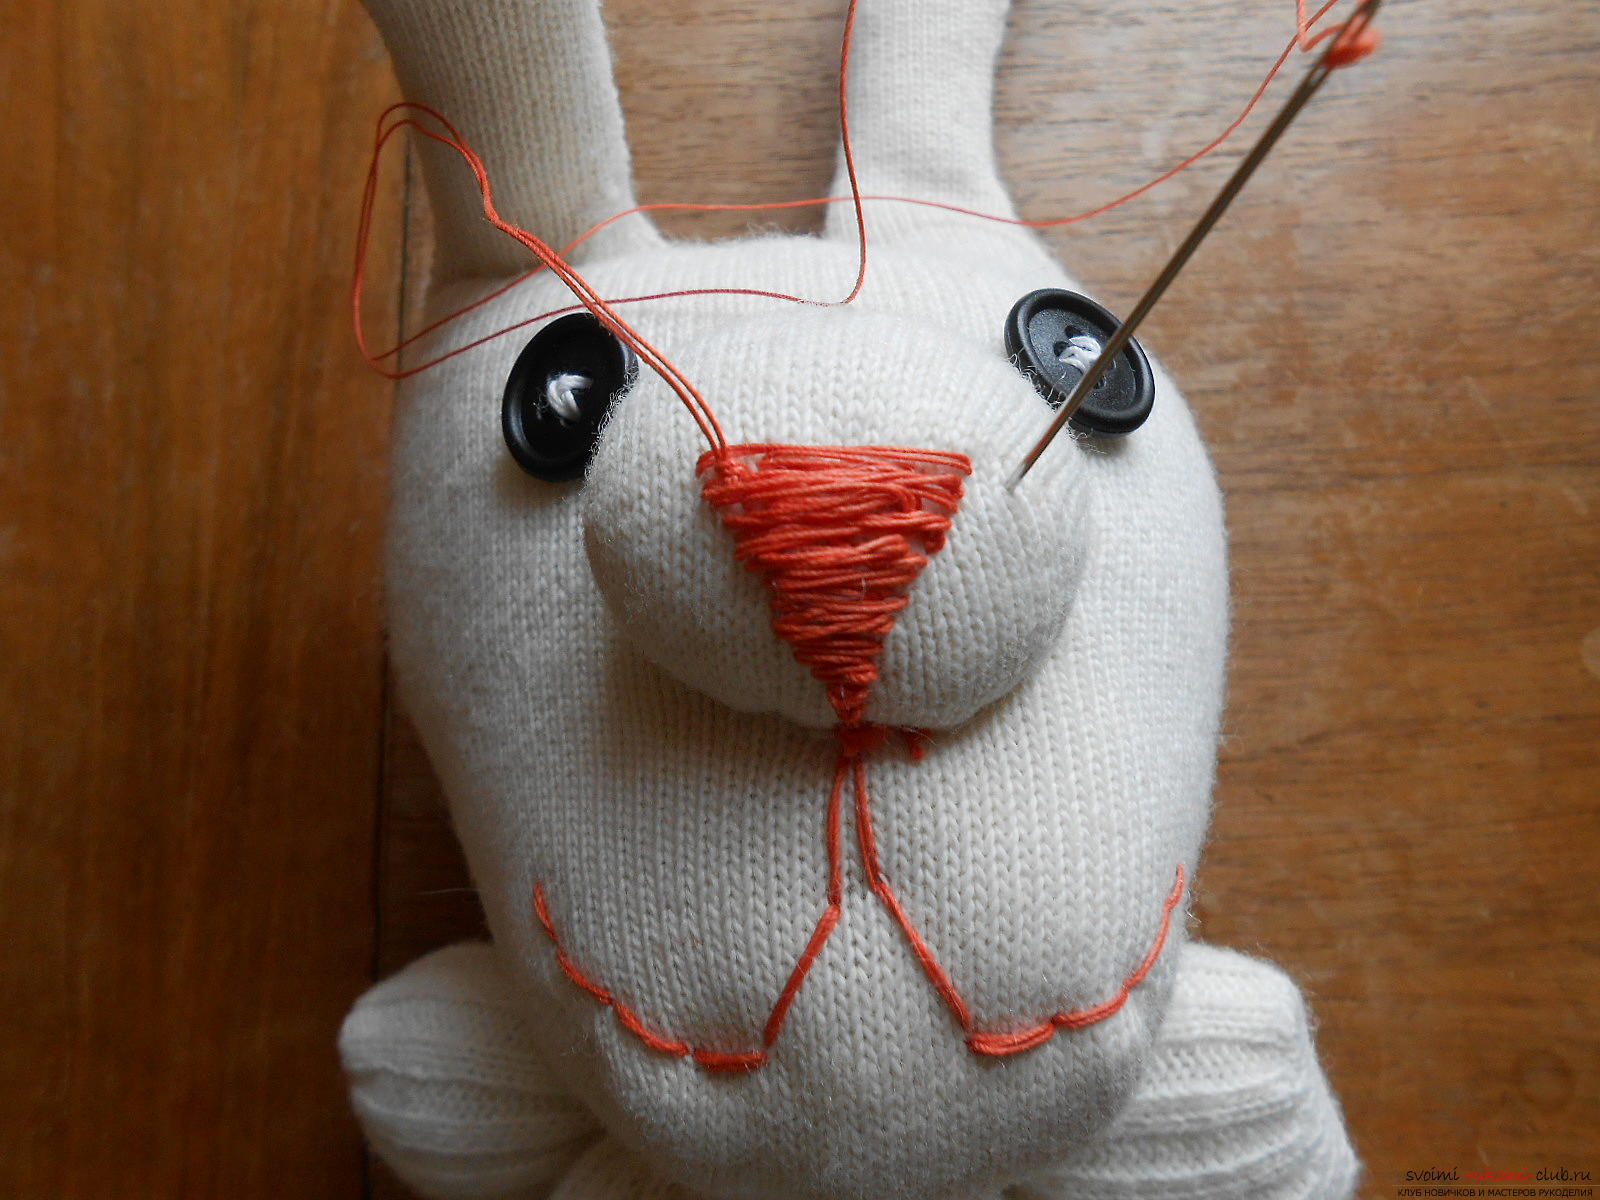 And the mustache is embroidered with black thread. We pull the thread. We make a knot, and both ends of the thread remain free. A trifle, and the bunny became even more busy.
 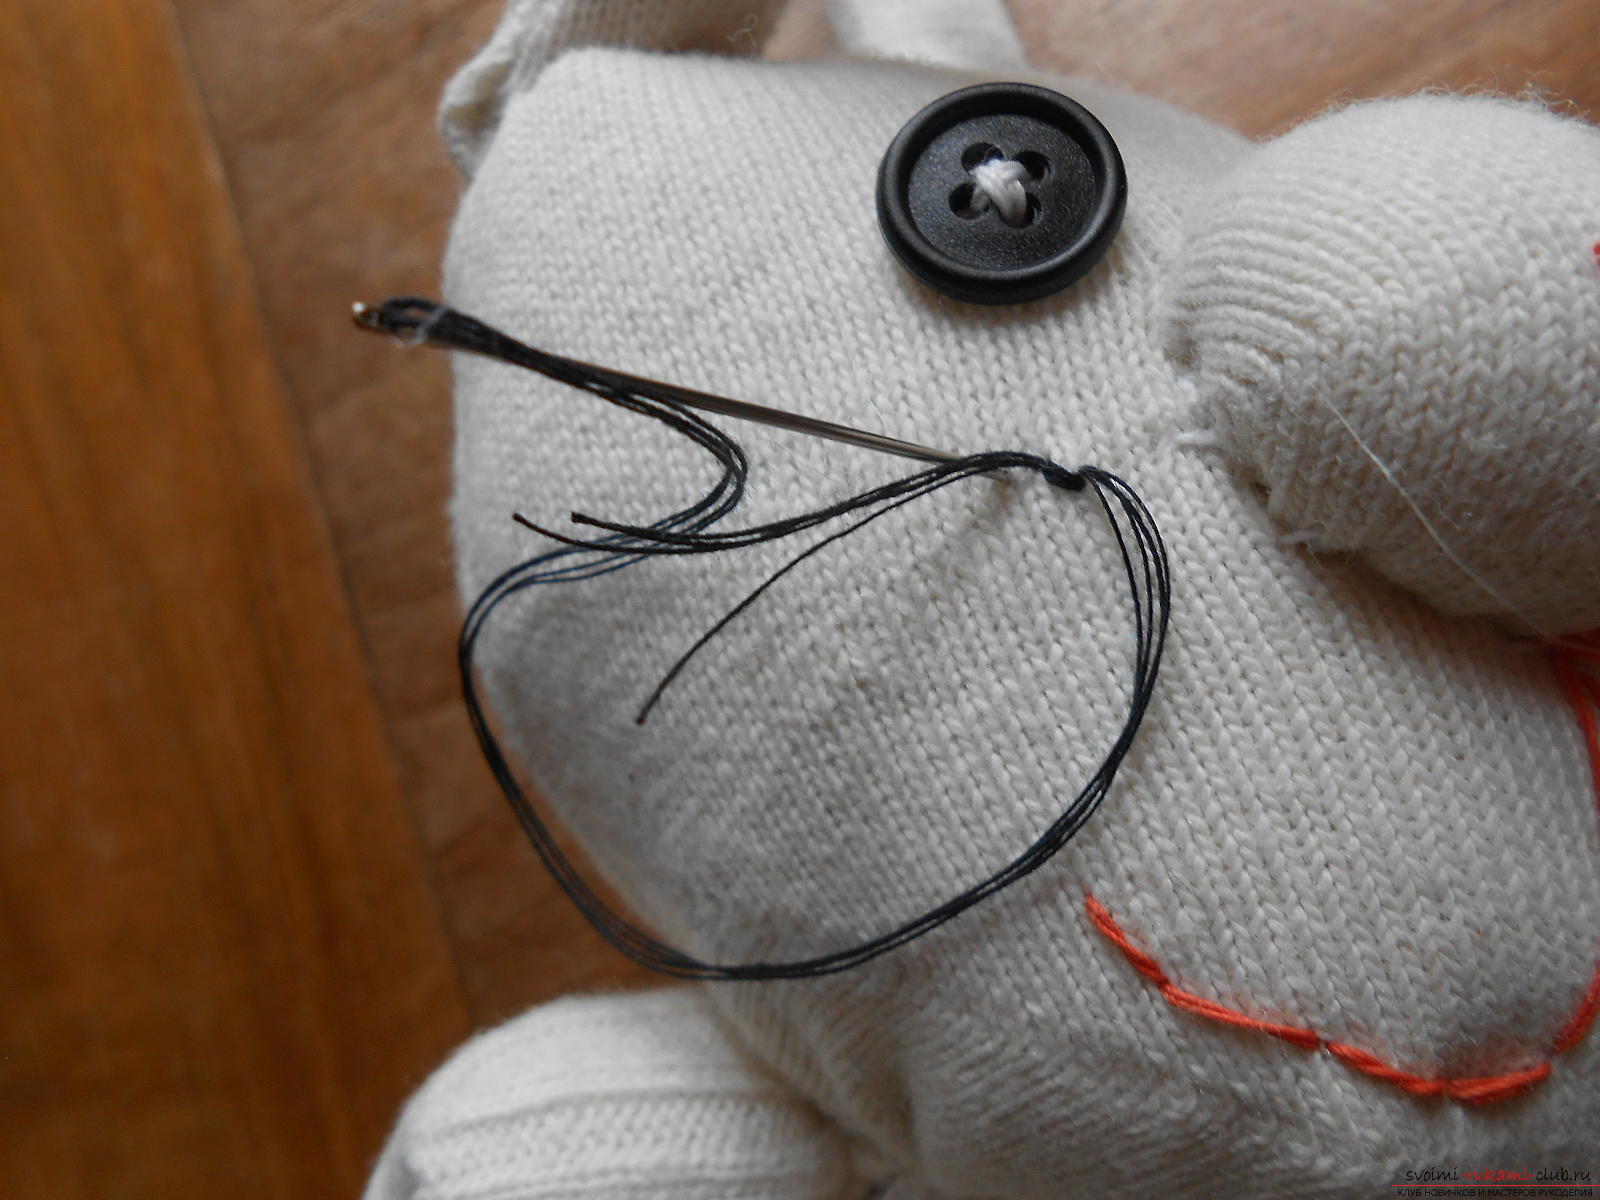 Well, that's finished.
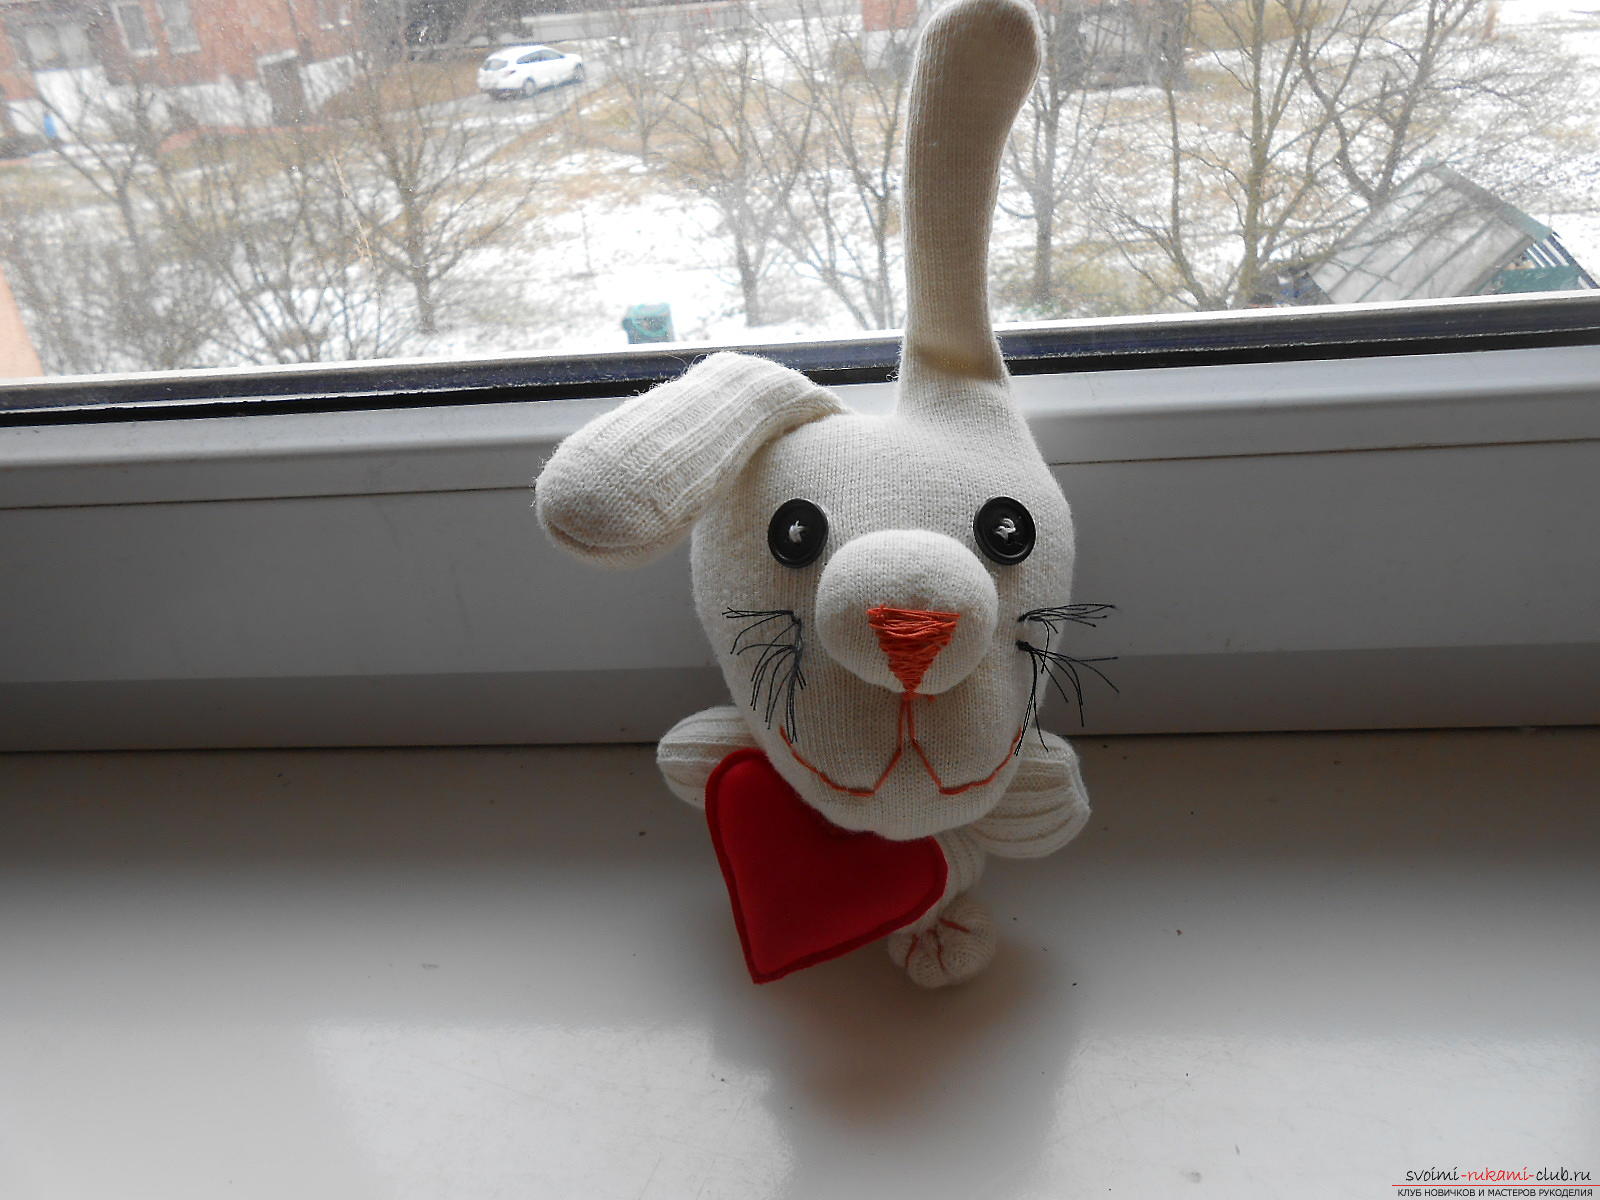
Comments
Related posts:
 This master class Valentine will teach you how to make your own heart with bullfinches made of felt.
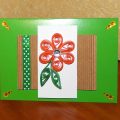
 This master class will teach you how to make a card with your own hands in the style of ayris folding.
 This master class with photos will teach you how to make a house of paper with your own hands.
 This master class will teach you how to make your own beautiful quilling cards.
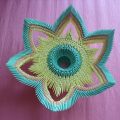 This master class will teach you how to make a vase with your own hands from a modular origami.