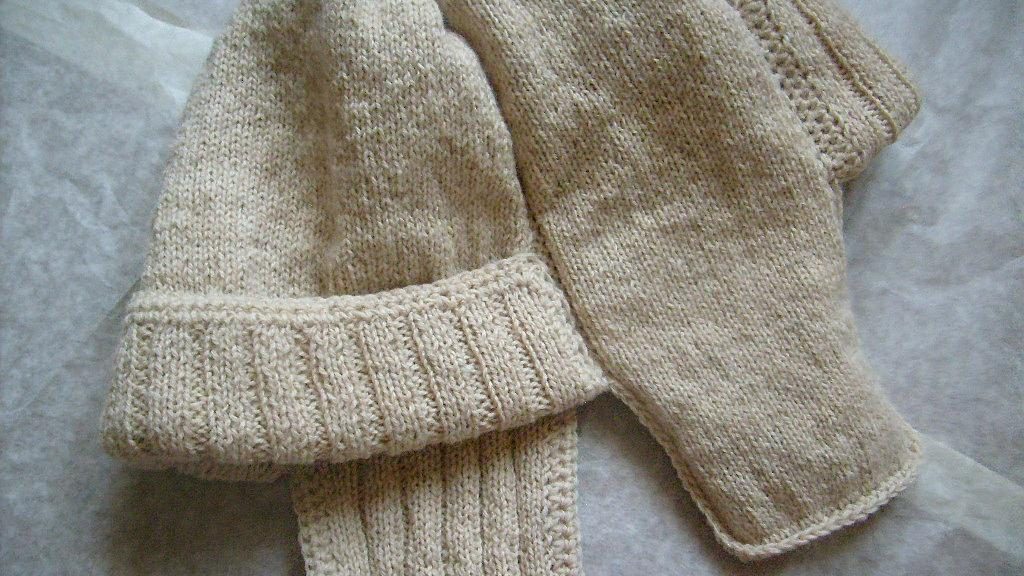
This master class with a pattern will teach you how to tie a hat with ear flaps with knitting needles.
We tied a fur cap 56-58 in size in a few evenings from about 200 grams of wool blend yarn into one thread on knitting needles No. 2. Hook No. 3 was used to join the parts.  Procedure: 1. Make a sketch of the cap. We design the details. We perform the calculation of loops. We will connect a cap from four details - a forward wedge, a back wedge (with lapels) and two wedge-shaped ears.
 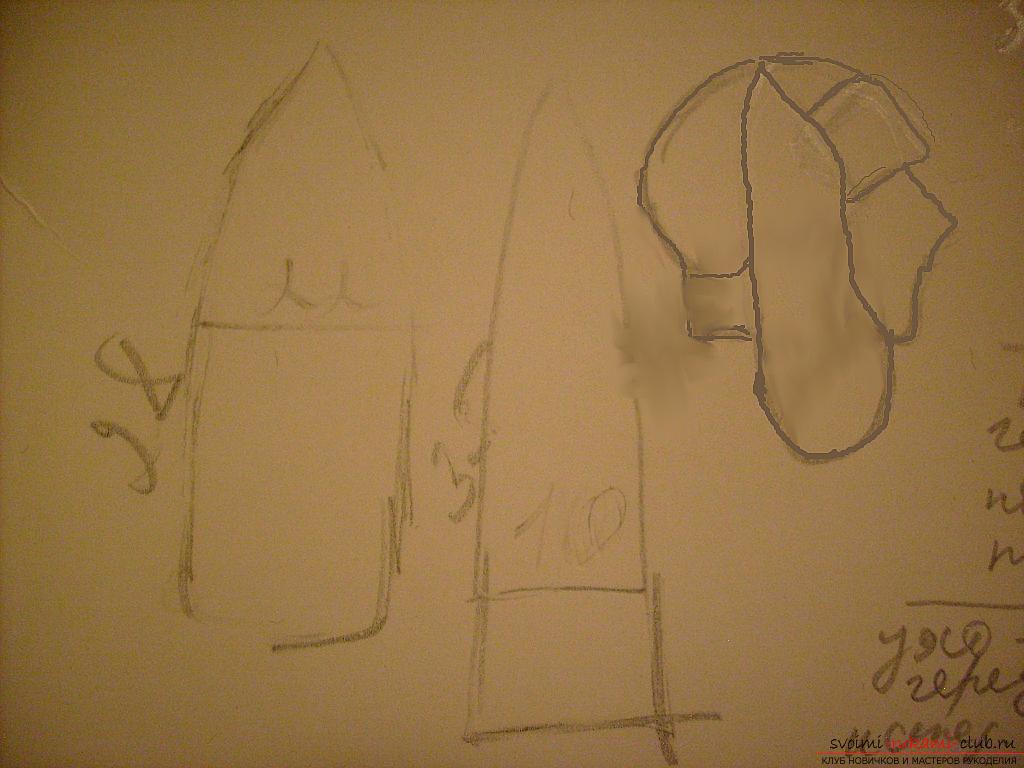 2. Let's start knitting the outer details of the cap. We connect them with the most simple garter stitch - facial loops on the front side of the product and purl on the wrong side.
 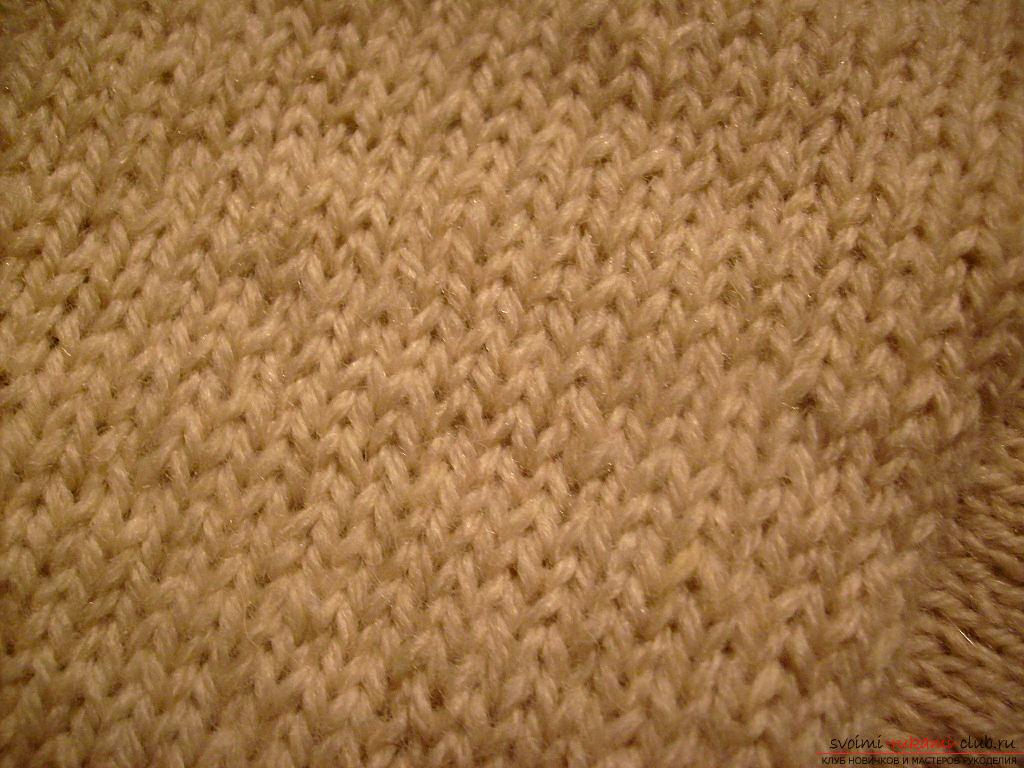 We shall consider the rows by edge loops (somore convenient), that is, two rows will be counted as one. For the largest rear wedge, we select 65 loops. We knit 36 rows (counting by edge). We start to carry out decrements. On each side alternately close two loops, until there are ten loops left on the spoke. The last ten loops are closed one by one on each side, so that the tip of the wedge is more streamlined.
 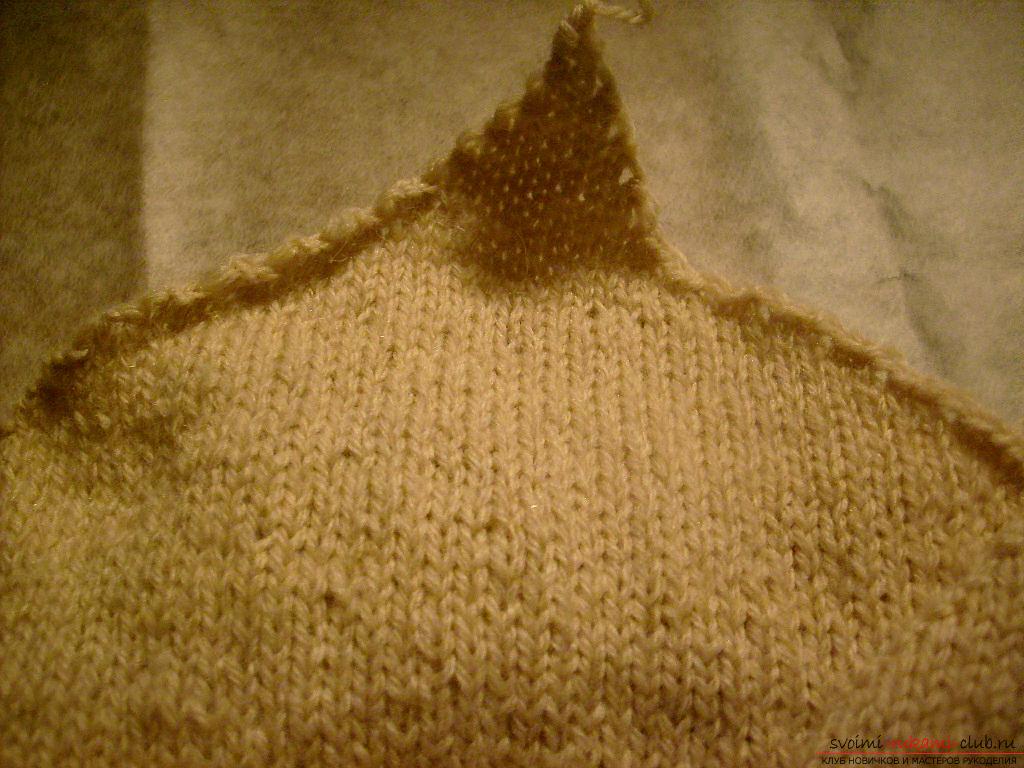 For the front wedge we type 60 loops. Next we knit it in the same way as the back wedge. We also carry out the reduction analogously. For ear we type 30 loops. We knit 46 rows (counting by edge). We perform decrements. On each side alternately close one loop.
 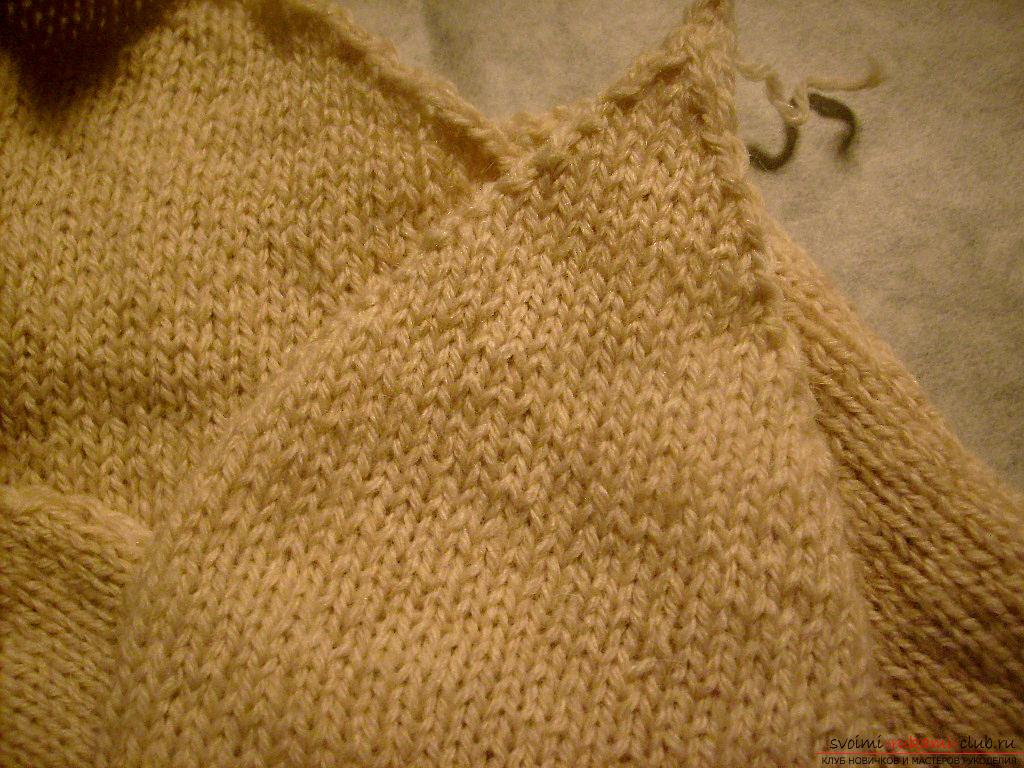 External parts are ready.
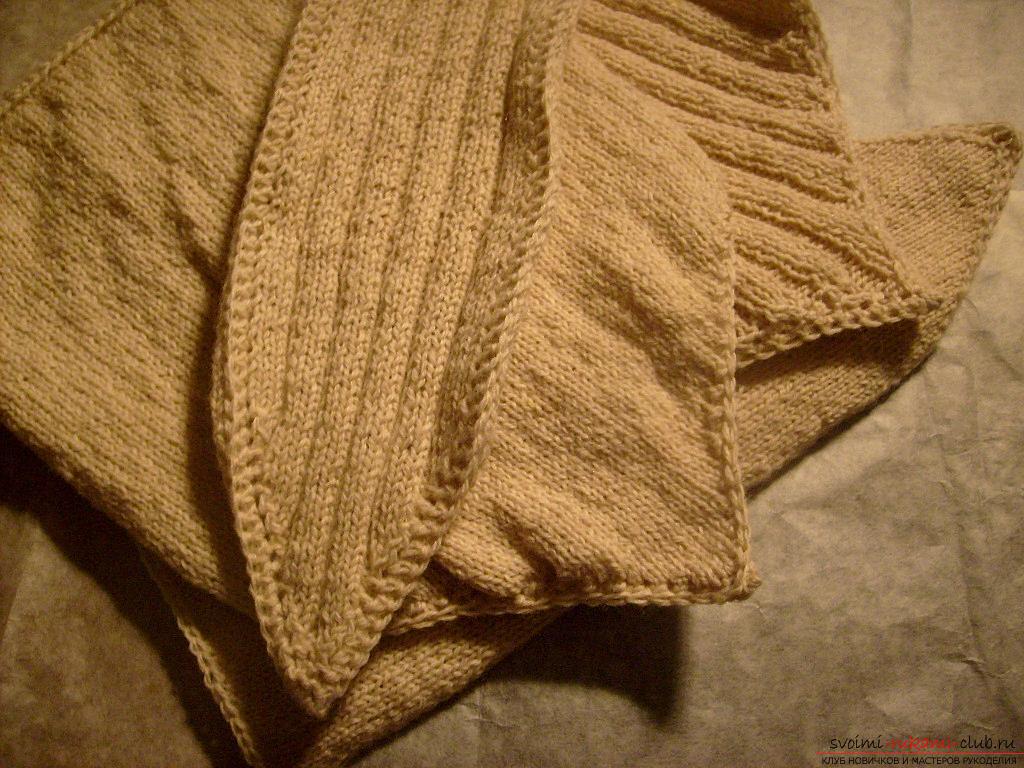
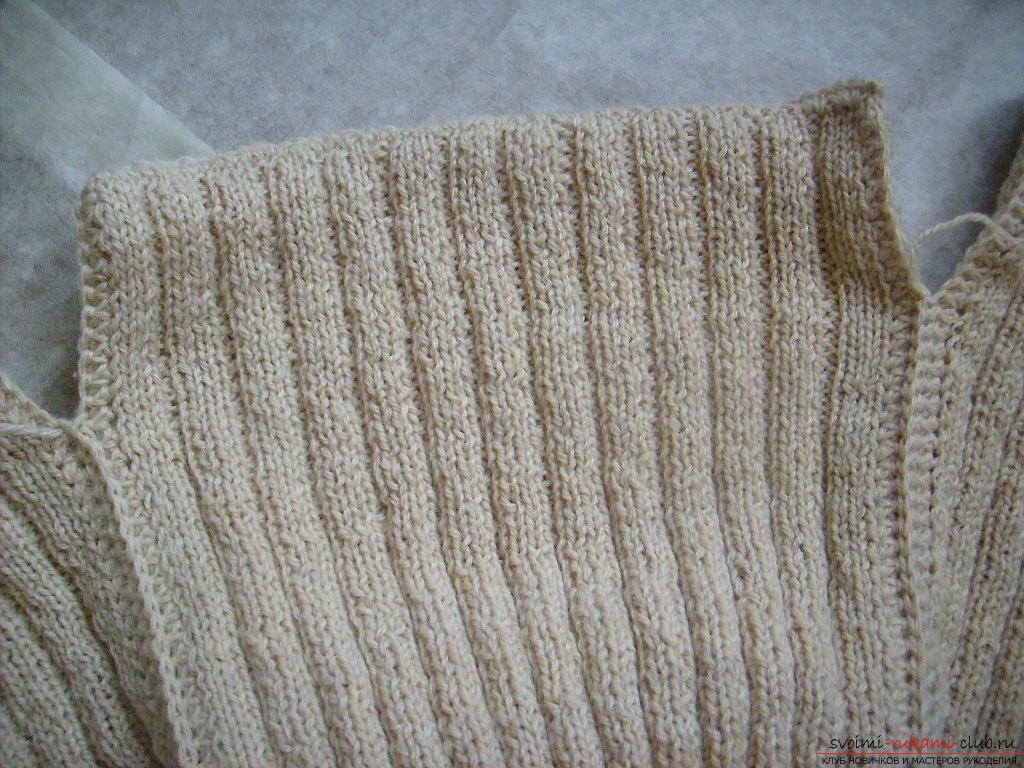
 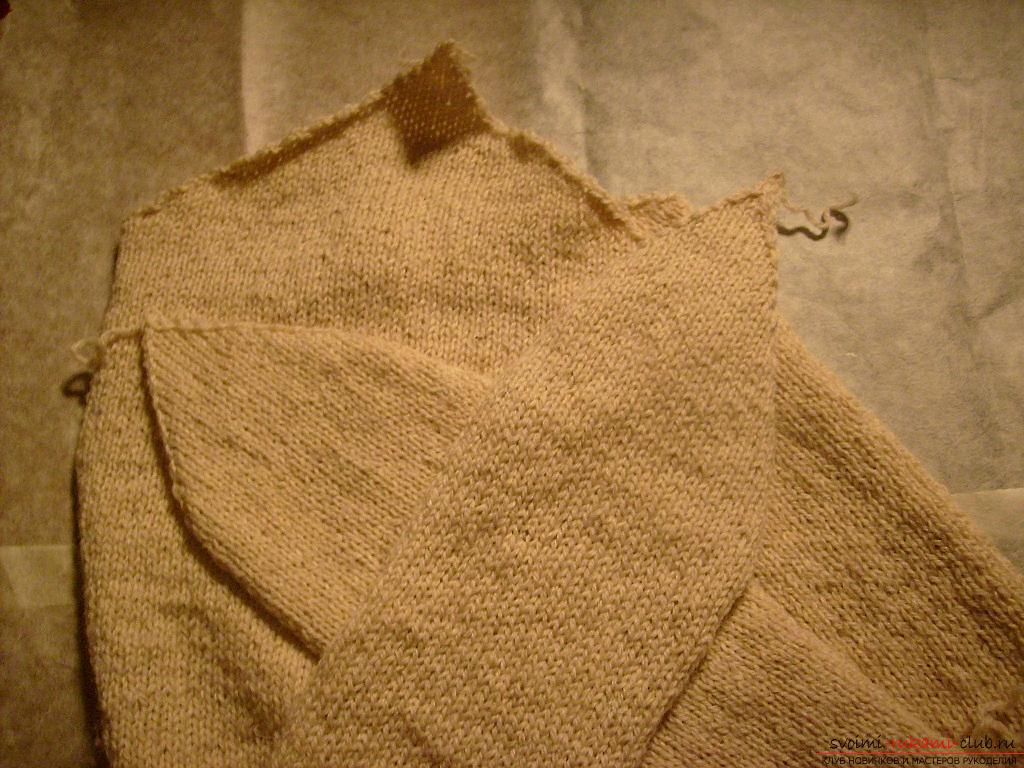 3. We connect the internal parts with an elastic band of 3 x 2. That is, by alternating three face loops with two purlins on the front side of the work. Wrong rows are knitted according to the drawing.
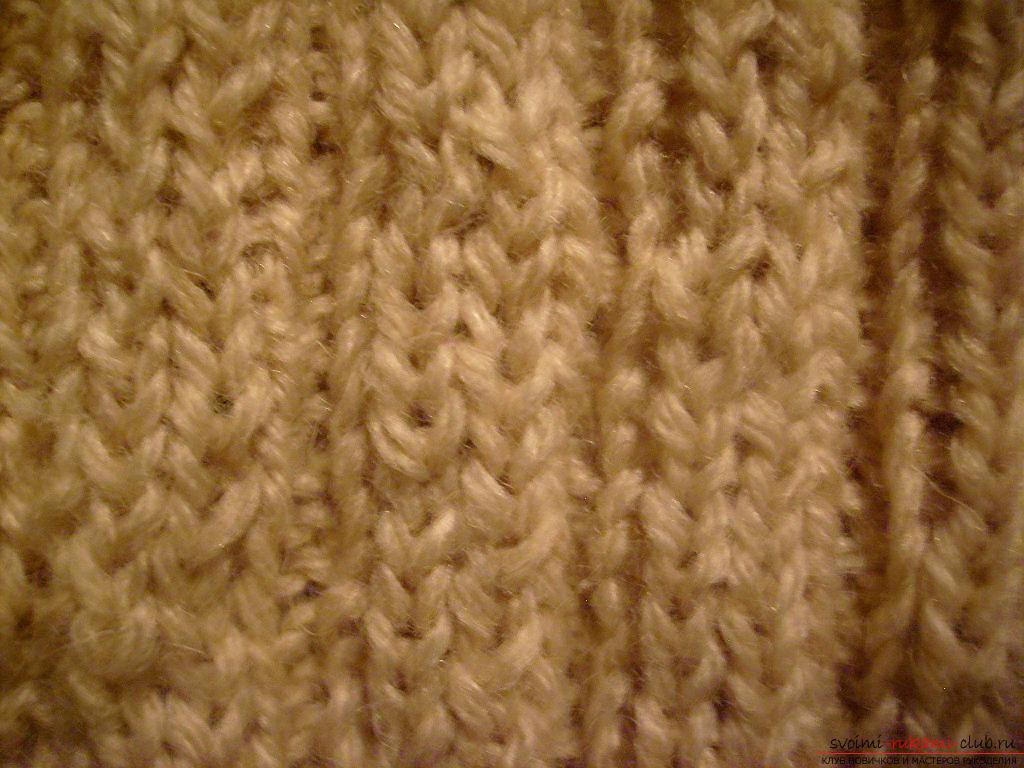
 The number of loops for internal parts is the same as for external parts. We reduce the loops in the same way.
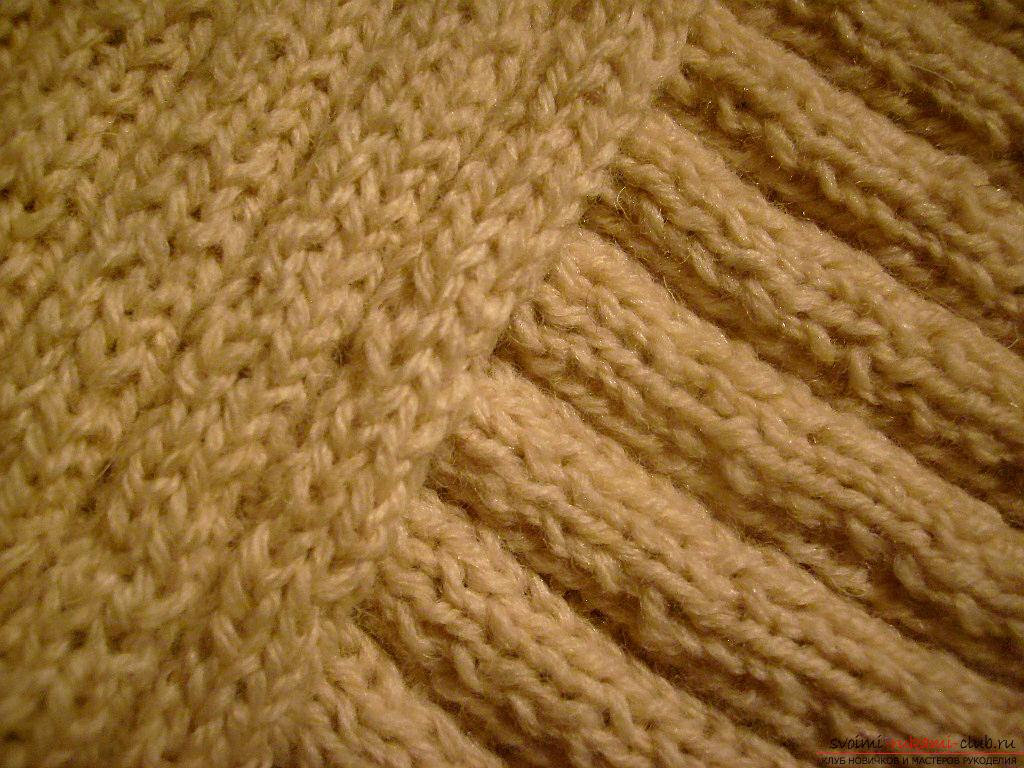
 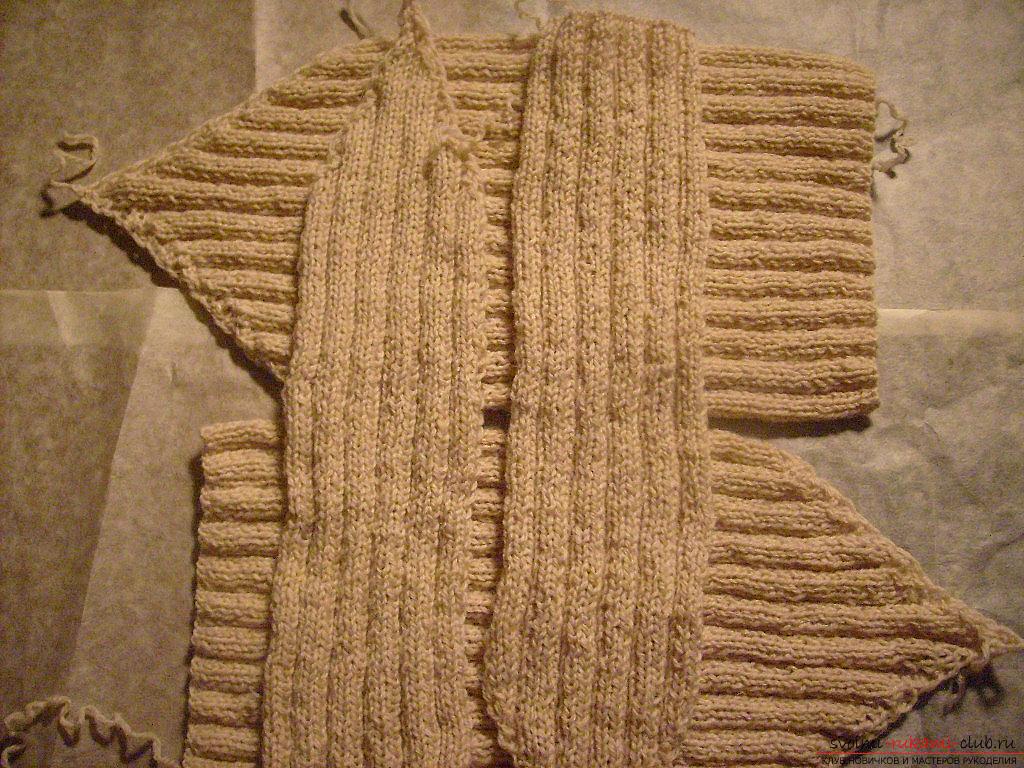 4. Pairwise add the top parts with the underlining inside and tie them together crochet half-poles along the entire contour, connecting the details into the four two-layered parts of the future cap.
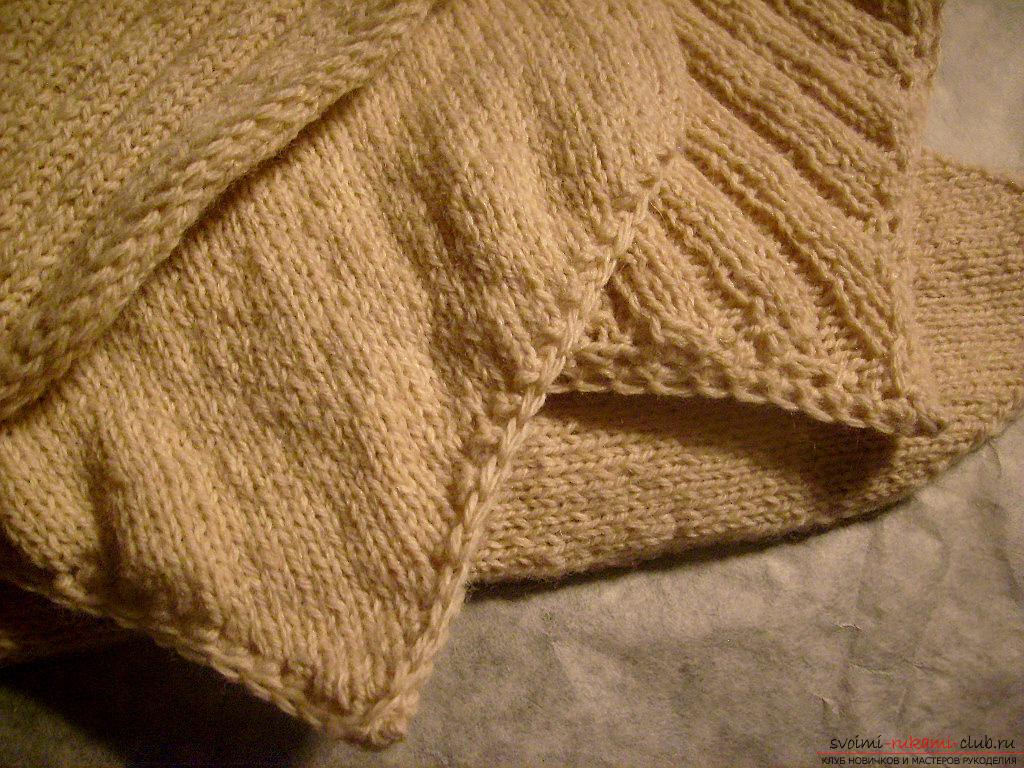 It is important to always tie one side for all parts. We did it on the front side. From the underside, the edge turned out therefore more prominent.
  5. We fold the back wedge with the lateral (ears) face sides inward and with the help of a hook we tie them together with half-poles on one side. We finish the seam, leaving the last ten loops (edge) of the rear wedge not connected with the eyelet. The second eye is connected with the rear wedge in the same way.
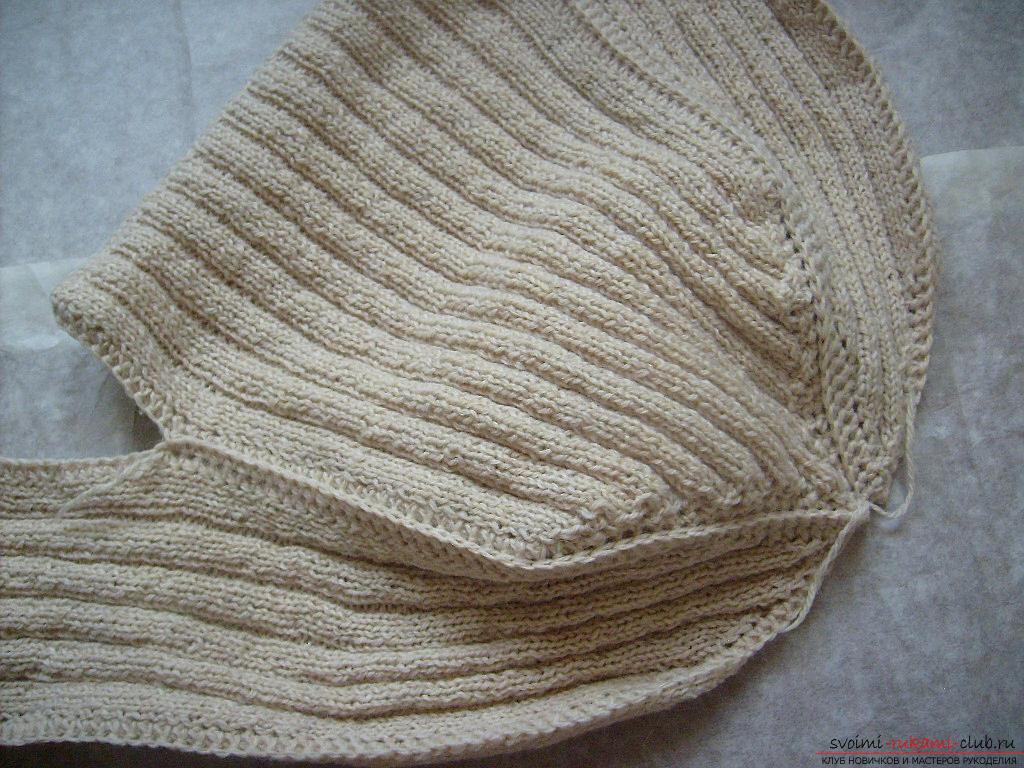
 6. We connect the front wedge with the ears in the same way, but leave fifteen edge loops at the bottom.
  7. Tie the cap half-faced on the front side along the entire top edge.
 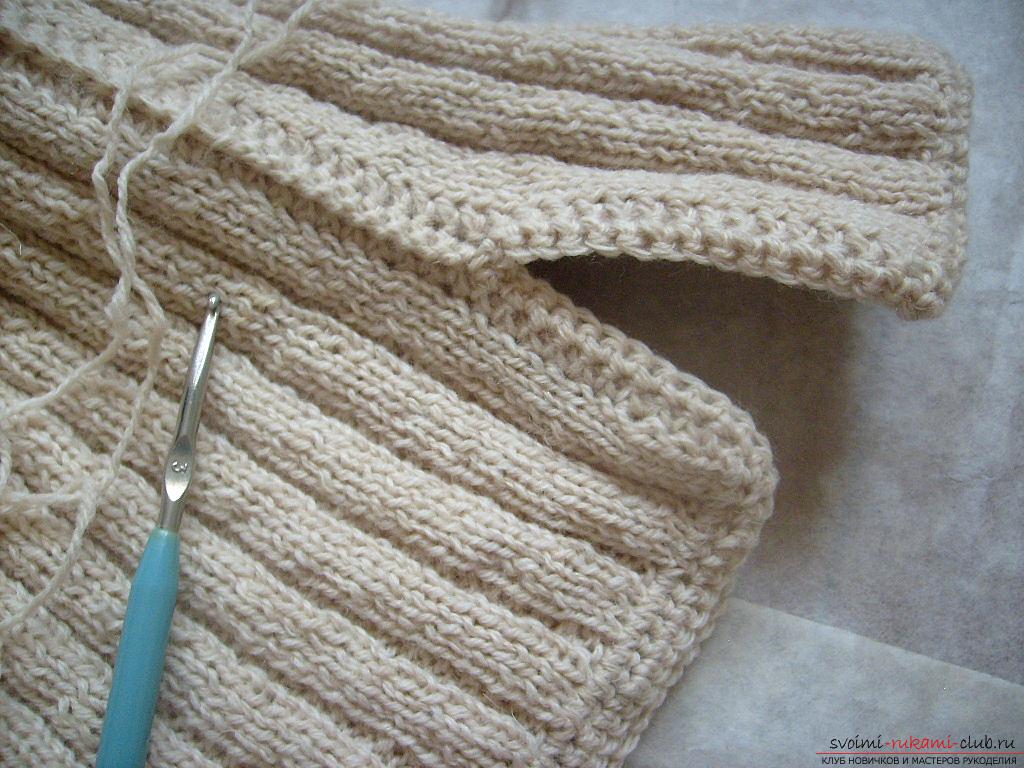 8. We sew lapels in seams of sewing of forward and back wedges with ears.
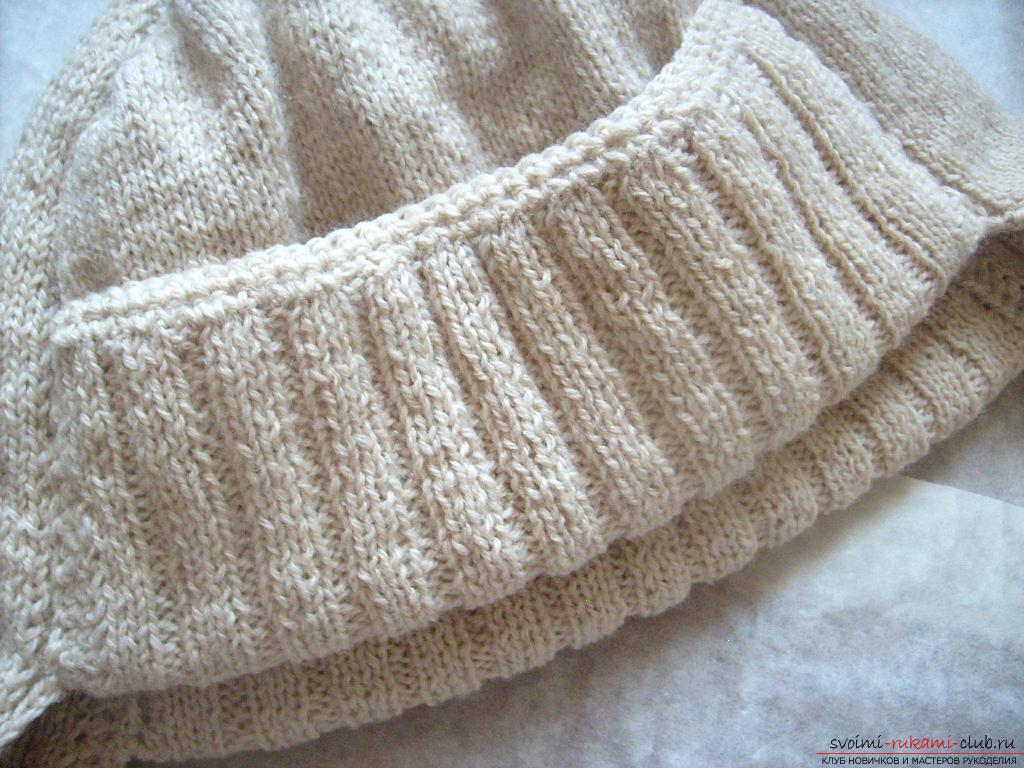
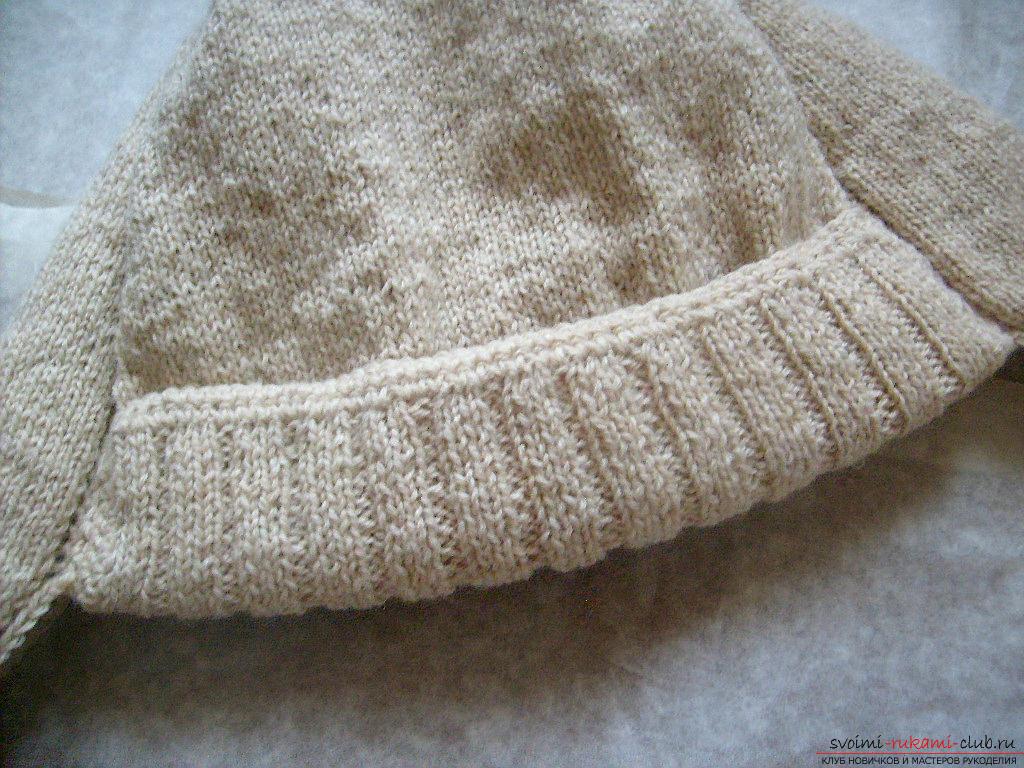 9. The hat is ready.
 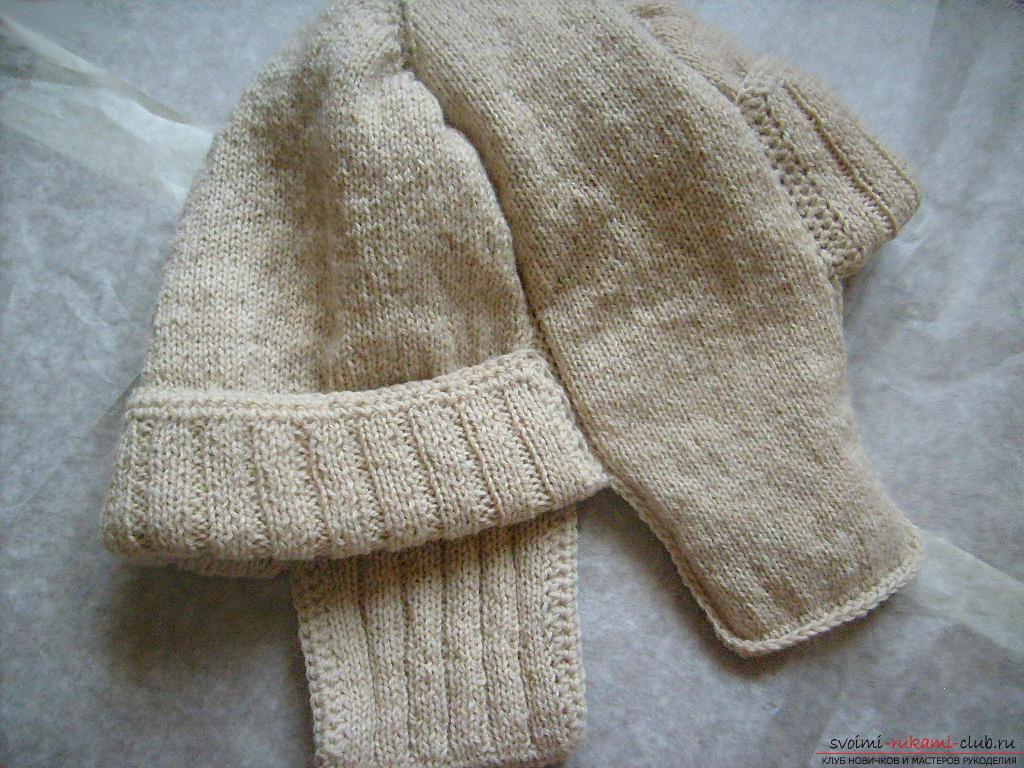 It turned out a very warm and cute two-layer knitted ushachochka!
Comments
Related posts:
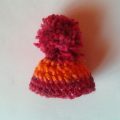
 This master class will teach you how to tie a cap for newborns - a cap-bear crochet.
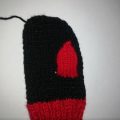 This master class with the description and the scheme will teach how to bind the mittens with two spokes
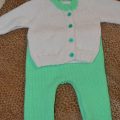 This master class with a knitting pattern will teach you how to tie a suit for a newborn or babe with knitting needles.
 This master class with a pattern will teach you how to make your own felt toys.
 This detailed master class with a description and scheme will teach you how to crochet a hat-owl.