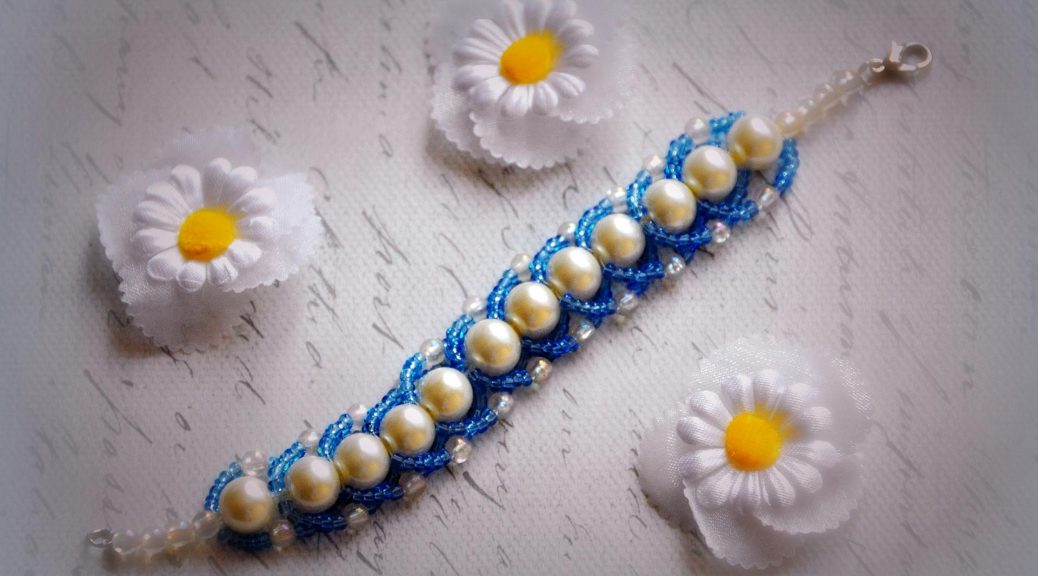
This master class with step-by-step photo and diagram will teach how to weave bracelets from beads.
People created ornaments from beads, beads,shells and other materials, beginning with the depth of centuries. With the help of wickerwork, they not only decorated themselves and their clothes, but created protection, expressed their attitude to the world, depicting ritual pictures. The beads, in the form in which we know it, came to us from Egypt. The ancient Egyptians so appreciated these drilled pieces of glass that they used them on a par with precious jewels. Used beads and Syrians, as well as nomadic peoples of the Scythians. Today, beads are quite available for needlework and are created from it a variety of crafts. I suggest you weave this bracelet. 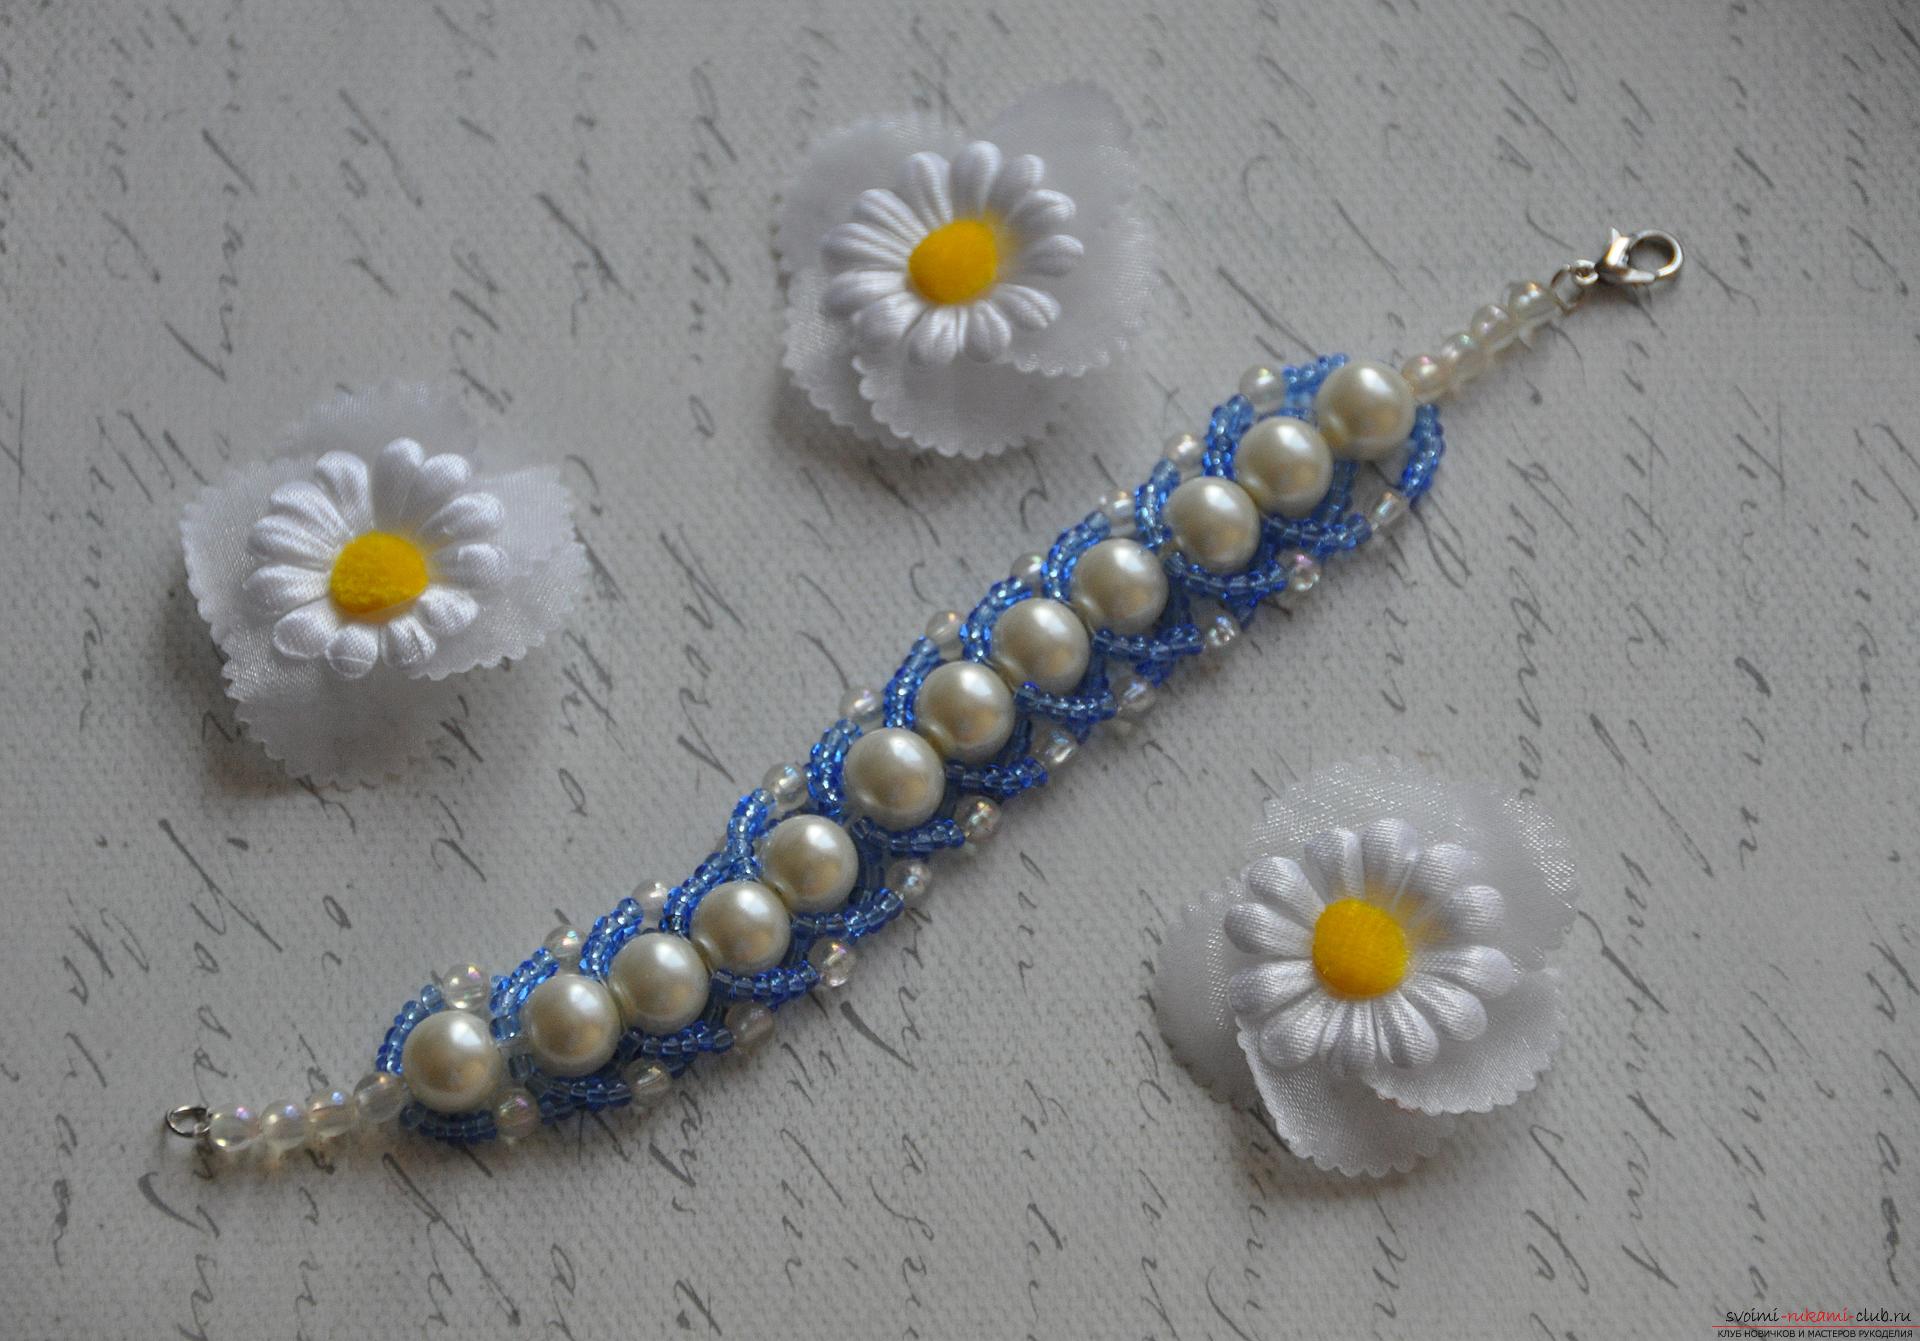 For work you need to choose suitable for the size and color:
- Large beads;
- small beads, slightly larger than beads;
- beads;
- needle and nylon thread;
- clasp for jewelry;
- scissors.
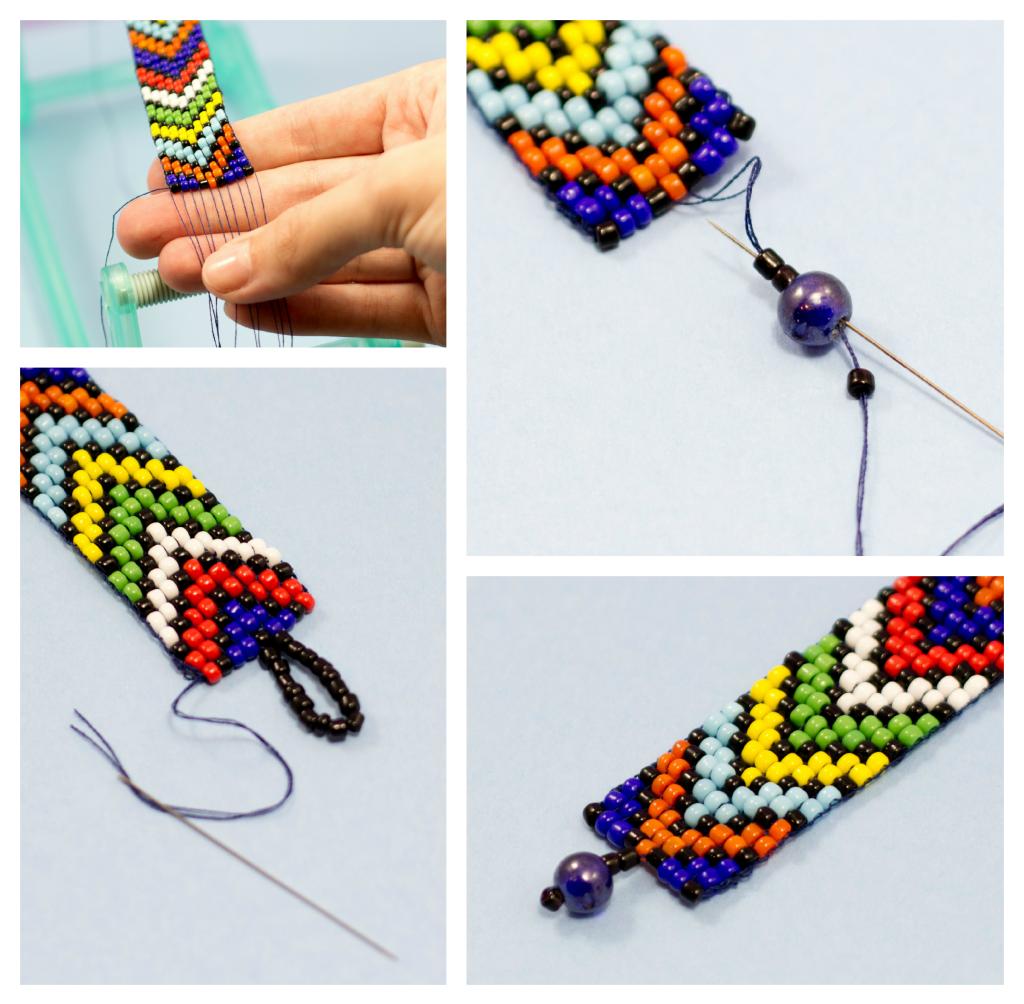
You can combine colors in a variety of ways. I chose white beads and blue beads for my craft, a combination, in my opinion, fresh and pleasant. You can also combine colors. Let's get to work. Step one - we pass through the needle two large beads. Until the end of the thread they do not lead, we leave a big enough tail - you will need it. 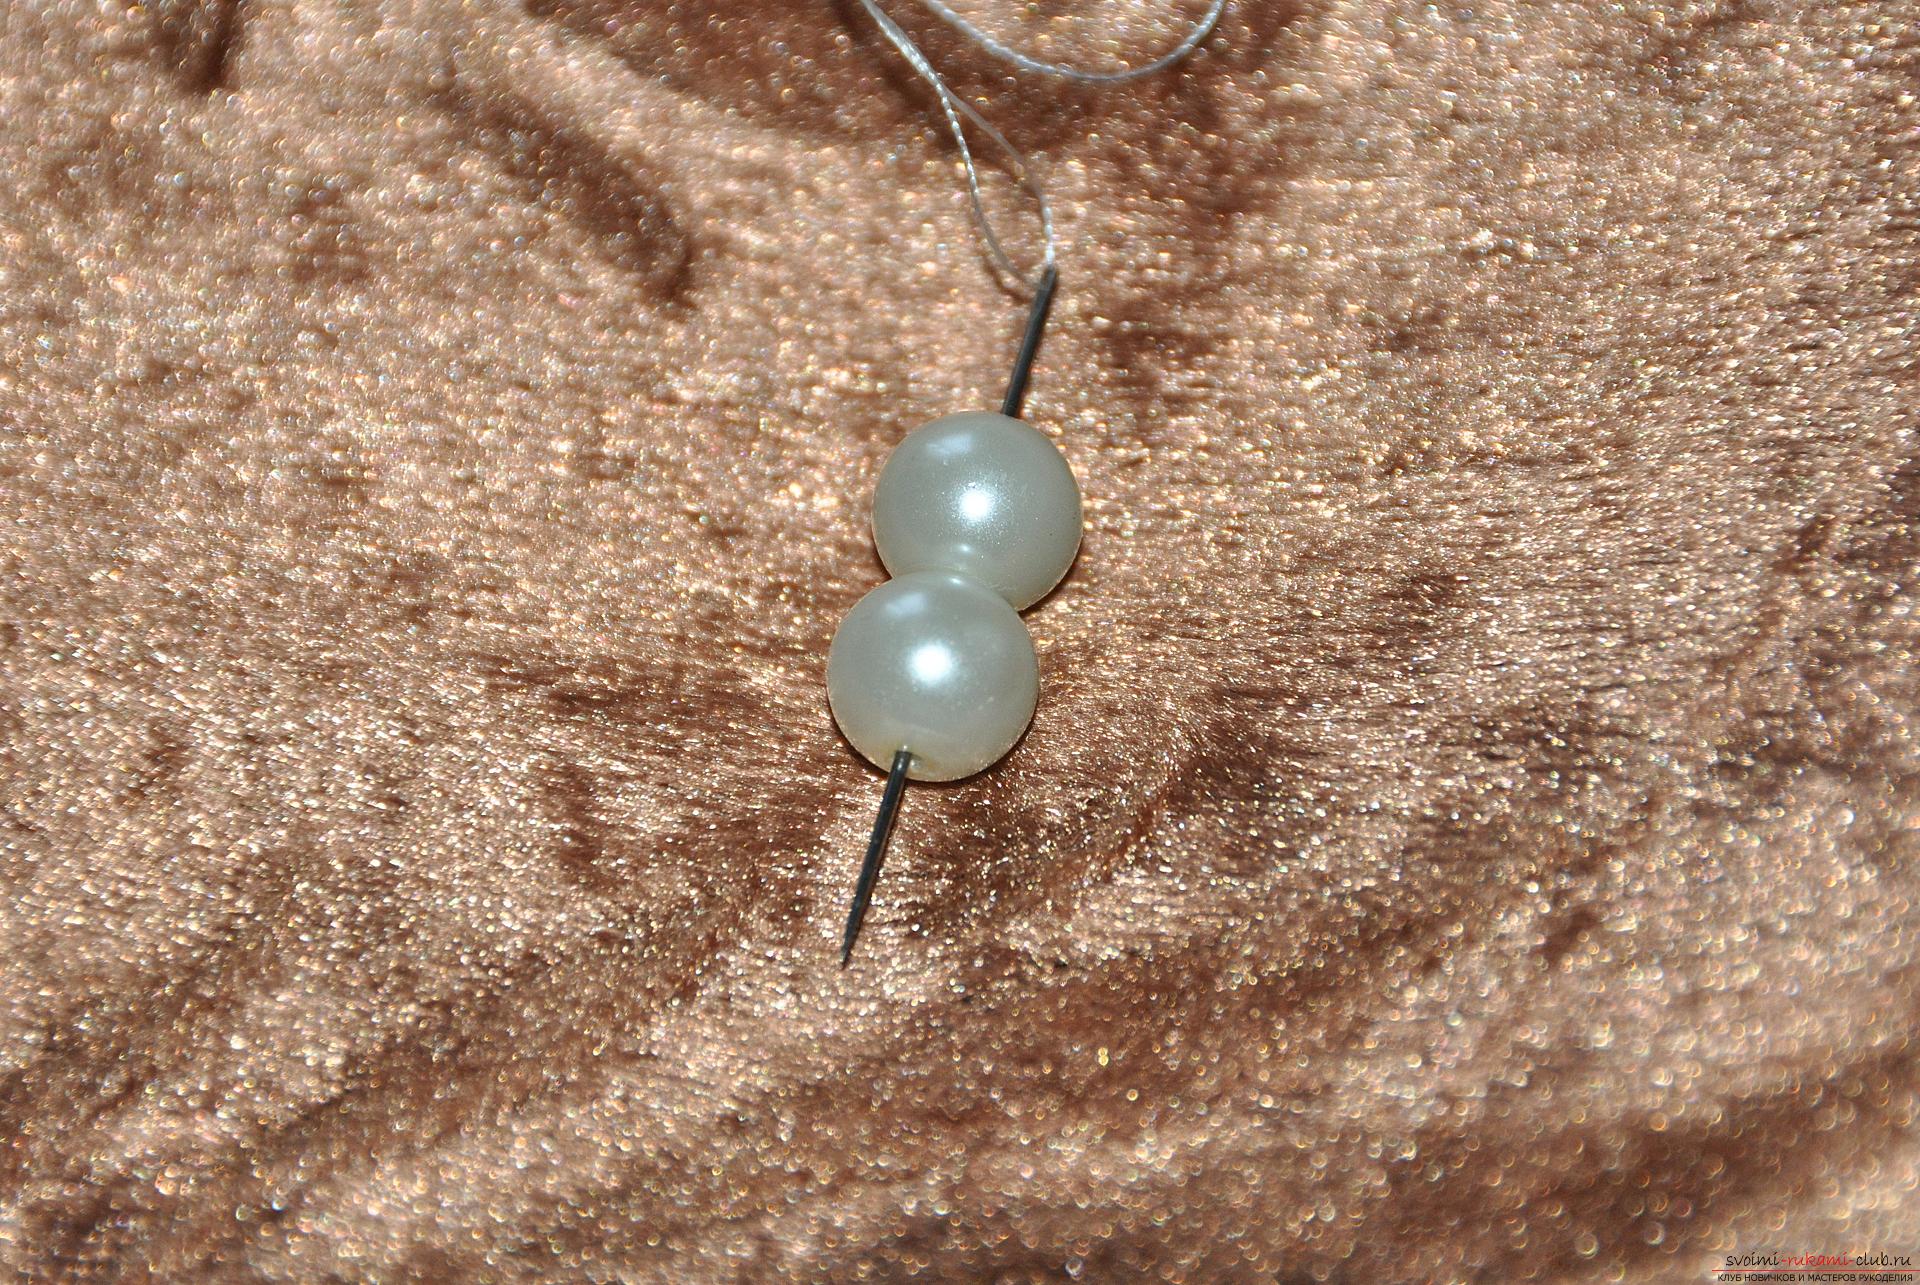 Step two - put on the needle six beads.
 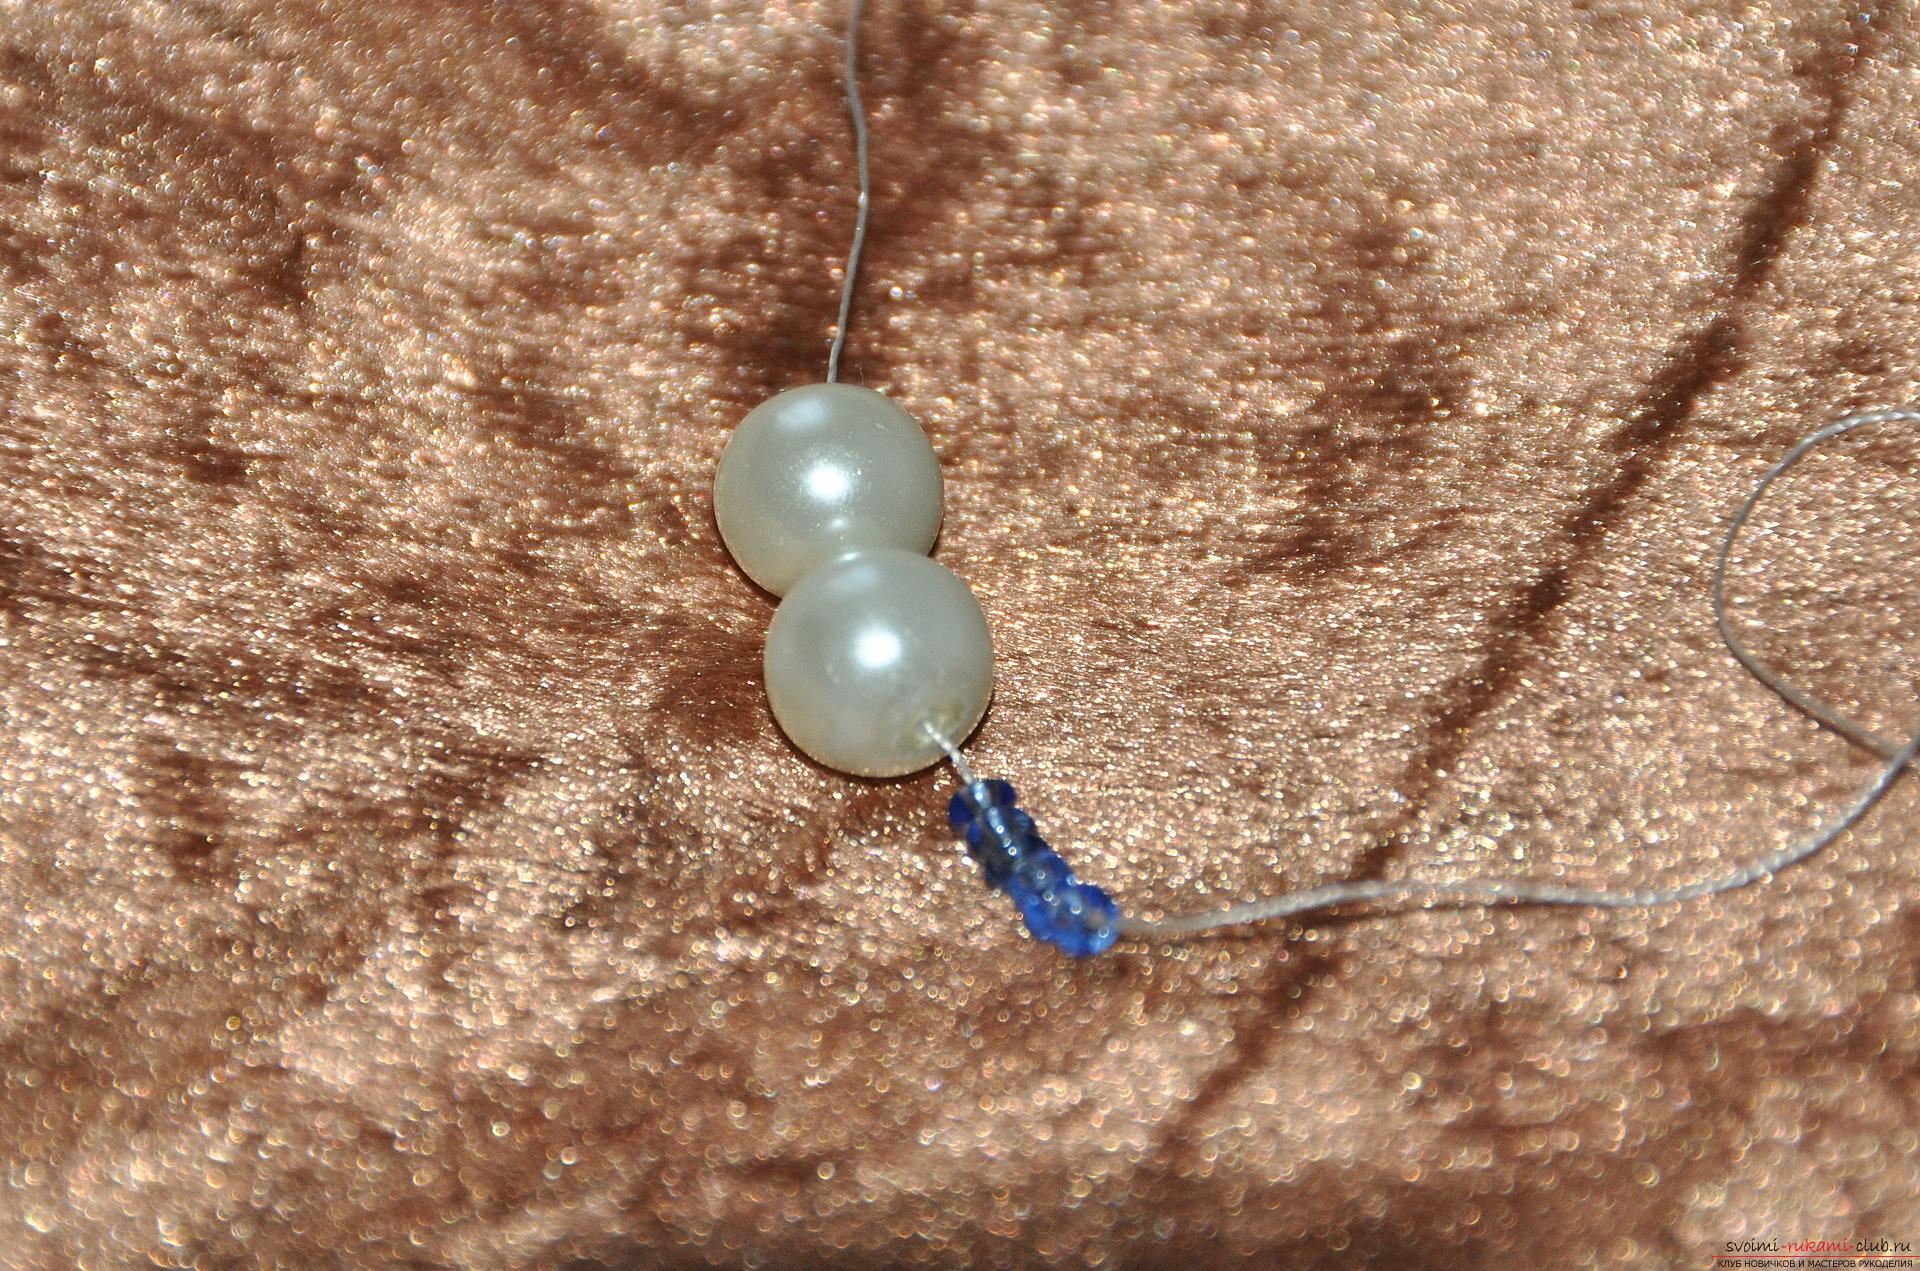 And string a small bead and six more beads.
 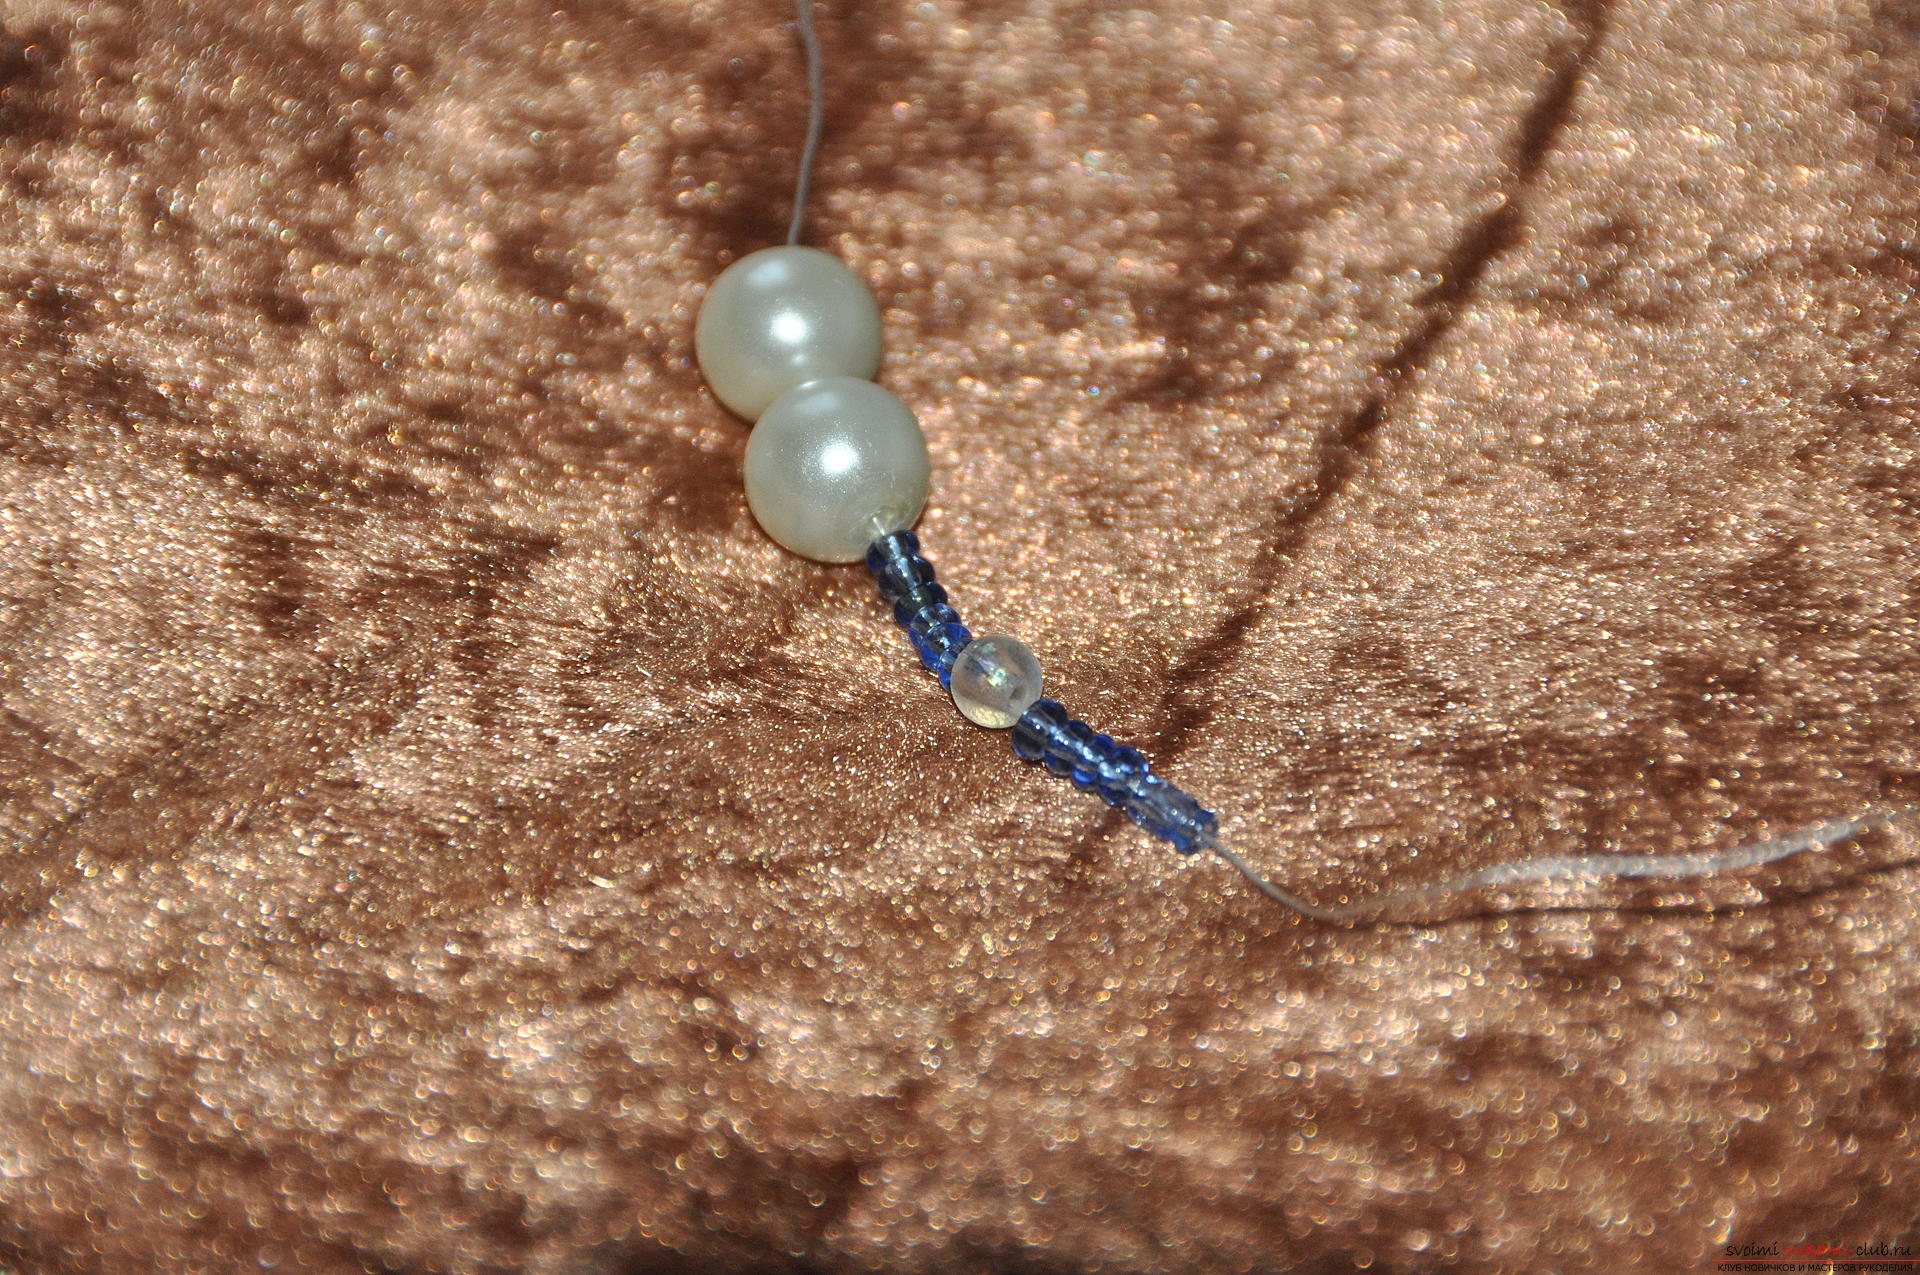 Step three - we return to the very beginning and pass the needle through two large beads.
 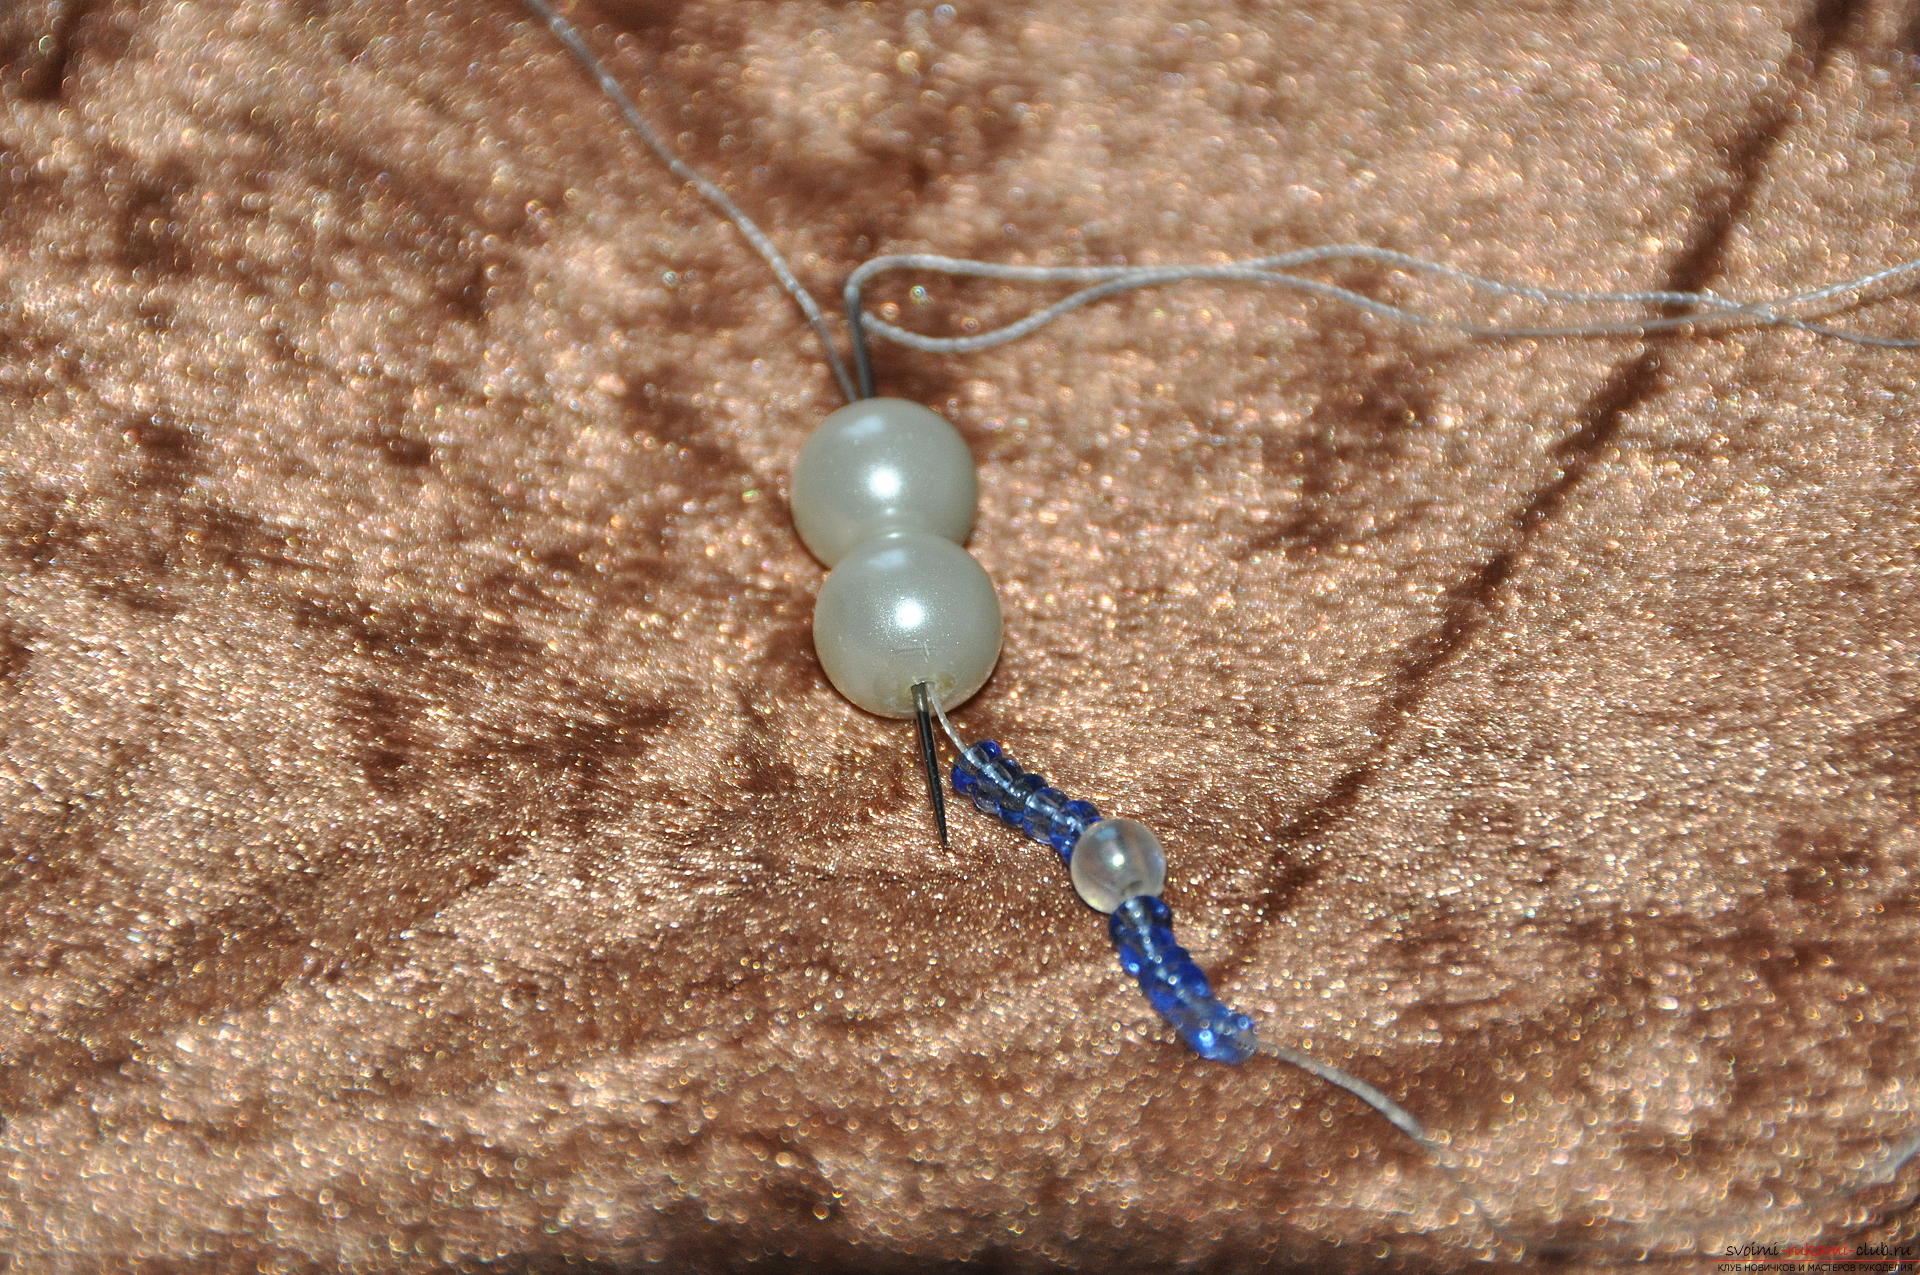 It turns out here is such a design - two beads and a chain of beads to the right.
  Once again, repeat the second step and thread six beads on the string, a small bead and six beads.
  Repeat step three - again, pass the needle through two large beads. Only now we have a chain of beads on the left side.
  We start the next cycle. We put on the third big bead.
 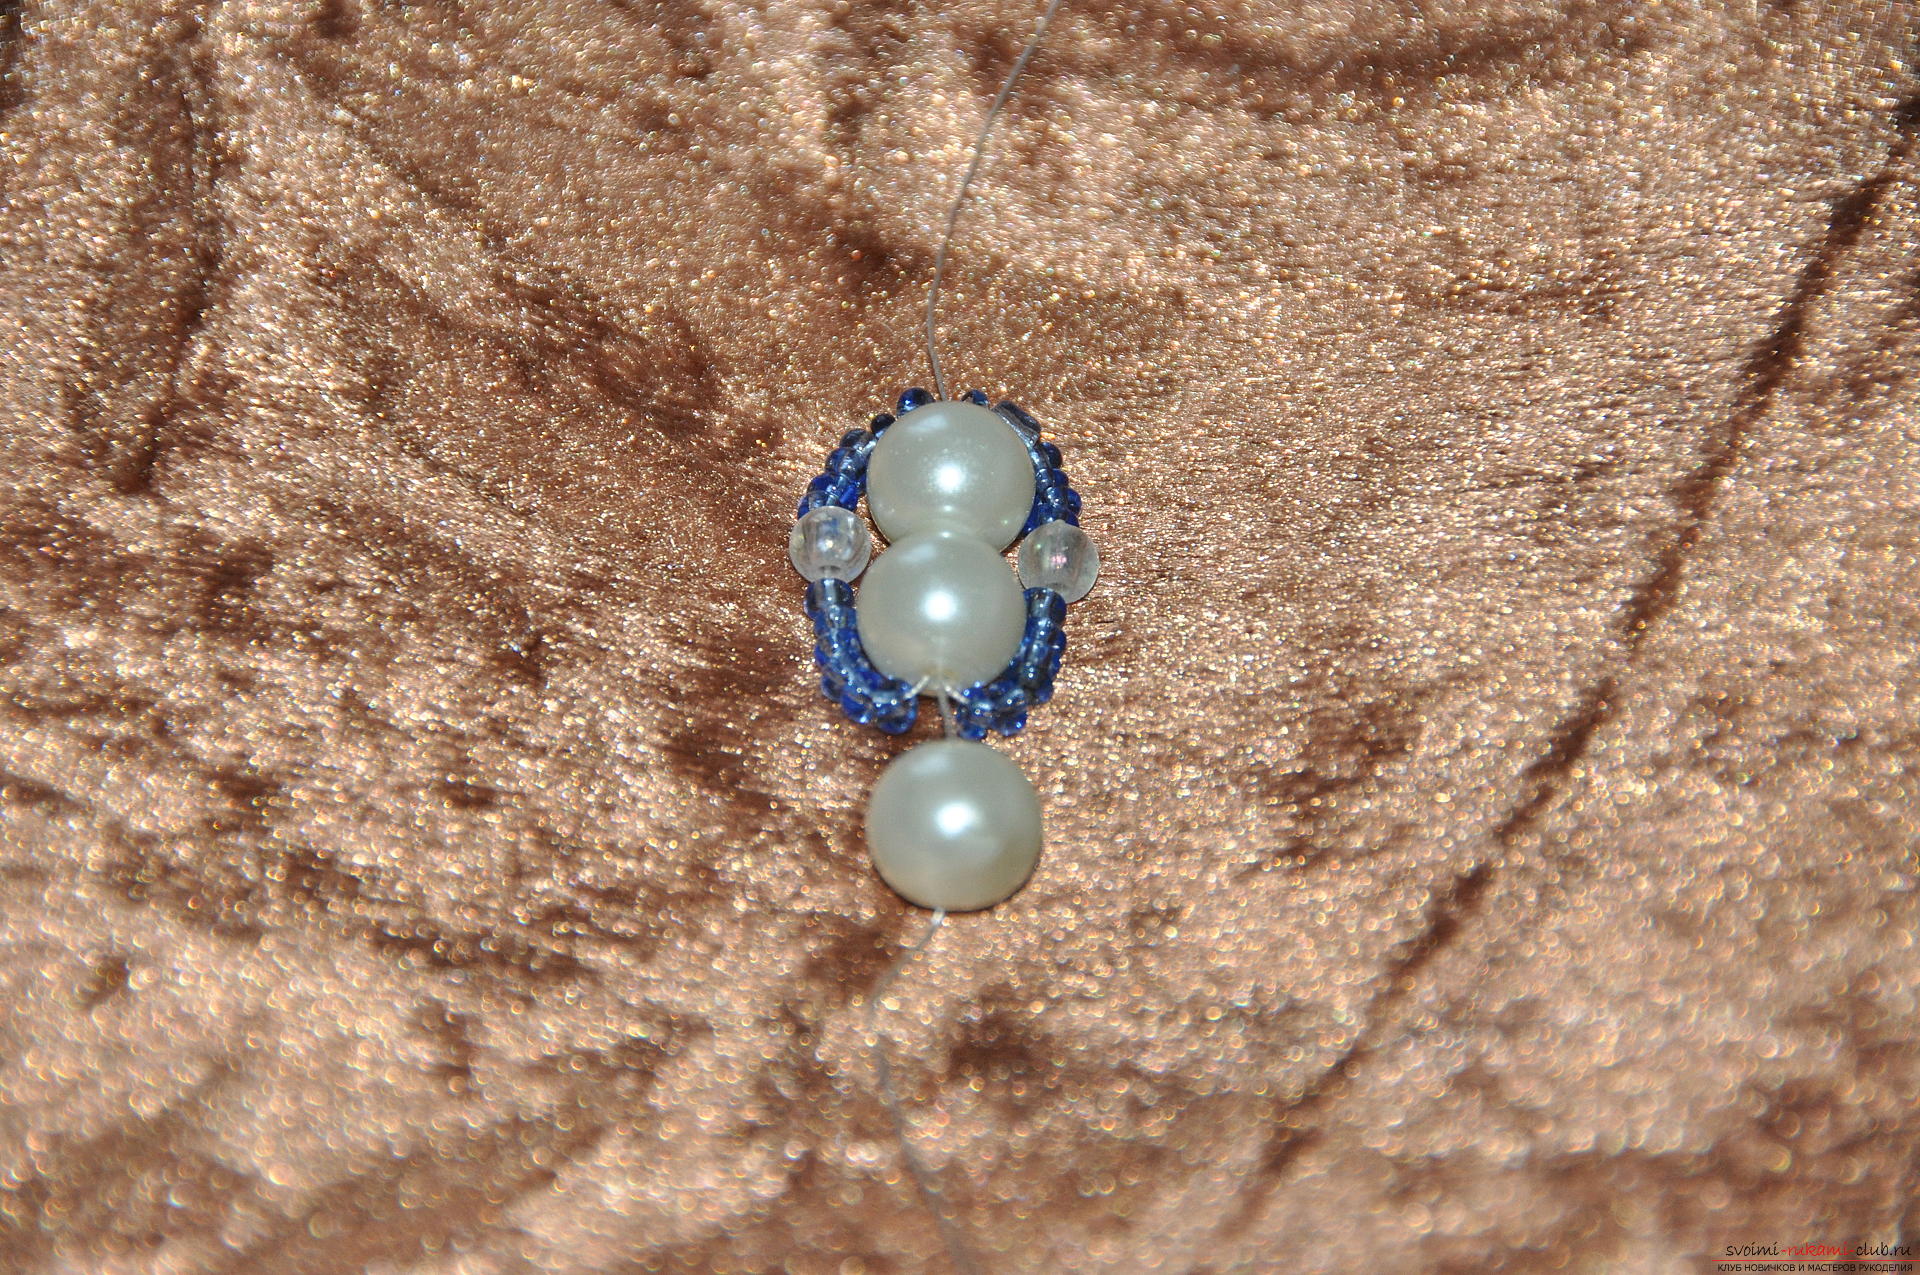 Then again, we put on a string six beads, a bead and six beads.
  Now we must go back and pass the needle through the second and third large beads. It is easier to do this if you slightly push them aside.
  The second chain of beads lies on top of the first on the right side.
  Again string beads and bead.
 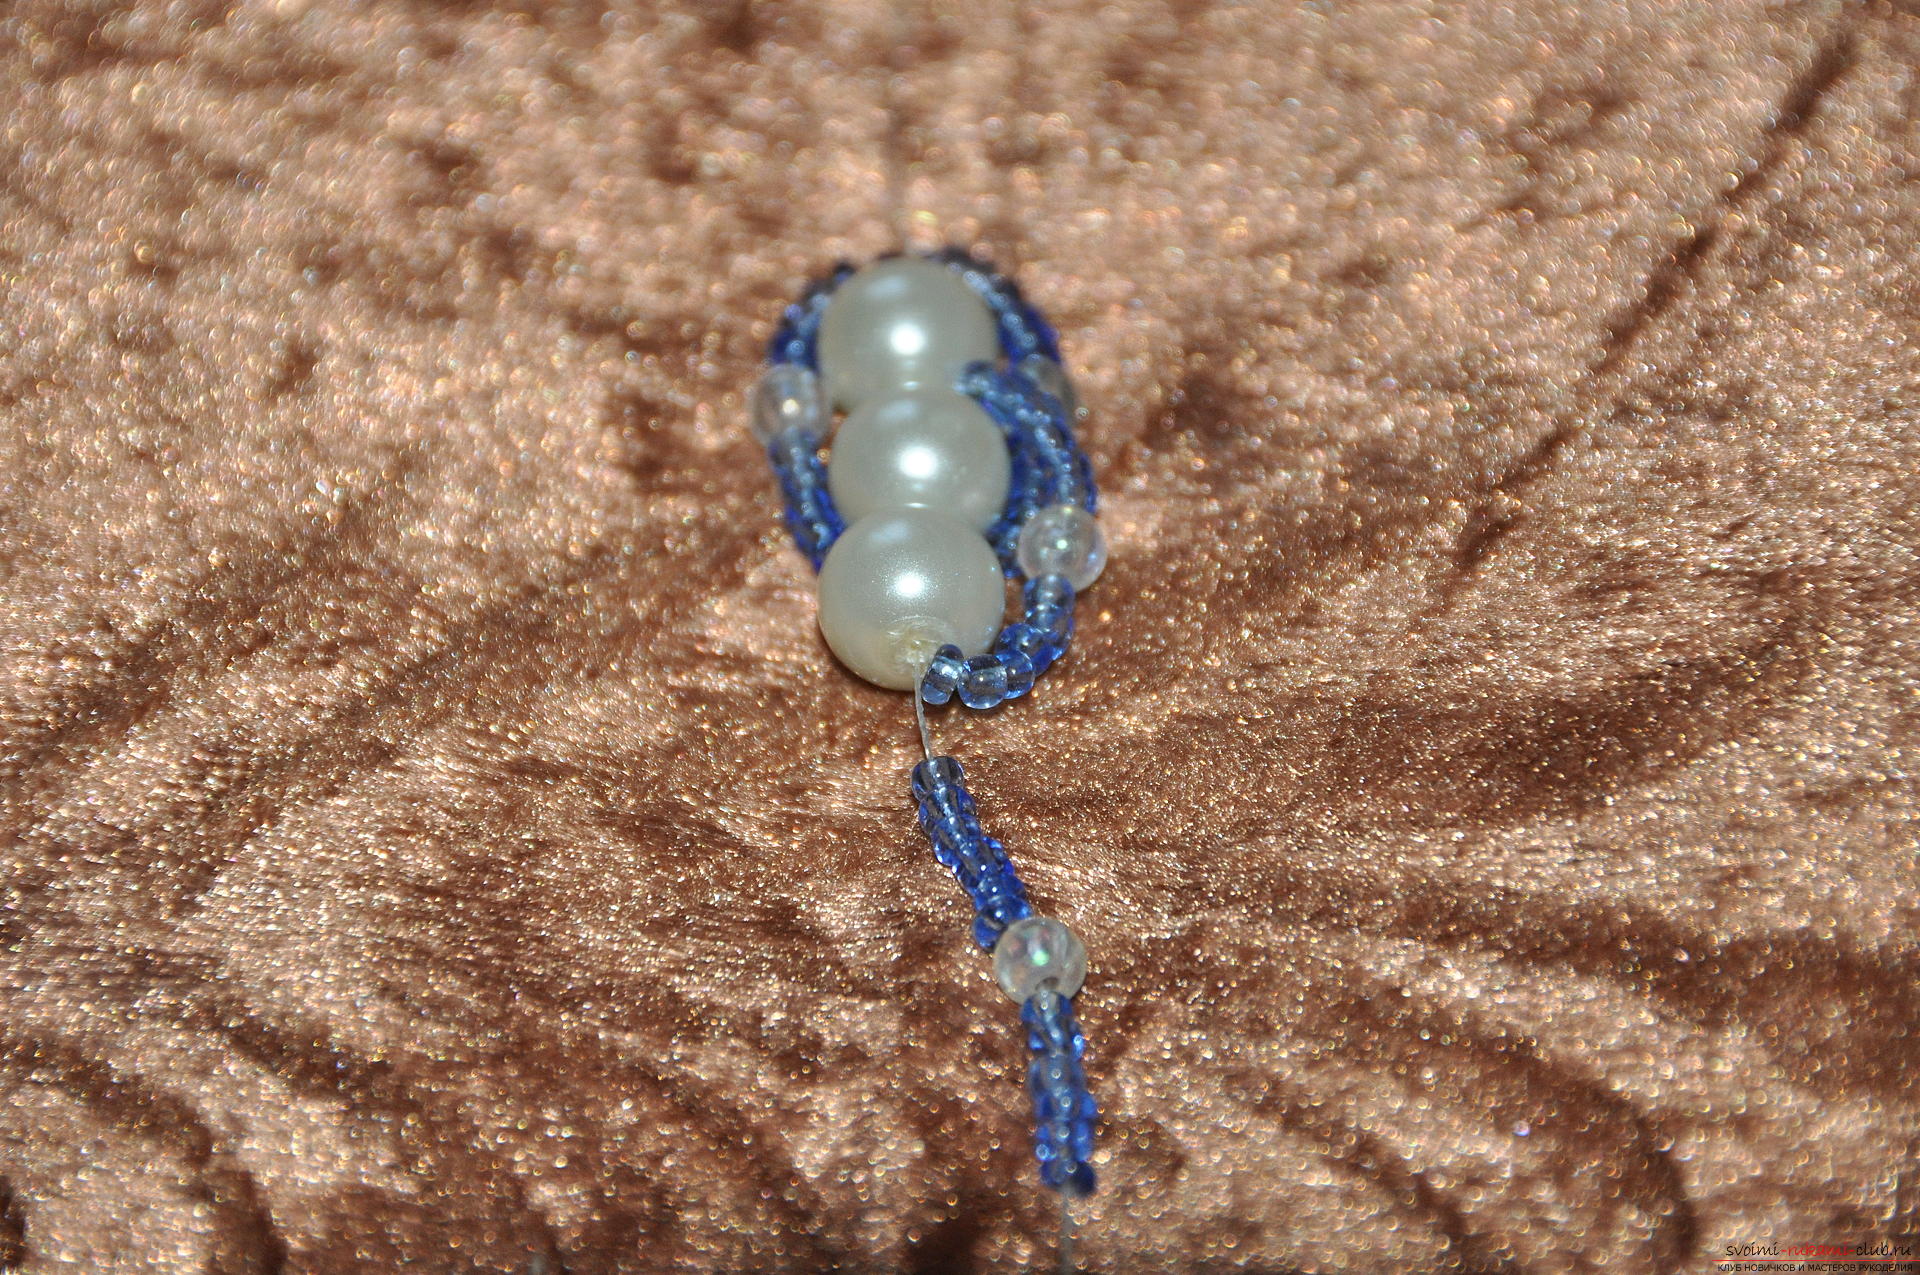 We return and pass the needle through the second and third beads, passing the chain from the left side.
 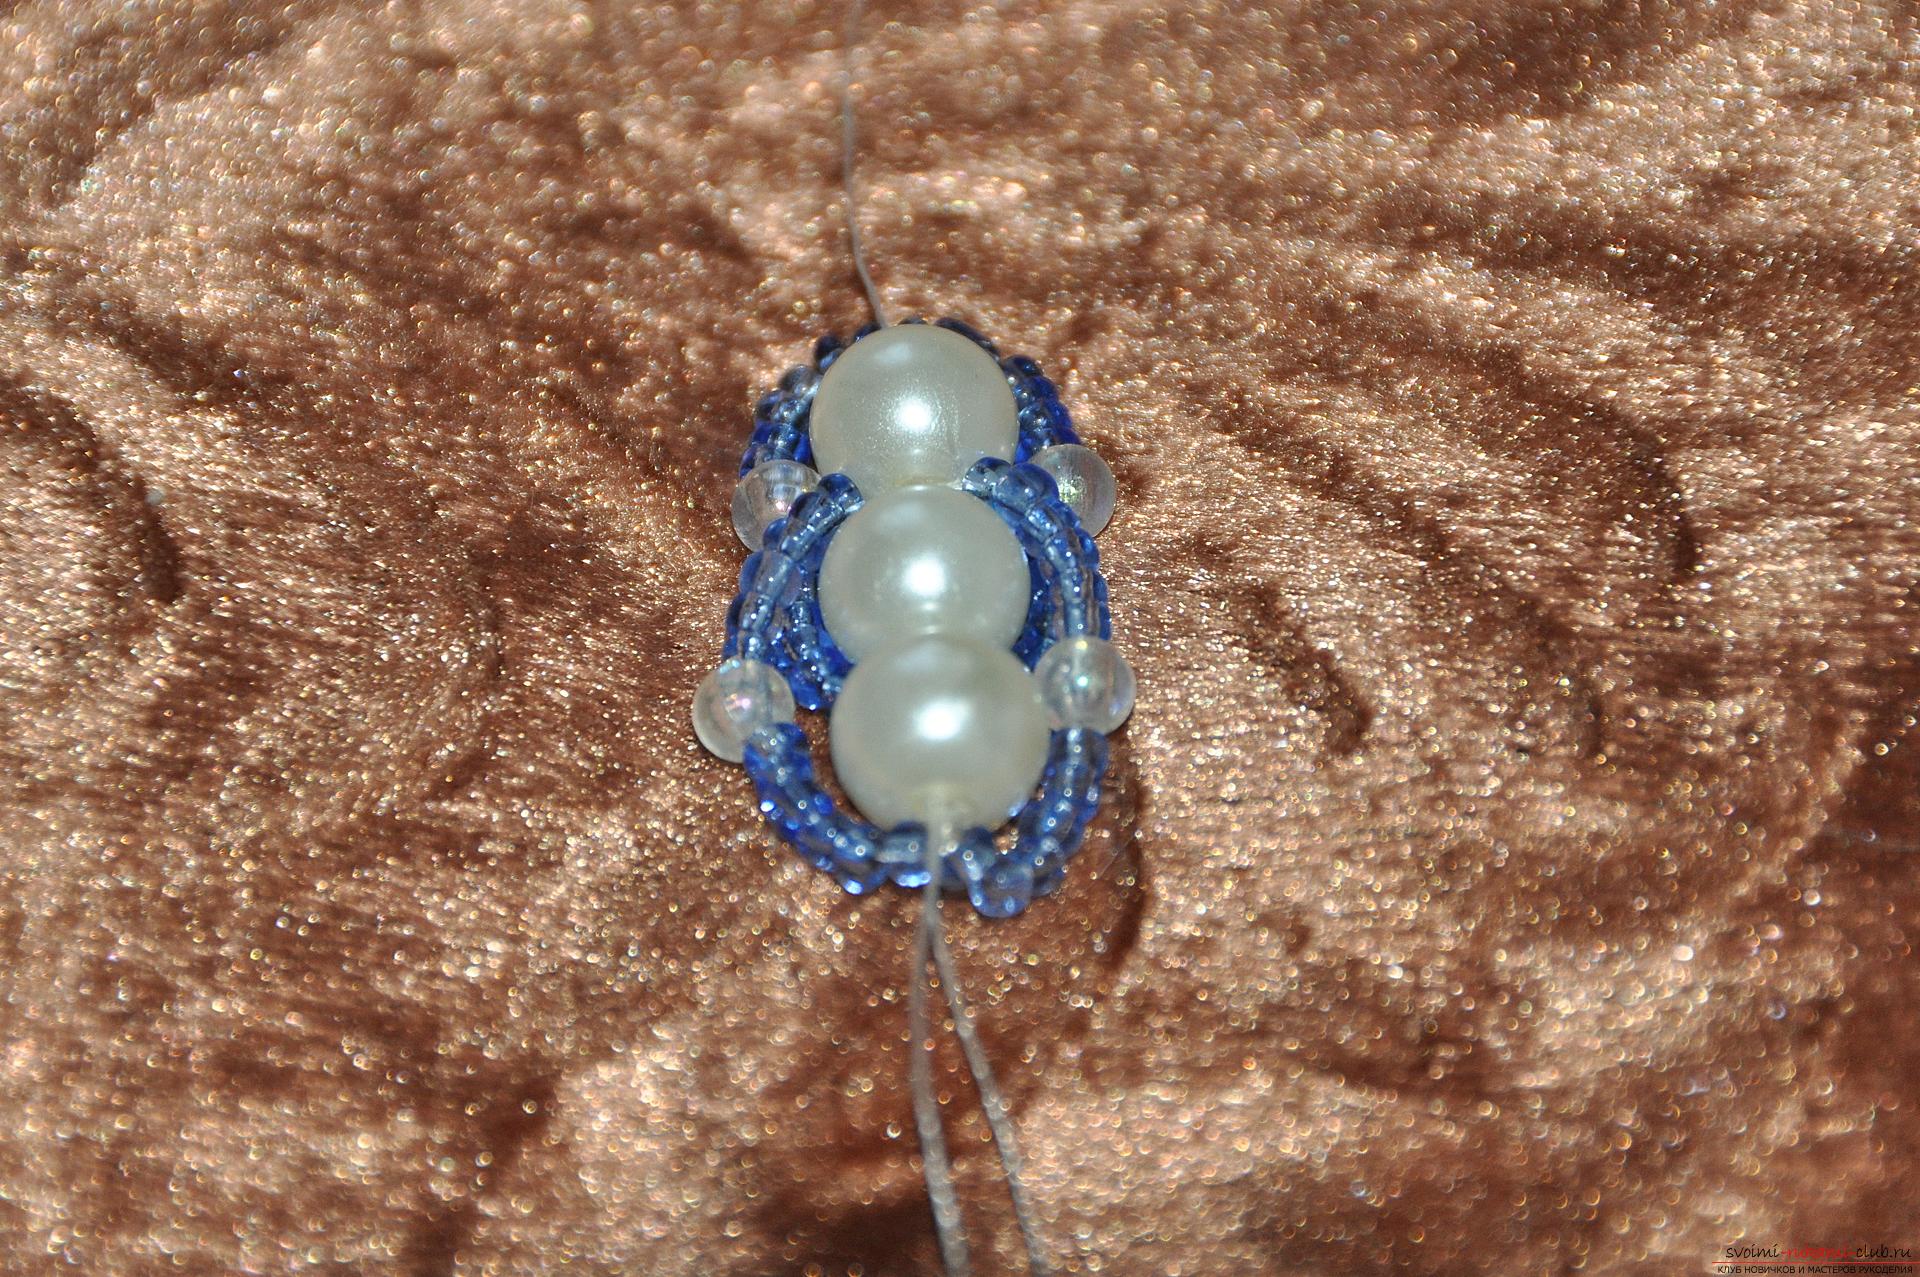 Sideways, now our product looks like this.
 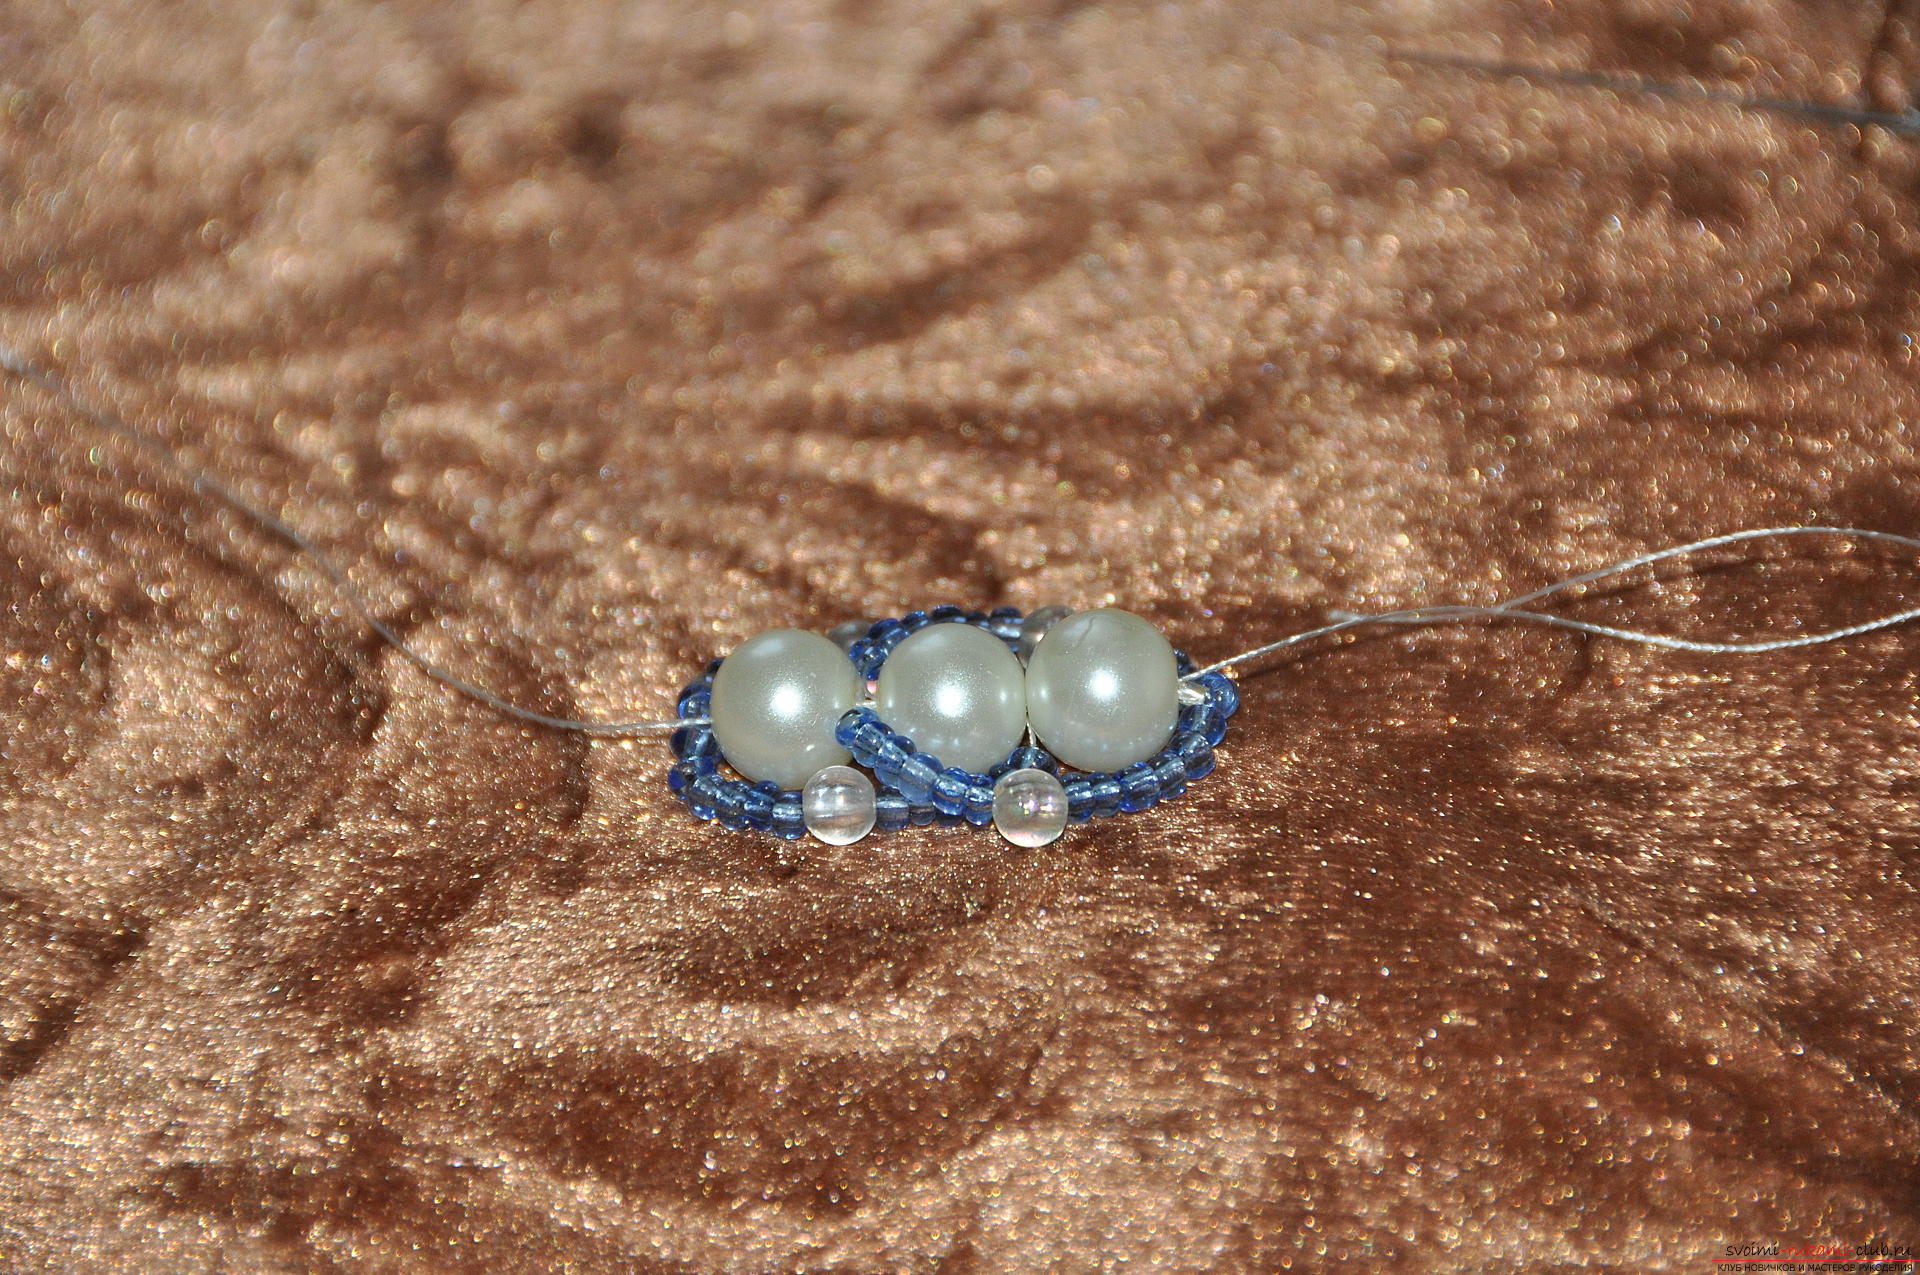 Continue the work, adding one big bead and two beaded chains. This is how a product made of five beads looks - it becomes clear how it will be in the finished product.
 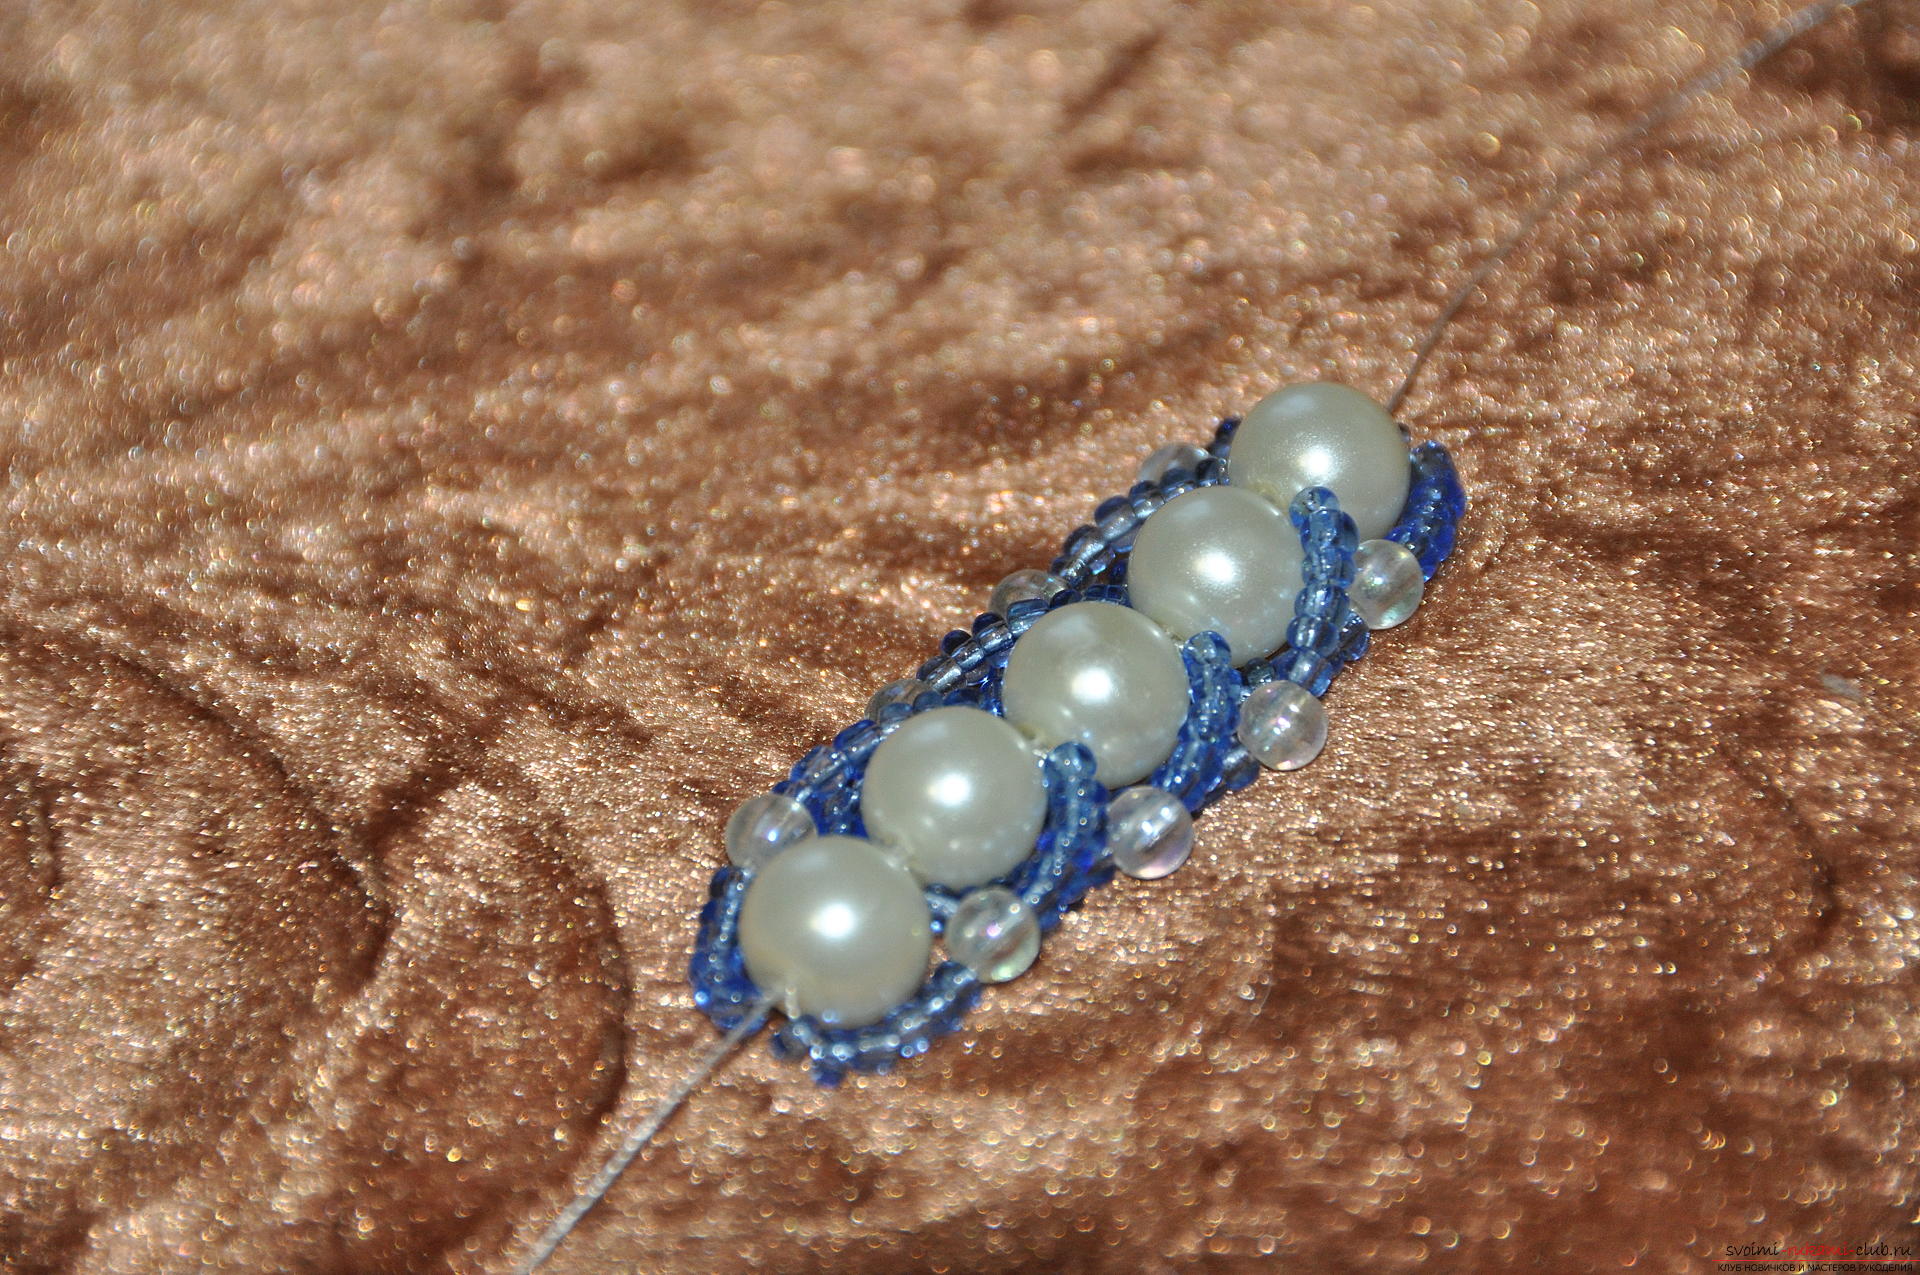 Now we have a part of a bracelet of seven beads. At this stage, you can try on the product for the future hostess and estimate how much more you need to dial.
 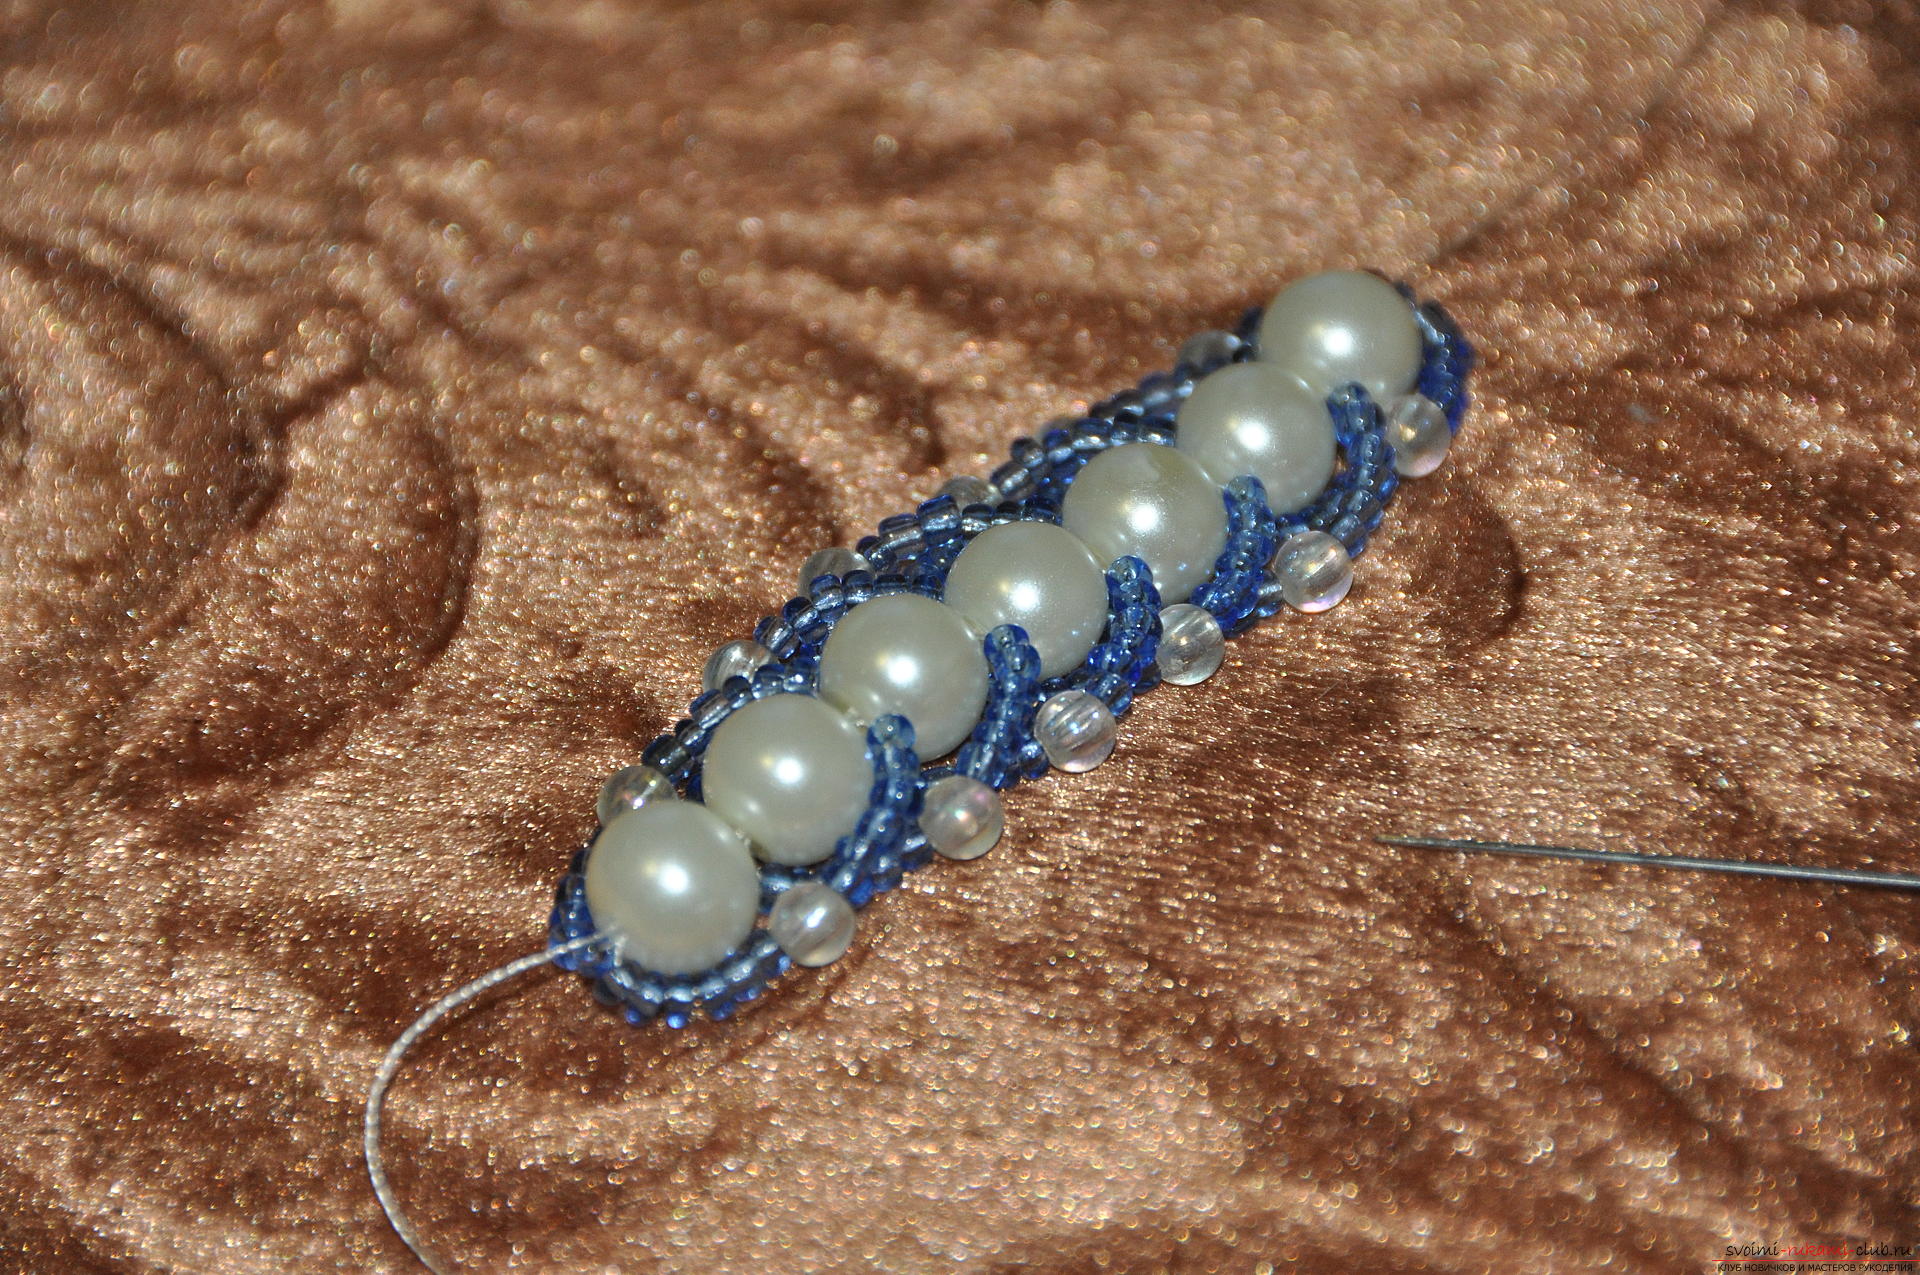 Now I have a bracelet of 12 beads ready - that's enough!
 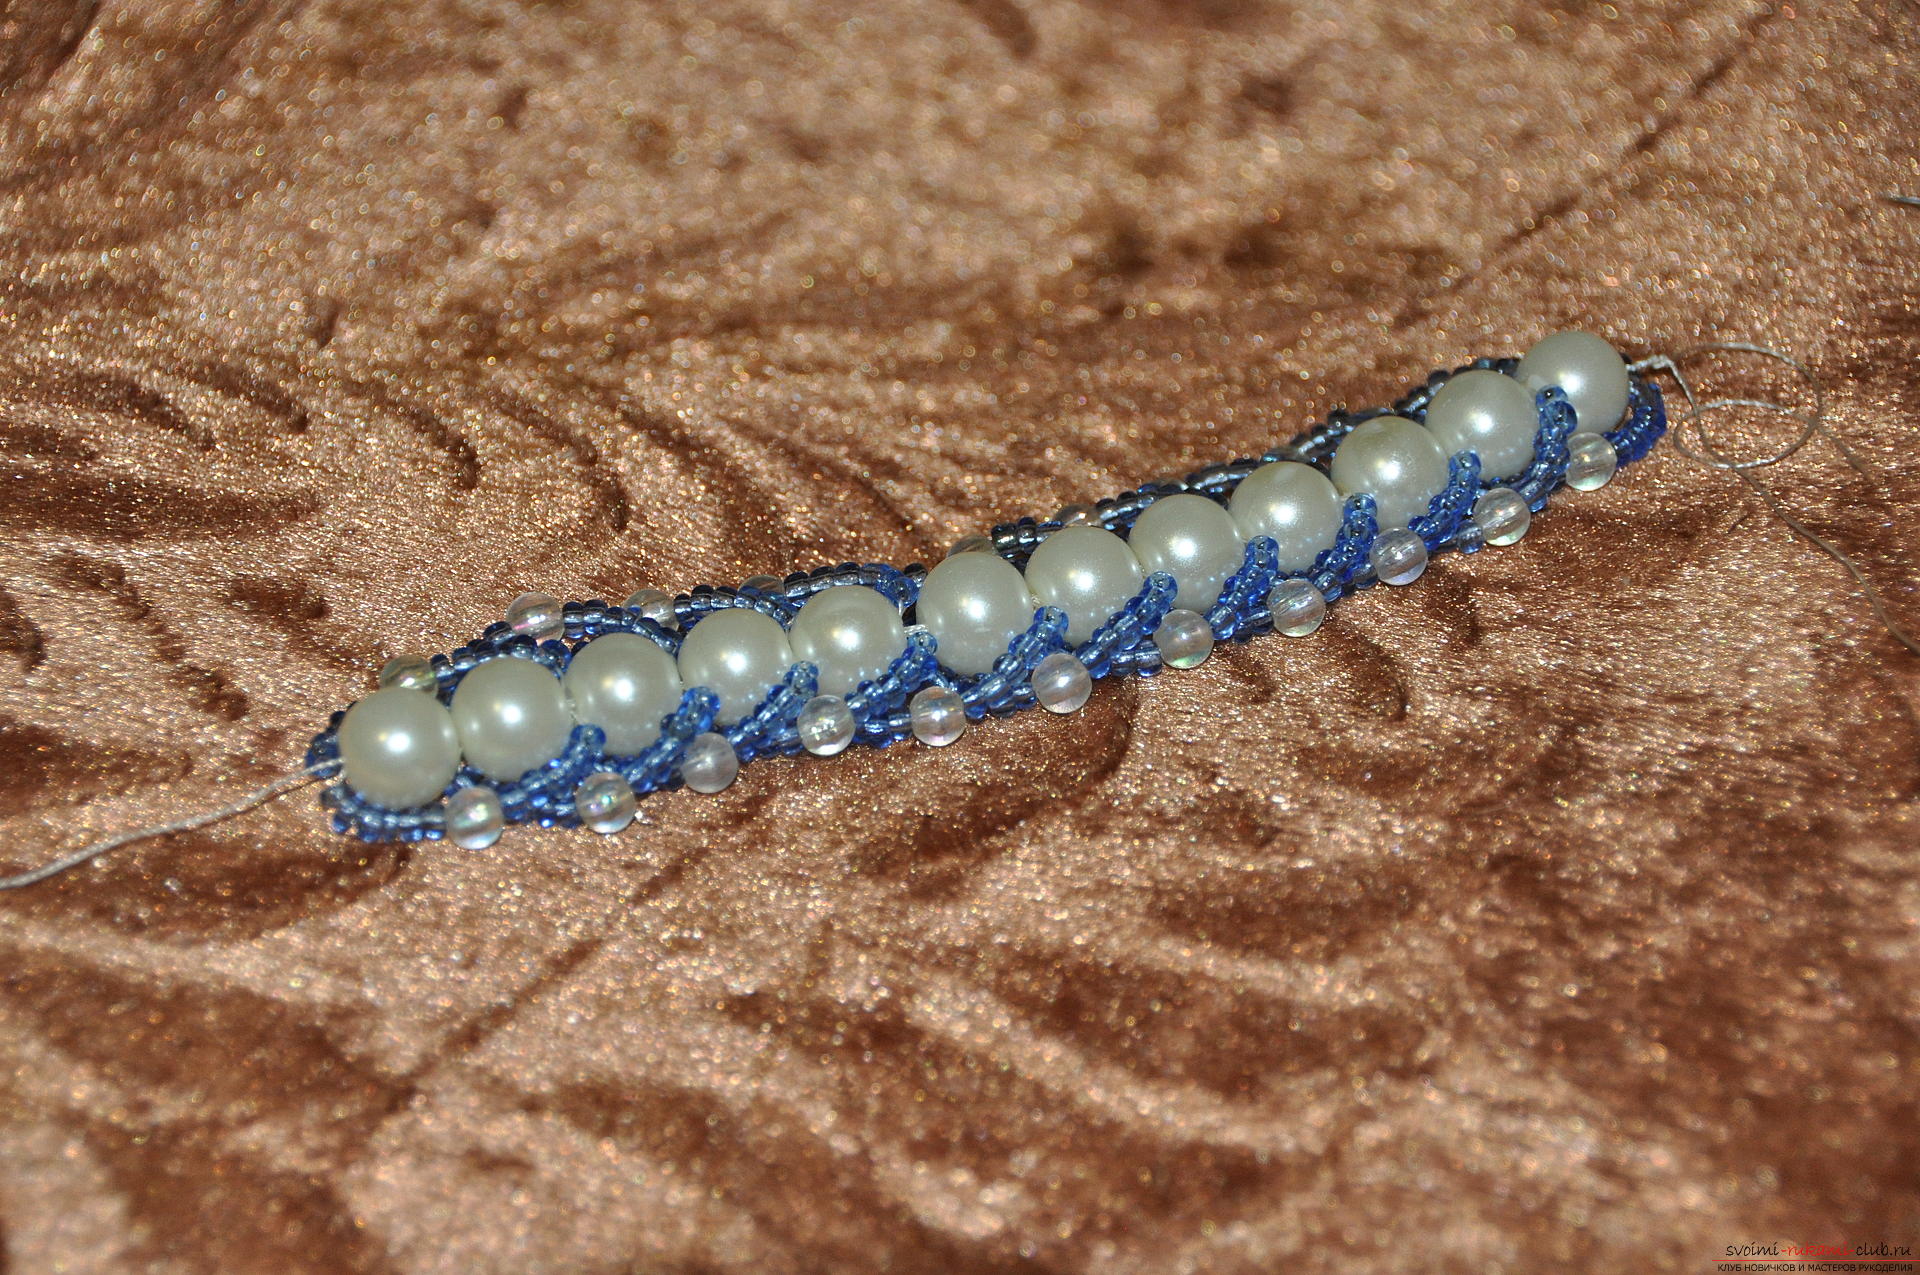 Proceed to the final part of the creation of the bracelet. We put on the thread four small beads.
 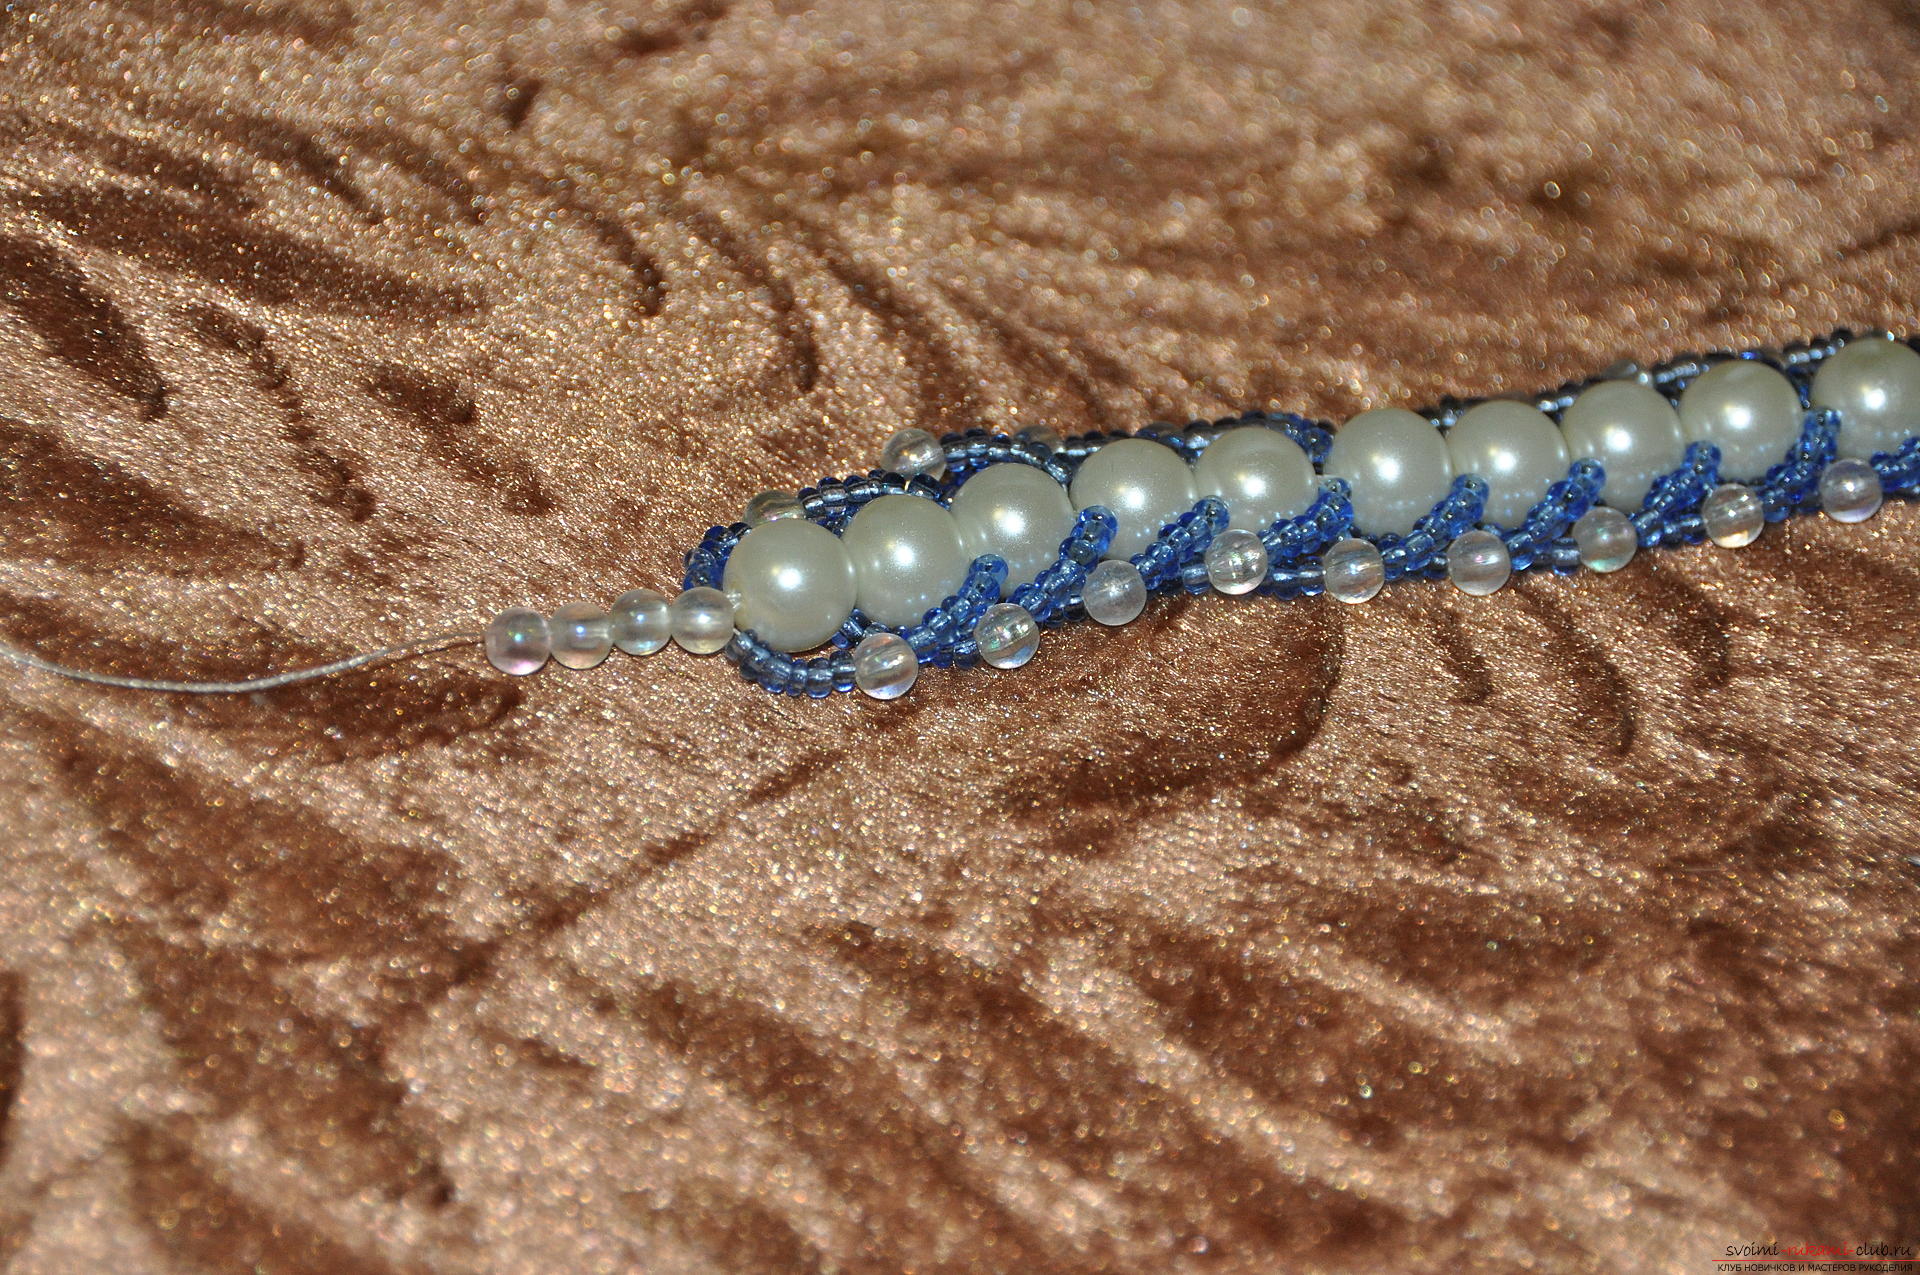 After the beads, fix the first half of the fastener - the ringlet. We attach it carefully, so that it does not come off, we tie a slippery nylon thread on several nodules, so as not to get loose.
 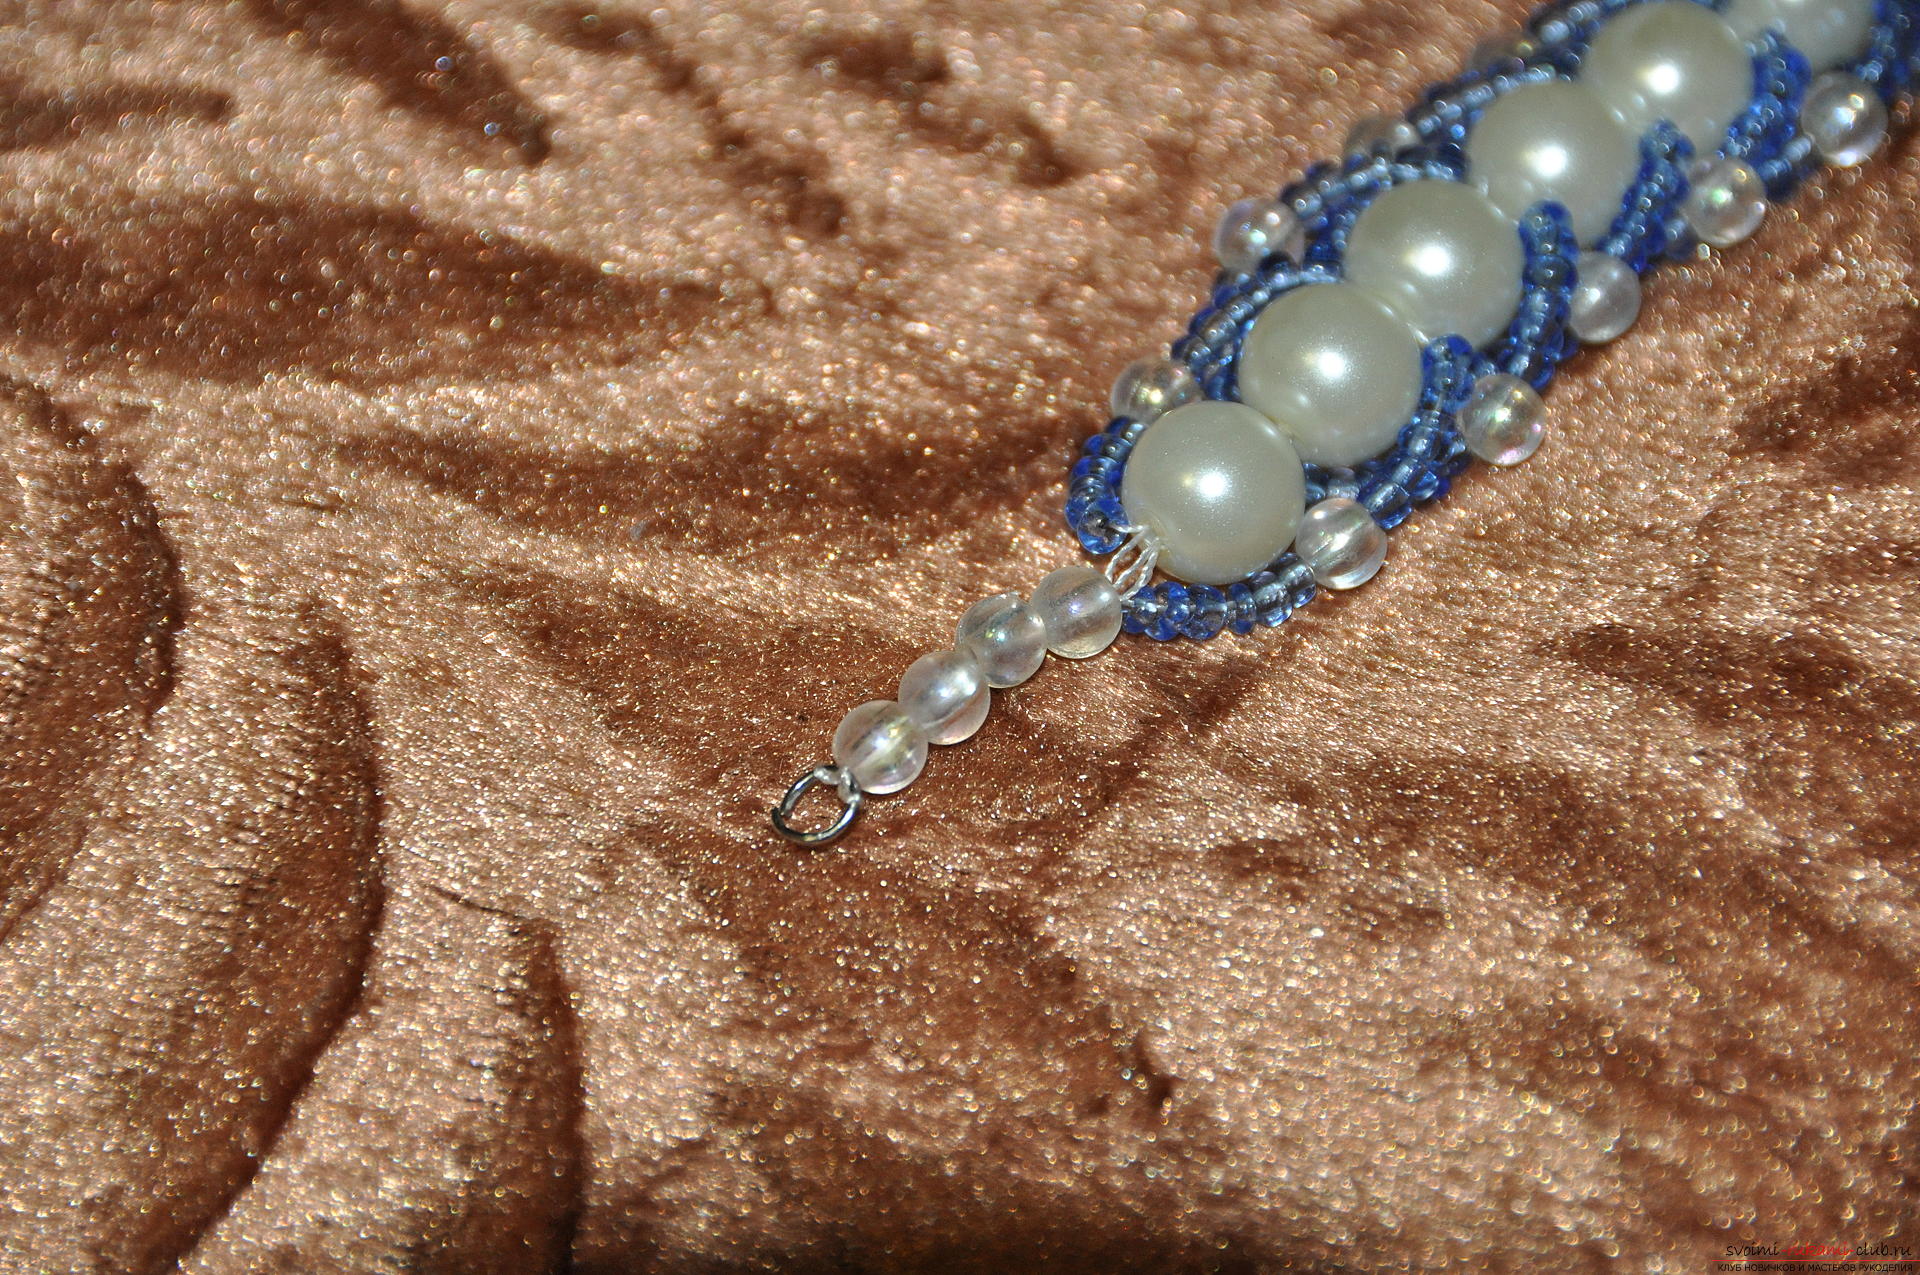 On the other hand, we put a needle on the remaining thread, string 4 beads and carefully fix the second part of the fastener.
 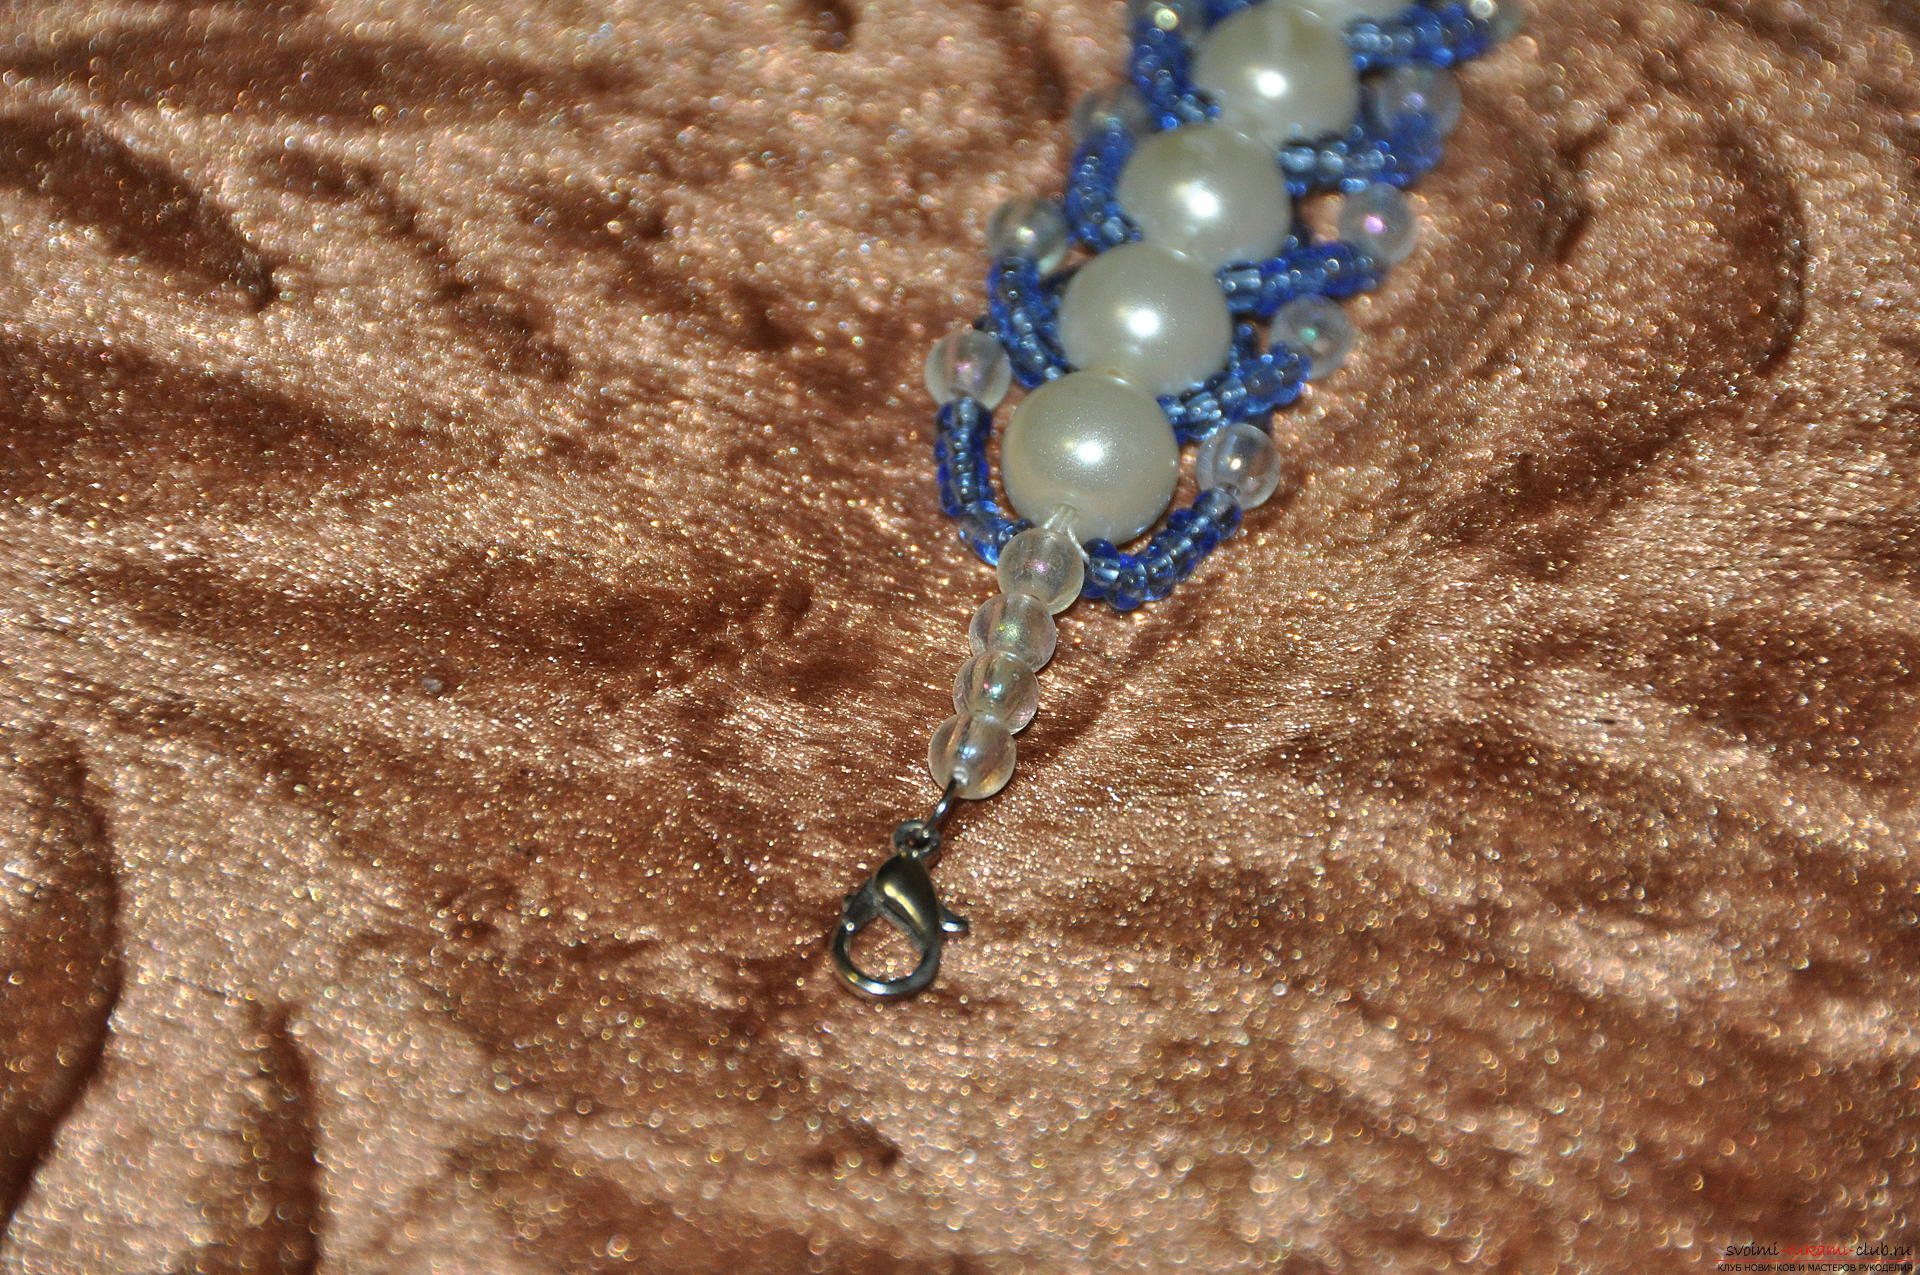 Such a bracelet turned out!
 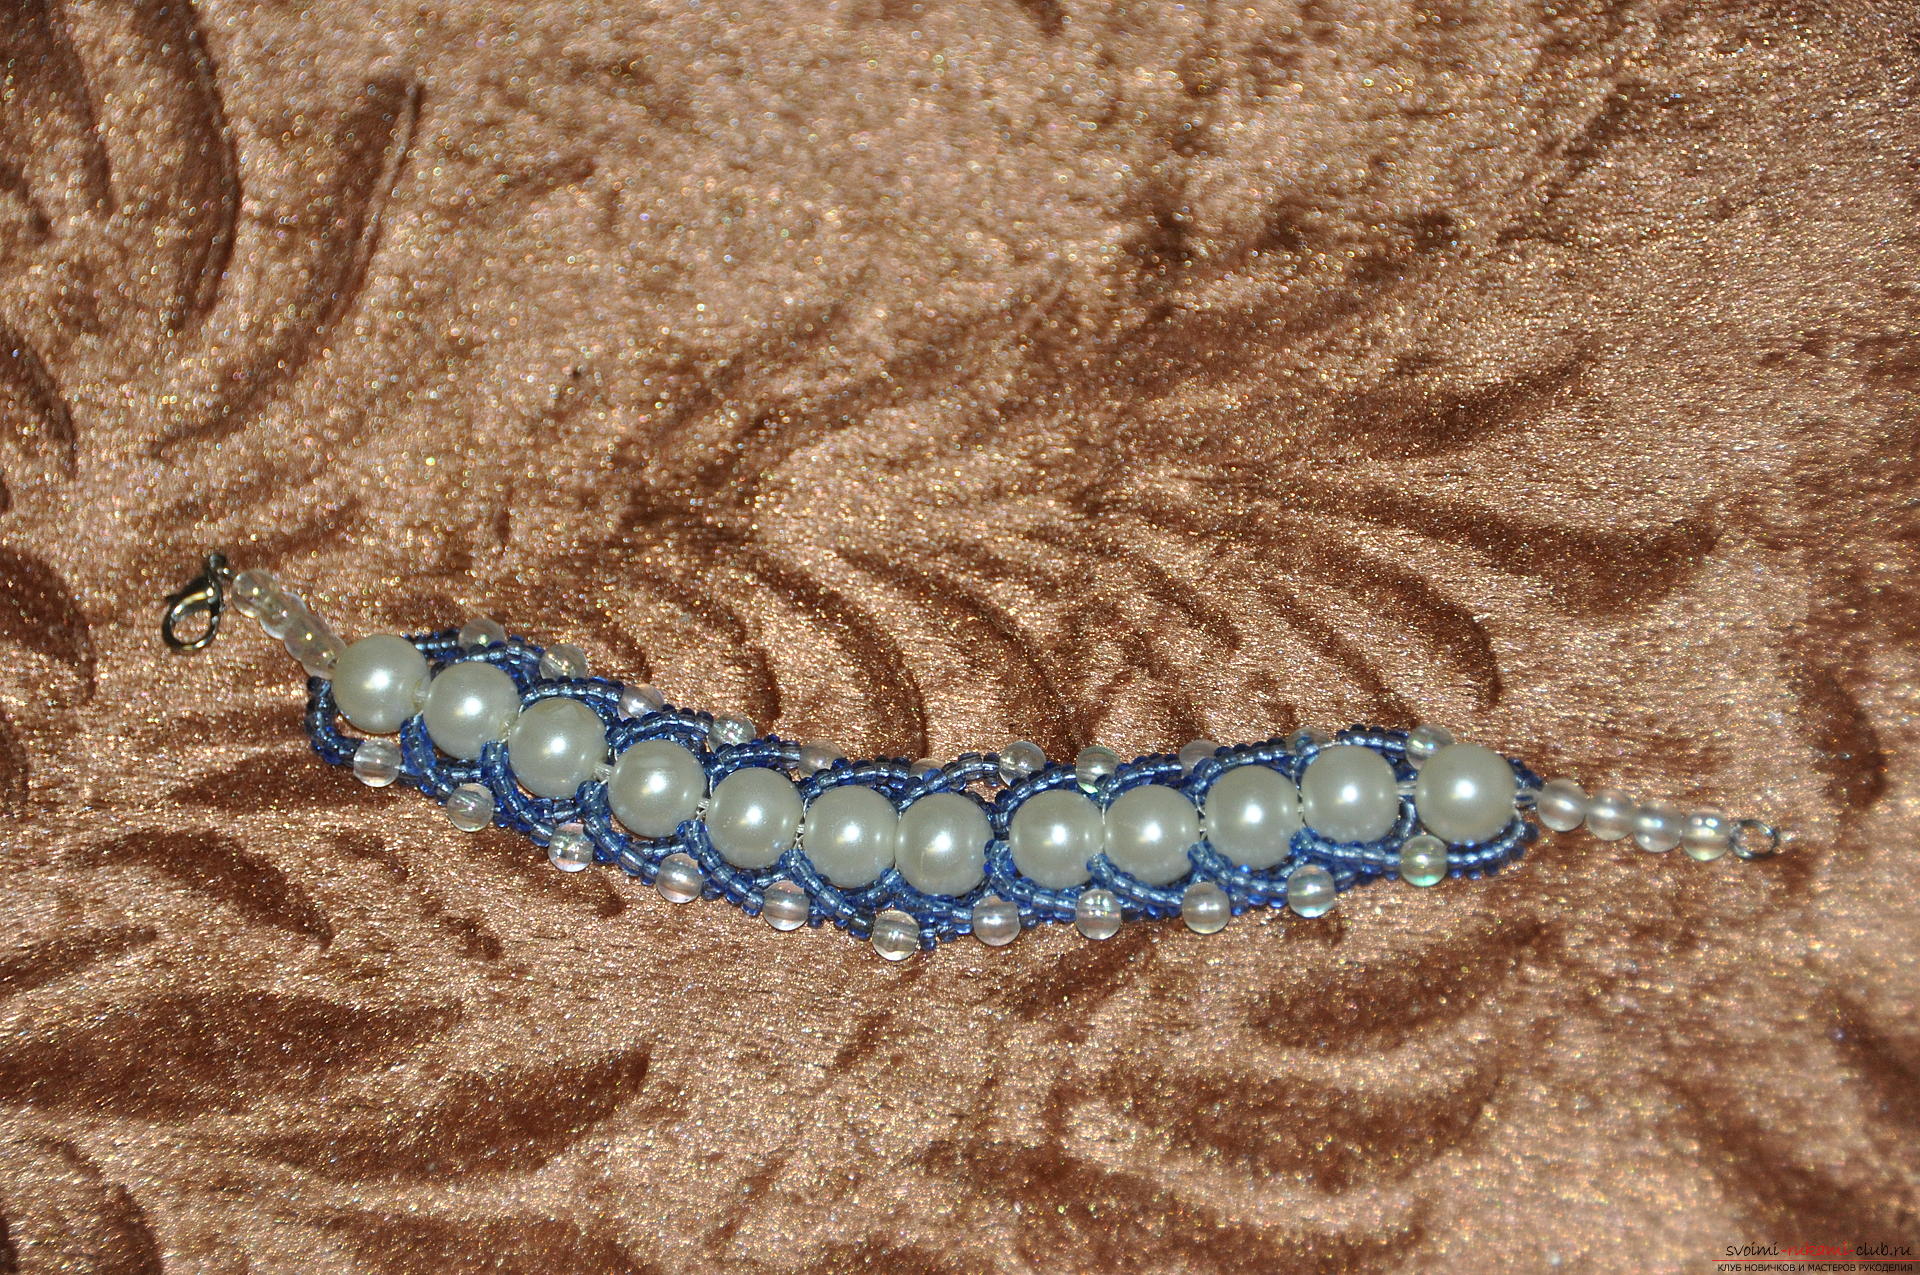 My craft was meant for a little girl. Kids like to be fashionable and imitate their moms, so they often ask for decorations. However, purchased jewelry, despite the abundance, does not always fit in size, color or style. And this homemade decoration, in which the craftsman has invested her soul, will surely be both right and right!
 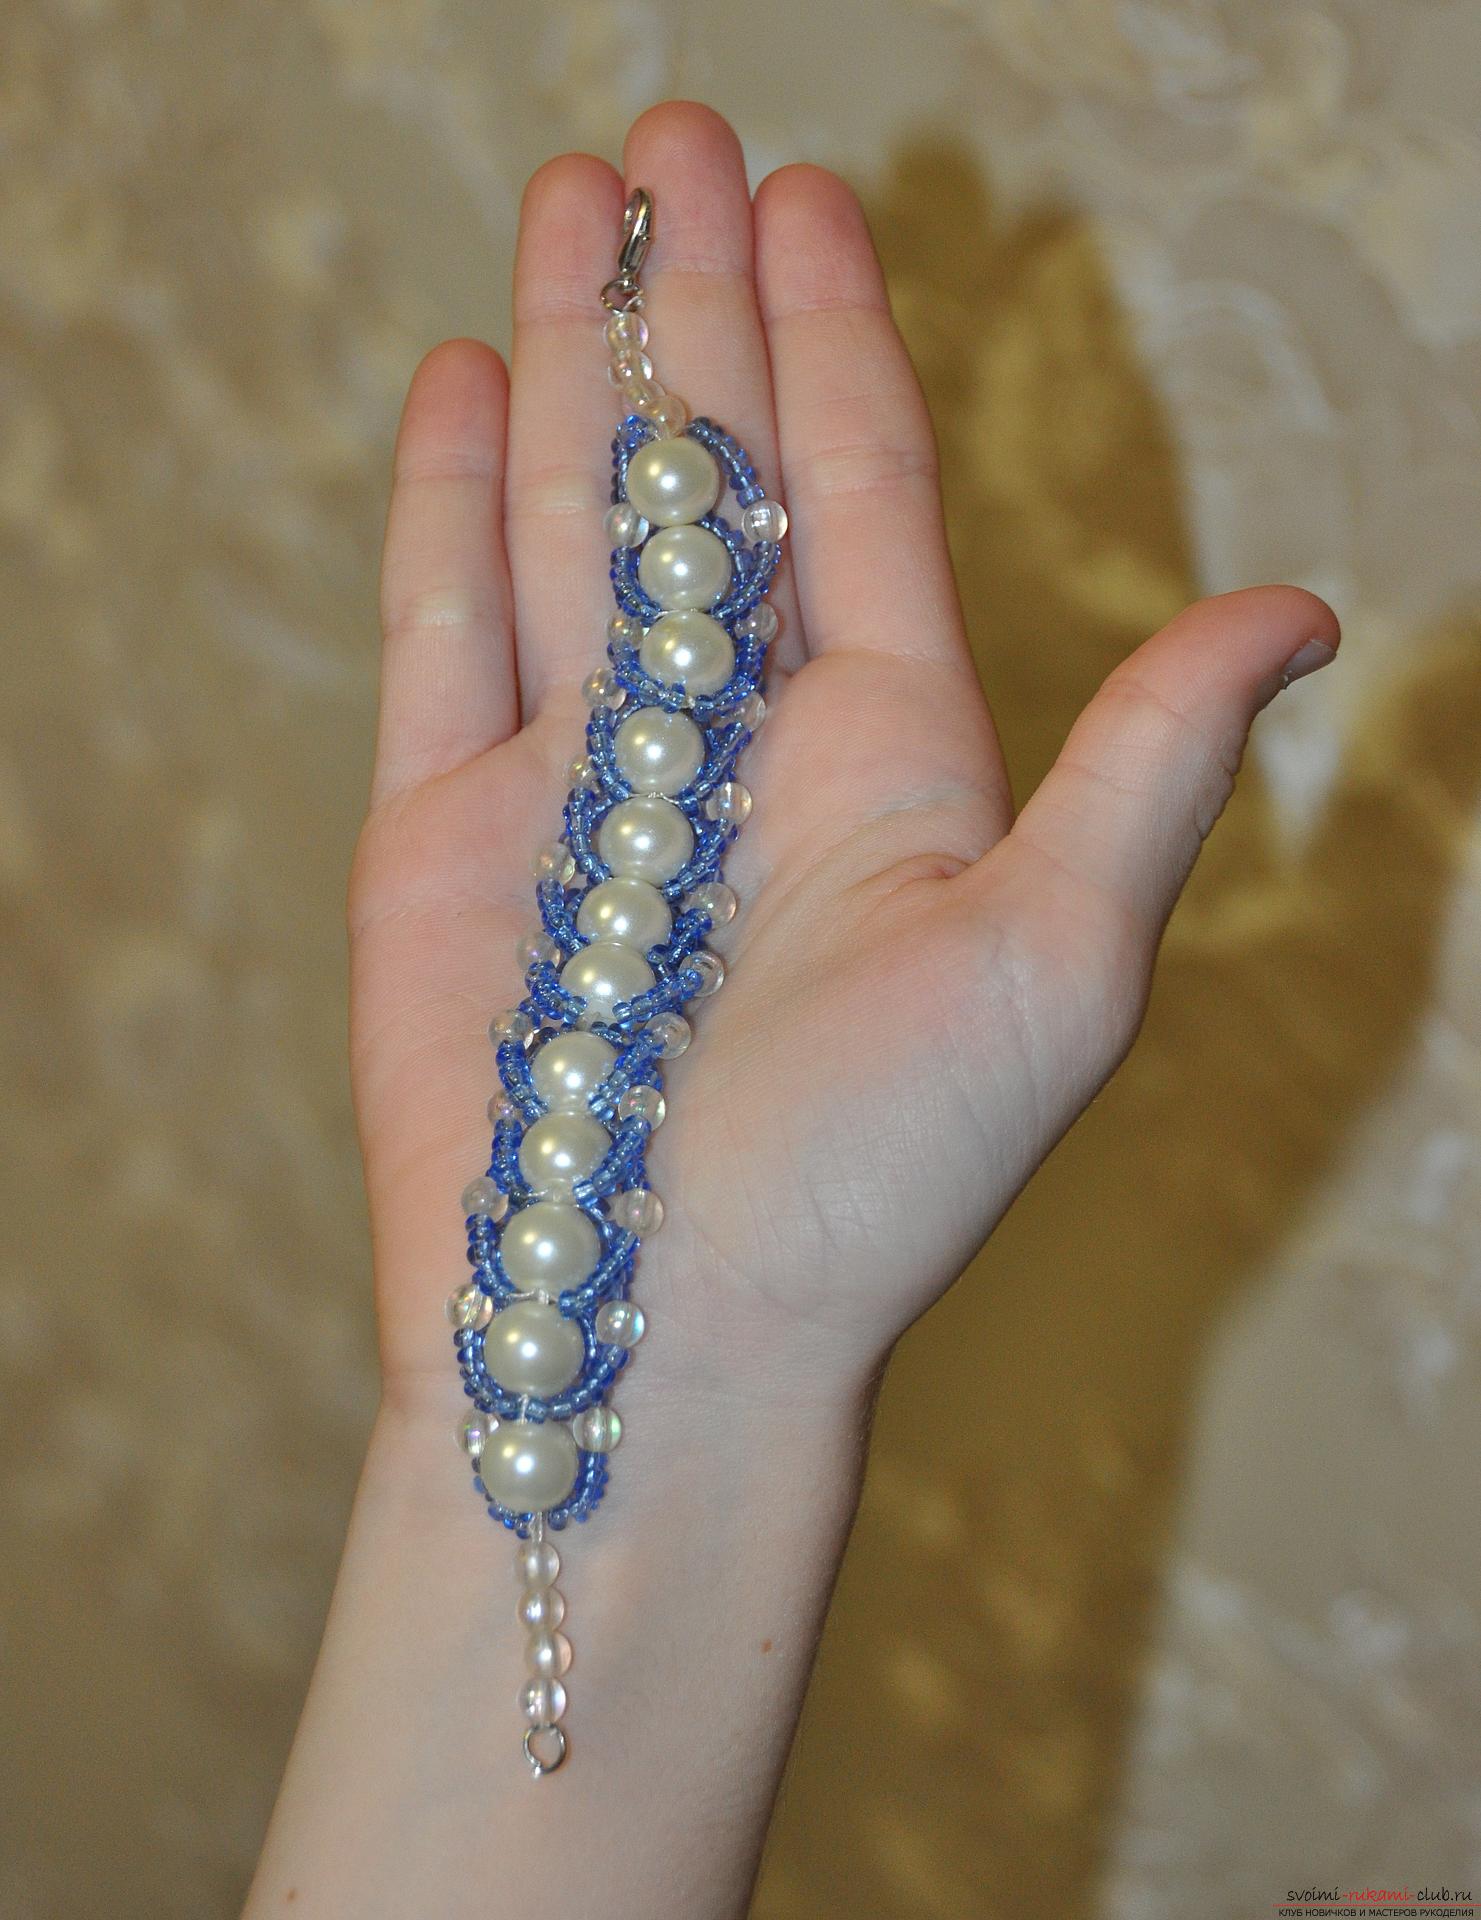 Fantasize with flowers, create and please your loved ones!
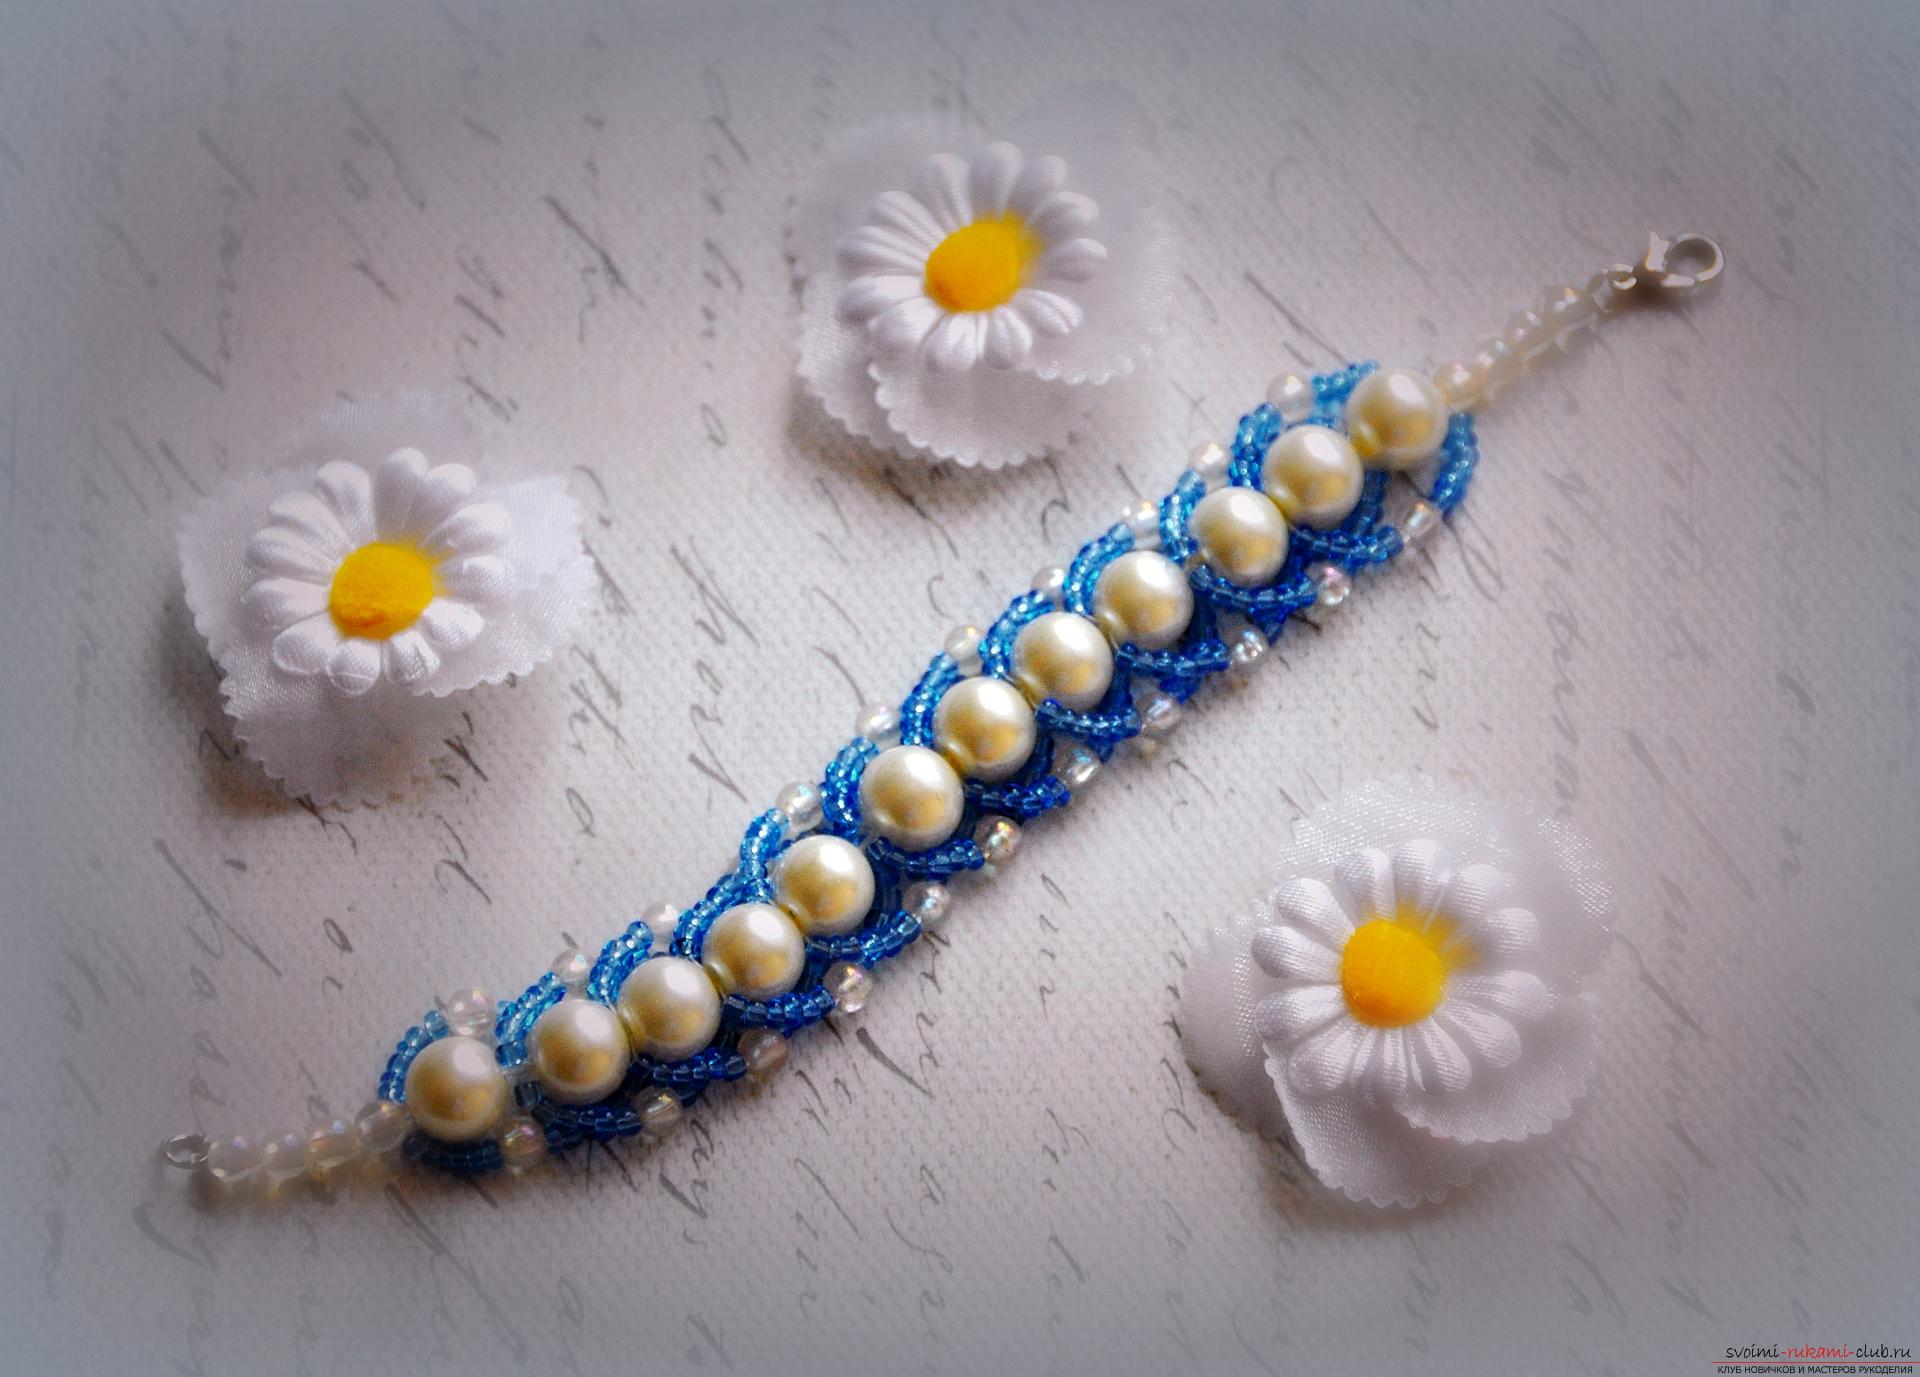
Comments
Related posts:
 This master class with a knitting pattern will teach you how to tie a suit for a newborn or babe with knitting needles.
 This master class with photos will teach you how to make a house of paper with your own hands.
 Bracelets from beads with their own hands in master classes (photo)
 This detailed master class with a photo and description will teach you how to make origami for beginners - an origami-crown made of paper.
 This master class will teach you how to tie a cap for newborns - a cap-bear crochet.