
Three free master classes to create butterflies from satin ribbons in Kansas technique.
Butterflies are one of the most amazing creatures onthe earth. Beauties with bright wings serve as a symbol of joy and happiness. They inspire artists, poets and craftsmen. Butterflies paint in pictures, embroider, sew from fabric, knit, fold in origami technique, weave from beads and make surprisingly beautiful hand-made articles in Kansas technique. Of the multi-colored pieces of ribbons decorated with beads, beads, rhinestones, sequins, butterflies can be hairpins, brooches, ornaments of handbags or interior items. This article offers step-by-step master classes with a photo and description of the creation of Kanzash butterflies. The first master class is devoted to creating a very simple butterfly of the same color. It is perfect for training for those who are just beginning to master the art of Kansas.  It will take:
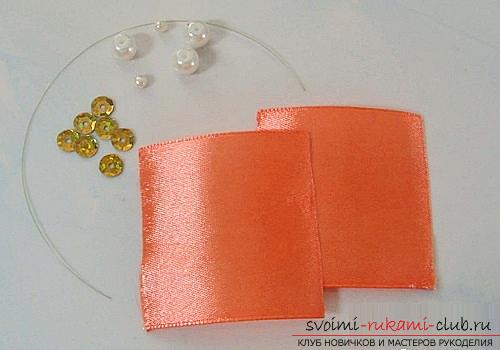
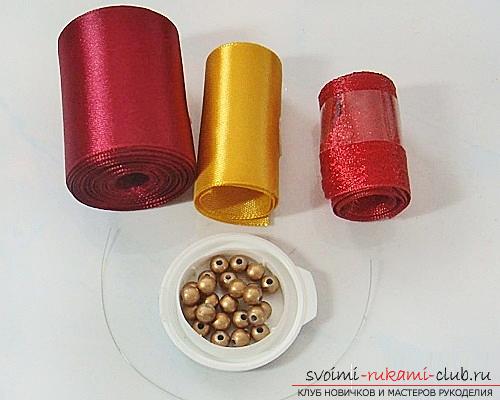
- Satin ribbon (three squares of 5x5 cm);
- Sequins;
- Beads and beads of different sizes;
- The line;
- Scissors;
- Lighter or candle;
- Needle;
- Tweezers;
- A piece of cardboard;
- Glue (best gun).
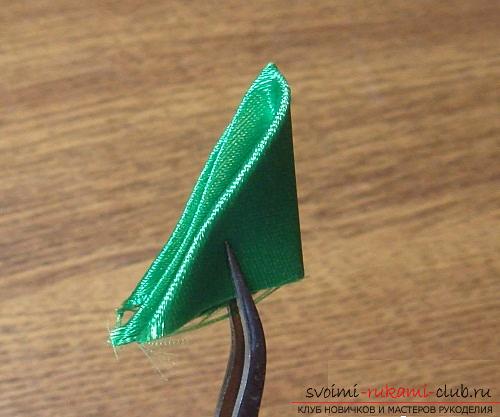
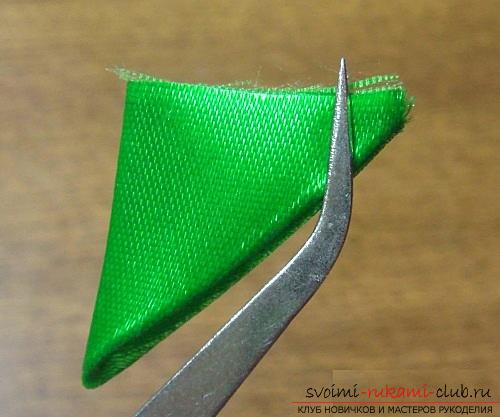
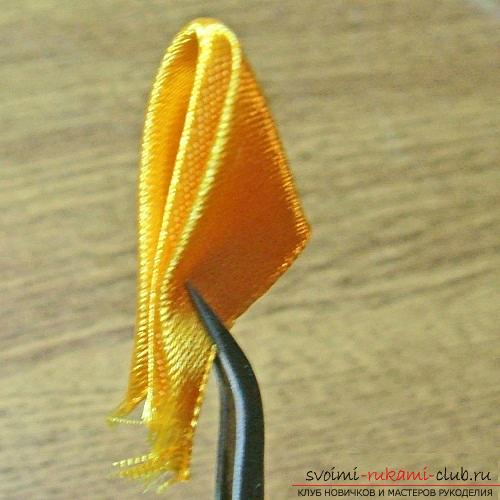
 Ribbon squares smear glue and folded diagonally in half. Work carefully to ensure that the edges match exactly.
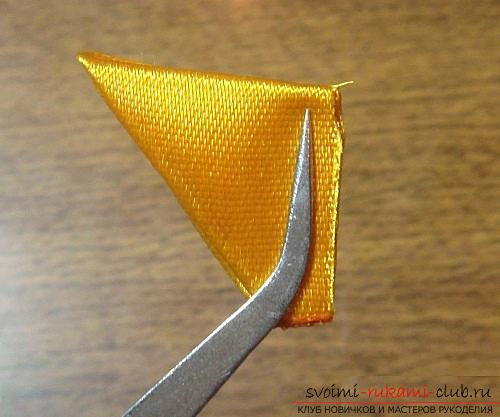
  Fold the triangle in half and bend the tip, as in the photo. The end that was bent to paste. Do the same as the second box. This is how the front and the underside look.
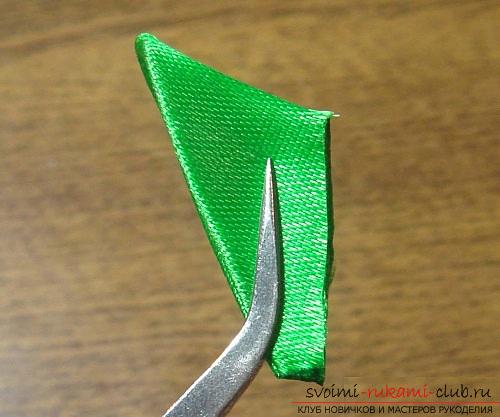
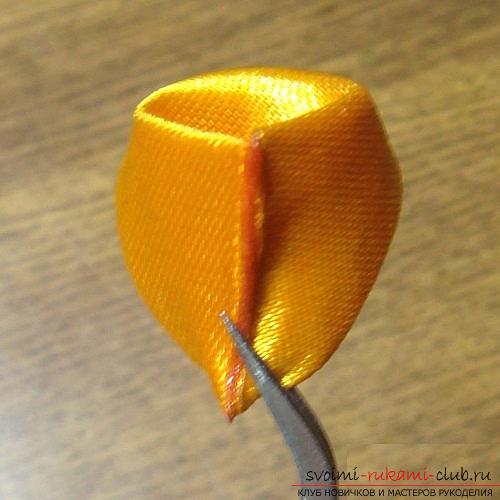
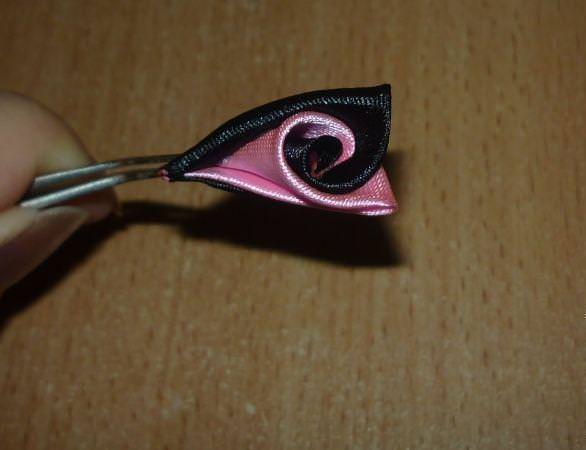
 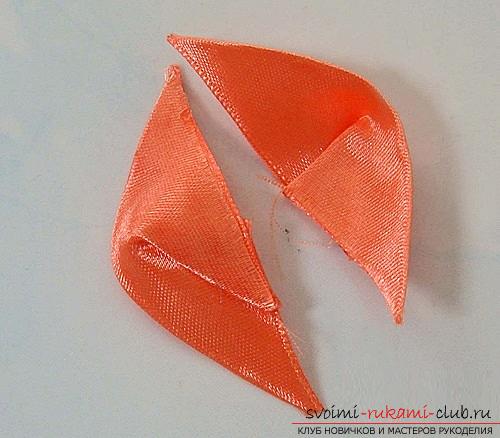 The workpieces turn out to be curved along the middle. Cut the indentations in the center, as shown in the photo.
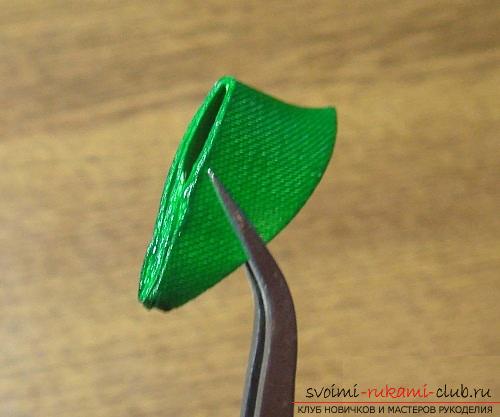
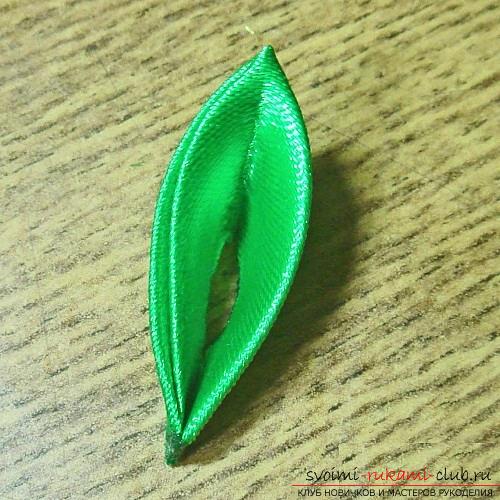
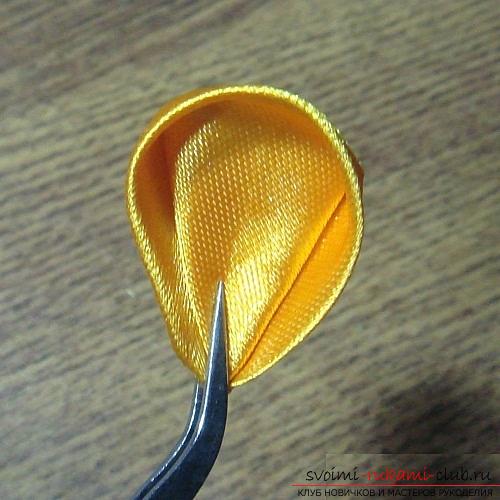
 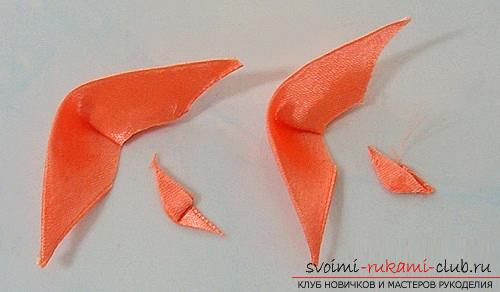 The longest side (the one on which the indentations) is to melt over the fire to become wavy.
 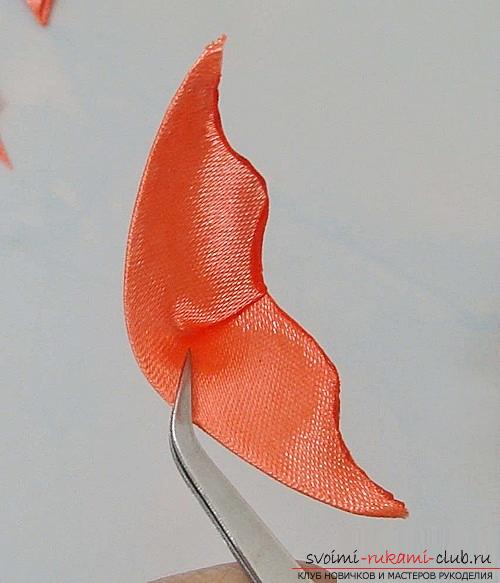 We already have two wings ready.
 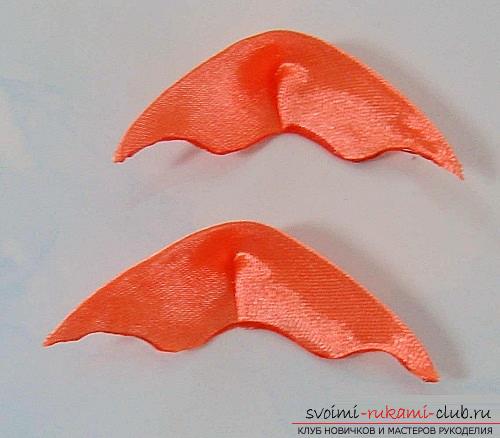 On a small piece of line to string 1 bead (for fidelity, you can paste). Now on both ponytails to string three beads, they too can be fixed with glue.
 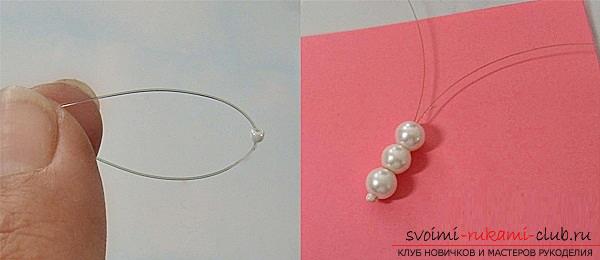 The tails of the line will serve as a mustache for the butterfly. Their ends can be decorated with a bead cross. In a simpler and easier way, the tip of the antennae will be covered with glue in the form of a droplet, and then roll in the glitter for the nails or eyes and wait until it dries. A small piece of cardboard wrap a piece of ribbon and paste a bead of butterfly to it.
 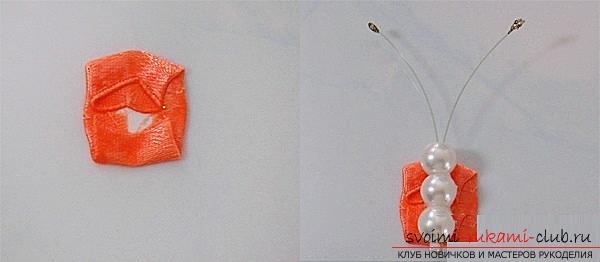 On each side, glue the wings with the concave side upward. (see photo).
 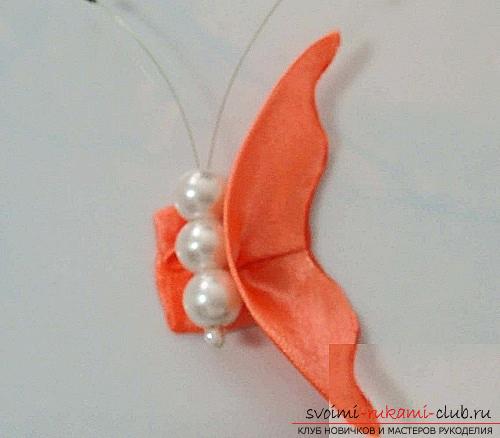 Decorate wings with paillettes, beads or any other elements that you like. Next Kanzashi butterfly will be created already from two colors, red and yellow.
 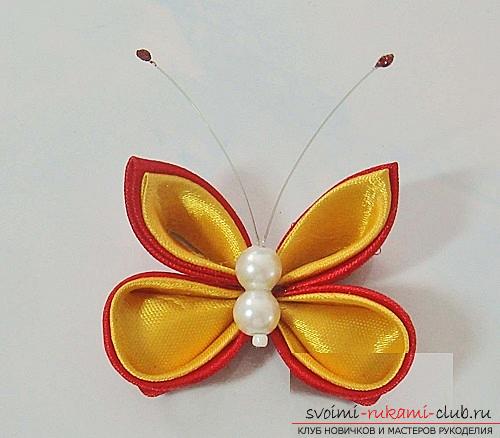 Here you will also be offered step-by-step photos of creating a narrow and round petals of Kansas. You can apply them not only to create butterflies, but in any other crafts. It will take:
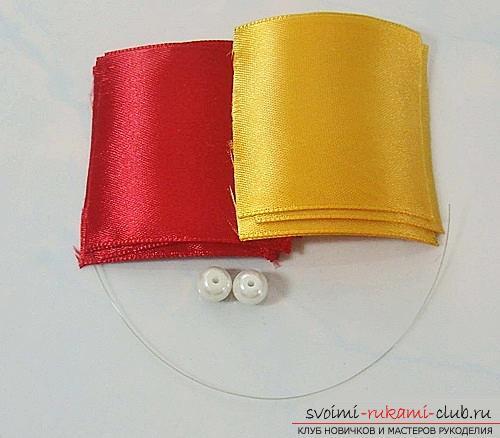
- The squares of the tape are 5x5 (four yellow and four red);
- Glue, fishing line, beads, beads and everything else that we used in the previous master class.
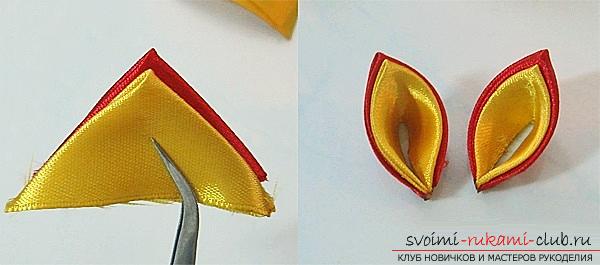
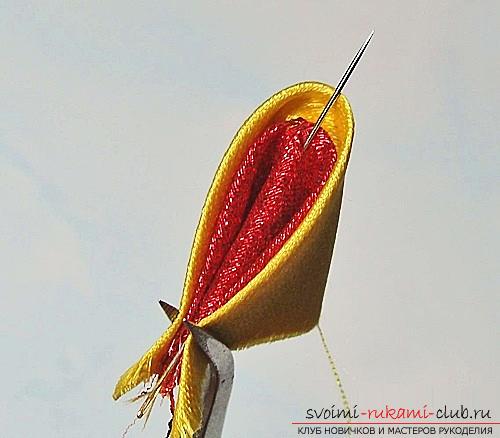
 The first stage - the creation of two wings with the help of the "narrow petal" reception. It is necessary to fold the ribbon square two times and fold the red and yellow triangles together.
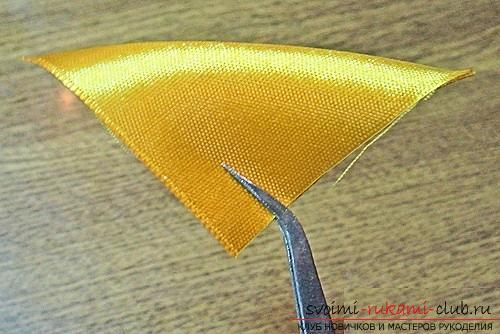
- A little more detail on how to fold a narrow petal:
Fold triangles diagonally, fold lineat the top. Fold the corners from right to left. Re-fold from right to left. Carefully align the folds. The edges and ends of the fabric are cut evenly. Cut the edges with a lighter or a candle. Since the upper layers of the flame are the hottest, it is better to conduct firing in the lower layer. Then the ribbon does not burn, but it melts smoothly. That's what happened. 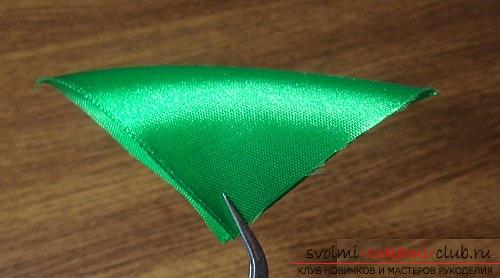
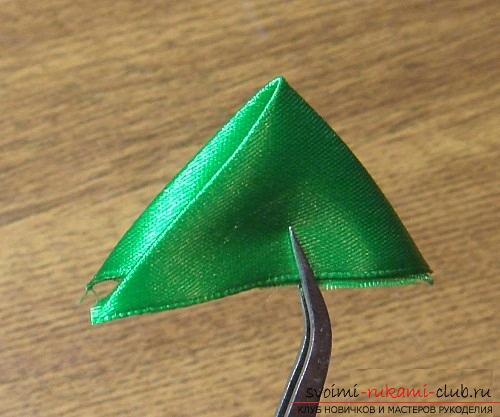
 The next two wings are folded with the help of the "round petal" reception. Again, fold the red and yellow triangle.
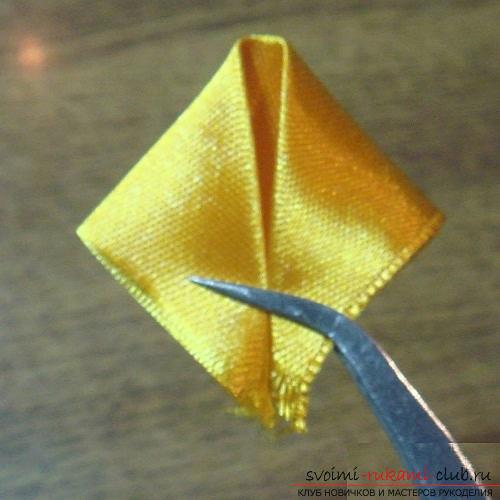
- Fold the square diagonally, the fold lineon. The right and left corners to bend downwards so that the correct rhombus turns out. Now the right and left corners bend back. It is necessary that the edges are well, evenly and tightly fitted. Just as in the previous case, cut and smooth the edges and tips evenly. In the round petal of the edge you need not only to melt, but also to glue together. That's what should happen. The face and the underside.
 After completing all the operations, you will get these 4 butterfly wings.
 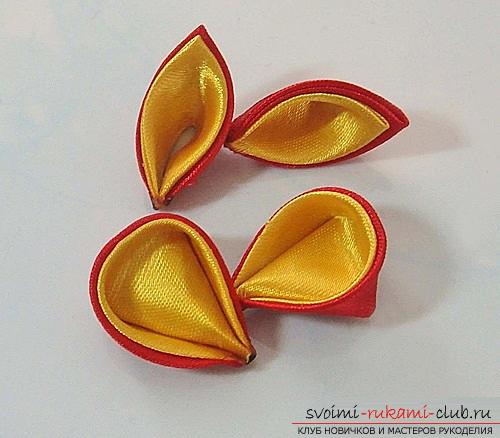 The body of the butterfly can be performed similarly to the first master class of beads, beads and fishing line.
 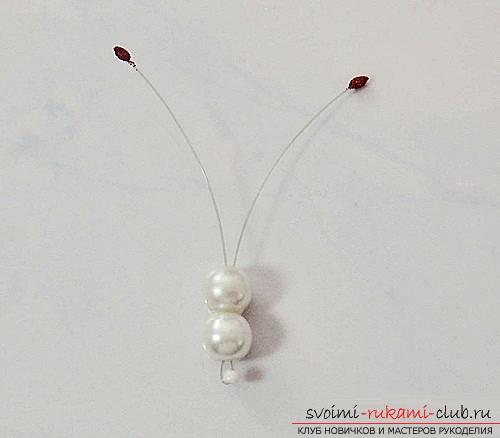 Glue the wings (narrow upper, round lower) and glue the body from above.
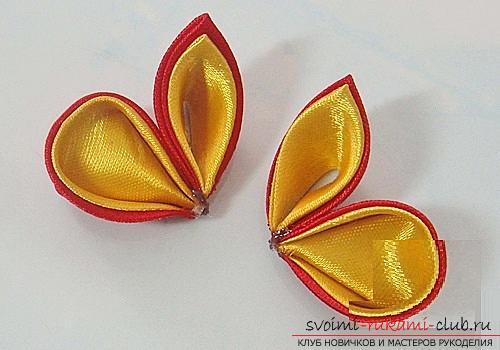
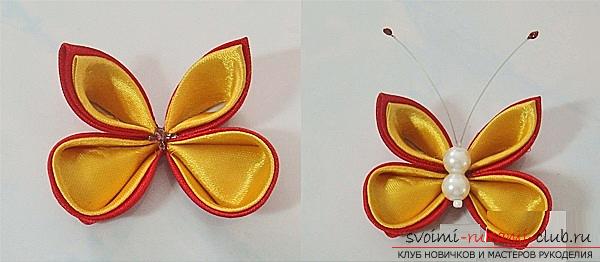 Here is such a pretty butterfly, it remains to glue it on a rubber hair or a clip. The next Kanzashi butterfly will already be of three colors.
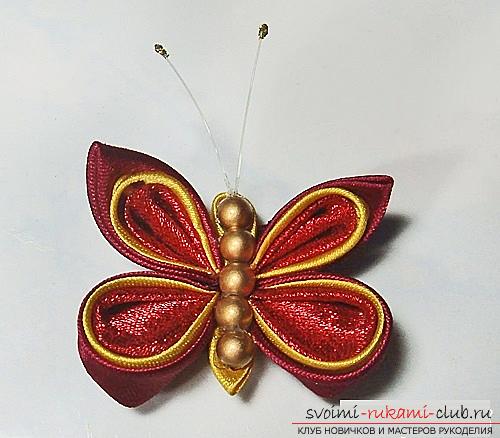
 It will take:
- Square pieces of ribbon (maroon 5x5 cm four pieces, yellow 5x5 cm four pieces and 2.5x2.5 cm two pieces, bright red 4x4 cm four pieces);
- Dark bronze beads;
- The line;
- The tools are the same as in the previous master class.
From two maroon pieces to fold the blanks "narrow petals", as it was told above. 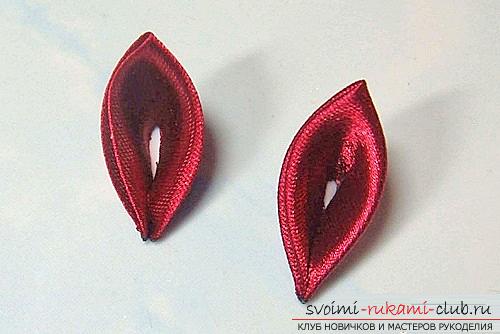 Fold the yellow and bright red triangles diagonally and fasten them with a needle, the fold line is on top.
 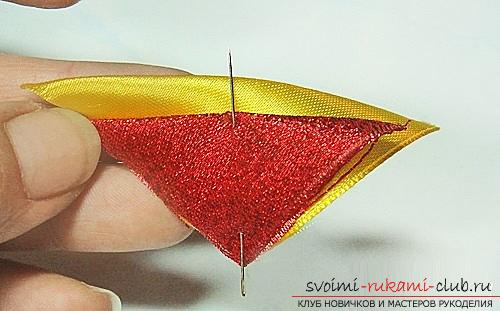 The right and left corners of the red triangle are folded together to make a diamond and continue to fold the "round petals".
 Now put two yellow-red round petals in the burgundy.
 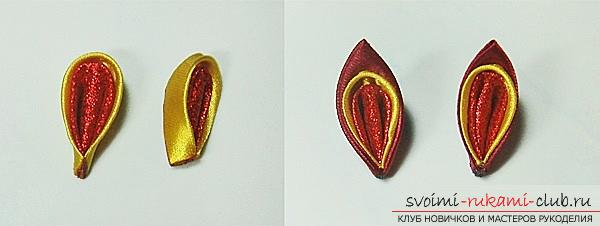 Fold the triangles of burgundy, yellow and red squares and fasten with a needle (see photo).
 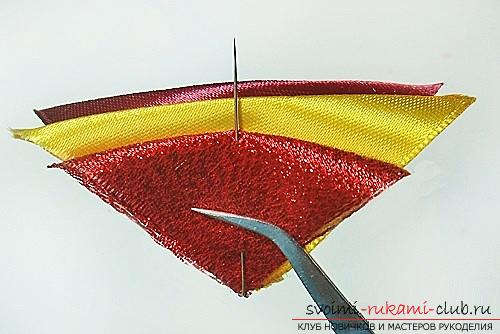 Collapse the right and left corners and make round petals. It takes two pieces.
 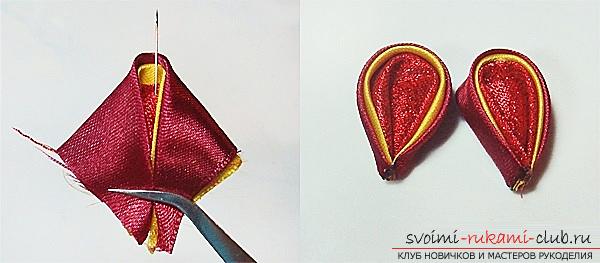 From the small yellow squares stack one round petal and one narrow.
 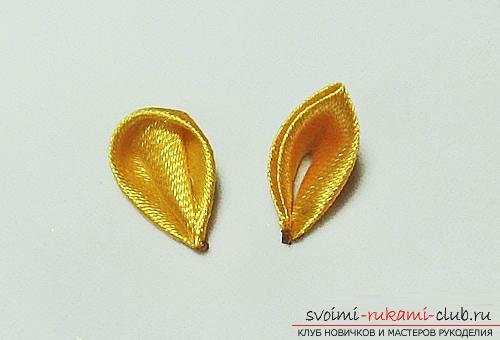 That's what the result should be.
 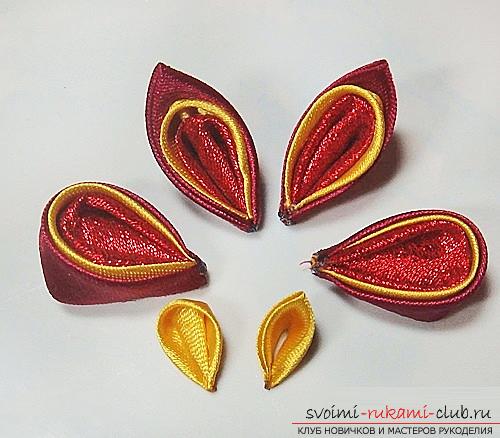 Fasten the resulting blanks with monofilament or a fishing line.
 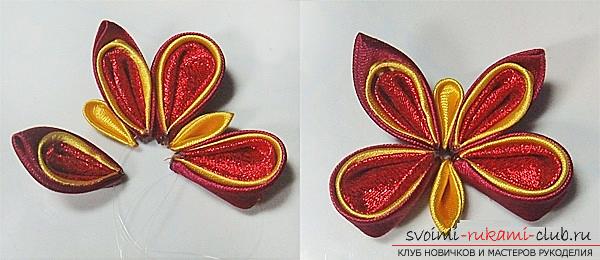 A small cardboard box should be pasted with maroon tape and attach the workpiece, as shown in the photo.
 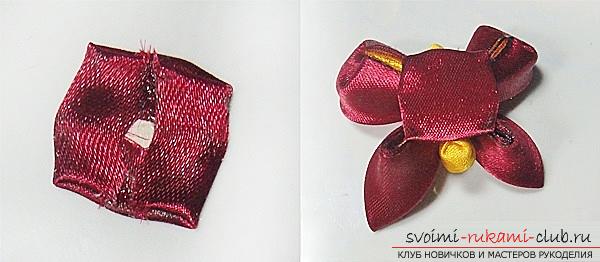 For a butterfly's calf, thread one bead over the length of the line, and then pass the two tails through 4 more beads. Antennae do the same as the previous master classes. Glue the body in the middle of a butterfly. That's what should happen. It's so easy and simple to create beautiful butterflies in Kansas technique. Changing the colors of ribbons and beads, you can make a lot of butterflies, which will suit your every idea.
Comments
Related posts:
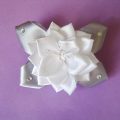 Master-class on creating flowers from satin ribbons in Kansas technique
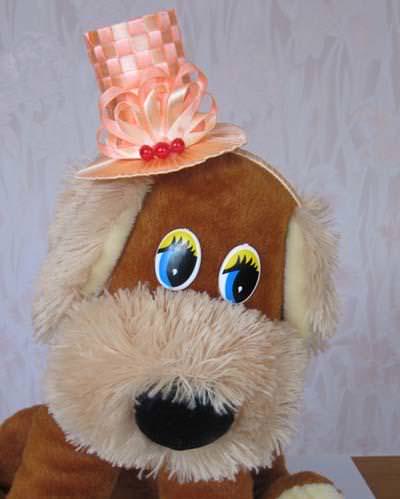 Master class crown kanzashi of satin ribbons
 Zephyrki Kanzashi master class from satin ribbons (photo)
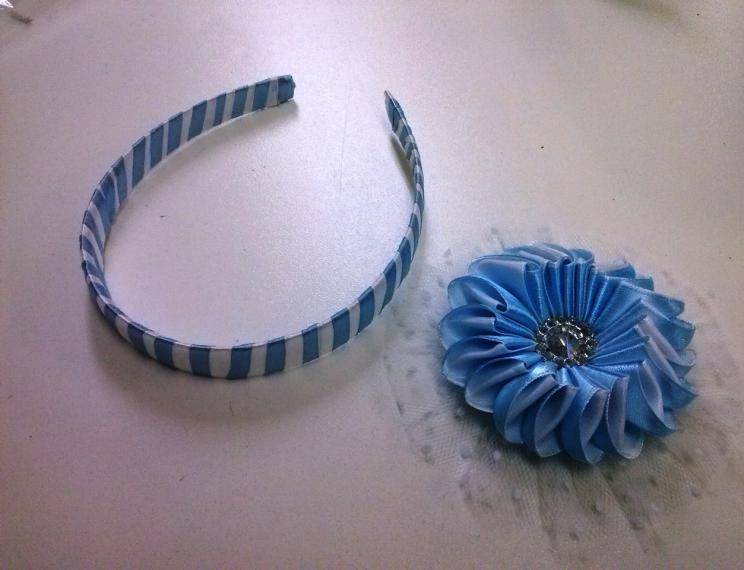
 Kanzashi petals of satin ribbons (photo)
 Master class on creating roses from Atlas in Kansas technique with step-by-step instructions and photo