How to crochet booties "Bunny" for your baby? Detailed description of the steps with photo and video instruction
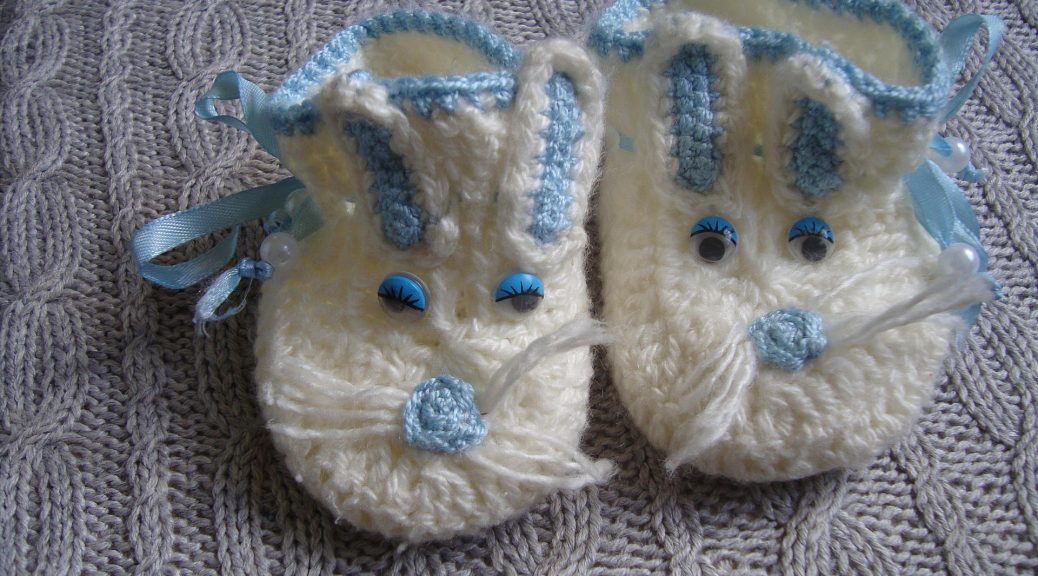
Delicate and warm booties can be tied fora boy of white and blue yarn. Adding a little imagination, booties turn into slippers with bunnies, which look very nice on the child's legs. Such booties will be able to connect any mother who will master the basic skills of crocheting.
Video instruction
This product consists of posts andpolustolbikov, booties have no complicated openwork bindings, beautiful decoration and an image in the form of bunnies is obtained through imagination and the combination of two colors: blue and white. 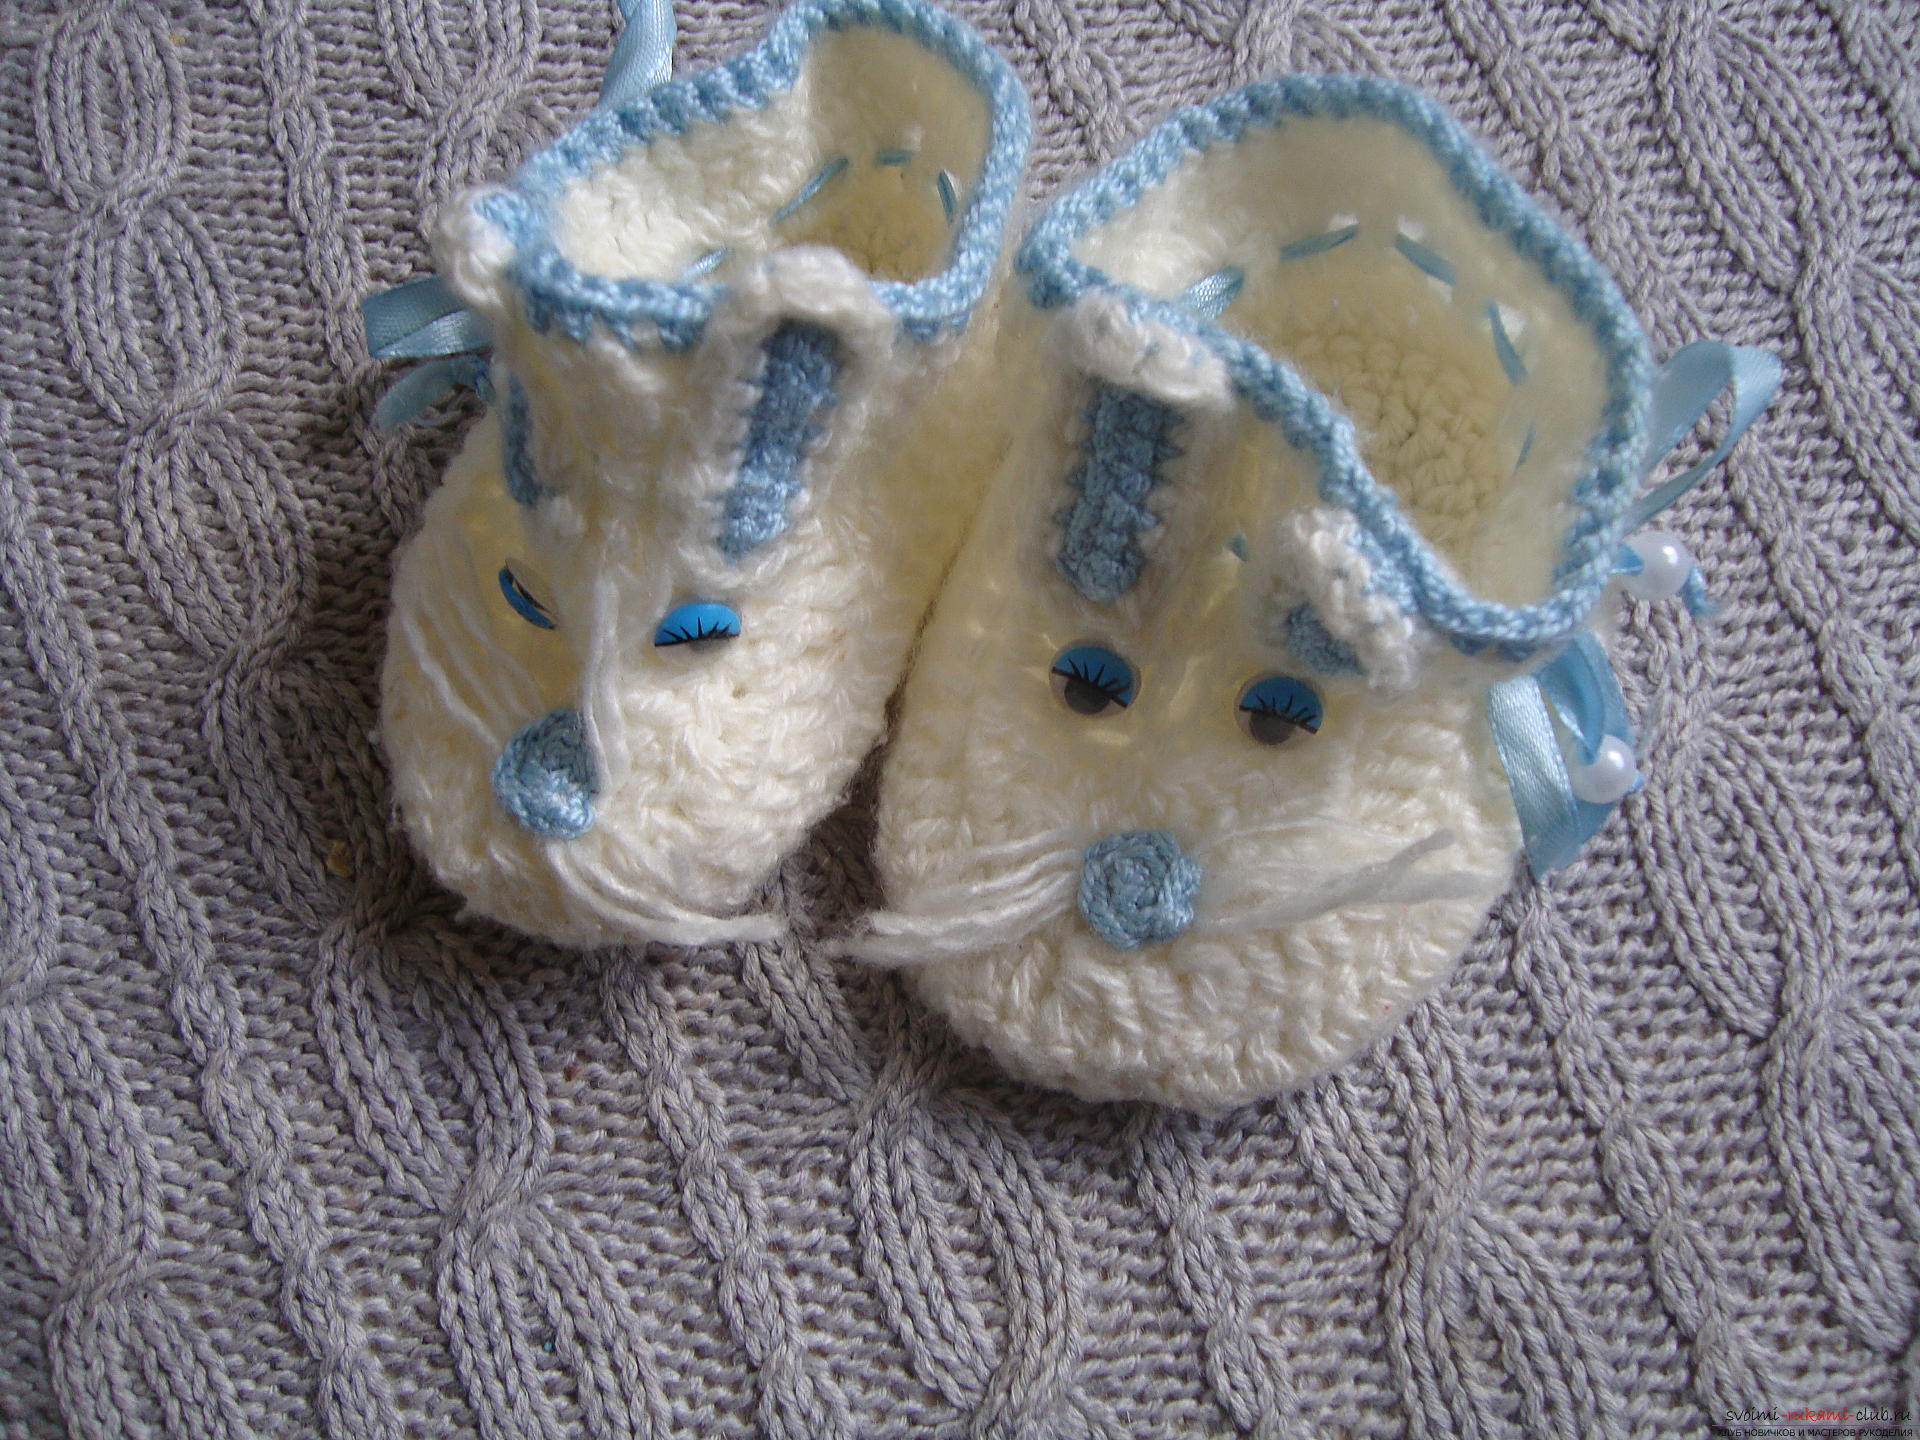
Stages of work
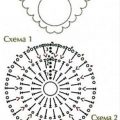
Knitting of the pins takes place according to the followingalgorithm: first a row is created that will be the middle of the sole, knitting in circles is added to it and the base of the slipper is created. The next step is knitting sidewalls, then the front part of the product is created, then the top around the ankle. At the last stage, additional details for the hare are removed: the nose, ears, which are fastened in the form of a muzzle. Still the upper part of the pins is decorated with a ribbon of delicate blue. Knitting needles is not very thick, but much larger than cotton yarn. Still need a hook, eyes, which are sold in shops with buttons and details for creativity. Yarn store two colors, but the main emphasis is on the white tone, and the blue thread goes to the finish and it is tied with additional elements, so it will take much less. We begin knitting soles. Based on a series of 10 air loops, but this amount is estimated for the baby 2-4 months. Depending on the age of the child and, respectively, the length of the foot, the size may change in the larger side. A significant role is played by the width of the yarn, if the yarn is thin, then the number of loops will be much greater. Further, oblige in a circle these loops polustolbikom, that is, you hook under the scythe hook, grab the working thread and pull out a little to make a loop, then once again hook the yarn and immediately tie a tight tight knit. The first row will be central, so the remaining rows are simply added one behind the other in a circle, thus creating the basis for the work - the bottom of the pins. For the baby's foot, 4-5 circular rows are most often required, which will ensure a sufficient width of the "shoe" and booties will not compress the foot. Strongly many rows also do not need to be tied, since in this case the booties will just hang out. 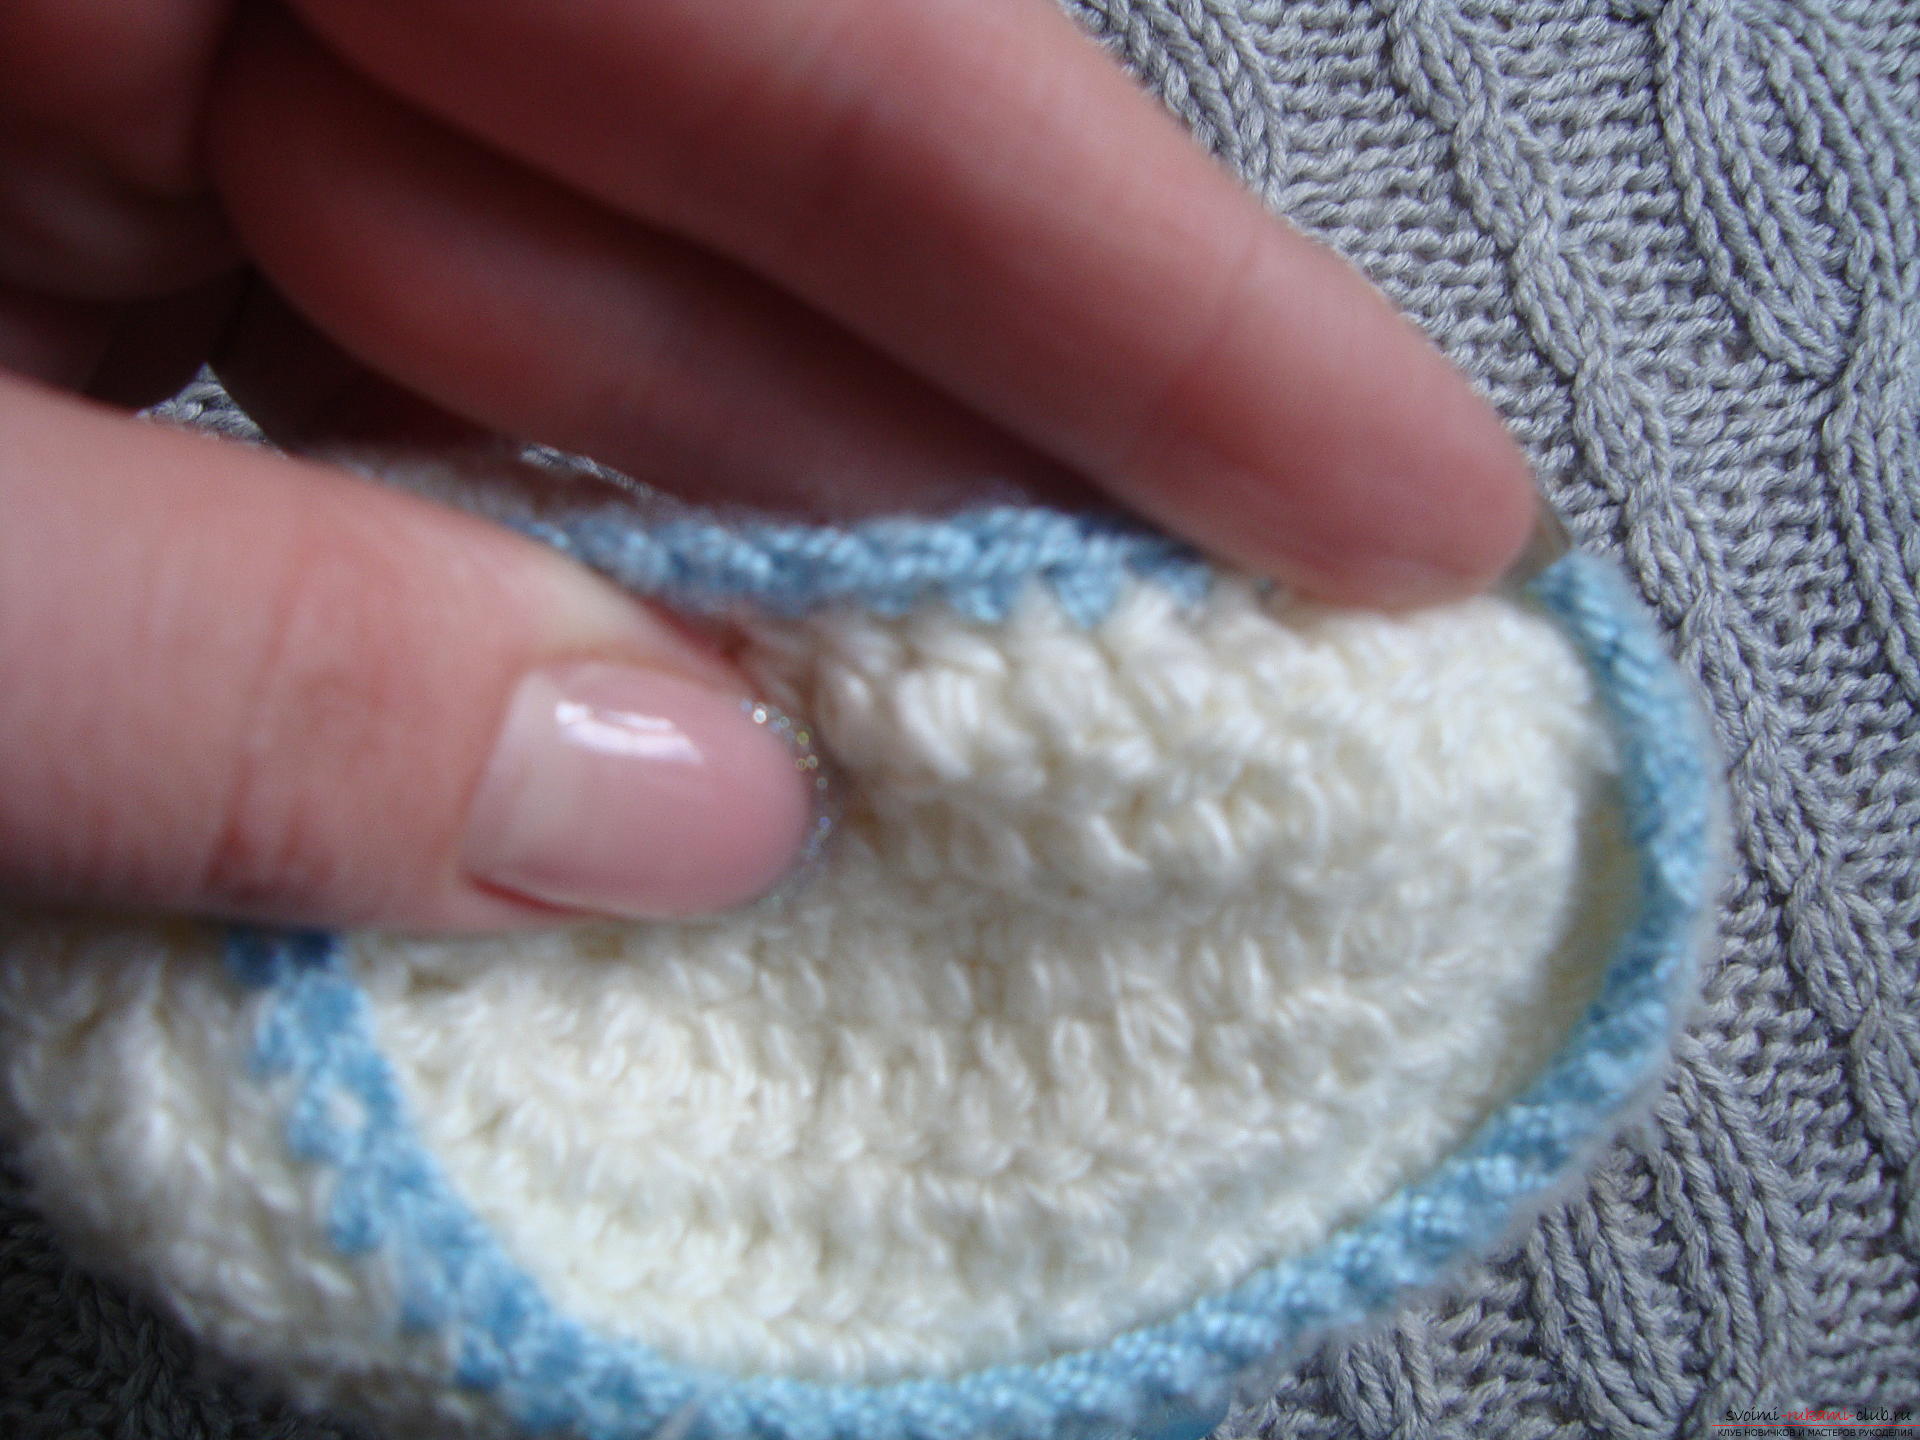 After the creation of the sole we taketie the side, which four rows will also be in a circle. To do this, we change the slope of the mating, that is, the row lies down from the "pigtail" of the last loops not in breadth, but upwards. The first row is made of polostolbikov, that is hooked the thread is picked up and immediately bred, in the likeness of the strapping details, while trying to knit tightly enough, but without pulling. Next, we begin to create the bottom part of the pins from the posts: in the pigtail of the bottom row, you thrust the hook, grab the thread with the tool, pull out the loop, create the grip again, and then tie the original loop and the outstretched, that is, you untype the two together. Then again, take the capture from under the next pigtail, and the movements are repeated.
  When tying the side rows,a small extension, so when creating a sock you need to tie two new loops in one pigtail, thereby increasing the row. When part of the heel is knit, the work also slightly increases and on the central loop (it is easy to find when the work is bent in half along the length line) also create two new loops. If you use thinner yarn, then make an increase in three dressings.
 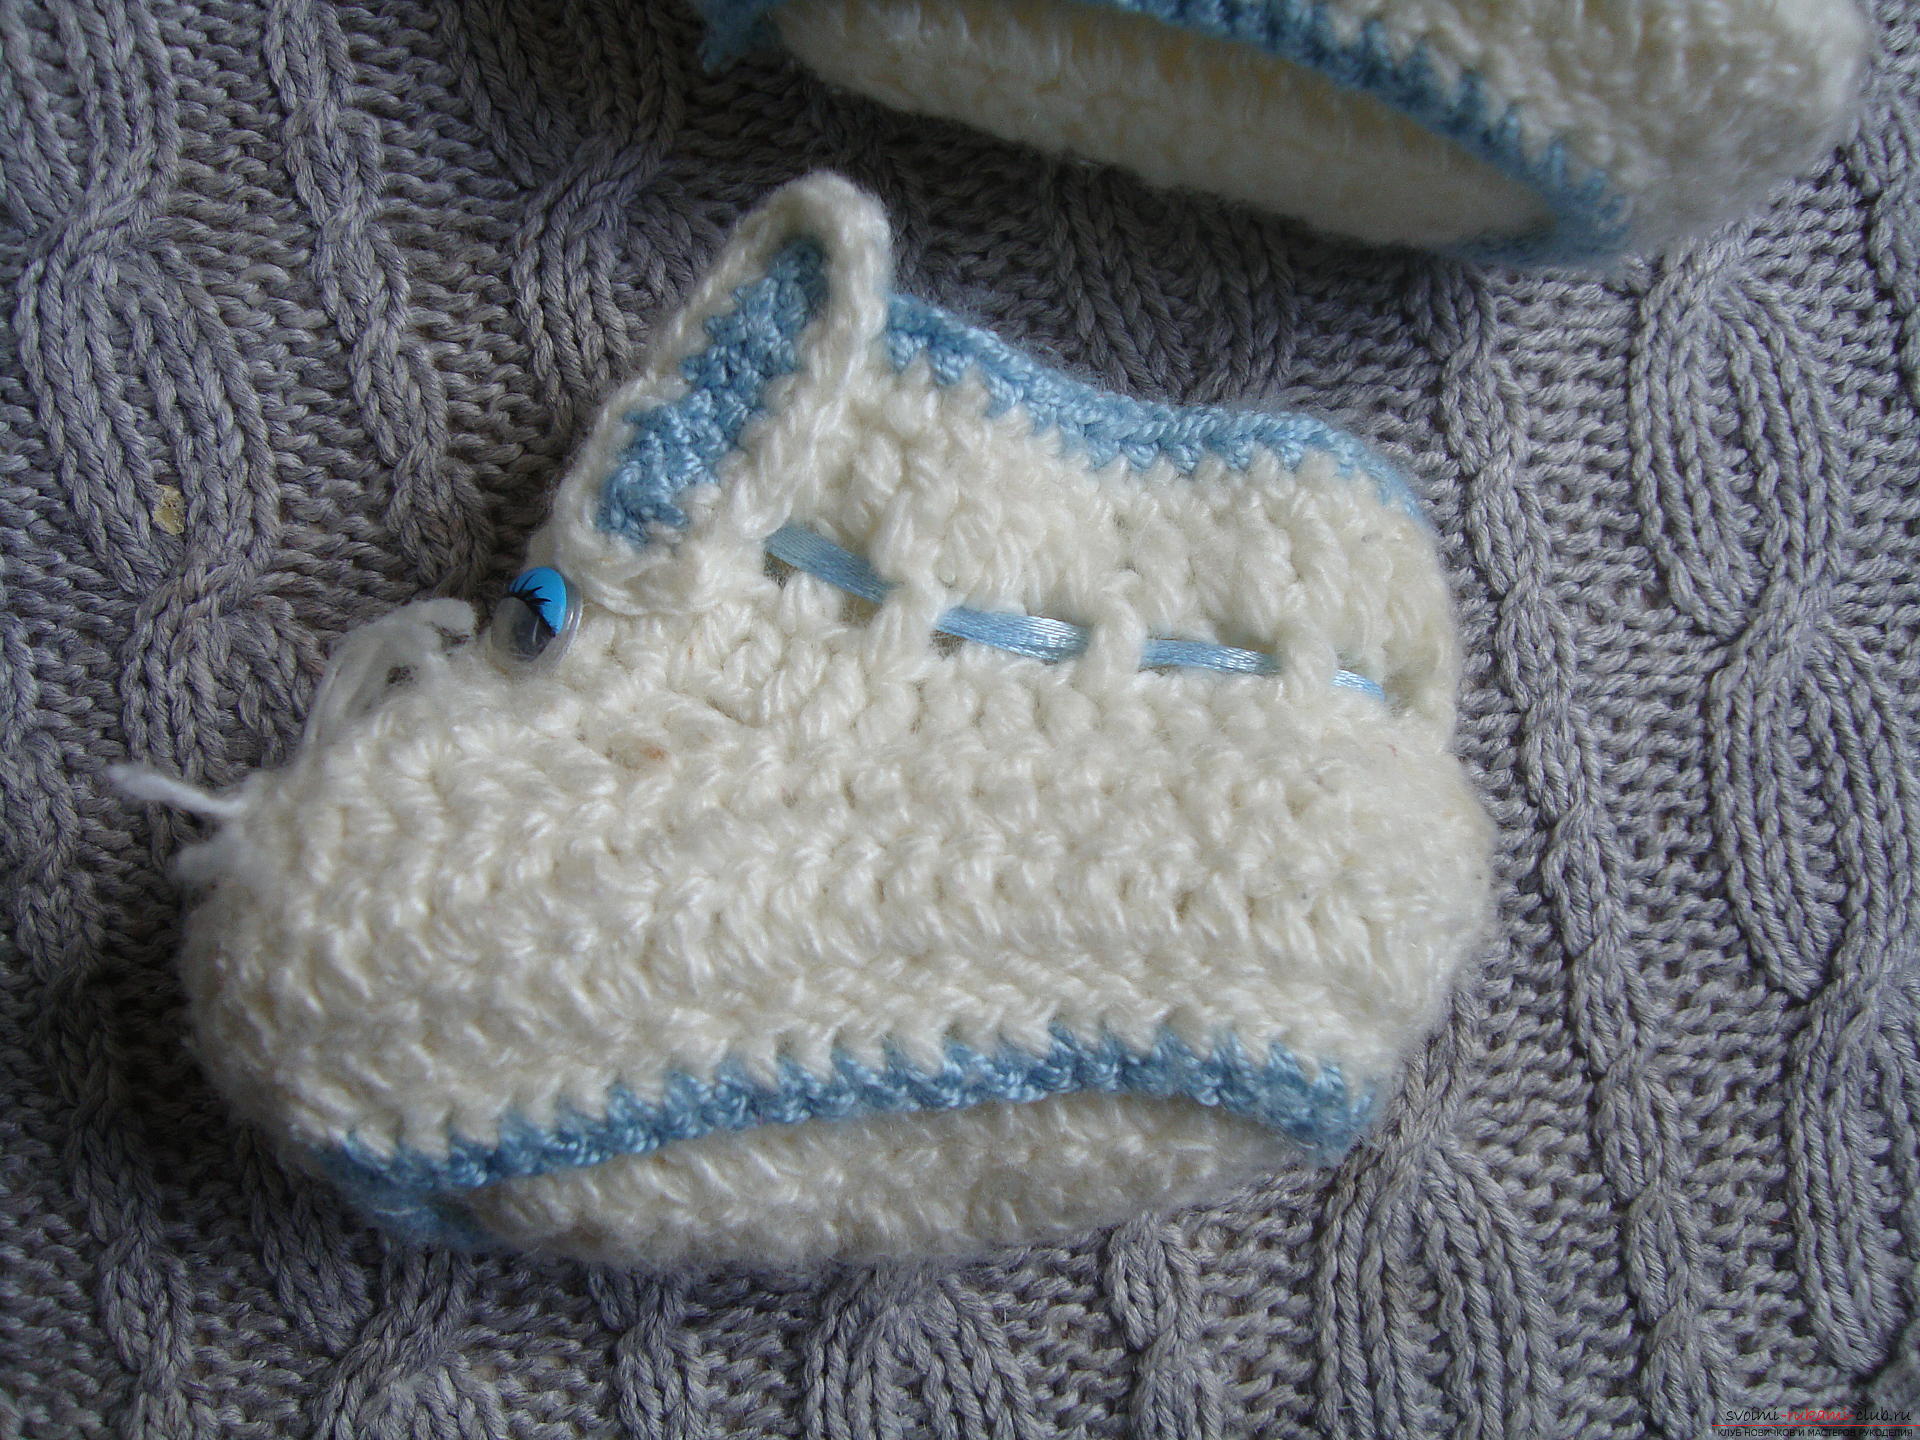 Next, we unfasten the front part, which is knitonly half of the loops. Fold the work along the center, mark two middle loops and continue knitting only between them, and the side where the heel is located is not tied. The central row combines several loops to make the bevel and the right and left eyelets converge in one ring. In total, three rows will be worn, so reduce the hinges quite sharply, the bars are tied almost always through one. Thus, the upper part of the foot is formed. The place where all the eyelets meet in the ring must be well tightened, otherwise a hole is formed. We pass to the upper part of the pinets to be unfastened - it knits in a circle in columns, that is, we continue to tie the thread from the center and in a circle, grabbing the heel zone. Take into account that this is not a boot with a zipper, which opens when dressing on the foot, so the top of the pinets is pretty loose, otherwise it will be problematic to push the baby's leg into the narrow shoes. In the second row, you need to loop through one pigtail, but do not reduce them, and each time to hang an air loop after the column. This pattern of knitting will create holes, where it is convenient to slip a thin ribbon of blue and tie it on the baby's leg.
 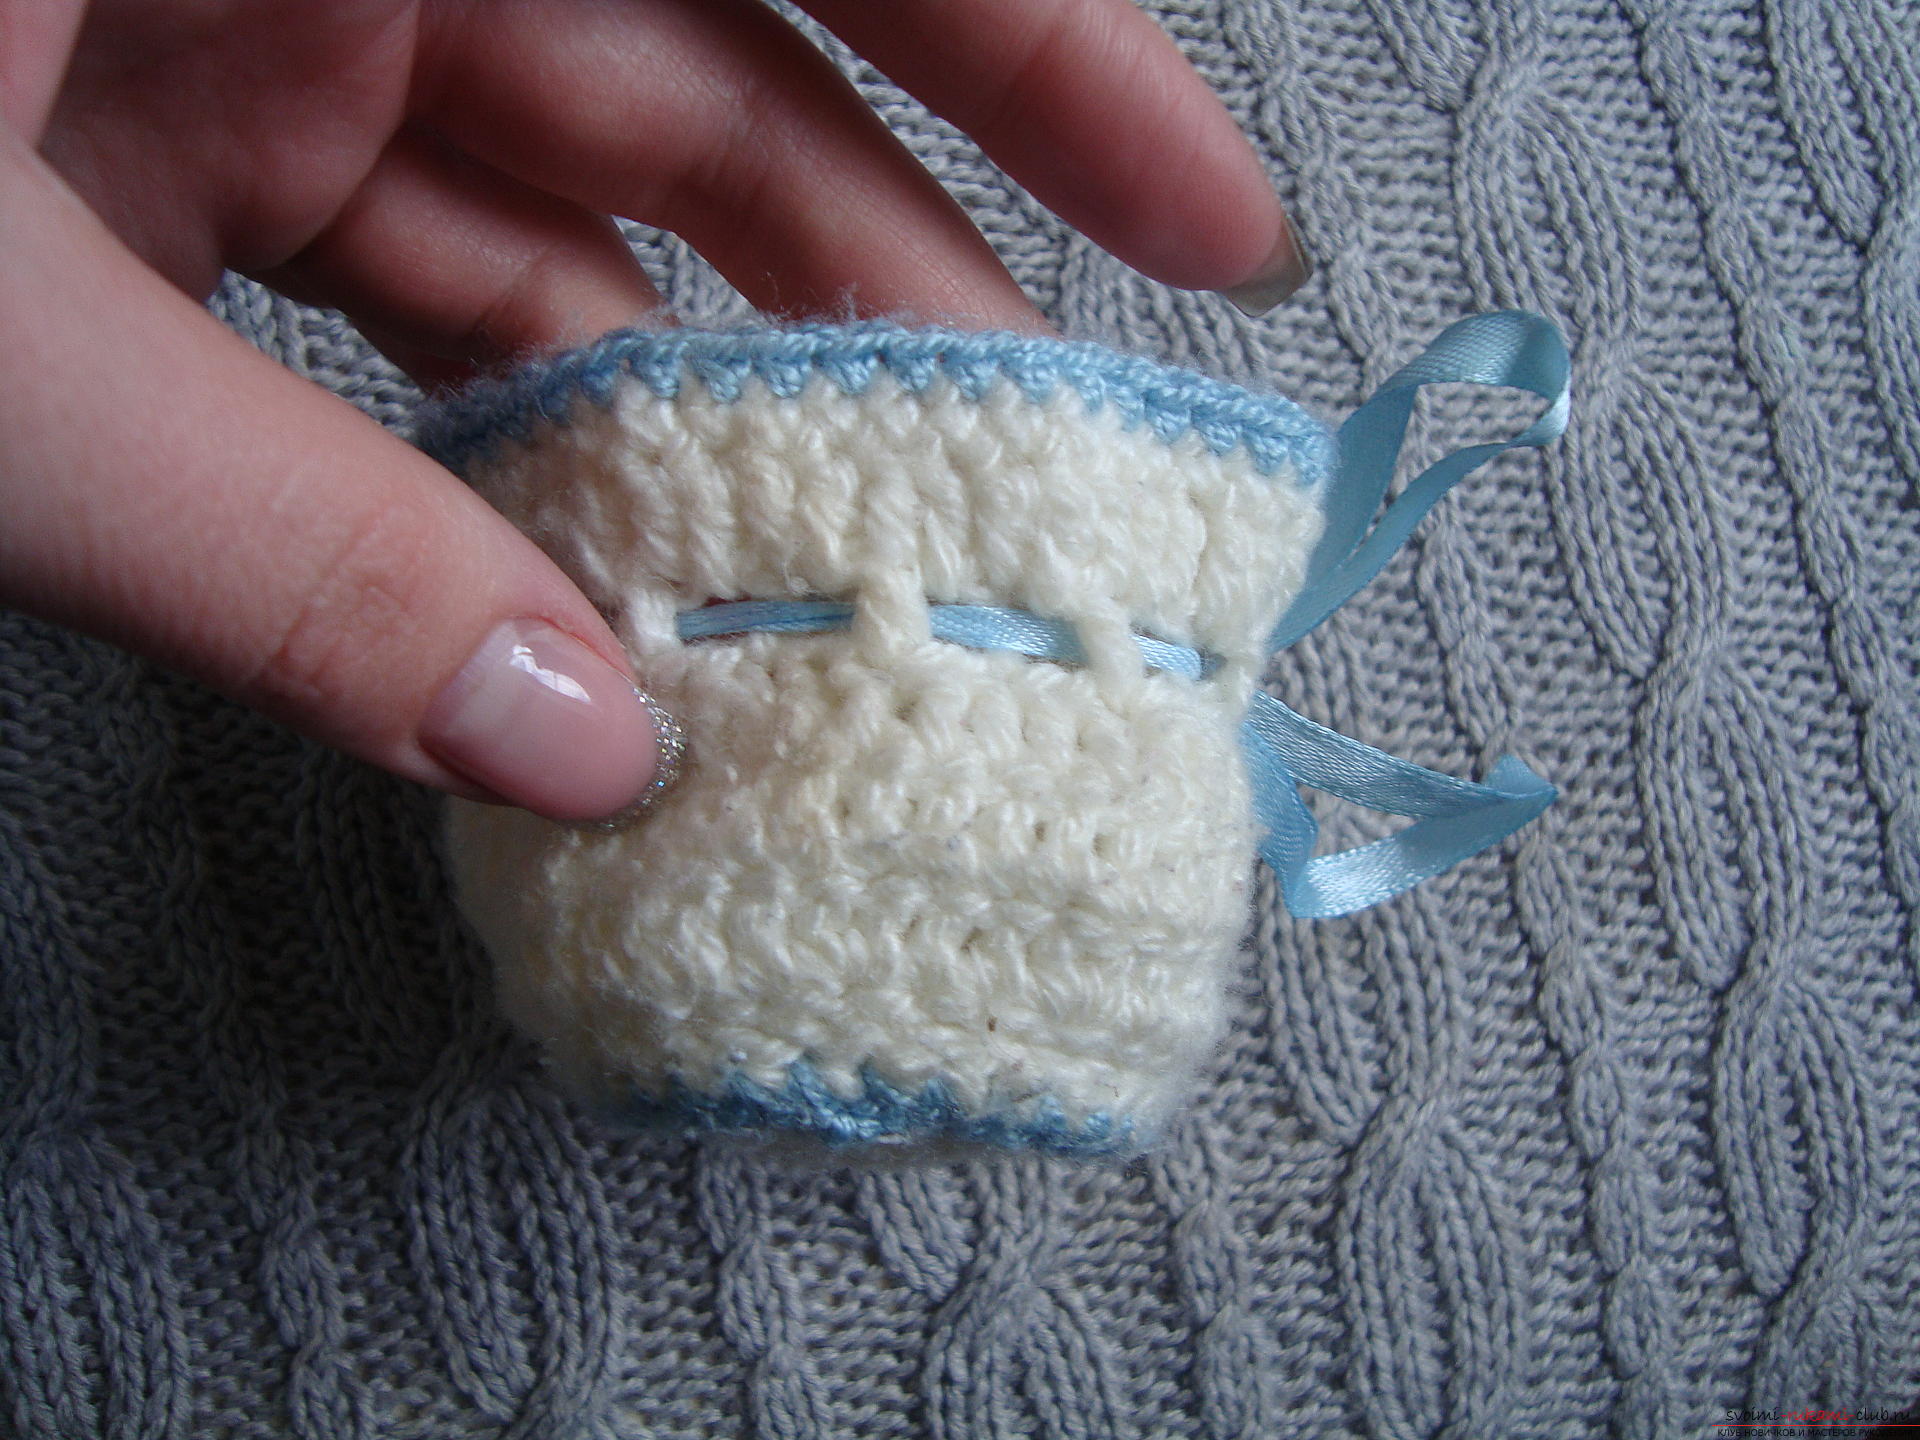 In addition, the tape can be alternated with the beads, but this is more suitable for girls' pints.
 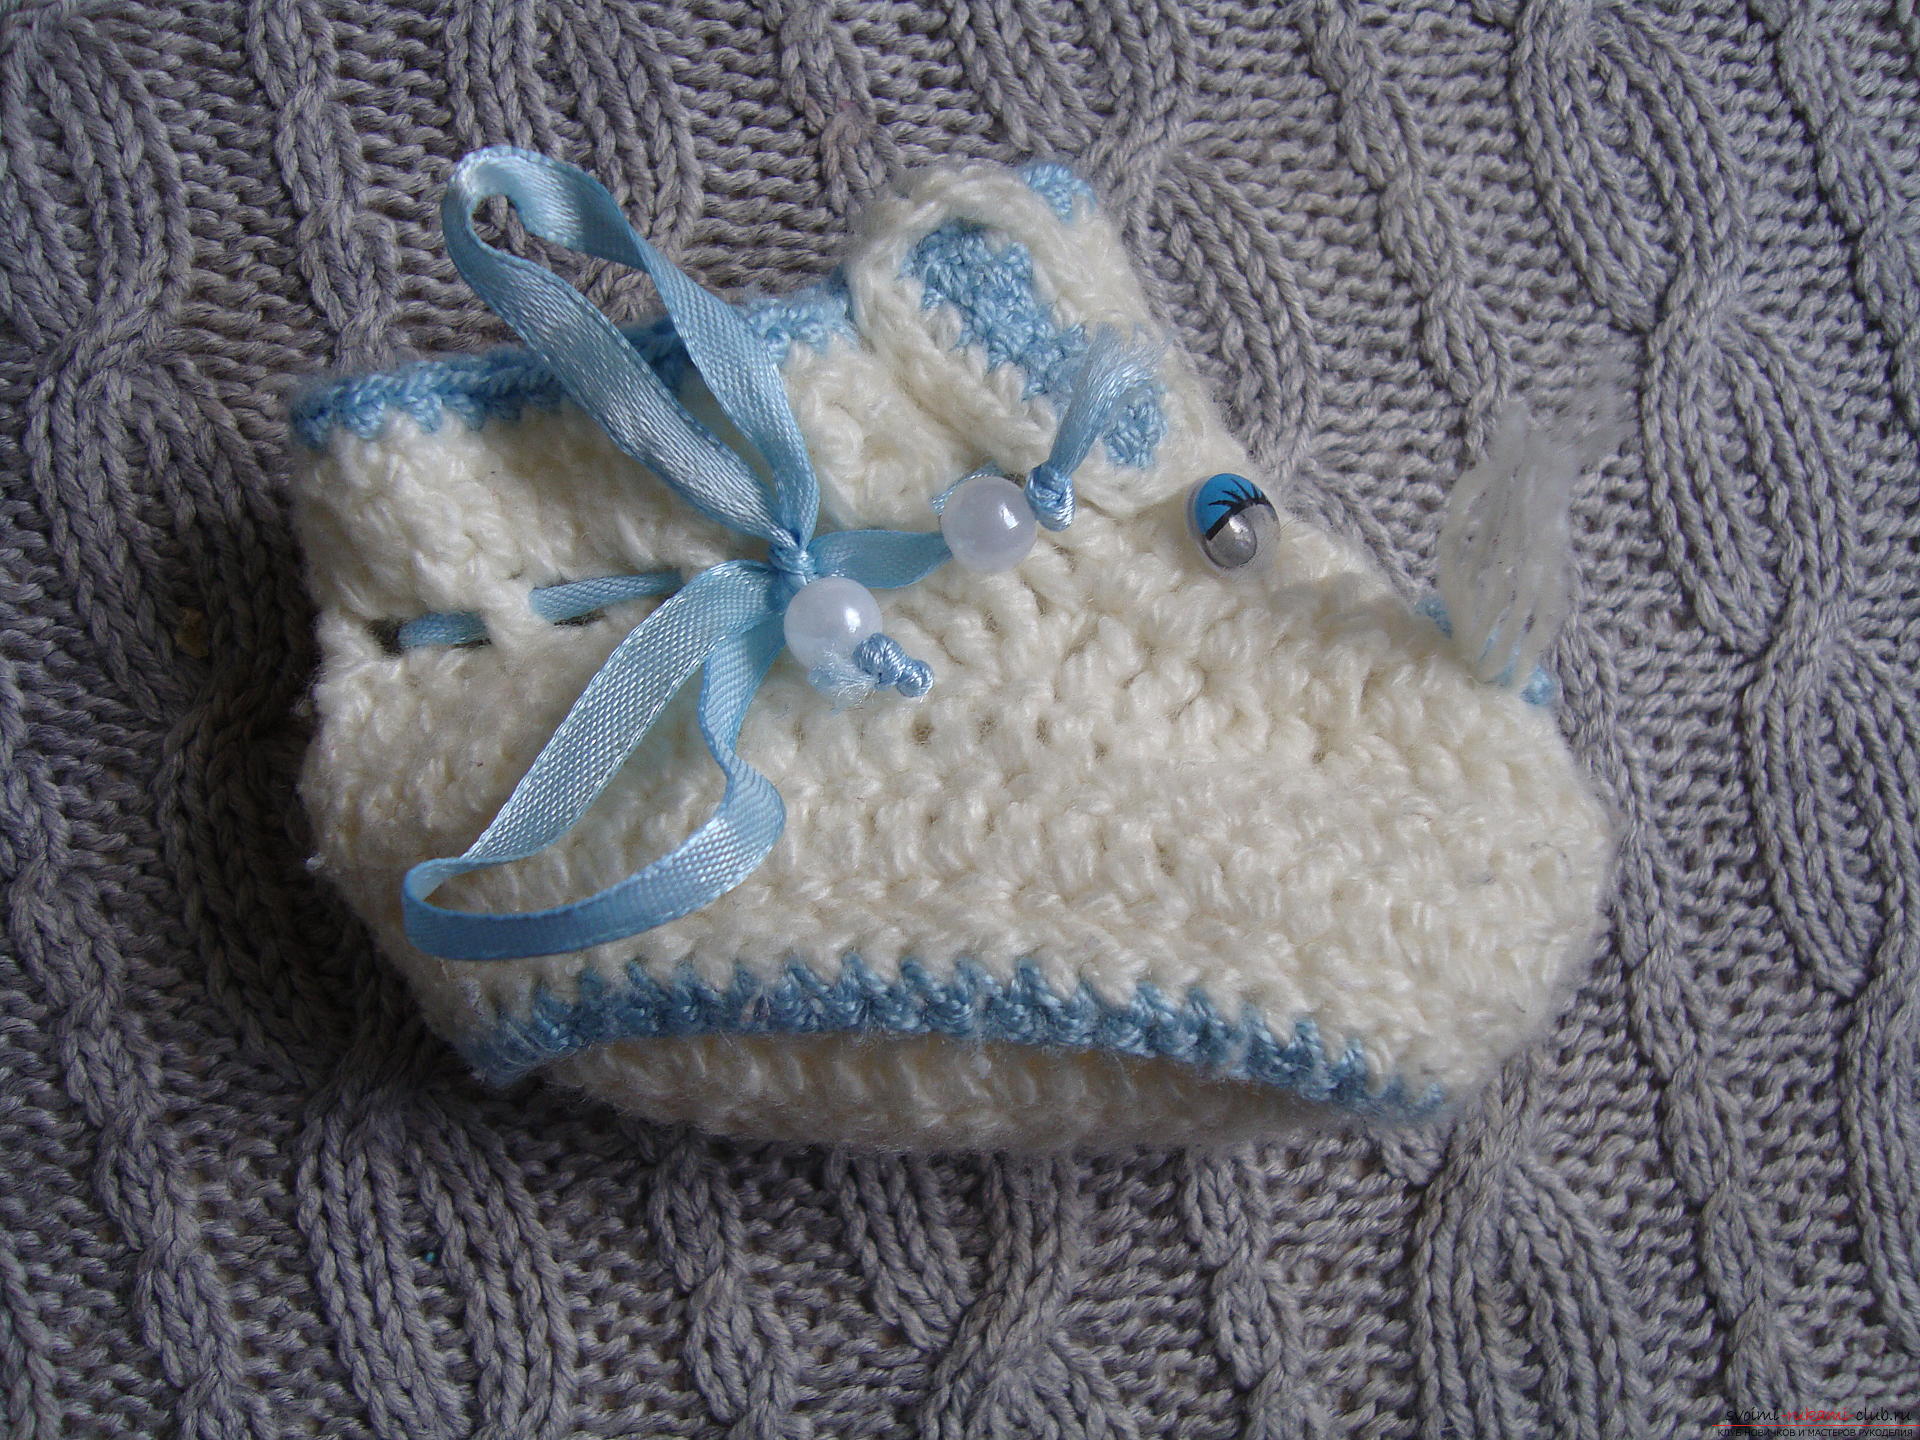 Spray two more rows of bars. The last row will be of a blue thread, which will wrap the product with a half-collar. Try to slightly pull this row, which will allow the top of the pinets to give the correct vertical shape.
 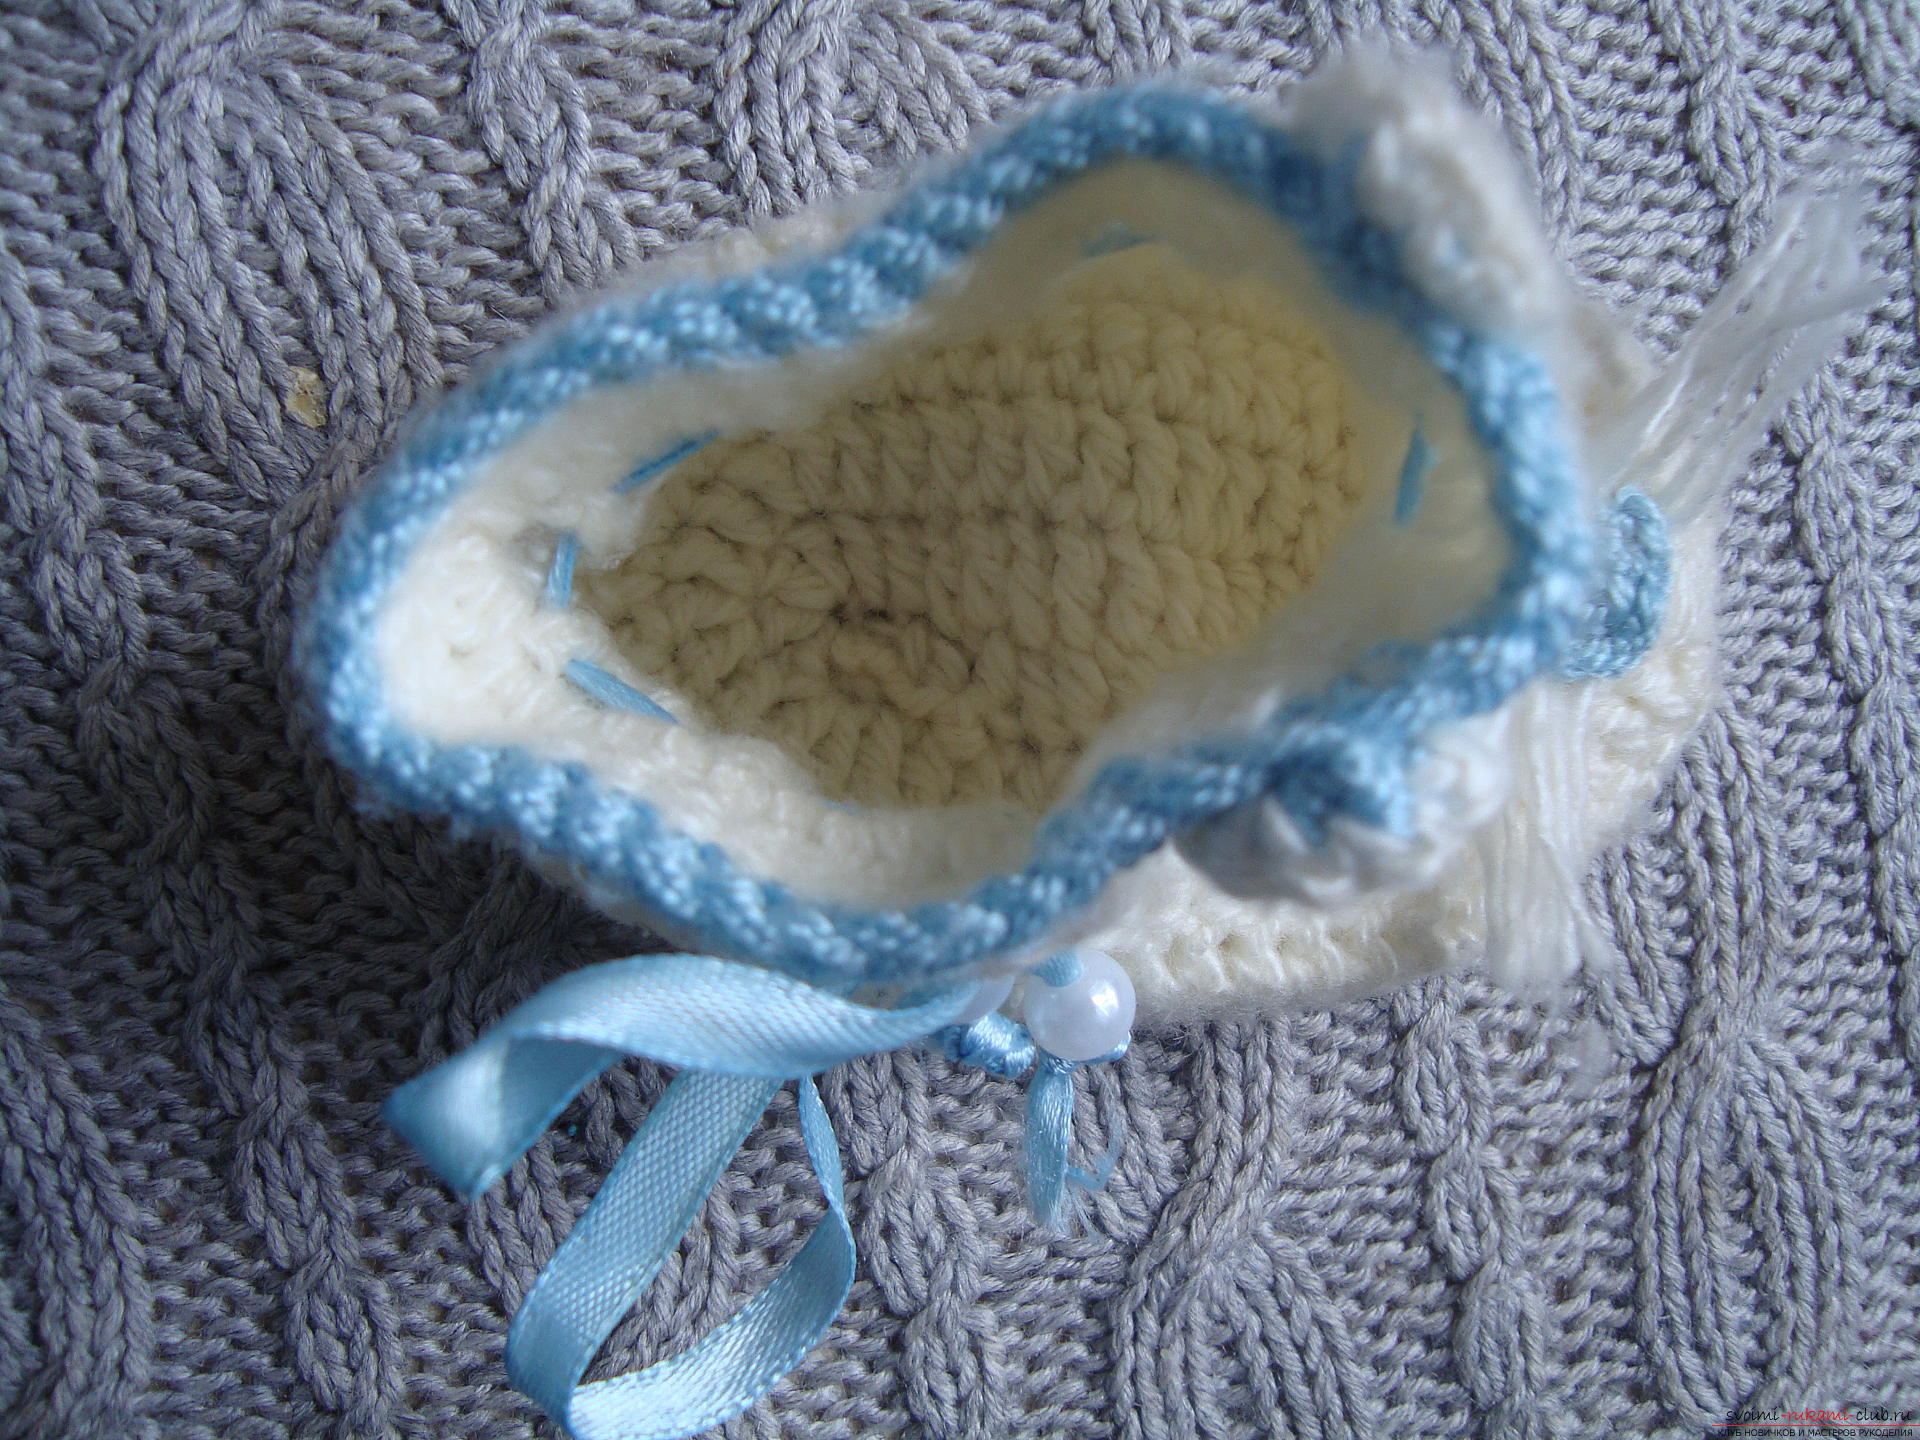 At the last stage, we start to loosedetails of the bunny. Type five air loops, tie a half-string of blue yarn around the circle, and create a second row of polustolbikov from white yarn. Such an oval will be the eye of the hare, they will need a pair for each booties, that is, only 4 pieces. The nose is tied in a small circle, for it create three air loops, combine them into a ring, then tie three rows of blue yarn with a spiral. Antennae are created from small cuts of white yarn, which are sewn together with a spout on the bottom of the pins. The ears are distributed at the top, necessarily symmetrically with respect to the center.
 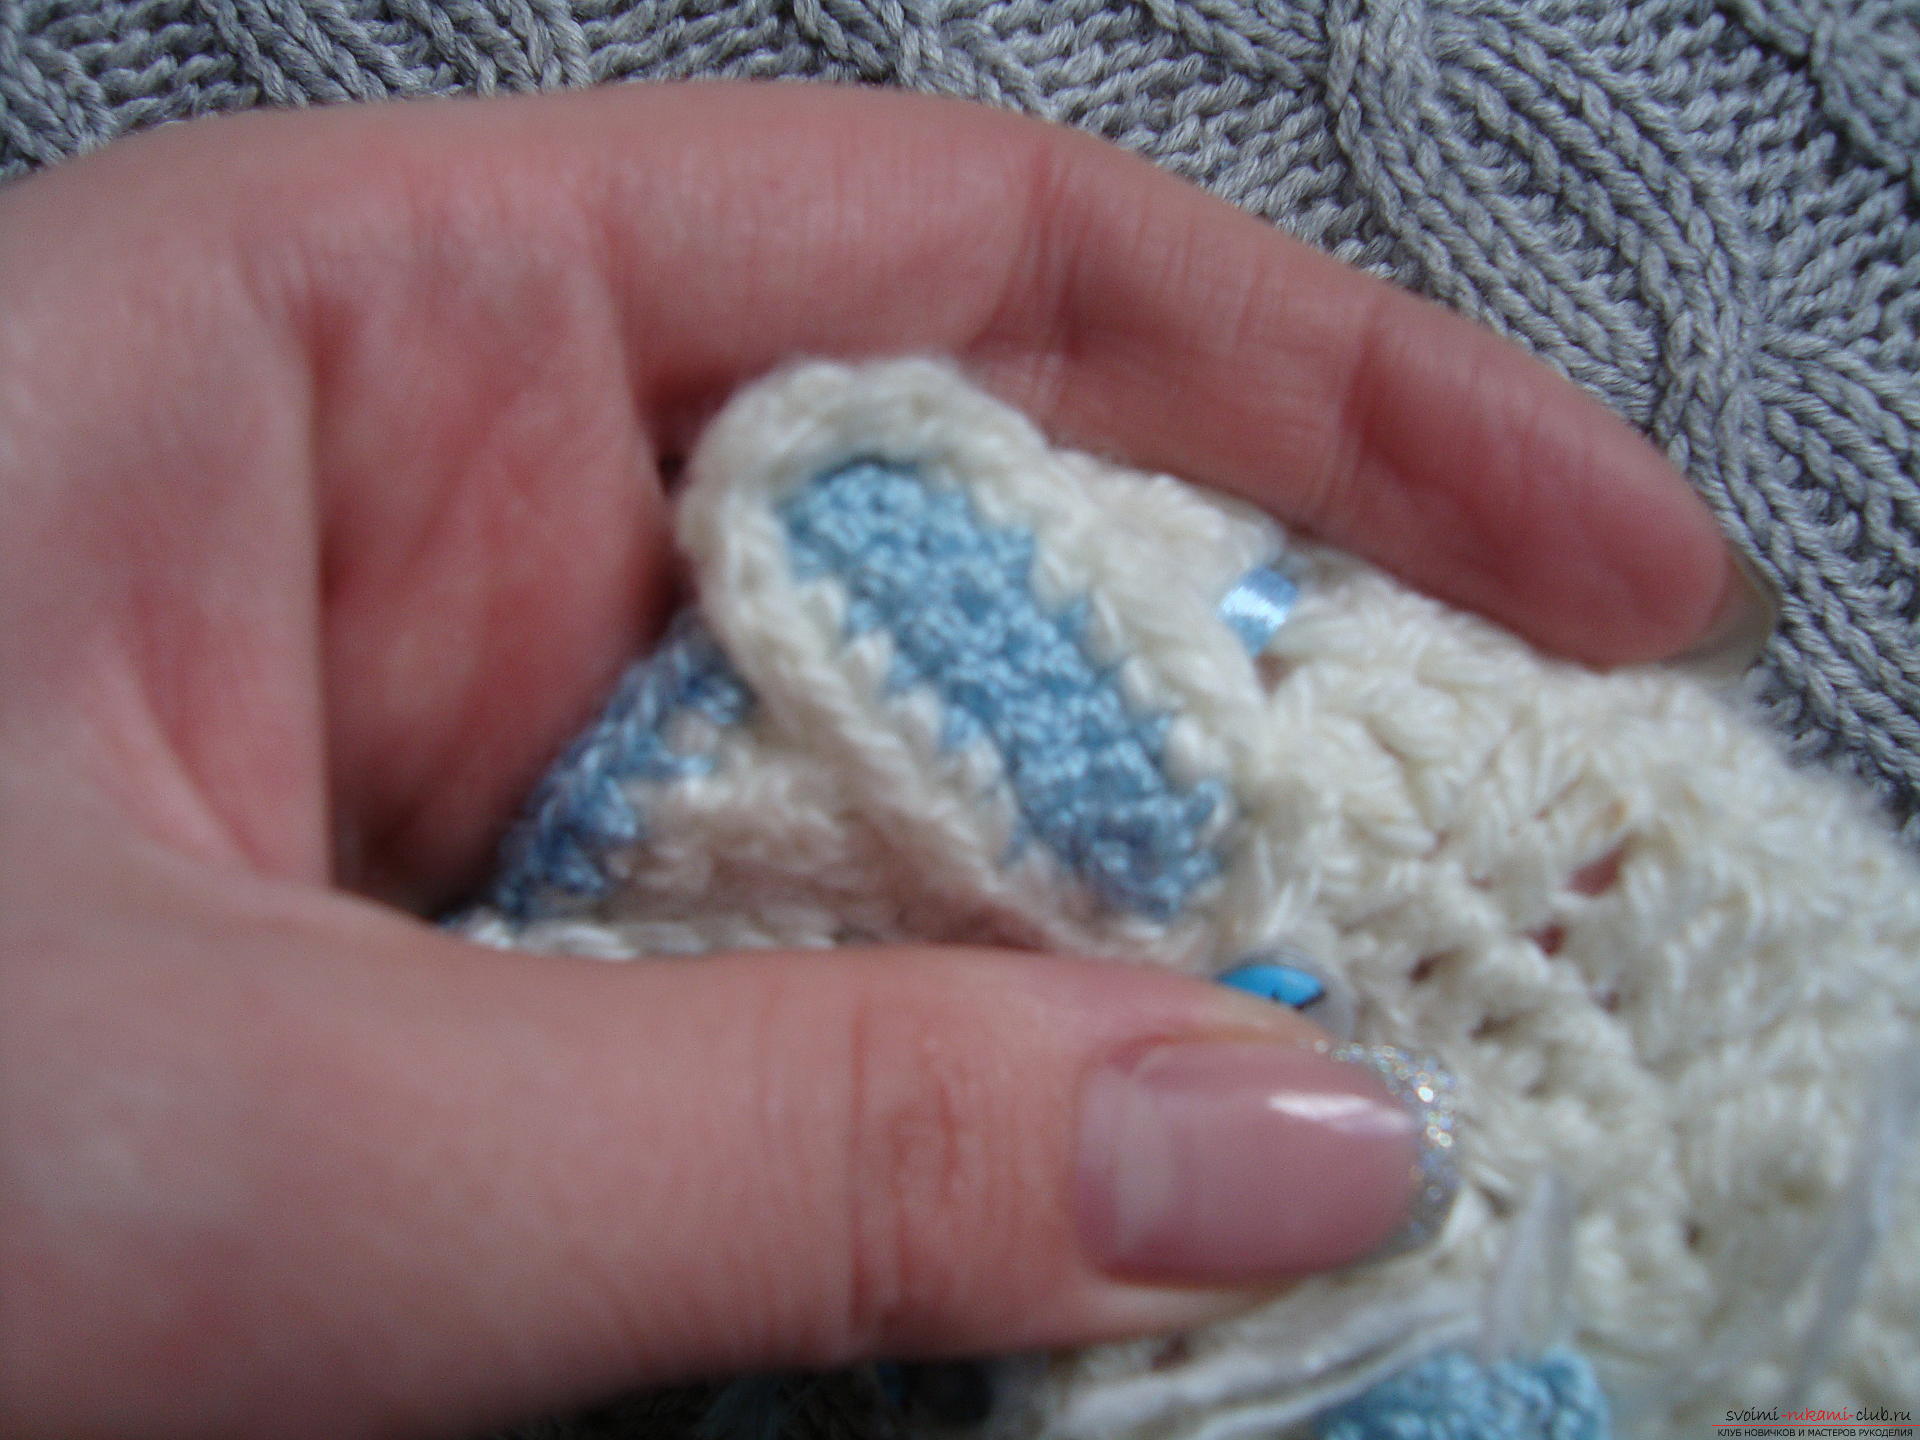 It remains to glue the eyes, stick the ribbon, sew up the ears and booties are ready.
  Such cute bootees will not only warm the baby's leg, but will look interesting and unusual.
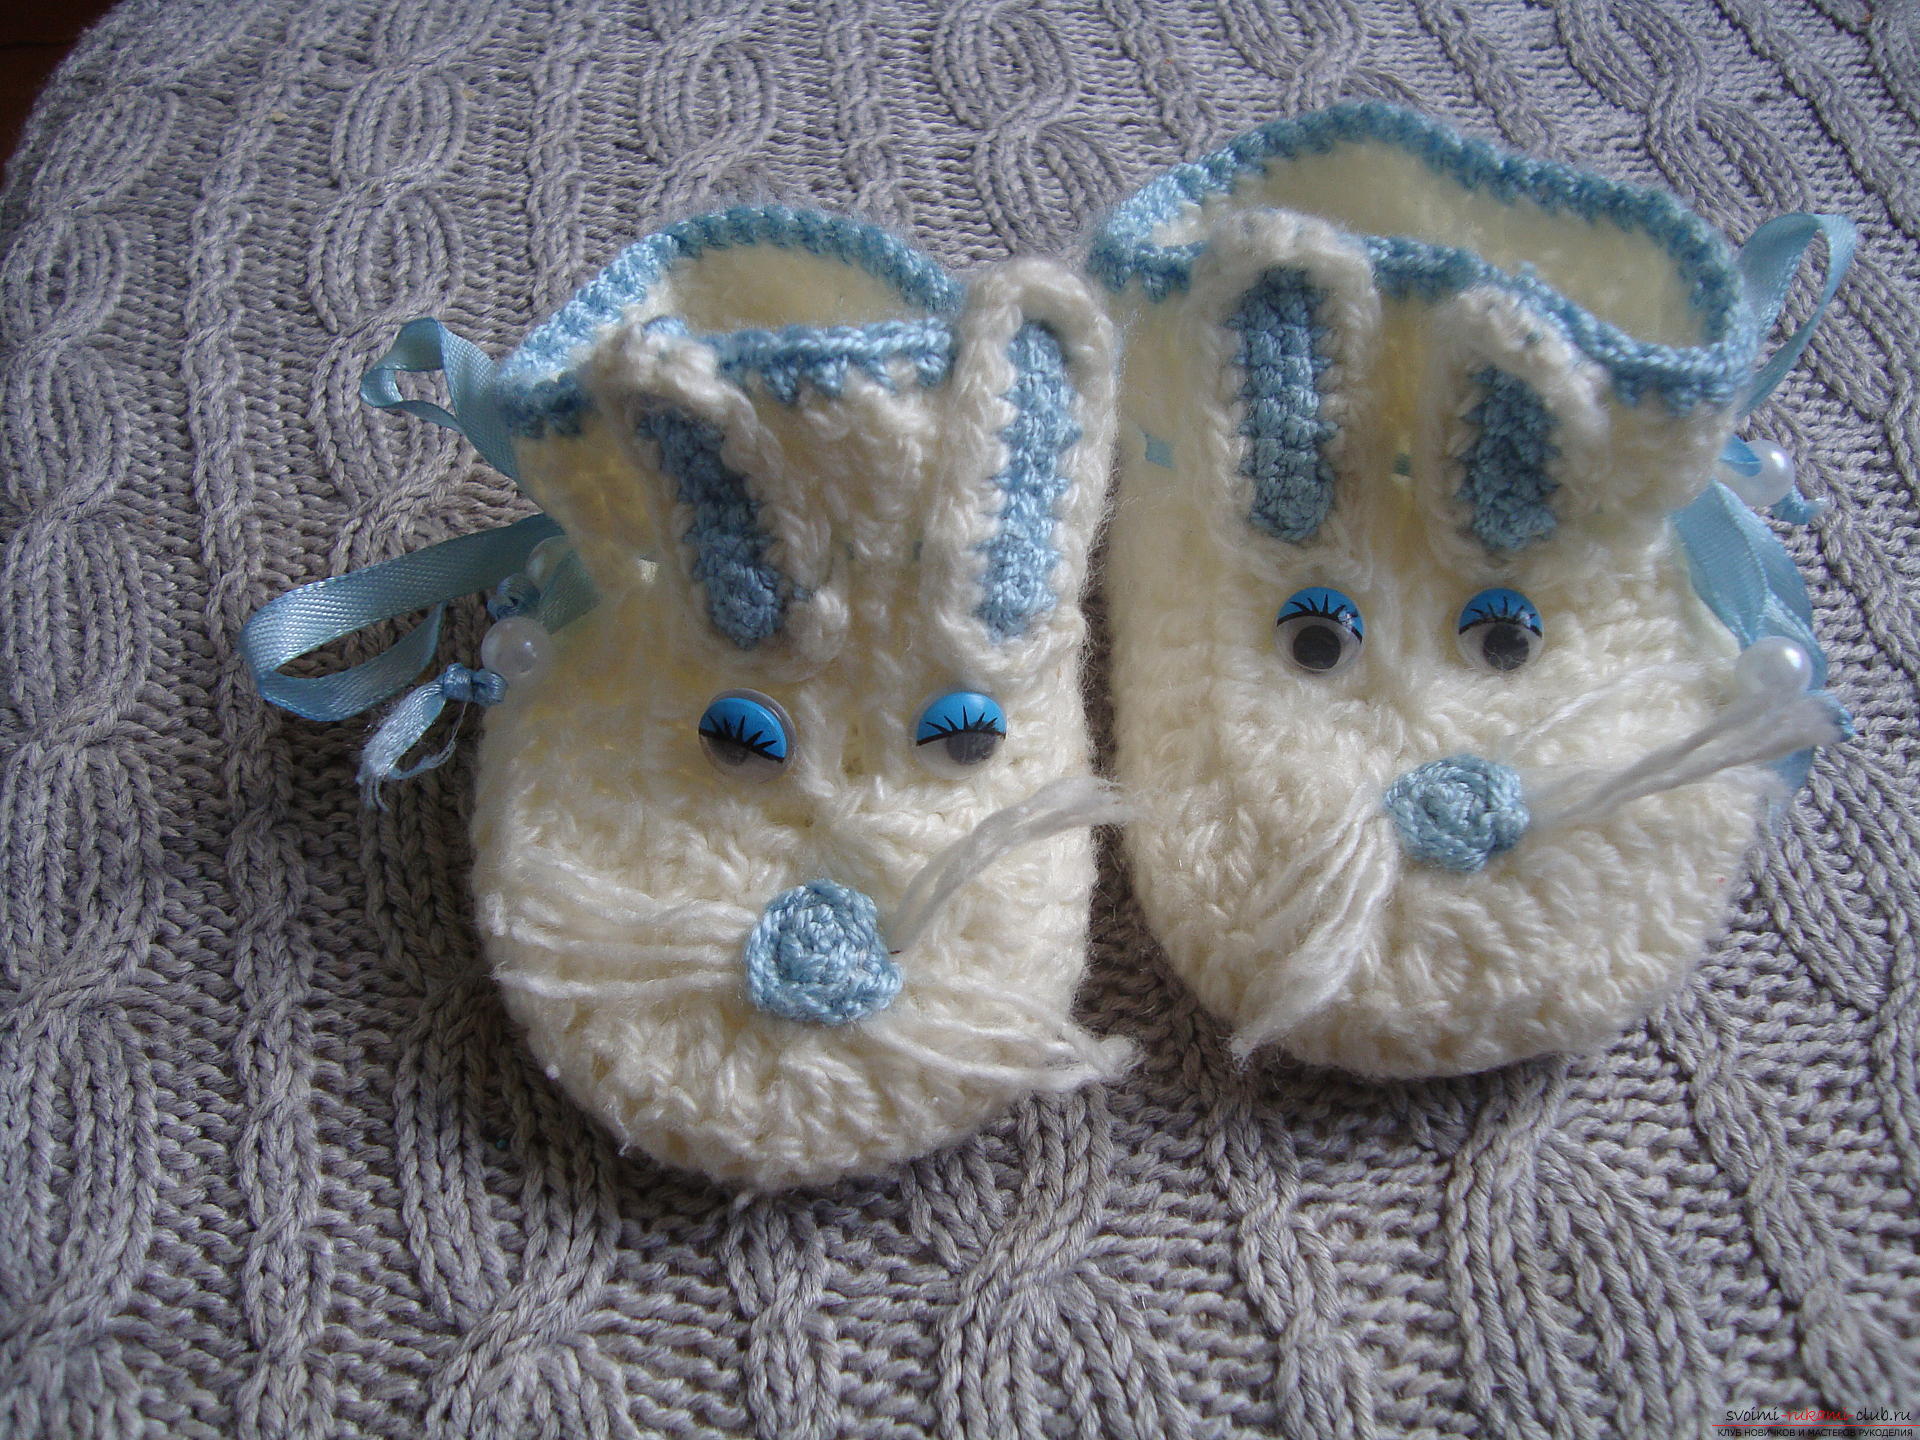
Comments
Related posts:
 How to crochet a poppy flower of lilac color? Detailed description of the stages of work, a list of materials and step-by-step photos
 How to tie a pillow crochet, charts and a detailed description of the work, photos of finished products.
 How to crochet booties in the form of sneakers, step-by-step photos, diagrams and a detailed description of two variants of knitting pinets for kids
 How to tie children's crochet hooks, schemes and detailed work description, photo of finished products
 How to tie a ball on a Christmas tree crochet? Detailed description of the work process, the technique of mating and step-by-step photos