Tips and advice on making the original organizer for tools with your own hands.
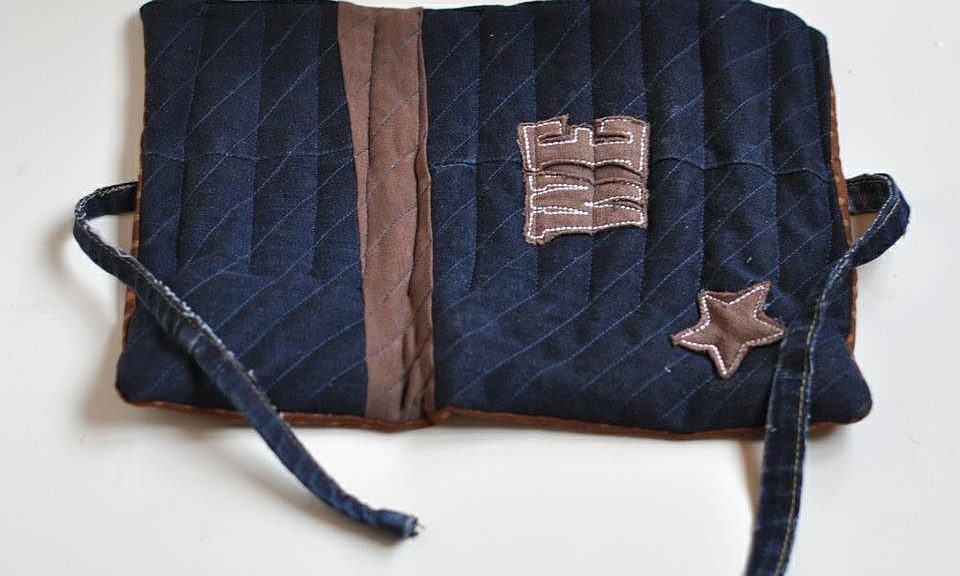
There is a huge amount of things thatcan make our life much easier and more convenient. A gift in the form of such an object is able to show our care and love as much as possible, especially when it is made with his own hands. In this article we will talk about how to make a souvenir for a beloved man in the form of a tissue organizer for various tools. Such a pencil case will always keep the necessary tools at hand and move them without dropping or losing. 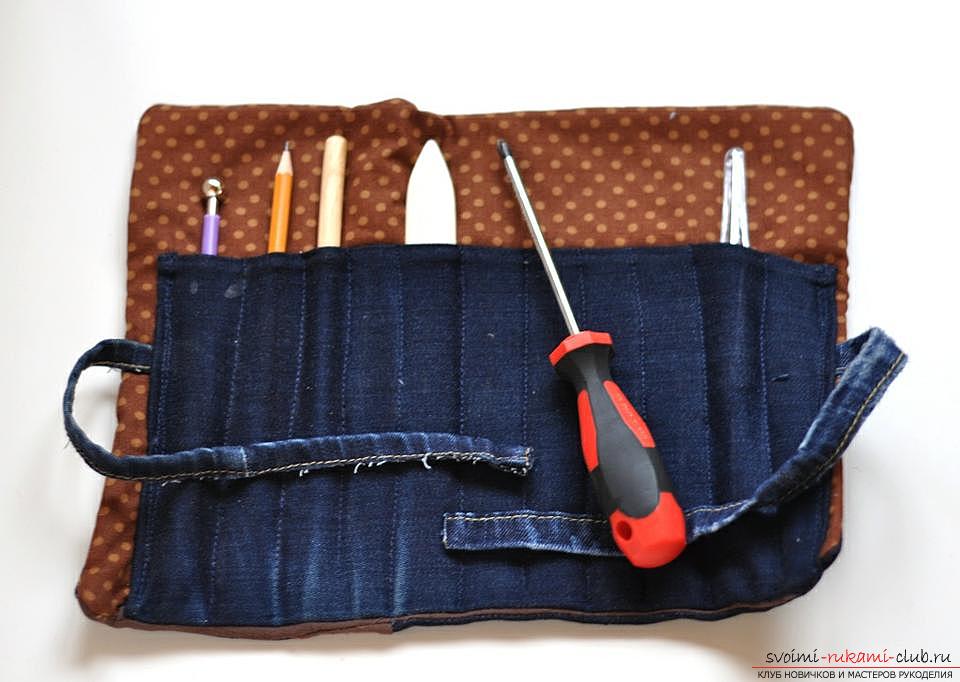 To make it, you need to prepare a piecedense matter (the ideal variant is a jeans, which is needed for the manufacture of the cover), lining fabric, a similar piece of a piece of sintepon or batting. We also need a string for sewing, a sewing machine and other tools that are used for sewing. The size of the future organizer will depend on those items that are planned to be stored in it: pencils, a set of screwdrivers, etc. Also it can be used as a cover for cutlery, which is convenient to take with you to the nature. In accordance with the chosen purpose, you can change both the size of the cover and the size of individual pockets. This article presents an option ideally suited to the office and small tools. For such an organizer, choose a dense, non-mark material. The best option is jeans. Especially since everyone has old jeans. In addition, this color is ideal for working tools. For a lining, choose the usual cotton fabric, here also darker hues are preferred. This organizer is sewn in two ways. By a separate cut out of the details of the pocket and the cover. You can also make a pencil case with one solid piece, which is bent twice and stitched. More details on the first option. Capture 3 similar items from the future of jeans, lining and batting. The size of these pieces should be 32 × 25 cm (a piece made of batting can be made less by 1 cm from all sides, and a denim one by 1 cm more). If you want, then the front of the future product can be made more beautiful and elegant. Use the patchwork technique (patchwork) to decorate the product and make all kinds of nashvochki.
 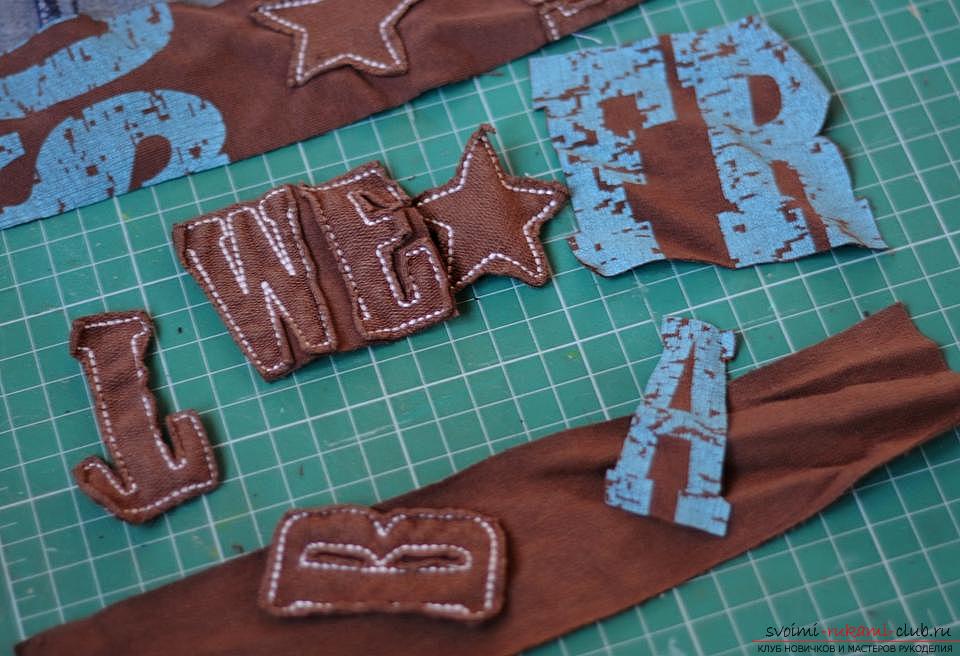 A lining of soft materials is used forIn order to protect the contents of the organizer from all possible strikes. Also, iron objects will not create noise during transportation. In order to properly attach a soft material, you must initially outline the lines on the front side.
 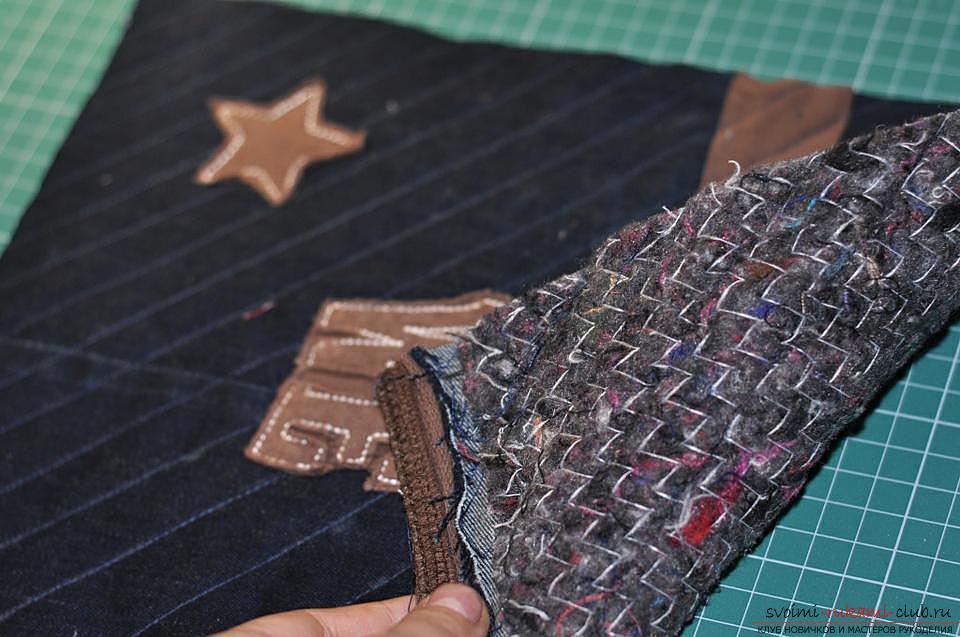 Having prepared the front part, you need to attach it tolining. Fold both pieces face to face and stitch three sides. Through the free side, turn the product to the front. The detail of the pocket will be sewn to the underside. But it must also be prepared. To do this, you should also choose a cloth denser. We cut out a rectangle with a size of 23 × 15 cm, although you can make the height of your pocket as you like. Fold and sweep all sides of the pocket except the bottom. To make everything come out more carefully, use a sewing machine. And now you can sew a pocket to the bottom of the base. Get a folding pocket. Next, attach the entire pocket to the base with pins, do not forget to put the edges of the strings inside (all kinds of cords, strips of fabric, cuts of jeans sutures, etc.) fit inside. Attach the pocket to the base. Now mark out the contours of the small pockets. Their width may not be the same. Stitch them, and do not be afraid that the lines can spoil the overall appearance of the product. On the contrary - they will look like a kind of decor.
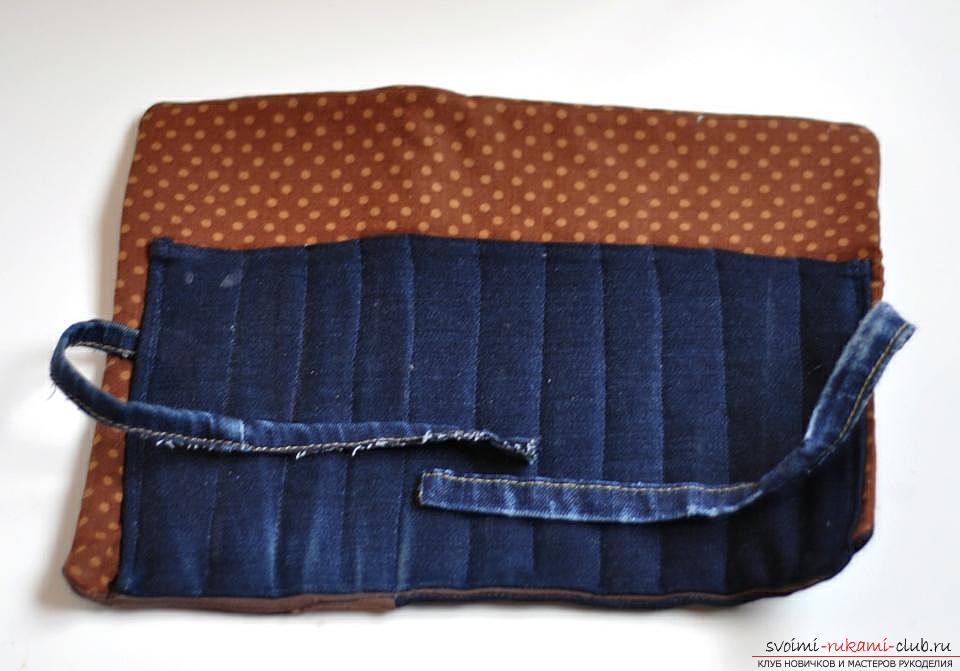
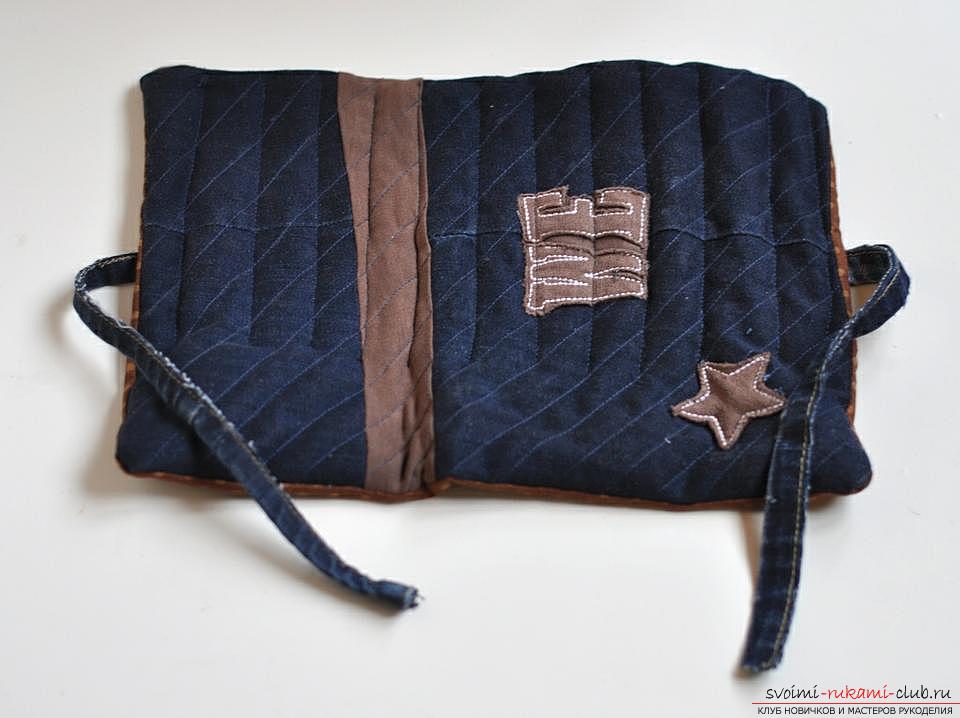 Now the tool organizer is ready to become a useful gift for a beloved man.
Comments
Related posts:
 Tips and advice on making the original witch costume with your own hands.
 Tips and recommendations and phased photos on making a postcard for my grandmother.
 Gifts for mom with their own hands, how to make a gift on March 8 with their own hands, advice and recommendations for making crafts with children.
 Phytodesign, phyto-paintings from moss with their own hands, advice on making and recommendations for care.
 Festive decorations with their own hands, tips and advice on making pumpkin out of cloth.