Beadwork: knitting and weaving with your own hands (video)
Content
- How to Make Classic Beadwork
- Crochet Crochet Crochet
- Video: Lesson of Knitting a Bead from a Bead
- Turkish beadwork
- Video: Learn how to knit a Turkish crochet
- Square tow of beads
- Video: Weaving square beads according to scheme
- Pendant keychain with beaded harness
- Video: American plait of beads with their own hands
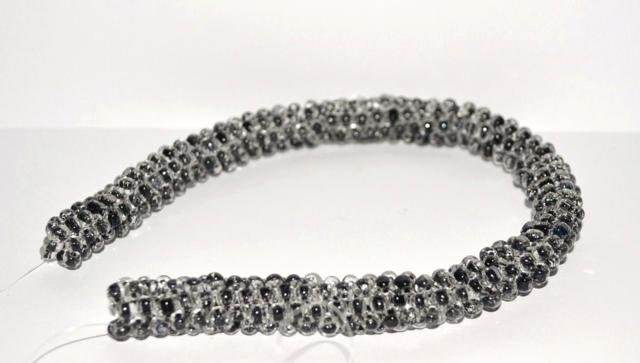
Bead harness is one of the waysCreation of costume jewelery. With this technique of beading, you can bracelet yourself, or necklace, earrings, pendant pendant, belt. Another advantage of needlework is that it allows you to get beaded bundles of various shapes and thicknesses, patterns and colors. Despite the fact that such technique of working with beads requires patience and attentiveness, practice, video lessons and a master class will soon help the creative needlework maker to create unique ornaments rather than decor elements.


How to Make Classic Beadwork
For work you will need:
- Light beads;
- Fishing line;
- Needle (thin);
- scissors.
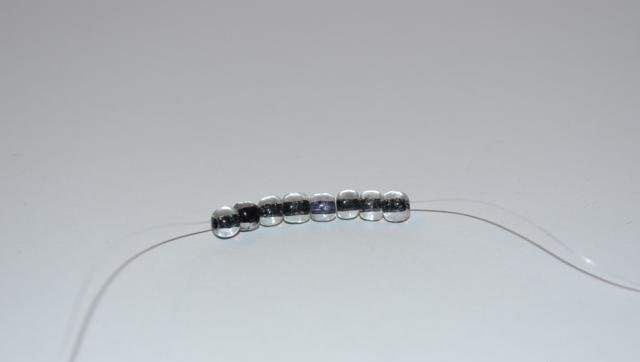
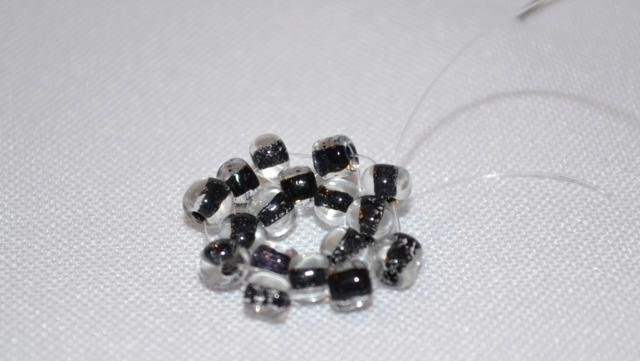
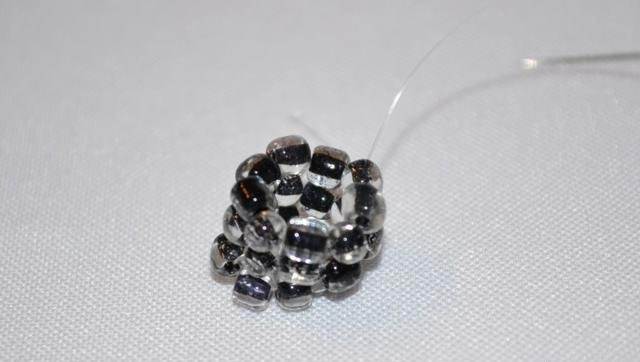
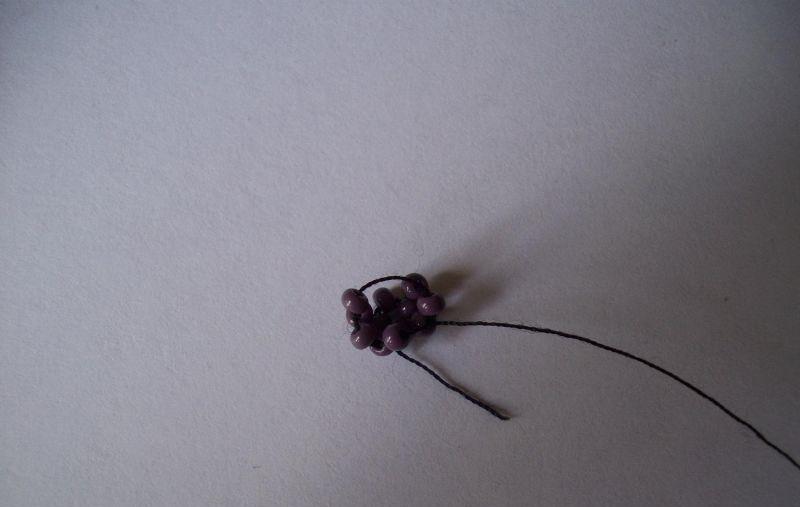
Bead weaving begins with the fact thatWe collect on the line eight light colored glass. Since the work is rooted in one line, from the remaining short tail it is necessary to make a knot, and then hold it under several beads (two or three) in a chaotic order.
The size of the bundle can be varied independently -Add or reduce the number of beads of the row. The main thing is that the number of glass chips placed on the line is an odd number (five, seven, nine, eleven). If the master needs to create three-dimensional bundles of beads, then a braid is inserted into the weave. This will not lose the shape of the future decoration.
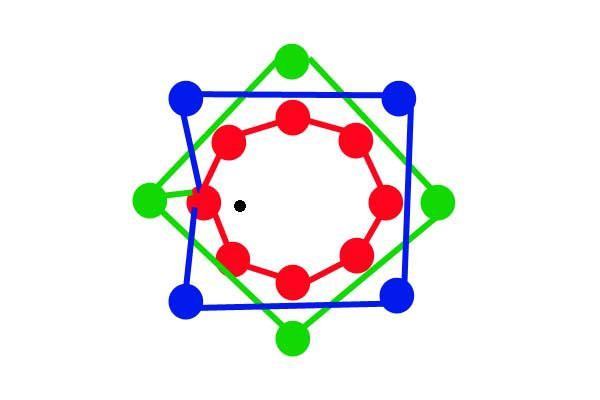
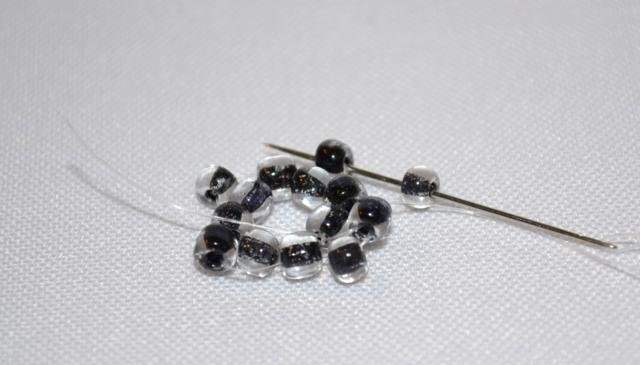
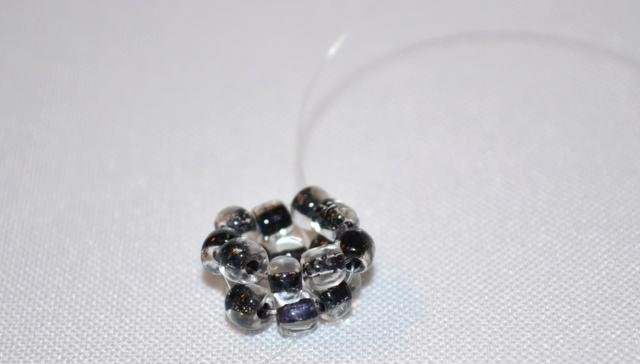
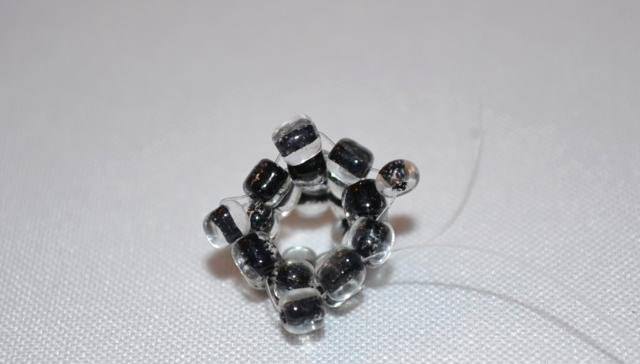
The free tail of the line is passed through the centerThe first bead, tighten in such a way, to get a tight ring, as in the photo. We begin to weave the second row. For this, a bead of light color is threaded onto the elastic thread, the end of the line is pushed in not to the junction with the neighboring bead, but through one glass. The ball should not be located next to the bead of the first row, but above it. Further, a line is passed through the center of a nearby glass, tightly tightened. Continue to weave this way until the end of the line.


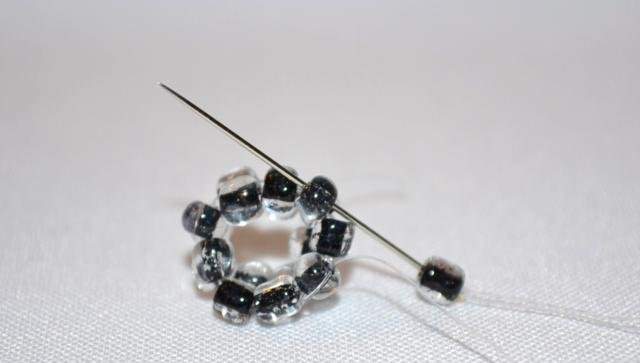
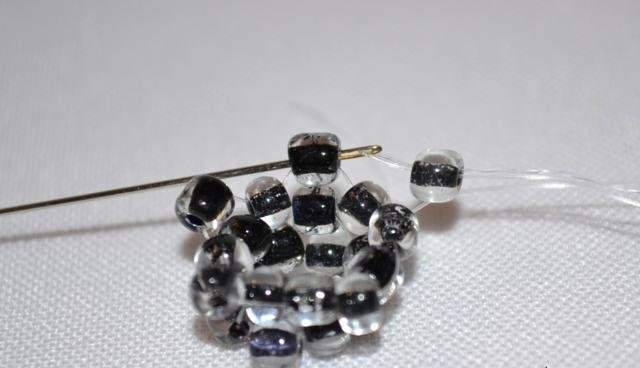
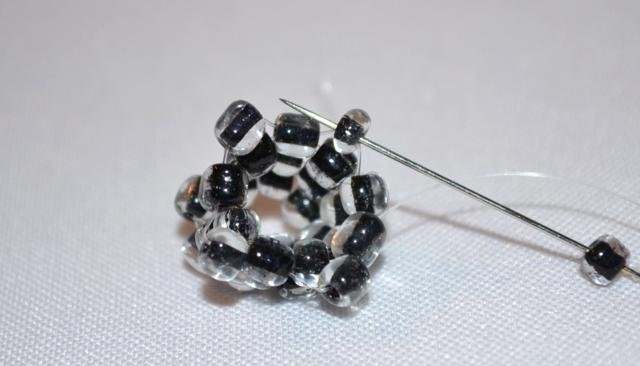
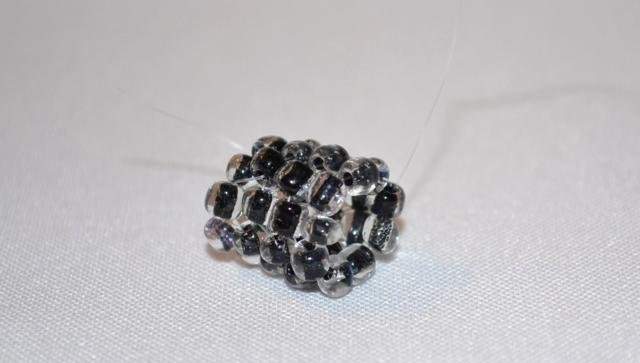
During work, the bead harness is held by hands,If necessary pull it up with your fingers. For the third strip of the scheme, put a light bead on the tip of the line. Place the glass on top of the bead that started the second row, tighten. That is, again weave through one bead in such a way that each ball is placed above the white beads of the first strip. Continue beading to the desired size of the bundle.
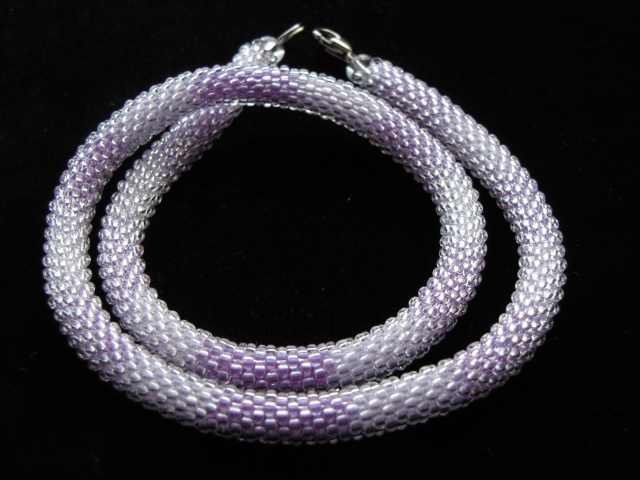
Crochet Crochet Crochet
Especially easy is given this technology of weavingThose needlewomen who know how to crochet. Viewing the training video will greatly facilitate understanding of this material. As for beginners, then experienced masters recommend using beads of large size and different colors. This allows beginners to create jewelry by their own hands, while not getting confused and not straying from a number of schemes during work.
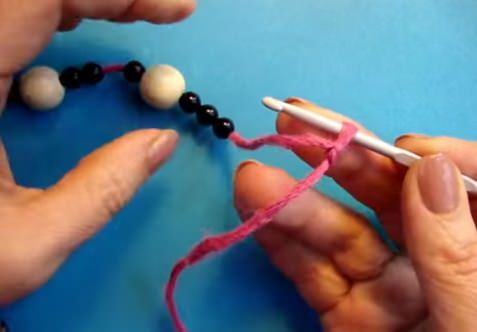
In the hands take the thread and hook, the method of capture is the same as in ordinary knitting. The master class of creating a beaded crochet crochet begins with fixing the first air loop without using beads.
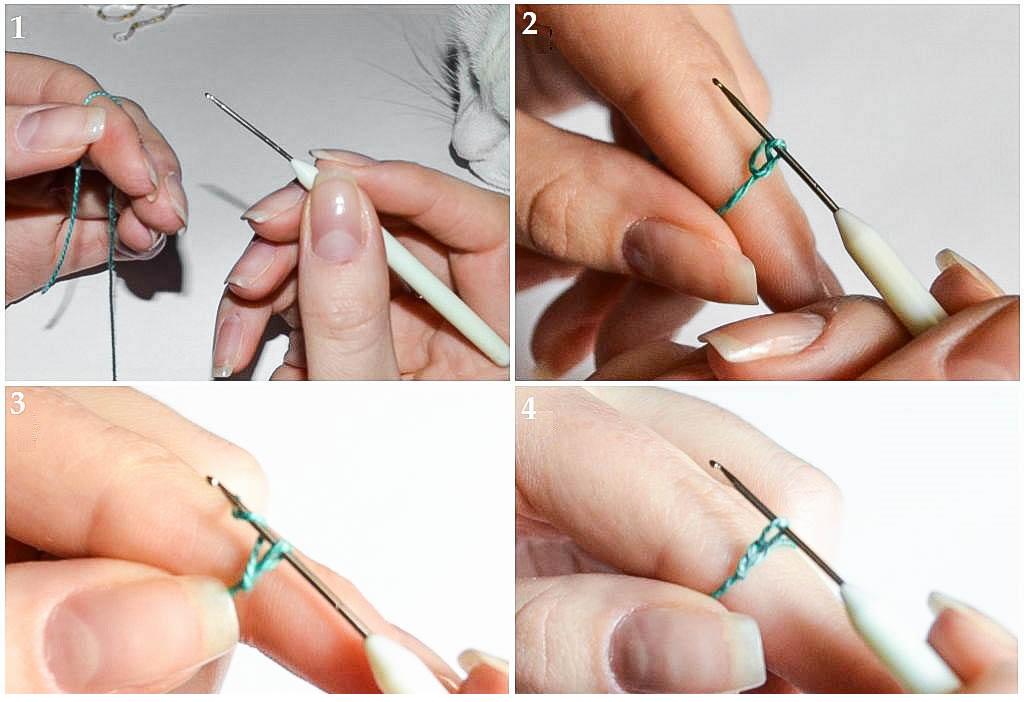
Push the first bead to the beginning of the row, tightlyMove to knitting, the working thread is grabbed behind it. After that, the fiber is pulled through the loop. The first glass of the scheme is completely tied. In this way, six more beads are sewn in turn.
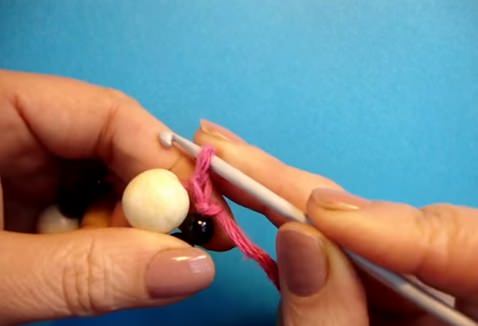
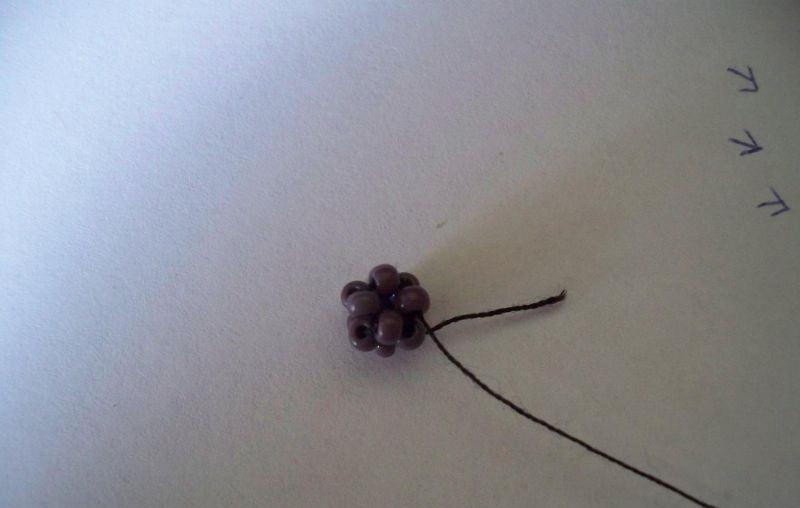
Introduce the hook into the first air loop (which turned out without using a bead).
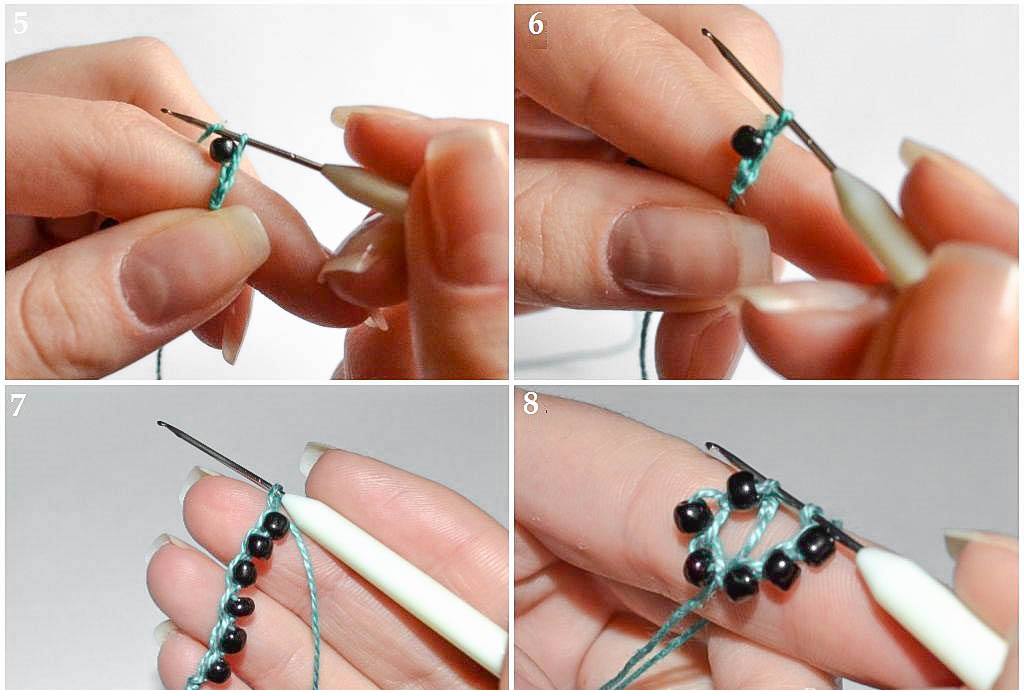
Pull the fiber through it. As a result, as in the photo, the ring-base of the harness is obtained. Fill the harness with beads in a spiral technique with a half-tube. Introduce a hook under the first bead of the first line. Move her hand to the right side, while the beads should be placed with the hole up. They toss the working thread.
To ensure that in the finished work there were no visible open areas or filaments of the thread, the rows of weaving are tightly tied,
Crocheting hands.
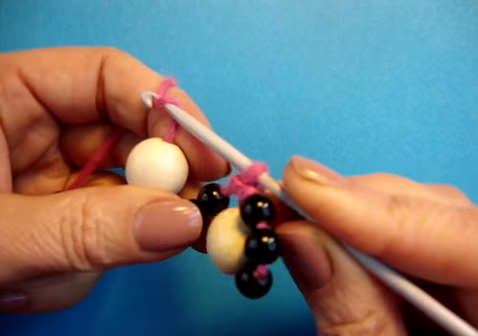
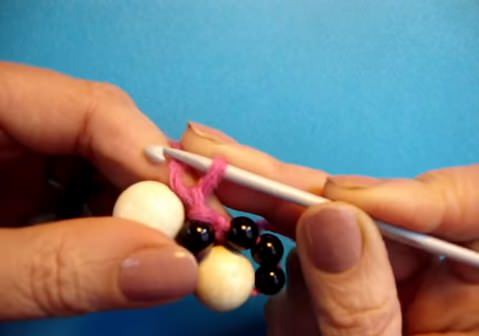
A new bead is moved tightly to knitting,Grab the thread and string it with a half-tube. The first thread of the second line was obtained. While working, make sure that you do not leave the loop empty (without a bead), and do not forget that you can put only one bead in one bundle. Another obligatory condition for braiding the crochet - the first ball of the first row is tied with the first bead of the second row and so until the end of the line. In order for the tourniquet to be neat at the end, the last row is pierced with a half-bar without using beads.
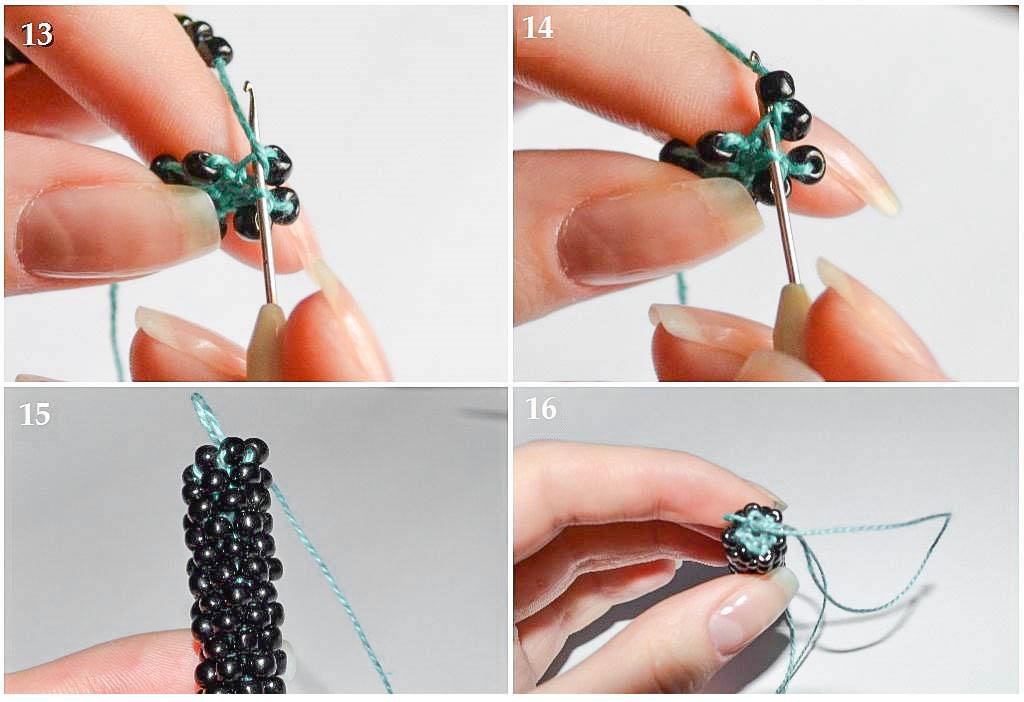
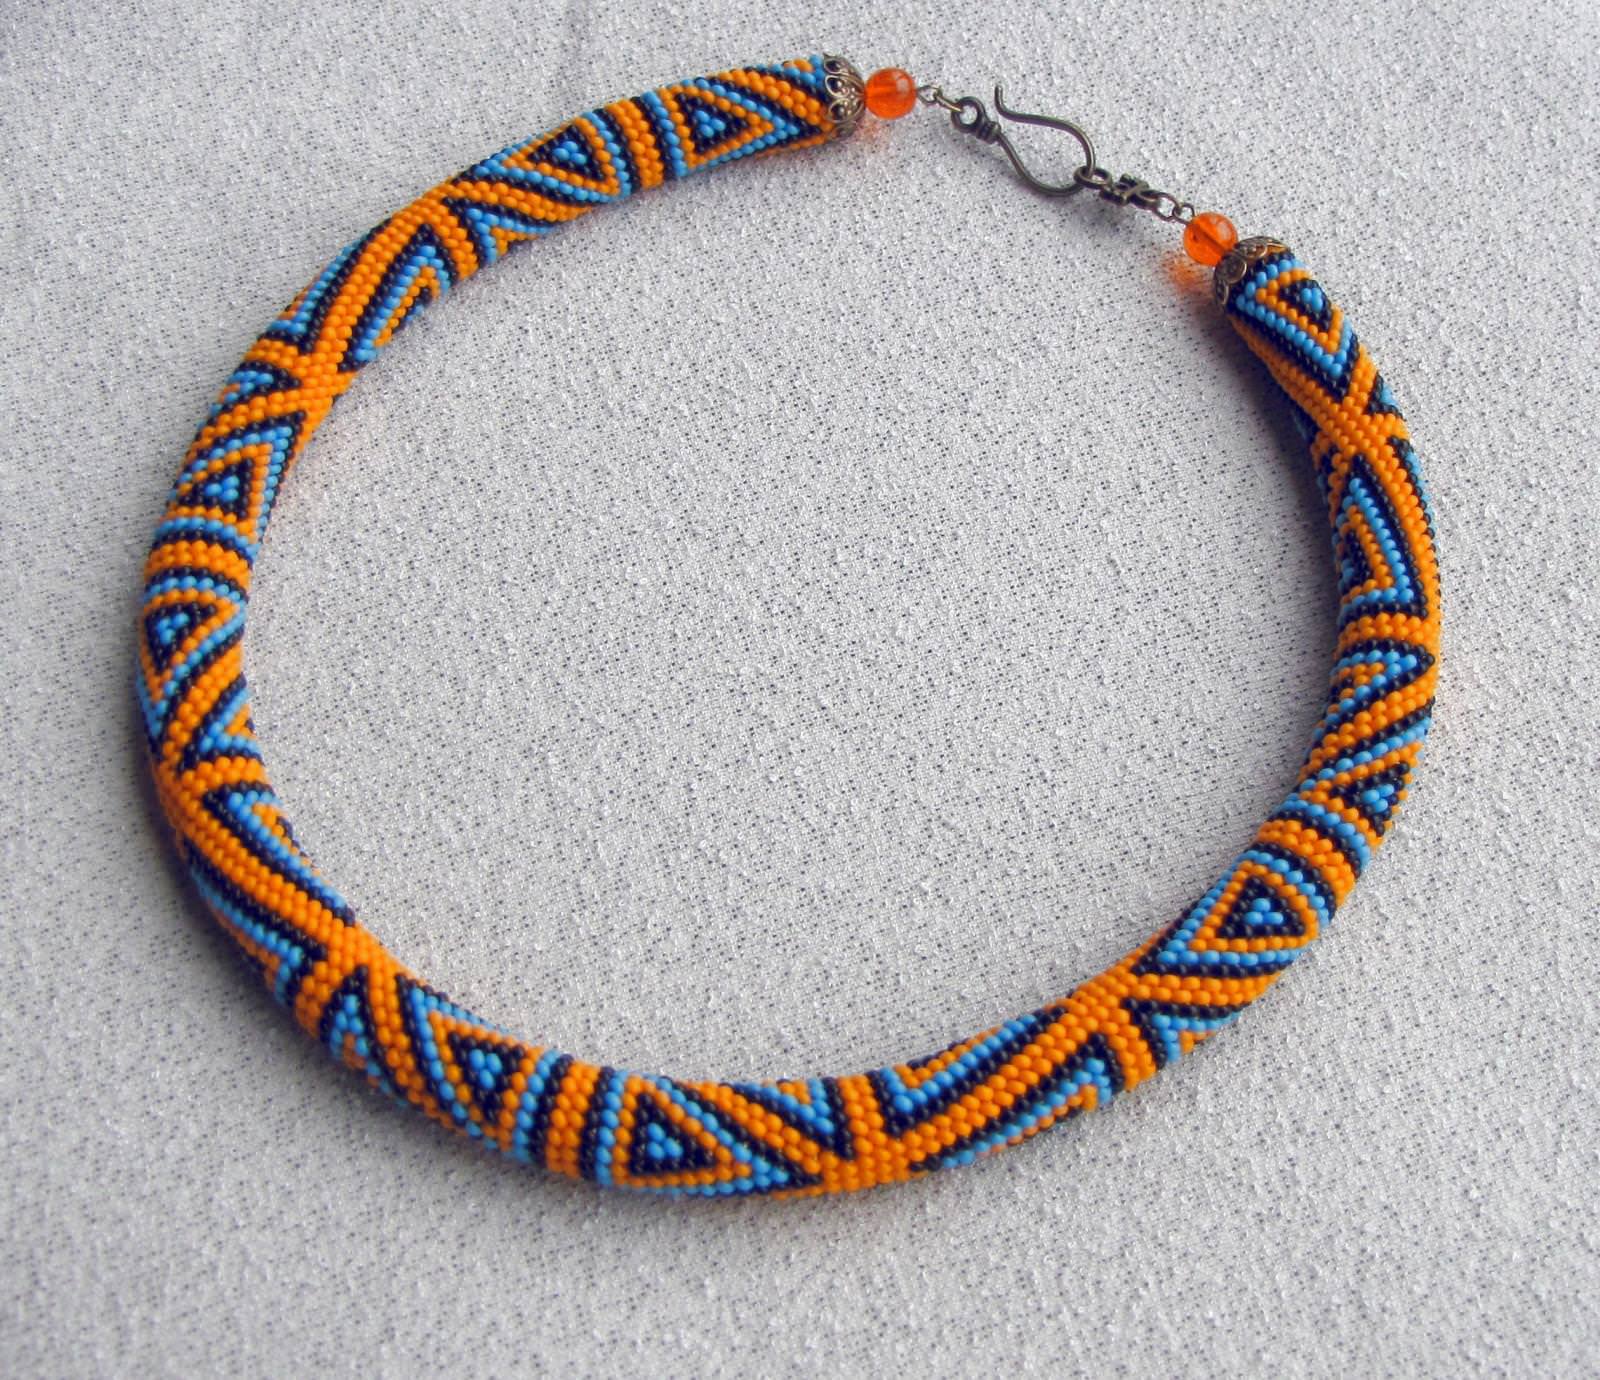
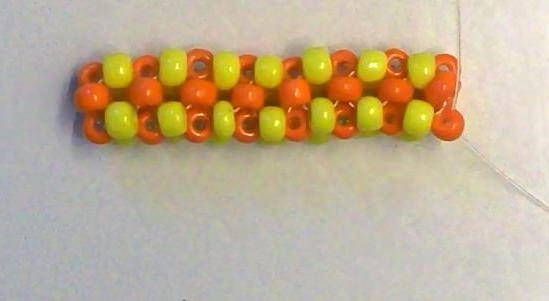
Great popularity is enjoyed by the master classA crochet of beads crocheted with a pattern. For example, ornament and flower themes give bracelets and necklaces extra refinement. The technique of weaving here is almost the same as when working with a monochrome bead and crochet. Before weaving the plait from the beads, the master needs to prepare a sketch of the drawing in advance. The scheme, as a rule, consists of three parts. The first column shows the location of the beads on the future decoration (how weave, how many beads thread on the fishing line), the second picture is a variant of what the drawing looks like in the spread, the third scheme contains the information of placing the figure already on the finished bracelet. When creating the first row, the beads are placed horizontally from left to right, and in the second line, the direction is changed from right to left, the alternation continues until the end of the weaving.
Video: Lesson of Knitting a Bead from a Bead
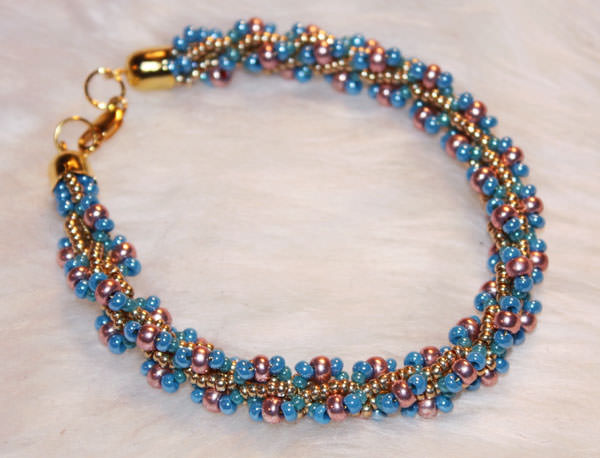
Turkish beadwork
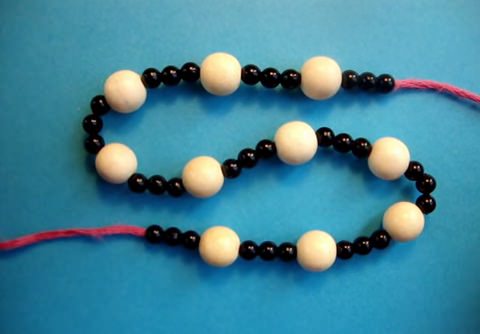
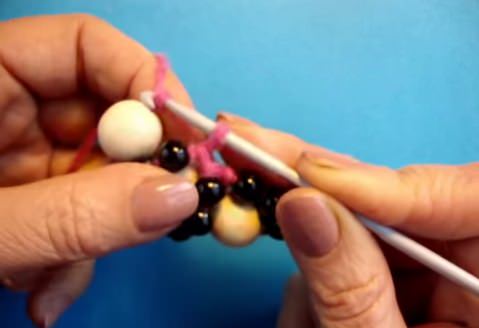
The master class of the Turkish rope presupposes the presenceBeads, large beads or bugles. This allows jewelry, created by this technique of beading with their own hands, always look bulky and rich.
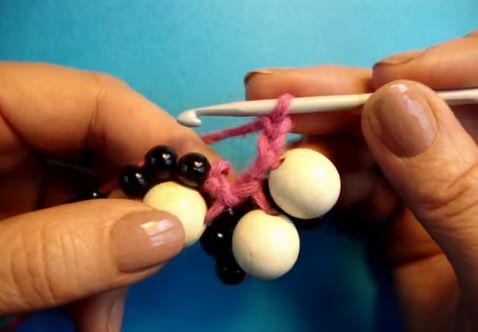
On the thread a line of three small beadsSize and one - large. The photos begin to work with the knitting of one air loop. Move the four beads to the nodule, then a large bead hooks and knit an air loop. Pile a new batch of glass. Again, it is necessary to make a grab for a large bead and to tie an air loop. Repeat the action three times. The result is three knitted loops with beads.


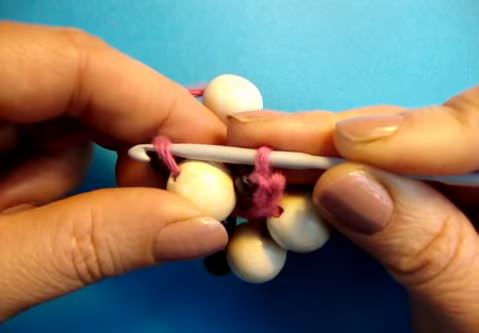
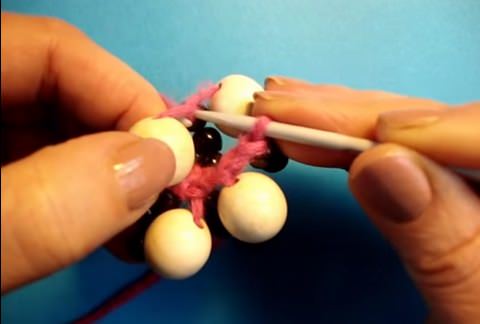
For further work make two air loops. Again move a group of beads, the hook is threaded into the loop between the connection of the big and small balls. Grasp the thread behind the big glass, make a stitch. Two circuit loops are connected together. After that, the knitting will repeat. Move a group of beads, the hook is threaded into the next loop between the small and large beads. Grasp the thread behind a large ball, pull out a loop and tie two loops together. Continue in this way weave the beaded bundles to the desired size.


Video: Learn how to knit a Turkish crochet
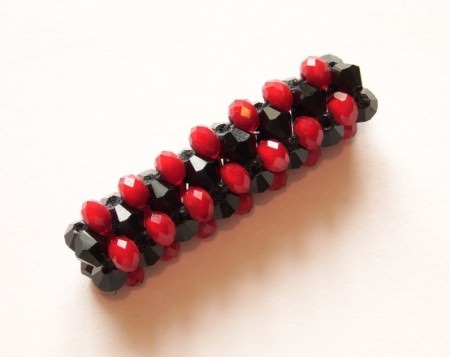
Square tow of beads
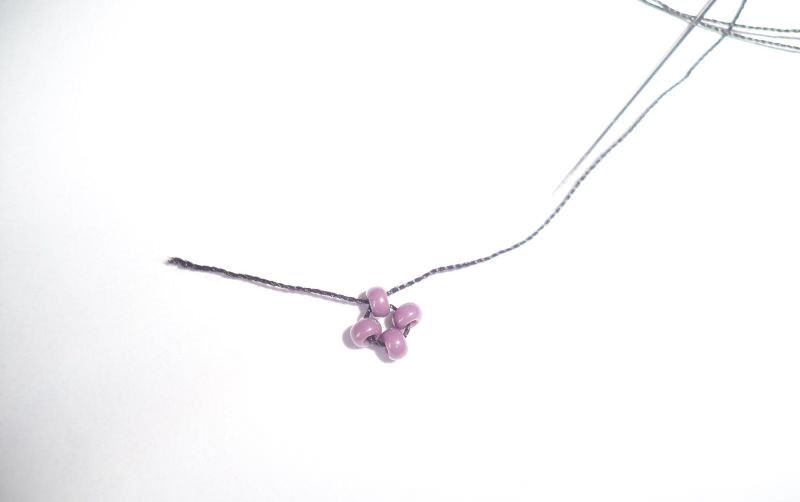
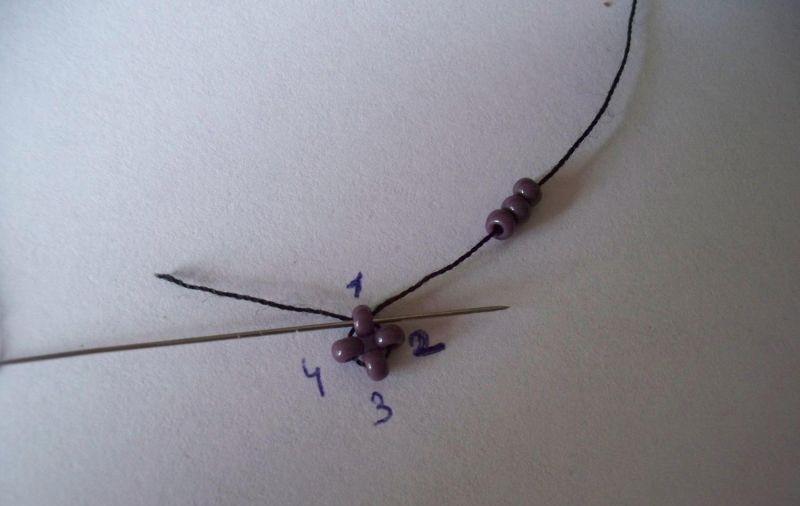
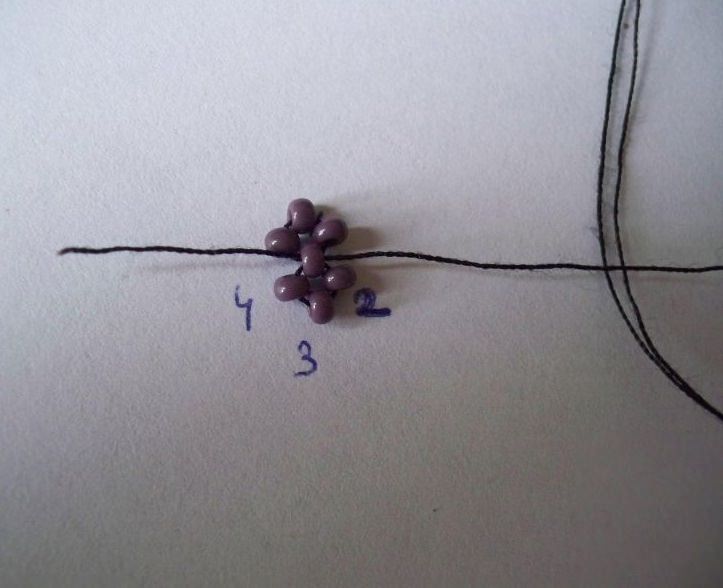
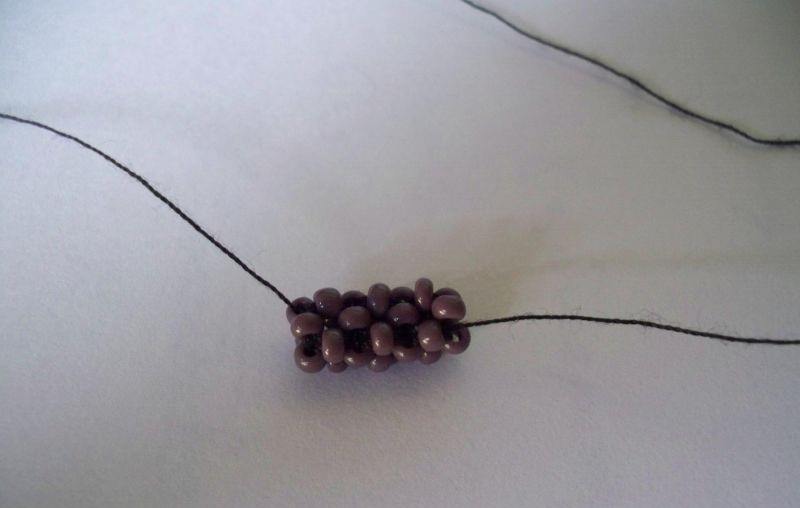
On the line, four black beads are collected. One end is low through the center of the extreme bead in such a way that a cross is formed, tighten the ends of the line. The master class for further work requires for convenience the symbol of the dialed glass of the scheme in figures: upper - one, right - two, left - four, lower - three. They recruit three more beads, from the left side to the right, draw the thread of the working thread into the uppermost bead (first). Enter a fishing line into the second ball, gain two more beads. The same is done with the third glass of the circuit. If the beads are positioned correctly, an even row of three interconnected crosses should be obtained.
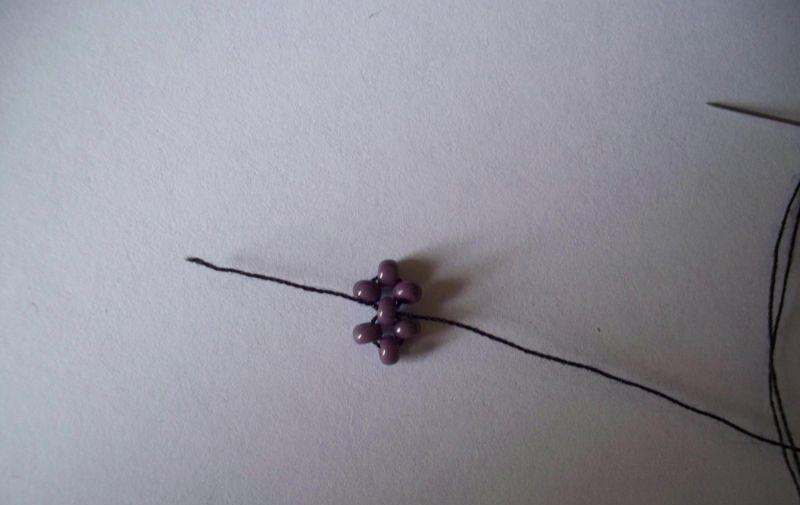


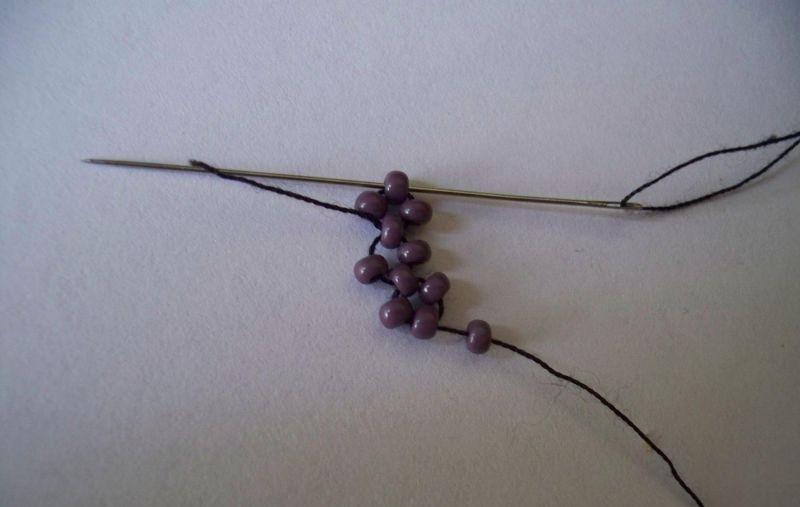
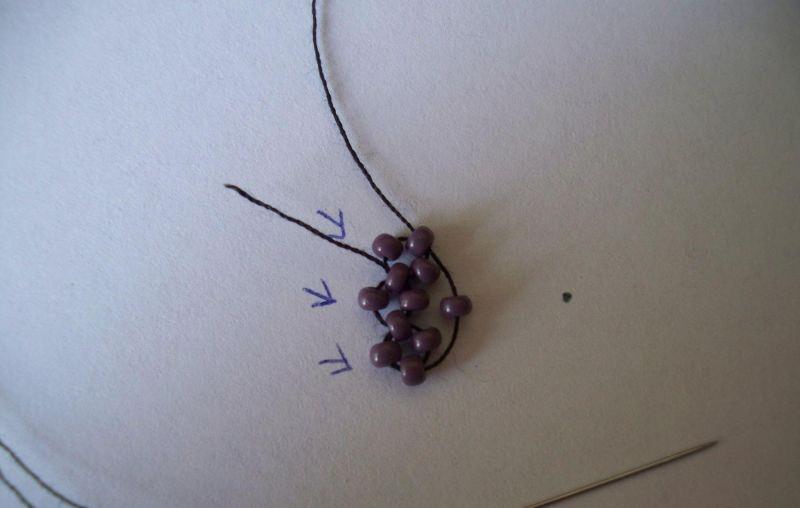
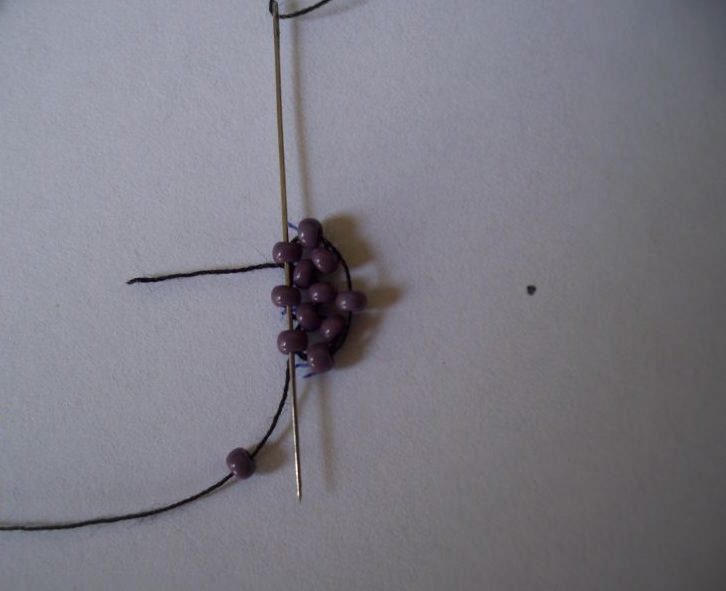
Carry low through the fourth, and then the thirdBead. They put on one glass, which is inserted into the upper bead of the first cross (do from the side with which the needle in the lower cross went out). Further, as in the video, stretch three beads from the left side from top to bottom. Just output one ball from the top of the weave now in the direction down. Pull the wire, spend a needle on the entire weave - up, to the side, up, to the side, top. Repeat the beadwork to the required size of the bundle. So our beads of beads are ready!

Video: Weaving square beads according to scheme
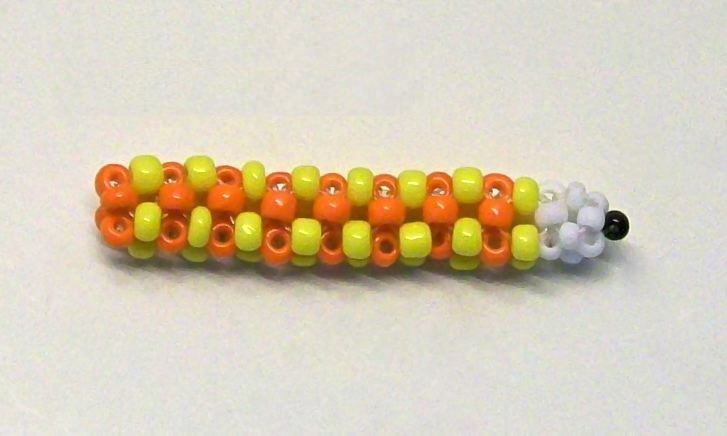
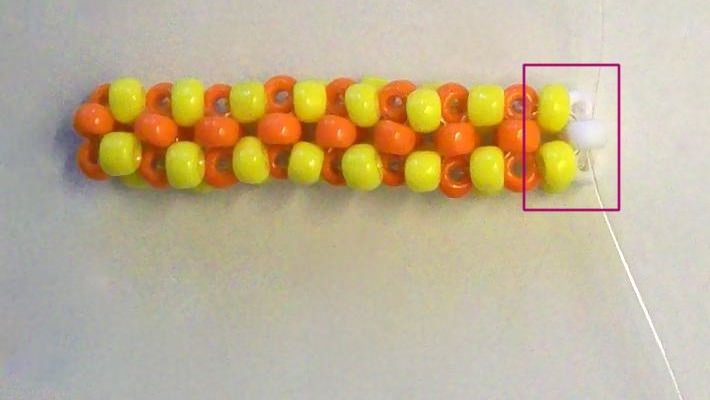
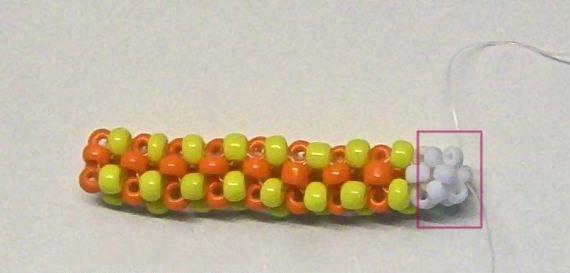
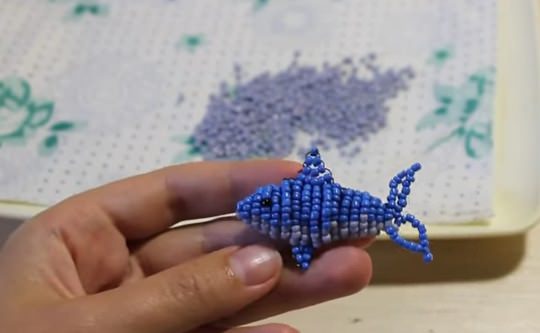
Pendant keychain with beaded harness

Even if for some reason it was not possible to weaveWith your own hands a high-grade bracelet by the technique of weaving a bead of beads, from a small piece you can still make a souvenir - a keychain for keys in the form of a pencil.
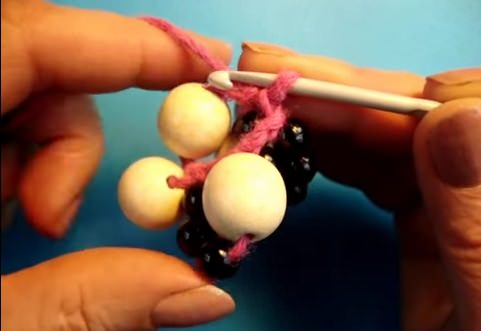
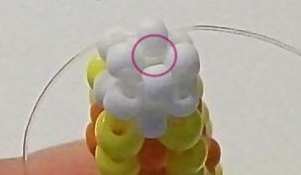
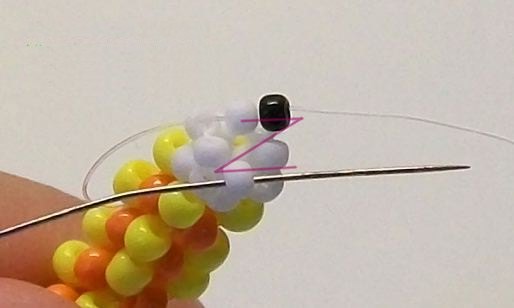
The master class assumes the availability of already readyTetragonal harness from beads. At the top of the workpiece in the photo weave four white beads in a circle. Fill one more row, but already beads of smaller size. For rigidity of the key fob, each line is lined in a circle with a fishing line two times. One black bead is pulled low, a line is drawn in the opposite direction from the exit of the tail with a black bead. In this case, the working thread must lie in a zigzag. After the line has been tightened, the black ball will turn into a pencil rod. The tips of the lines are fixed, and the excess is cut with scissors.


Video: American plait of beads with their own hands
Comments
Related posts:
 Dolphin of beads: weaving by our own hands according to the scheme (video)
 Cyclamen from beads: weaving a delicate flower with our own hands
 Pink Bead: gradual weaving of their own hands (photo)
 String of beads with your hands (photo and video)
 Lariat original beaded jewelry with their hands (video)