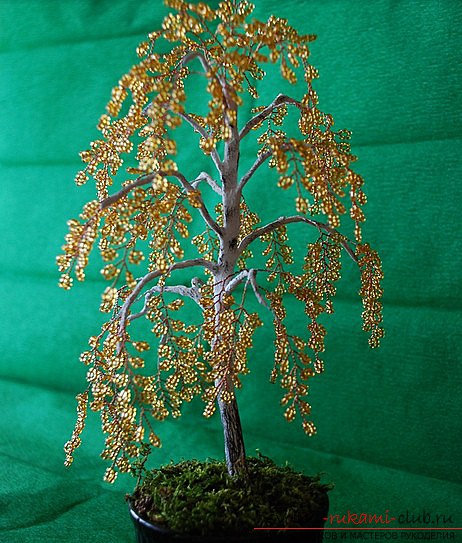
A bead tree with an explanation of the method of beading for beginners.
Very beautiful and original hand-made of beads,which can make their own hands, even not very experienced masters, are all kinds of trees. In this article, we suggest learning how to make a birch tree with the help of beading. If you are already familiar with the technique of looping with beads, then this product you can do with this method, selecting the necessary material, and decorate your apartment or hand them as a souvenir as a gift to your close people. 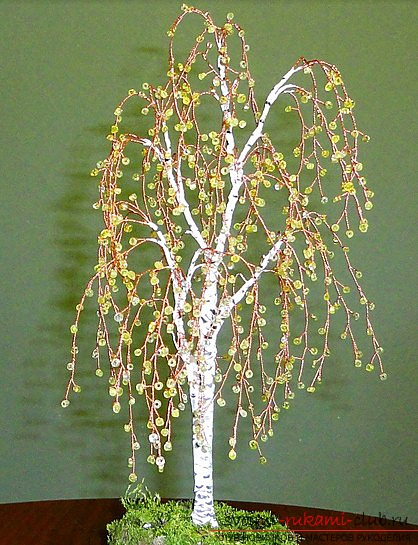 If beading is for you somethingnew, in this article you will find a detailed description of the manufacture of beadwork, which is very convenient and affordable for beginner needlewomen. To make a smart birch we will need:
- beads of golden color number 11;
- wire for the manufacture of basic elements with a diameter of 0.22 mm;
- wire made of copper or aluminum with a diameter of 1.5 or 2 mm for the trunk and thickened branches of a tree;
- Threads of white color for giving to a trunk similarity birch bark;
- a black marker for application, characteristic birch bark, black marks.
The beginning of the work consists in the production of leavesbirch with weaving technique. We will need a wire of a finer diameter, the length of which is 0.5 m. It must be put on six beads and placed in the middle of the wire.  From strung beads create a loop, then the wire should be screwed. Seven turns will be enough. The result was a leaf of a future birch tree.
 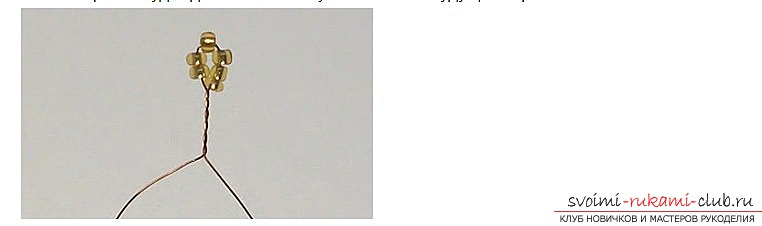 Now, once again, string 6 beads onto one end of the same wire, which must be placed about 1.5 cm from the finished loop.
  We repeat the process of loop execution.
  The same loop is made at the other end of the workingwire. When the three loops are ready, twist the ends of the wire together, also by six turns. Now, again, we repeat the whole process of creating leaves from loops, until there are 13 loops on the branch.
 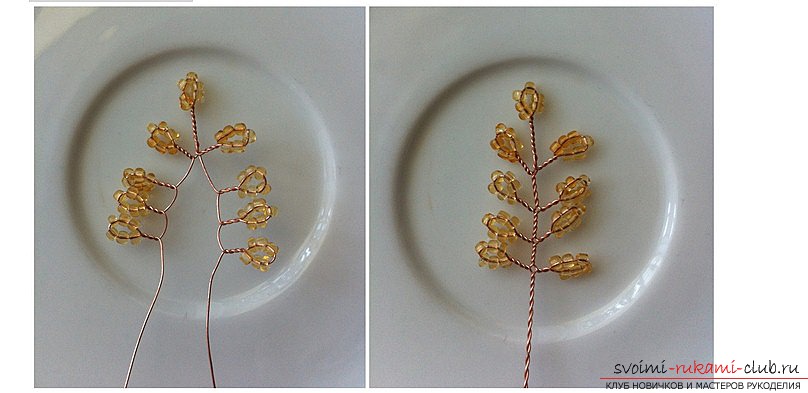 When the twig is completely ready, you needslightly squeeze the resulting leaves to the center of the branch, but with the direction up, giving it the shape of a similar spikelet. Thus, the leaves will be more dense relative to each other. To create a beautiful lush tree you need to make about 60 branches.
 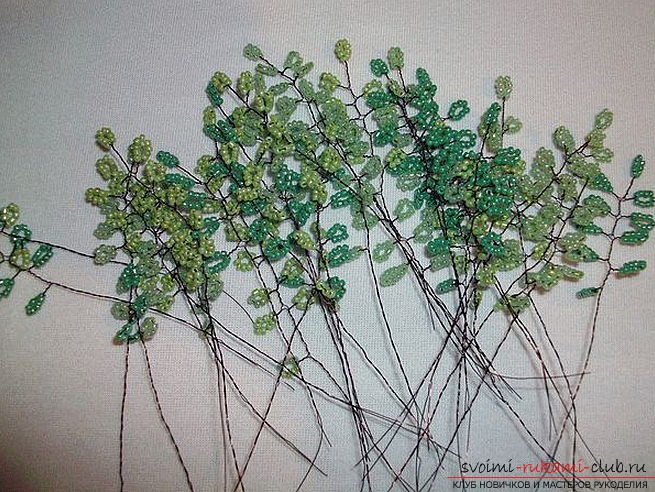 At the next stage of work, we proceed to assemblybirches. Now we need to twist all the branches together in pairs, so that larger twigs turn out. Accordingly, they should be 30 pieces. Then we take the wire for the birch trunk and cut off the piece about 30 cm. Then, using an additional piece of wire of smaller diameter, one twig with twists must be screwed to the very tip of the trunk. Now, with the help of white threads, we sweep the barrel right under the branch, taking 2-3 cm. We take the following two branches and also, by means of a wire, we attach them to the trunk alternately from two opposite sides. We repeat the process of winding the barrel with threads in the same way as after the first branch. Continue to form the tree trunk, distributing the branches along its circumference, attaching them so that there is some distance between them.
 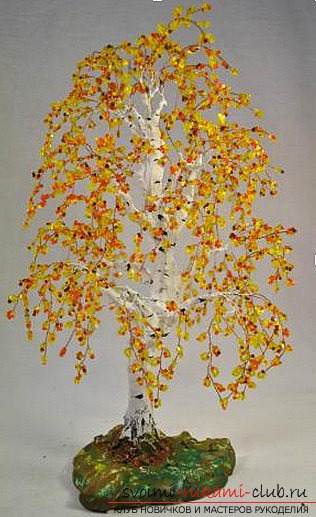 Do not forget to decorate the trunk with white threads. So we attach 12 more twigs to the trunk. The main part of the trunk is ready. Now we take two more pieces of thick wire with a length of 20 cm and we attach nine double branches to them in the same way. Should be two large branches, which we also alternately attach to the trunk. After attaching the first thick branch, the distance of the length of the winding with white threads should increase by several centimeters, and after the second we wind the barrel along the entire length to the very end - this will be the base of the tree trunk. Now we arbitrarily perform horizontal markings characteristic of birch bark with the help of a black felt-tip pen on a white trunk of the resulting birch. Our birch tree is completely ready, but nowit is necessary to install it in a pot or pot. It can be filled with plasticine or other material that will give stability to the tree. The vase itself can be made according to your desire. Straighten the twigs on the resulting birch birch from us and rejoice in the resulting beauty.
Comments
Related posts:
 How to make a tree of autumn foliage? Trees from beads and photo lesson
 How to make a tree of beads with your own hands? Schemes and a master class for work
 Bonsai from beads with own hands, how to weavetree of beads, schemes of weaving of trees from beads, birch from beads with their own hands, herringbone-souvenir from beads, creation of albition from beads, advice and recommendations on performance of works.
 How to make a homemade tree with beads? Schemes for Beginner Craftsmen
 Trees of beads with their own hands: a tree of beads yin yang at the contest 2015, handmade bead by own hands