
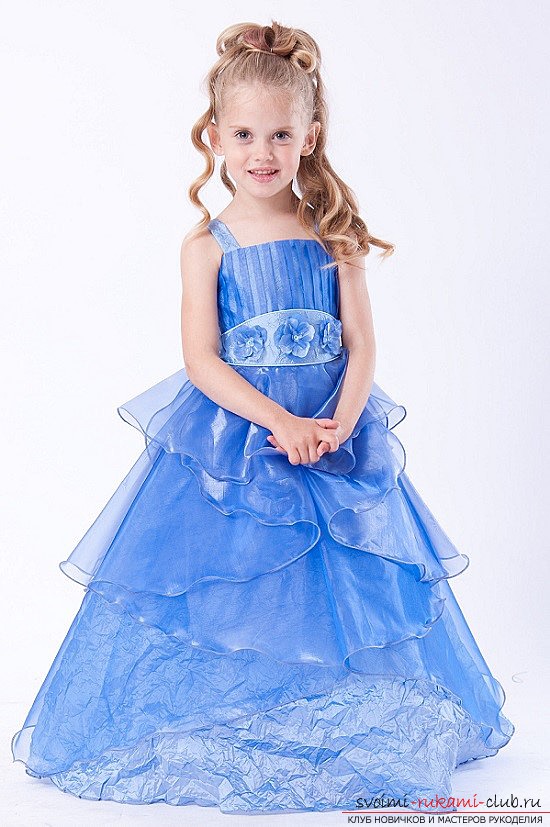
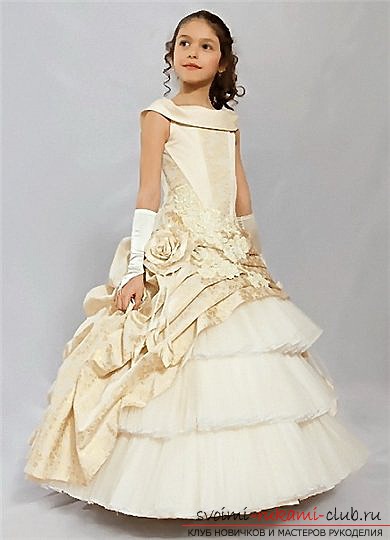
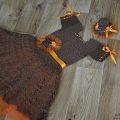
We try to make a beautiful princess dress with our own hands: photos and a master class for tailoring!
Very often mummies, with the advent of the first childDiscover new, unexpected qualities. Including the possibility of sewing various dresses, clothes for your child. A little daughter can become your new, perhaps the last doll, that you want to dress in a variety of outfits and recreate her special appearance. Many know that handmade gifts have a special relationship with people, especially if they are made professionally. For these reasons, decorating a holiday gift with your own hands will not be a difficult process. We will tell you about the simple technique of creating a princess dress for a girl with her own hands, based on simple and convenient materials. So, let's try to understand what we need to do the dress? 
- Fabric with a width of a meter and a length of 50 centimeters for a baby. (Chintz, linen, silk)
- Meter and tailor pin set
- Ruler
- Scissors
- Lecalo
- Chalk, or pen
- Sewing thread
- Sewing machine
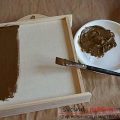
Next, we need to prepare the fabric forwork. To do this, it must be pierced, and then ironed. You should prodekatirovat fabric before you start to work with it, as the natural fabric "settles" after the process of washing and ironing.
Drafting
 We do not need a pattern. We will draw directly on the fabric. First of all, prepare two square shapes with a side dimension of half a meter. Then, they need to be cut, so we have prepared the basis for the future dress. Further, we measure two segments for the future proshva in the sizes of one and a half meter for each. After, when we decided the picture of the product and it became clear where the upper part is, and where the bottom part, in the distance from 1 centimeter to the edge the base in the form of a tail pin for the past is pinned. Next, we direct the pins without using the edges of the past, but across the past. Next, you need to make a line, but do not sweep small parts of the material. After, it is necessary to attach the past to the main part, fixing the seams, and also including the reverse in the typewriter and also, back. You can thread the thread through one side and tie them together. Then, the pin is removed.
Unevenness processing
 Next, we work with the irregularities of the tissues andmaterials of pros. After this action, it is necessary to process our design through the overlock, or by means of the seam element "zigzag". In this case, we use the height for the seam at a value of 5 millimeters, and the length for the step in the value of one millimeter. After performing this operation, it is necessary to expand the edge and after, wrap it to the side of the base, and then, also lay another line of the line. Thanks to this line, the material of the prosecution can stick out. It is necessary to do exactly the same action in another square of our tissue.
Creating squares
 Then, you have to fold the tissue squares by doingaction facing each other. Then, they need to be rolled along, and then, cobble with pins, so that at the time of cutting the squares do not move one from the other.
Letters for cuts
 After this action, in the center, in the place of the fold,using the top of our future dress, you need to postpone 10 centimeters and make a point that is conditional with the letter C. Then, using the point C, put one more point A away from the edge by 5 centimeters (with a total of 15 centimeters in the bend) And after you put a point A, you need to draw a perpendicular line in a length of 10 centimeters and put the last point - B. Using the extreme point of the connection, from the pros and until the base at point B, we draw a line of direct destination and connect the elements. Use the tool "Lecalo" and make a connection point B with point C. We made a pattern! Thus, with the help of this pattern you can sew a beautiful dress using only improvised means. A ready-made pattern will help to realize all your wishes, and you can decorate the material and execute your style, taking into account the entire adjustment of the pattern from this lesson. We hope that this material has pleased you.
Comments
Related posts:
 How to make a beautiful chiffon dress with your own hands with a lining: photos of models, patterns and techniques for work.
 How to sew a new dress with your own hands for a girl or how to make a dress yourself?
 Decoupage of housekeeper with their own hands - master class and photos for decoupage
 How to make an autumn ball dress with your own hands. Tips and photos.
 How to make a dress for a daughter or a girl with her own hands: photos and tips.