Learning how to weave a hamster of rubber bands on photos and video lessons
Content
- Video lesson on weaving a hamster of rubber bands on a machine
- Weaving a hamster on a machine with step-by-step photos
- Video: Weaving a hamster on forks
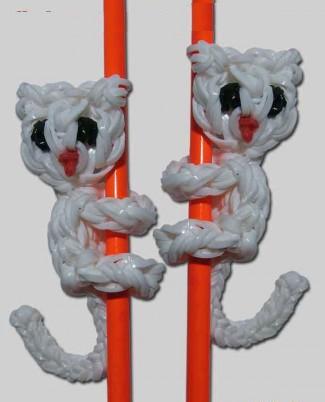
If you are interested in this lesson, thenIt is quite clear that you are fond of needlework of weaving of colored silicone rubber bands. This interesting activity mainly attracts teenagers and children, but it is very likely that even adults are interested in it. Often we just like different key chains, wallets or cases for phones that can be weaved from silicone rubber bands. For a keychain it is possible to adapt any figure of an animal or character from a fairy tale. In this particular lesson we'll talk about how to weave a hamster out of rubber bands. This craft is happily accepted as a gift by a child as a toy, or an adult, as a keychain. Weaving a hamster from rubber bands is carried out using different tools and devices. The hamster figurine is formed on a special machine with columns. In the absence of the machine, you can adapt the most common forks instead of the tool, and on them weave the product. In the lesson, some videos are collected, as well as master classes with step-by-step photos, supplementing information on how to weave a hamster out of rubber bands.


Video lesson on weaving a hamster of rubber bands on a machine
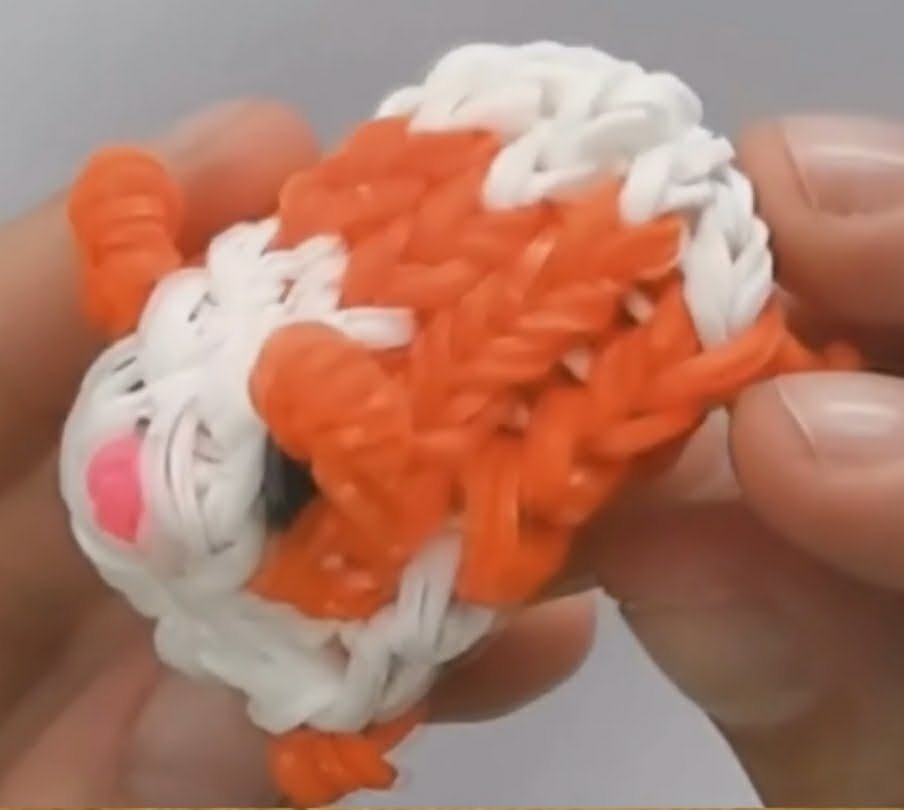
The first video lesson will show to beginners howCorrectly weaving a hamster of rubber bands. It is recommended to start needlework from the manufacture of all small parts. First you need to weave the paws, ears and blanks for the eyes. For braiding the hamster, we prepare orange, white, black and pink gum, two locks and two hooks. We need to crochet the hamster's legs without a machine. For the back foot, the orange bands are folded three times, we put them on the hook, and then we throw them onto an element of the same color. The resulting part will be transferred to an additional wooden stick. In the same way do the second back leg. For the front legs will need four gum white. With their help, the front leg is formed. We make two white paws, and transfer them to a stick. Then you need to weave the hamster's ears, each of which requires three parts. Ears make different colors, the first is orange, and the second is white. They are formed by the same technique, and then for a while are placed separately, on toothpicks.

A hamster made of rubber has two eyes. The blank for the first eye is woven from two elements, black and orange, for the second of black and white. We'll wind the black part on the hook, and transfer it to the orange rubber band. Having finished the formation of blanks, proceed directly to the weaving on the machine. The first row of rubber bands is put on a circle, twisting them with a figure eight. The second layer of parts is put on top, above the first, without twisting the rubber bands. In the process of forming the second row, we put on the workpieces for the hind legs. As a result of such actions, we managed to weave the perimeter of the hamster's body. After this, the lower elements will be picked up by the crochet, and we will throw them upward. Then we string the third row, and the lower irises also carry upwards. Then add the fourth row, followed by the lifting of the lower parts, as well as the fifth and sixth line of white elements.
On the next seventh row in the work are addedFront legs and ears of a hamster, and in the eighth blank a peephole. After that, we need to weave the line of irises, and remove the entire netting into two separate hooks. The loops from each of them are put on the elastic bands, which are then tightened into a knot. This knot holds the whole hamster, and on the last noose is a plastic lock. From a pink iris we will perform a spout, helping ourselves with a hook, we will connect a spout with a muzzle of a hamster. The spout of the spout on the wrong side is put on the lock, fixing it there. We open the open loops from the back of the figure onto the hooks, and close them with the already known method. Before you tighten the last gum in the loop, it is advisable to add a soft filler inside the figure. Now you see what a nice hamster of elastic bands we managed to weave.
Video: How to weave hamster
Weaving a hamster on a machine with step-by-step photos
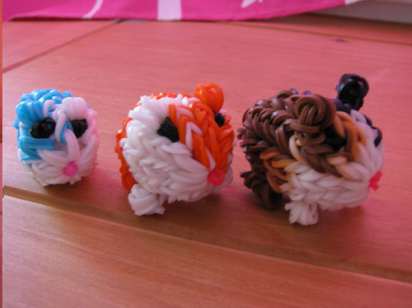
Next master class with step-by-step photosShows a somewhat different technique of making a figurine. Despite the different ways of weaving, the hamster made of rubber has a very similar appearance. The only difference is the color scheme, which is used for needlework.
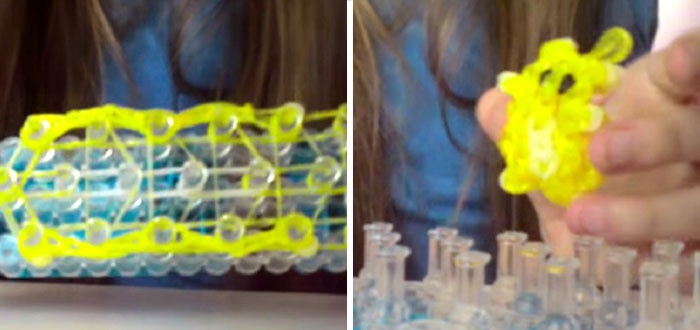
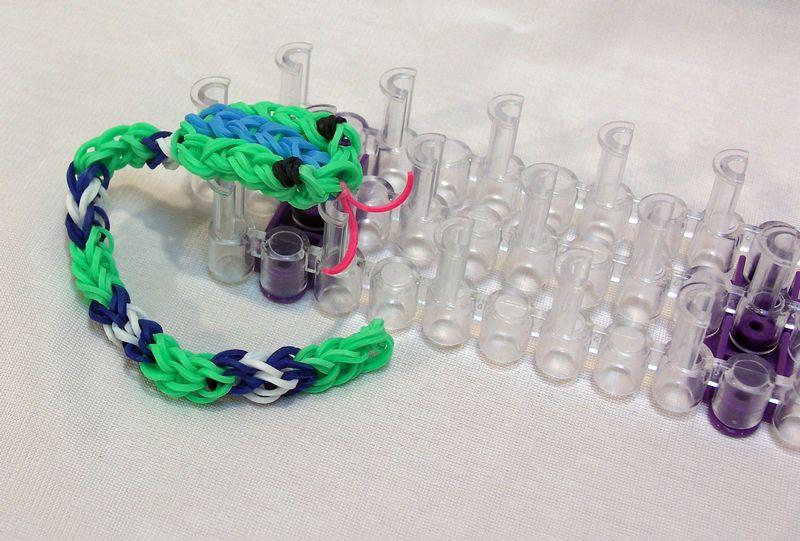
On the columns of the machine put on pairs of irises, on each extreme row of six pairs.
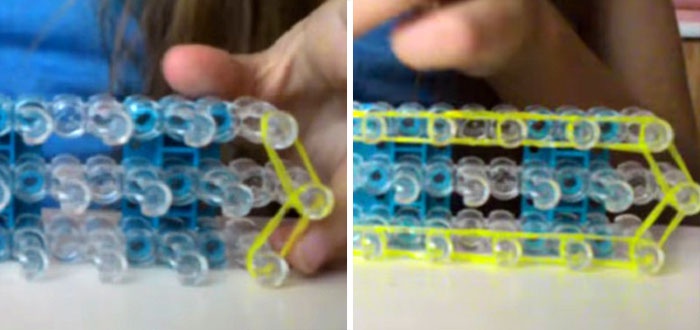
As a result, we have a polygon in which it is necessary to fill the inner part with white and yellow elastic bands.
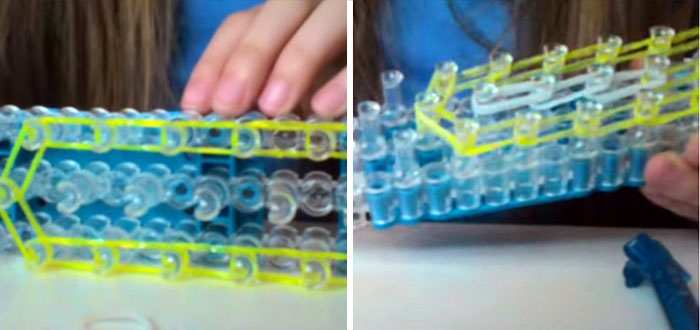
Now we proceed to the formation of paws and ears,Which are performed by the same technique as in the previous video master class. Now the moment has come when all small details, like ears and legs, need to be placed in their places.
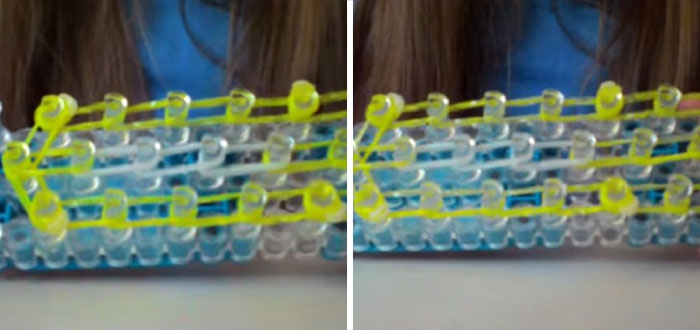
And now we stretch five large triangles of rubber bands along the entire length of the polygon.
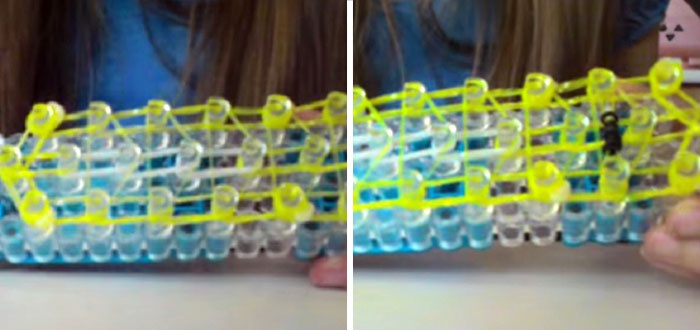
After this, we twist the nodules from the black irises, andWe will add them in the top part of a preparation, on pegs number two. And now you need to weave the main canvas, gradually adding details, and translating the lower irises upwards. This phase of work almost coincides with the video lesson. Shave and arrange in his place a black nose, and tighten the loop around the top of the head. After that, we remove everything with the help of a hook.
Video: Weaving a hamster on forks
Comments
Related posts:
 How to weave of gum snake photo and video lessons
 How to weave animals of gum: photo and video workshops
 Weaving beautiful hearts from rubber bands on photo and video lessons
 We learn how to weave a butterfly from rubber bands on photos and videos to a master class