Universal bijouterie from clay - the world of polymer clay own hands
Preparation of modern and new handicrafts is a matterpainstaking and demanding a special attitude to work from a true master. Fortunately, the variety of modern techniques opens us an ever greater horizon of opportunities and discoveries, thanks to which it became even easier to work on our own things.
Universal bijouterie from clay - the world of polymer clay own hands
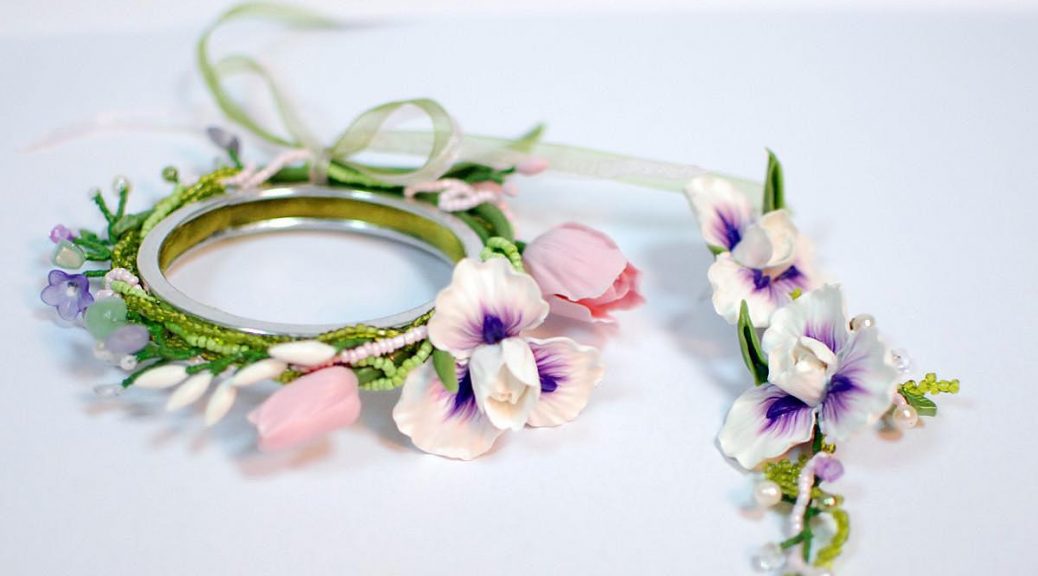
 The world of polymer clay is fascinating, interesting andvery flexible. It is for these reasons, to build something new is not particularly difficult or impossible task. For example, decoration. How many women are in search of universal options for working on decoration with their own hands? Perhaps we all have an easy passion for creating something of our own. Polymer clay allows you to do this, and a set of all sorts of interesting and entertaining articles on this subject only prompts for active action. This master class tells in detail how one can implement this or that kind of needlework of polymer clay with their own hands. But, on the example of work on one of its section - jewelry.
  We need:
- Take the polymer clay in different colors.
- Also, you need a toothpick
- Need a baking tray from the oven
- Nitochka
- Needle with eyelet
We work with clay It should be noted immediately thatThe polymer clay can be obtained by two options. The first is the ability to use your own clay. It can be made from special mixtures and lessons for work with your own hands. But, this option is too time consuming and it is better to get carried away by the process. Therefore, the second option is more important - buying polymer clay for cooking with your own hands. After that, the clay needs to be kneaded. It will warm up and as a result - better deform. When you feel that the clay is ready for work (it will be easy to warm up), you need to cut a piece that fits the size of the bead in the desired color solution. We will roll our piece of clay in hands and form the desired piece (rounded).  Also, you can simply cut the clay with a knife andmake small pieces. Next, lay out the pieces that we get with a cutting board and add a small drop of oil (preferably mineral). After, mix these pieces again, in one piece. Thus, oil from minerals will make from clay a more pliable layer for work. Working on the bead Next, you need to pierce the mold with a toothpick, in the center. It is necessary to keep the shape of the bead, and the hole must be such that the needle easily passes through it. After - lay out on our baking tray small items. On the baking sheet, or rather - in the oven, there will be baking of our clay. By the way, such a tray can no longer be used for food.
 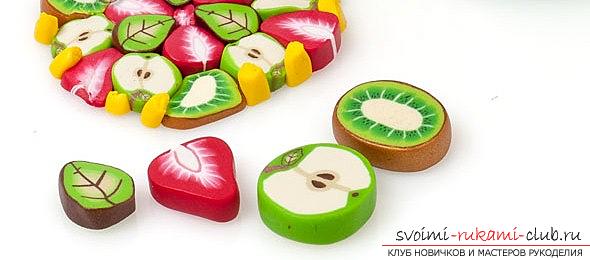 Open variety of techniques allows usprocess the bead by your own decision. Some wizards combine two different shades of color to recreate the gradient. Someone tries to recreate small casts, forming small beads from the beads. For example, using a rolling pin, they knead the clay and, afterwards, process its shape. Thus, you can recreate truly unique and incredible things made by yourself. Baking and finishing It is necessary to recreate the necessary molds for clay, then, to form your version of the beads. After the work with the beads is completed, they need to be baked in the oven. Here everything depends on you. The amount of time in which the clay will be baked is the time declared on the package of the clay product. After the clay is processed by baking, it must be formed into beads. Thread and needle are useful here. Needle thread with thread in our holes for the product. We make the product at will. Here everything depends on your imagination and desire to implement interesting solutions.
 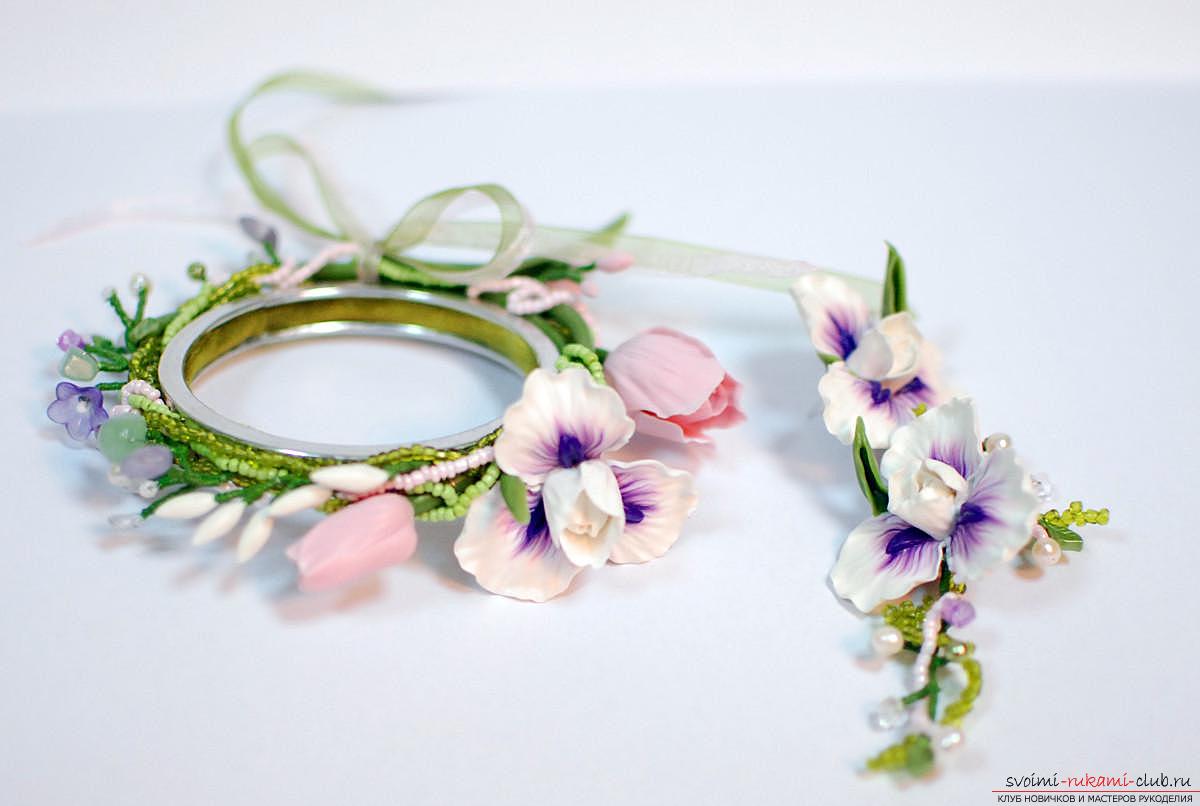 The beads are ready! They can be worn and used for their intended purpose. Of course, in the moments of work, over the beads, you can carry out various manipulations, change shape or improve design.
Comments
Related posts:
 Pearl bead from polymer clay own hands - master class
 The English rose with your own hands - flowers from polymer clay and a master class
 Flower hairpins made of polymer clay - crafts and homemade articles by their own hands
 How to make pearl earrings with your own hands? Needlework from polymer clay
 How to make a doll of polymer clay with your own hands? Lesson and photos