
An unusual Christmas tree from organza will decorate your house or such a Christmas gift will suit you as a gift to family and friends.
New Year is the time of miracles and fulfillment of desires. But is the New Year without a Christmas tree? A beautiful and wonderful New Year tree can be made with your own hands from a thin transparent material, for example, from organza. Such an unusual Christmas tree is suitable for decorating a festive table or complementing the decor of your house. 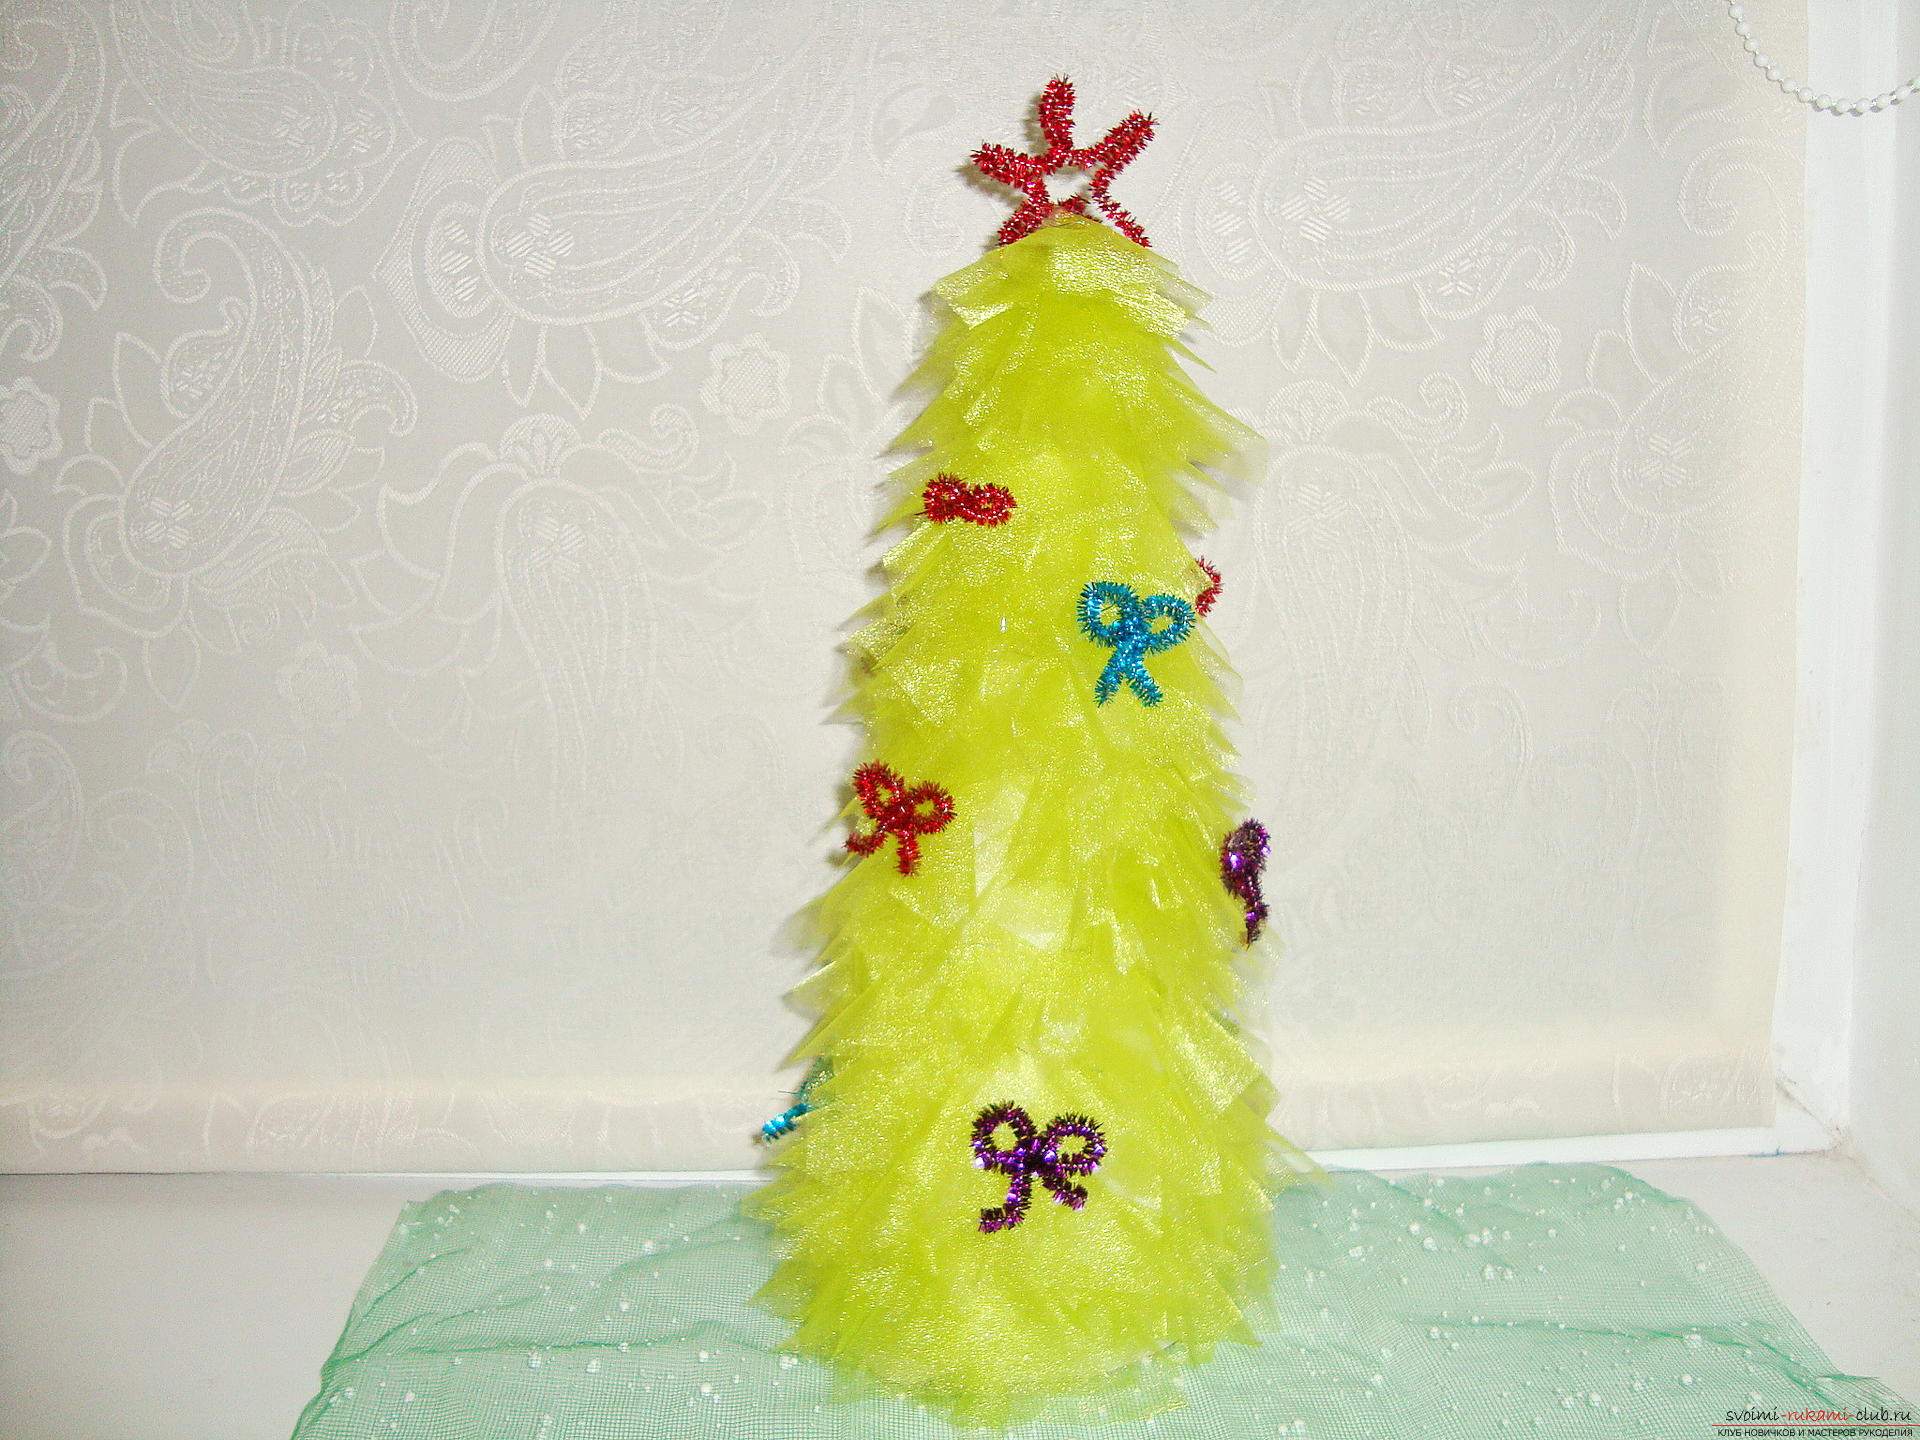 The choice of the color of the Christmas tree depends on your interior andpredilections for color. My Christmas tree has a gentle green color, closer to the salad. It took two meters of organza in this color. You also have to prepare it: stapler and staples, hot glue and cardboard. At the first stage we start to make a tapered base for a festive spruce. The higher the cone, the larger the tree. So choose the size of your wishes, if you want a small New Year's toy on your desktop, then it will be enough to be a twenty-centimeter beauty. But the corner of the room is better decorated with a high craftsmanship, which from the floor to the top will be all fifty centimeters. Depending on the size, the amount of organza spent is also changed, two square meters of organza were used for my Christmas tree, which was 35 centimeters high. The cone is glued from the semicircle, which is delineated by two pencils (they are connected by a thread according to the principle of the compass) or the cone is formed approximately when a large sheet of cardboard is twisted, then the base is cut in one plane "by eye". The line of fixation of the cone should be well glued.
  At the next stage, we form the blanks for sprigs of spruce. All of them will be from the squares of organza of different sizes, but the parameters of the workpiece are approximated to a square of six by six centimeters.
 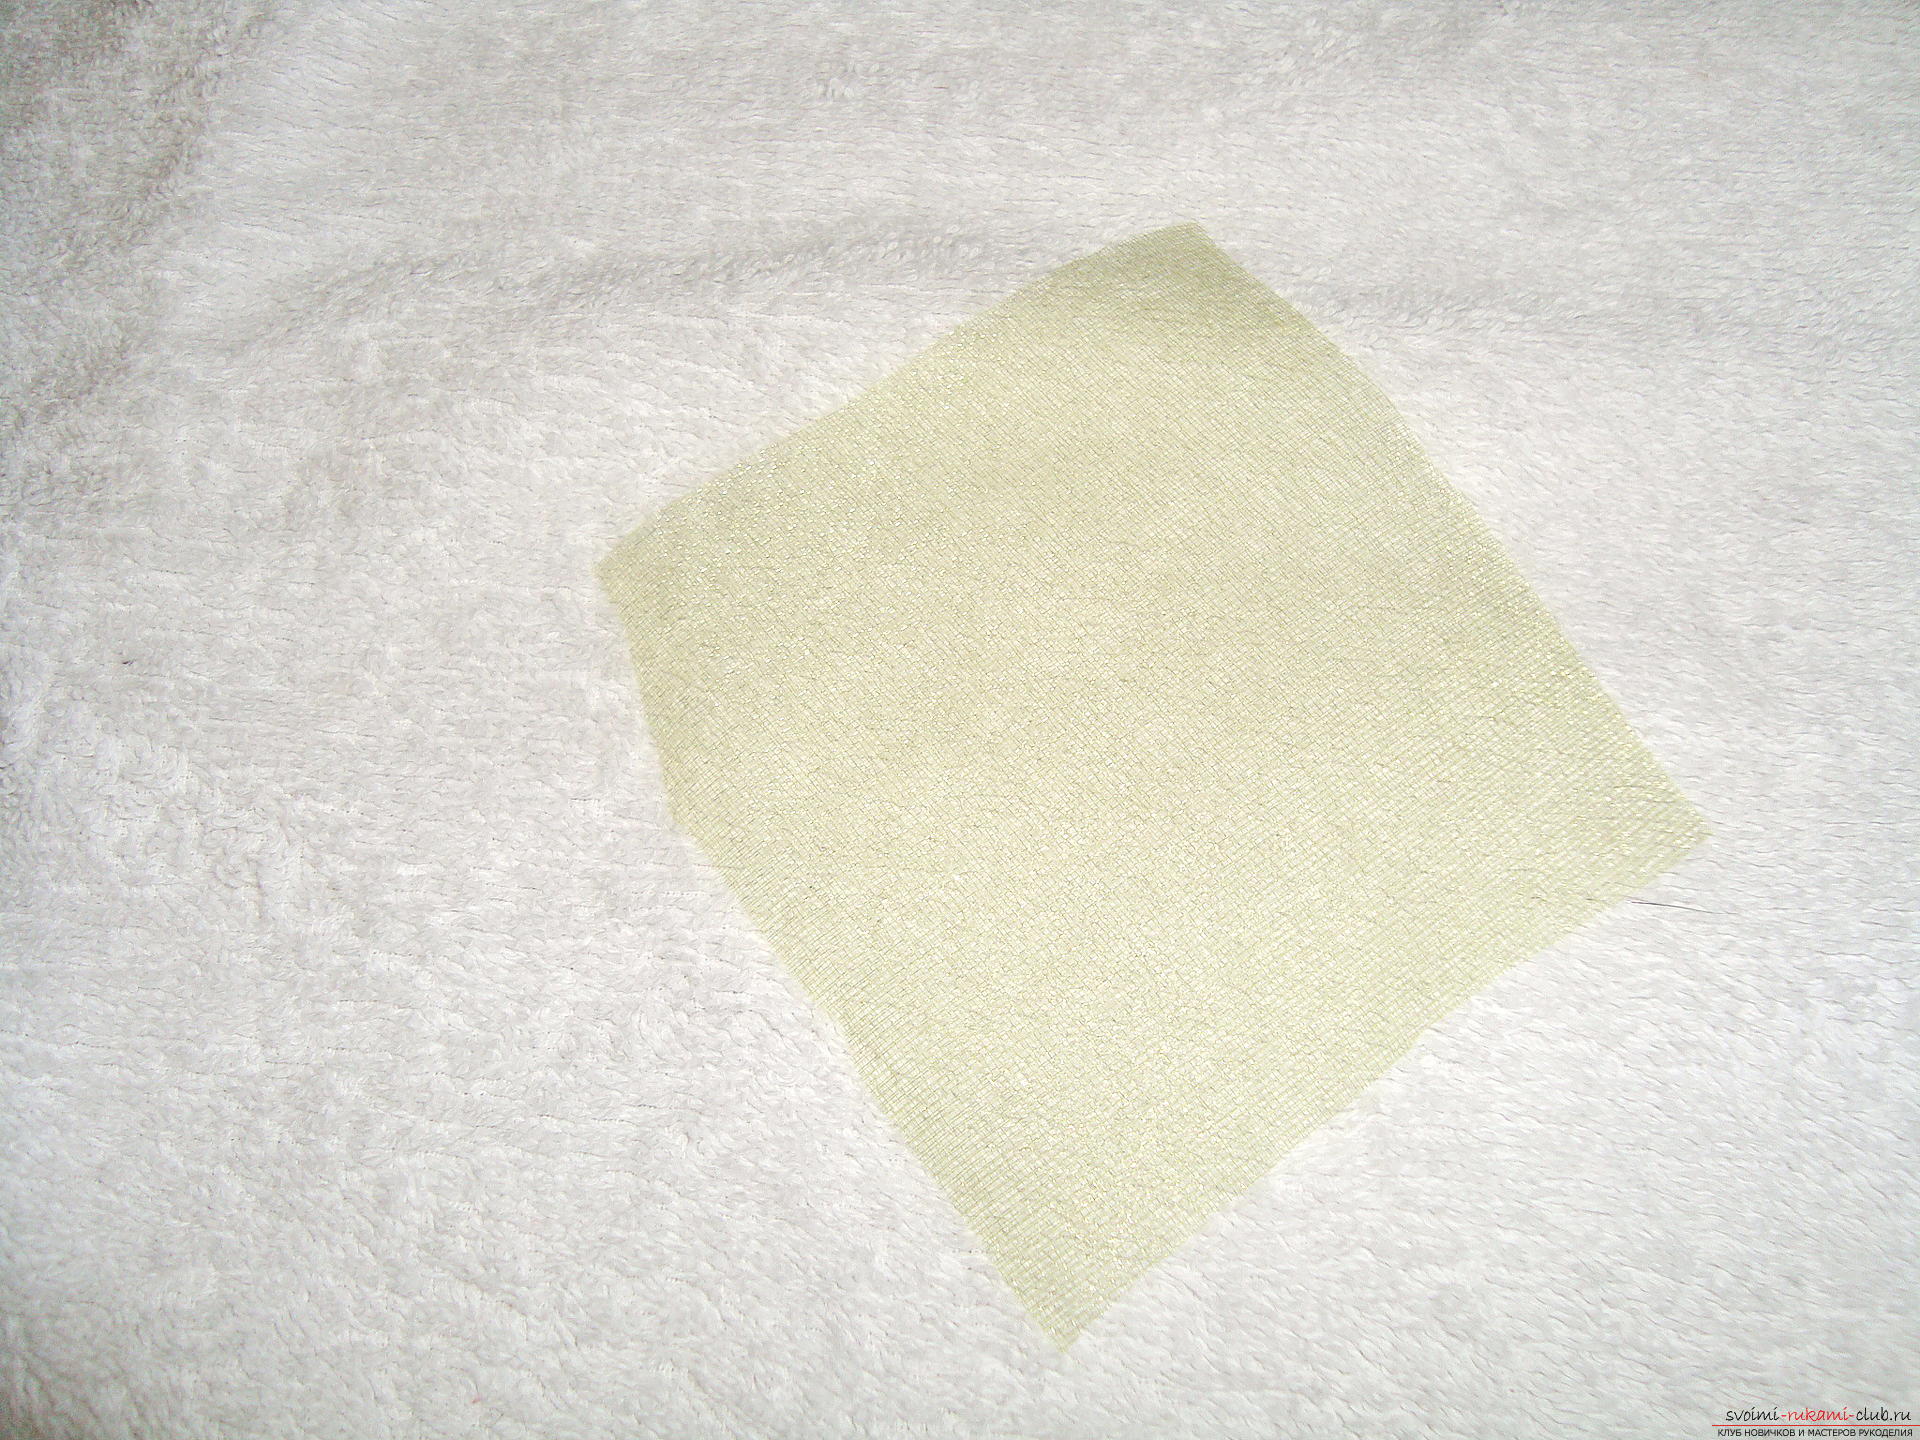 Now we take up the main job, weIt is required to bend the details in the form of lush branches from each square of the organza. first we bend our square diagonally, but the opposite angles are slightly displaced, they should not overlap one another.
 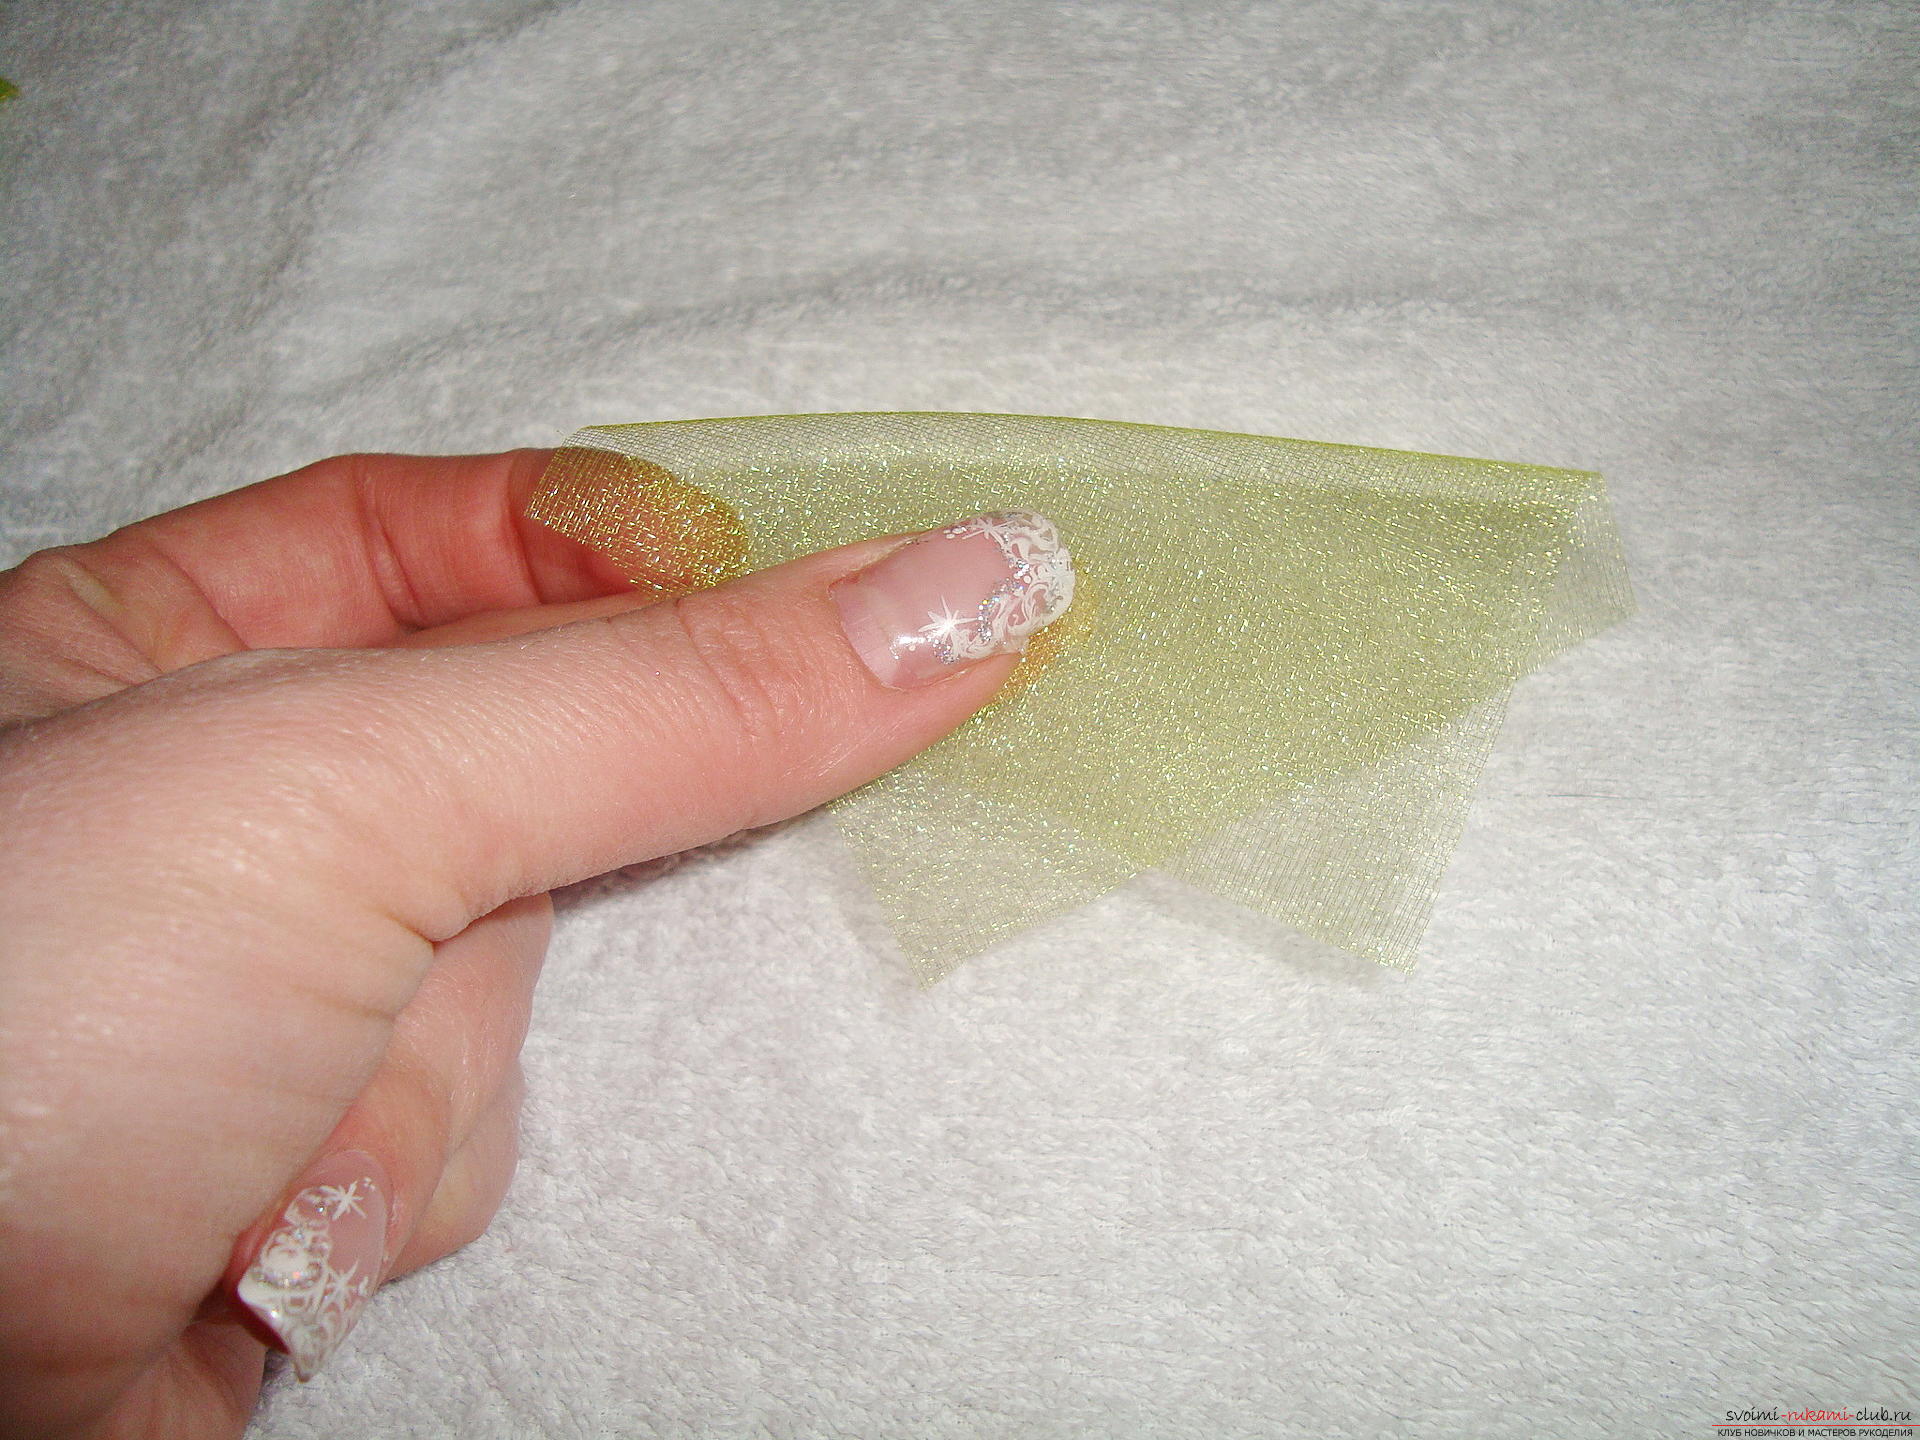 Again, bend the part in half, so that the bend passes through the center and unevenly separates the layers of the organza.
 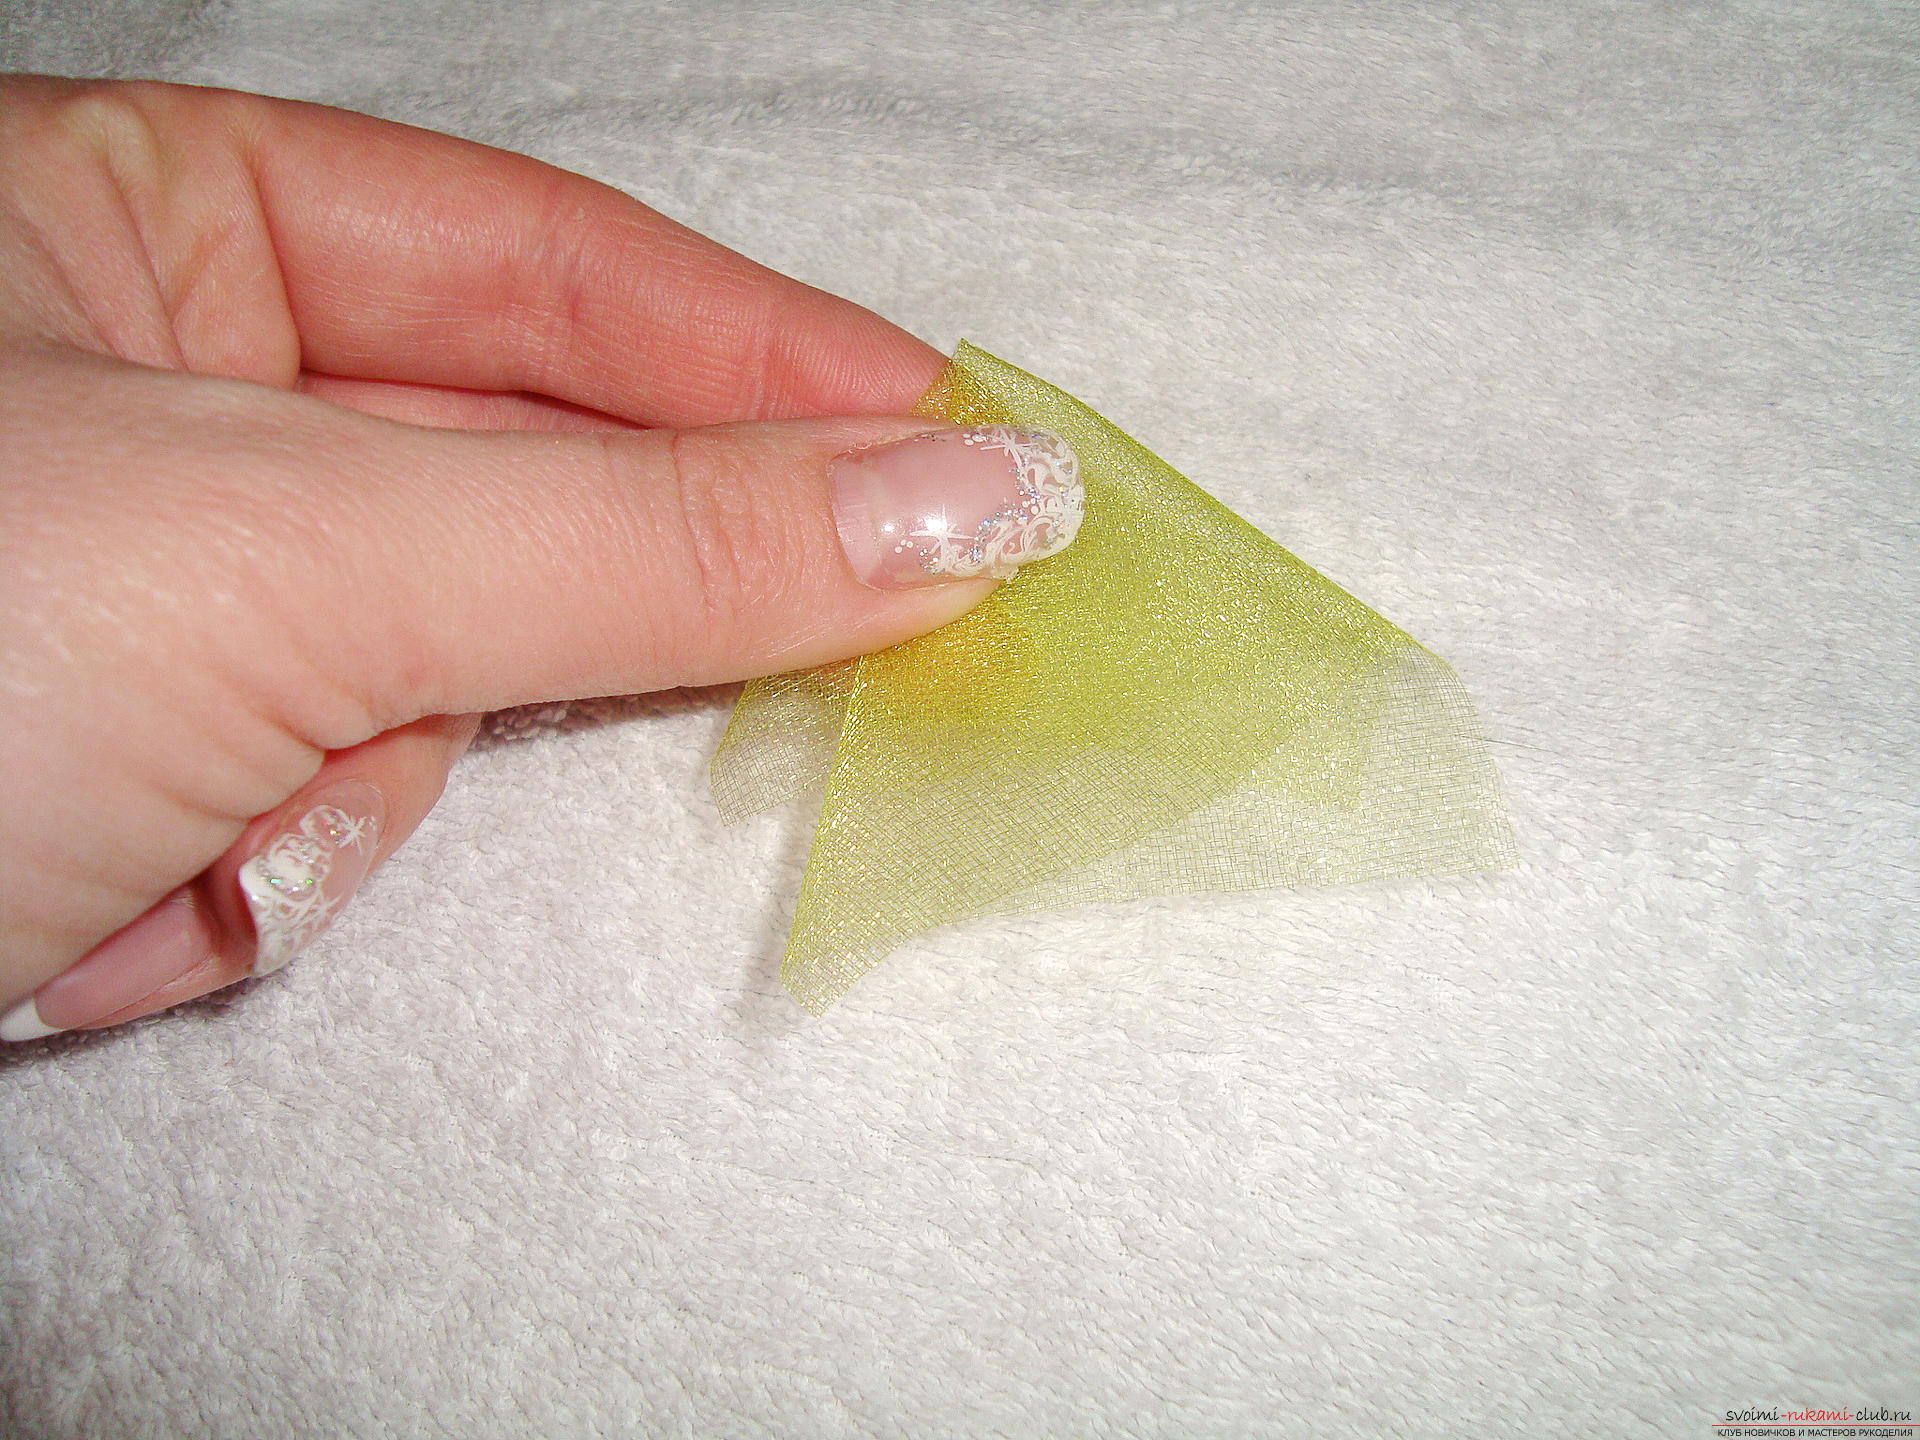 To fix the part in the received form, to usyou need staples and staples. With the help of a stapler, put the bracket in the upper corner, where all the bends begin. Often enough one staple, even if the matter is not caught in four layers, then in the future we will glue the elements and all the details will remain intact. We need a few dozen branches, and more than a hundred will be spent for a large Christmas tree. When all the blanks are turned into lush elements, it's time to shape the Christmas tree itself. We have a trunk in the form of a cone and paws of spruce in the form of fluffy triangles, now we connect these components. We need to prick fluffy branches from the base of the trunk. To do this, heat the gun with hot melt and squeeze a drop of adhesive onto the top corner of the part, that is, where the clamp is. Do not wait until the glue dries, and immediately press the part against the trunk in its lower part. Try to gently press the part, remember that the glue is hot, and the organza tissue is very thin, so it's easy to get burned. The lower layer of details should only touch lightly the base of the rounded trunk, if the organza is below the plane of the New Year's spruce, that is, the base of the cone, then the craft will be unstable and later fall to one side or fall completely.
 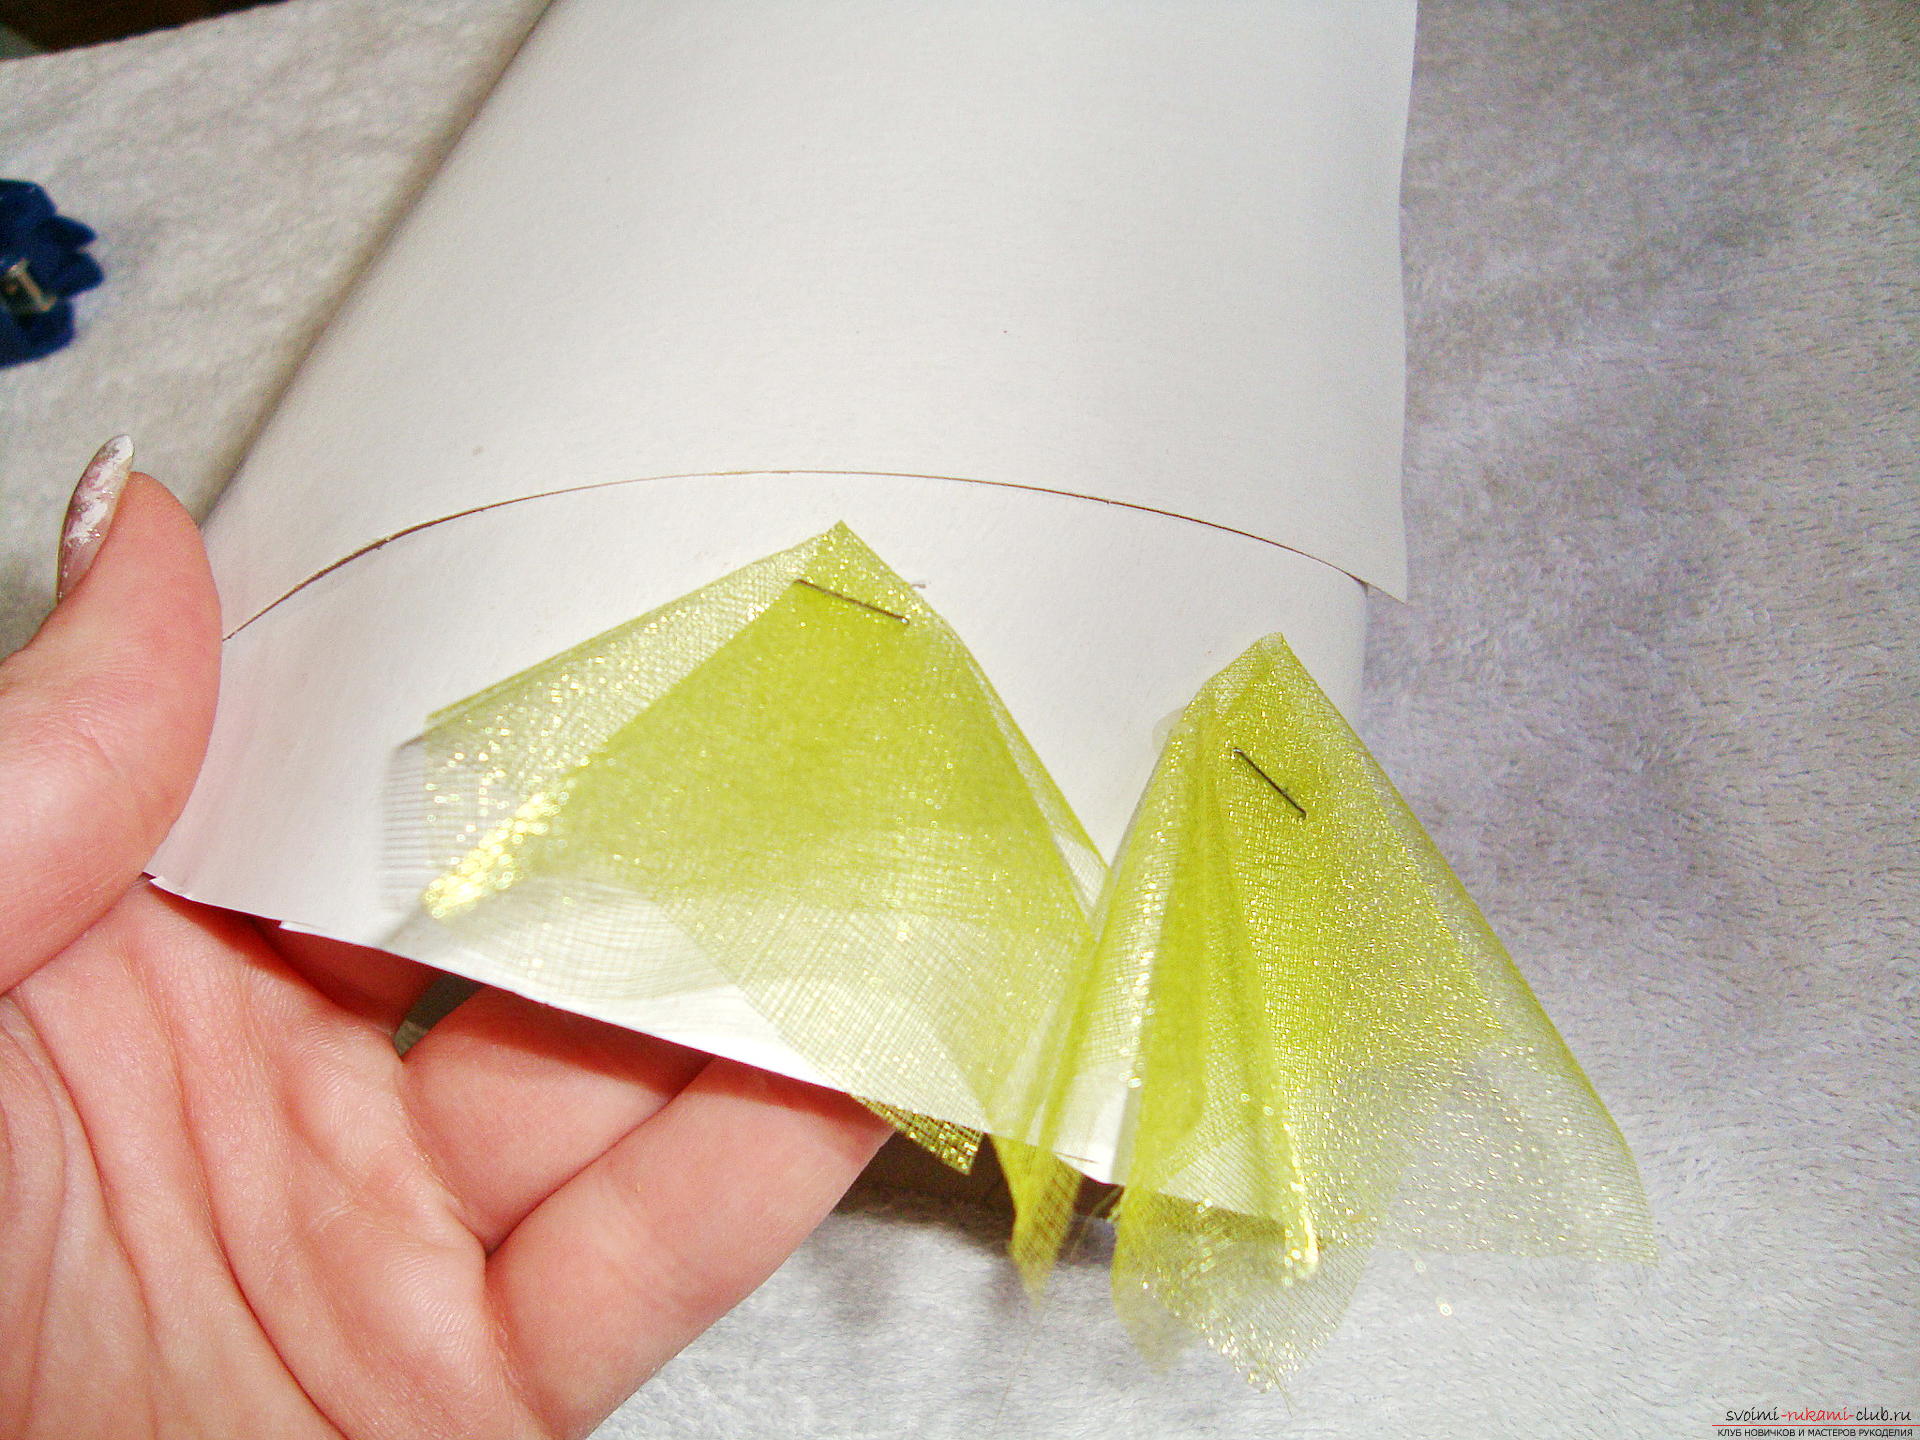 The next layer of beautiful fluffy branches shouldstick over the gaps of the details of the first line, that is, as if in a checkerboard pattern. The second row should cover the gaps between the corners of the lower parts. All branches of the spruce should be glued with a drop of glue.
 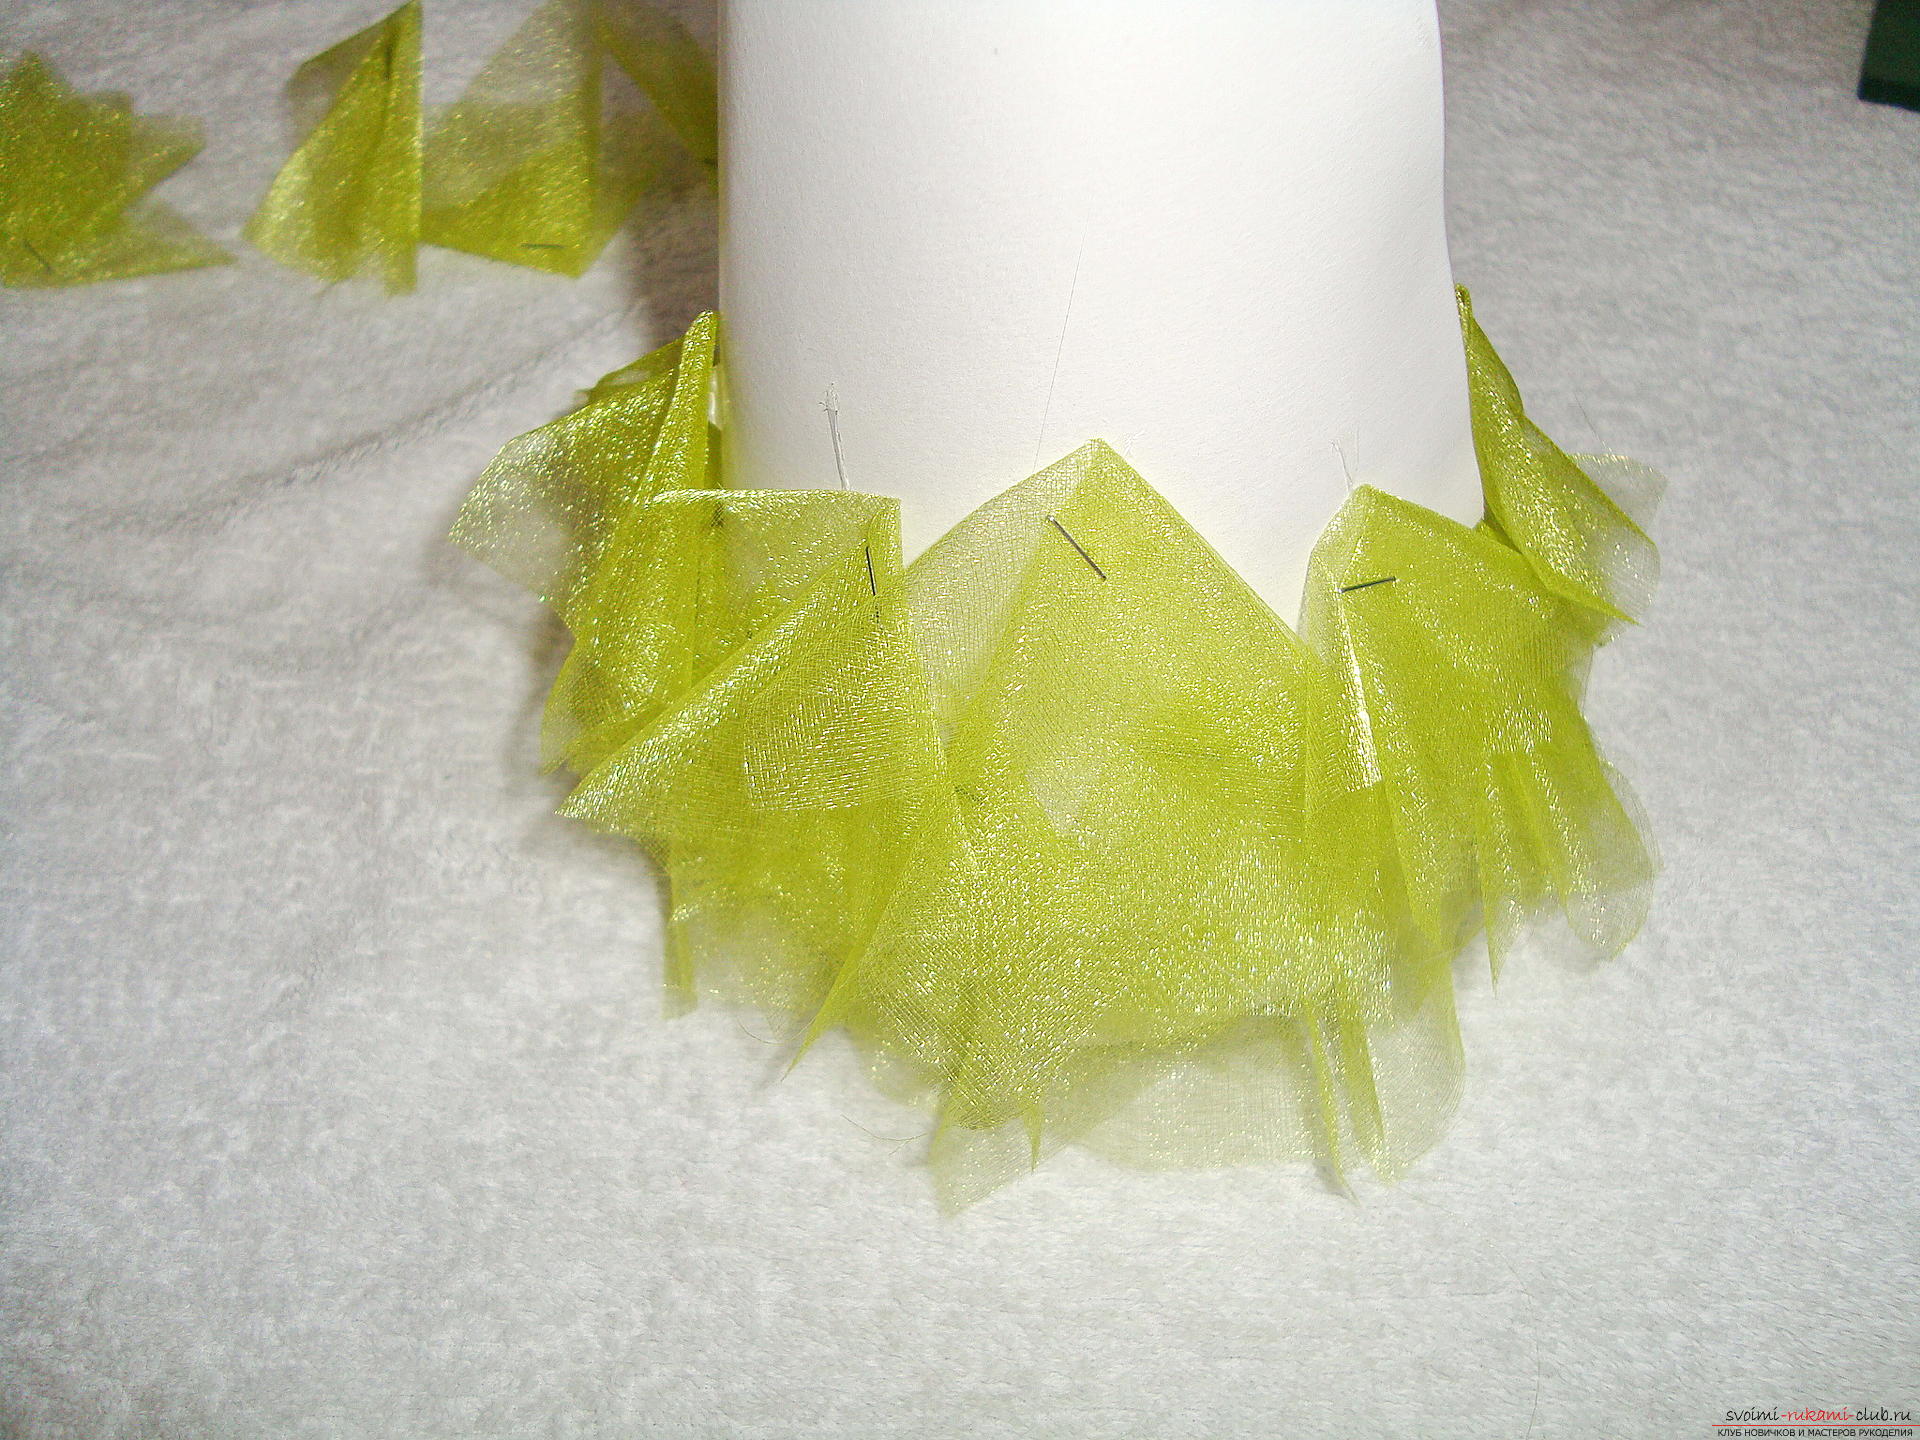 Layer by layer, form a herringbone, approachingeach tour to the top of the New Year's craft. Since the cone tapers upward, with each row the number of elements will decrease slightly. But at the same time, try every new element to cover the gap in the bottom row.
 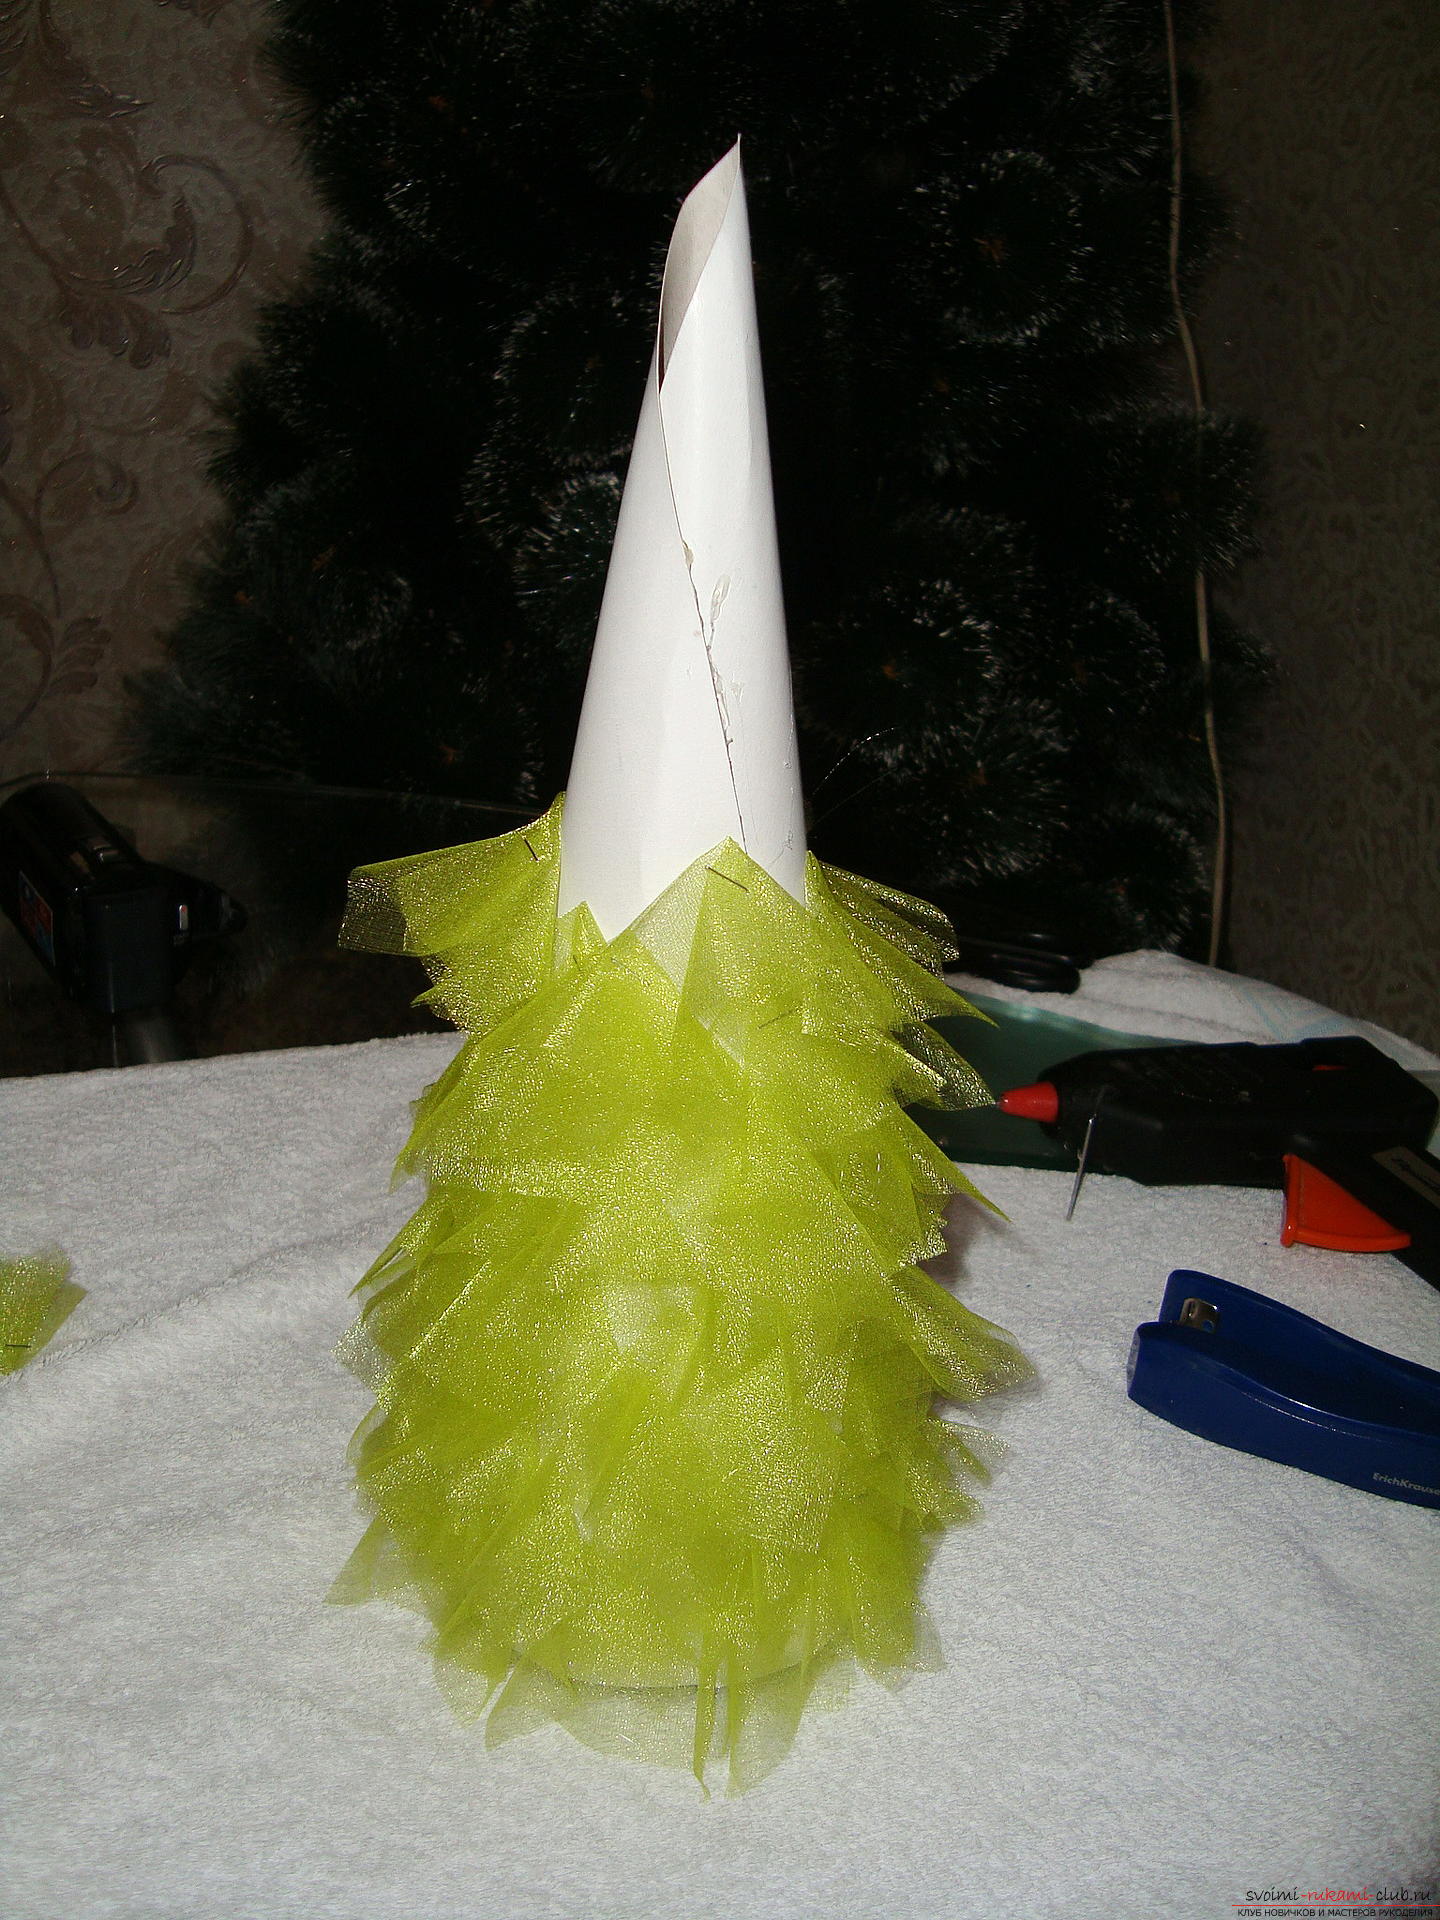 As you approach the top, the angle of gluing the parts from the organza does not change, you need to create a pointed top.
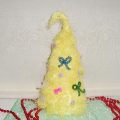
 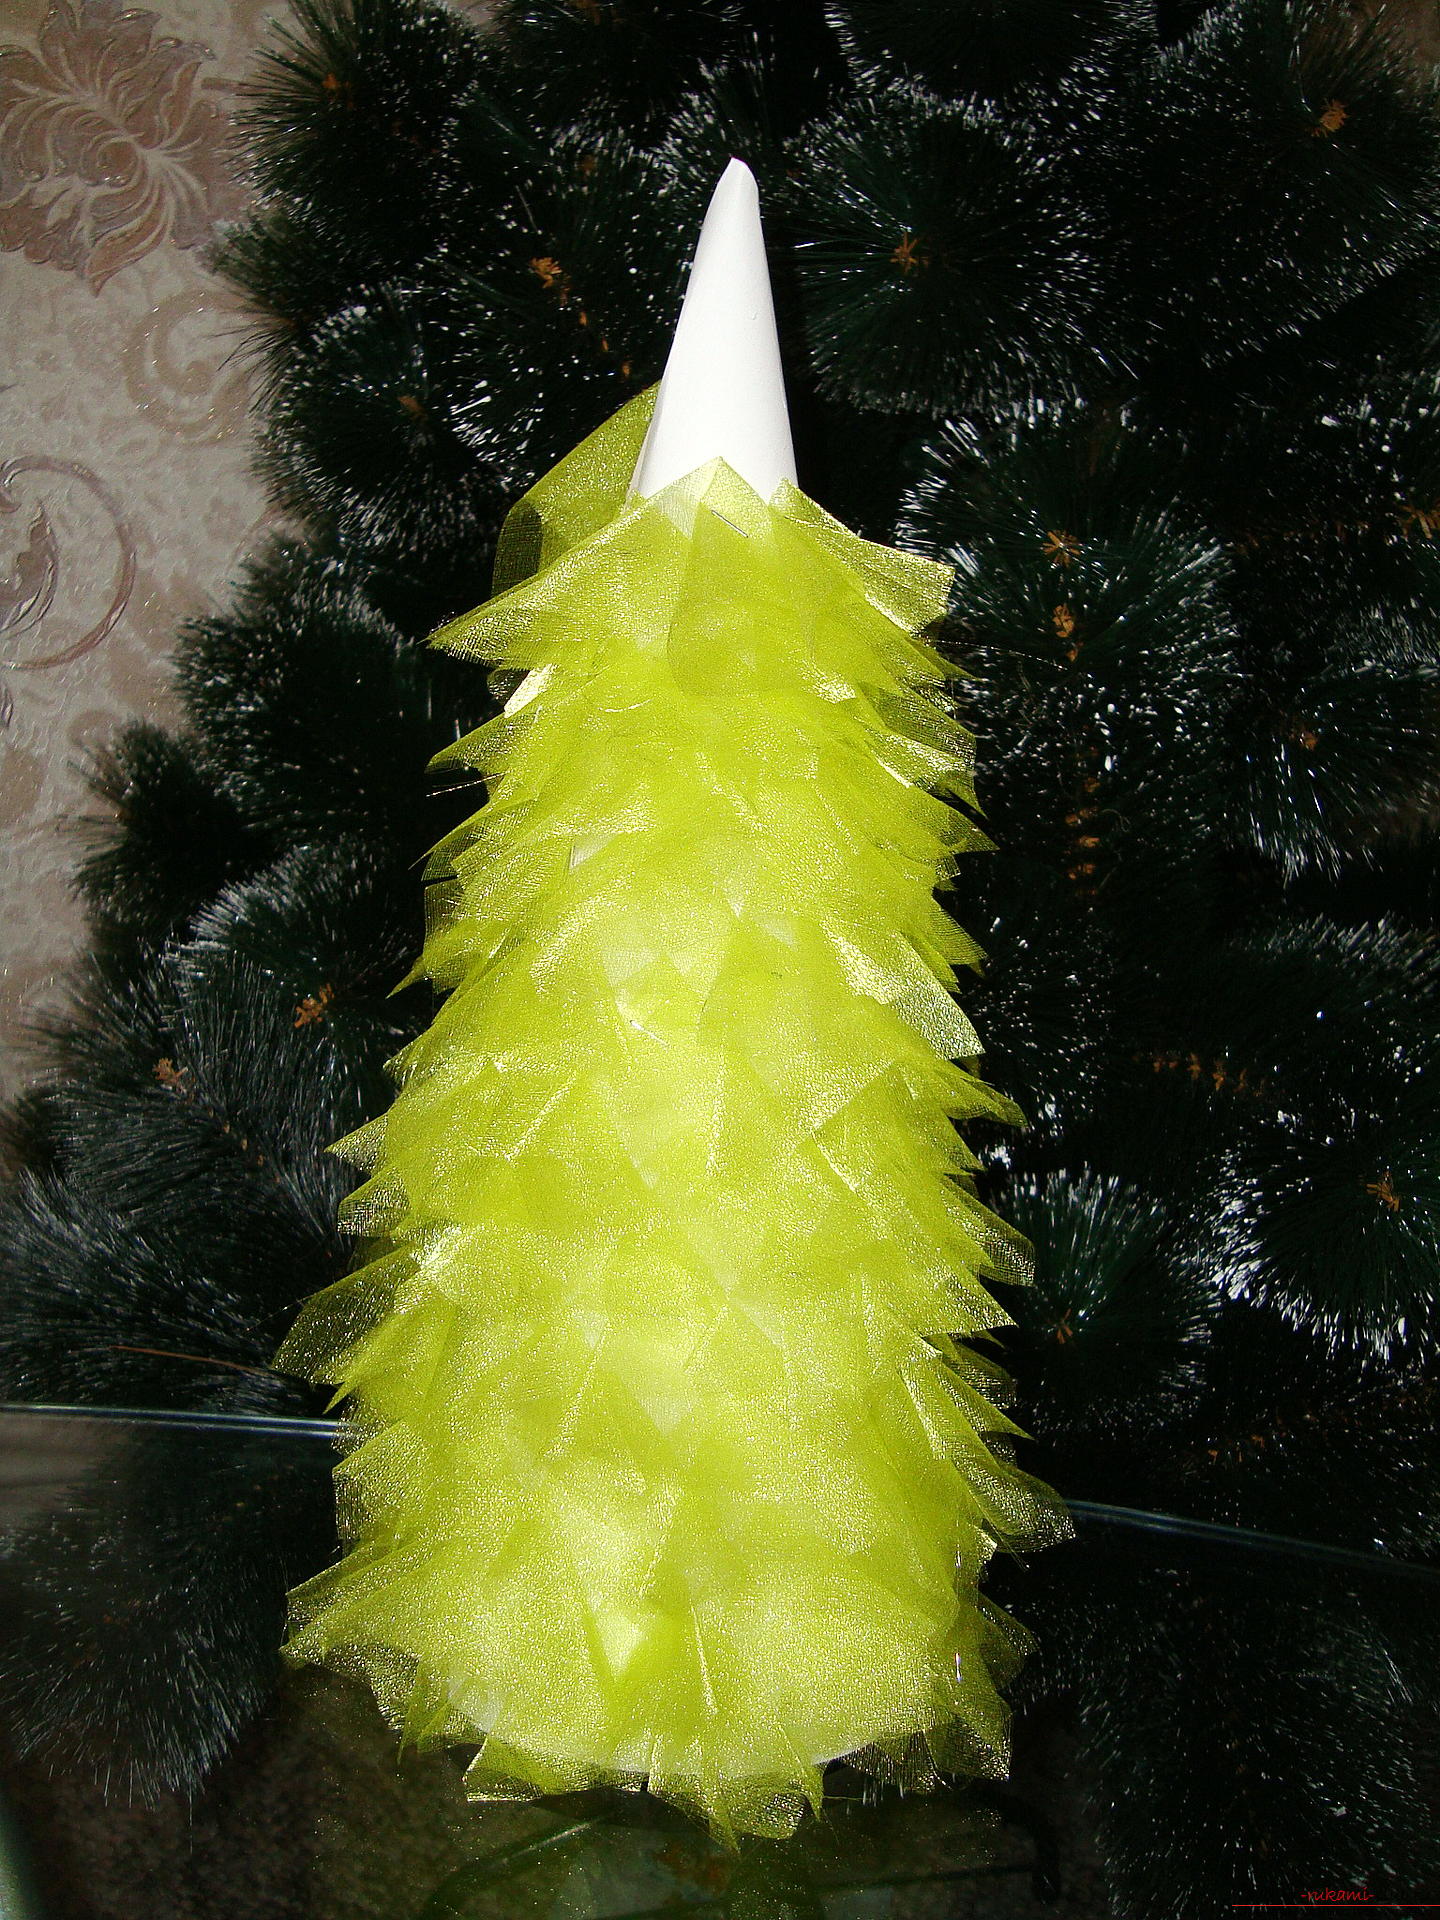 The last elements are glued so as to hide the tip of the cone.
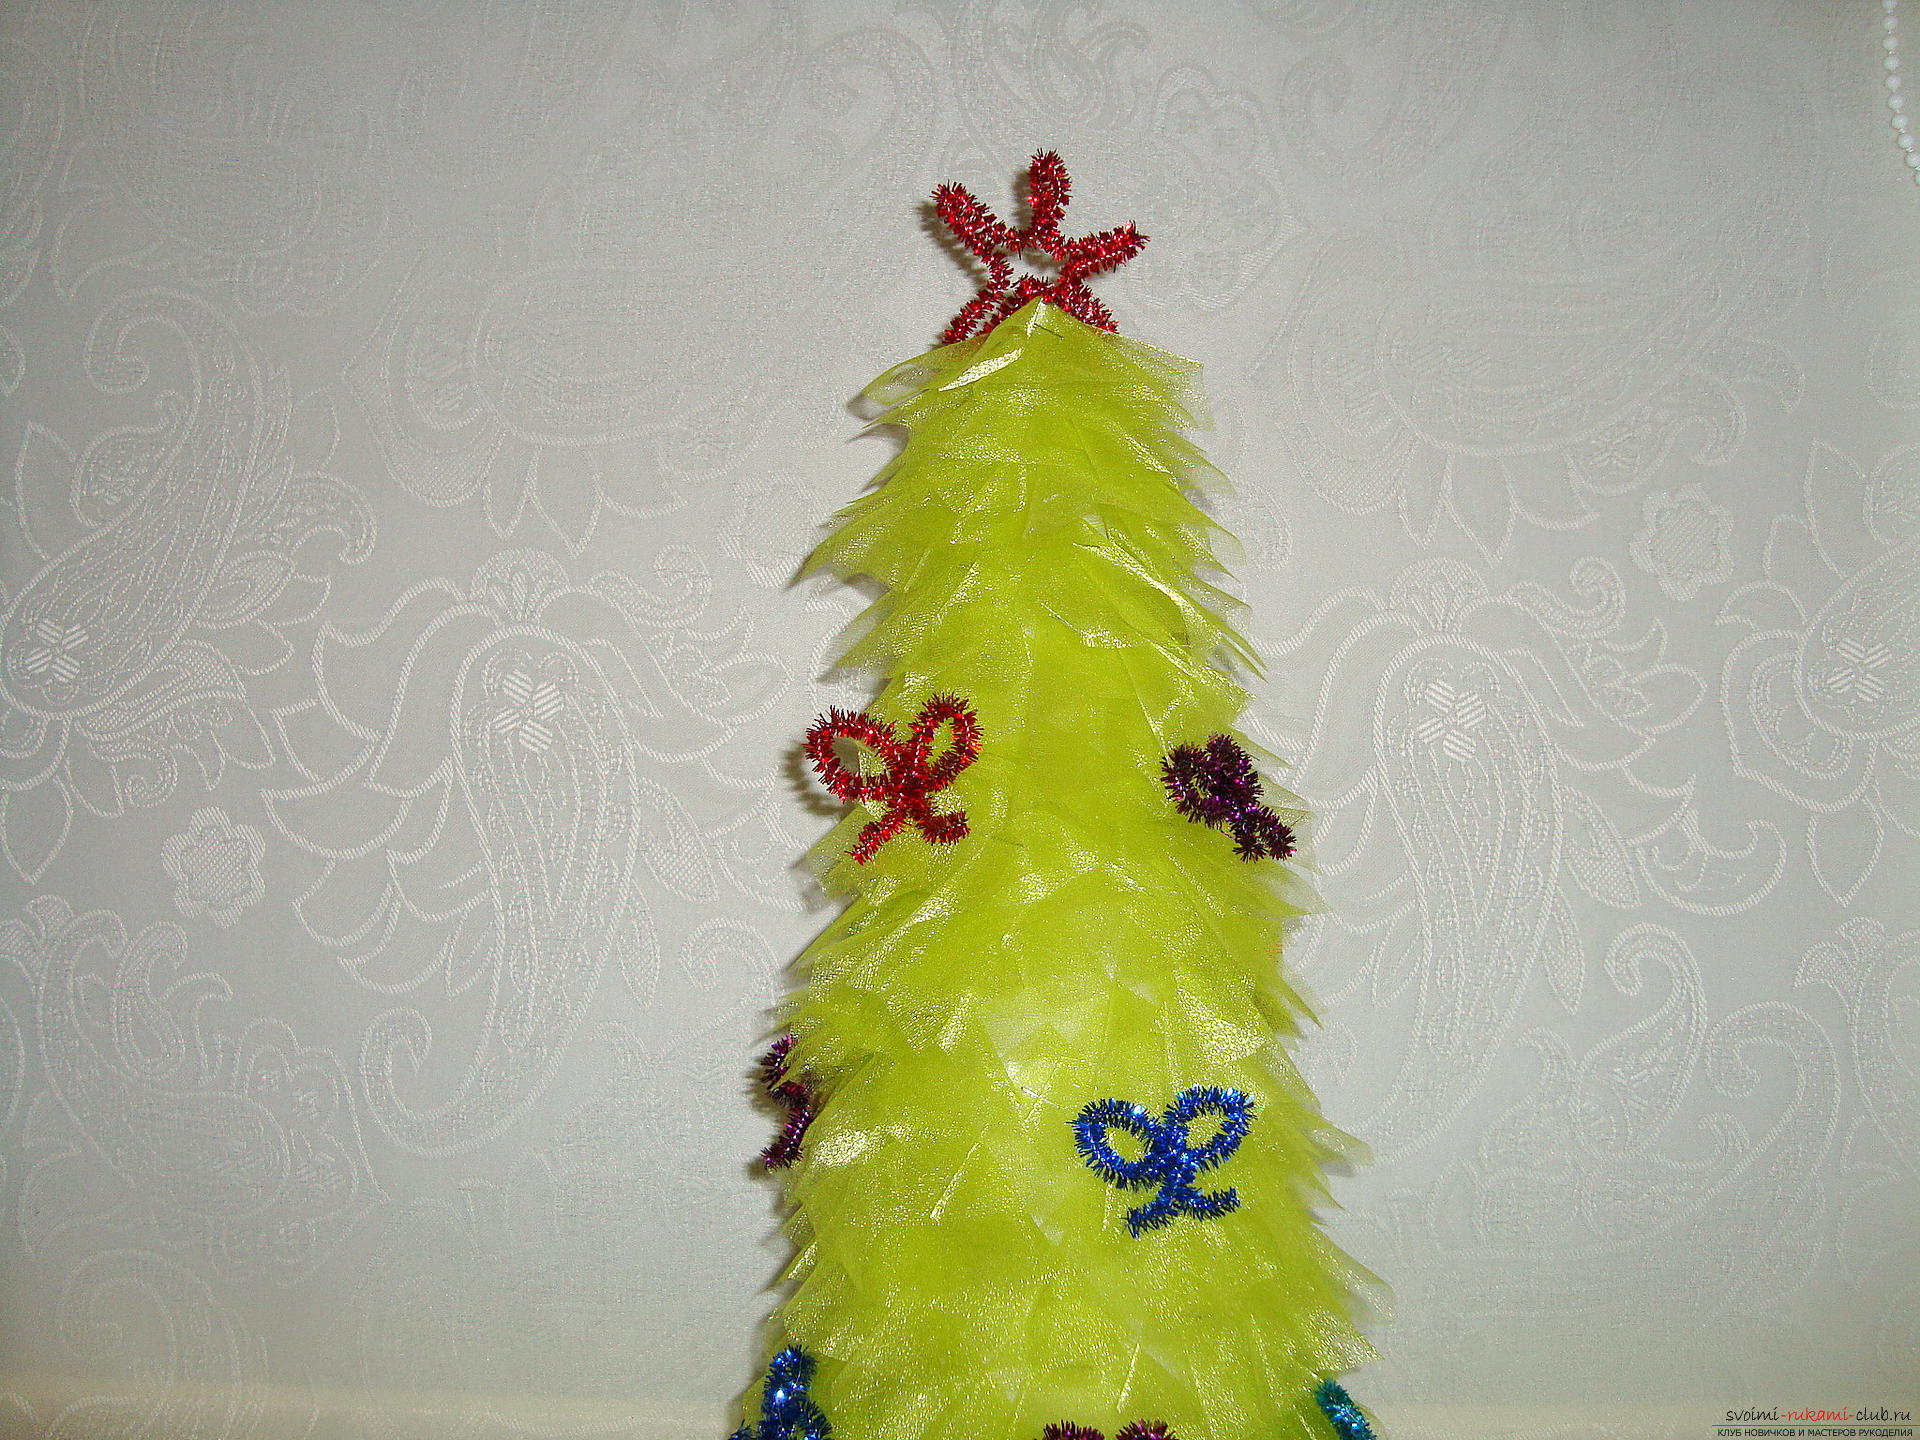
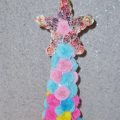
 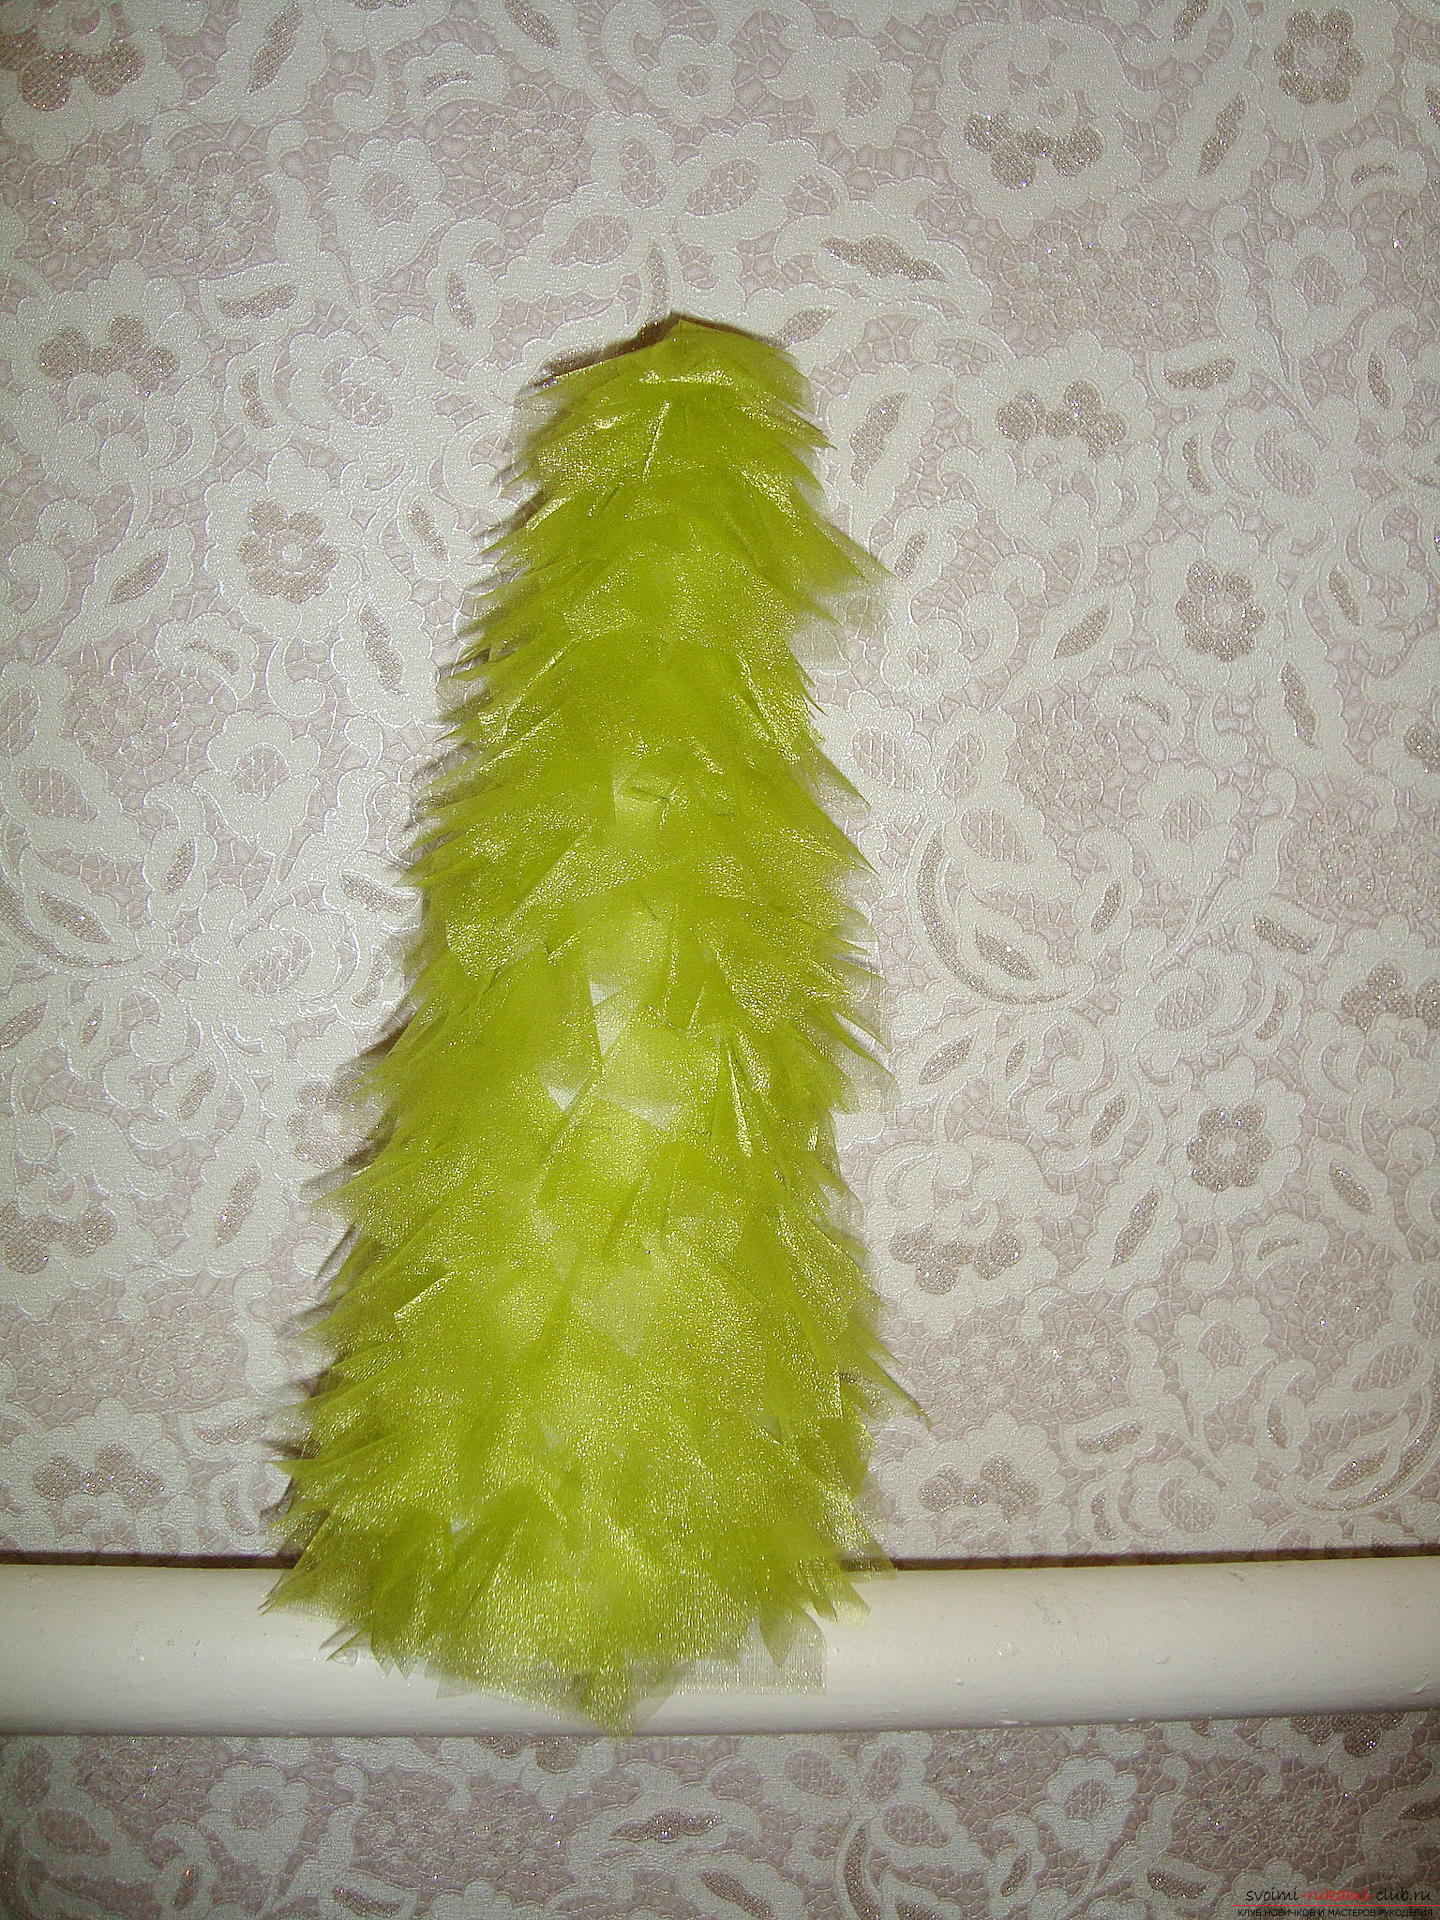 Now we start to create Christmas tree decorations,for this we need a decorative wire with a fir tree. From such a wire of red color we bend the star, which will decorate the top of our New Year tree.
 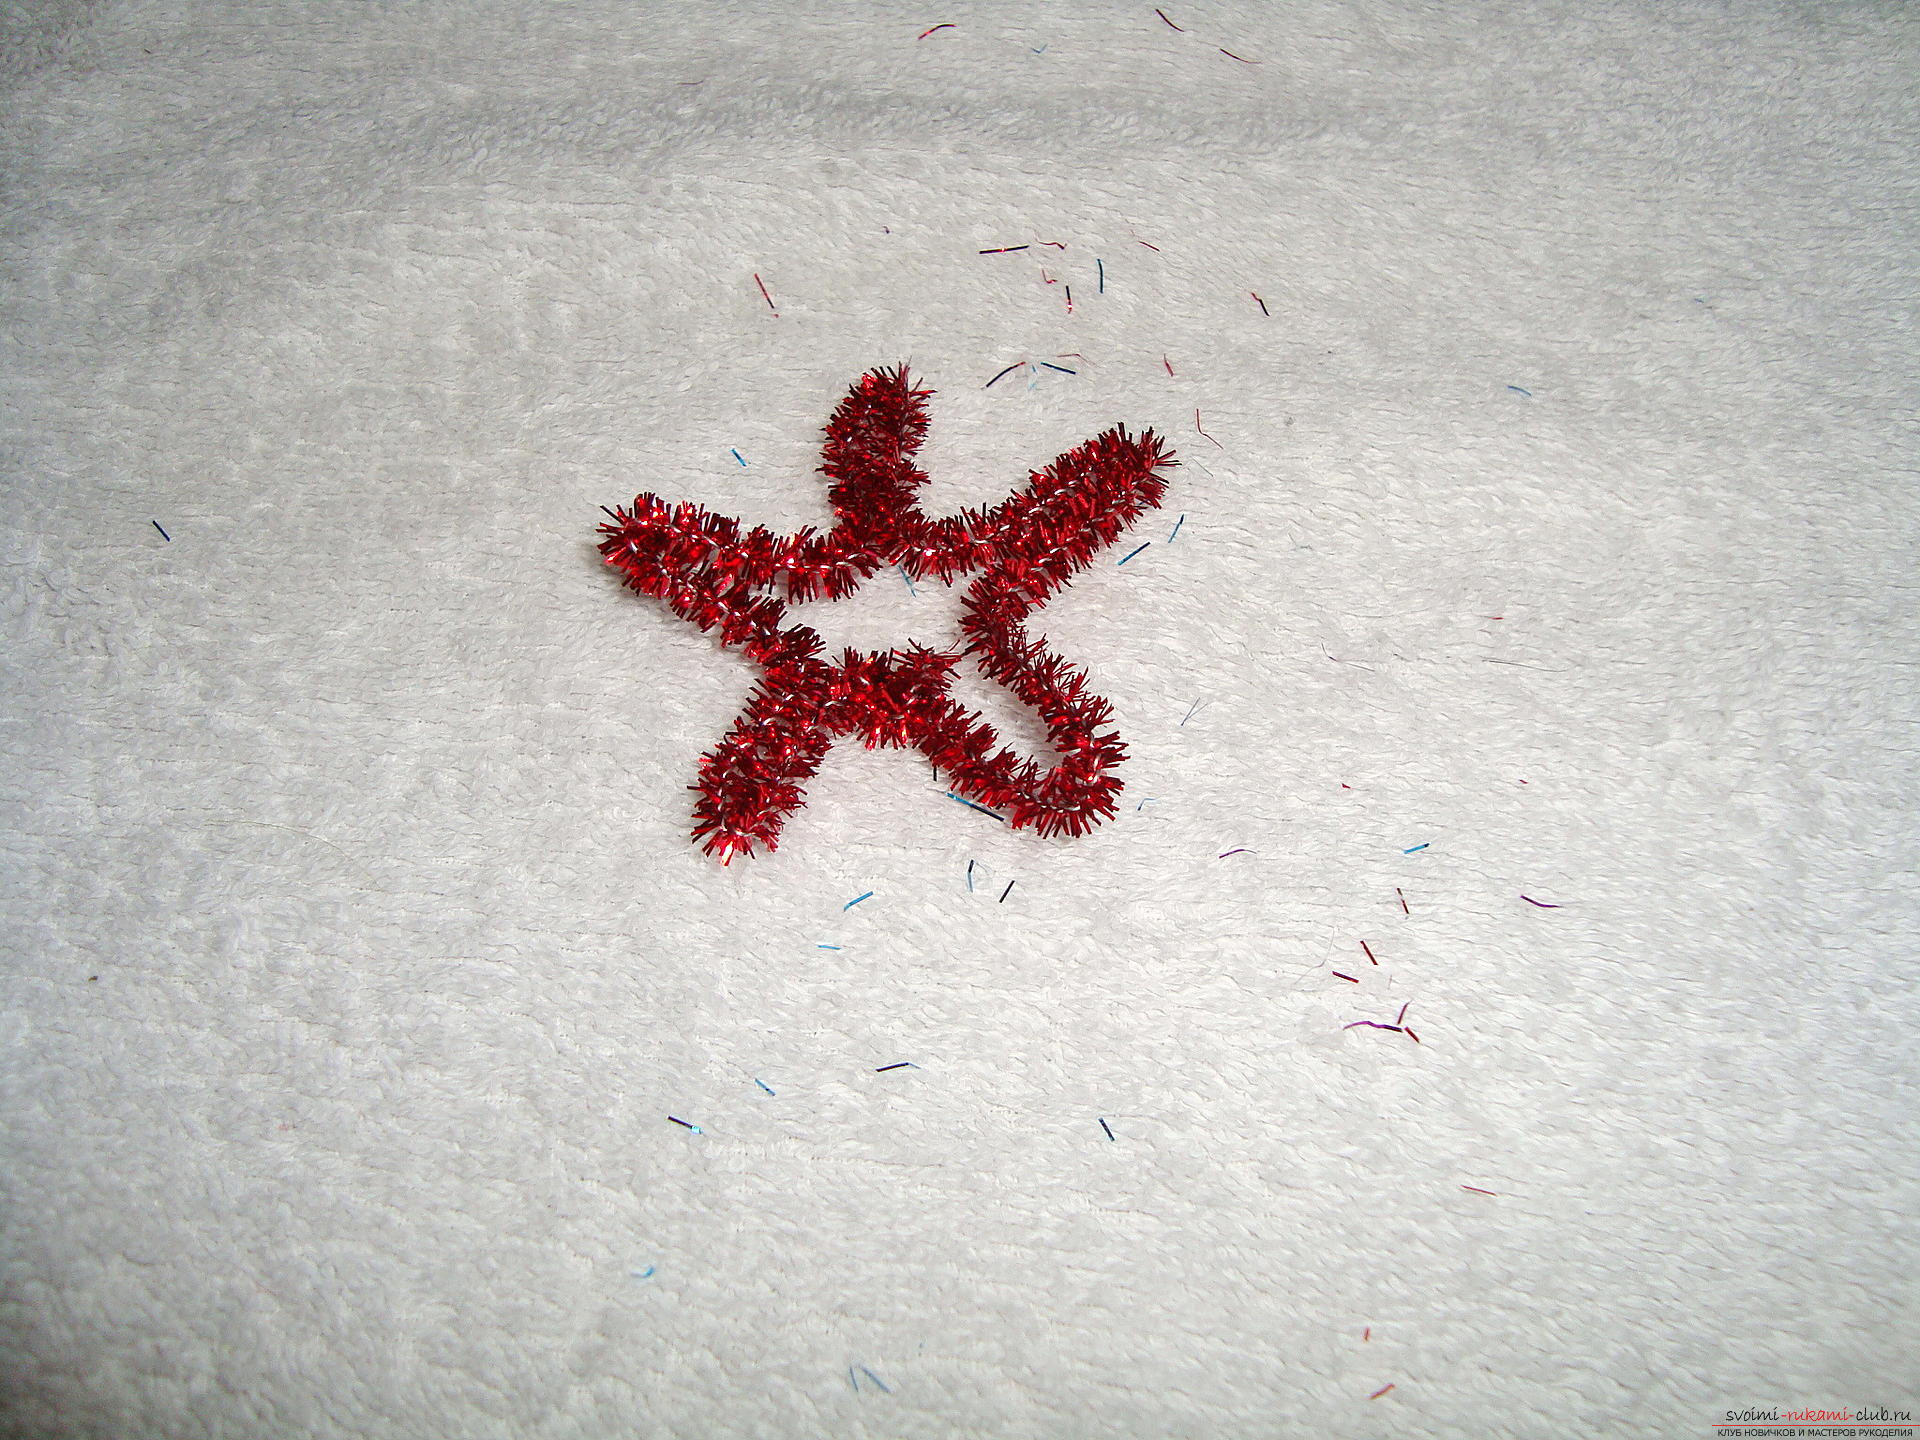 Of the remaining blanks of different colors, we willto form toys on the Christmas tree in the form of bows. To do this, cut the wire into cuts of 6 centimeters and roll them into a droplet shape, the ends should hang slightly.
 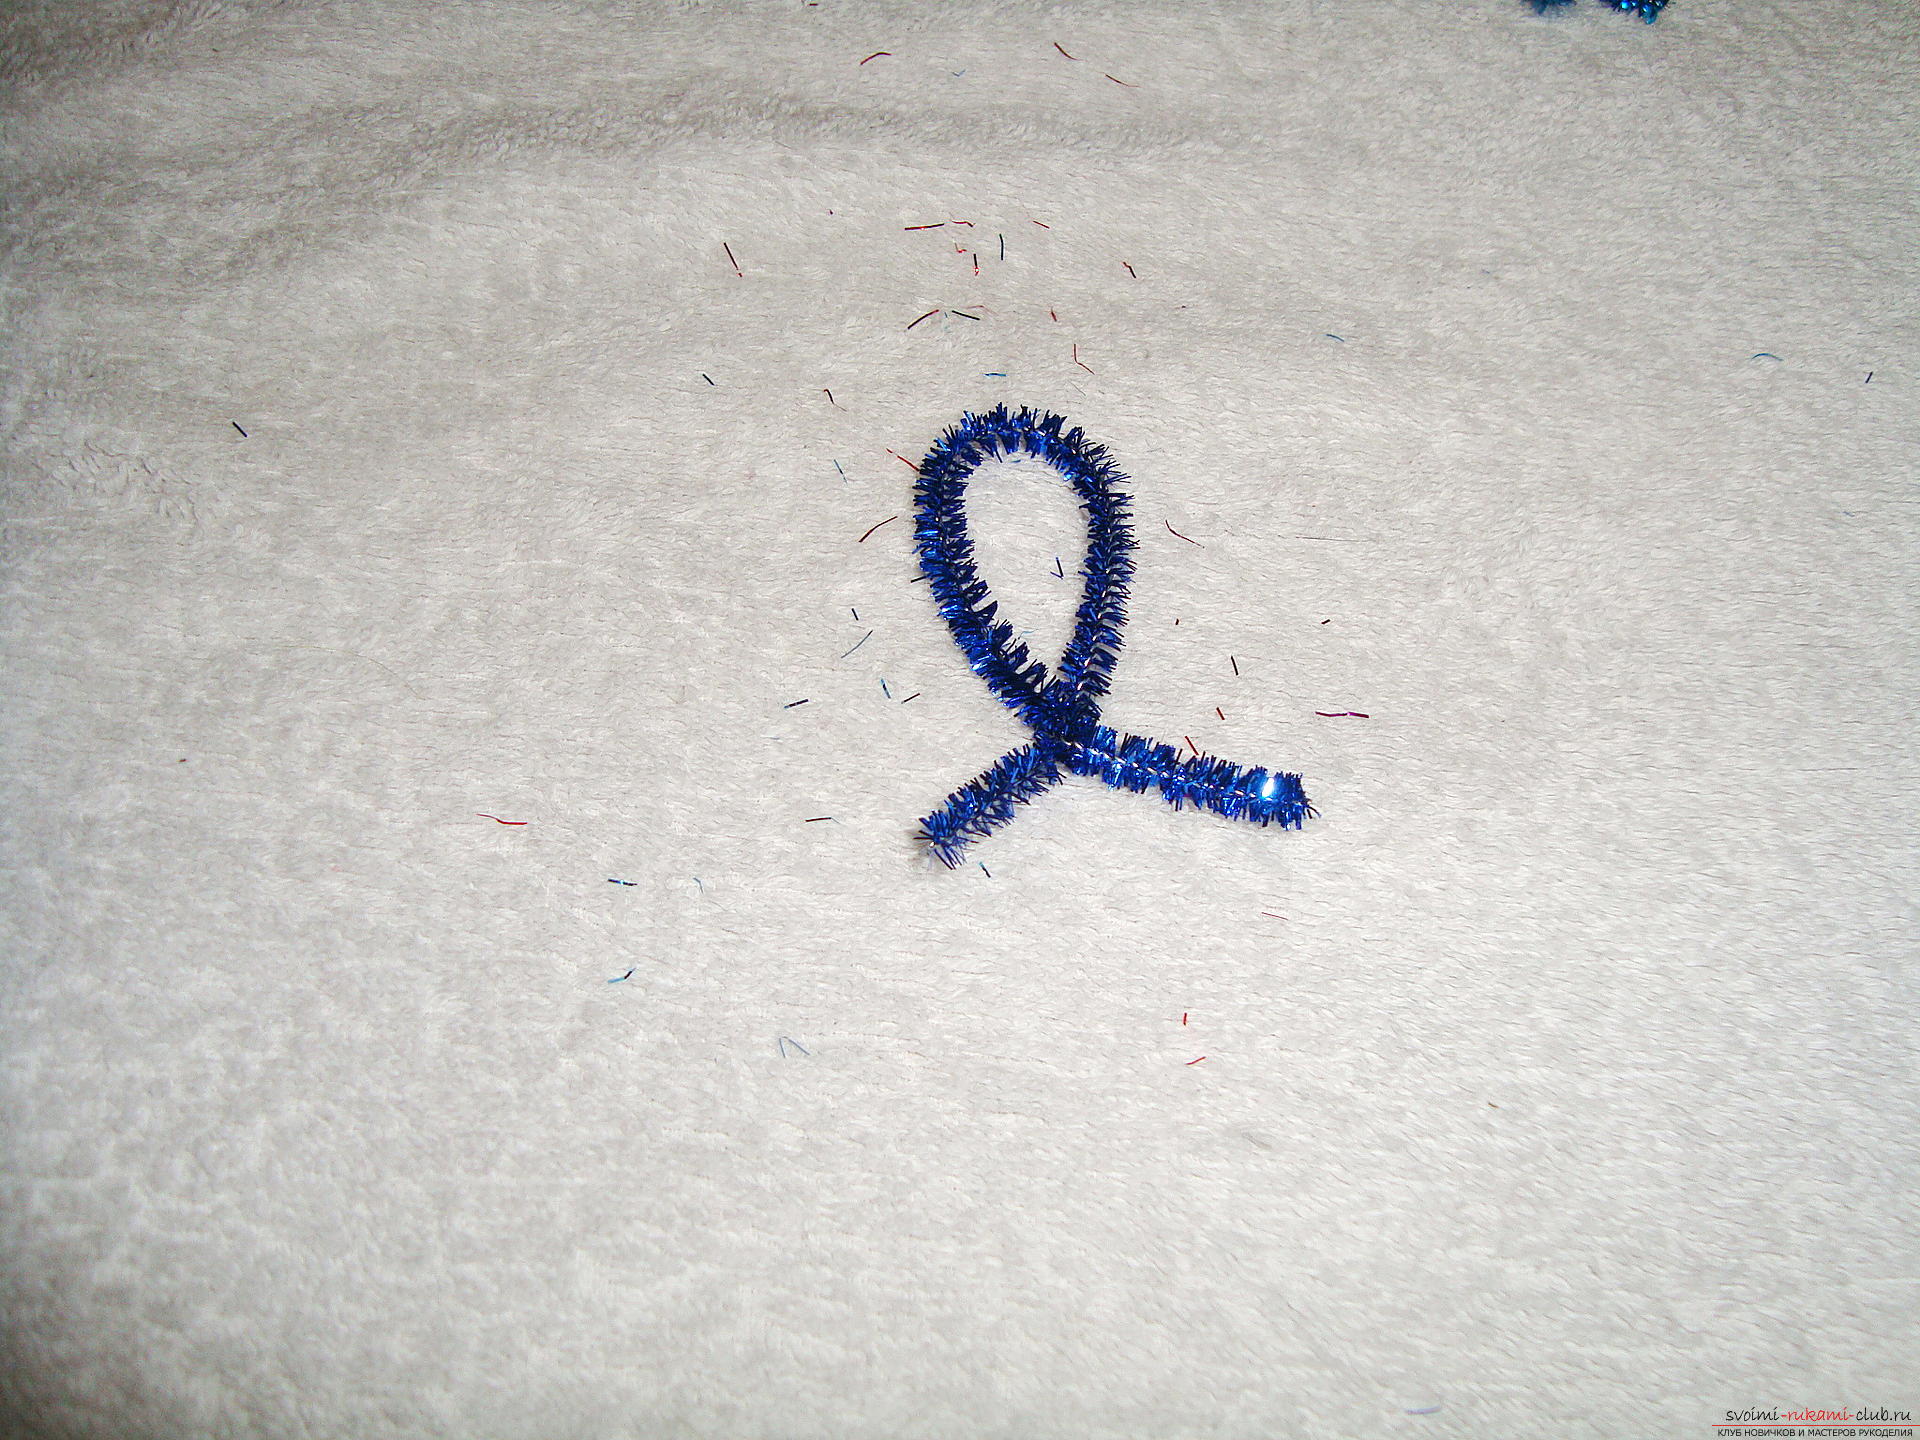 Now the middle of the droplet is bent to the place of the cross of the wire, to make a charming bow.
 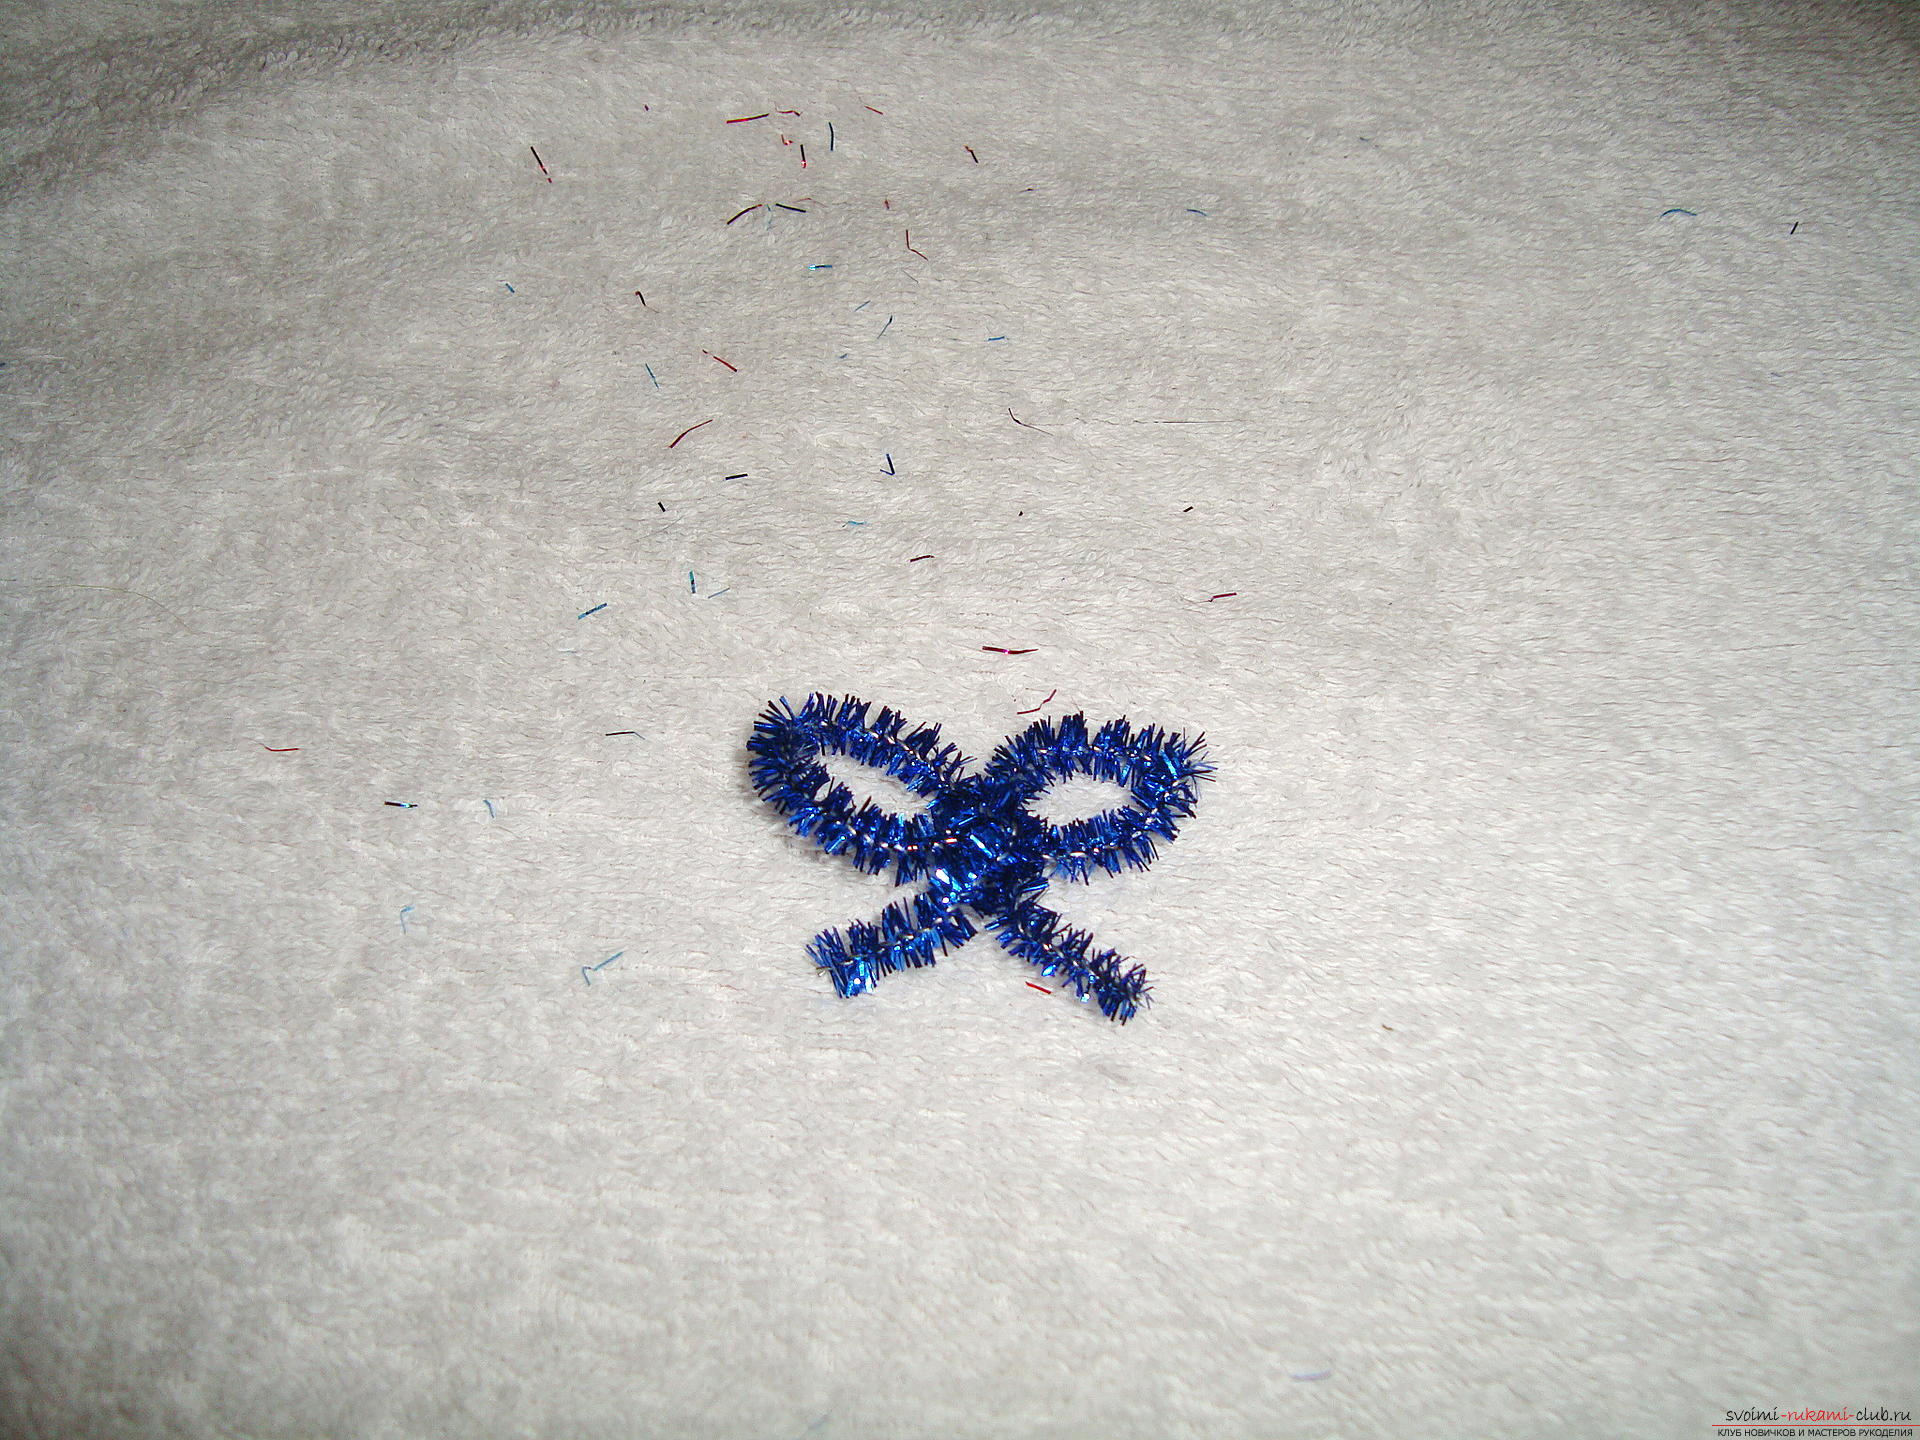 Create a lot of such Christmas decorations to distribute them all over the tree.
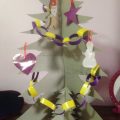
 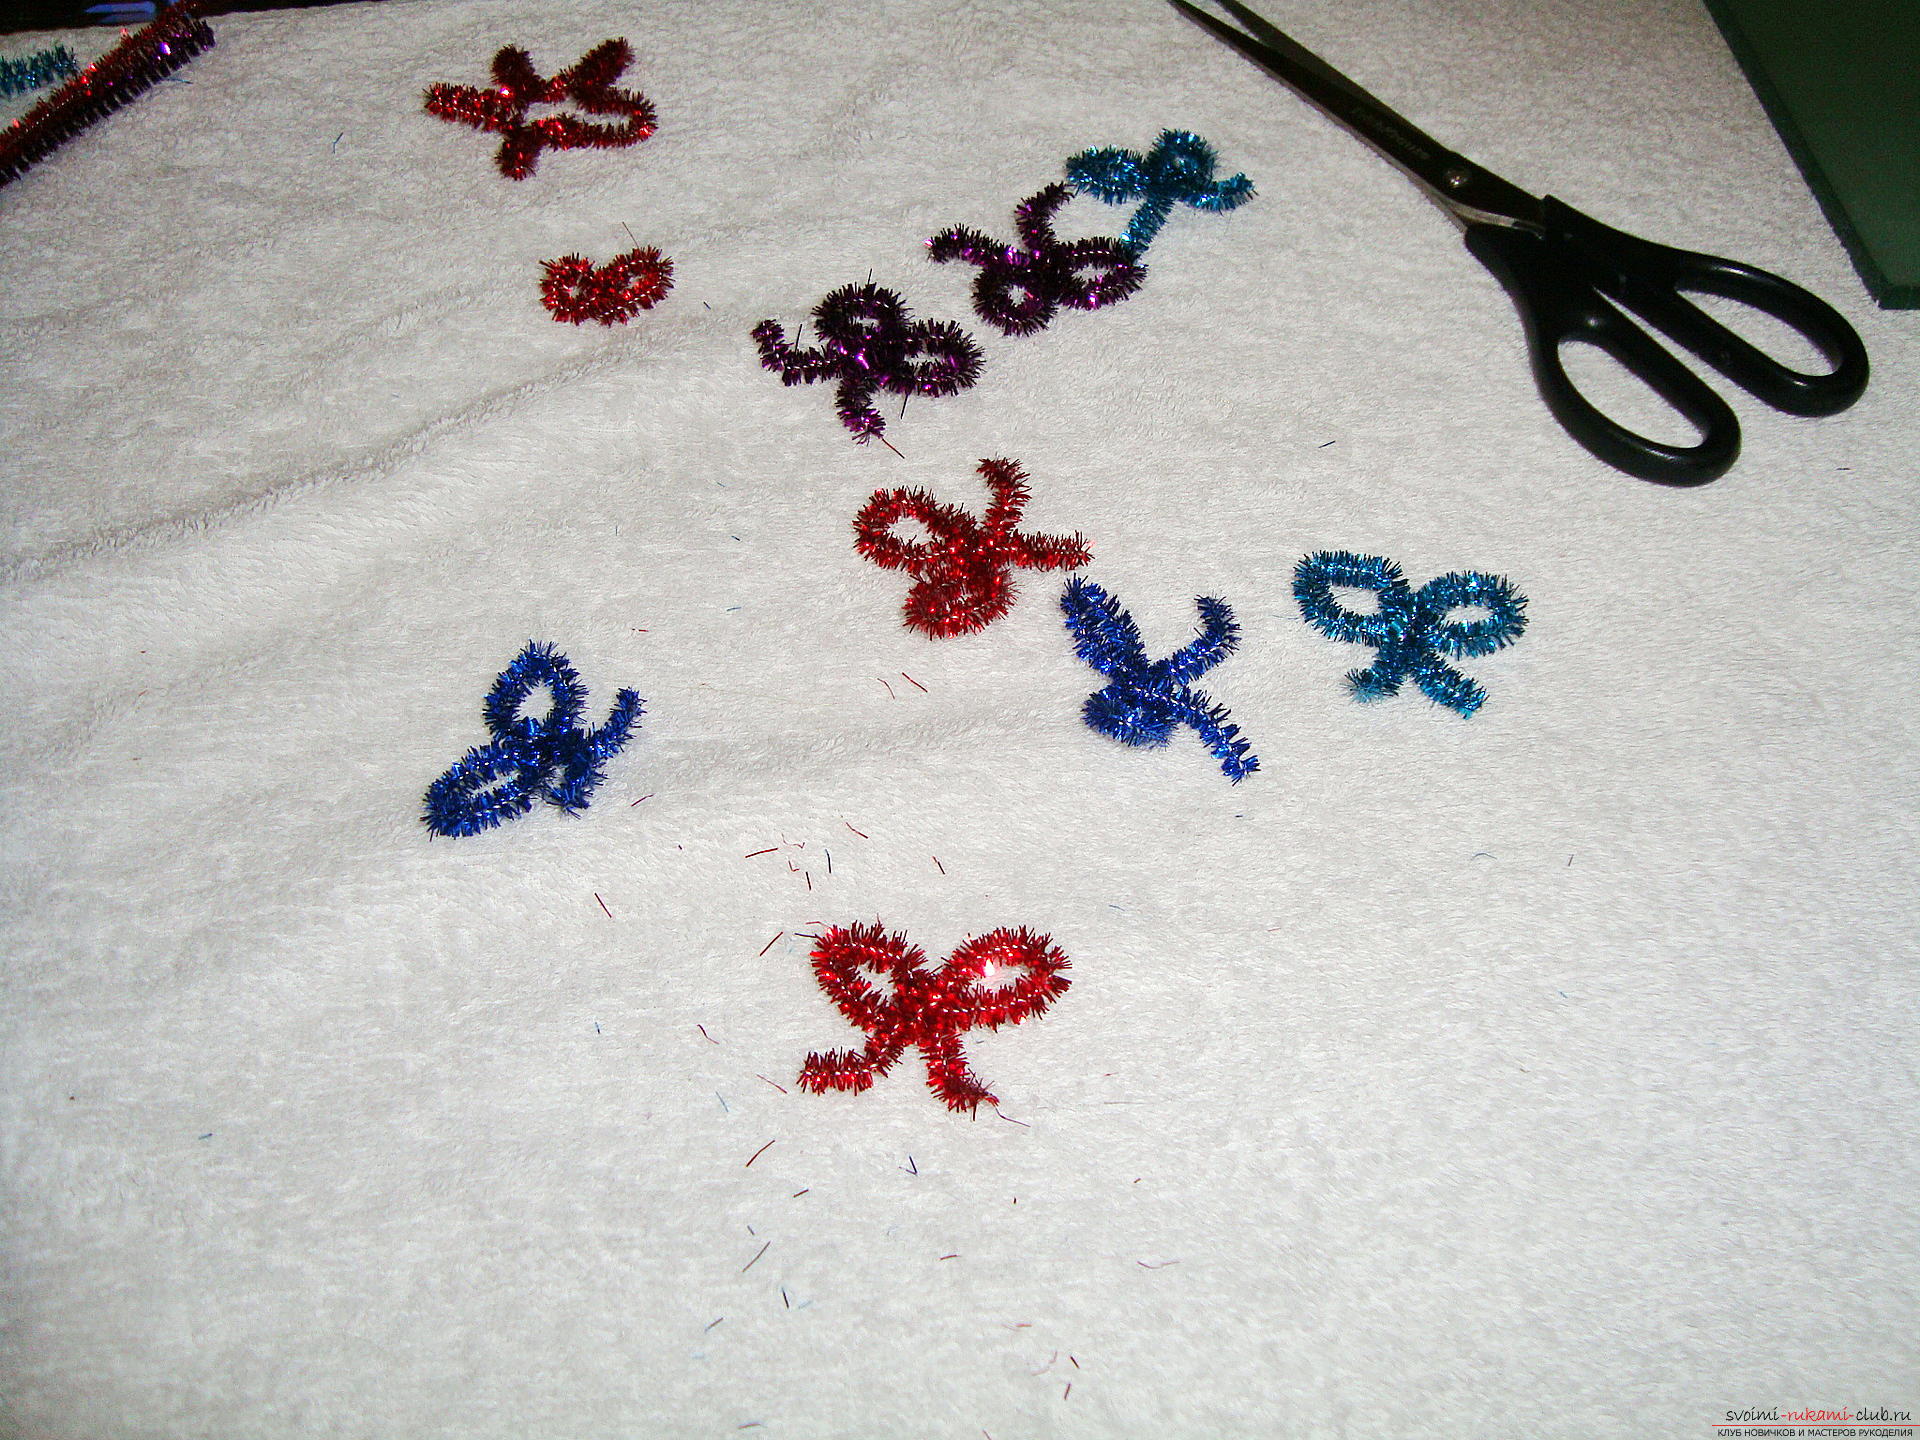 At the last stage, we take the distributionChristmas toys for crafts. Try to distribute the bows randomly at an equal distance from each other so that the decorations on the entire surface of the organza turn out.
 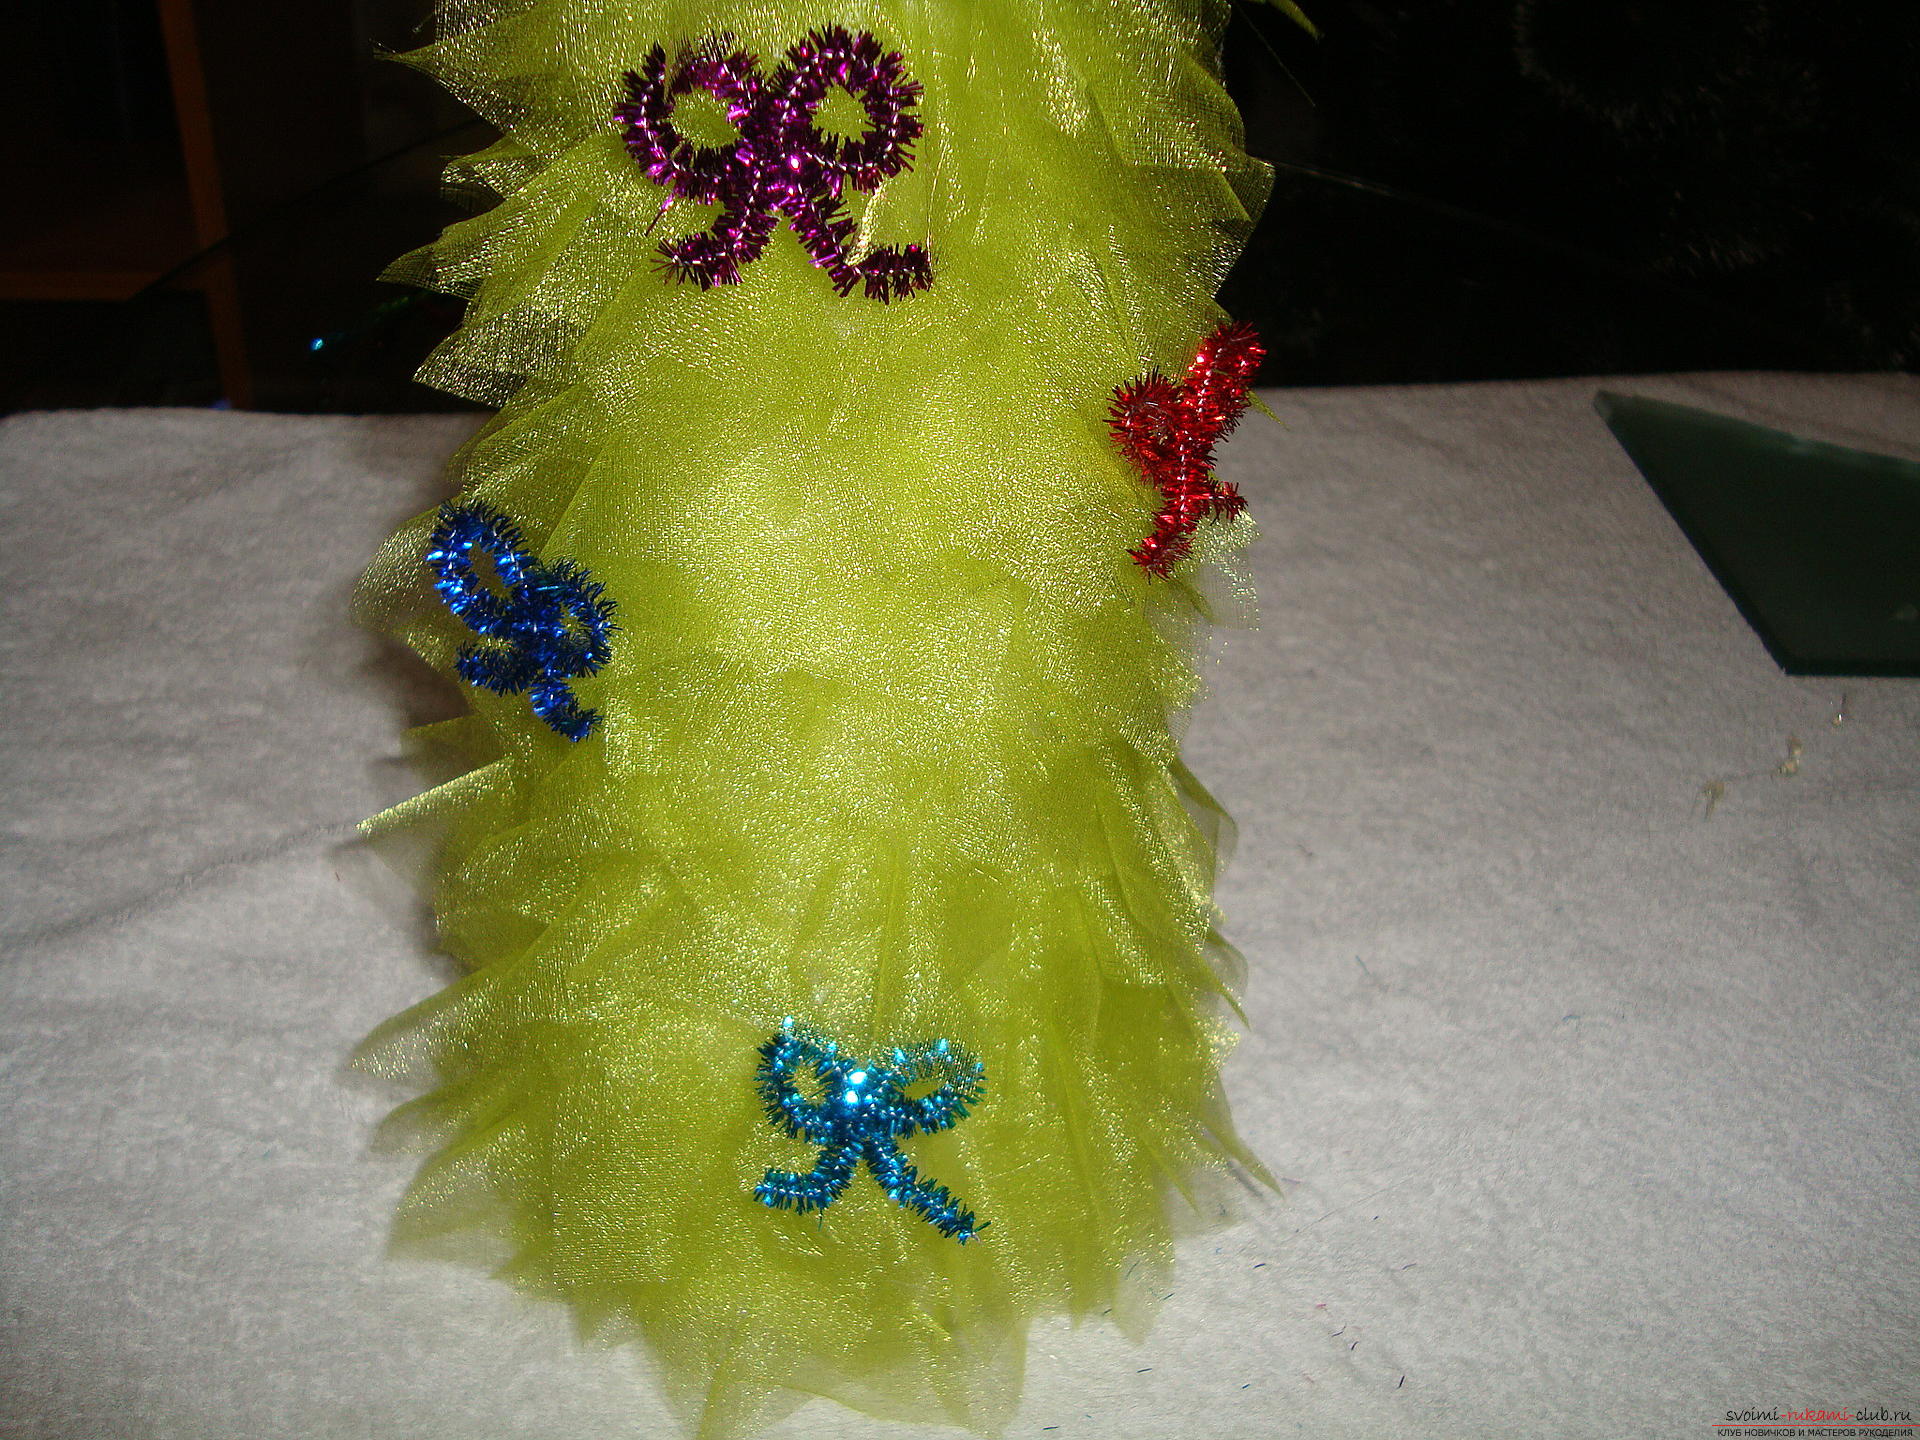 That's ready a wonderful Christmas tree, which can please you every New Year!
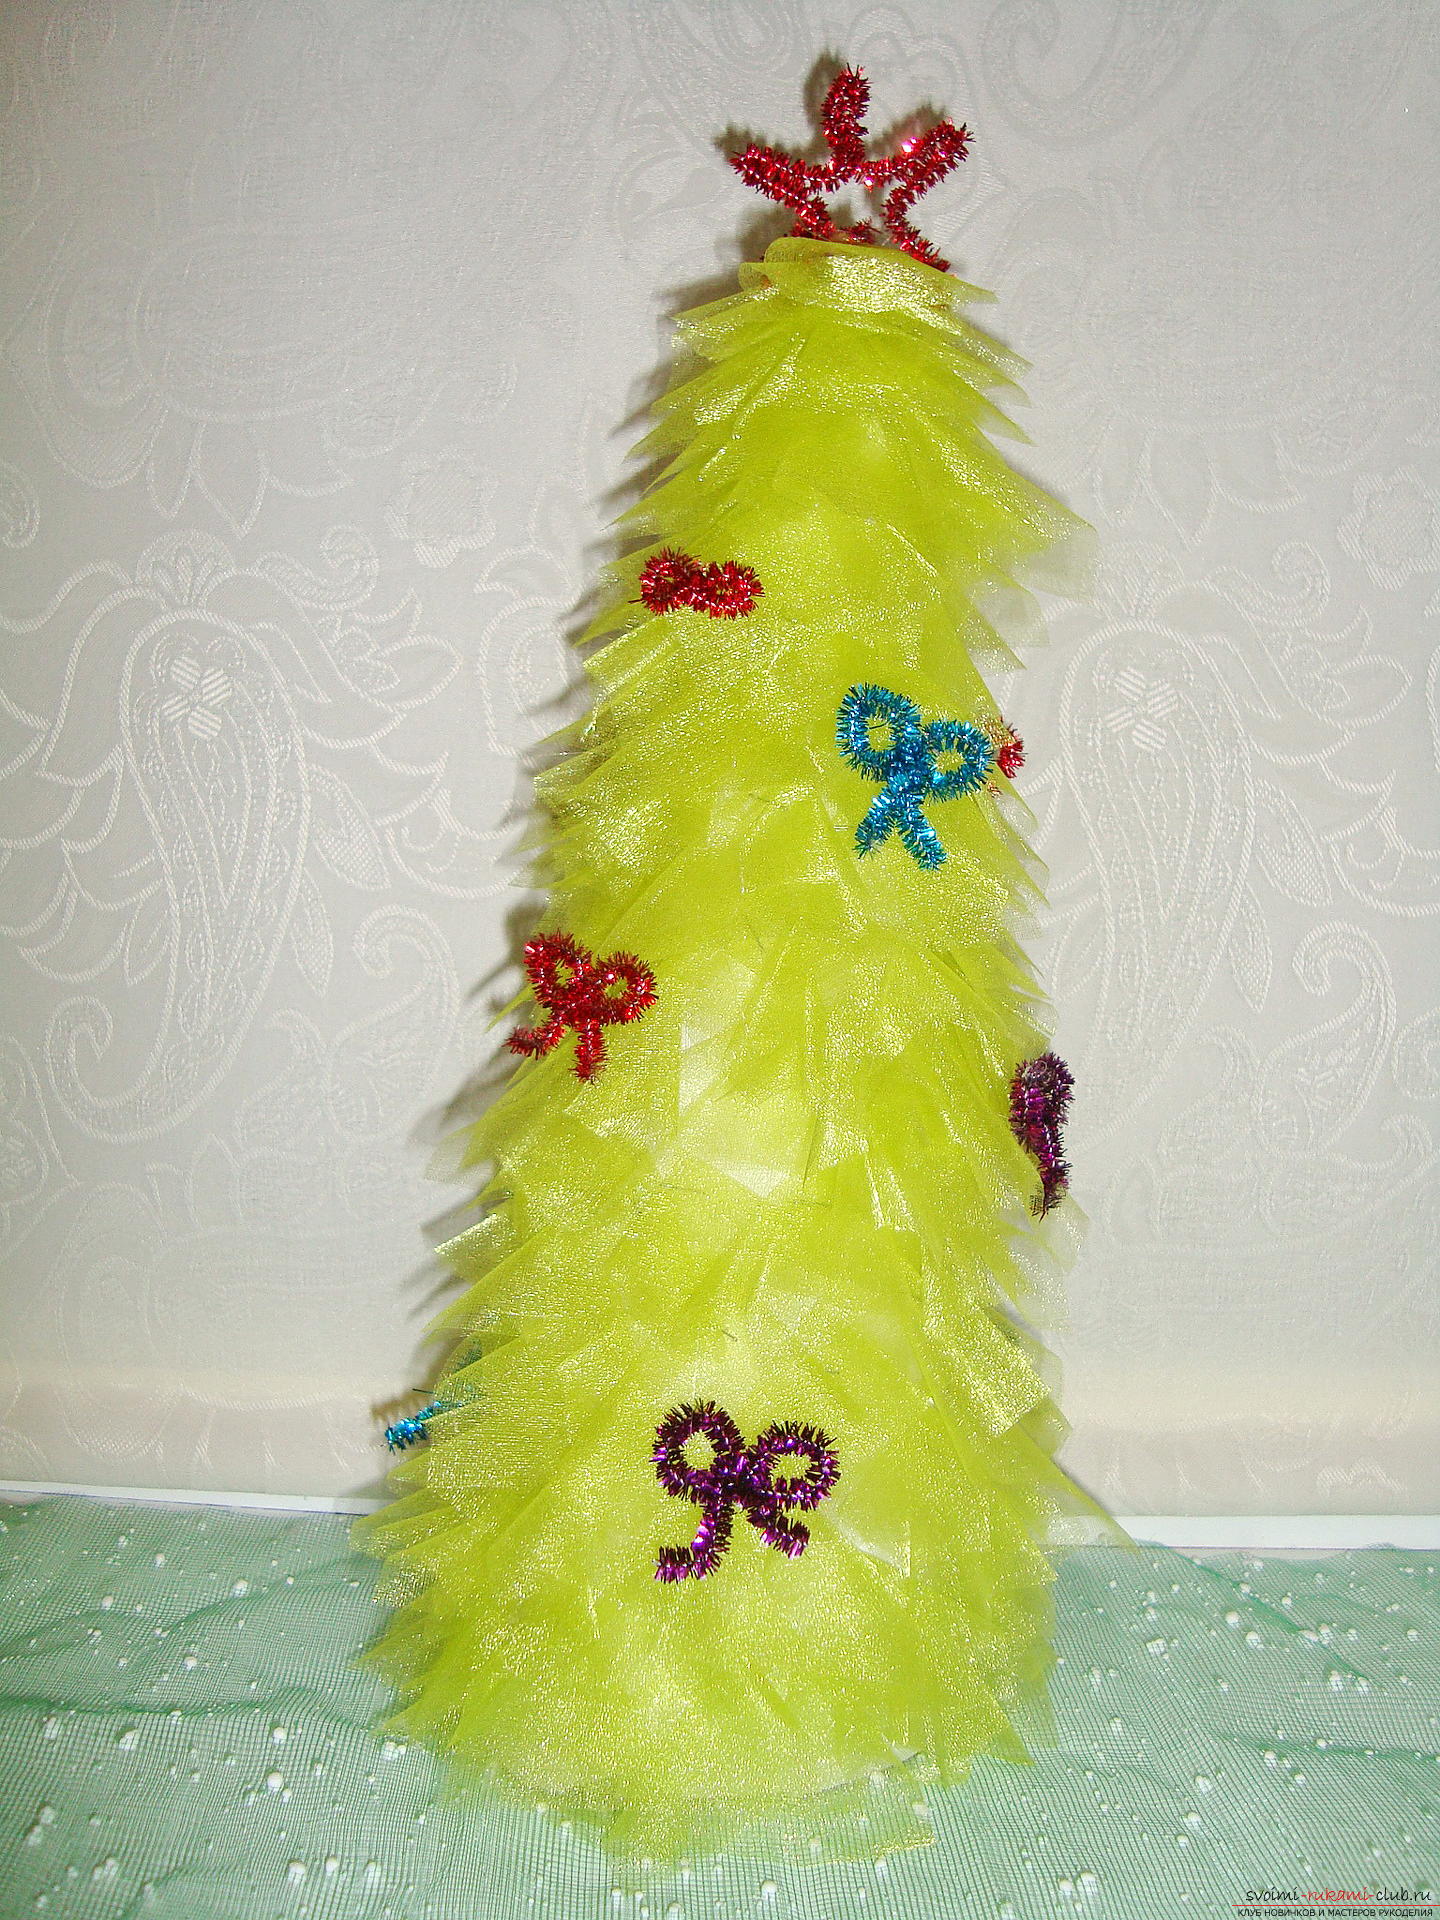
Comments
Related posts:
 The most unusual New Year tree, made by own hands
 Your crafts. Christmas tree of branches by own hands
 New Year tree with their own hands, a Christmas tree made of fabric, how to make a New Year tree with their own hands, a Christmas tree made of candy, master classes for making Christmas trees.
 You can create a beautiful tree with your own hands from sisal, and it does not waste much time and material. Such a Christmas gift will appeal to children and adults.
 New Year's hand-made fir-tree made of corrugated paper for the 2015 Competition, hand-made articles of paper by the hands of the new year