Useful things in the technique of scrapbooking with their own hands. Master Class. Video / Toys with own hands, patterns, video, MK
In the technique of scrapbooking, you can create manynice little things with their own hands, for example, an envelope for money, a box for a disk, a cover for a passport or a notebook for important records. Of course, all these trifles are available, and you can buy them in special departments, but you will agree that it is nice to have it created with all taste preferences or to give something that was created with love and with your own hands. 


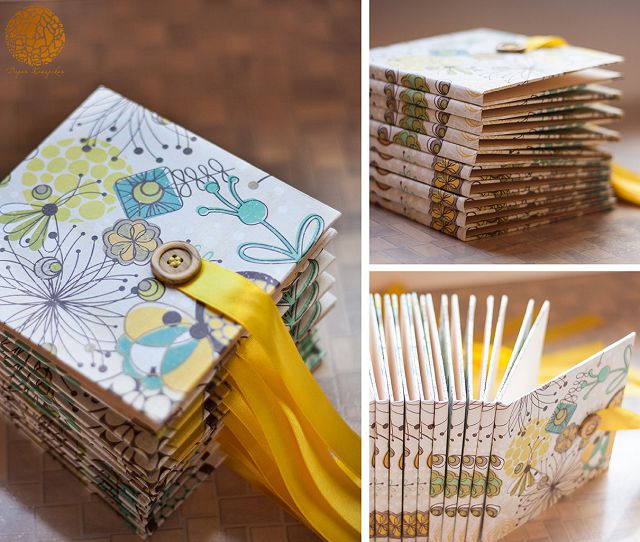
Master class on making scrapbooking notebook with own hands
Scrapbooking notebook, created by own hands,can perform several functions. The first is interior decoration, if its dimensions are considerable. The second - a reminder of the holiday and the feelings of the donor, if you present it as a gift. And, the third - the storage of important information, if it is always at your fingertips. For the basis of the notebook you will need:
- rectangular or square pieces of paper of different colors and the same size;
- metal small rings for fixing sheets;
- two rectangular pieces of cardboard.
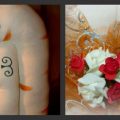
 To begin with, it is necessary to decide on the design of the cover. If the notebook is used by a man, his design should be laconic and strict. The best colors are dark. The main element of the decor is a beautiful fabric that will be placed on cardboard. But, the decor of the fabric depends on the taste preferences of the man. If he can be called a serious and business person, it is enough to embroider a surname and initials with contrasting threads or to attach his printed photo, having made a framework of cloth or paper. If he has any hobby, for example, collecting copies of cars, a notebook can be decorated with images of his preferred cars. A universal option is the image of his Zodiac sign. If the pad is used by a lady, you can apply a variety of different decor techniques. Flowers here are a good option, and they can be embroidered on fabric, made of material, painted and glued, as well as dried plants and attached to the cover. That's only when decorating with dry flowers the cover should be covered with a colorless film. Strasses and sequins are magnificent elements for decorating a scrapbooking notebook. No less suitable are bows and ribbons. As for the paper decor, you can use your creative abilities, decorating the cover with lipsticks, hearts and other painted pictures, or to adopt photos or pictures from the Internet.
  After the cover is ready, exactlyput pieces of paper on top of each other, and put cardboard on top and bottom. Using a punch hole, make two holes. We put in them metal rings-holders.
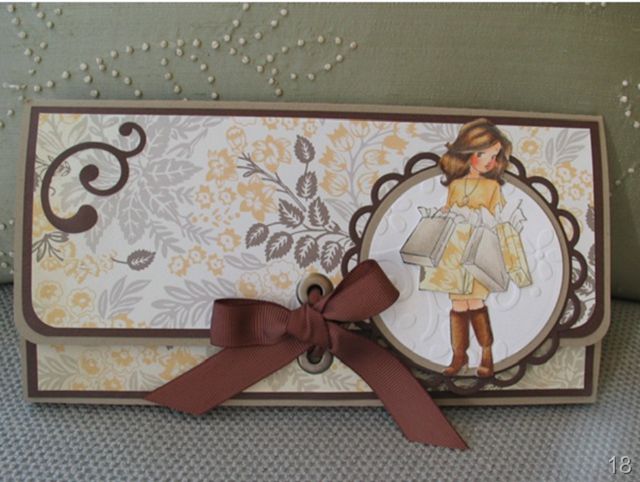
Master class on creating an envelope for money with your own hands
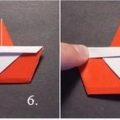
This master class will be incredibly useful,who is invited to a holiday. Scrapbooking an envelope for money with your own hands is a great way to show a gift to a recipient that a gift in the form of financial means is not a sign of indifference and a lack of desire to seek a gift, because you were not too lazy to create a "clothing" for it. A rectangular piece of paper is needed for the envelope. It is important that its width allows you to place bills. Fold the rectangle along the length so that there are three equal parts. The first part around the edges glued together with the second - this is a compartment for money. The third part covers it - it will be the cover of the envelope. To avoid opening the envelope, it must be glued either by applying a little glue to the center of the inside of the cover or dressing it up with a smart ribbon. 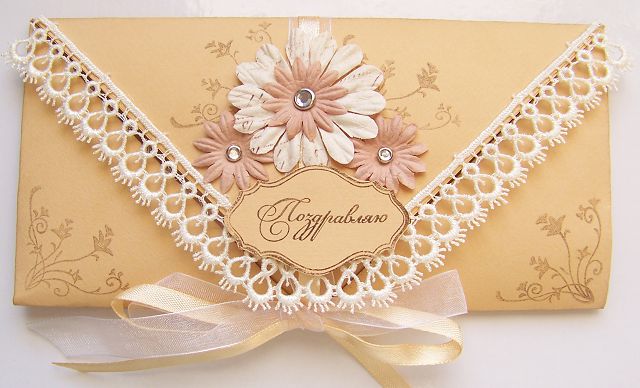 The decor of the envelope for money depends on the celebration. If it's the girl's birthday, present an envelope of soft paper with lace and flowers from the fabric. If the envelope will store the financial means to fulfill the child's dream, attach to it applications in the form of toys and fairy-tale heroes.
Master class on making a cover for a passport in the technique of self-scrapbooking
This master class is useful to those who want"Dress" your passport in a smart cover, or give such a sweet little thing to a close person. To create a cover for a passport, you need a rectangle of cardboard and fabric. It should contain three areas of the cover of the passport with a small allowance. Two of them will be located in the center, and the third will be divided into two parts, which should be located at the edges. On the cardboard rectangle, make three folds - the first in a cent, and two at the edges, so that parts of one area of the passport are bent inward. 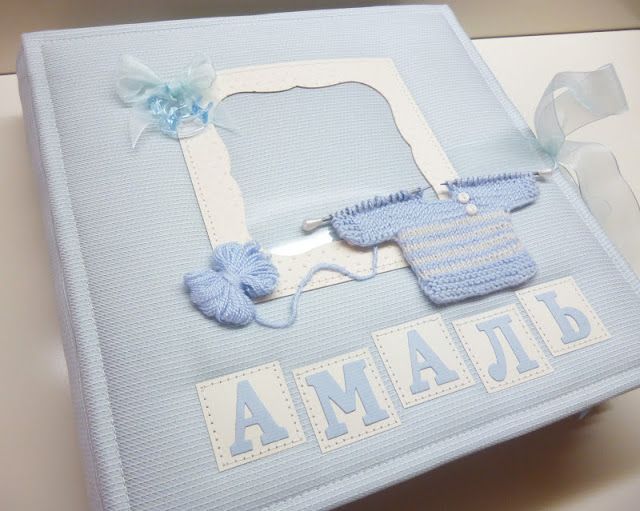 We glue small parts to the areas of the passportat the edges. It will be holders for the passport. Next, we glue the woven cover over the cardboard. With the decor of the cover of the passport you will be able to determine the previous master class on creating a notebook.
Master class on the creation of a disk box in the technique of scrapbooking
A disk cage made in engineeringscrapbooking with your hands - a beautiful dress for an item that stores something memorable or important, and that it was a pleasant look, use the tips from this master class. A two-sided color cardboard is required for the base of the box. We draw on it a figure in which to place a disk. For a sample, you can use any conventional disk box. Cut out the cardboard figure, which will represent two connected places for the disk and half of one of them. Next, the cardboard rectangle needs to be bent two times. The first fold is between the places for the disk, the second is between the second compartment and its half. We glue half the compartment with the whole part around the edges - the box is ready. To the box does not open, when it does notyou need to make holes on its edges and pass a ribbon in them to tie it to the bow. The cover should be decorated with any fabric you like, in whole or in part. The decor of the box directly depends on what is stored in the item for which it was created. For example, if there is a photo and video on it, where your daughter or sister went to first grade, it's suitable for decorating her printed picture in a frame and globes, flowers and "five" of paper.
Comments
Related posts:
 Garlands of corrugated paper with your own hands. Master class / Toys with their own hands, patterns, video, MK
 How to make scrapbooking notebook in vintage technique? Master class with their own hands
 How to make a dwarf of paper. Master Class. Video / Toys with own hands, patterns, video, MK
 Crafts from disposable dishes. Master Class. Video / Toys with own hands, patterns, video, MK
 Seals are inseparable as a symbol of loyalty and love: we sew funny toys-talismans with our own hands. Master Class. Video / Toys with own hands, patterns, video, MK