Video embroidery lessons with a cross for beginners and children
Content
- First set for embroidery
- Video: overview of cross stitch kits
- How to start the first embroidery with a cross
- Video: preparing for embroidery with a cross
- Embroidery technique with a cross
- Video: how to draw a canvas on the embroidery frame
- Video: The first lessons on cross-stitching
- How to wash, dry and iron the finished embroidery
- Video: how to wash and dry the finished embroidery
- Execution of finished work
- Video: we make out ready-made embroidery
Few people think that cross-stitching canBecome a hobby that will unite the whole family. It would seem, as it is possible, if everyone will embroider a picture in his corner. However, so many fascinating handicrafts for children and adults fit equally well. So, there will be a common interest, and the opportunity, for example, to visit a specialized store and choose the next job for embroidering a cross together.
In addition, at first, children really need the help of a senior mentor - a parent. Another possibility is to get closer to each other. And to make it easier to understand the intricacies
, You can watch video lessons from other experienced needlewomen.


First set for embroidery
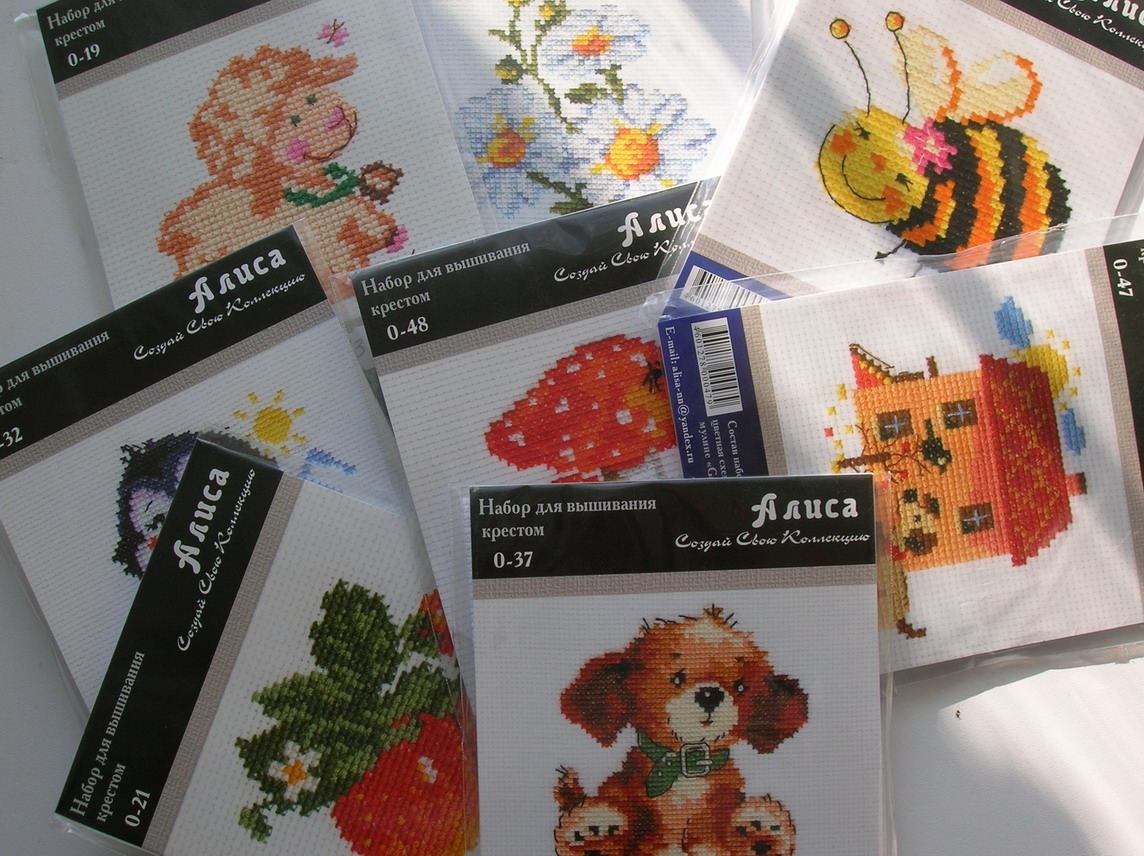
The general enthusiasm for a new occupation begins withA joint trip to a specialized store, where you can buy everything you need for embroidery. The choice of working tools is best done, of course, by adults. But what the child will embroider, let him choose himself. He can also be entrusted with the choice and set for the mother.
The only criterion that can and should bePut the child to choose - this should be simple and small pictures. In the rest, he can choose for the first embroidery anything - from any fairy-tale character to a small landscape. You can even choose a diptych where one will be sewn by an adult and the second by a child. Such a truly joint embroidering with a cross will certainly allow you to be closer to your children.
And in order not to make a mistake with the choice and not spend a lot of time searching, you can see the following video reviews of various firms specializing in the production of cross stitching kits.
We offer you to watch video clips on which the needleworker shares the purchased sets for cross stitching from various domestic and imported manufacturers.
Video: overview of cross stitch kits
How to start the first embroidery with a cross
However, choosing and buying is not the hardest thing to do
. It is much harder for both children and adultsOrganize a place for embroidery and the process as a whole. At first, many people make the same mistakes, even without thinking. The video presented in great detail tells how to avoid them.
At first glance, it seems that such a thorough andLong preparation takes too much time and effort. However, in the future this will greatly simplify the work. And so much so that the picture will be embroidered much faster. True, children do all this is boring and uninteresting. Therefore, at this stage, you can help your child a little more.
Also in this video you can watch severalUseful accessories for cross-stitching. It is worth taking note of this, if needlework takes the child seriously and for a long time. By the way, it is because of their visibility and useful such video lessons.
And the last. The shown scheme in the video is not suitable for beginners, since it uses 3 different types of stitches and shallow canvas. For your first work, it is advisable to choose more simple embroidery.
Video: preparing for embroidery with a cross
Embroidery technique with a cross
Now that everything is ready to go, you canProceed to the very embroidery. And then there is another important question: to be or not to be embroidery. The opinion of the needlewomen is divided in half. Much depends on the size of the scheme chosen, whether the canvas is rigid and even the habits of the embroiderer.
Children are recommended to use the hoop. But in order not to warp all the work, you need to properly pull the canvas. How this is done, the next video will teach you a lesson.
Video: how to draw a canvas on the embroidery frame
Only then can we assume that everything is readyTo the first embroidery. It remains only to master the very technique of cross stitching. Since it is one of the easiest, lessons on it can be learned together with the first work. But if you have any doubts about your abilities, you can try to make several crosses on a small piece of the canvas, for example, as in the following clip.
It is worth noting that the video shows moreOne important point. Namely, how to properly fix the thread without knots. Thanks to this, the inside of the finished embroidery will be ideal without effort. However, do not get hung up on this, especially children. First of all, such joint needlework should bring only joy and pleasure.
Video: The first lessons on cross-stitching
How to wash, dry and iron the finished embroidery
After the painting by the cross is completed,It is also necessary to process it correctly. Many needlewomen have absolutely no idea about this. As a result, after a long and hard work, something terrible happens. And in order not to learn from your own mistakes, you can see the video lessons prepared by others for beginner needlewomen.
For example, in this video step by step very muchDetails about how to wash, dry, iron and even store the finished embroidery before it is inserted into the frame. Do not take this stage lightly. During the Inept
Can shed. Traces remain on the canvas, it is simply impossible to wash them. In addition, if you do not dry it correctly, you can skew the work, and then all the lessons learned on cross-stitching will go wrong, and you need to start all over again.
Video: how to wash and dry the finished embroidery
Execution of finished work
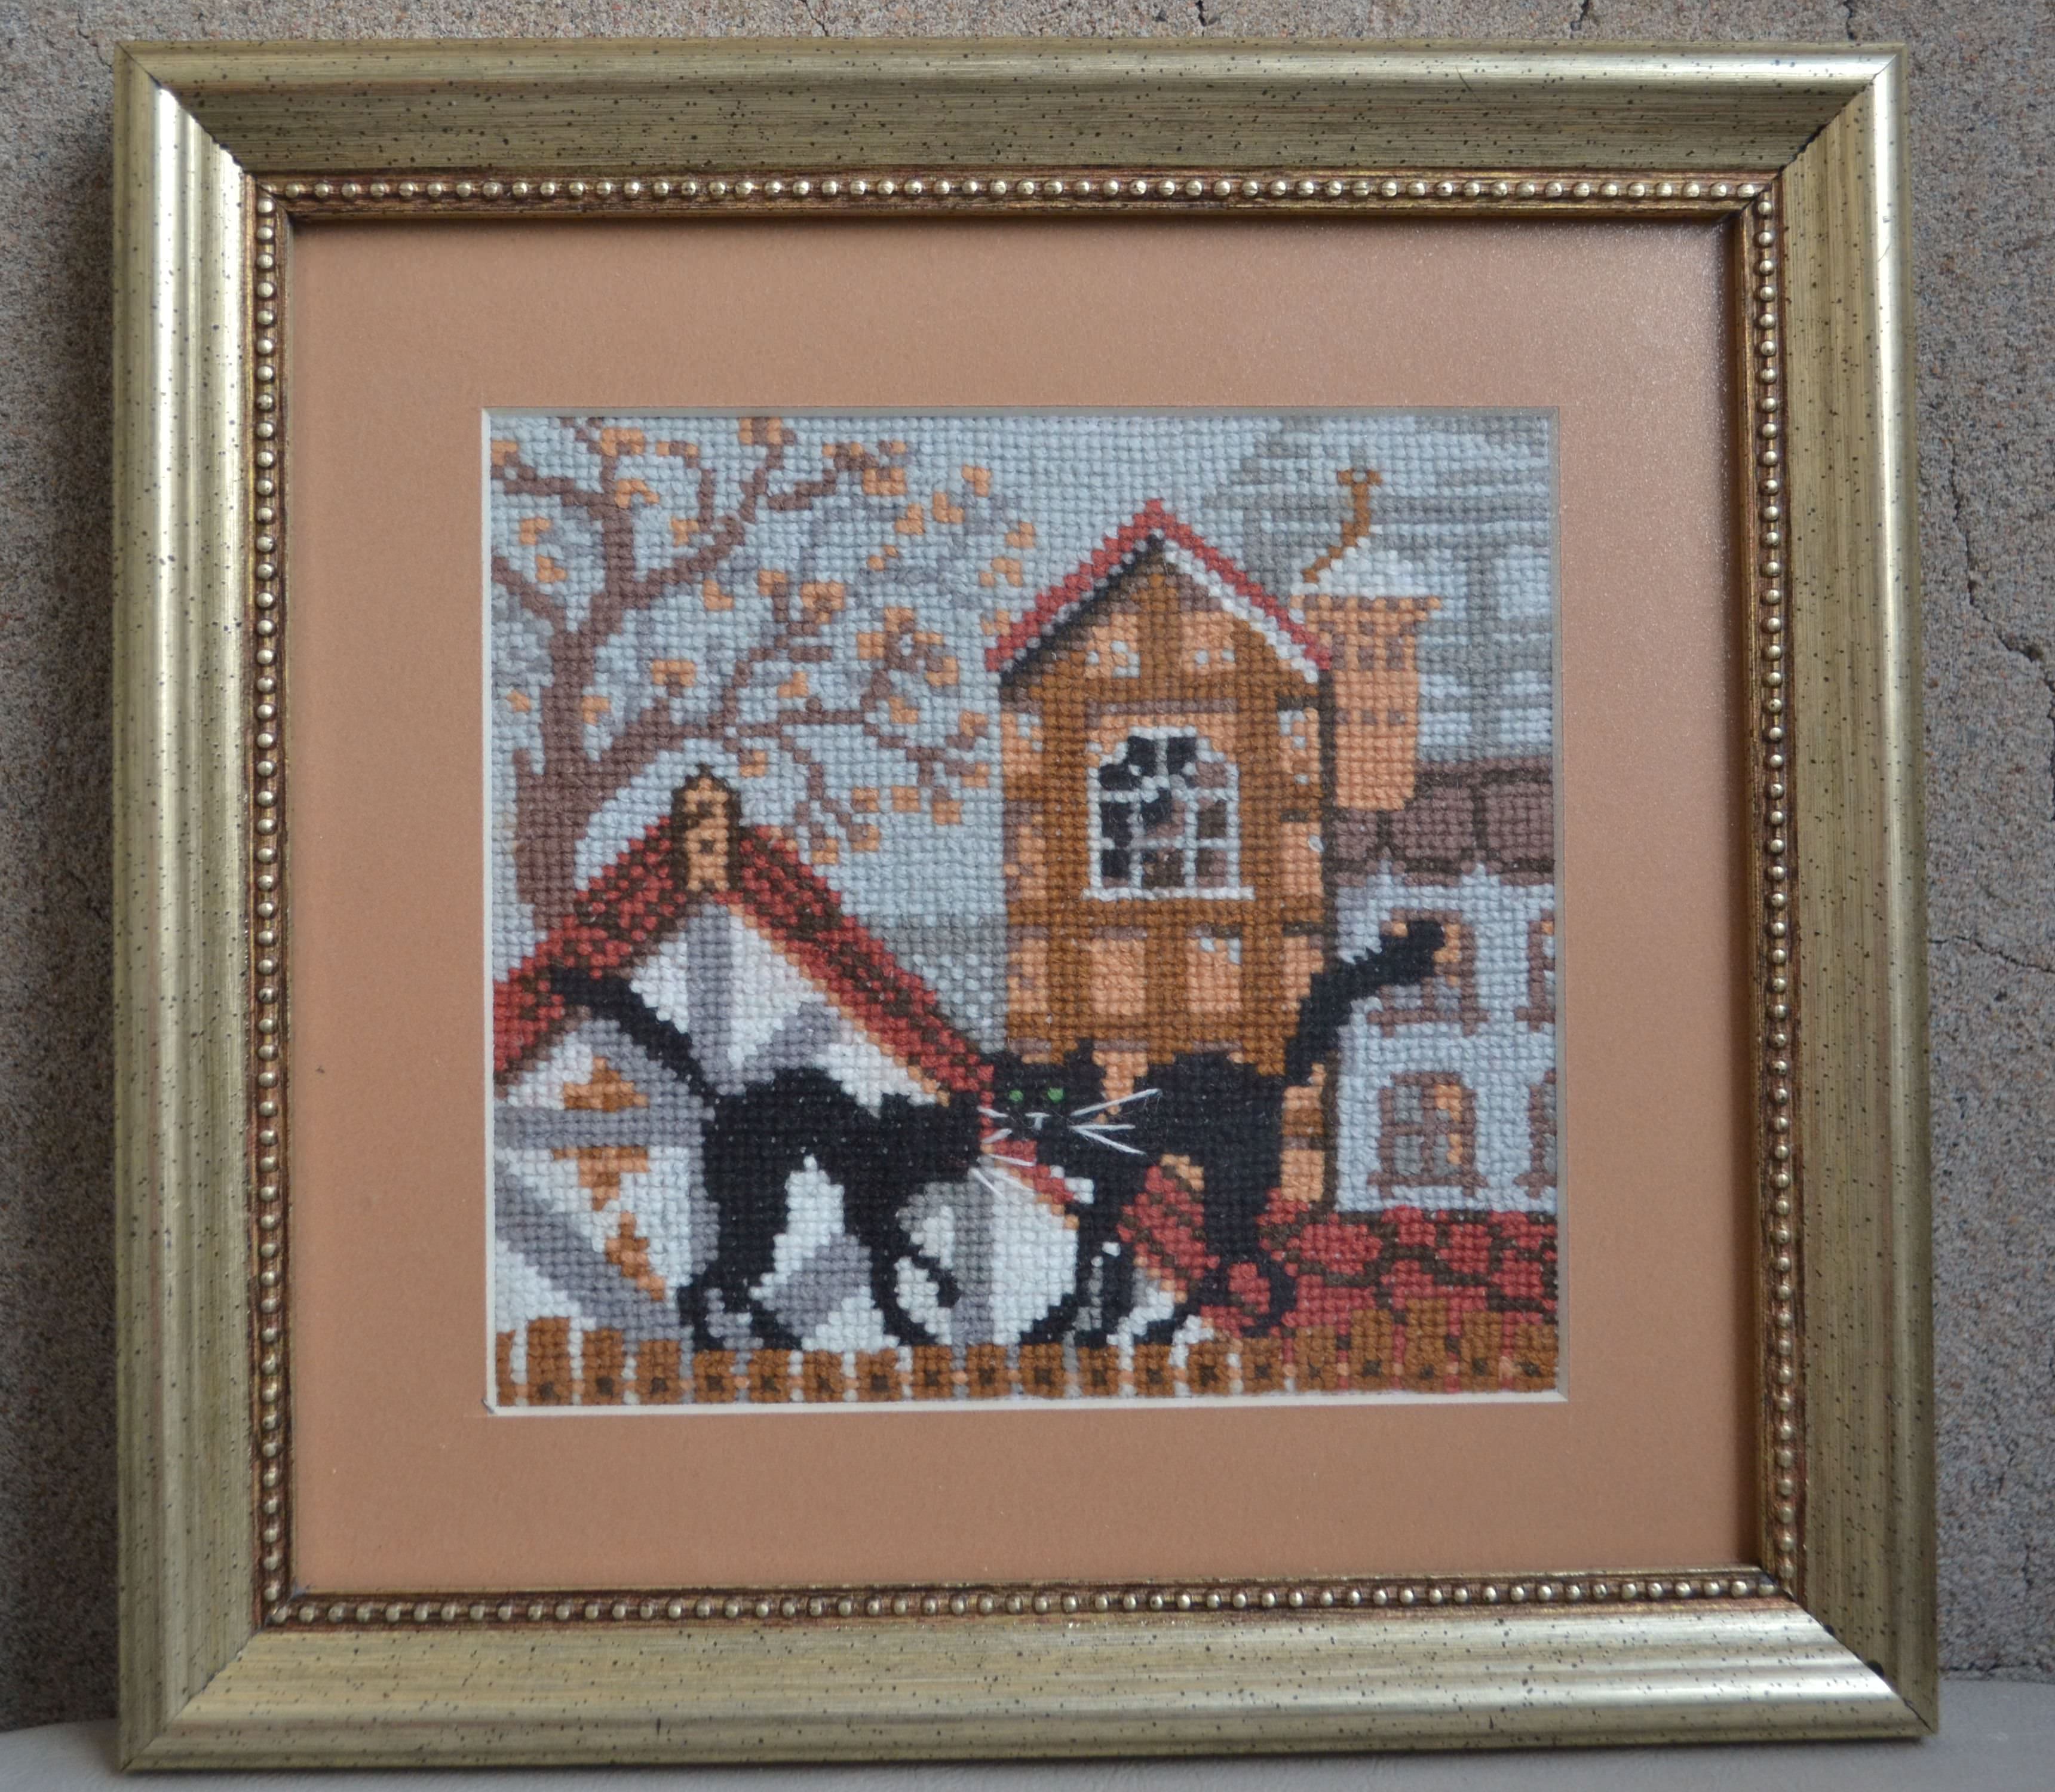
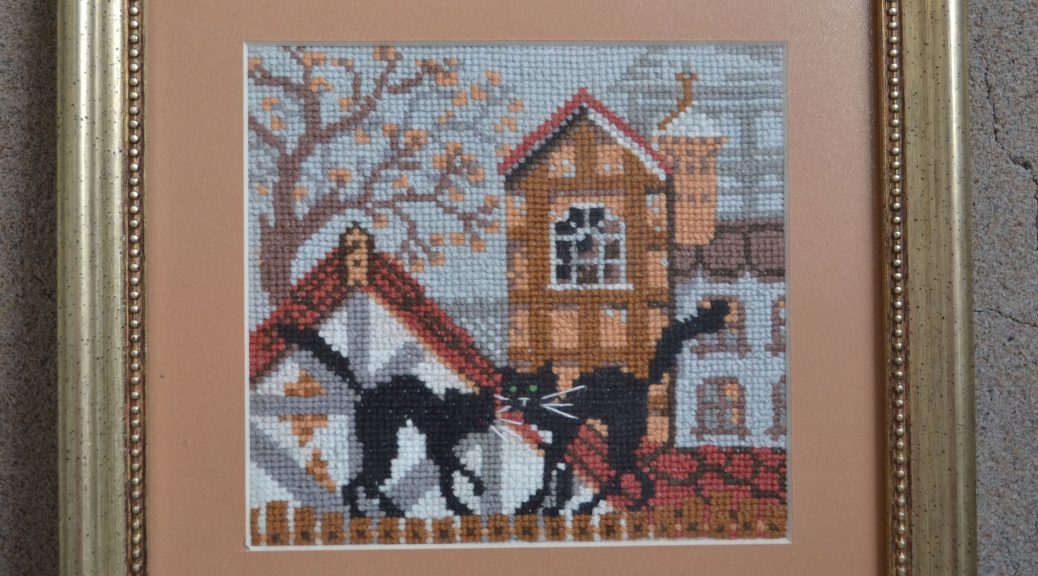
The last thing to do is to injectEmbroidery is the desired frame. The easiest way is to give ready-made embroidery to a baguette workshop, where they will make a frame and a passepartout. The needlewoman will only have to choose them at the time of the order. However, this work of professionals is not cheap.
However, small pictures embroidered by the child's hand,It is not always advisable to design this way. For them, you can make a frame and a passepartout yourself. There are many interesting master classes, how to do it. The simplest and most budget option is to use a photo frame that fits in size.
Those who want to give their work more chic andGloss, can make a mat. In addition, it can help to hide some flaws in the work, for example, if you want to cover too narrow a margin. However, its use should be treated with caution, since there is a risk of overloading the embroidery. Especially if the scheme already has its own frame.
If nevertheless it is decided to use for registrationPassepartout, you can take ideas by watching the following video lessons from other needlewomen. In the first video, perhaps, the most simple and budgetary method is suggested, but this does not mean that it is bad.
The needlewoman from the second video tells how to make a mat on the usual cardboard and embroider the embroidery in an ordinary photo frame.
The following clip shows how to make a cardboard passepartout with the help of special tools, not worse than professionals.
In conclusion, it can be seen that needlework forChildren are sometimes not easy momentary hobby. Often such a "novel" with an embroidery cross lasts a lifetime. In addition, many adults notice that this hobby calms and brings thoughts into order. But modern children (and adults, by the way, too) so lack of perseverance. Perhaps, even it is necessary to offer the first lessons for beginners to look together to make it easier to understand.
Video: we make out ready-made embroidery

