
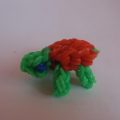
How to weave a ball of rubber to decorate New Year's fir, you will learn from our lesson. Detailed description of the process of weaving with step-by-step photos
New Year's coming to us! Soon the main heroine of the celebration will decorate the house - herringbone! But it will also need to be decorated! And most pleasantly, if the Christmas tree will hang toys made with your own hands. Today we will weave a Christmas ball that will give you and your family a New Year's mood.
Materials and tools
- Erasers of pink, green and yellow flowers;
- Machine;
- Filler;
- Hook.
Stages of work
We put the machine so that the open sides of the upper row are directed to the left, and the bottom row to the right. 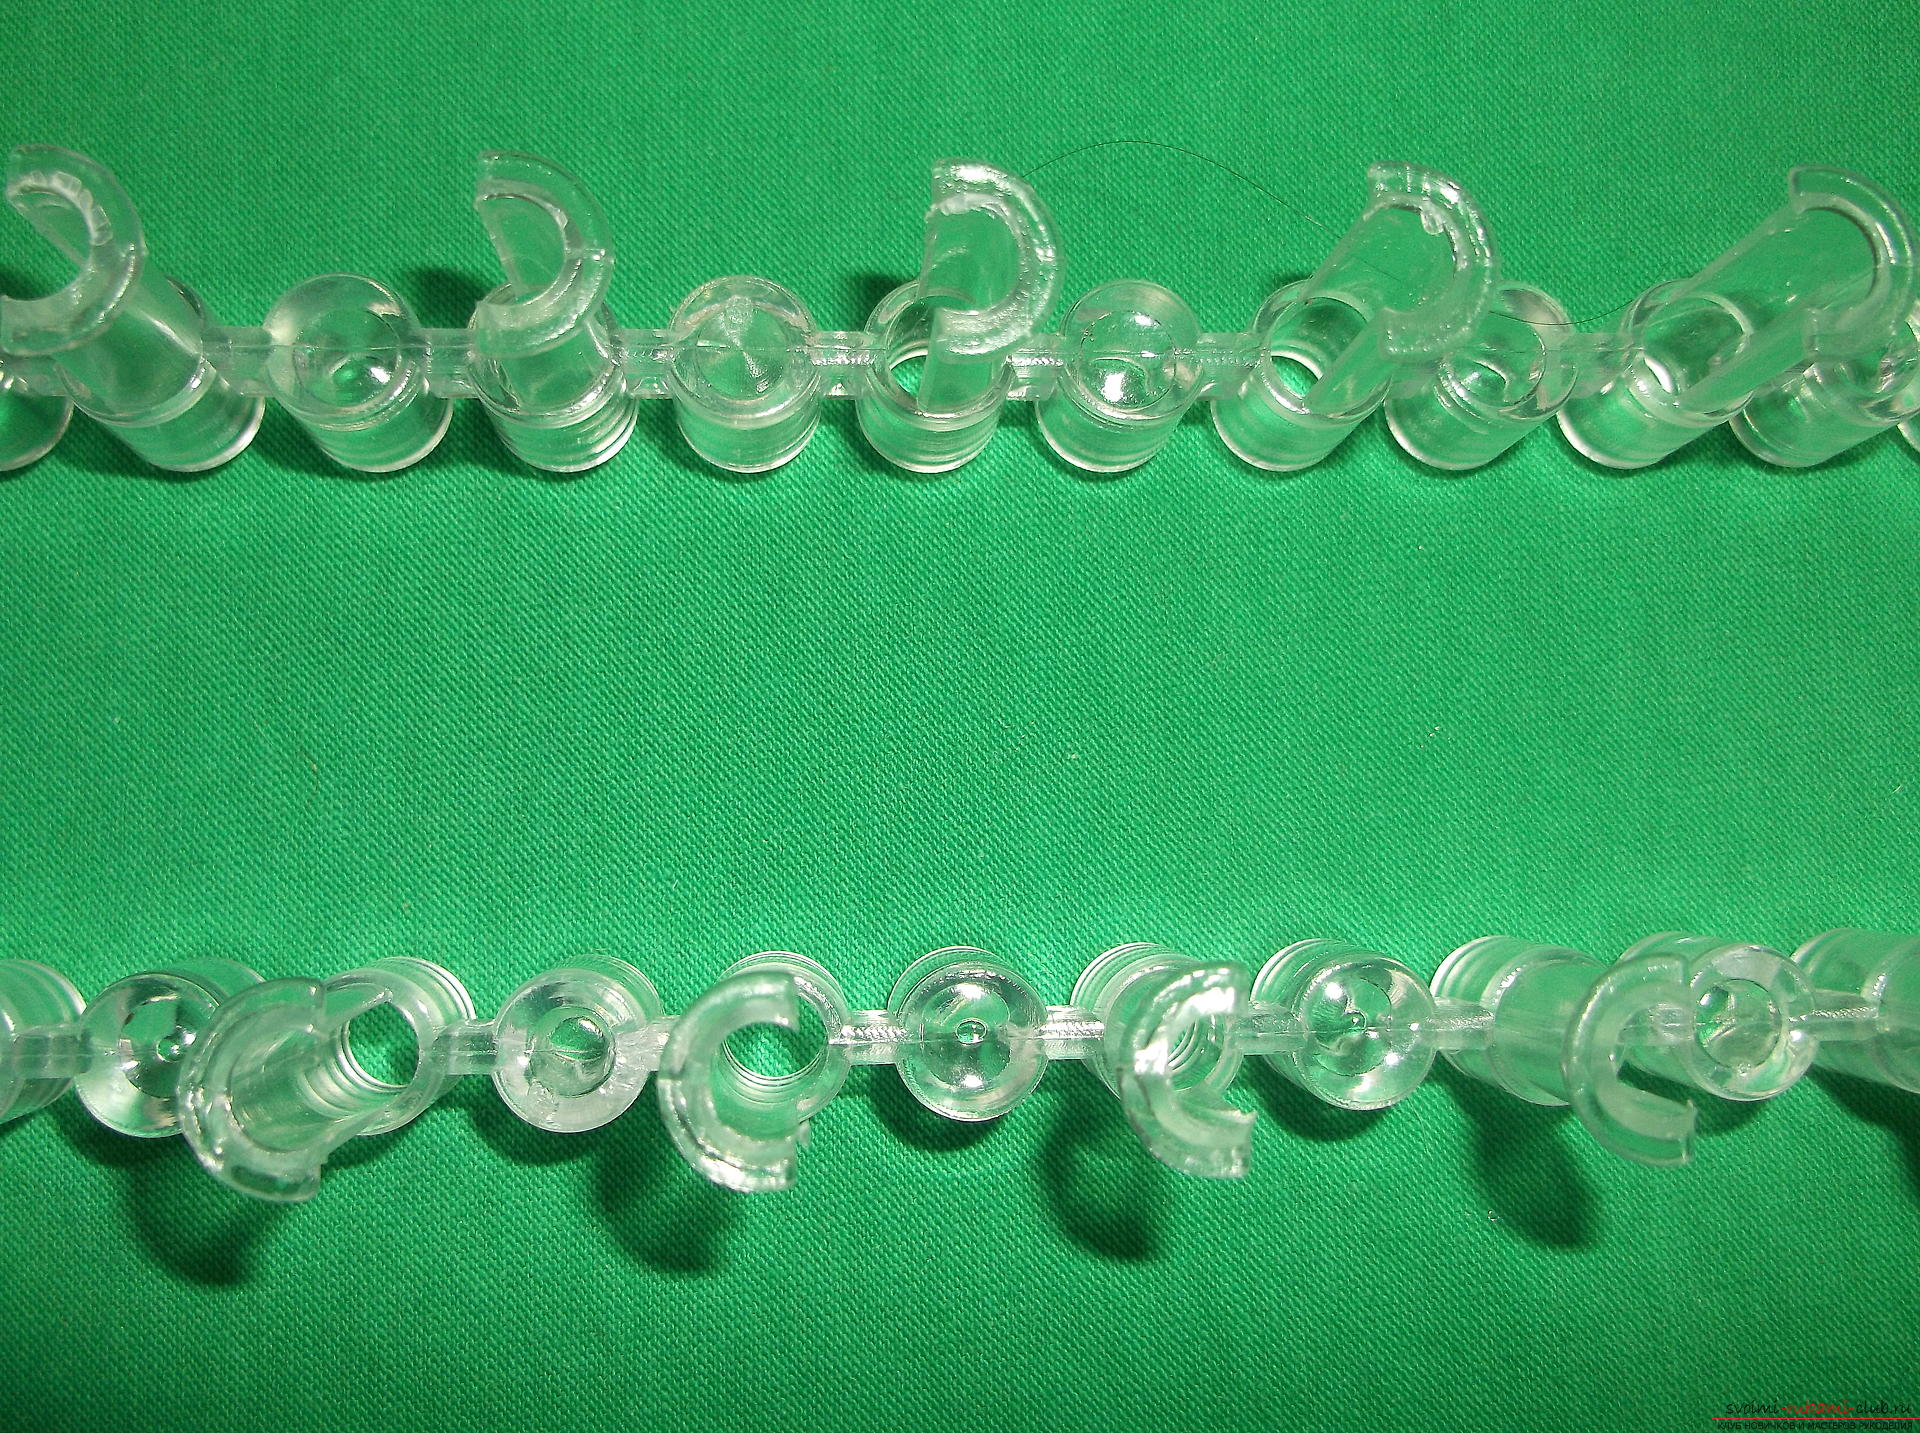 We will work on ten posts. Five on top and five on the bottom. Therefore, we determine for ourselves the working columns. The account will always start and end with posts. We put on the first layer. Take the rubber band of the main pink color. We will put it on the first lower column and turn it so that it crosses itself in the center. We put the second side on the first column of the upper row. Next, we will put on in order. In exactly the same way, we put the pink elastic on the first column of the lower row, cross it by pulling its second side onto the second column of the bottom row. And so to the fifth column. From it we put on the elastic band on the fifth column of the upper row and from it we go to the first column.
 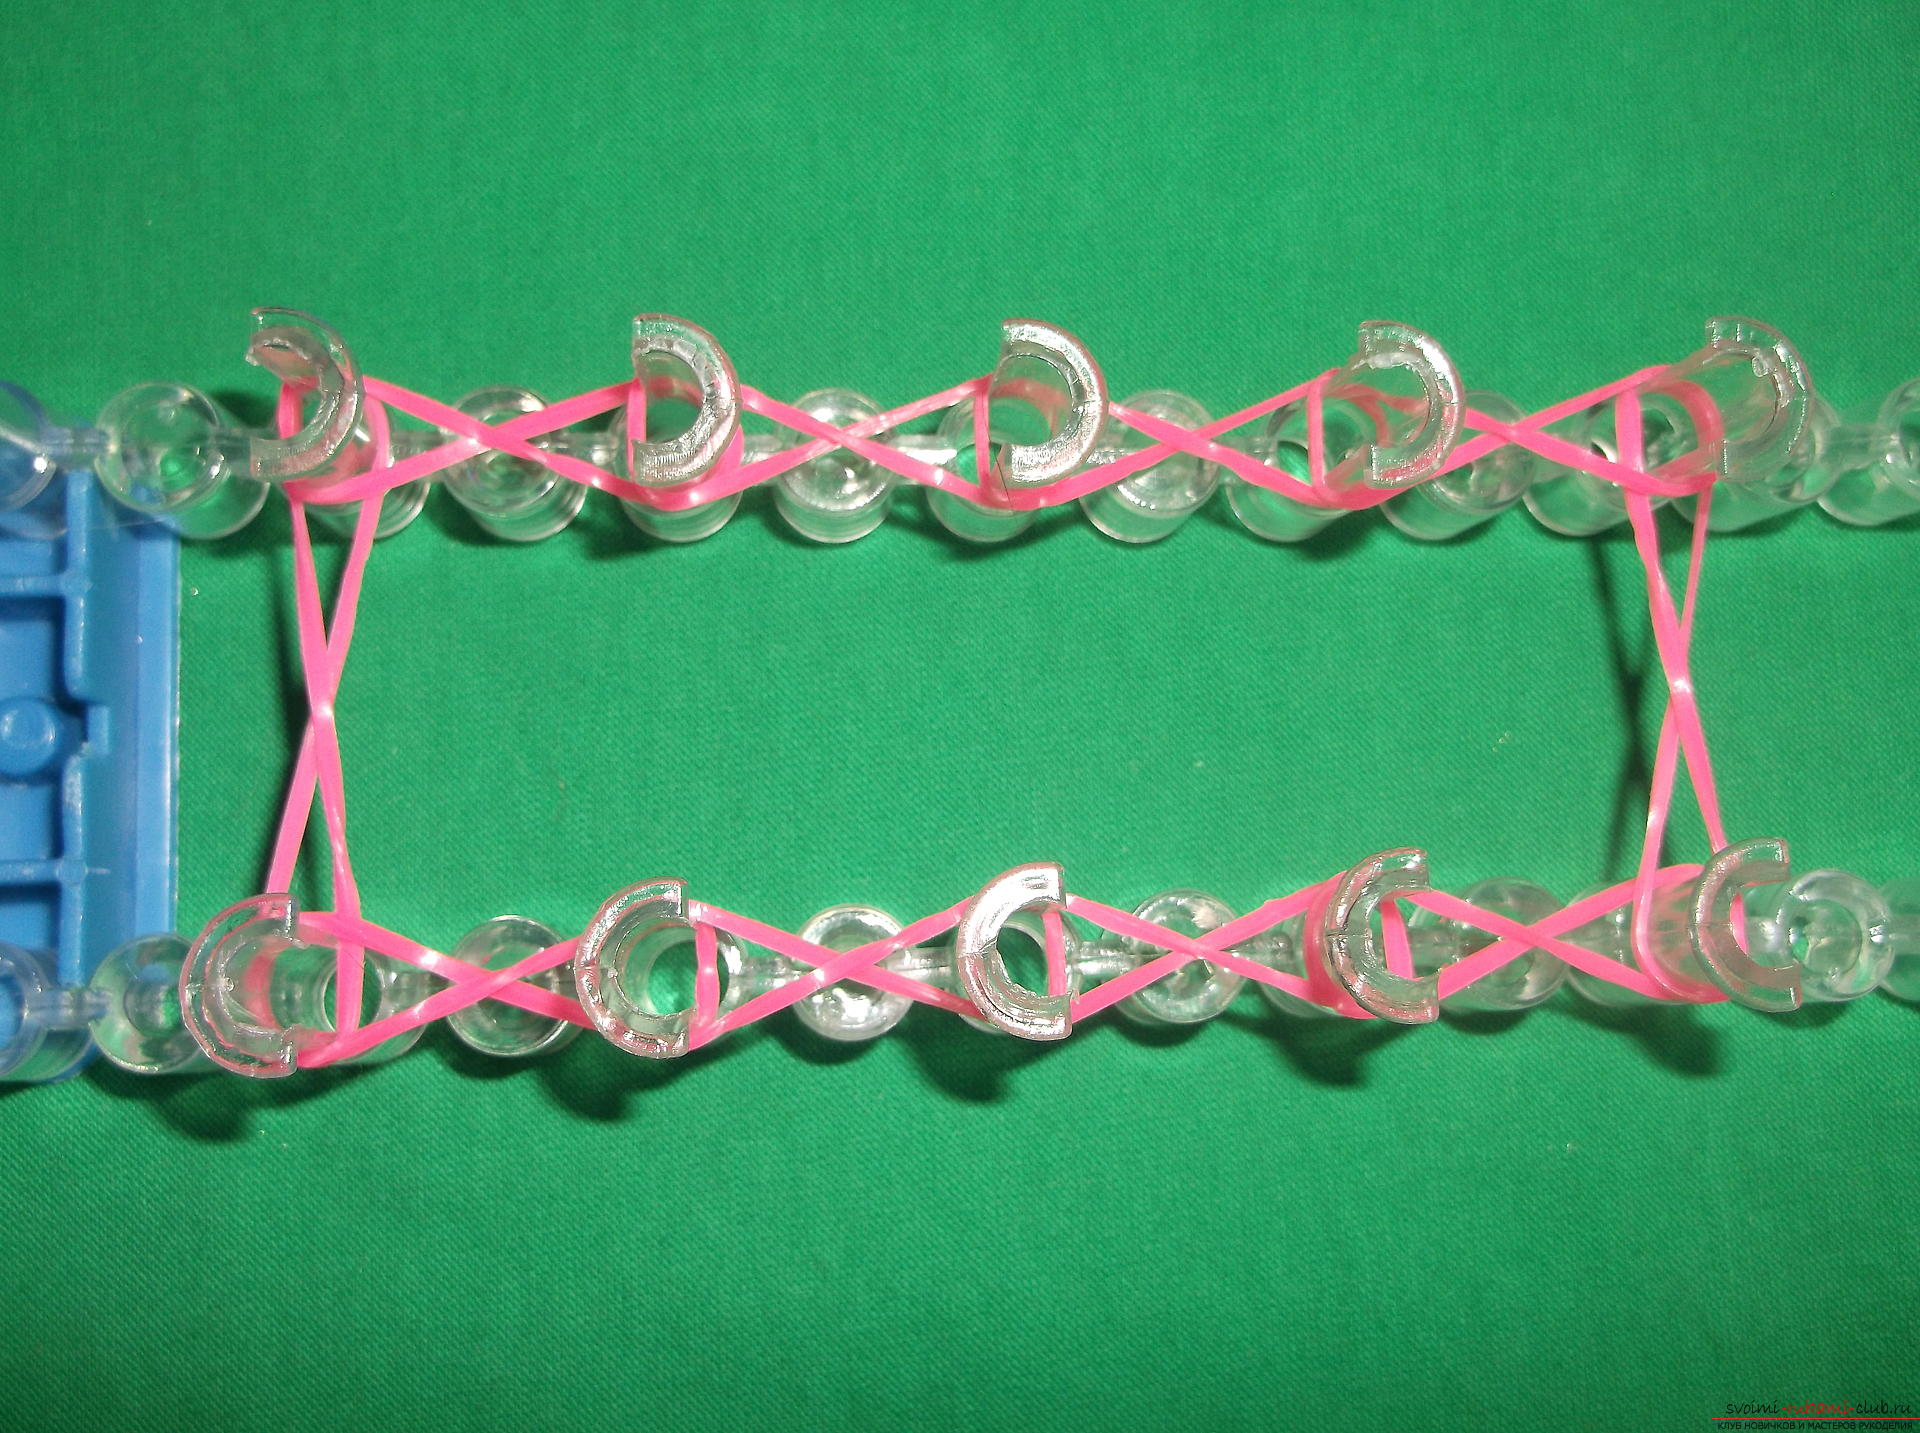 We do not discard anything, but we impose a second layer. In exactly the same way, just do not cross the elastic band.
  Now we take the hook and poddenem two lowerThe loops on the first column of the bottom row. We will delay them and hold them above the posts, throwing the weaving inside. In the same way with all the bars. As a result, two hinges should remain on each column.
 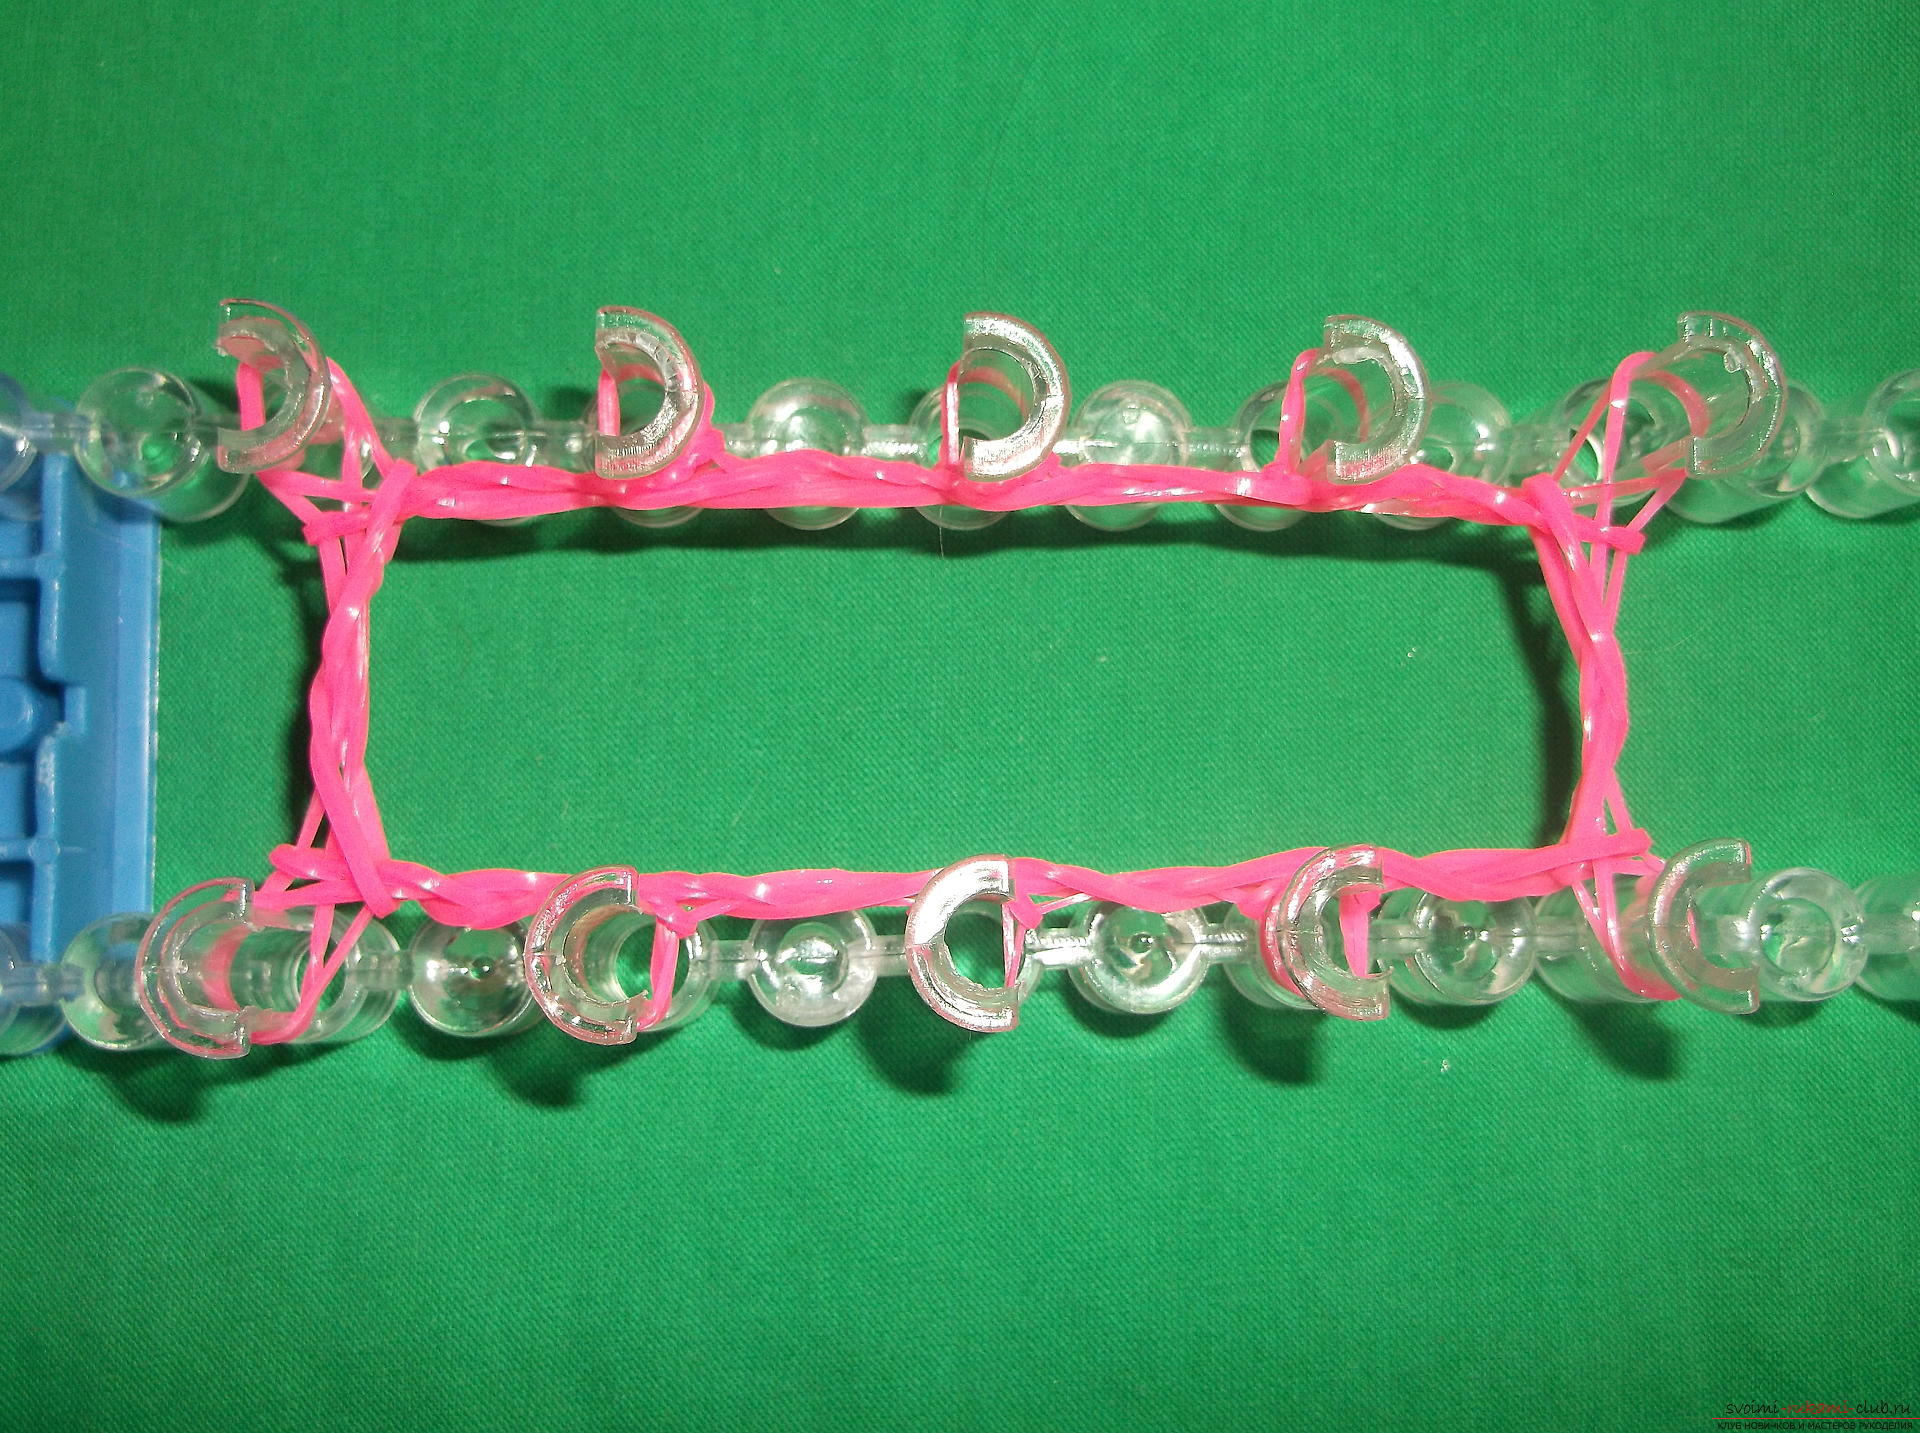 We'll weave the third layer, putting on the gum just like the second layer. We remove the two lower loops. The fourth layer is no different, but now we will wear gum green.
 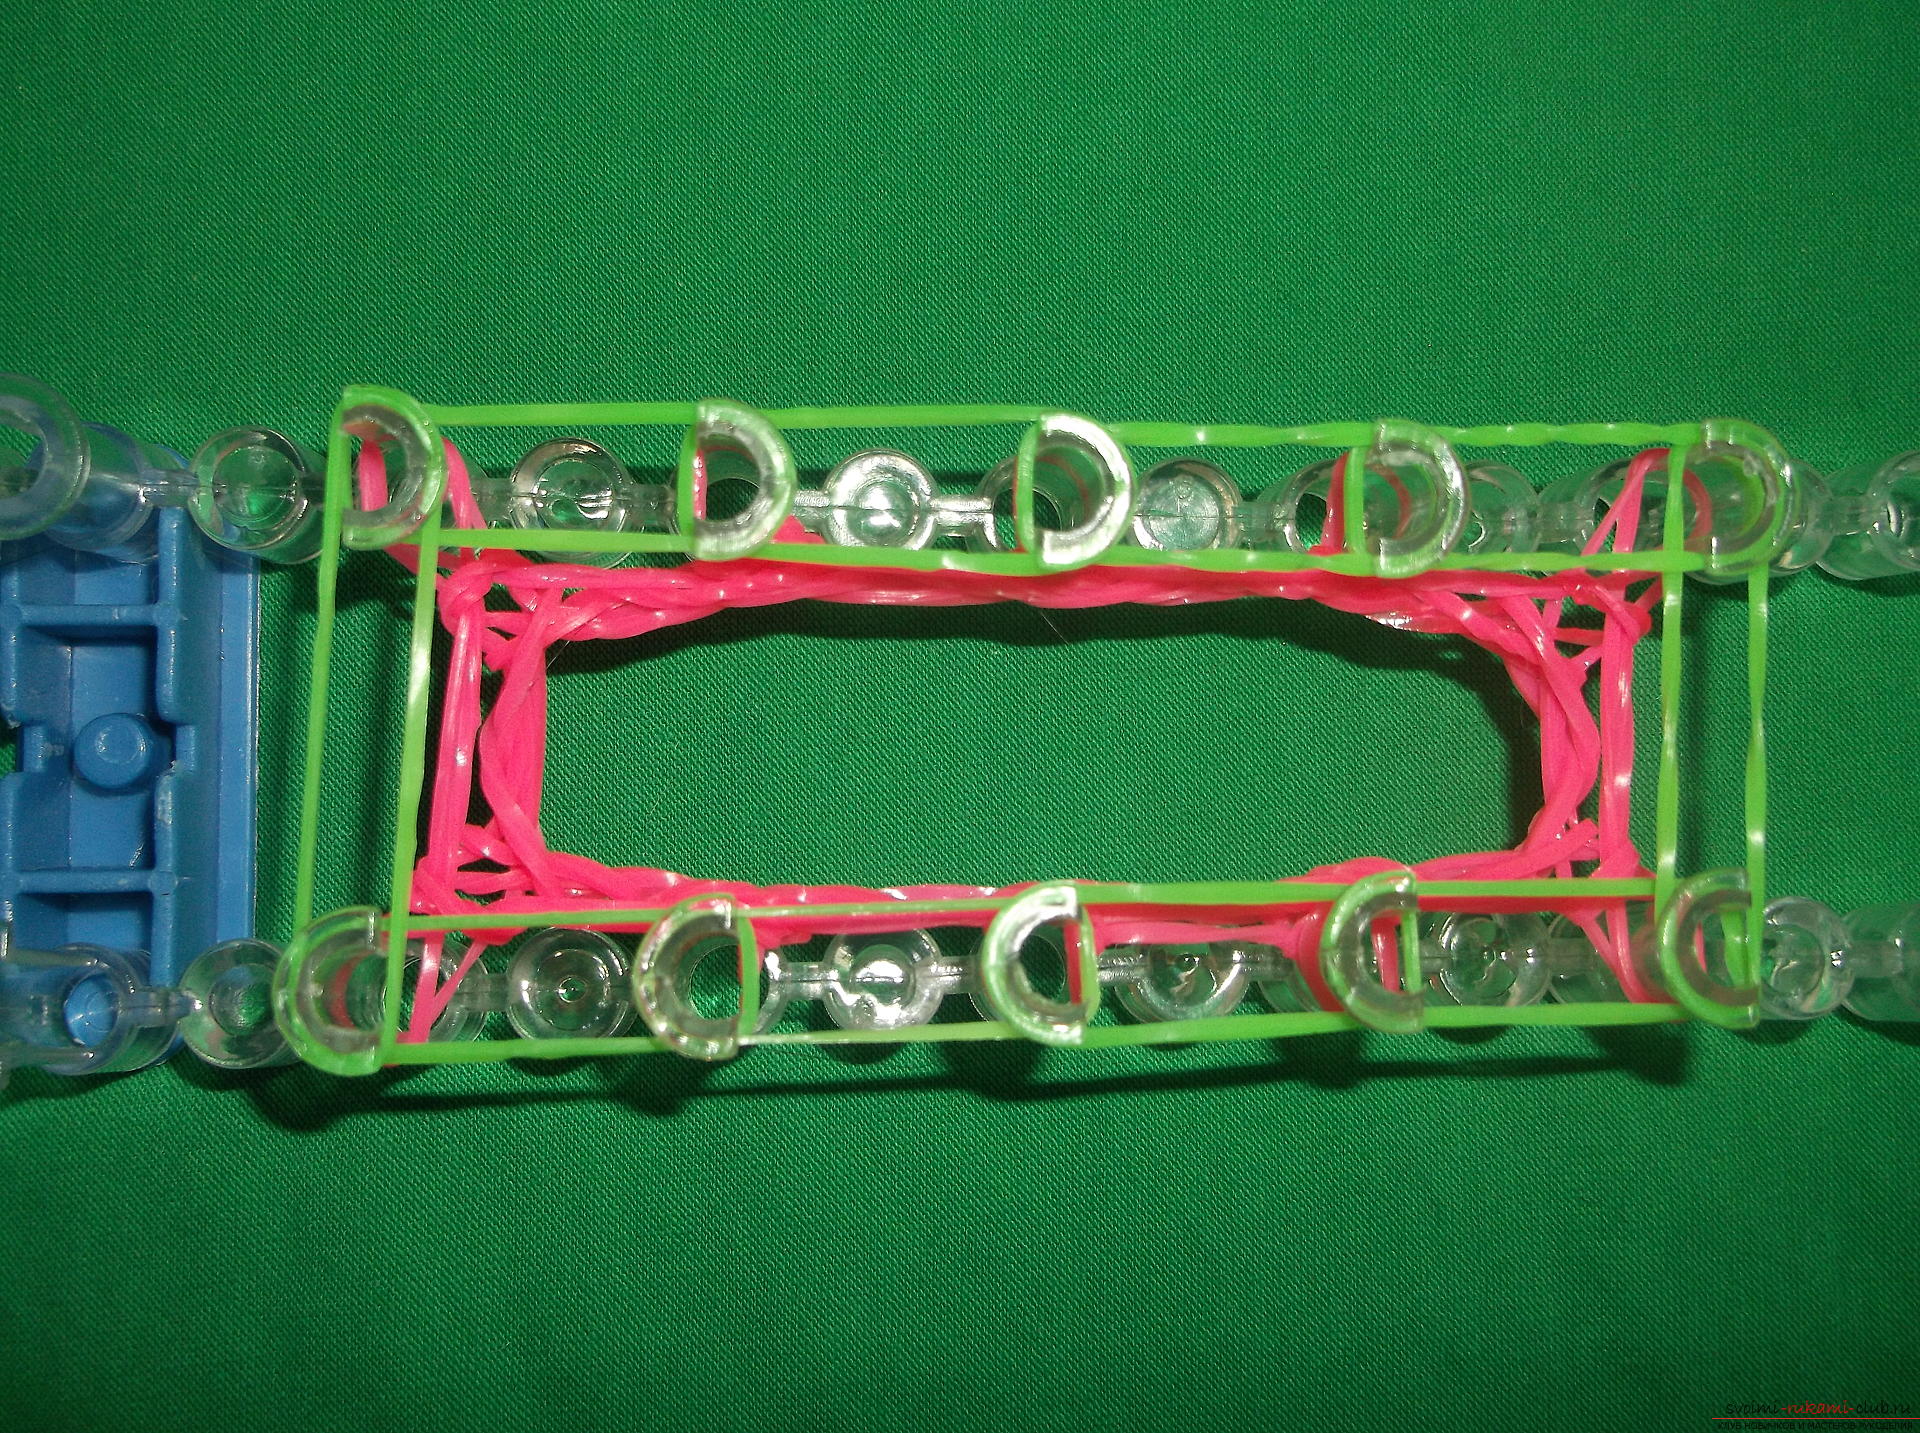 Remove the bottom layer. The fifth row consists of yellow rubber, so we put them on. Remove the bottom layer. On the sixth row we put on greenberry gum. Remove the bottom layer. The seventh, eighth and ninth rows consist of pink rubber bands. Remove the bottom layer.
 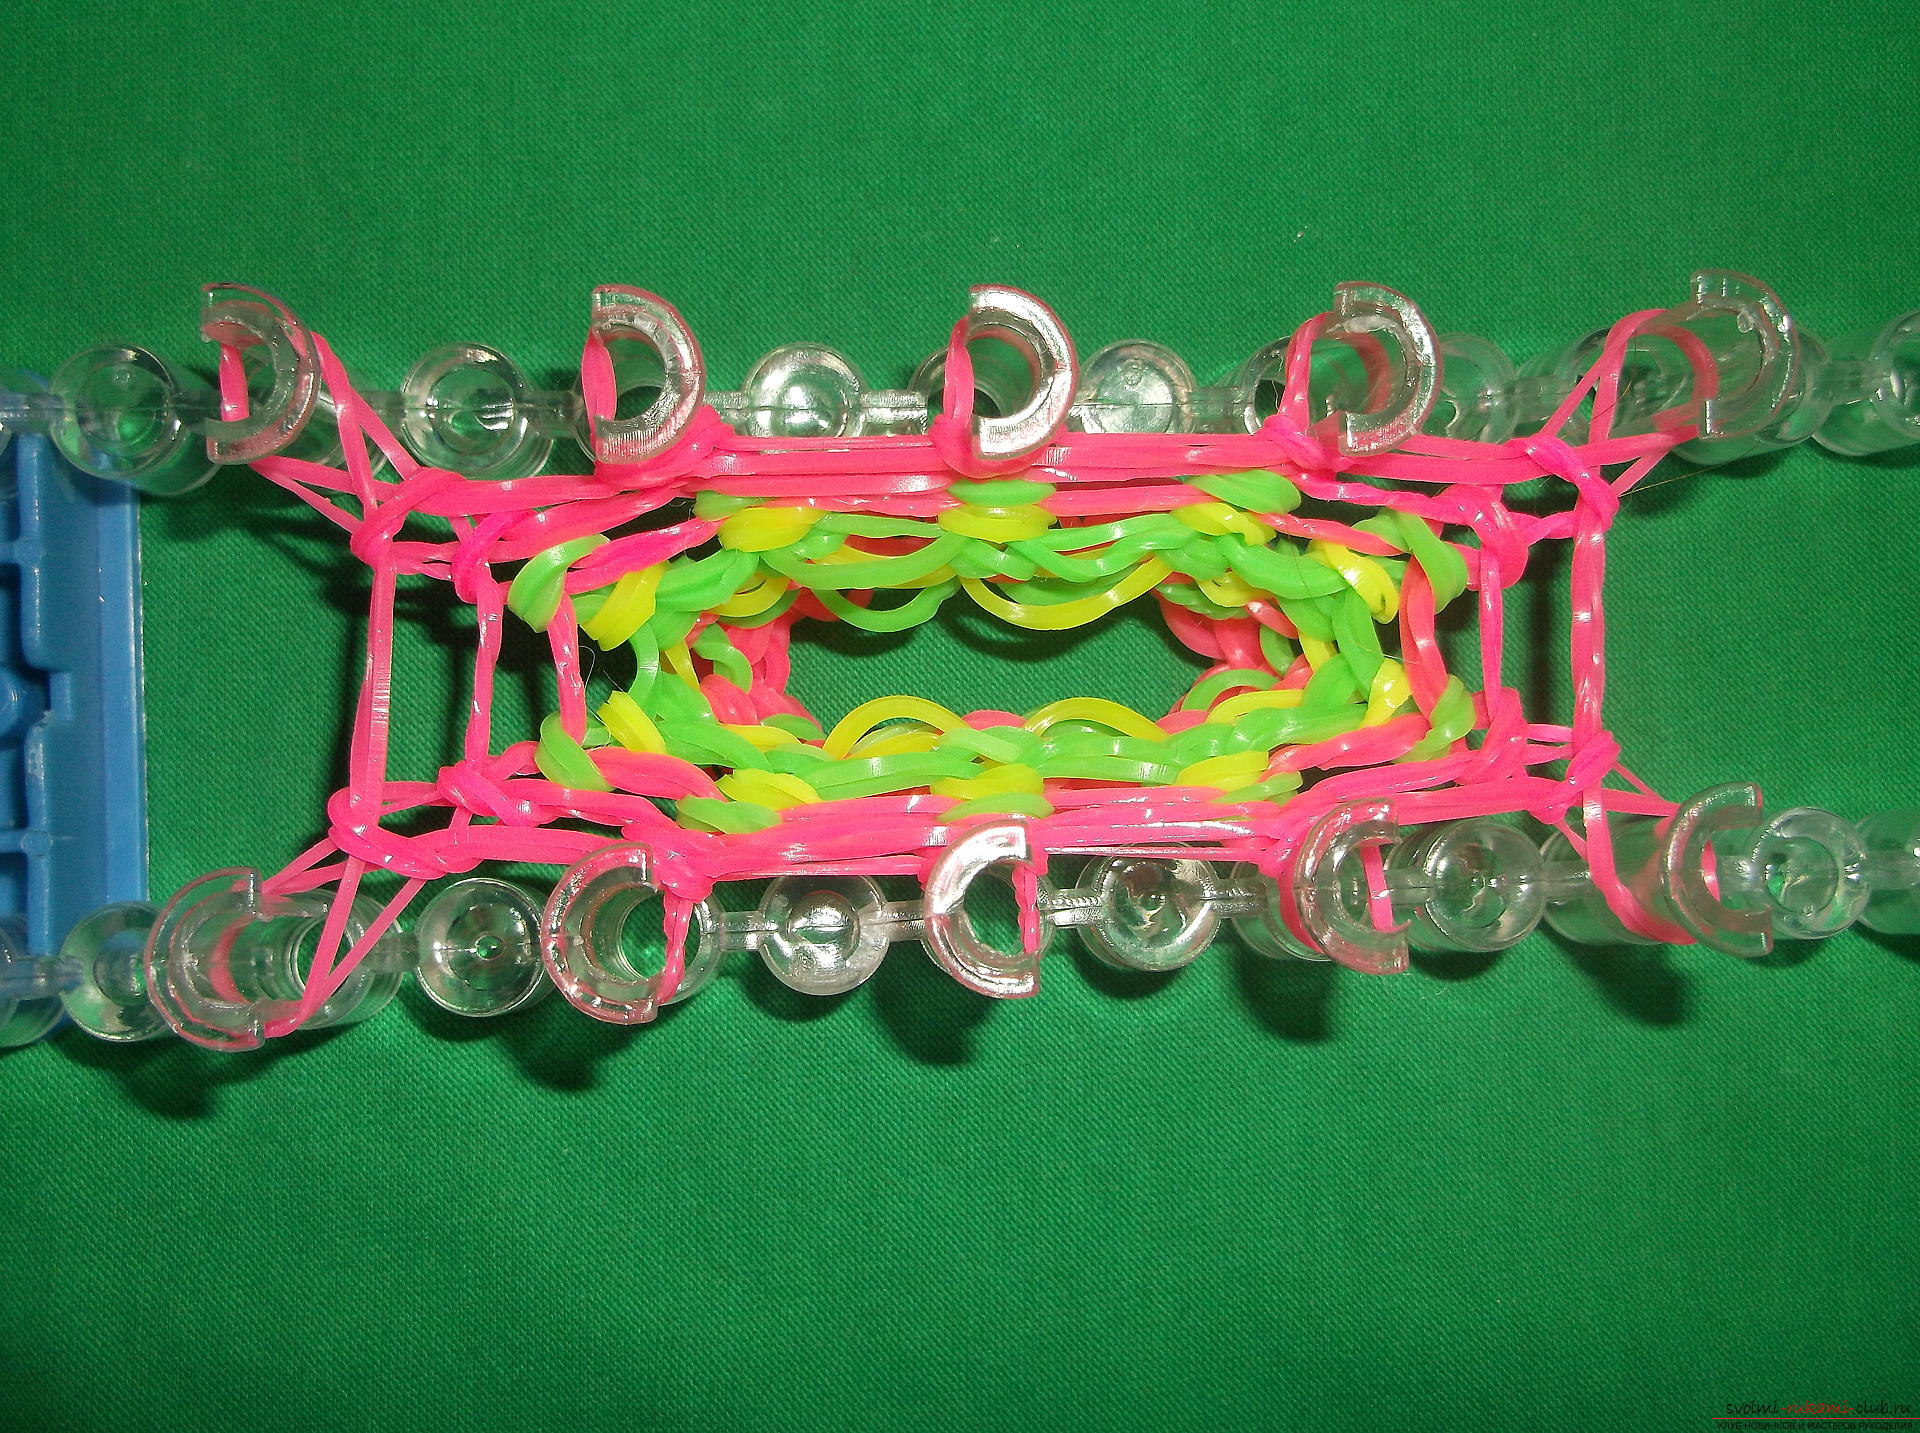 Now we need to remove the weaving from the machine. We hook the first column of any row and, holding the loops with our fingers, we transfer them to the hook. So in turn, we remove the hooks from all the posts on the hook.
 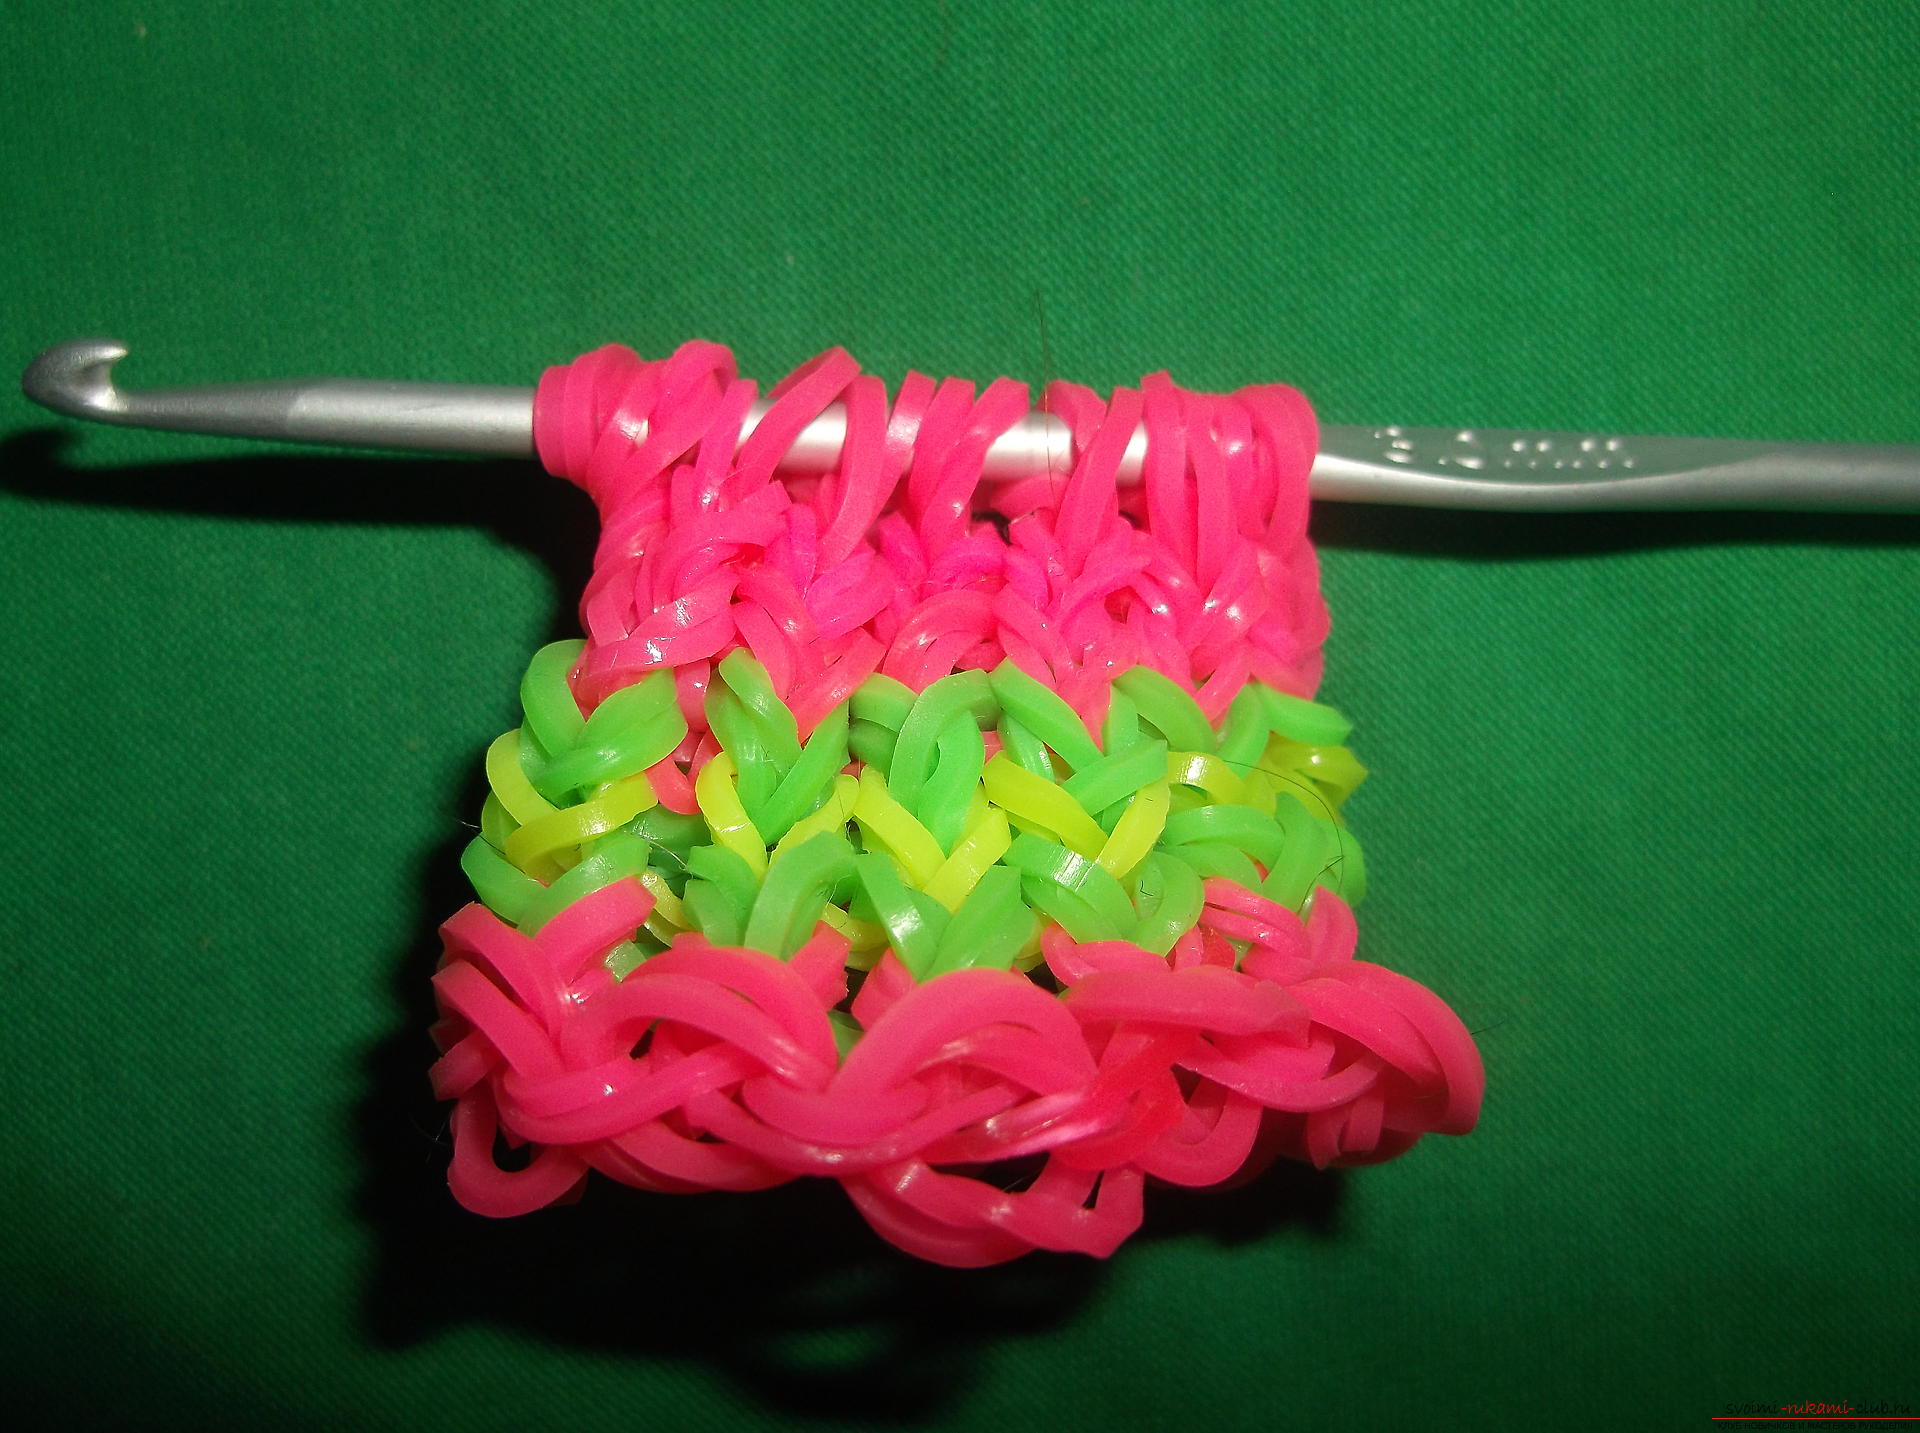 Next, put on a pink rubber band on the index finger. We grab it with the tip of the hook and, pulling the finger back, we will transfer all the loops from the hook to this elastic band. We transfer the second side from the finger to the hook.
 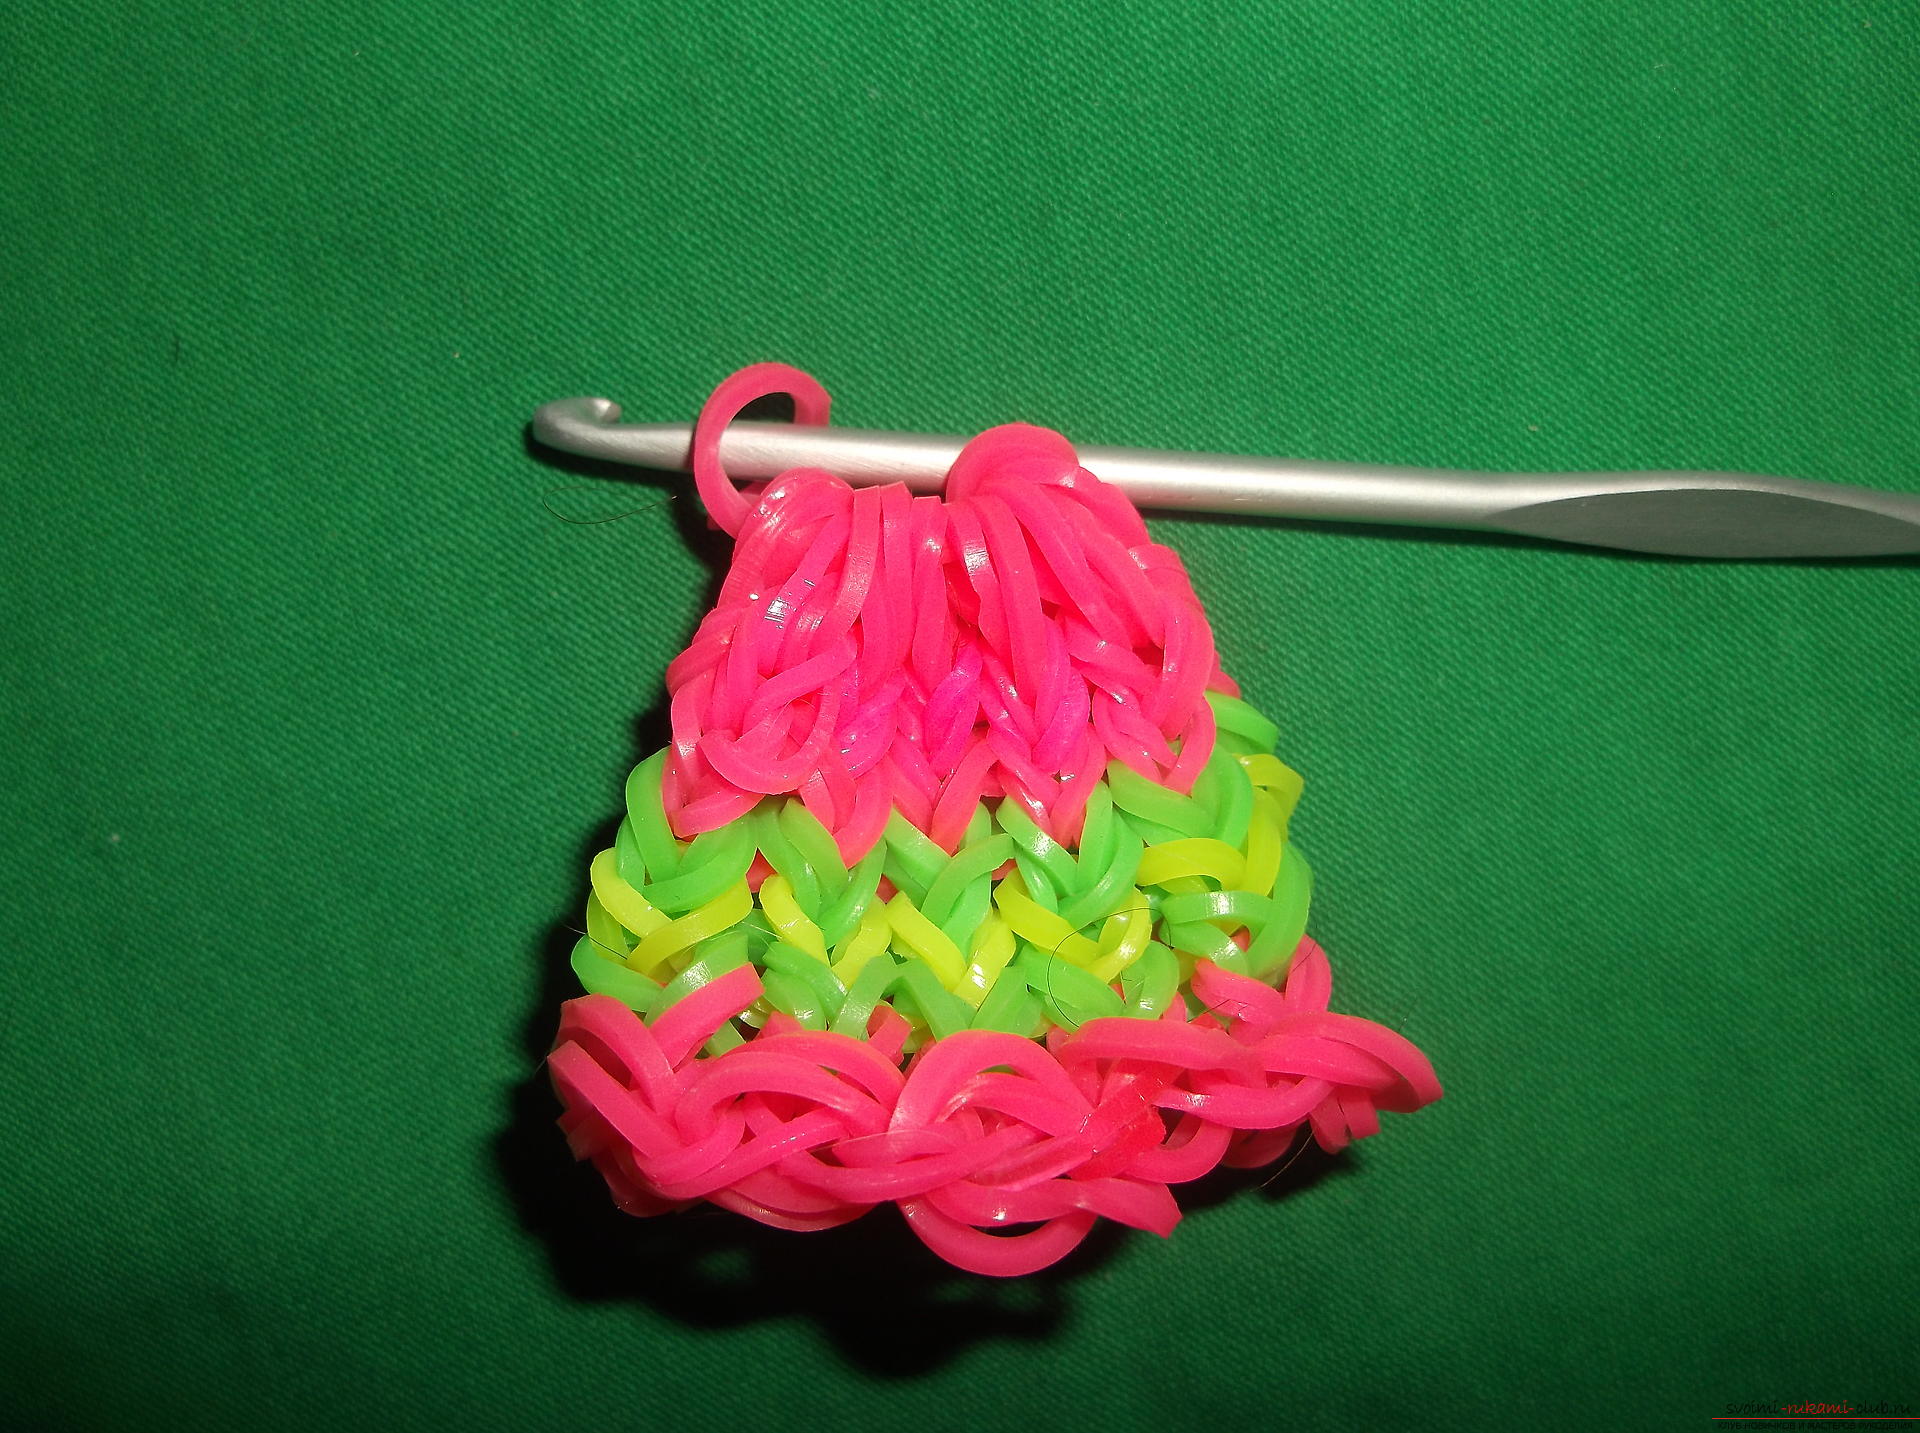 Now there are two loops on the hook. Start the first one under the second one and get the node. We tighten it. We make a hook from inside the weave and we catch a knot. We drag it inside. Fill the ball filler.
 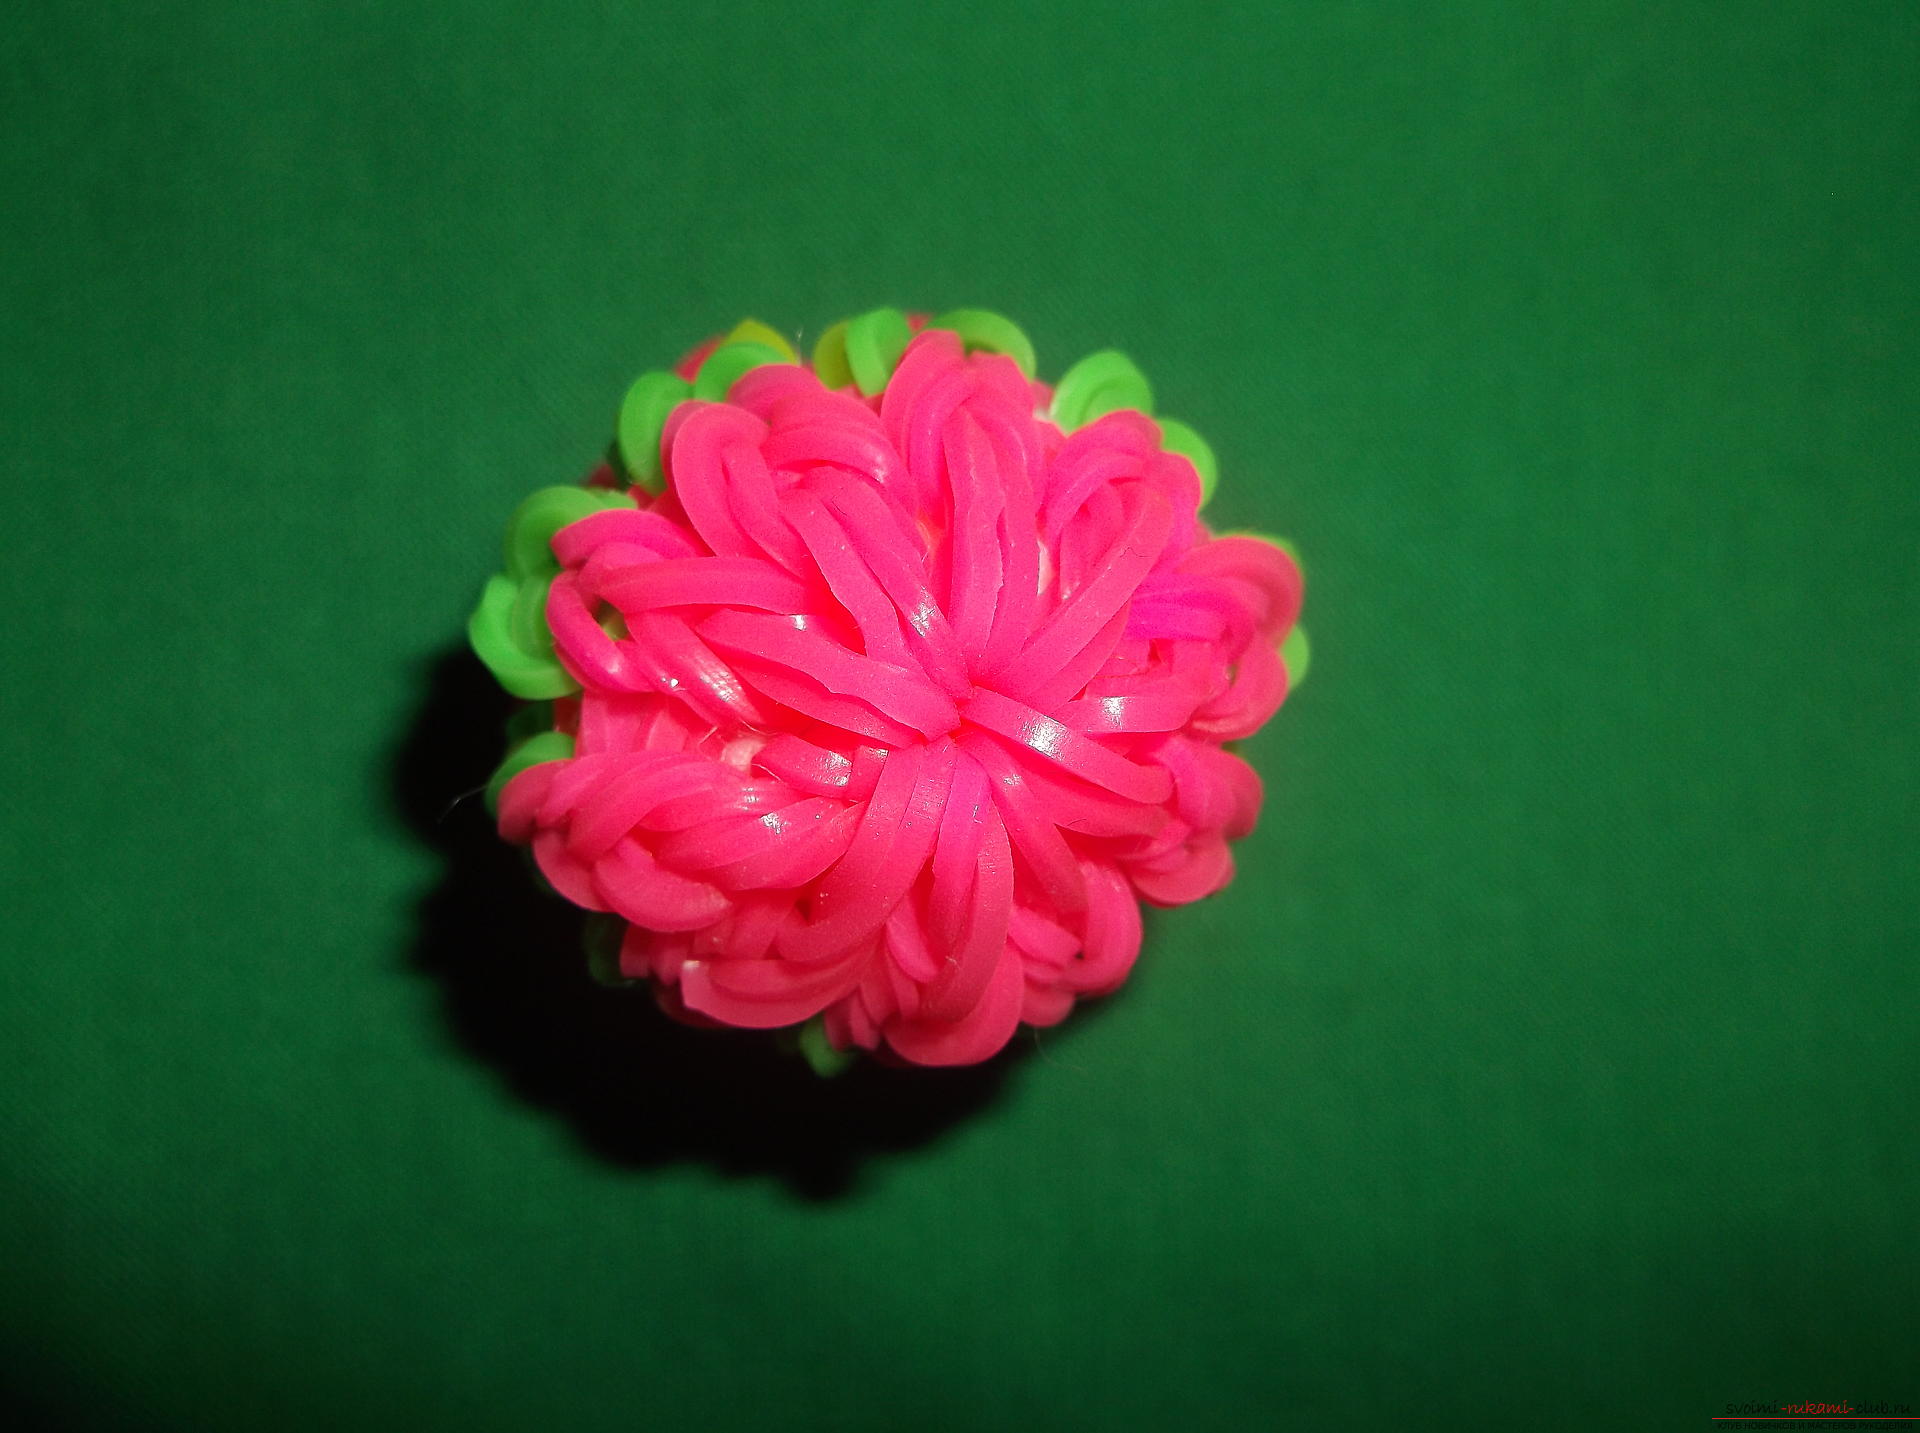 It remains to connect the second side of the ball. It consists of pairs of loops.
 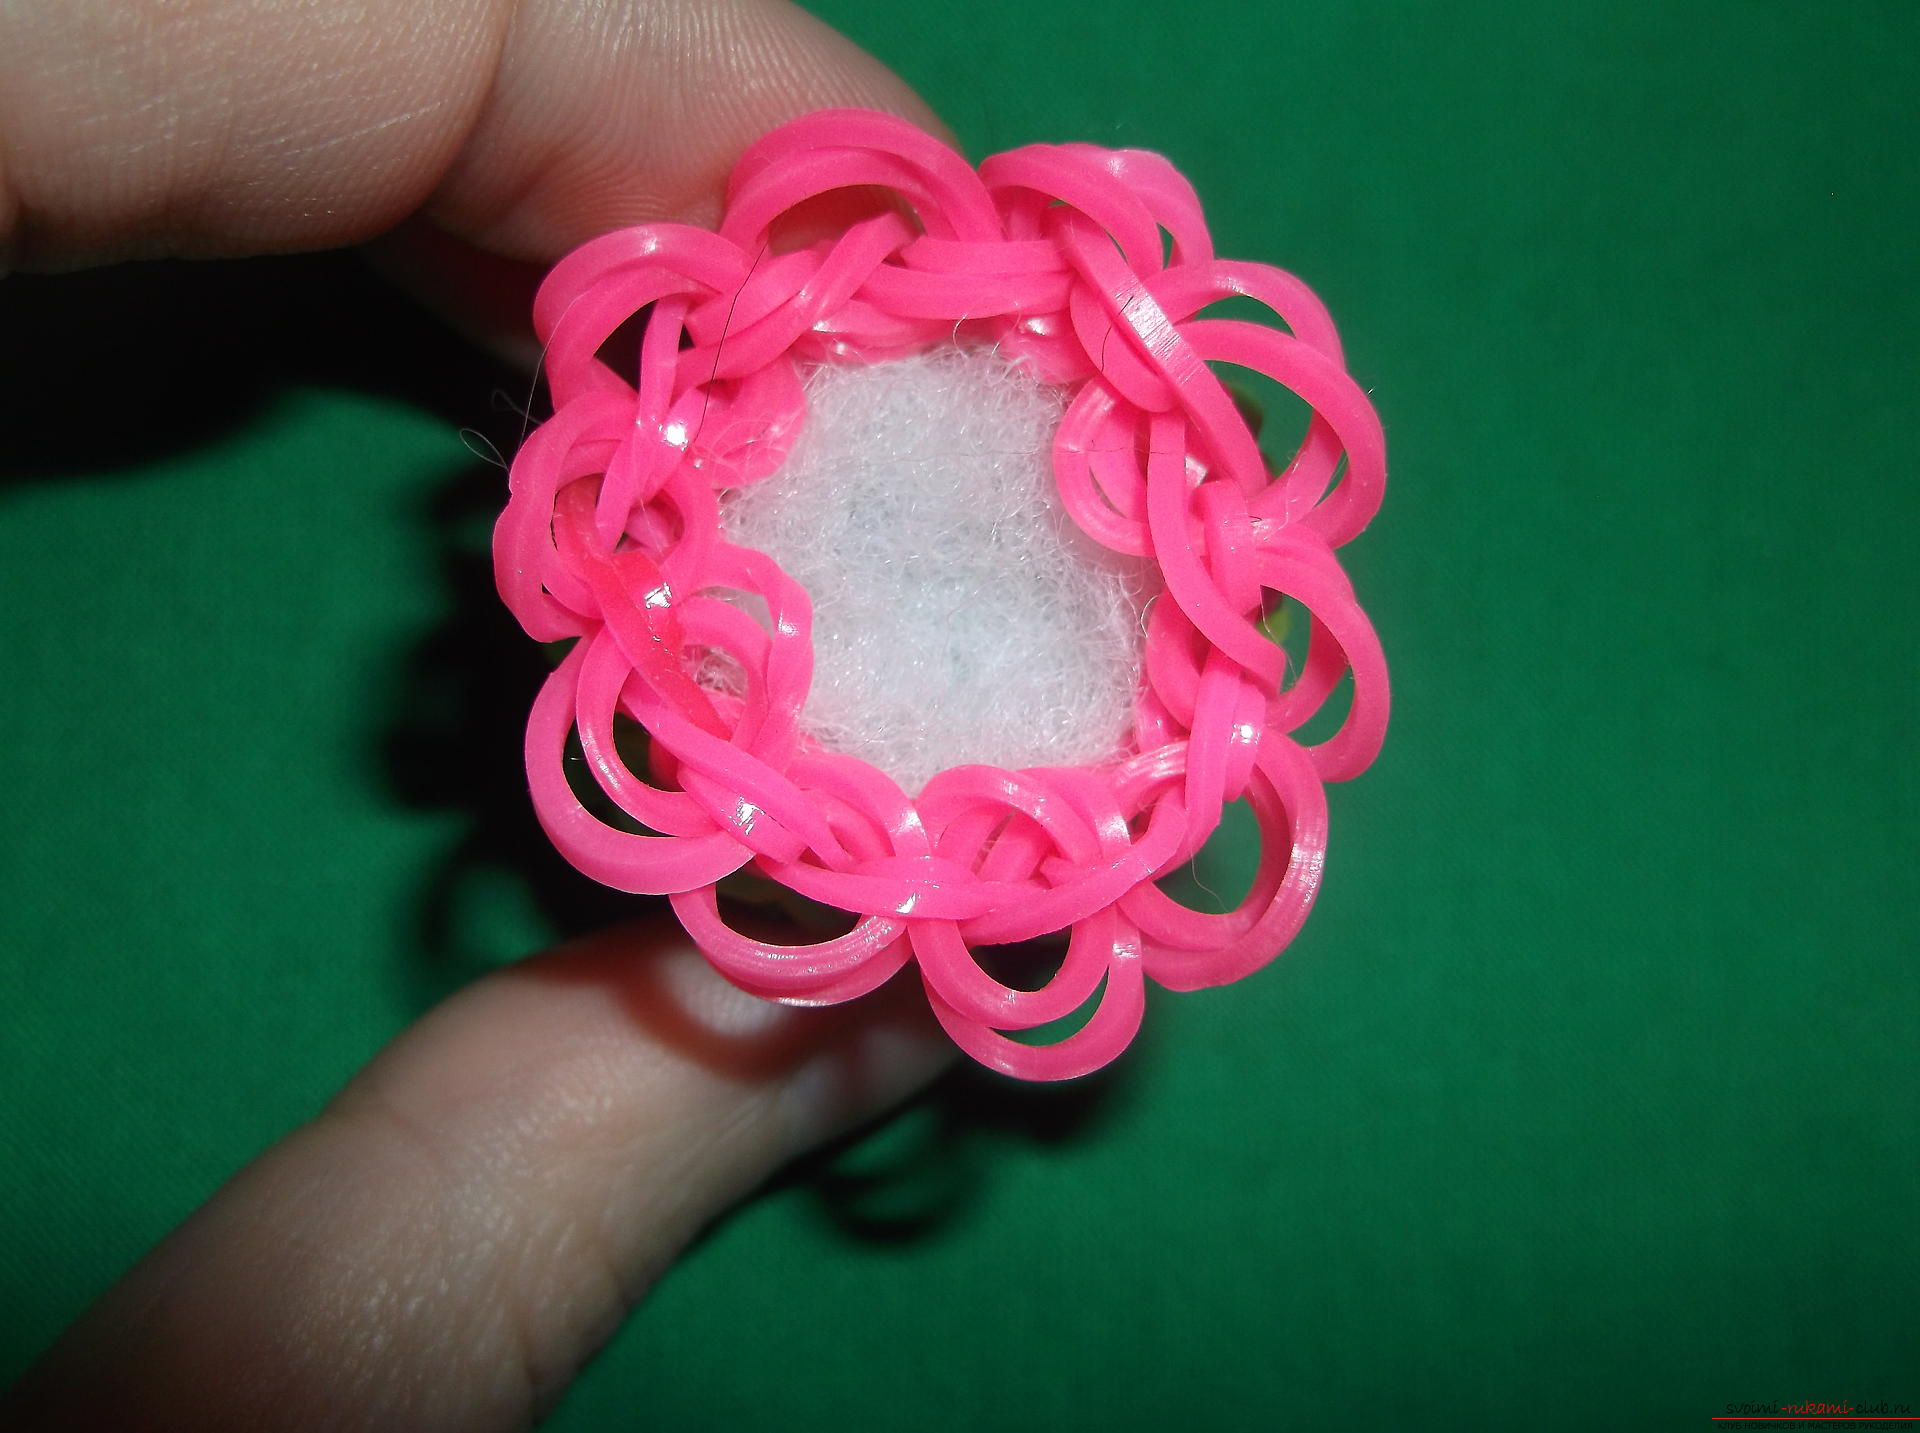 We need to get a hook in each pair. That is, we must put the wire on the hook. But first we will extend the rubber band, on which we will later put on all the loops. To do this, just take a rubber band pink, we'll put it on the hook once. We grab another rubber band with a hook and thread a loop on it from the hook. We put the second side on the hook and hold it under the first one. We tighten it. Now we collect the loops on the ball on the hook. First half of the loops. And we drag through them an elongated rubber band.
 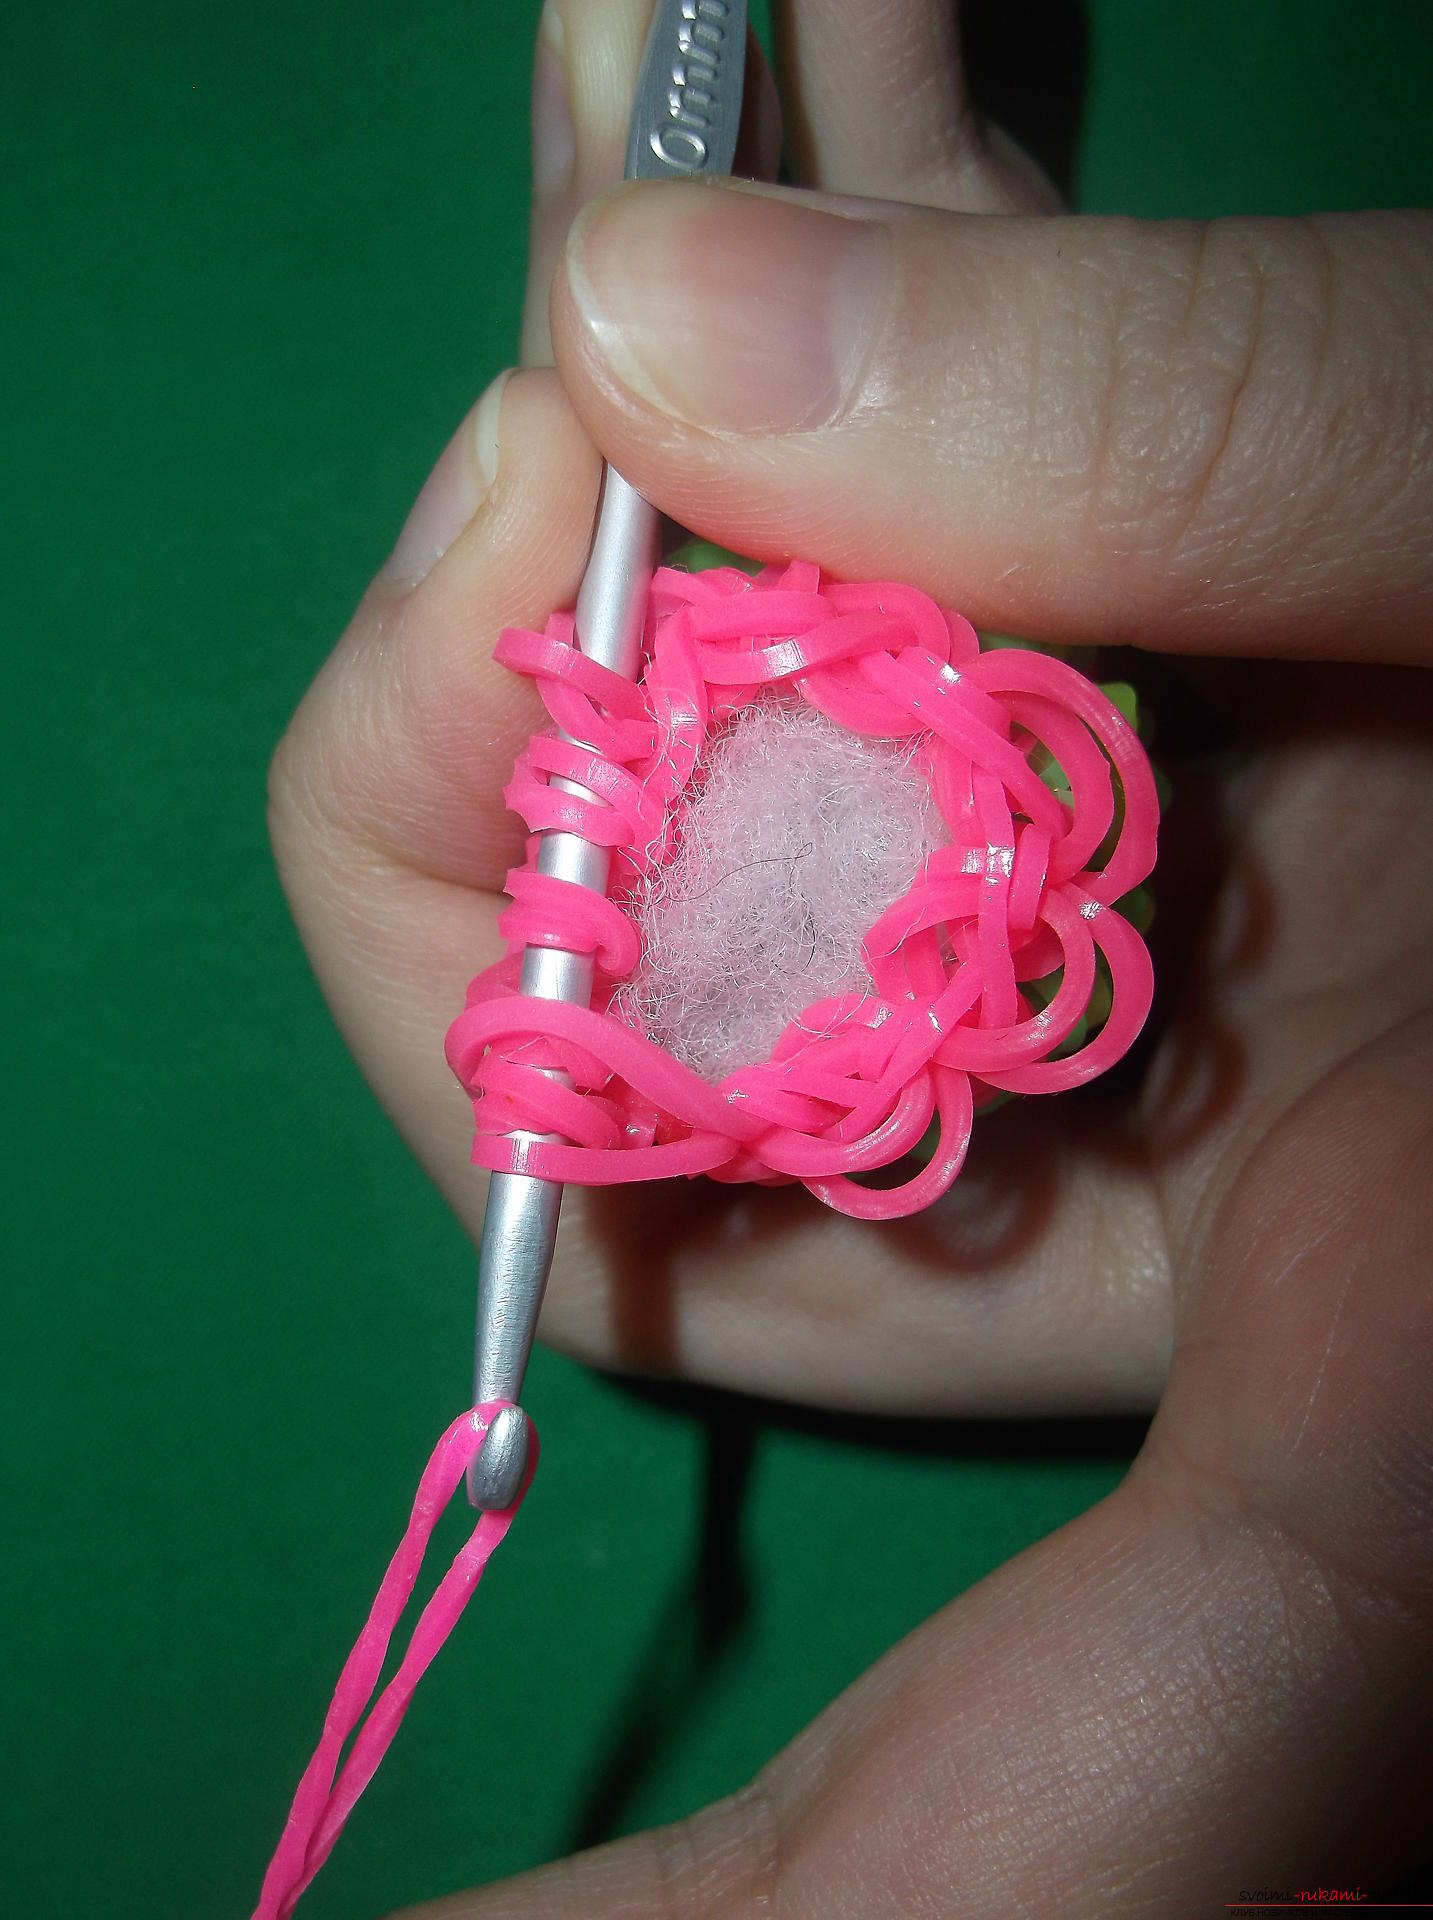 This gum is not left on the hook. One side was on the forefinger when we passed it. We leave it there. But the side that was stretched through the loops, put on the thumb of the same hand. Now we collect the remaining part of the loops on the ball on the hook. Grasp one side of the elongated rubber band. Which will be closer to the hook. Either with an index, or with a thumb, it depends on which side you will hook. We drag this gum through the loops on the hook. We put the second side from the finger on the hook. We drag the first loop on the hook under the second and tighten the knot. We hide the noose in the weave, setting the hook in any loops. This is such a wonderful toy!
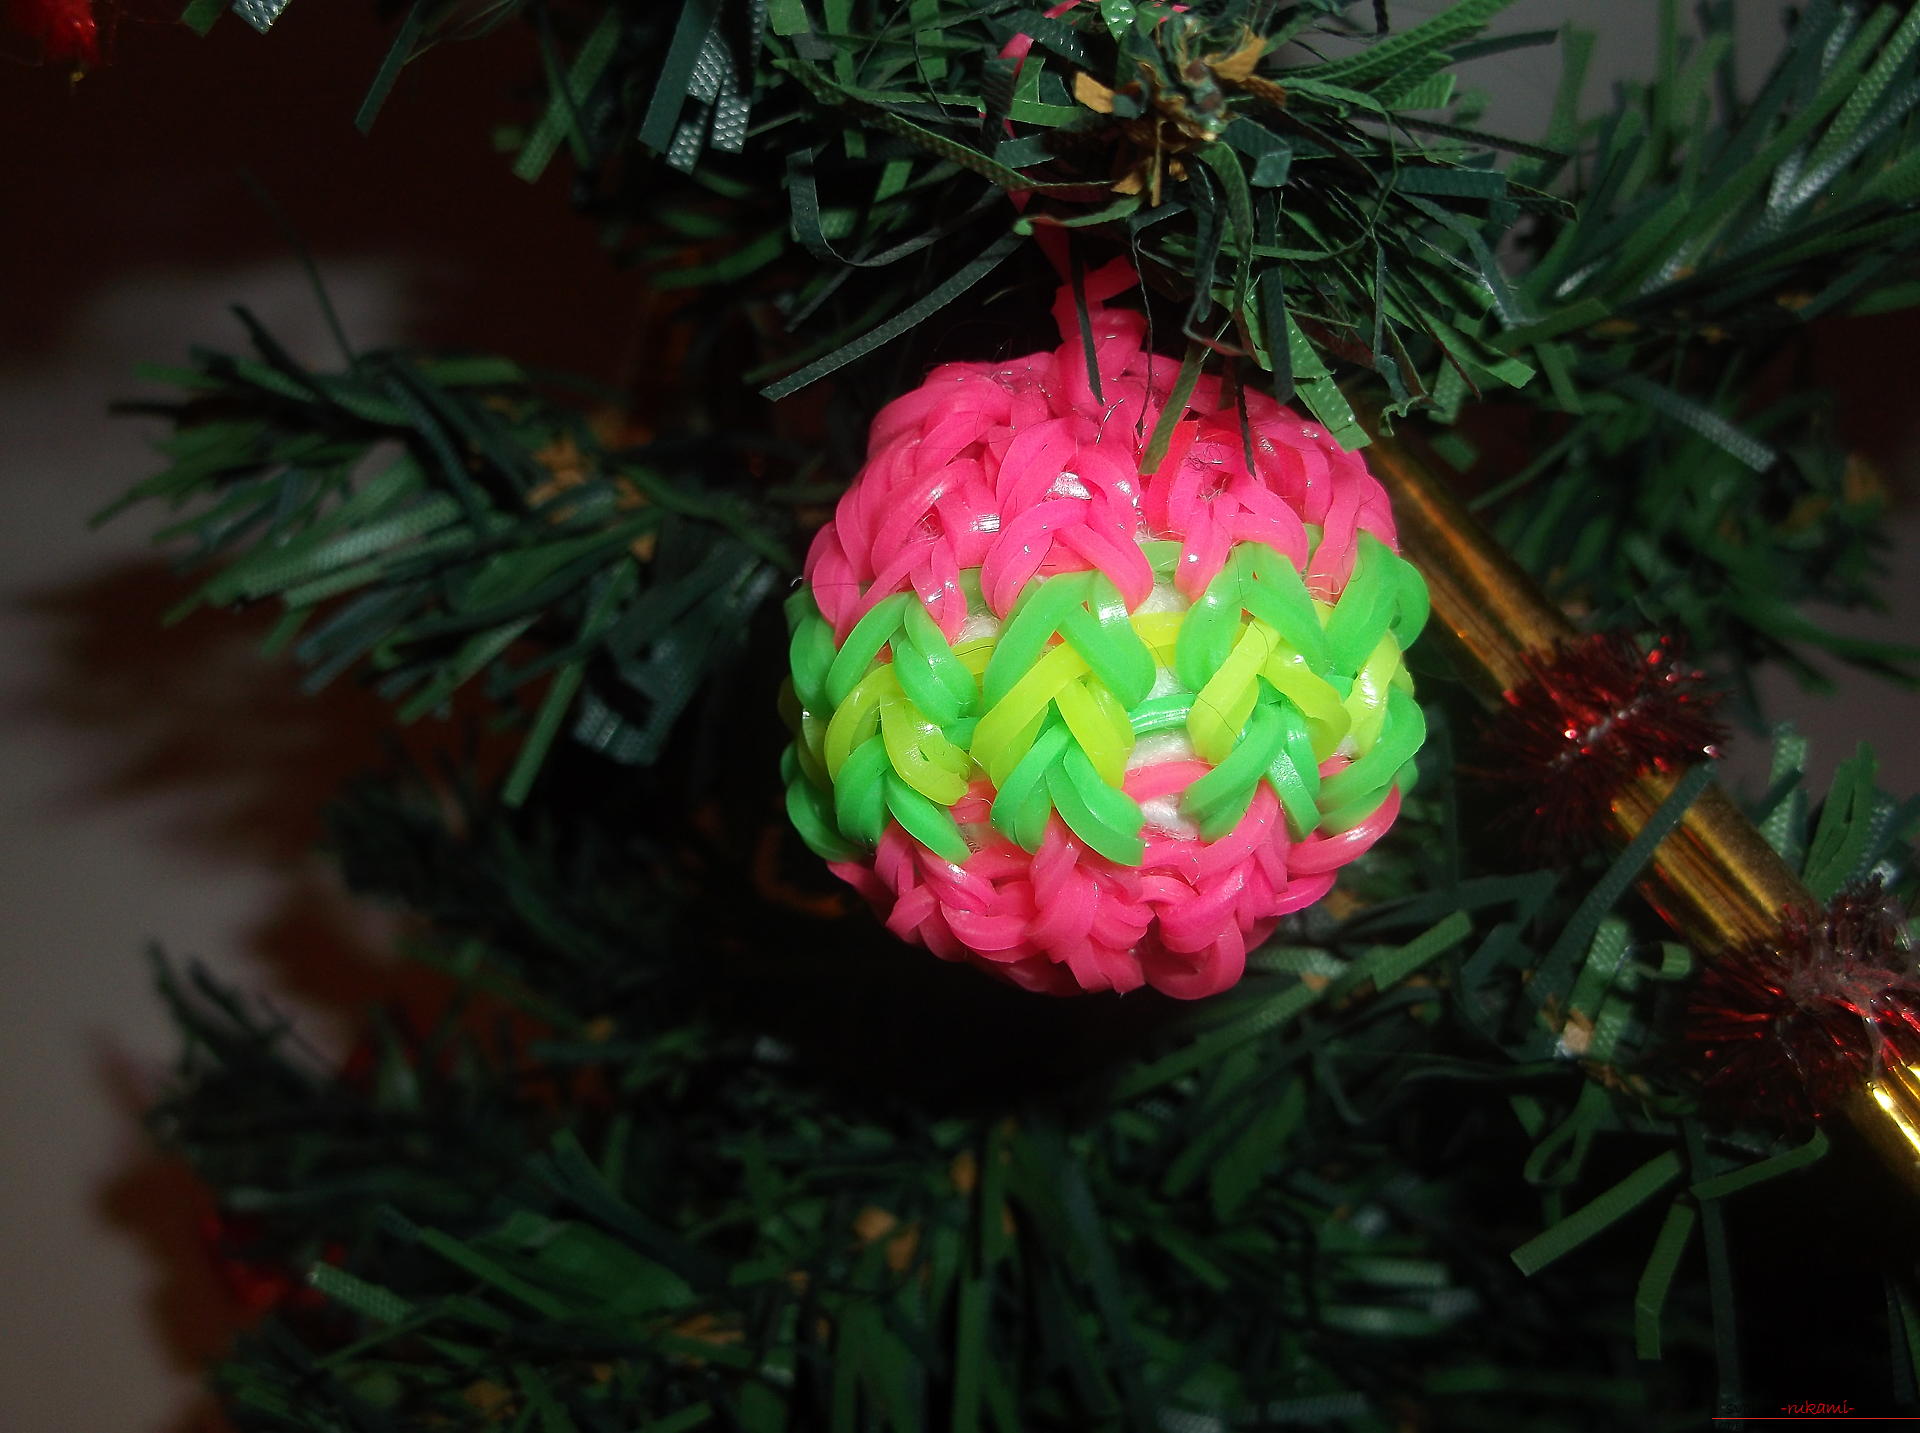
Comments
Related posts:
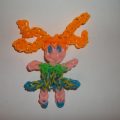 How can we weave a small toy "Red-haired girl" out of multicolored rubber bands? Detailed description of the process of weaving, a list of necessary materials and step-by-step photos
 How to weave a small turtle from multicolored rubber bands? Step-by-step description of the stages of work and photos
 How to weave flowers of poppies, photo and description of weaving a bouquet of poppies
 How to weave beautiful beads, detailed instructions, description and step-by-step photos for beginners in beadwork
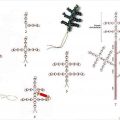 How to weave from beads and wire a New Year's, snow-covered or decorated Christmas tree with our own hands, step-by-step photos and a detailed description