
How to weave a bracelet made of rubber bands with the inscription "2016"? Lesson on weaving bracelet with step-by-step recommendations and photo
2015 is coming to its end! We are about to meet 2016 and hang new calendars. Already it's time to think about gifts for your friends and family. And what gift can be better than what is made by themselves? In this master class we will sew a bracelet with an inscription 2016 from latex rubber bands.
Materials and tools
For weaving we will need:
- Erasers of two colors;
- Machine;
- Hook;
- Clip;
- A sheet of paper in a box;
- A pen.
Stages of work
In general in such a way that we will weave a bracelet2016, you can weave a bracelet with any desired word or name. Just in advance preparing the desired scheme. It is very easy and convenient to weave according to the scheme. So, put a sheet of paper in front of you in the cage. From the top we will write the numbers from 1 to 23. For each digit one cell. 23 rows we will weave. And on the left, vertically, write the numbers from 1 to 7, also giving each digit a separate cell. We will weave 7 elastics in each row. Points of the same color mark all the cells on the first line, that is, from 1 to 23. And on the 2nd line we put the points in the first five cells, then we put the cross on 6, 7 and 8 cells. Next, we put a point in 9 cells. And on 10, 11 and 12 cells again draw a cross. Further 13 - a point, 14 - a cross, 15 - a point, 16, 17, 18 - a cross, 19, 20, 21, 22, 23 - points. Crosses are better to draw in a different color. We look at the third line: 1, 2, 3, 4, 5, 6, 7 - points, 8 - cross, 9 - point, 10 - cross, 11 - point, 12 - cross, 13 - point, 14 - cross, 15 - point, 16 - cross. From 17 to 23 - points. Fourth line: from 1 to 6 - points, 7 - cross, 8, 9 - point, 10 - cross, 11 - point, 12 - cross, 13 - point, 14 - cross, 15 - point. 16, 17, 18 - a cross, from 19 to 23 - the point. The fifth line: from 1 to 5 - point, 6 - cross, 7, 8, 9 - point. 10 - a cross, 11 - a point, 12 - a cross, 13 - a point, 14 - a cross. 15 - point, 16 - cross, 17 - point, 18 - cross, from 19 to 23 - the point. The sixth line: from 1 to 5 - point, 6,7, 8 - cross. 9 - point, 10, 11, 12 - cross, 13 - point, 14 - cross, 15 - point, 16, 17, 18 - cross. From 19 to 23 - the point. The seventh line: from 1 to 23 - the point.  If we look at the diagram, we will see the inscription2016. In exactly the same way, you can make a bracelet with your name, or with the word mom and so on. Prepare the machine. We remove the middle row and verify that there are no bases under any 7 columns. We turn the machine so that the open sides of the columns look to the right. We pass directly to the weave. Now we need to weave 5 rows in one color, I have it pale pink. Count the seven columns we'll work with, and pull one pink-pink gum on all seven columns of the top row. Next, we throw one rubber of the same color on the first column of the upper row, rotate it with a figure eight and stretch it on the first column of the bottom row. In the same way we do with the next 6 columns.
 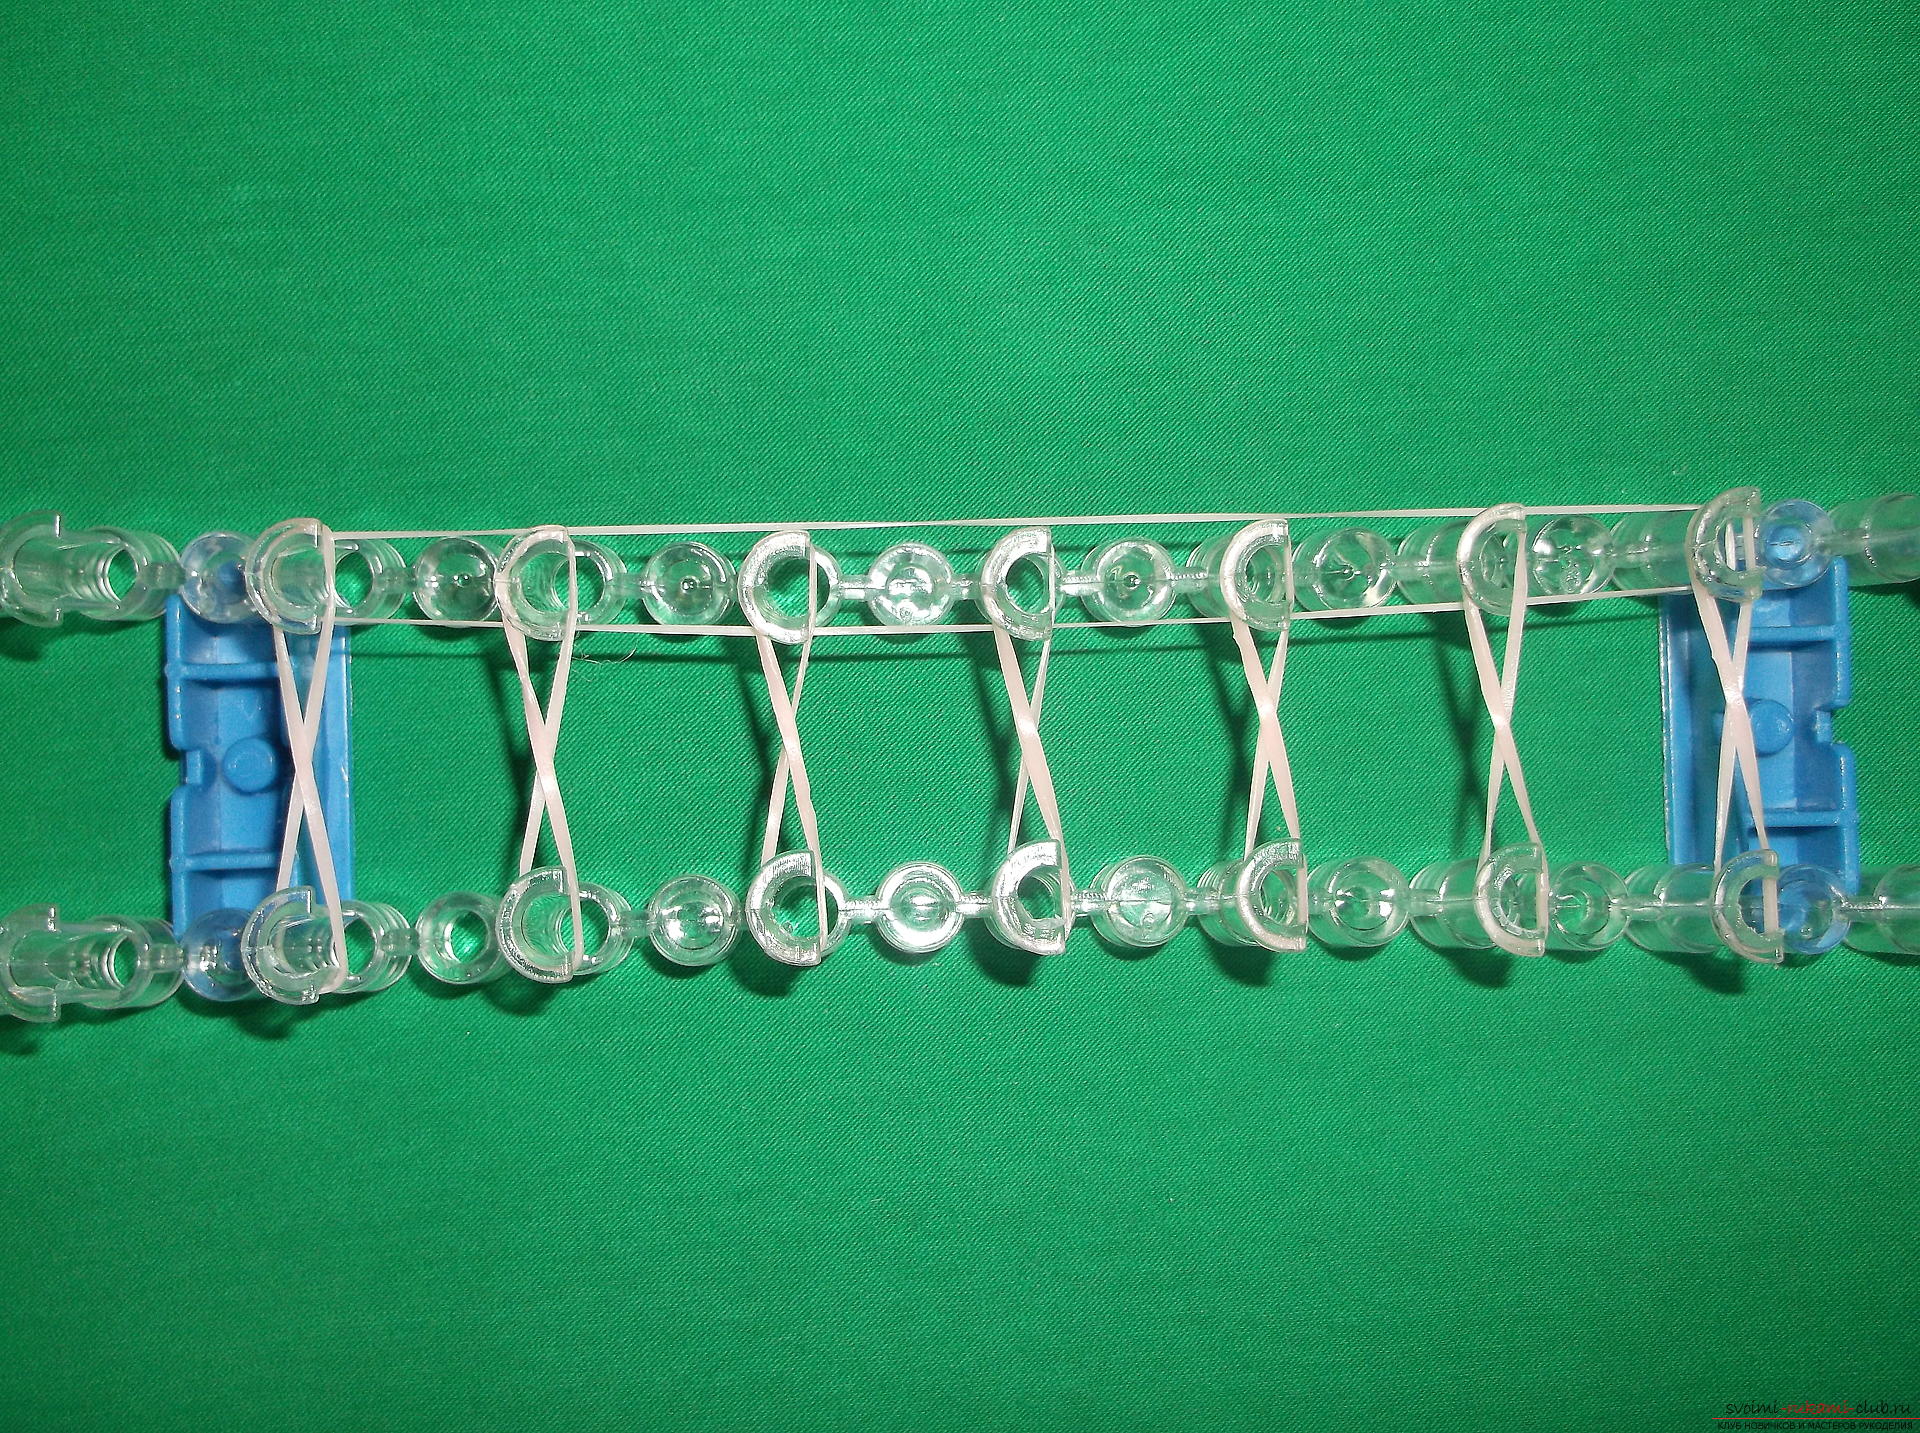 Next, the crochet neatly, so as not to tear, throw into the center of the elastic band, which is stretched on 7 columns of the upper row.
  The first row is ready! Then again, stretch the elastic on 7 columns of the upper row. And again we throw one rubber on each column of the machine, turn the figure eight and pull on the opposite column of the bottom row. That is, we do exactly the same as in the previous series. Again, we remove the elastic band, which is stretched over all 7 columns of the upper row. Now remove all the lower loops on each bar. We lead them through a column and lower them in the center.
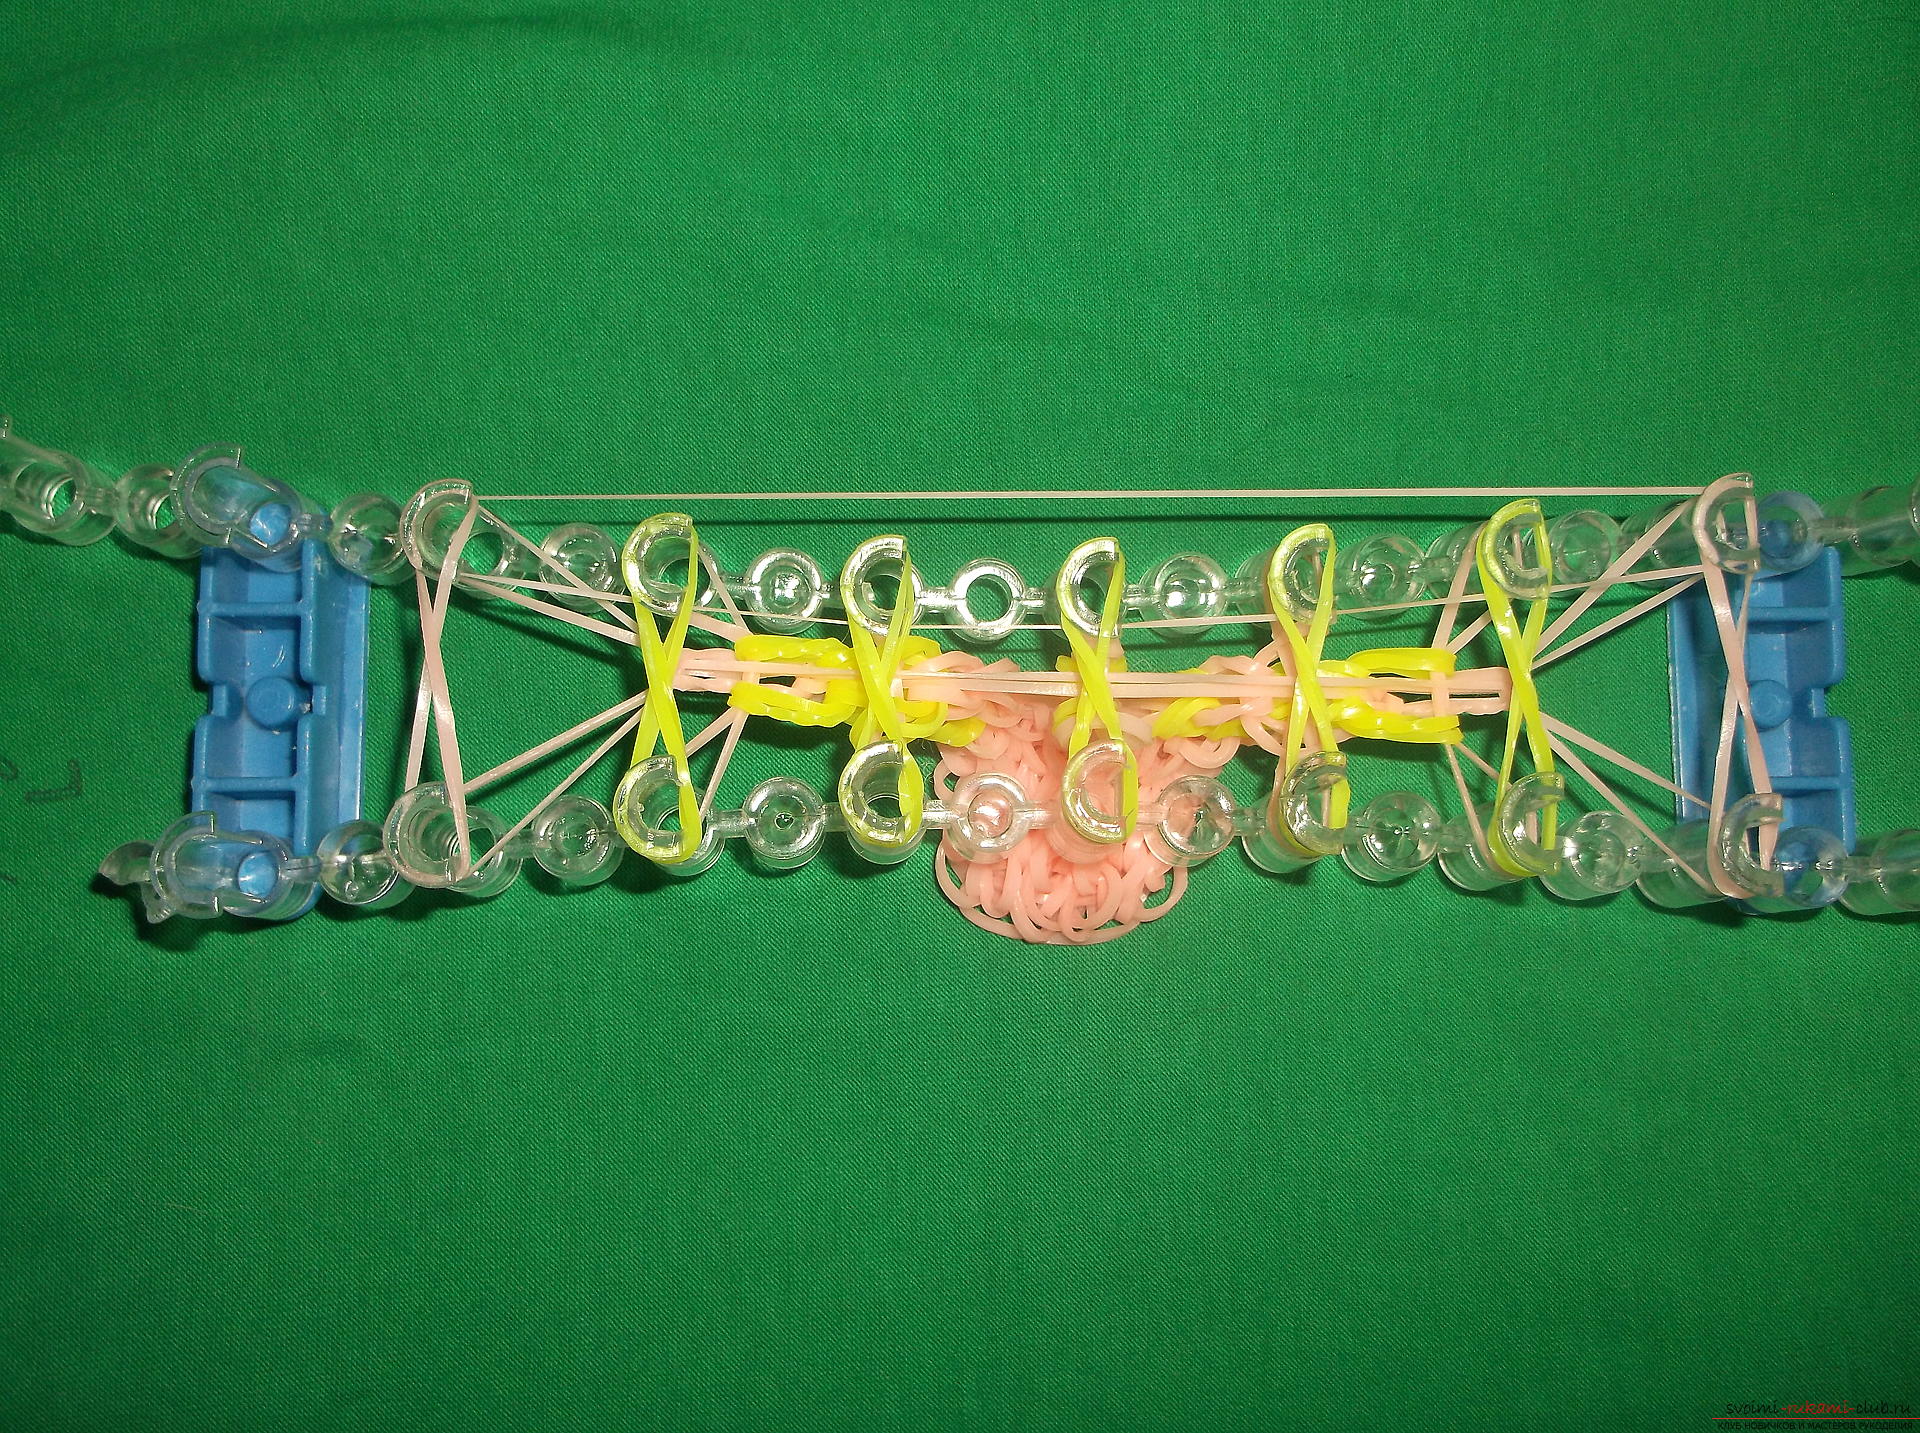
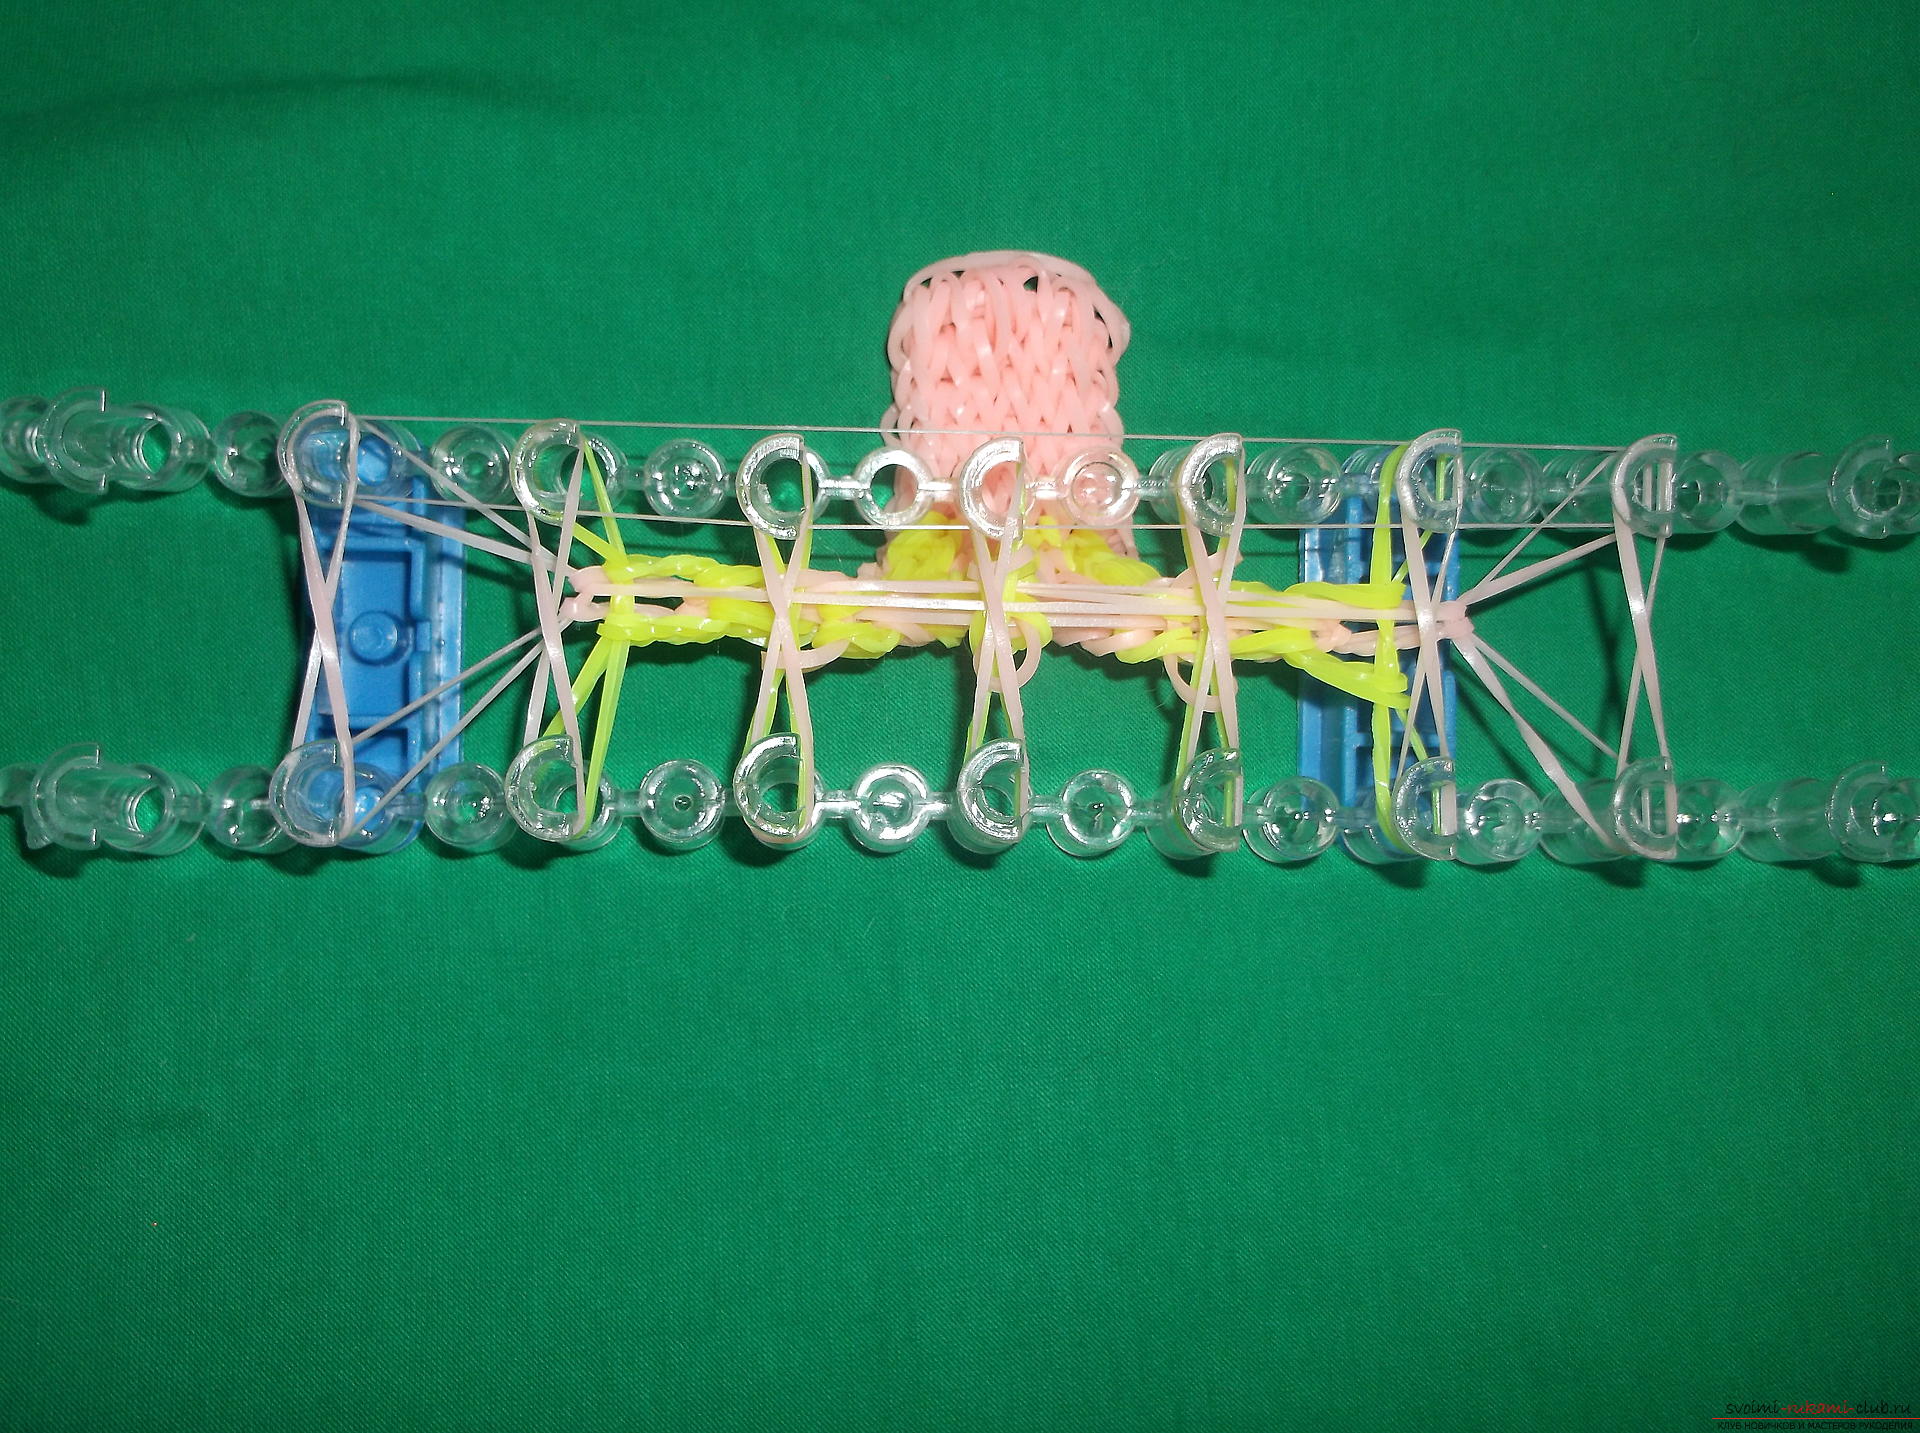
 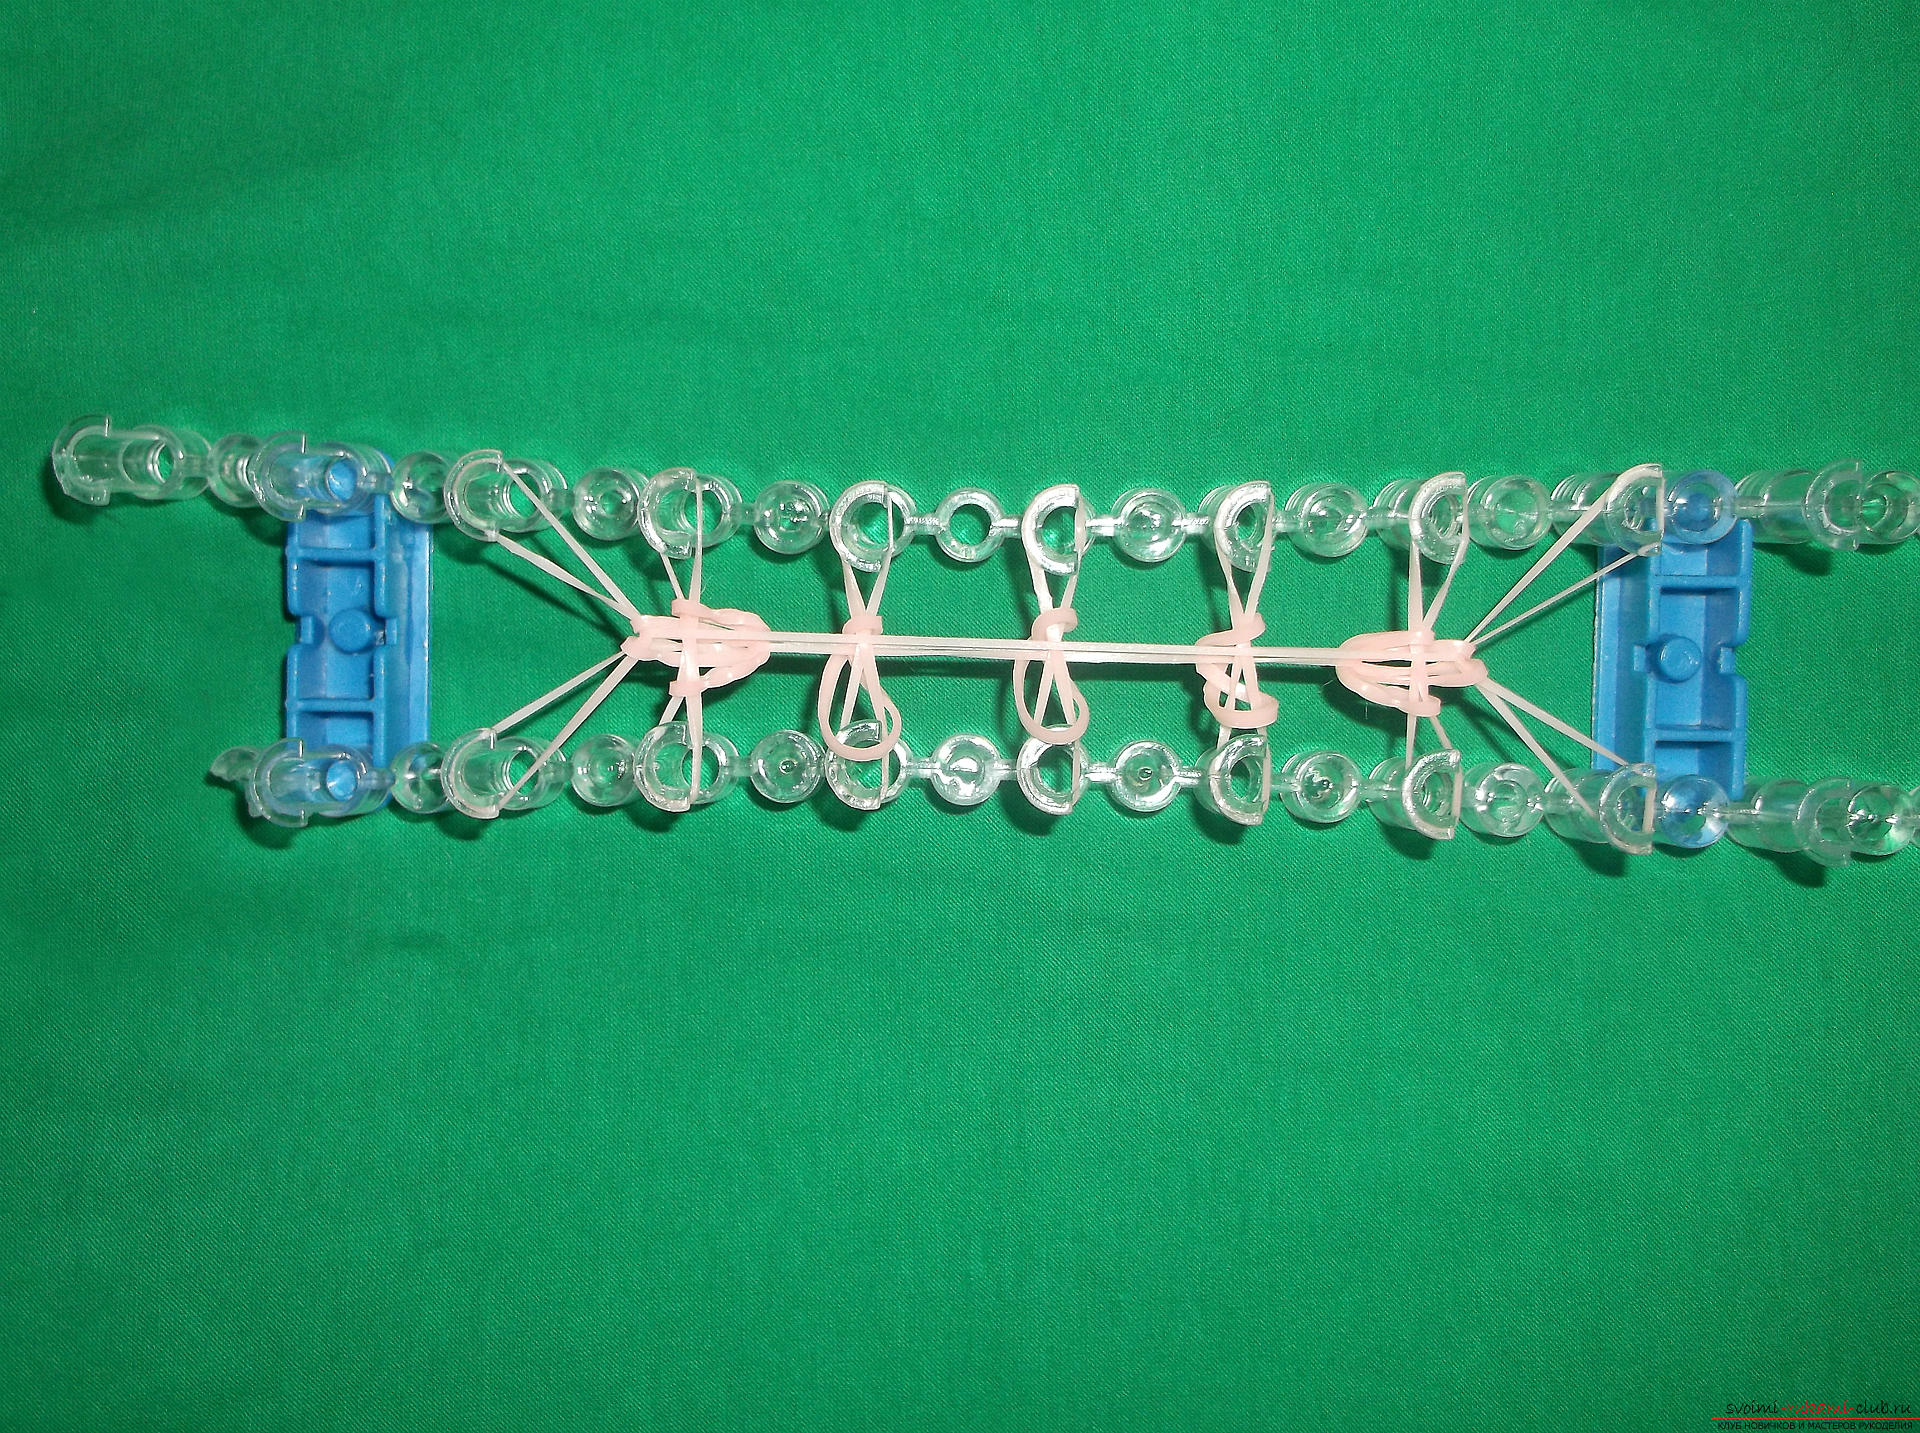 We traced two rows. In the same way we weave three more rows. For convenience, after the row is tied, it is possible to bend it on the diagram. From the 6th row we begin to weave the figure 2. For this we look at the diagram. We will put all the ranks together, but the color of the gum will change. Also, when we weave numbers, it is better to use two gum so that they can be seen better on the bracelet. The 6th row looks like this: 1 base rubber on 7 columns of the top row. Then we throw in the "eight". 1st - primary color, 2nd - light green, 3, 4 - primary color, 5, 6 - light green, 7 - basic. We put on two salads! We reset, as well as usual. Follow the ranks of the plait according to the scheme. Do not forget that for the numbers we use two bands. Before throwing the "eight", we stretch one rubber base color to all 7 columns of the upper row.
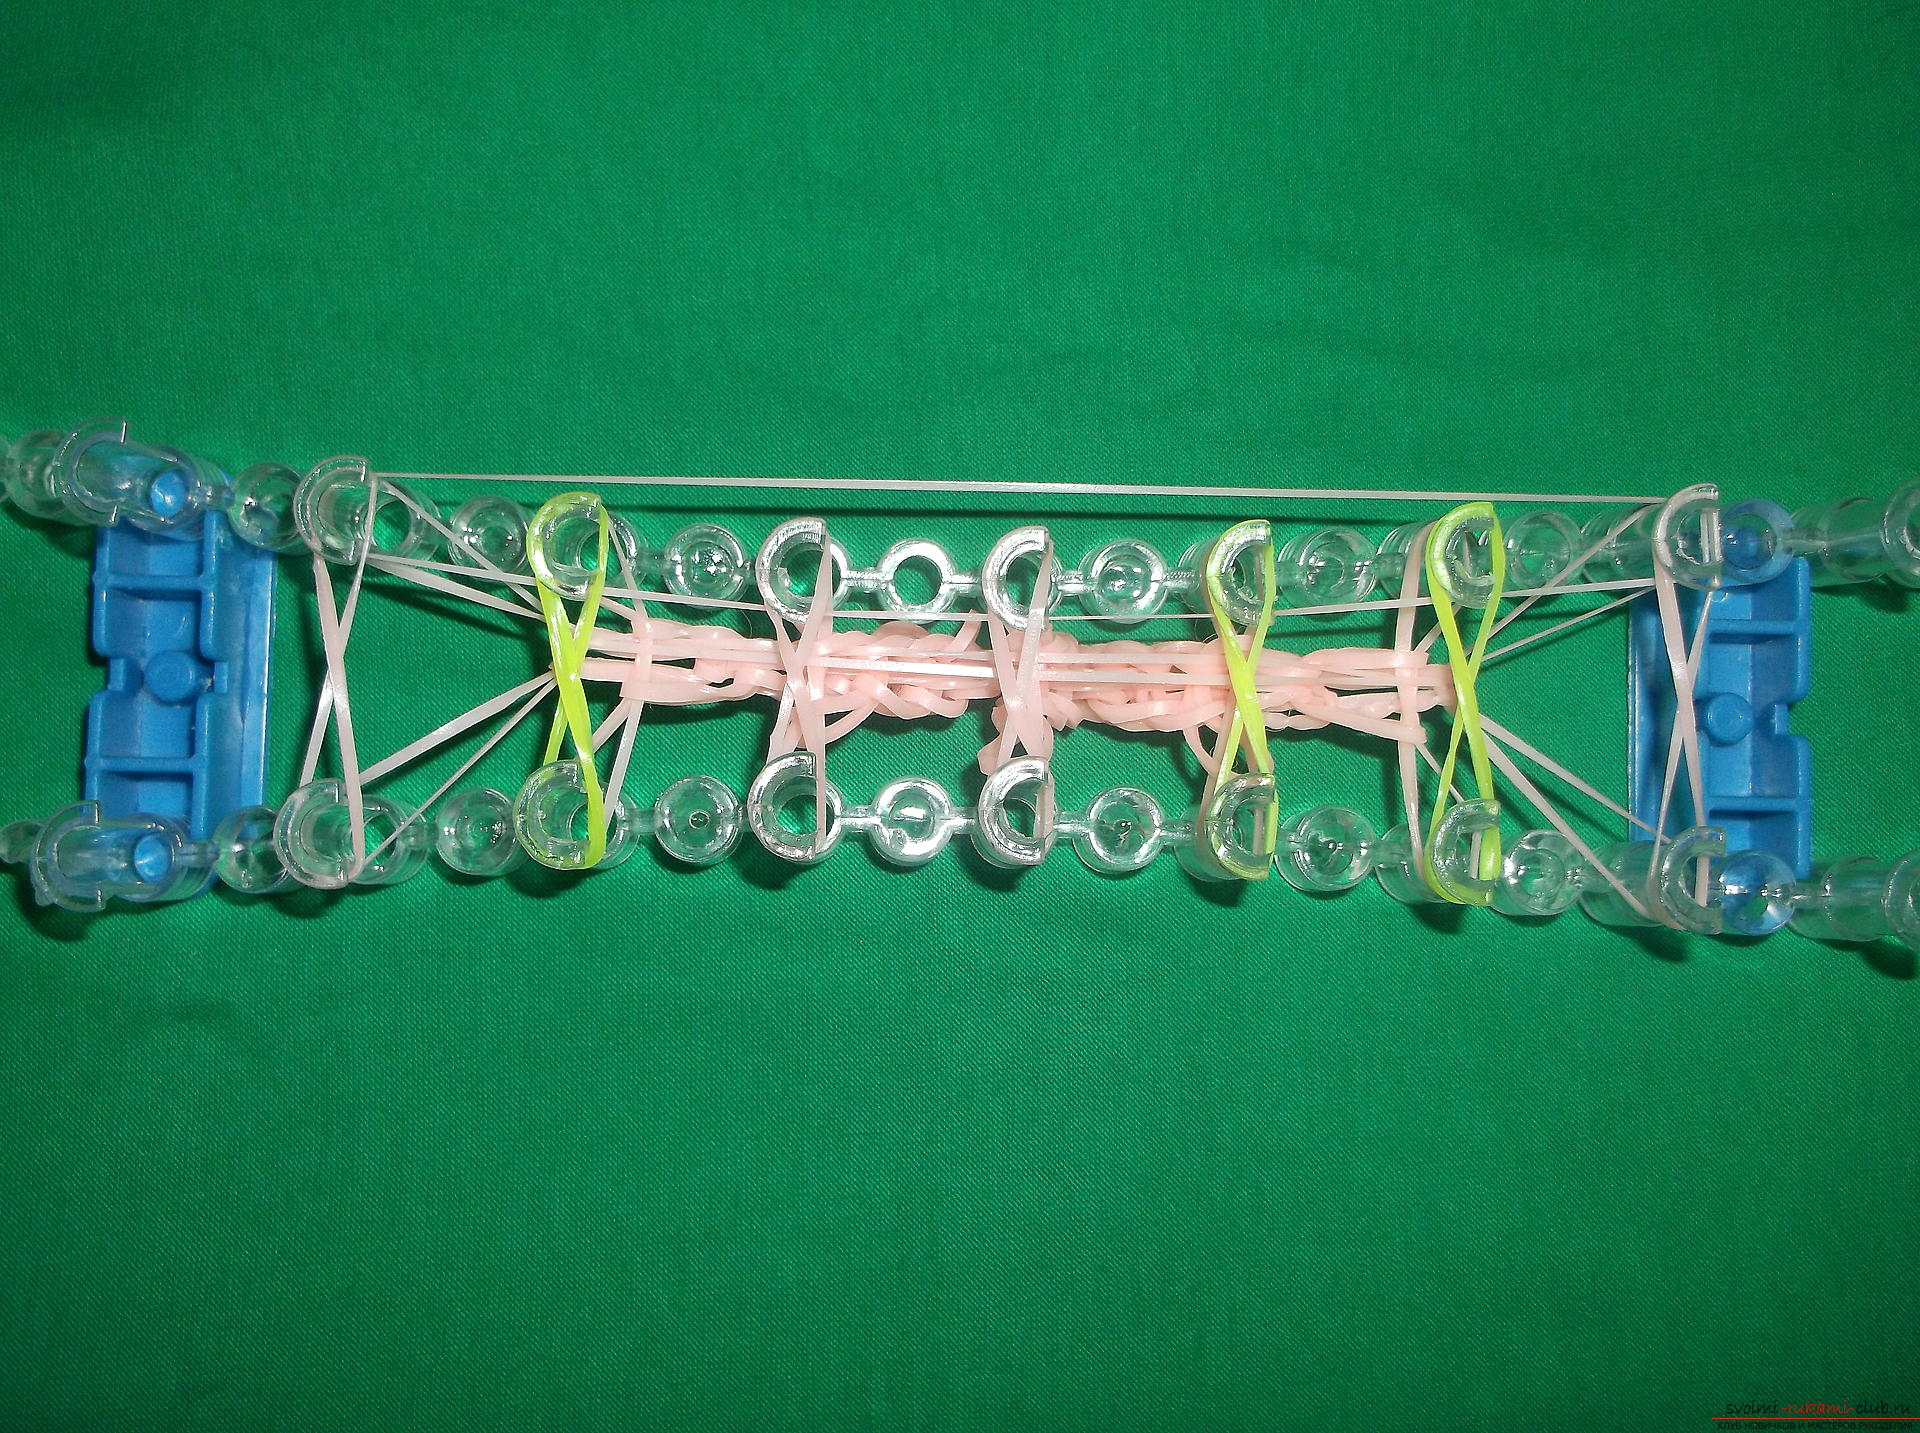
 The last 5 series, as well as the first, are a sham from onecolors. The bracelet is ready! It remains to remove it from the machine and put on the clip. For this we need to transfer all the elastic bands from the lower row to the upper one, that is, the rubber from the first column of the lower row is transferred to the first column of the upper row, and the rubber from the second column of the lower row is transferred to the second column of the upper row. We do the same with the remaining columns. It is important to hold the rubber bands with your fingers in the center so that they do not fall off.
 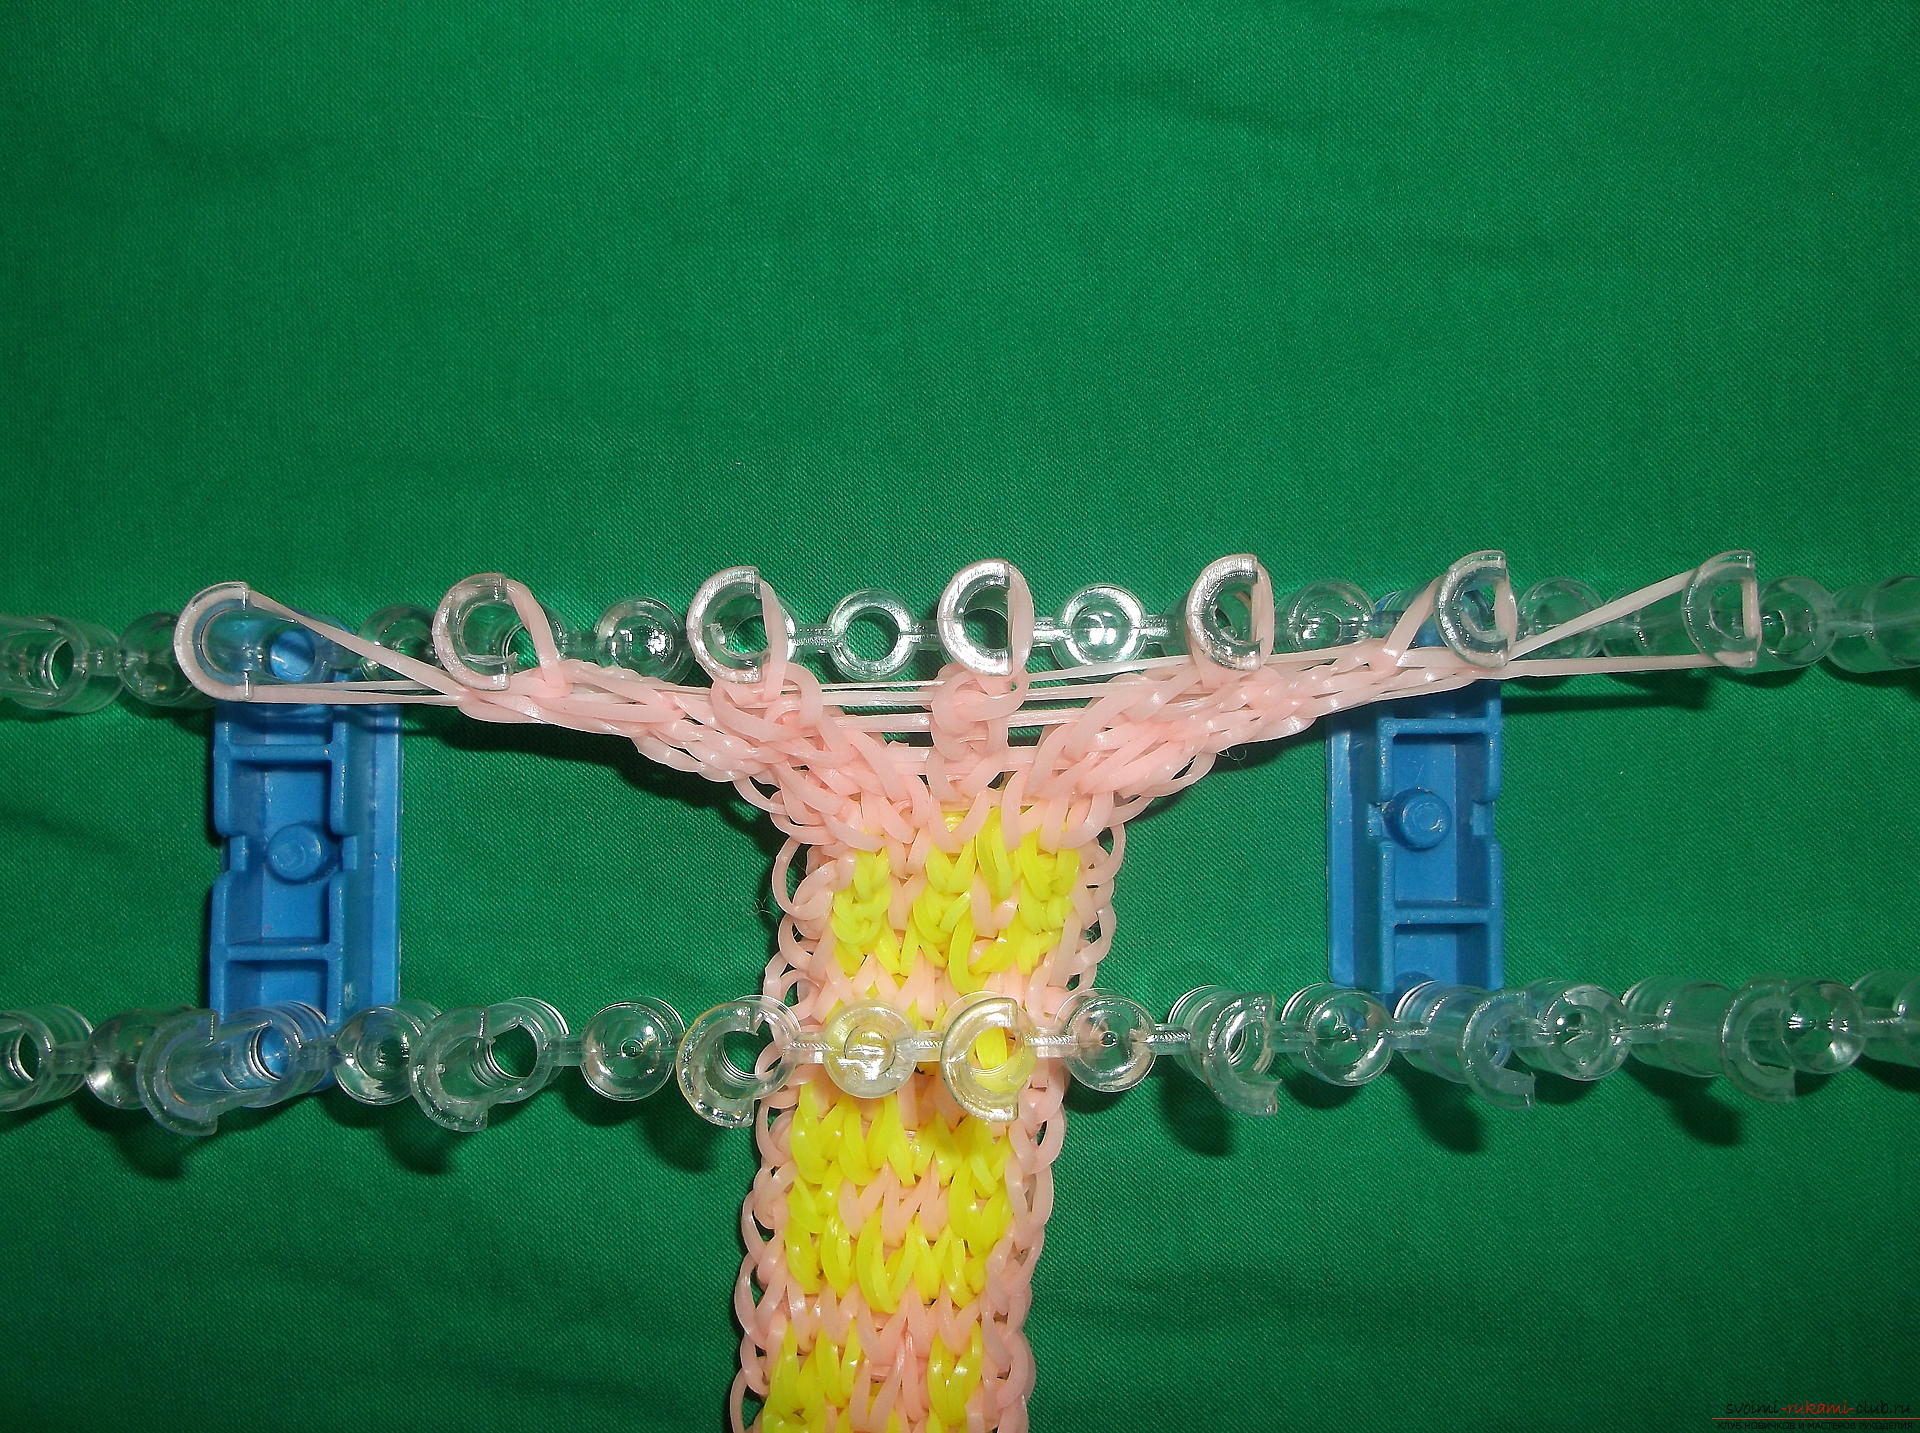 Now all the rubber bands are put on the hook from the machine.
 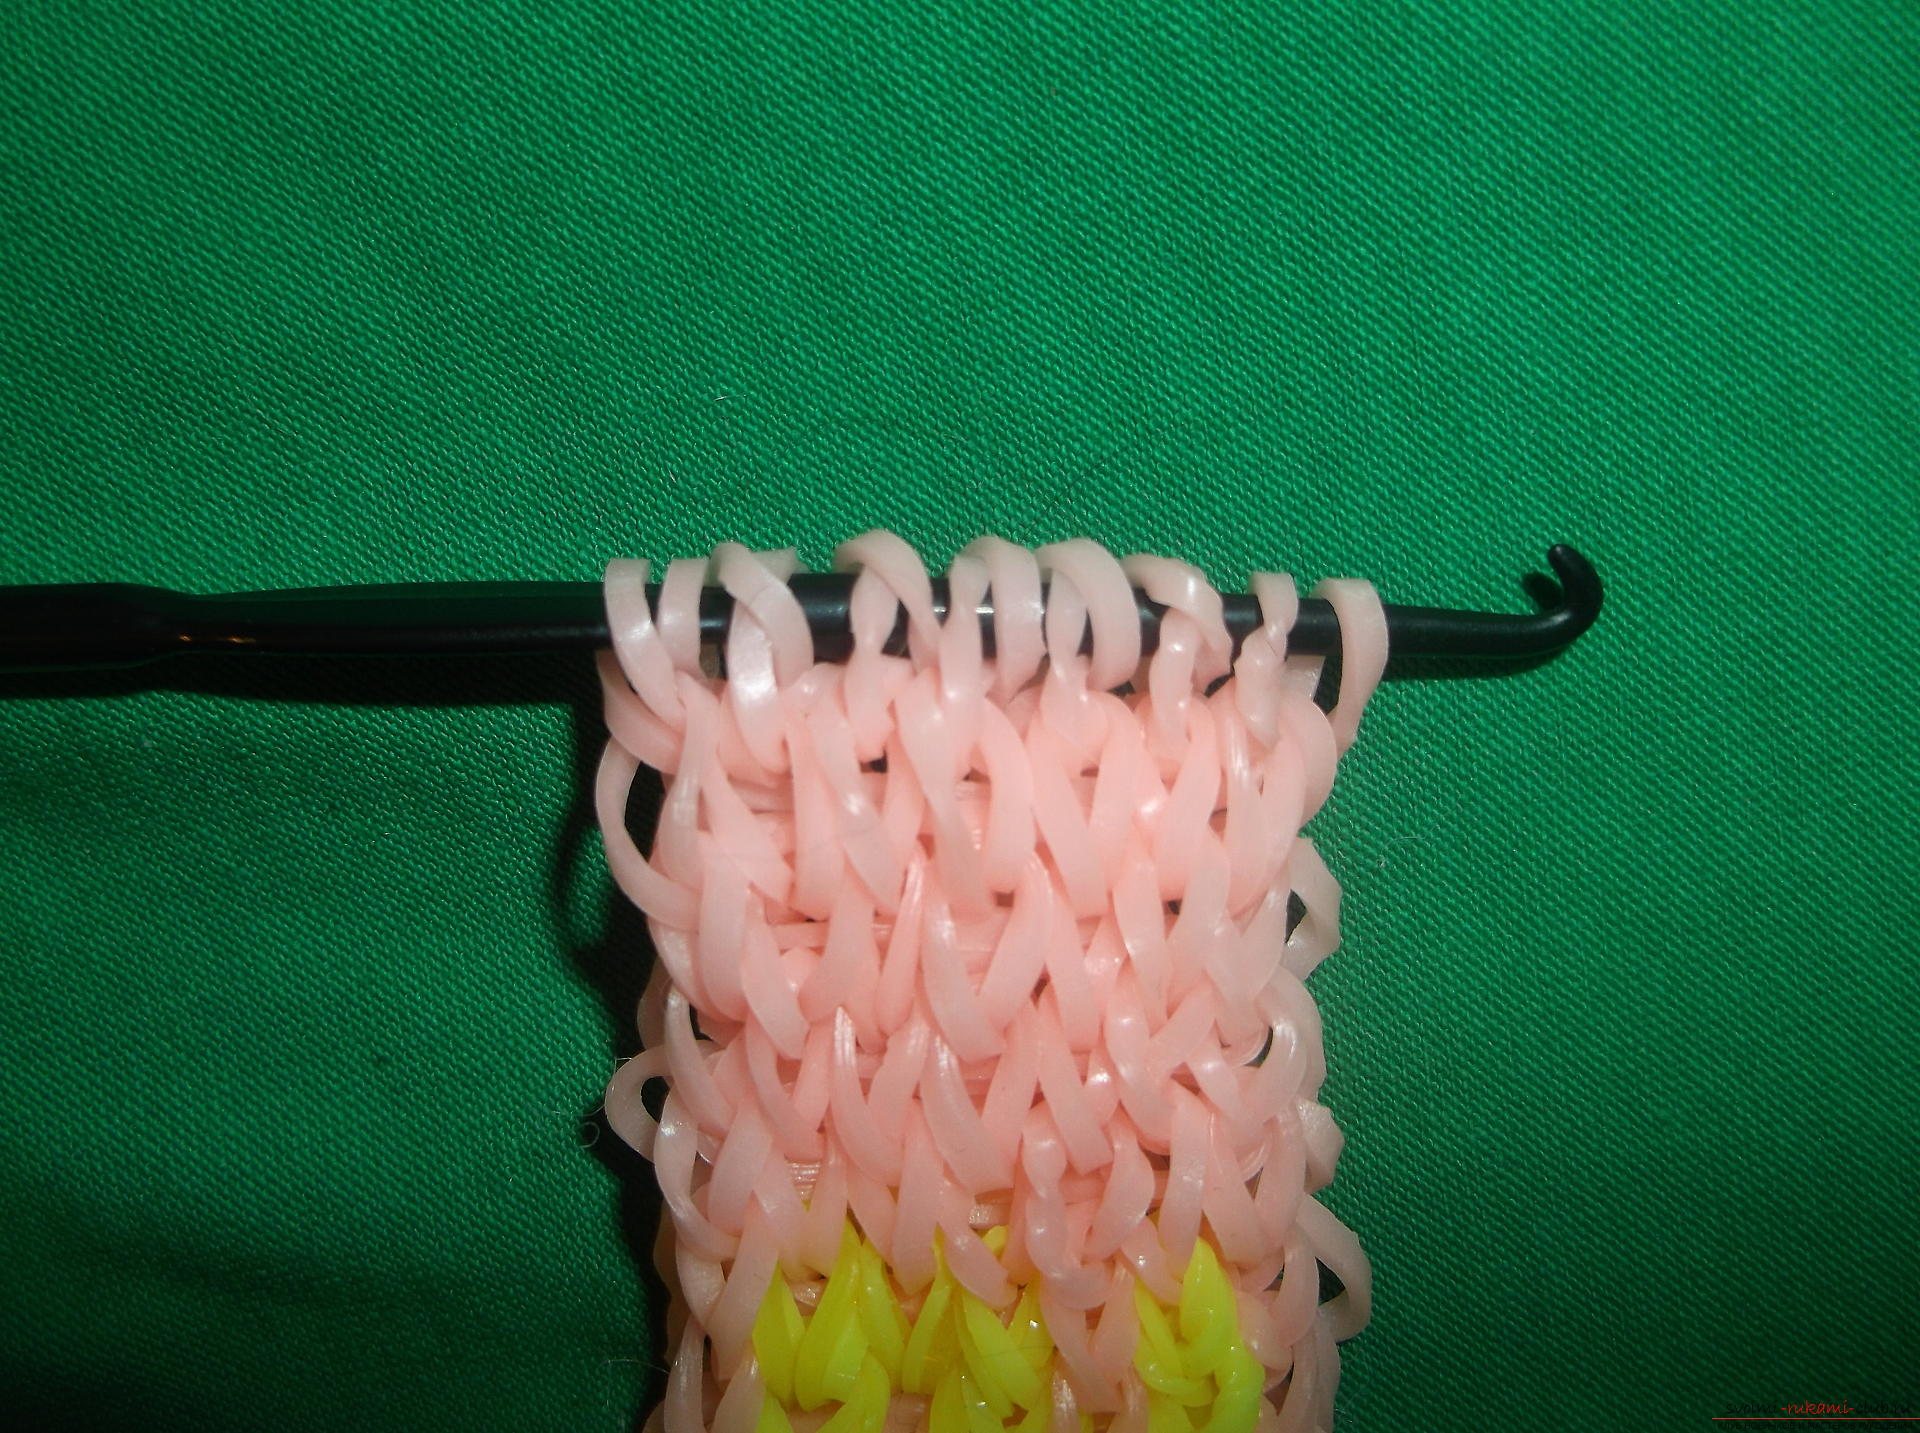 Next we hook the crochet with one rubber band of the primary color and conduct it through all the elastic bands on the hook.
 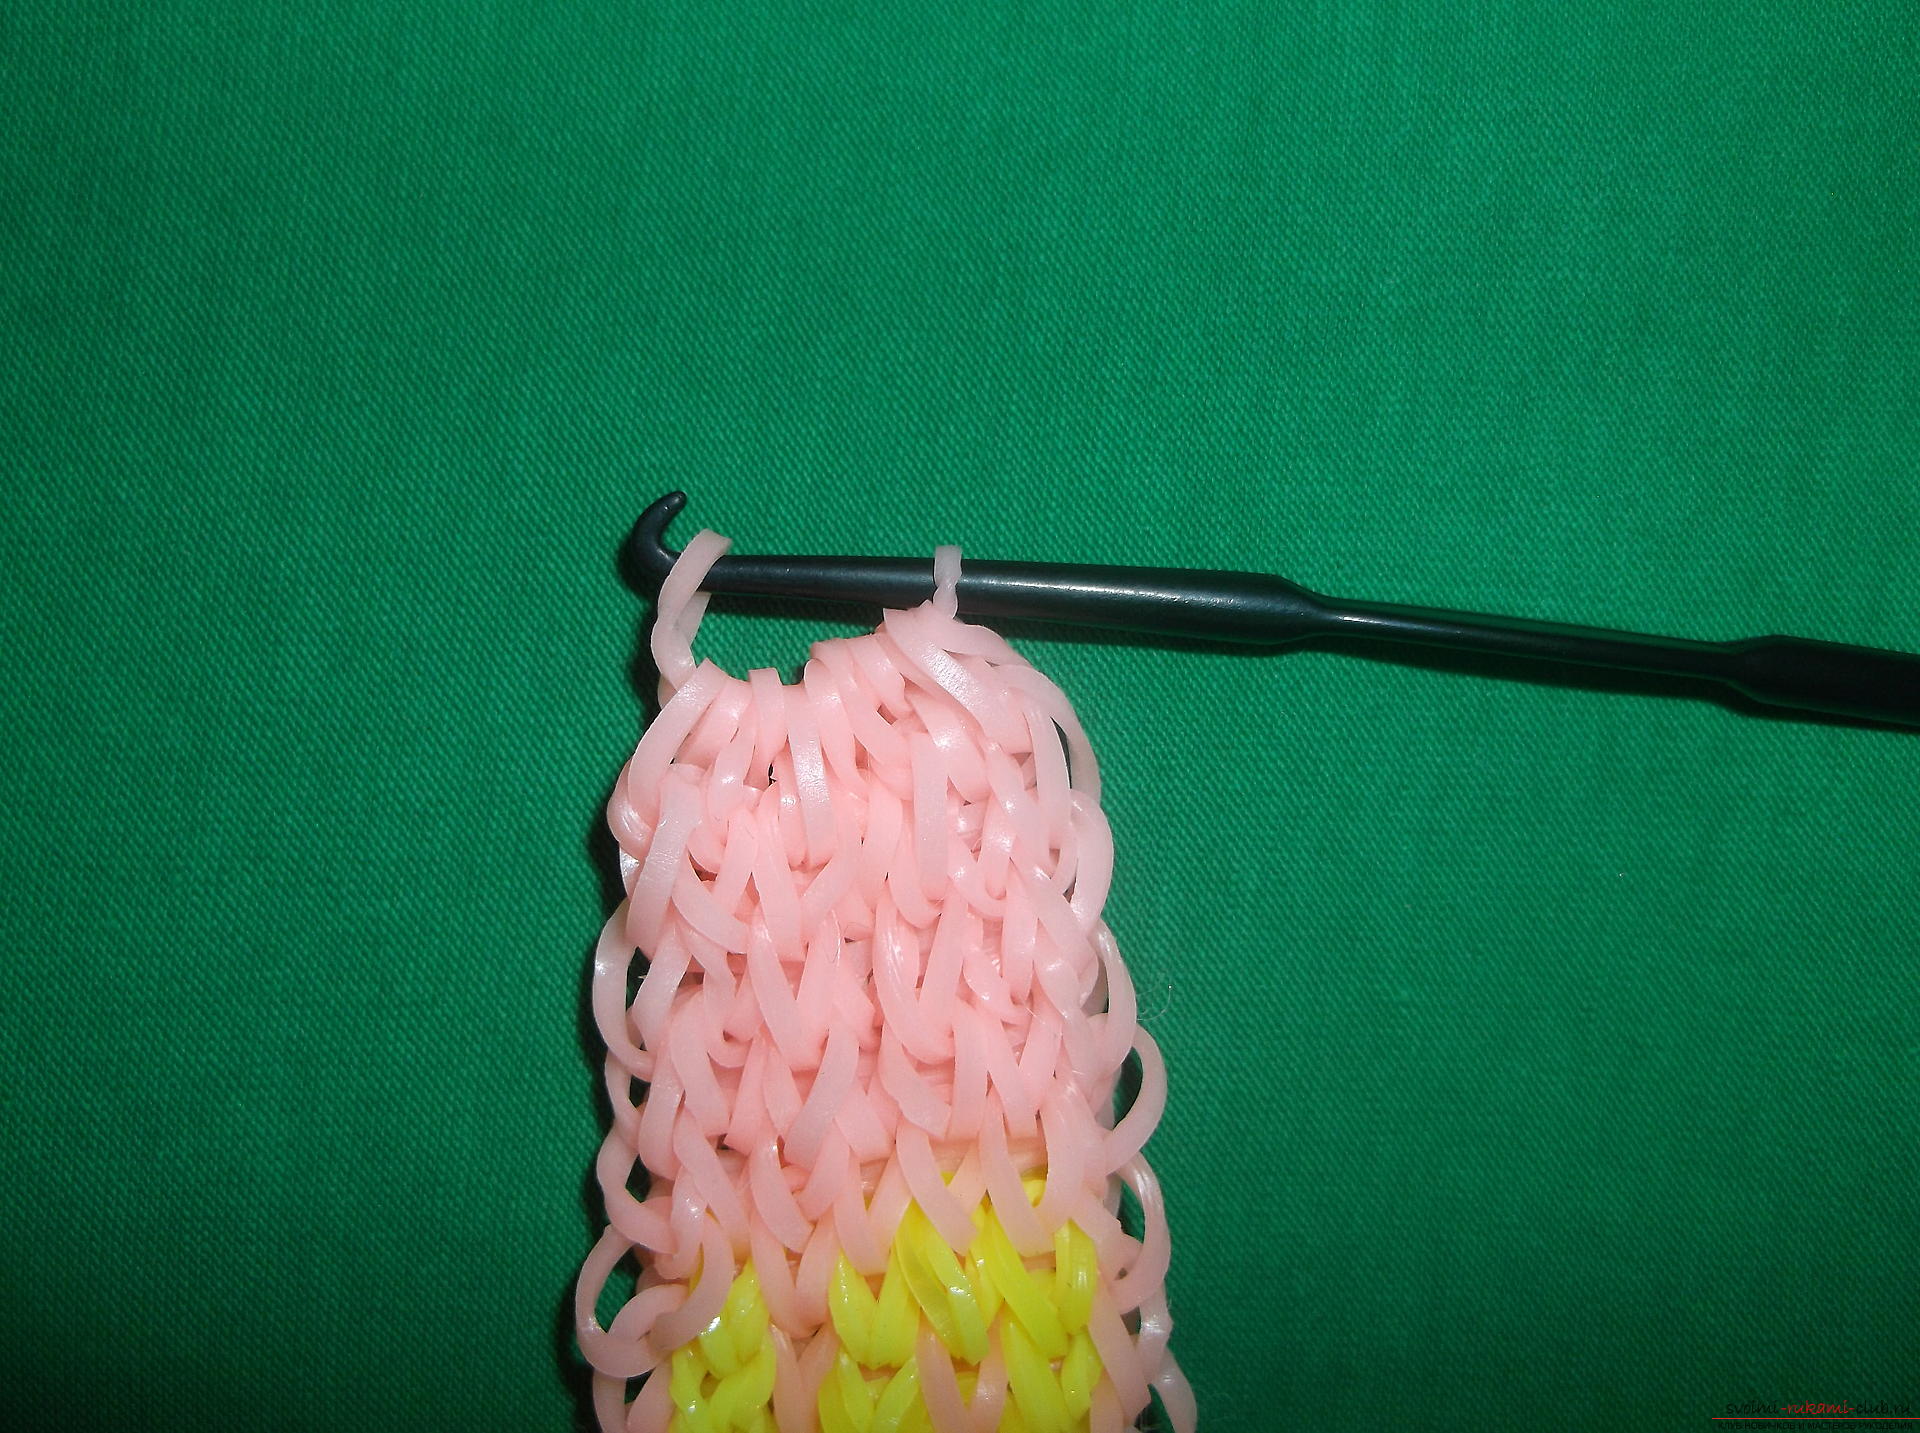 We take the clip and thread the rubber into it from the hook. New Year's souvenir in the form of a bracelet is ready!
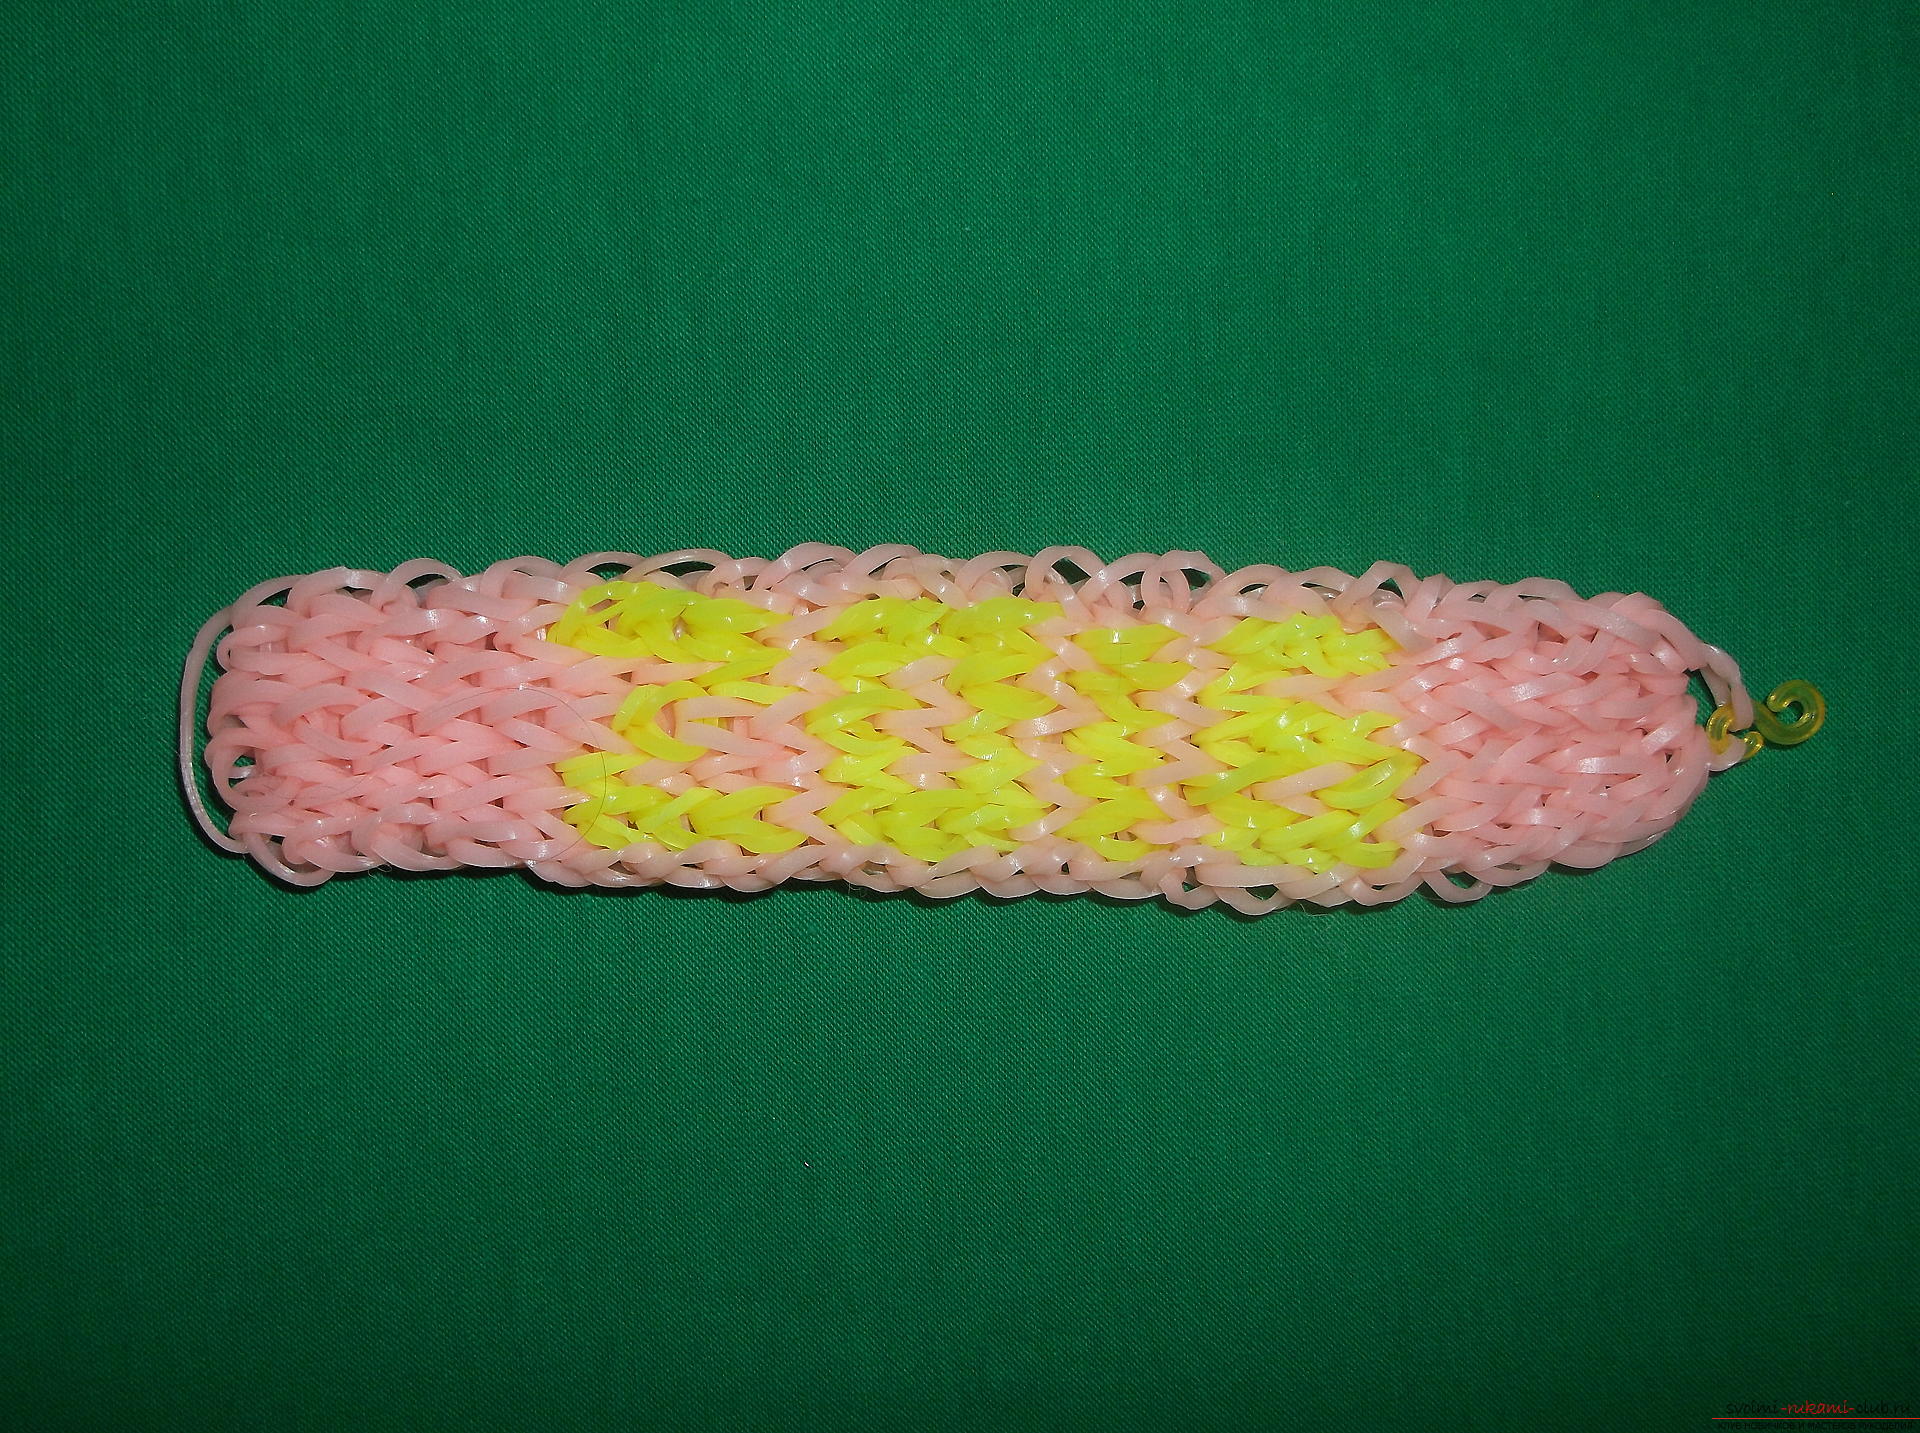
Comments
Related posts:
 How to weave an elegant bracelet "Chess" from rubber bands? Detailed manual with description of the technique and step-by-step instructions and photos
 A lesson on weaving the bracelet from the rubber bands "Sidewalk" with detailed recommendations and photos
 How to weave a small snowman from the rubber for the New Year holidays? Detailed description of the stages of work with step-by-step photos
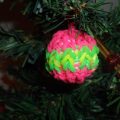 How to weave a ball of rubber to decorate New Year's fir, you will learn from our lesson. Detailed description of the process of weaving with step-by-step photos
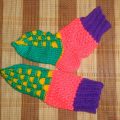 Knitting lessons on warm knit socks "Chess" with step-by-step recommendations and photo