How to weave a kitten from the beads step by step, diagrams, master class / Toys yourself, patterns, video, MK
Pussies and seals from beads - one of the mostcute and funny crafts that can become wonderful gifts, multifunctional accessories (stylish suspension on a gadget or bag, etc.) and just wonderful toys for a child. 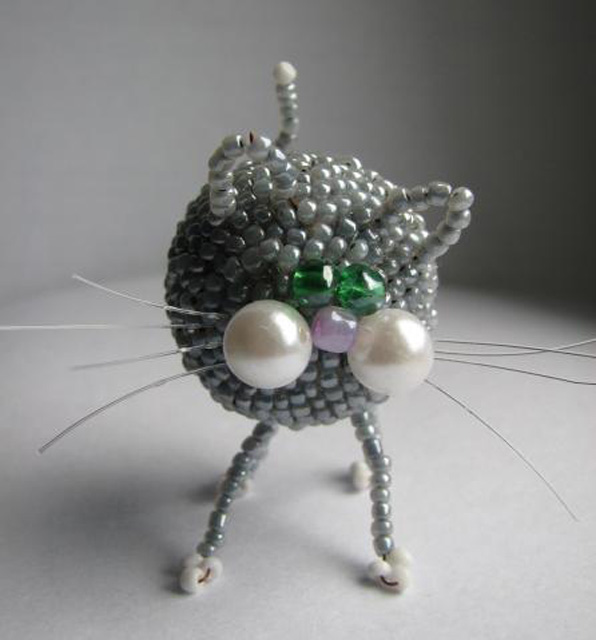
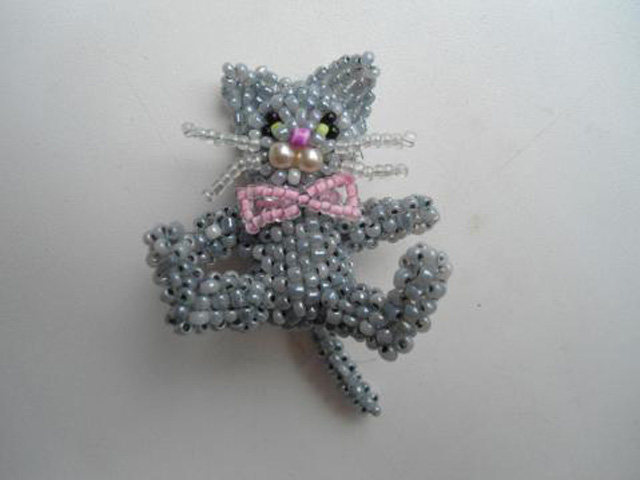
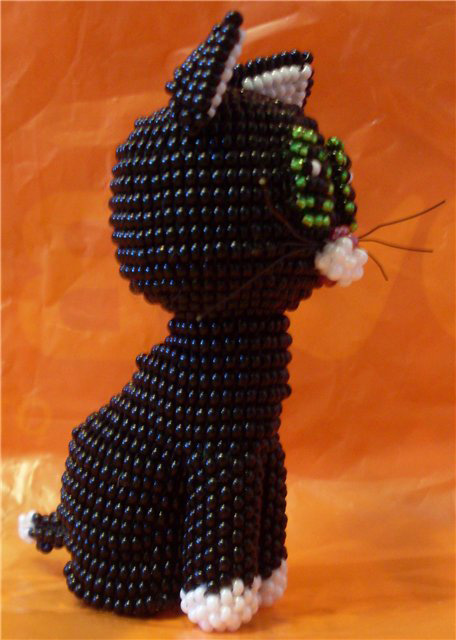
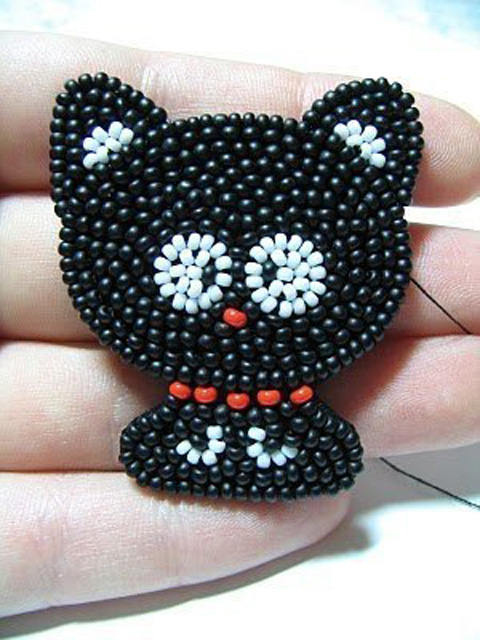
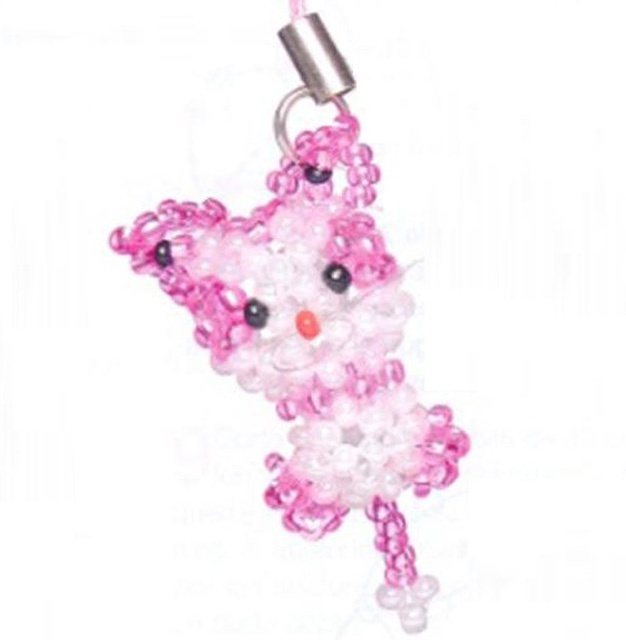
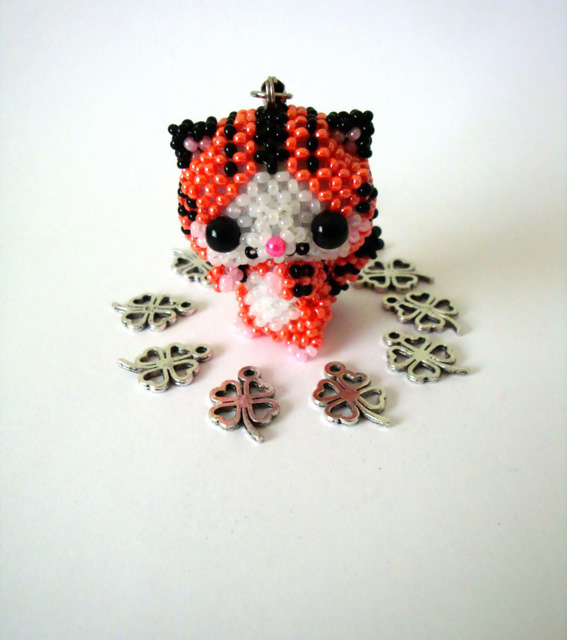
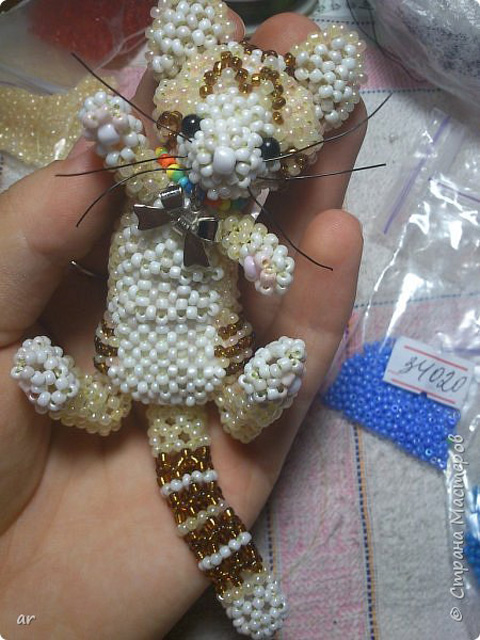
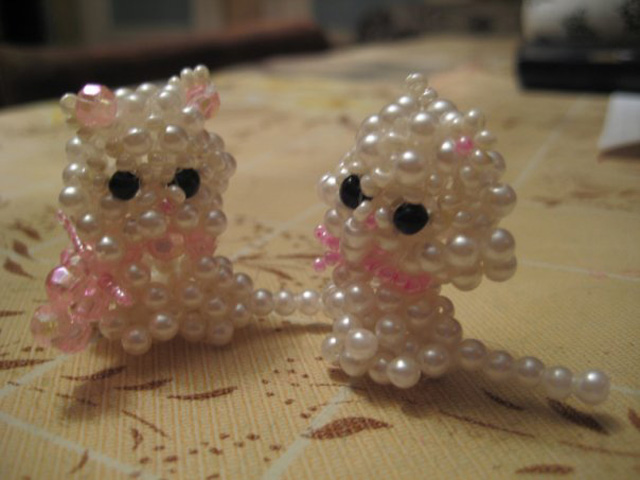
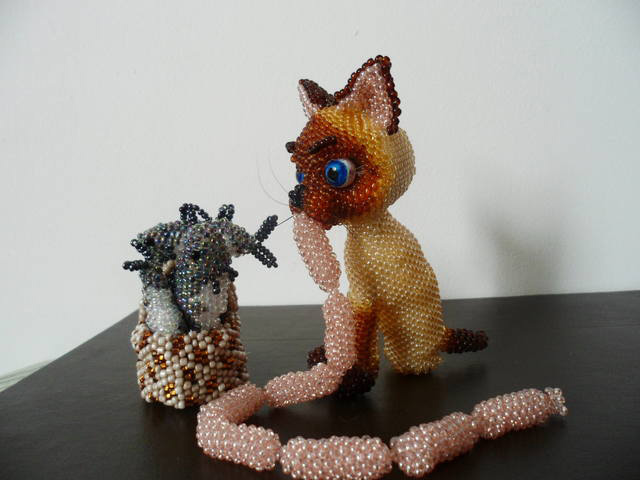
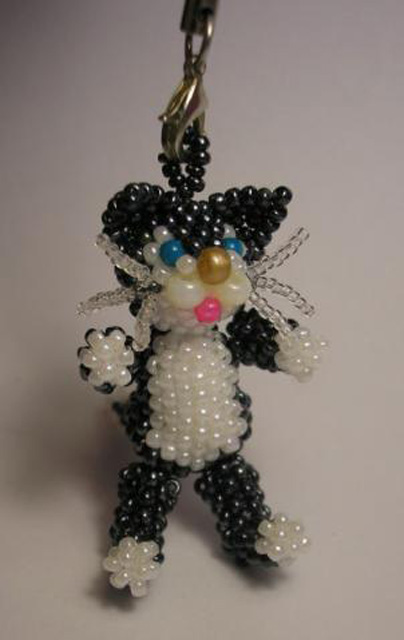
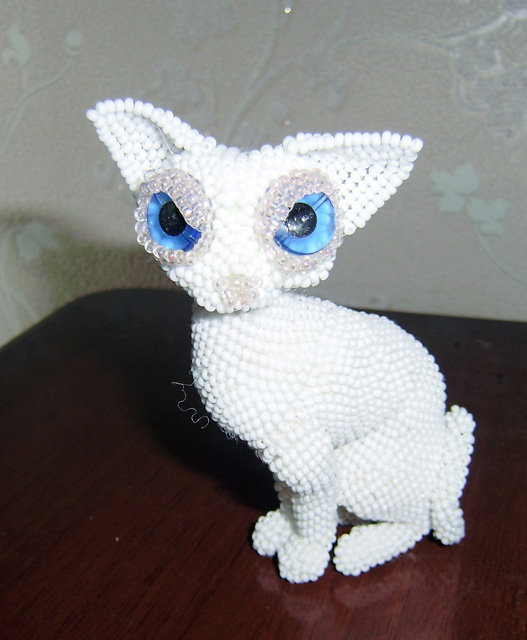
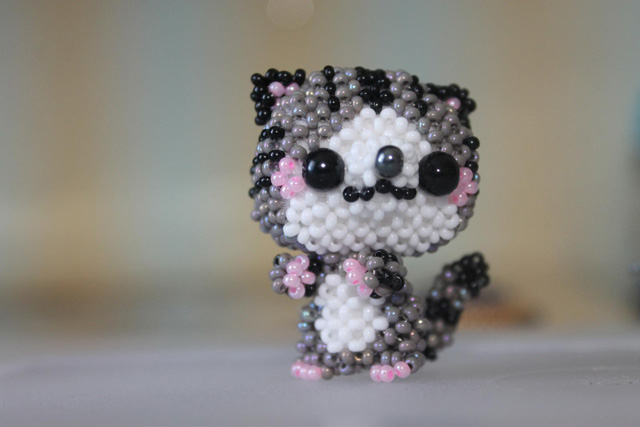
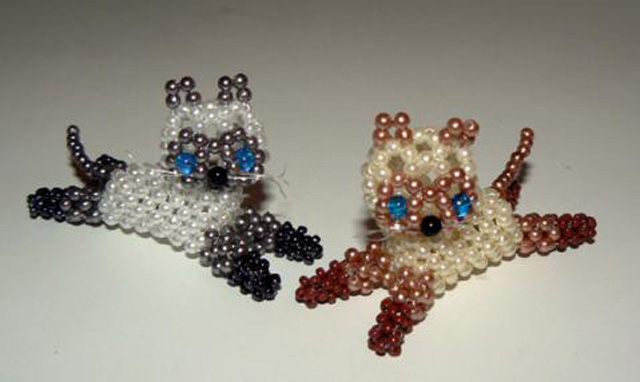
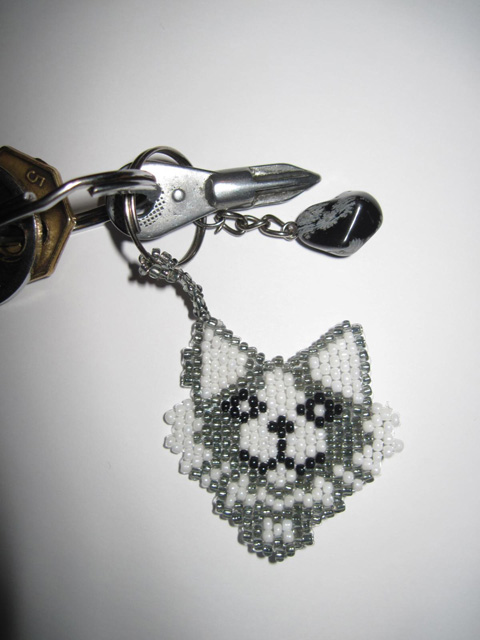
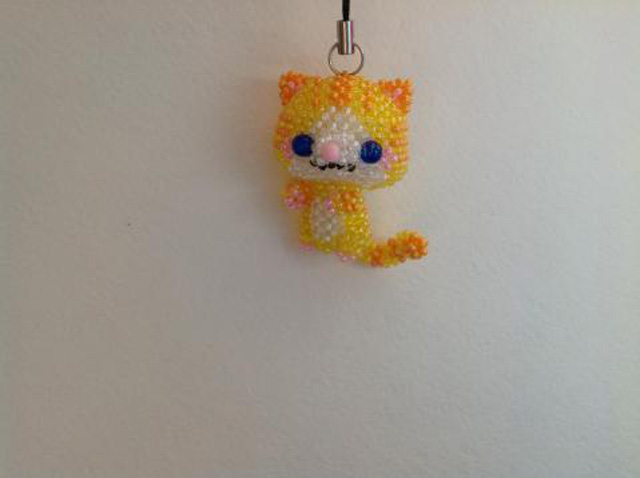

How can we weave seals?
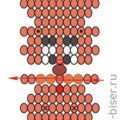
Schemes for weaving cats there is a lot -some very light, which are suitable for beginners, others are slightly more complicated, but they can be gradually mastered if desired. There are also various master classes that describe this or that technique of beading. However, you can change them to your liking, fantasize and add new details, because there is no limit to creativity. Moreover, the more diverse the kittens will be, the better and more interesting. The most popular are:
- scheme of bulk weaving;
- parallel weaving technique;
- monastic weaving or "cross-stitch" technique.
Before you weave a toy, think of itfuture image. How do you see your cat? Here, too, a lot of options: perhaps it will be a nice little kitten Gav or a funny kote from a cartoon about Shrek, or a pretty fashionista kitty kitty, etc.
Master class for the production of a fur seal
To get a voluminous kitten from beads, you will need to prepare something:
- two balls (you can take small balls or simulate a piece of papier-mache) - for the head and trunk;
- acrylic paint (by the color of the beads);
- line and wire;
- scissors and glue;
- beads of different colors and larger beads (for example, to create a peephole two green beads, for the nose - three pink, and for the mouth - three red).
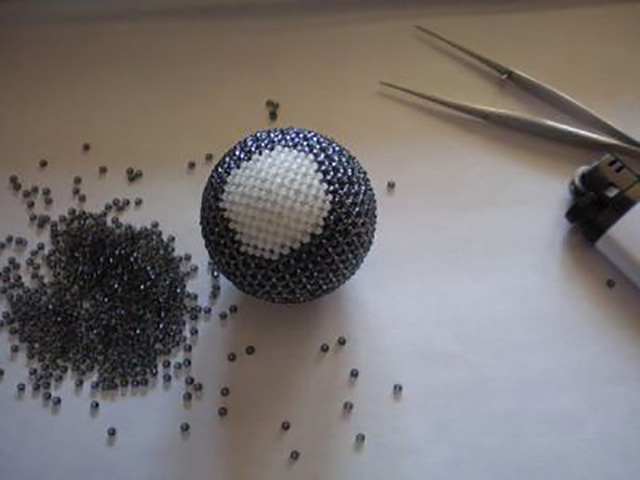
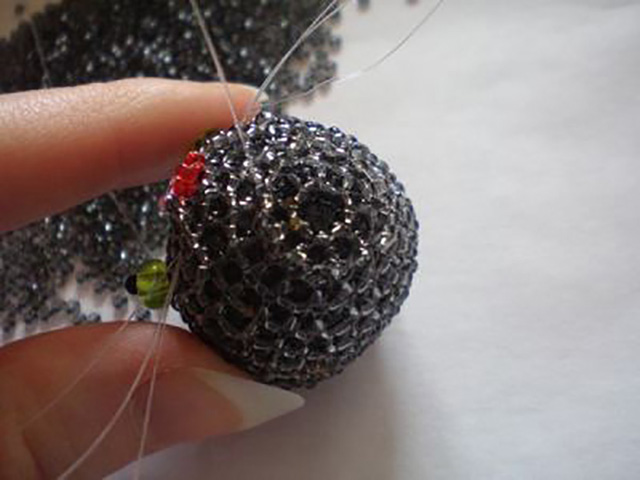
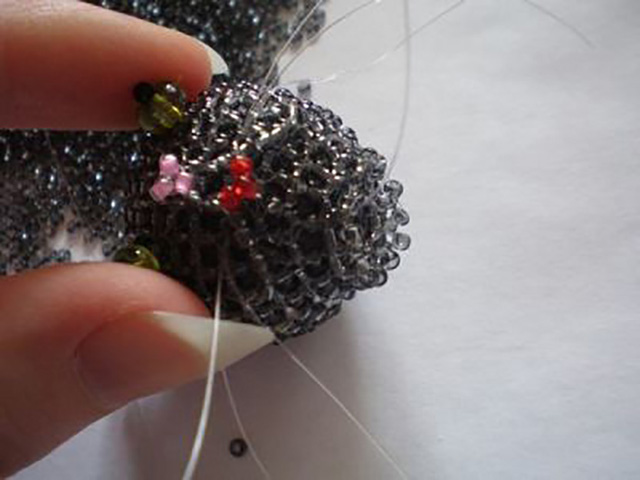
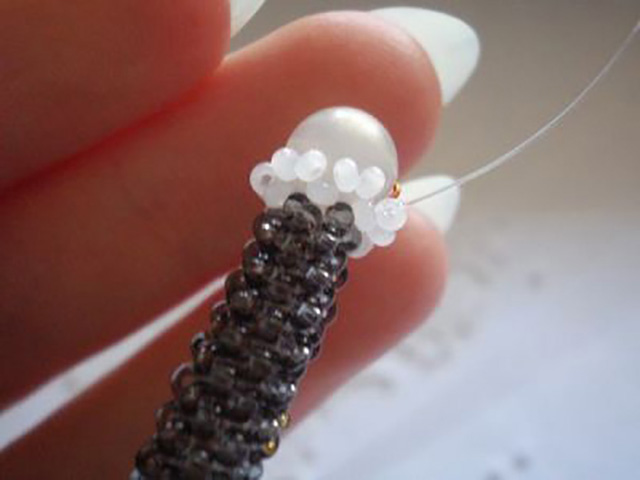
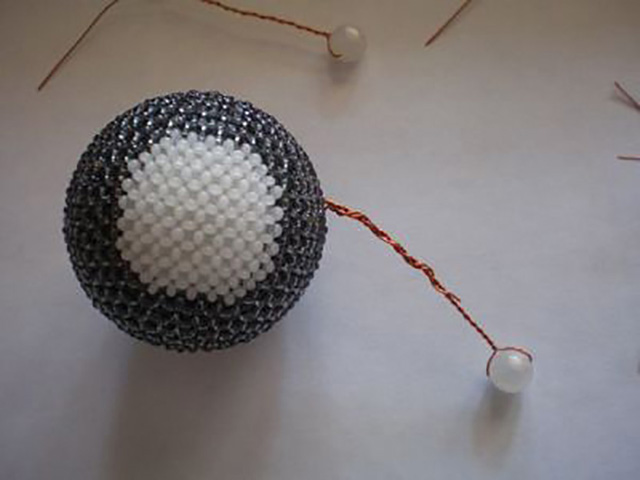
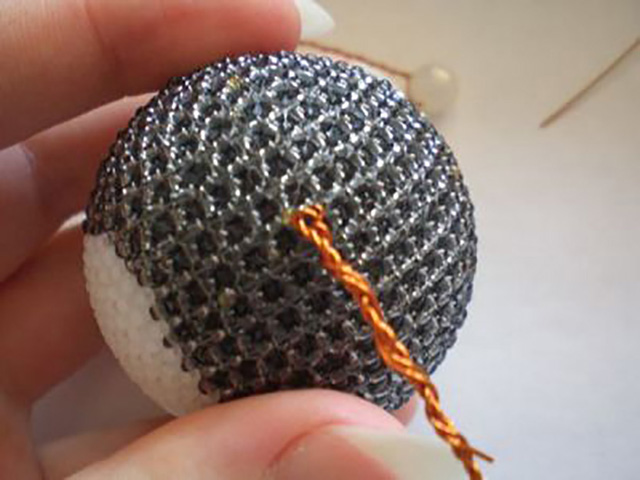
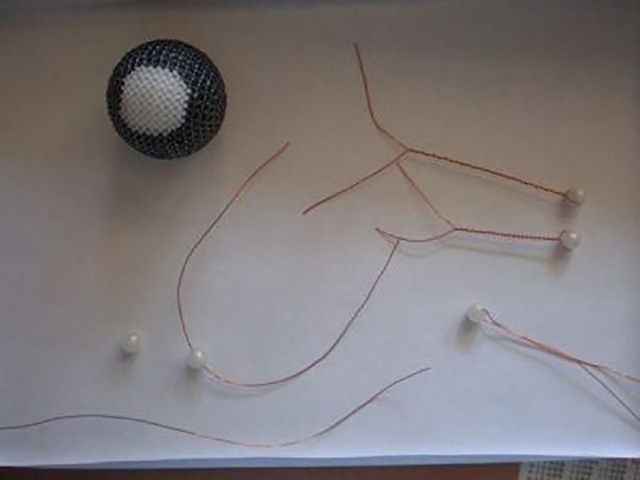

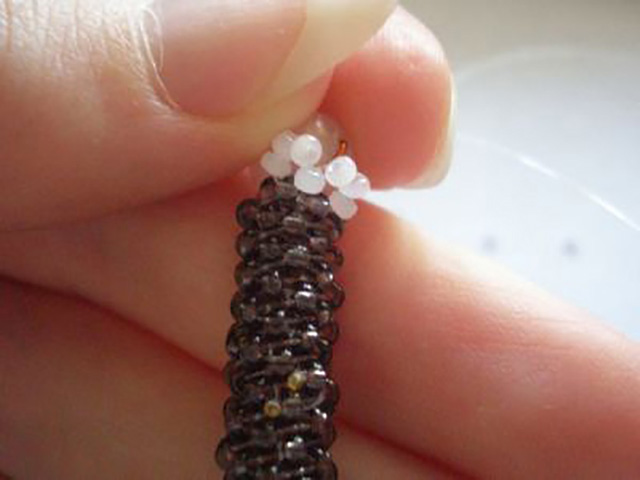
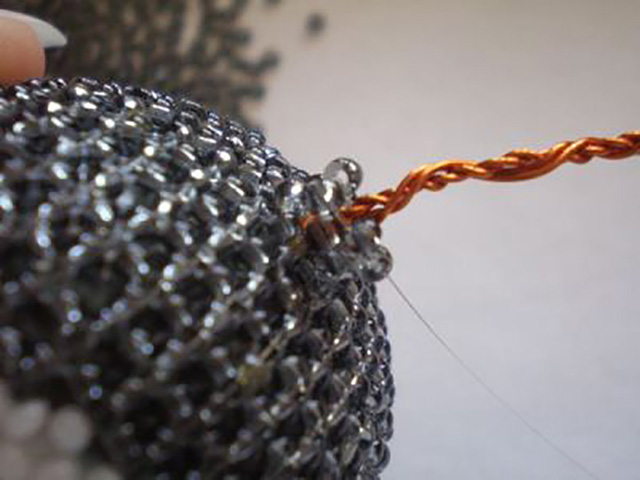
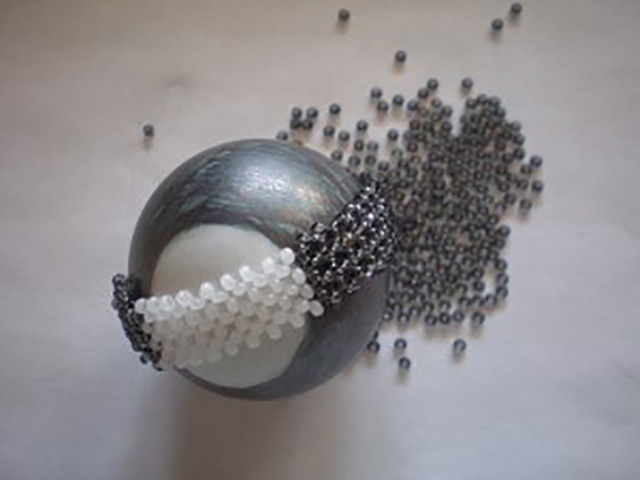
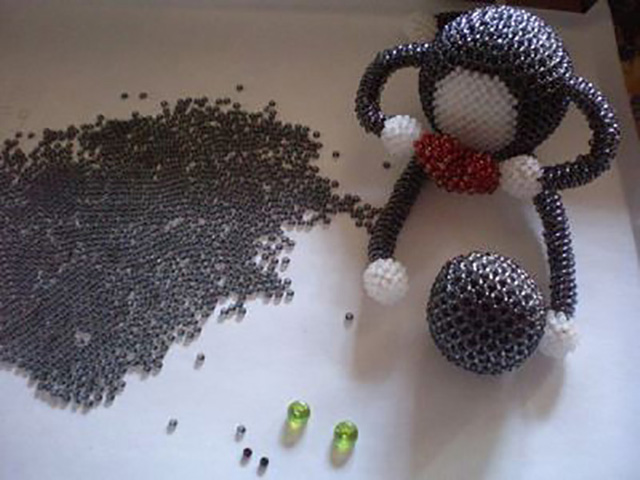


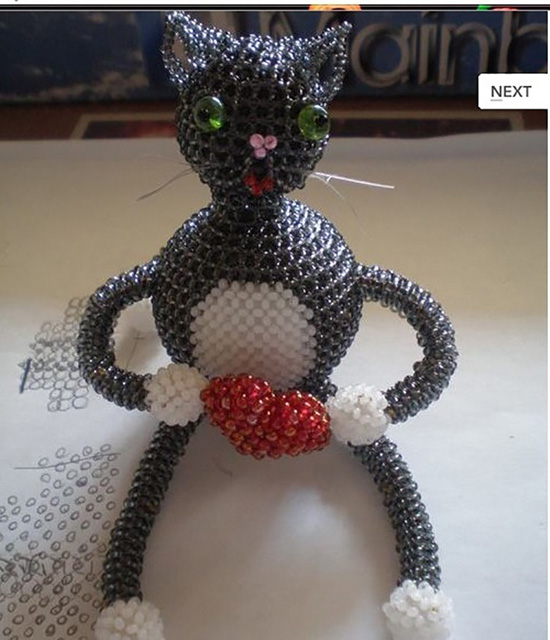 If you want to weave a black and white cat, paint the ball in gray or black, sketching a small circle white (this will be the tummy). Weaving can begin after the paint has dried.

Master class on the creation of a kitten named Gav
This cat will also be voluminous, and the technique of weaving is similar in many respects to the manufacture of the previous toy. You will need to prepare:
- beads (the main color is yellow, brown beads of two shades are needed to create paws, tail, ears and muzzle, and light yellow for the inner surface of the ears);
- details (17 black beads for a spout and an eye, 24 blue and 2 white for an eye, 2 red for a mouth);
- all other tools (fishing line, wire, glue, needles, etc.).
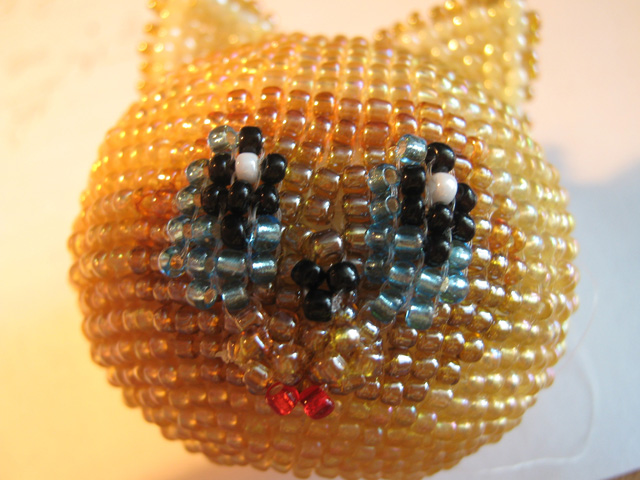 In the master class of manufacturing a voluminous sealtold how to make blanks of marbles. You can make them from plasticine, pasting paper, painting or marking yourself with a pencil, where the color of the beads on the muzzle should change. The eye and ears are weaving on the technique of hand weaving, so for beginners this task can be difficult.
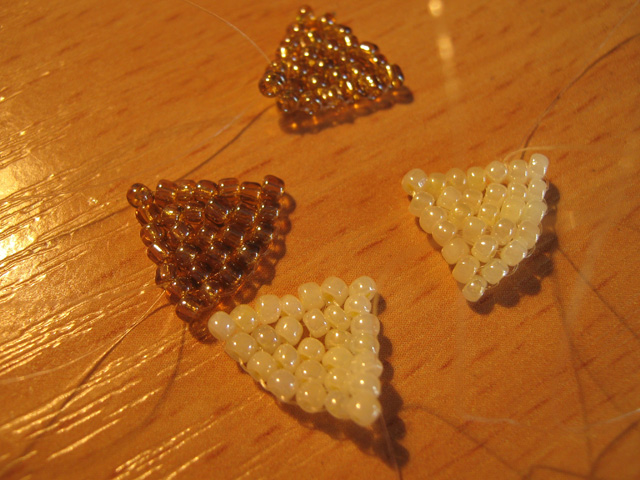
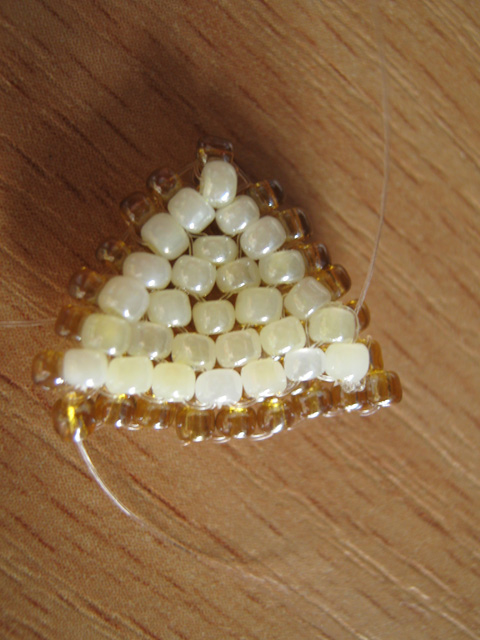
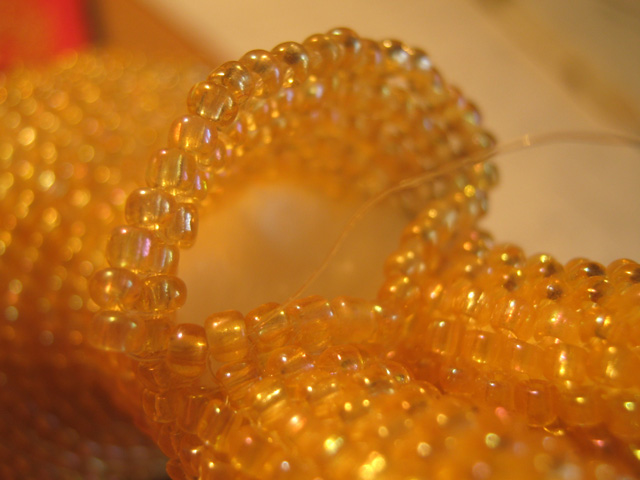

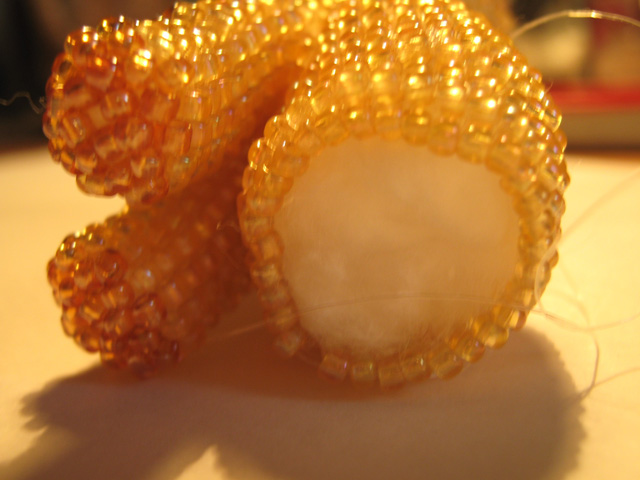
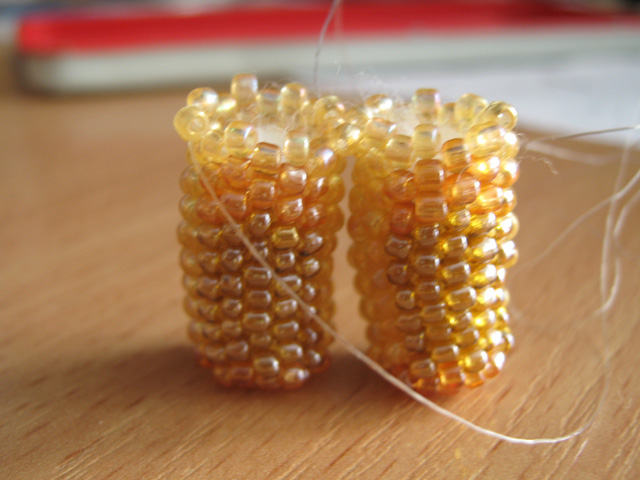

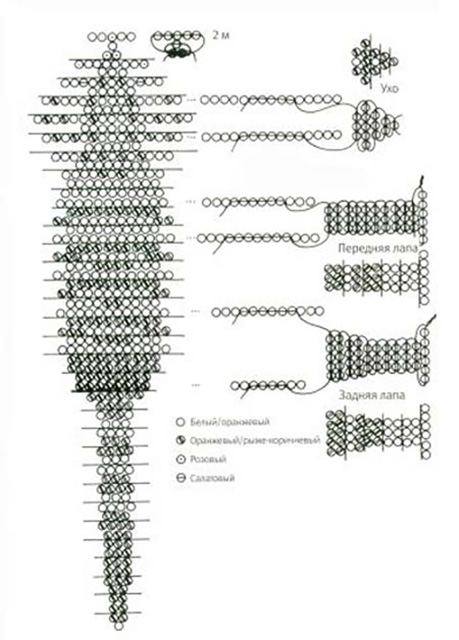
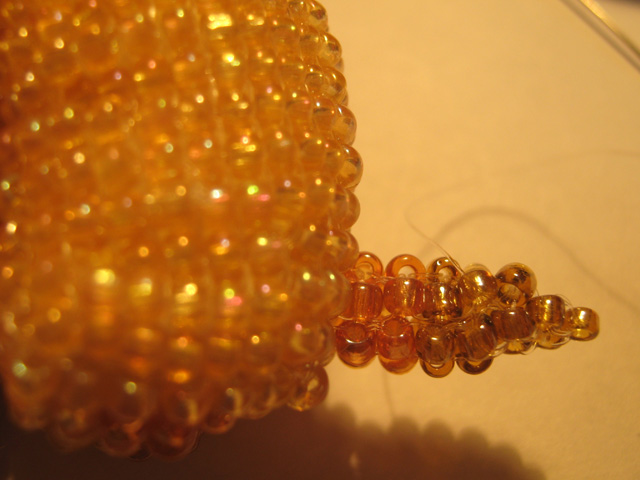 The body and legs of this kitten, in contrast toprevious, is stuffed with cotton wool or other filler. After the braiding of the head, just continue to weave the ranks with the additions. Laps should be made with mosaic weaving, and then attach them to the trunk. Next, you will weave only the back, and from the side of the paws the beads will not be needed. The back to the tail will gradually narrow, and when you reach the base, you will need to fill the kitten with cotton and finish the body to the end.
 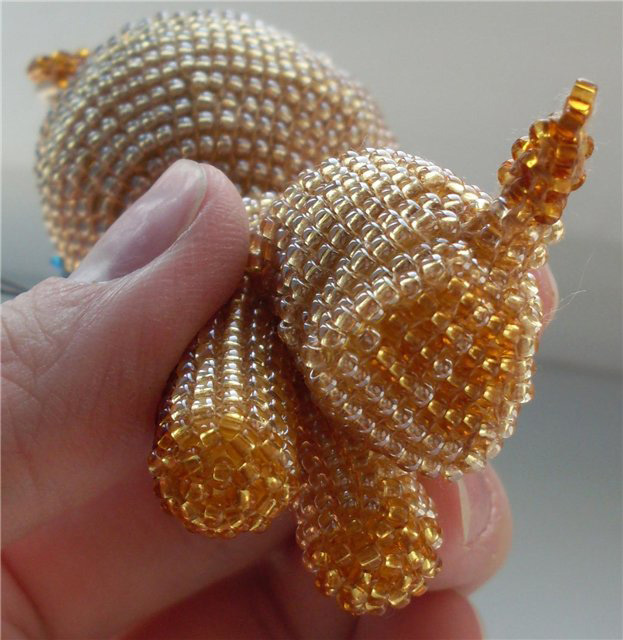 It only remains to attach the tail and make a mustache from the black line.
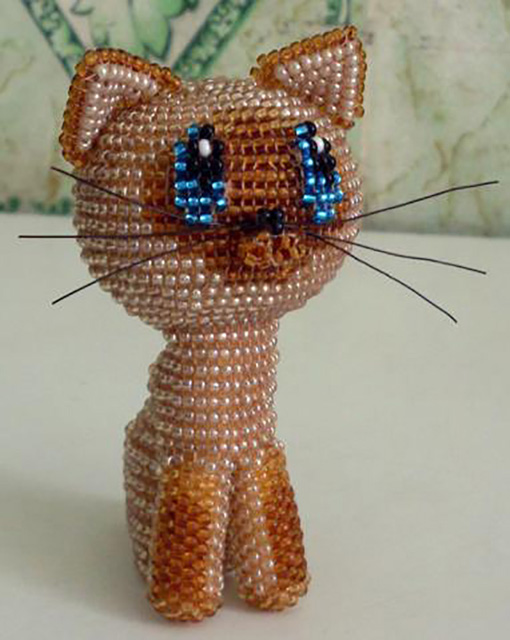
Master class on "monastic" weaving
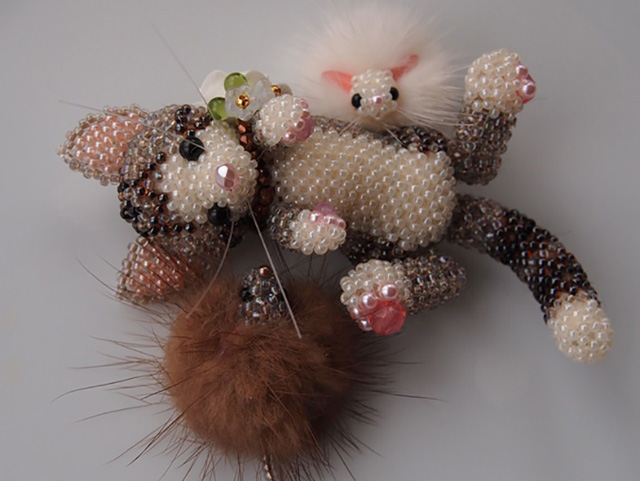 Materials and tools are almost the same asand in previous master classes, however, beads for such a kitten should be chosen small and opaque, at least - two different colors. In addition to small beads for the eyes and nose, you will need more beads a little more, from which you will make pads on the hind legs.
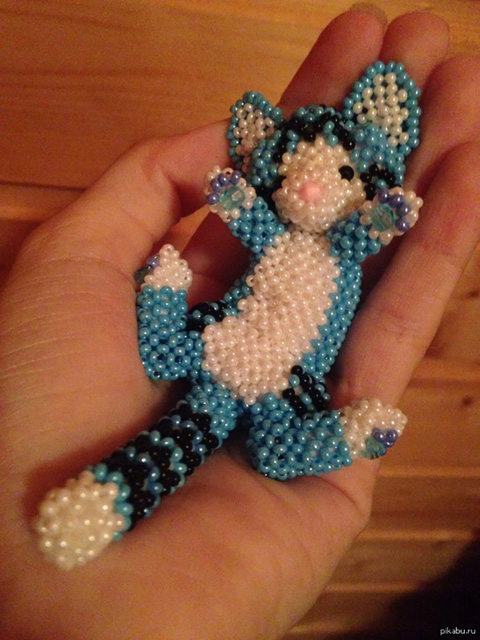


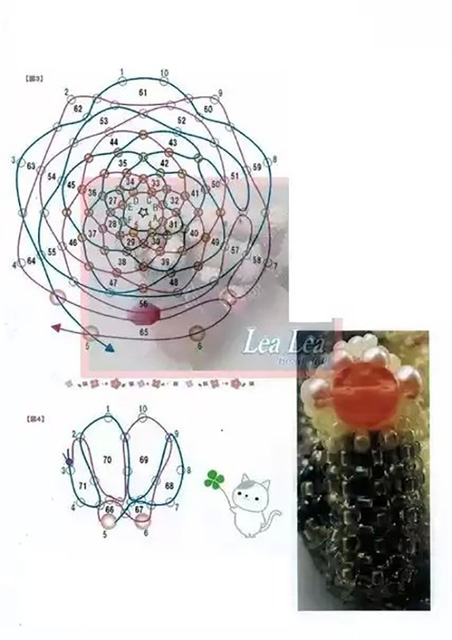

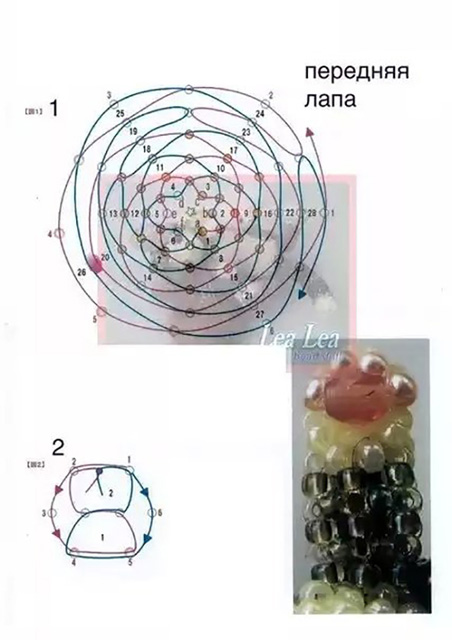
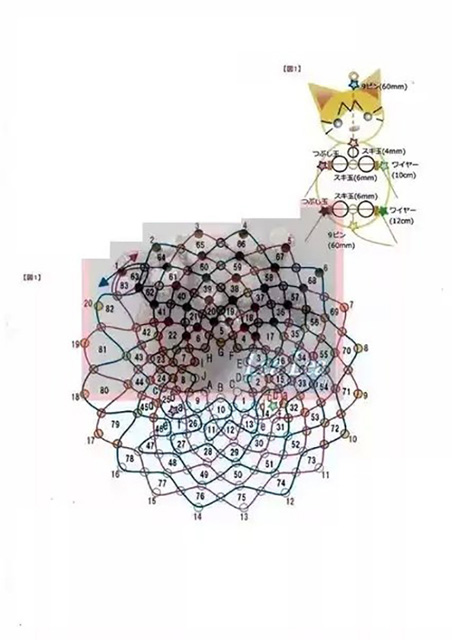
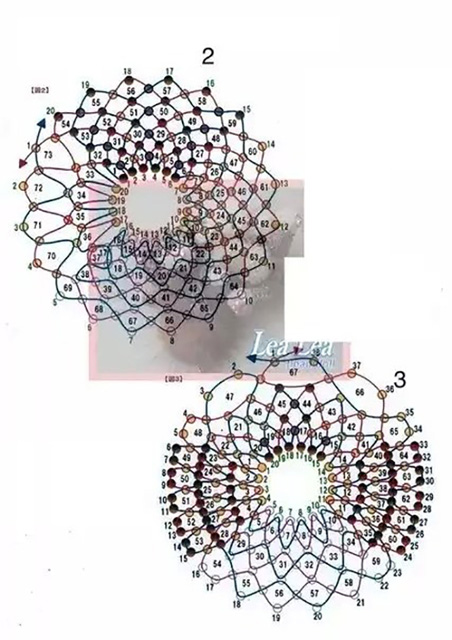


 As you can see, with a little effort and patience, you can create your own masterpieces yourself and please your dear ones with beautiful original gifts.

