
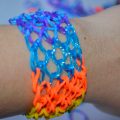
How to weave the original bracelet from the rubber bands "Houston". Step-by-step recommendations, description of technology and photos
Every modern fashionista at least once, butI thought about weaving a bracelet made of latex rubber bands. Their diversity and simplicity of performance do not leave anyone indifferent. In this master class we will weave a bracelet "Houston". We'll spend about twenty minutes on it.
What is necessary?
Materials:
- three rubber bands;
- machine;
- hook;
- clip.
Manufacturing process
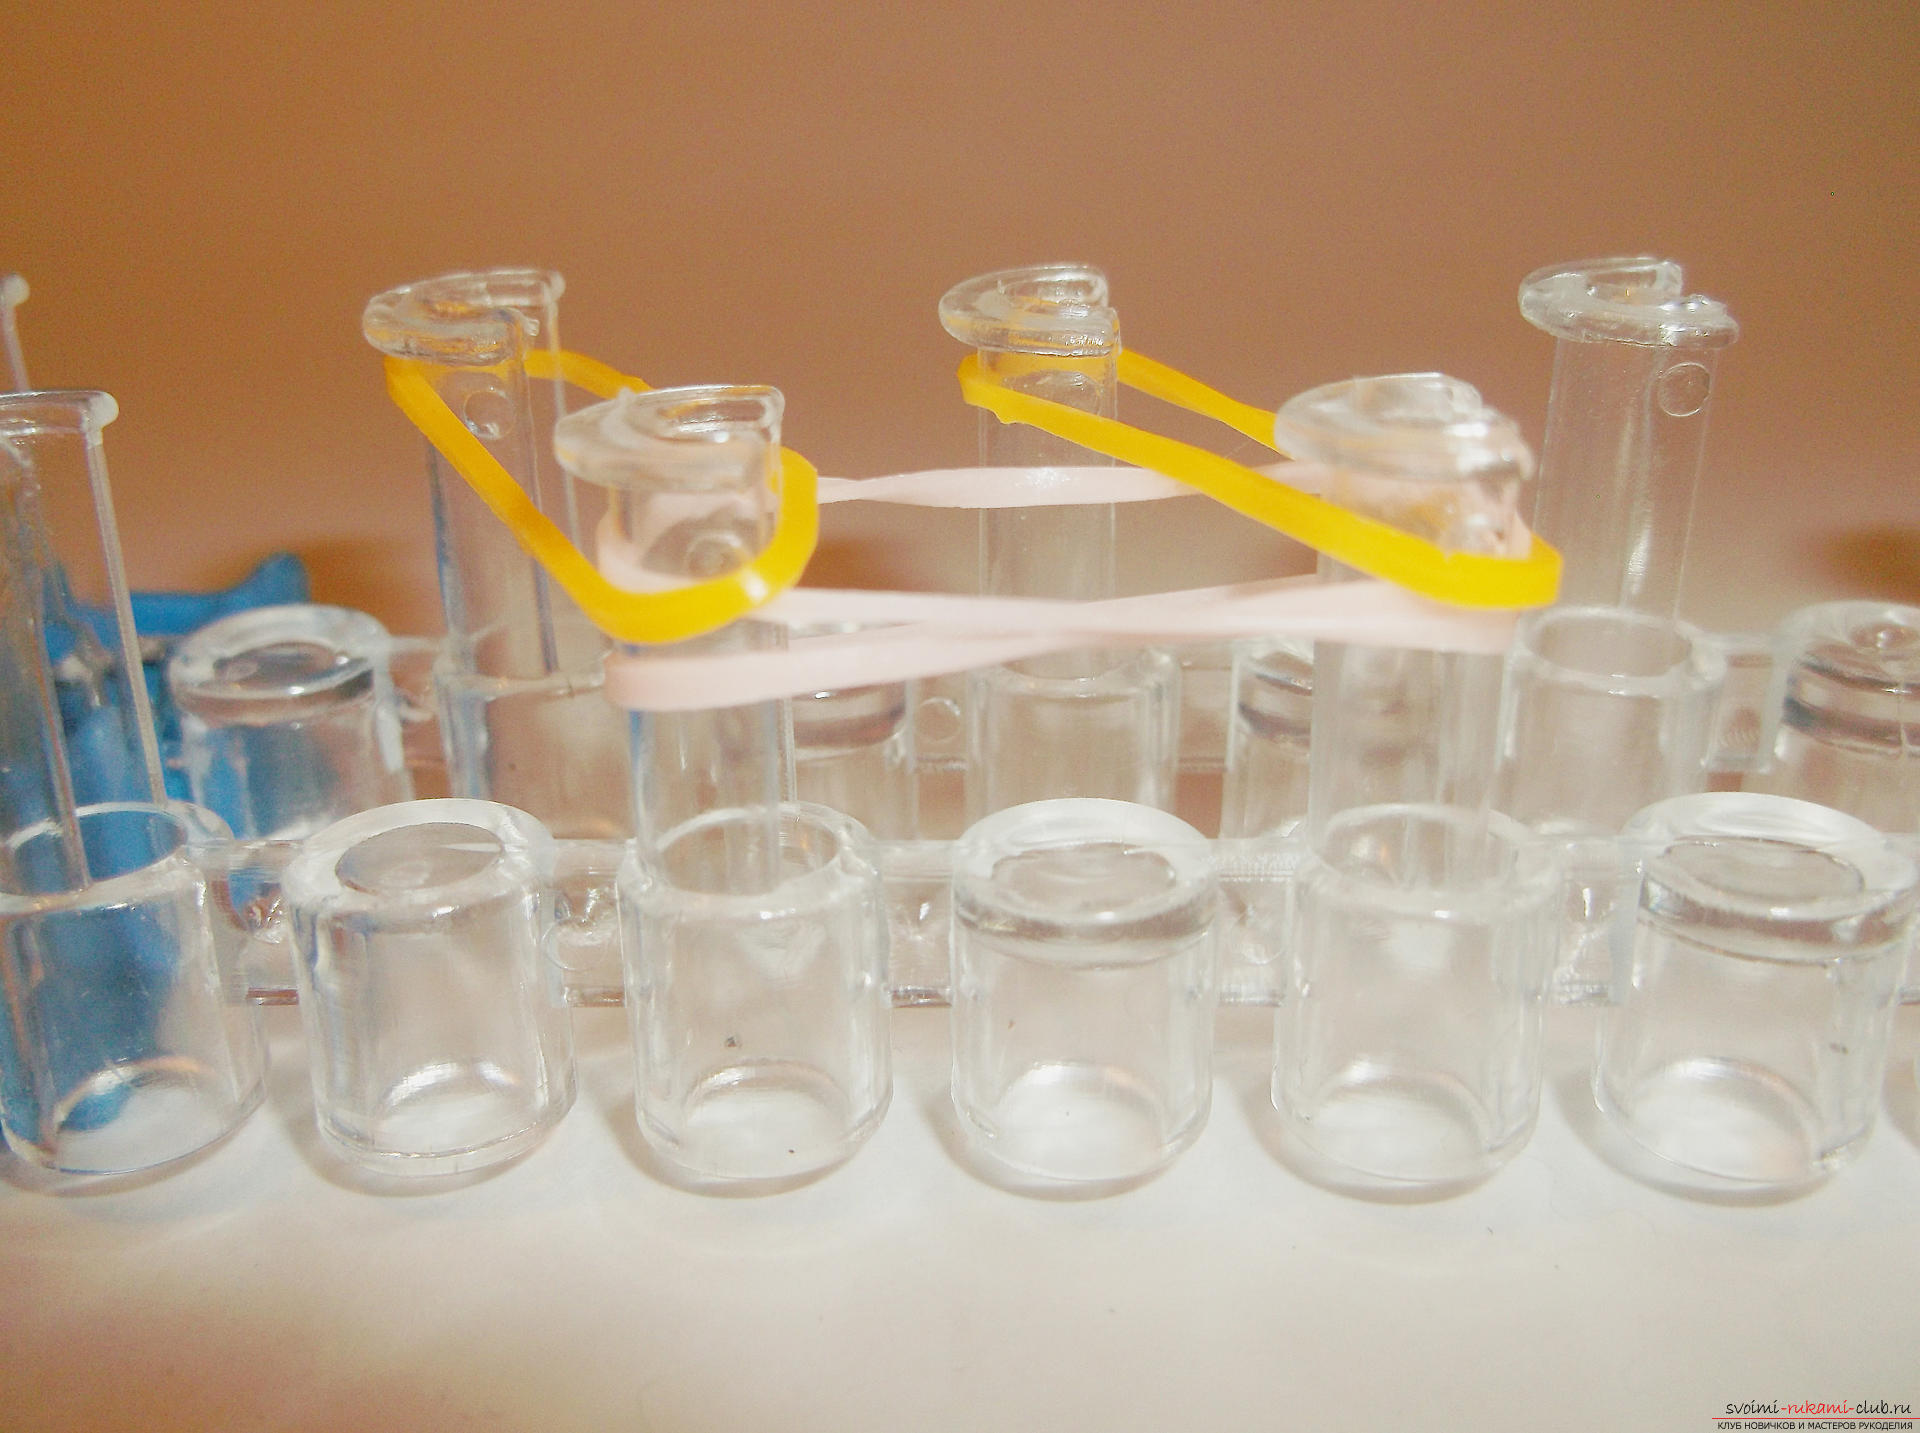
Our bracelet will consist of three rubber bandscolors, but you can weave it from multi-colored elastics. For weaving the fringing, for example, you can use the colors of the rainbow. You can also rotate the colors in the center of the bracelet, but it's better not to use many colors here, three colors will be enough. However, it all depends on your imagination. Install the machine so that the open sides of the columns are turned to the right. When weaving we will use only two rows, so one row will be taken off. We only need four columns. Let's take a rubbery pale pink color and put it on two columns of the bottom row, pull it back, turn the figure eight and put it on the same columns again. That is, two loops are placed on the two columns of the bottom row. Next, on the first working column of the lower row, we put on the yellow rubber band and the second side of it is pulled on the opposite column of the upper row. The same is done with the second column of the bottom row. 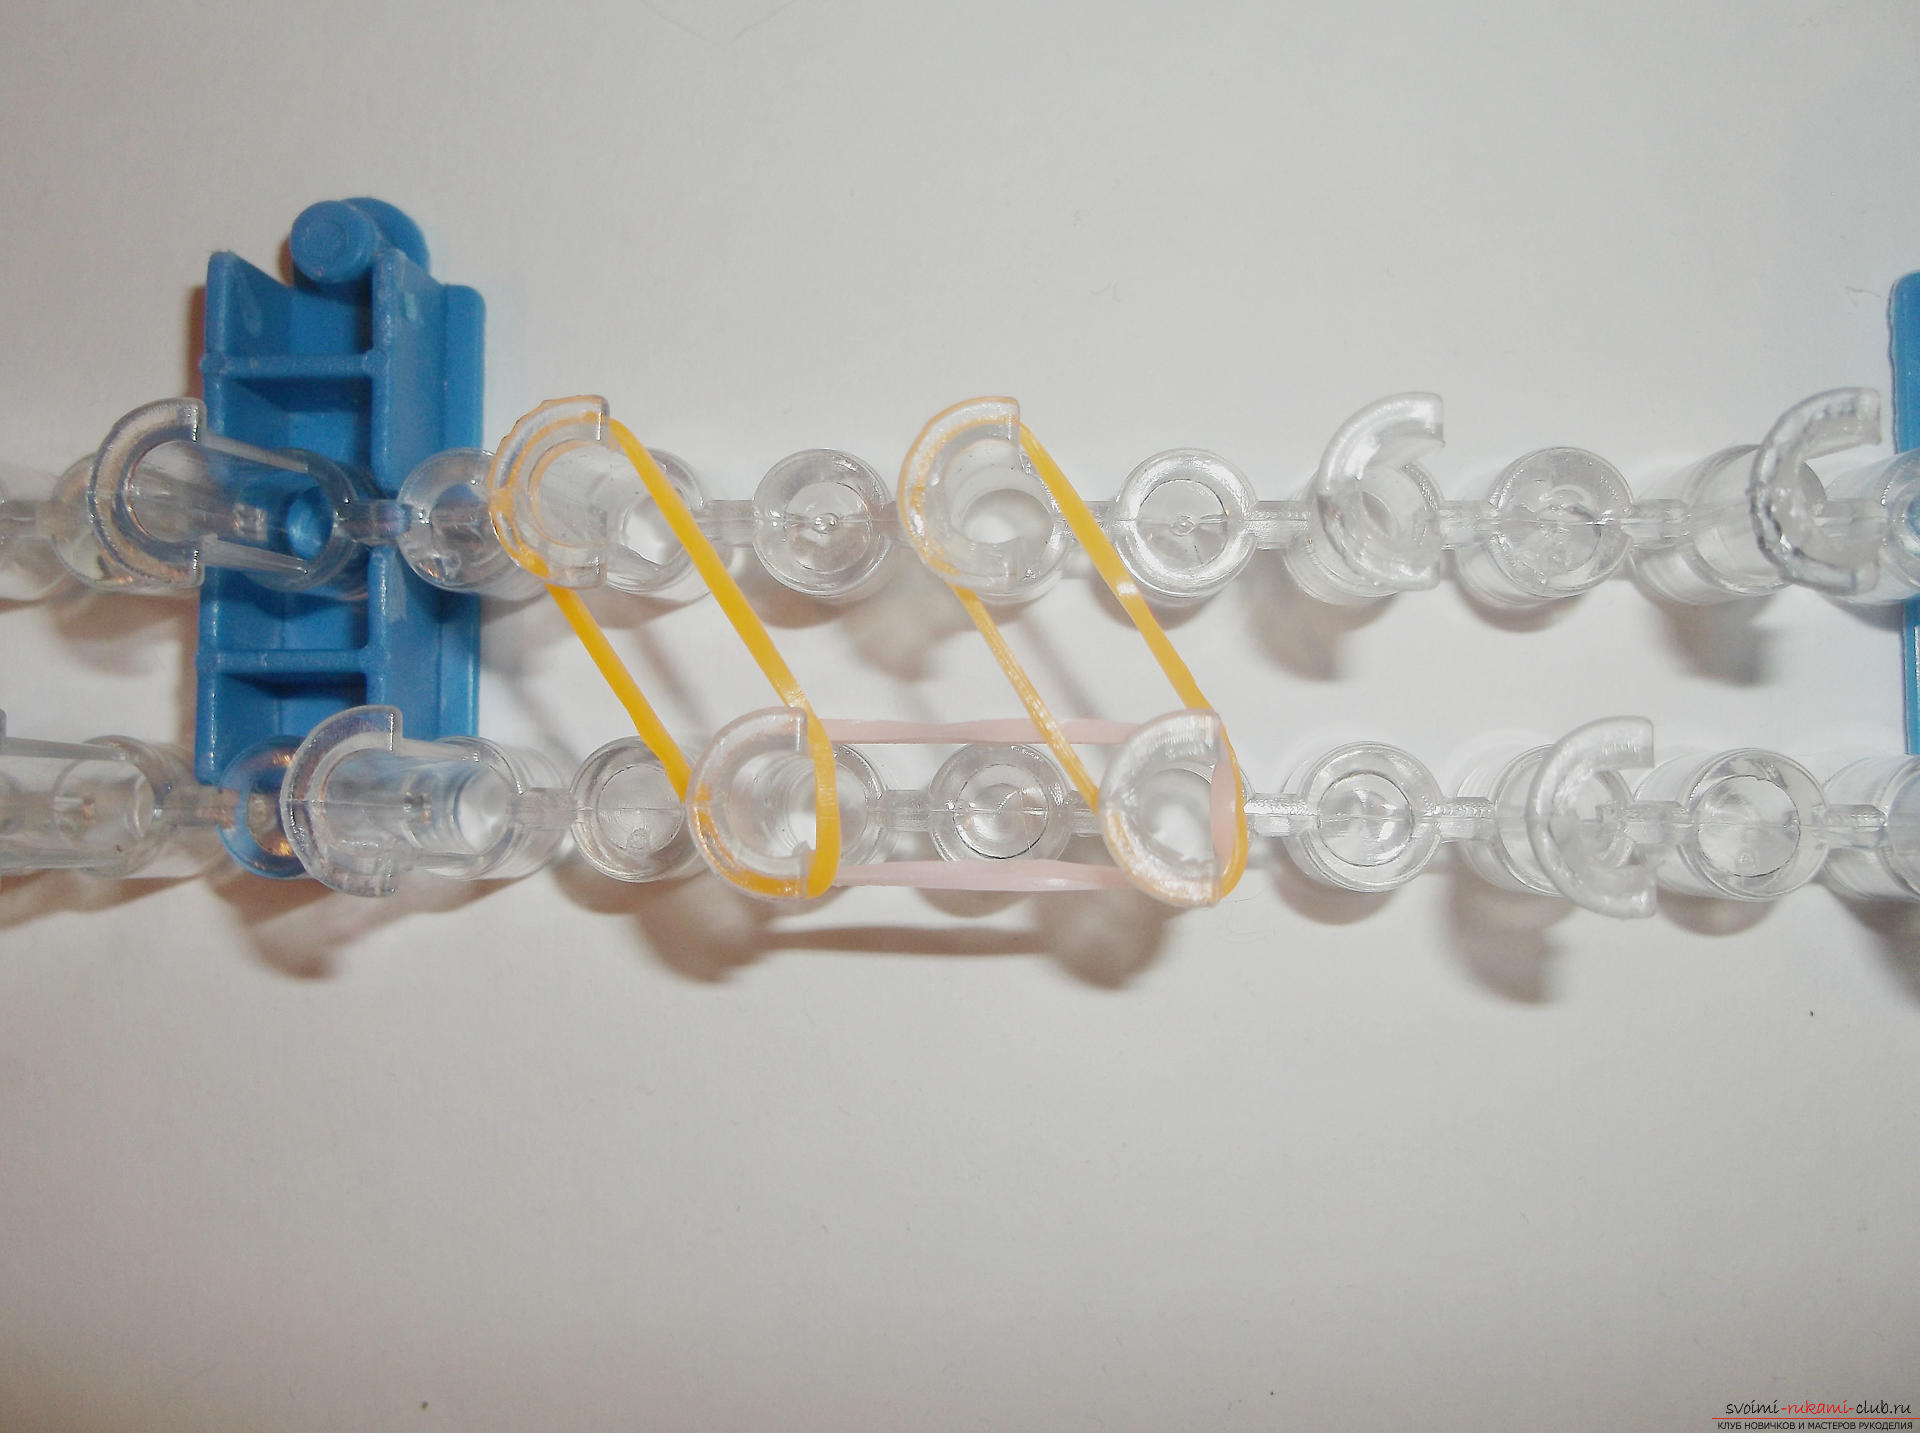
 Hook off the pale pink rubber, passing it over two columns, to the center.
 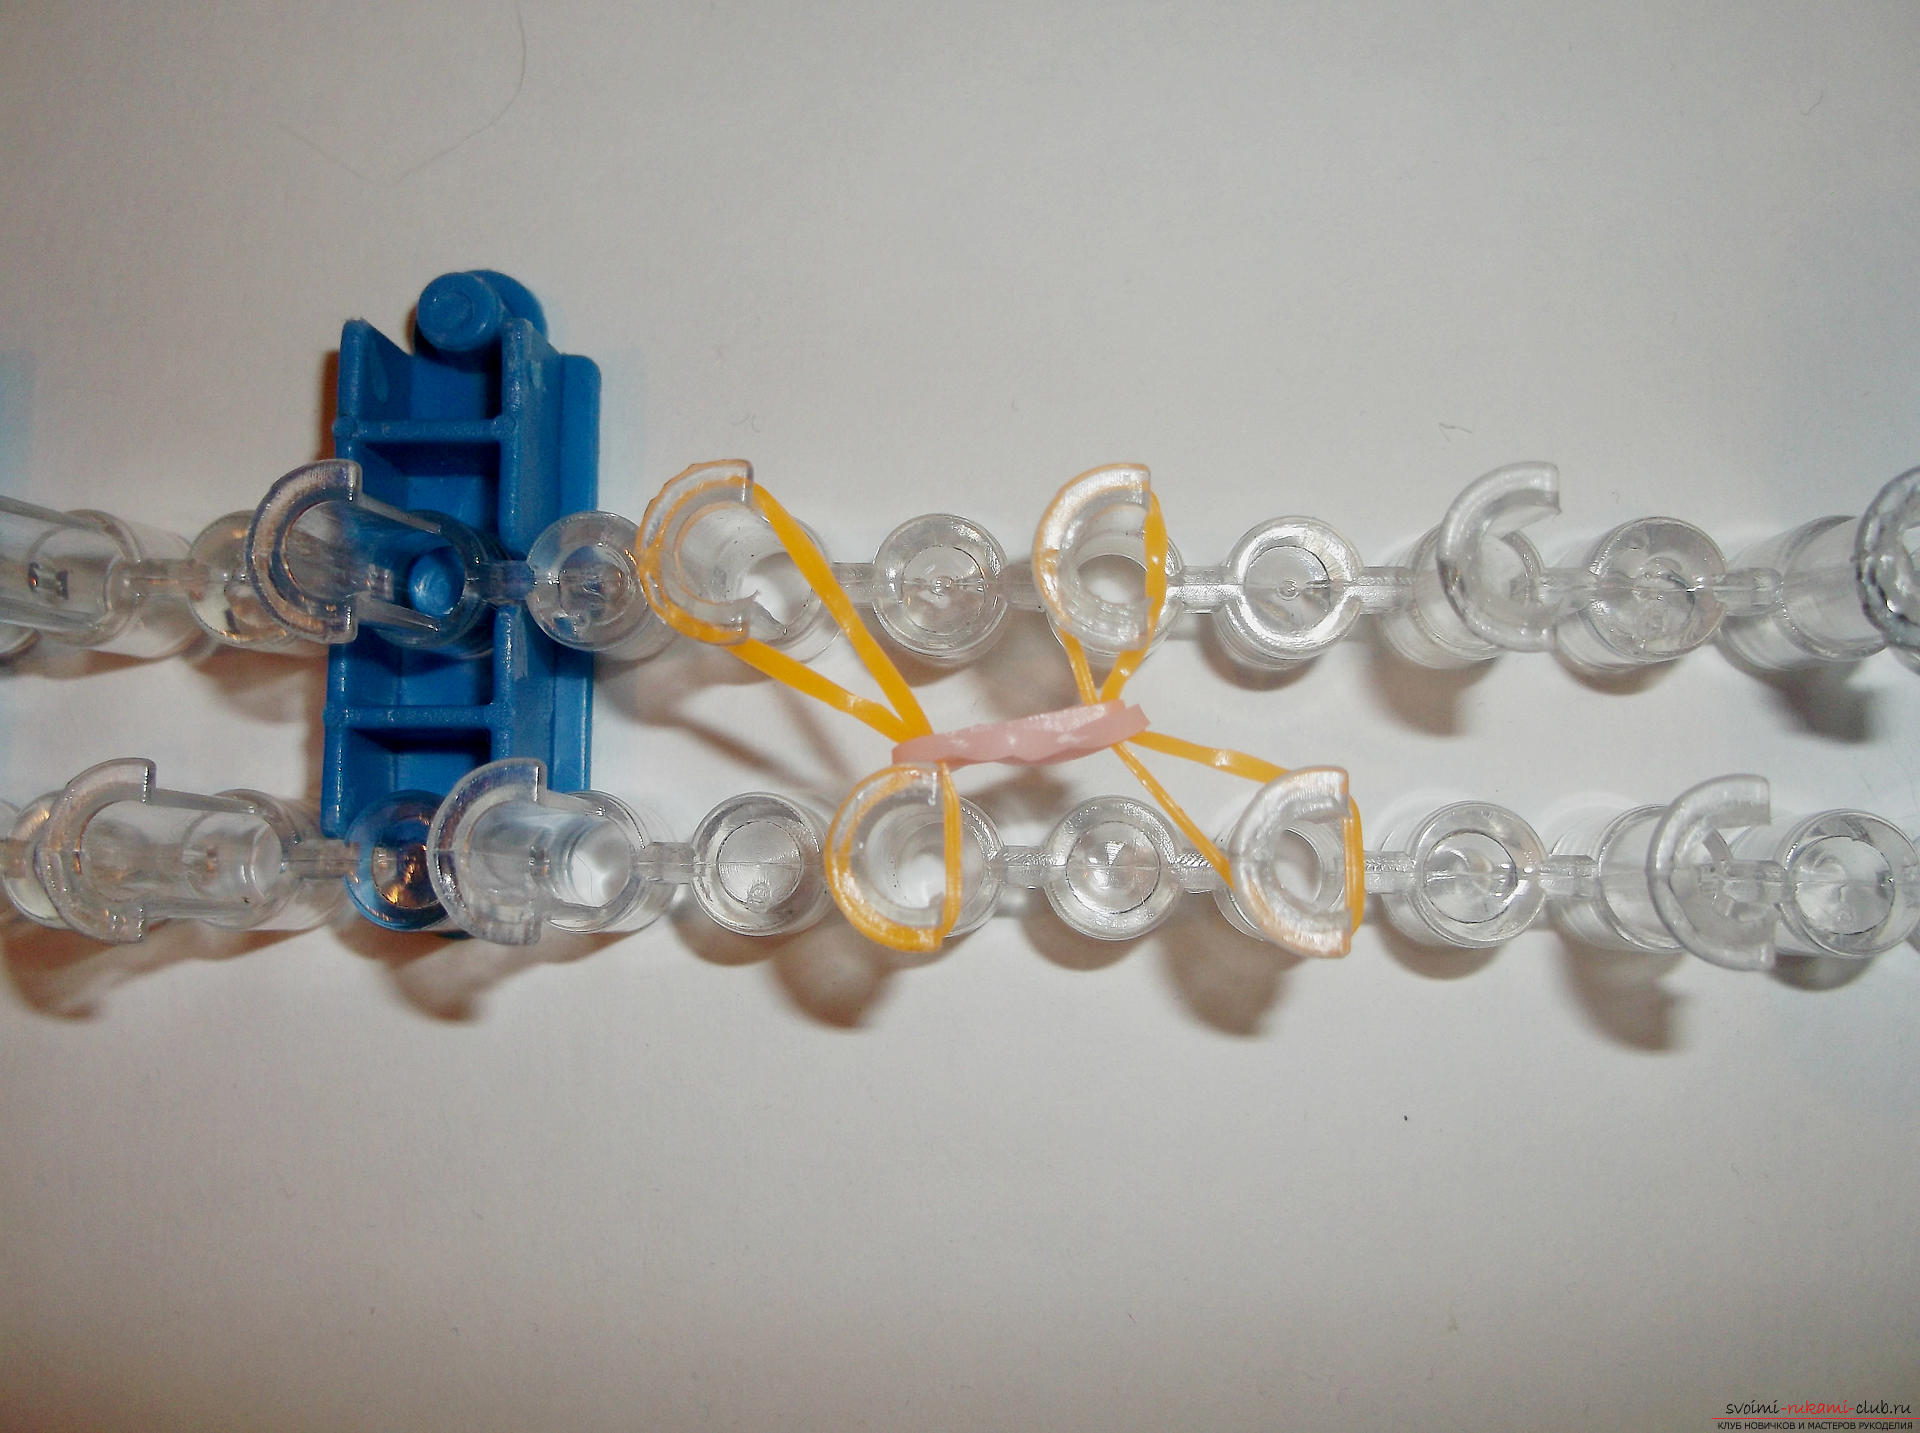 Since we will always cast the same,we shall call the two working columns left, and the second two right. Further on two left columns we put on one yellow rubber, on two right too. Now we put on exactly one, but now a pale pink rubber band on two left and right columns. Next, take a rubber band of a saturated pink color and put it on the bottom two columns.
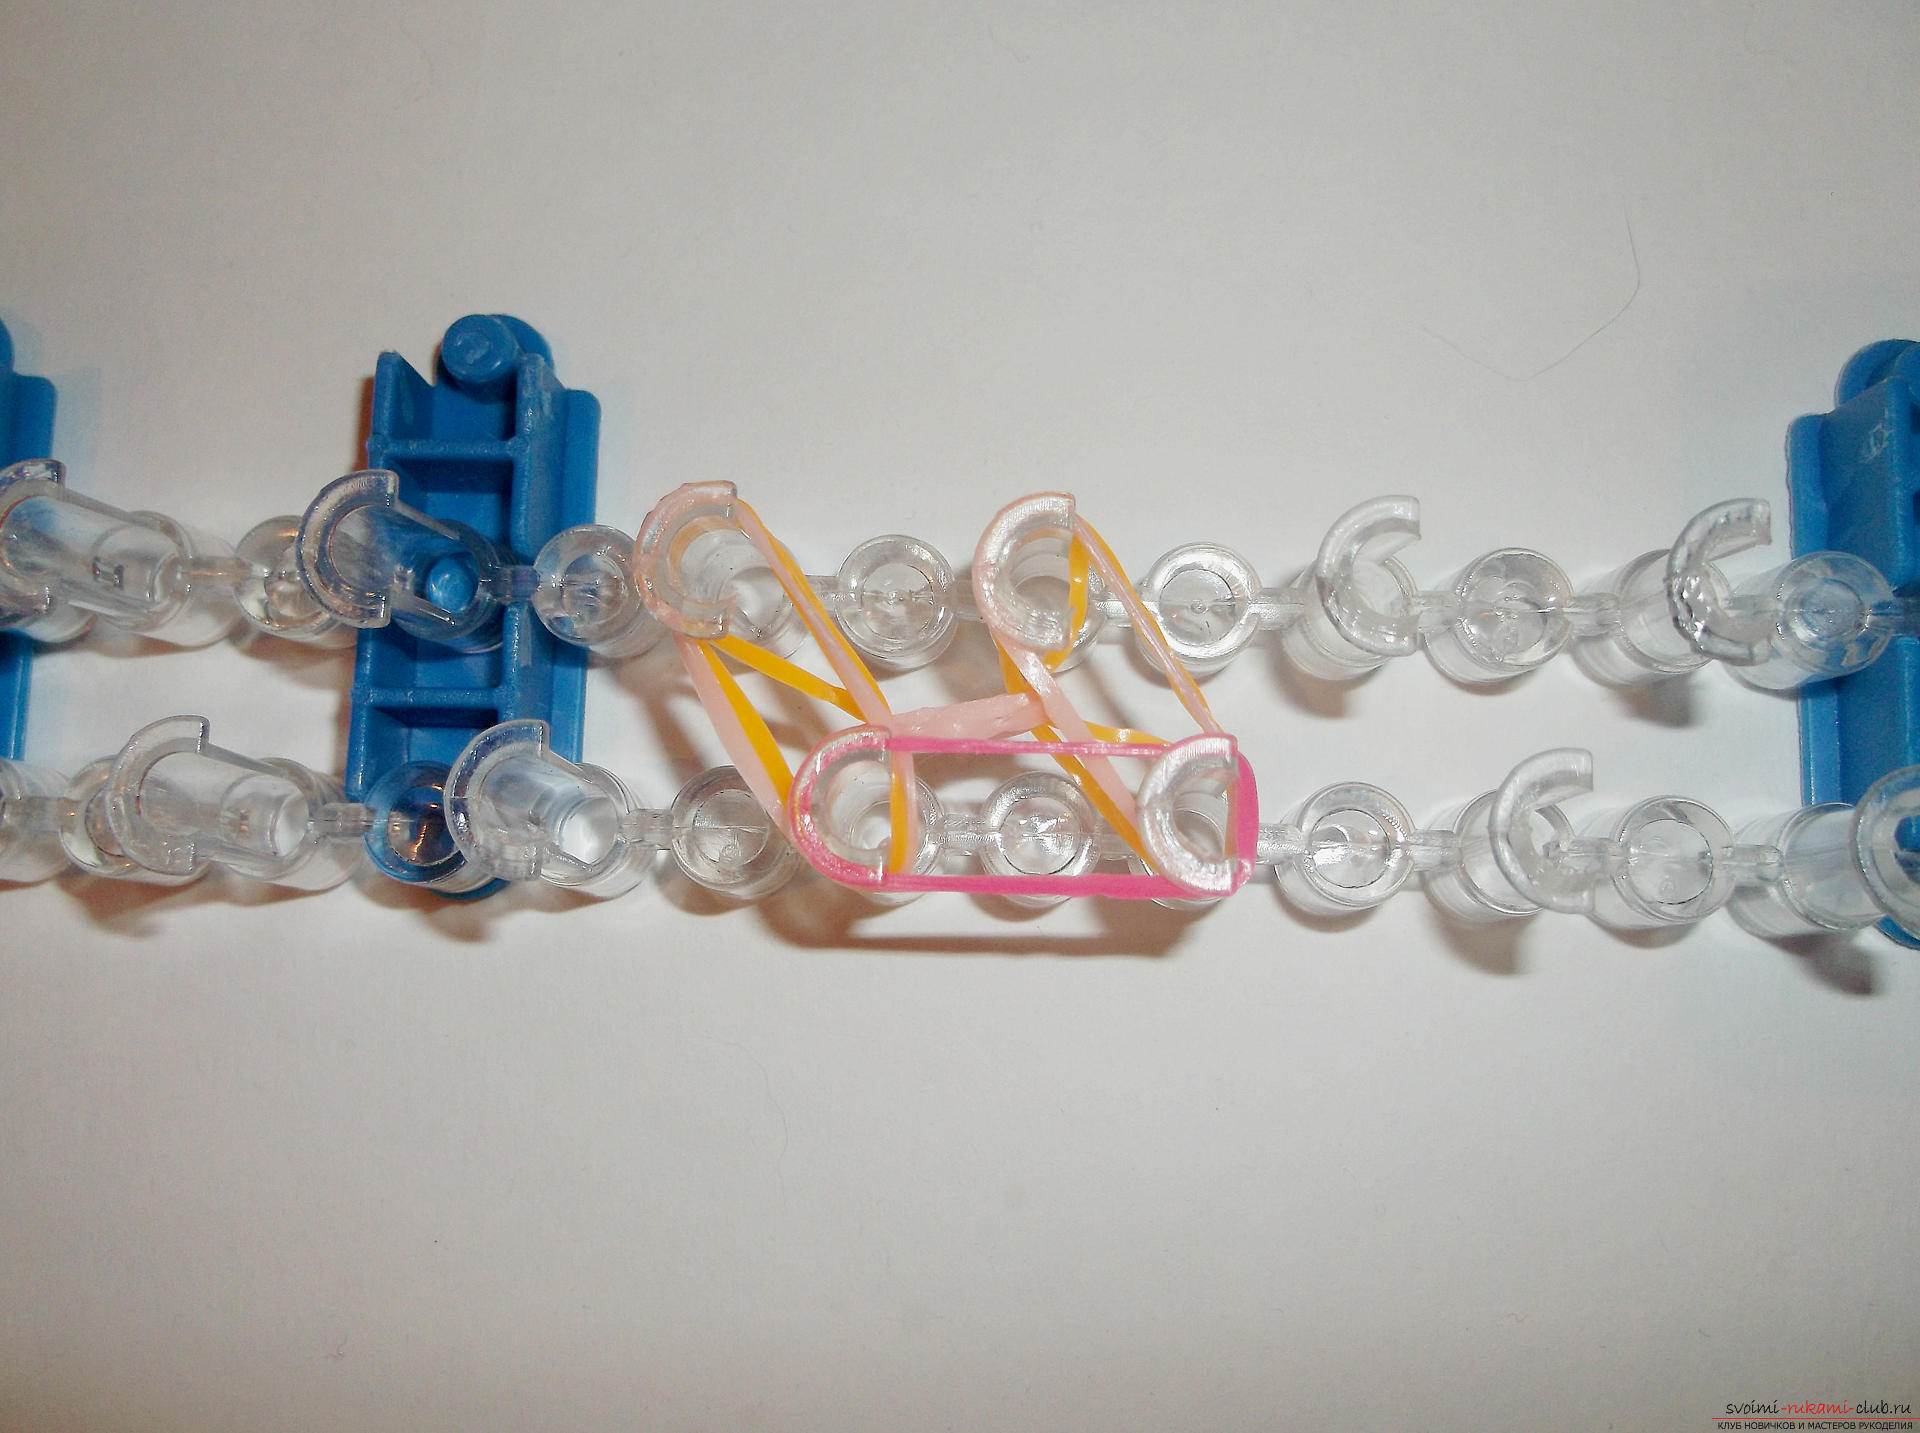
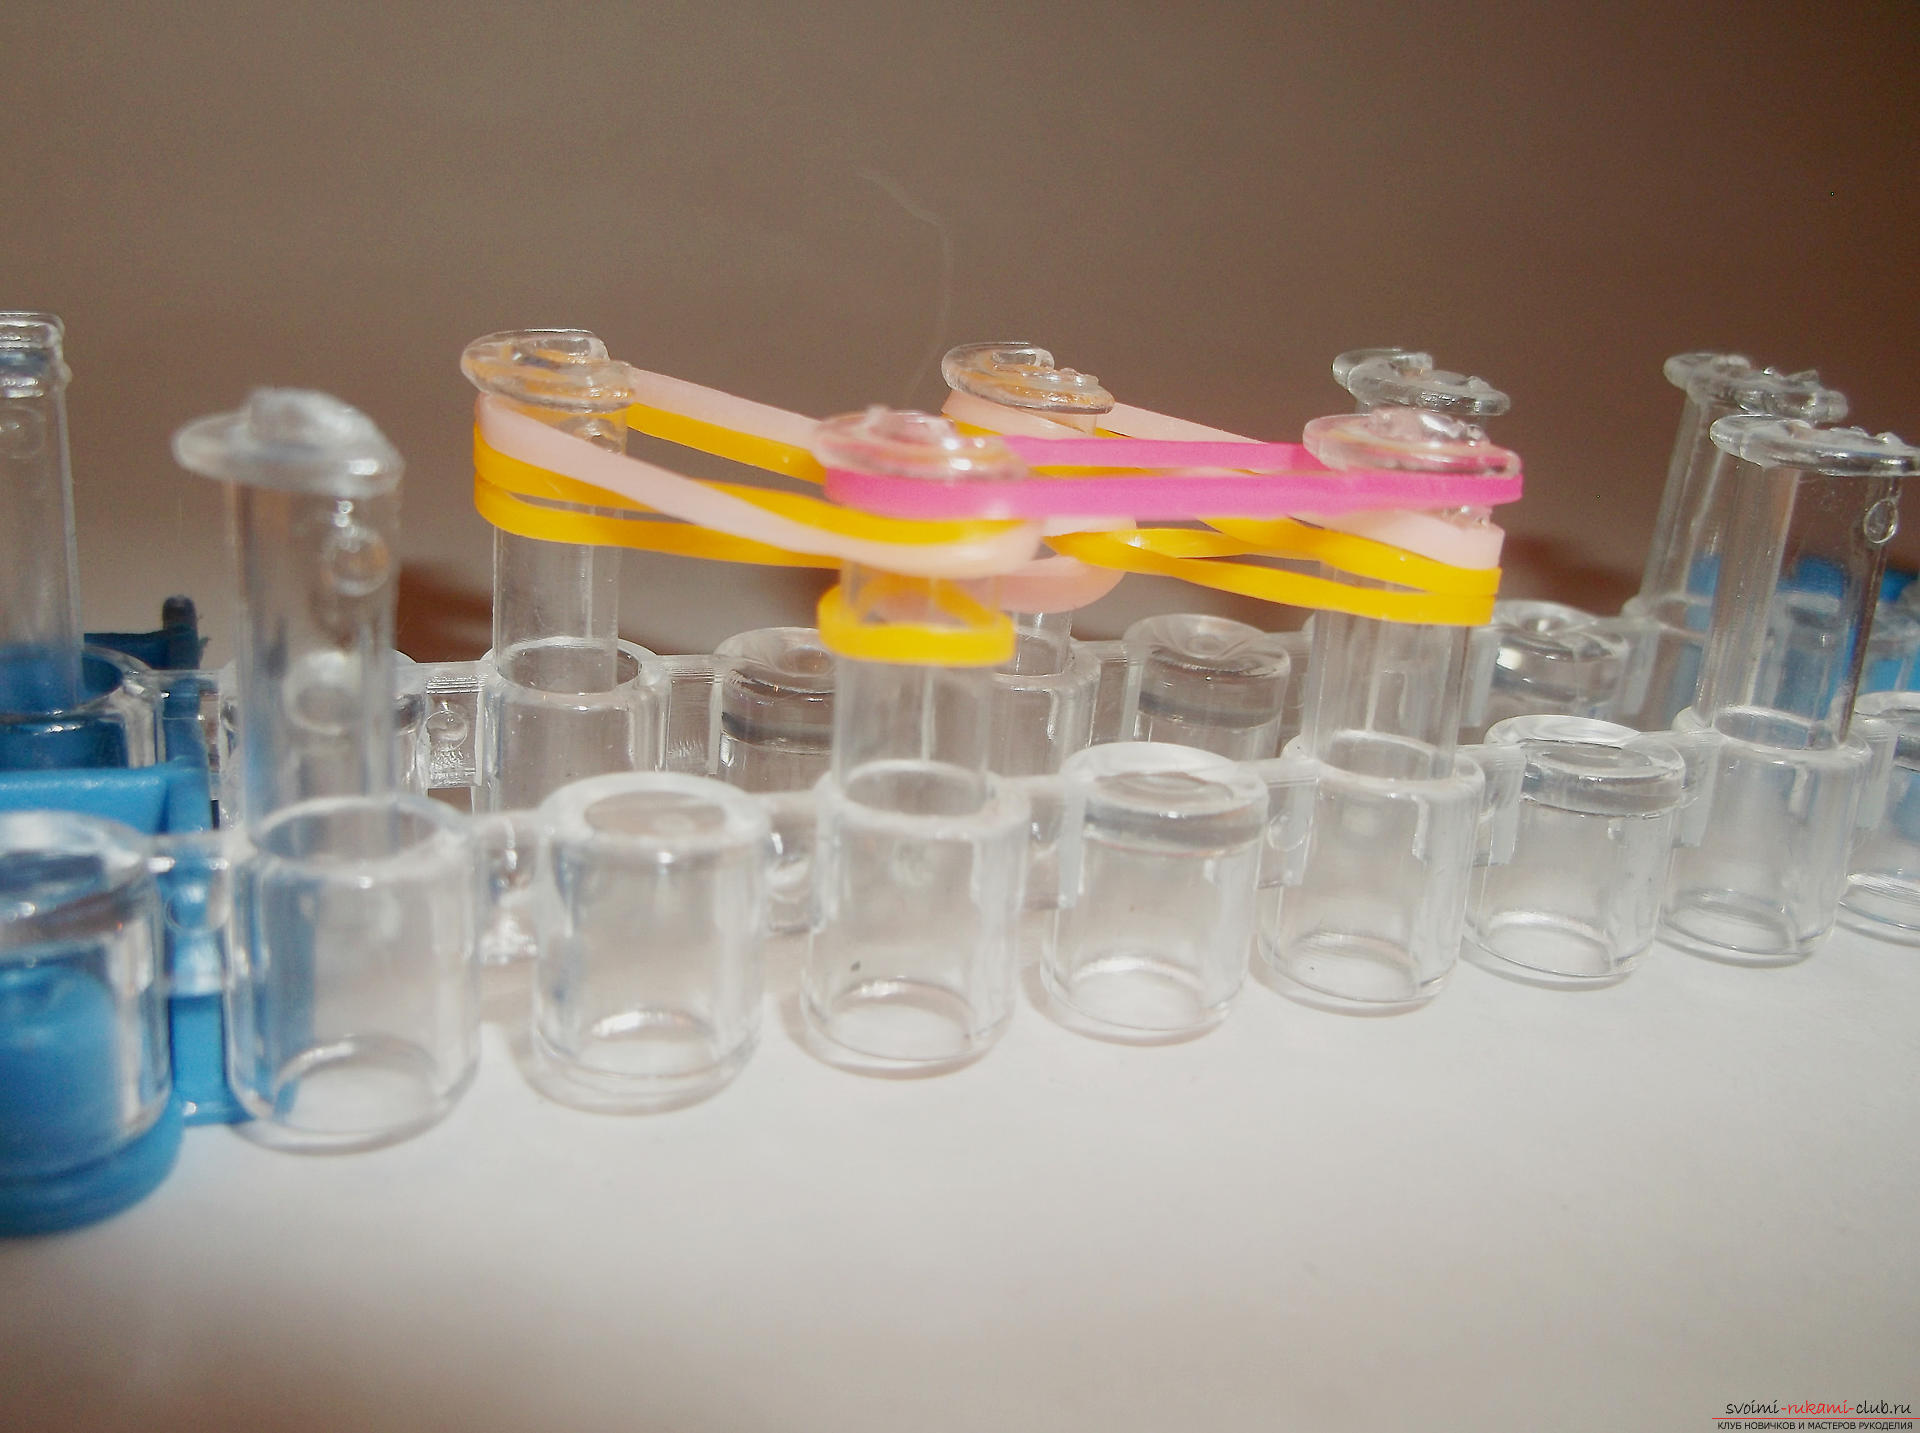 Next, we reset all the rubber bands of the lower layer to the center. From the top two columns are discarded in the usual way. We start the hook, we catch one of the lowest rubber bands and lower it in the center.
 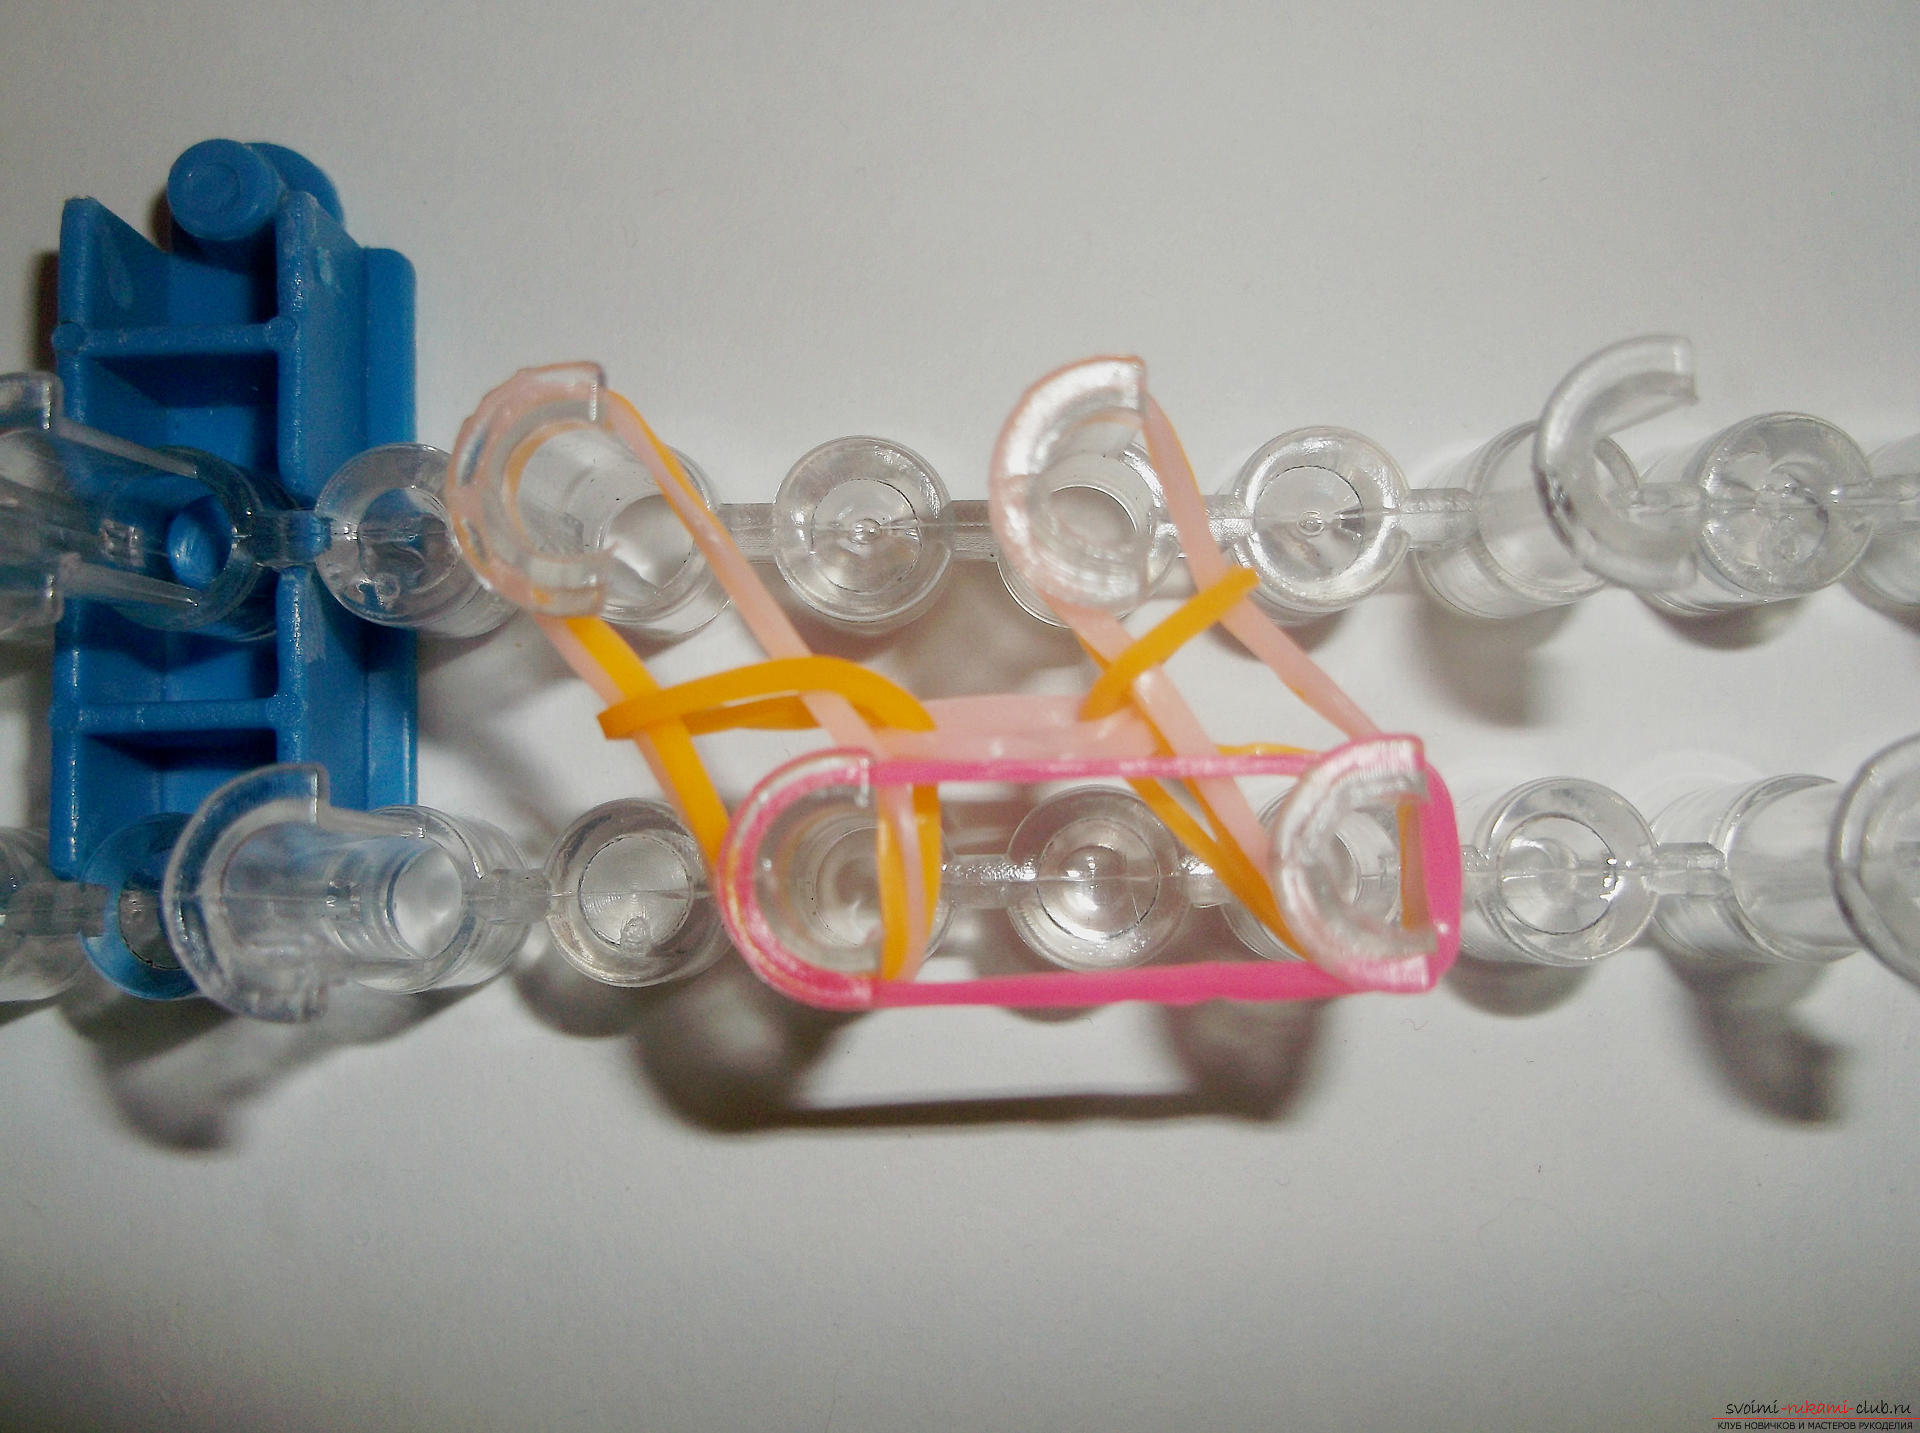 To remove the rubber from the bottom row, we needHook between two columns. Grasp the lowest rubber band and also lower it in the center. Next, let's throw a new row. We will throw one rubber. We put one yellow rubber on the two right columns and one rubber band, also yellow in the left two columns. Do not forget that every time we throw one more rubber band of a rich pink color on the bottom two columns. Again, we drop one of the lowest rubber bands from all the columns. We paint a new layer in the same way as last time. Rezinochki alternate in color. Pale pink with yellow on the sides and always one rubbery bright pink on the bottom two columns. Again, reset the bottom layer from all the columns. Before throwing a new layer, we lower the rubber bands on the machine a little down, so it will be more convenient to continue the weaving. So weaving continues until two columns of the lower row form four rubbery pink bright colors. When, having thrown a layer, notice that there are four of them, we remove the rubber bands, as in the previous rows, but we also drop one of the lowest rubbery bottoms in a bright pink color.
 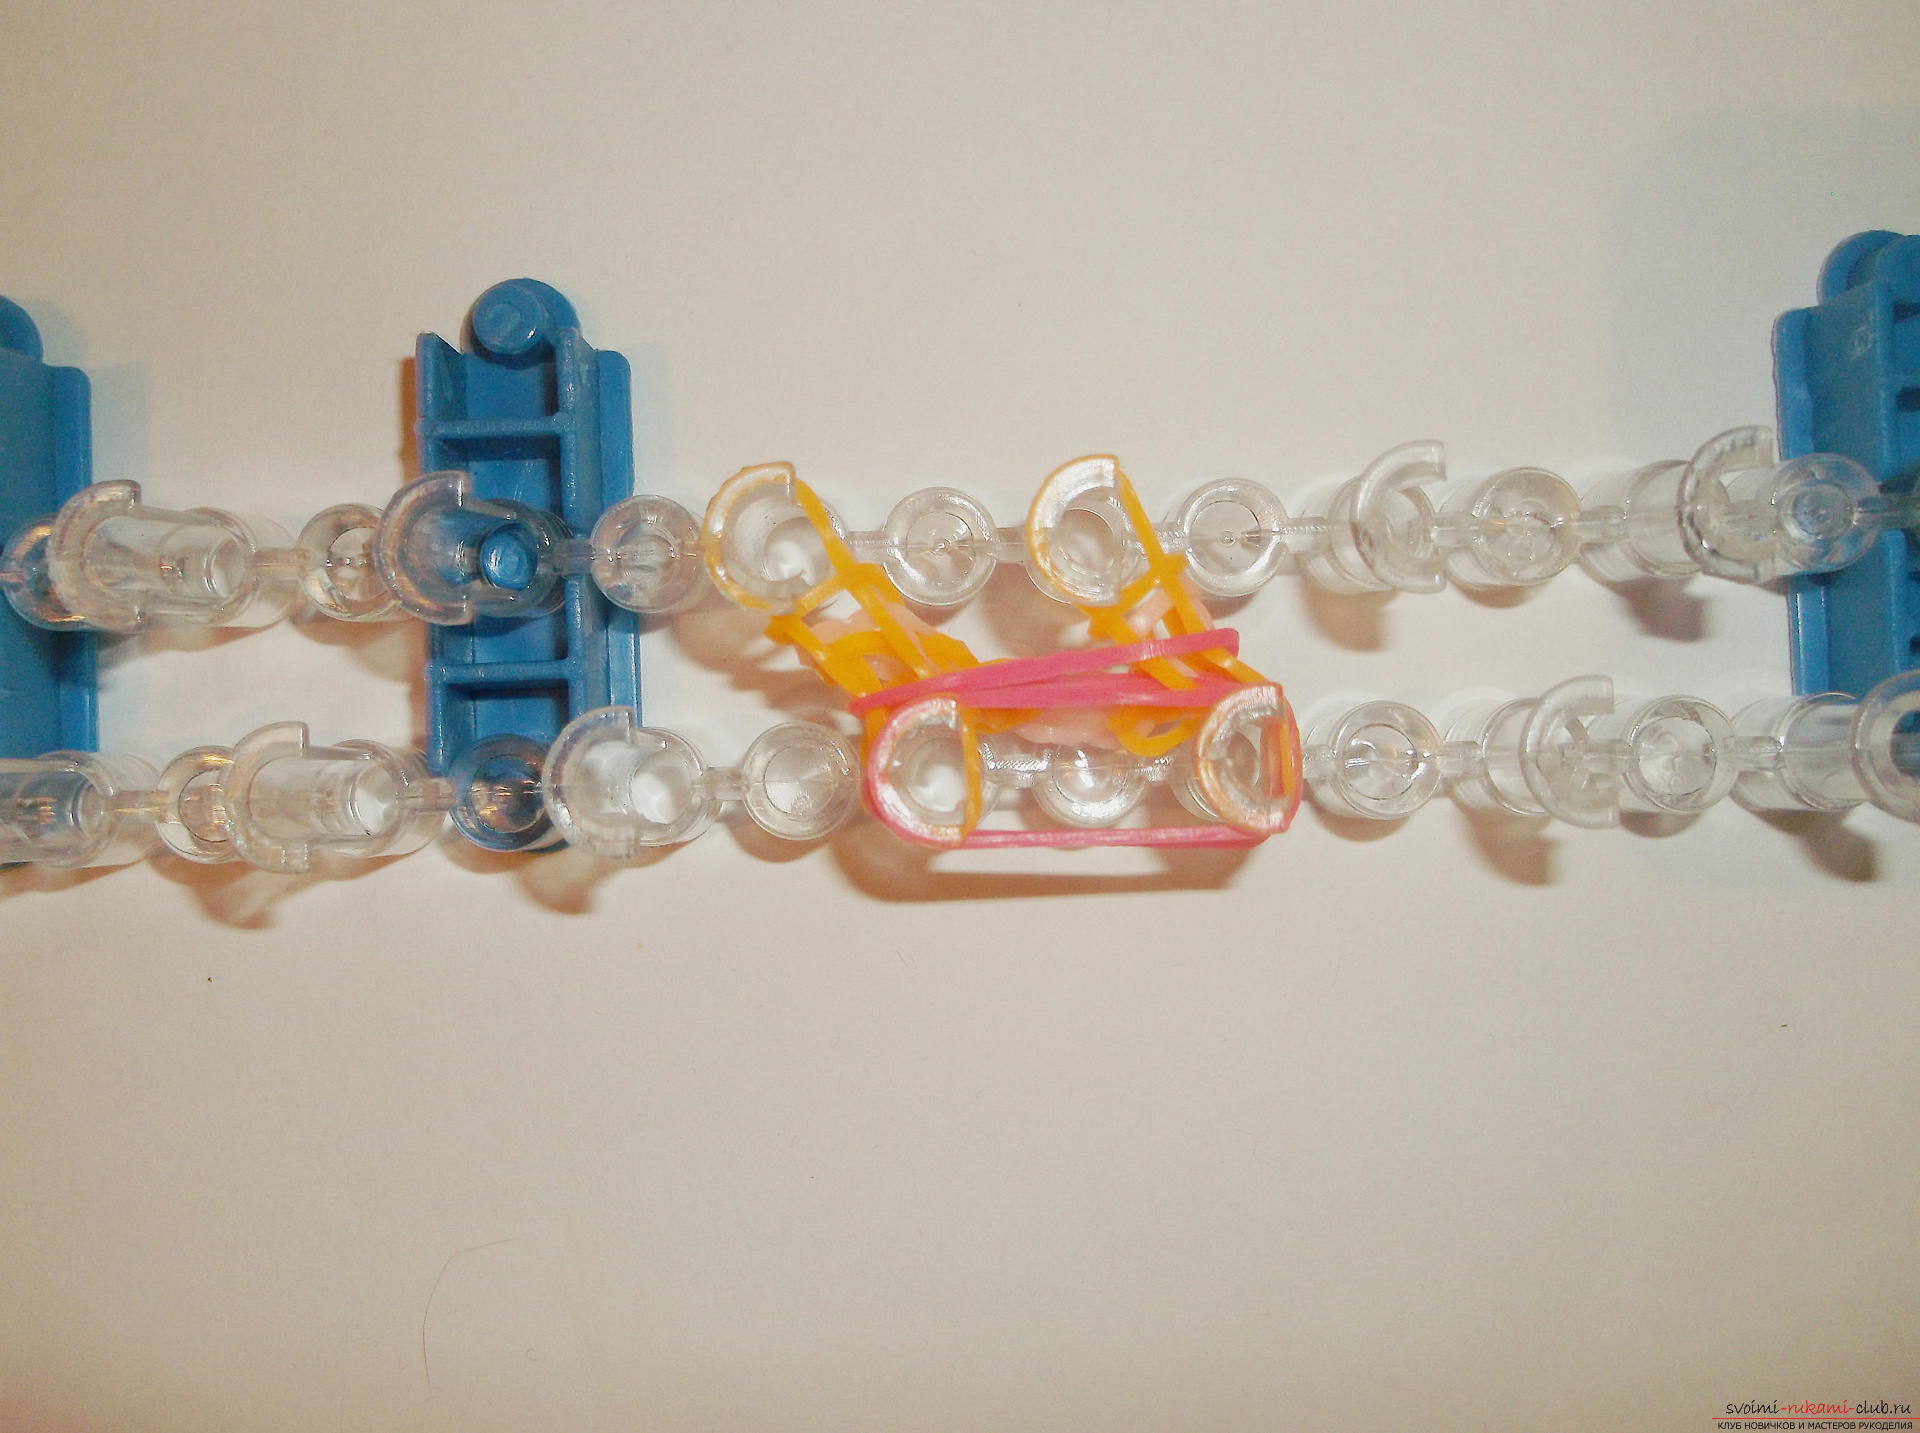 Further weaving is similar to the previous row. That is, we throw one rubber for each two lateral columns and one for two columns of the bottom row. Then we drop from each column the lower rubber band and one lower rubber band is remembered from the two columns of the bottom row. So we'll weave until the bracelet reaches the required length. We remember that we remove the rubber from the two columns of the bottom row of the last. When the bracelet almost reaches the desired length, the weaving slightly changes. Now we put rubber bands on only two left and two right columns. That is, on the two columns of the bottom row, we no longer put rubber on. We drop the same way as in the previous rows, one lower rubber band from the two columns of the lower row is also dropped into the center. That is, there will now be only two of them.
 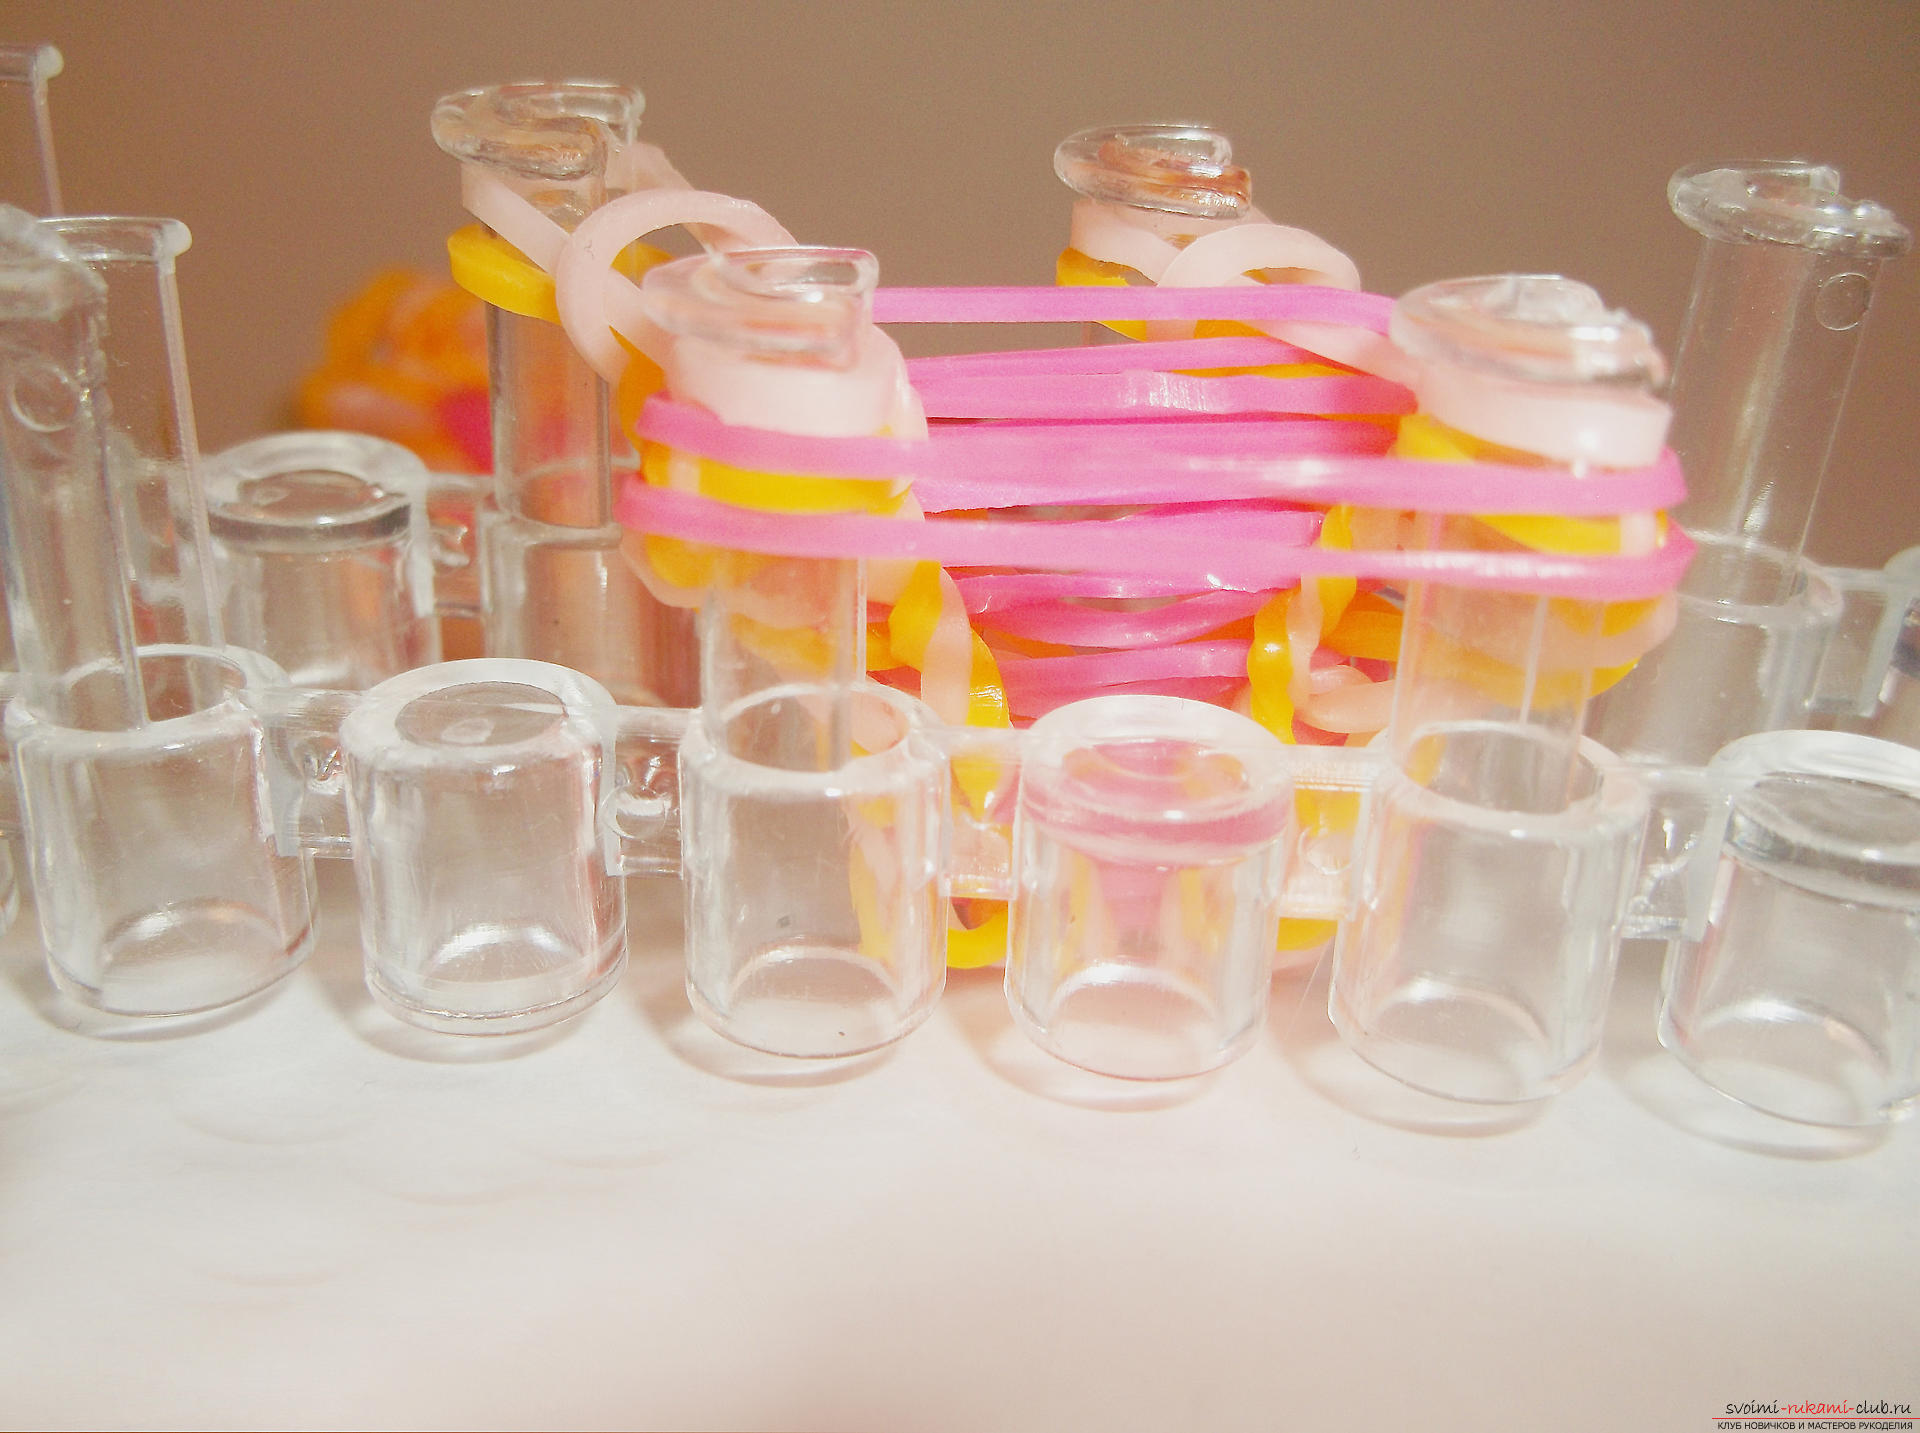 After the next row, there will be only one rubber,since we'll put one of the rubber bands on the side columns, but not the two lower ones. We remove the bottom layer, and on the two columns of the bottom row, there will be no more rubber bands of a saturated pink color. Do not throw more rubber. Just drop the bottom layer again from all the columns, so that each of them has one rubber band left. Next, we move the rubber bands from the left columns to the right ones. That is, we move the rubber band from the left column of the upper row to the right column of the upper row. And we move the rubber band from the left column of the bottom row to the right column of the bottom row. Now we put one yellow rubber band on the right upper and lower right column. We drop two lower rubber bands from each column. Now on each column there is one rubber. Next, we need to transfer any of the rubber bands so that both rubber bands are on the same column. We put on the clip. Bracelet "Houston" is ready!
Comments
Related posts:
 How to weave an elegant bracelet "Chess" from rubber bands? Detailed manual with description of the technique and step-by-step instructions and photos
 How to weave a small snowman from the rubber for the New Year holidays? Detailed description of the stages of work with step-by-step photos
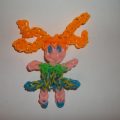 How can we weave a small toy "Red-haired girl" out of multicolored rubber bands? Detailed description of the process of weaving, a list of necessary materials and step-by-step photos
 How to weave a wide bracelet on the forks "Rainbow"? Description of the weaving technique, step by step guide and photos
 How to weave a bracelet made of rubber bands with the inscription "2016"? Lesson on weaving bracelet with step-by-step recommendations and photo