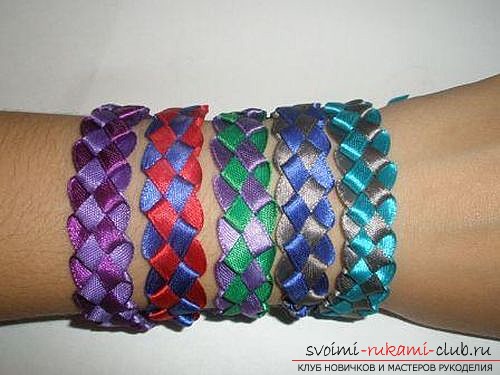
Weaving beautiful bracelets from ribbons. A simple master class for beginners with step-by-step photos.
Homemade ribbon bracelets alwayswere in demand among lovers of unusual and interesting jewelry. Fenichki, as one of the most popular bracelets, appeared many hundreds of years ago. Then each Indian tribe wore its baubles, which had a special, sometimes even occult significance. In ancient tribes, each bracelet corresponded to traditions and customs. 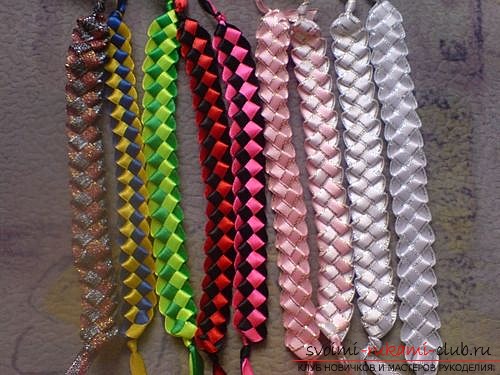 Learning to weave bracelets from ribbons How to knowfew, in modern times, bracelets from ribbons with their own hands began to make hippies. They had their own self-made baubles also had their own deep meaning. Woven ribbons symbolized love, friendship, trust and loyalty. Some used baubles instead of wedding rings. The hippies played a role in the color of ribbons. So, looking at each other's bracelets, the representatives of this subculture could learn a lot. For example, if someone wore bracelets from red and white ribbons, he certainly wanted to show others that he was ready for a free relationship without obligations. The baubles made of a large number of colored tapes meant connections of social groups different in status and position, which at the same time are unified.
 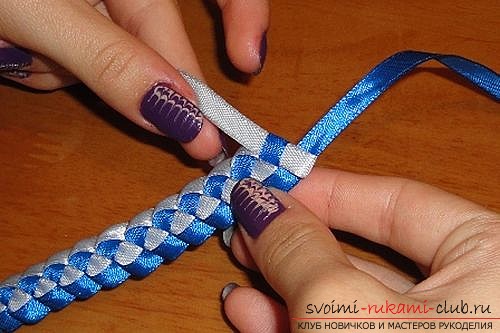 Now the baubles are again becoming popular witha new generation that rediscover the weaving of bracelets from ribbons. The peculiarity of baubles is very easy to weave. Everyone who wants to try to make their own jewelry for themselves will certainly be satisfied with their creation. What do you need to make? If you are interested in the idea of making a bracelet yourself, and you are trying to understand how to weave a bracelet from ribbons, then the next paragraph will be very useful for you. Pull the ribbons is very simple. There are various schemes of weaving. Consider one of the simplest ways.
  So, to weave the ribbons with your own hands,start with the simplest. Take two ribbons of convenient width for you, which will fit easily in your hands. Note that the length of the ribbons should be large enough (up to one meter). Also do not underestimate their color. It is better to use contrasting colors, which are successfully combined with each other. Ribbons should be contrasting not only for the colors to look good together, but also to make it easier for you to weave a bracelet.
 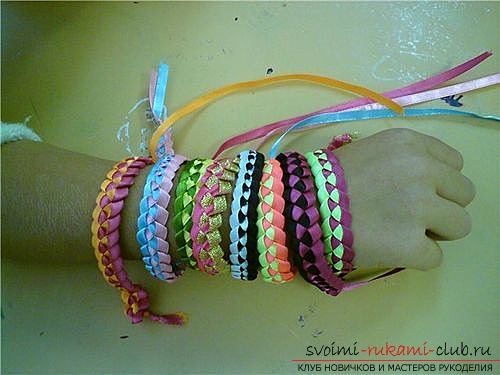 Beginning of weaving Weaving of ribbons does not takeyou a small amount of time. It is necessary to develop a skill, after which the process of creating a bracelet will pass unnoticed and quickly. Put two ribbons on top of each other. As close as possible to the edge, make a knot that ends with a loop. The ribbons themselves become the body of the bracelet. Each loop makes a loop (about 10 centimeters in diameter). One tape goes into the loop of the other. Then the eyelet tightens. This process should be performed alternately until the moment when the length of the baubles appears to be sufficient. It is desirable that the size of the bracelet is aligned with the width of your hand. Fenichka should not hang around the arm, but it should not be too tight.
 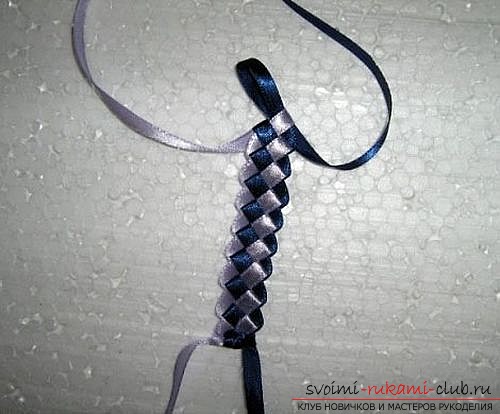 Some features First, yet beforemaking a homemade bracelet is worth asking about the importance of the chosen colors. To ensure that the weaving is not in vain, make sure that the symbolism of the bracelet corresponds to your state and desires. In addition to detailed schemes look at the history of the hippies, having become acquainted with which you will learn what this or that combination of colors means.
 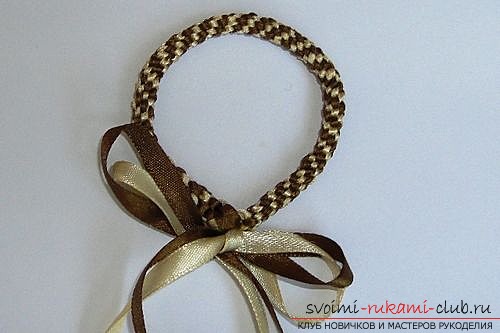 Secondly, do not tighten the hinges. If the ribbons remain slightly free, they will have a smooth and beautiful pattern, which itself is evenly distributed over the hand. The bracelet should look neat. Despite the fact that the first product, most likely, will not be the best, try to make it neat. It is possible that it is the first bracelet that will become your favorite. Third, while you are in the initial stages of manufacturing your first bracelet with your own hands without special skills, use a few pins. They will help not to stretch the hinges. Of course, after the first baubles you can easily weave on weight.
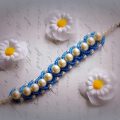
 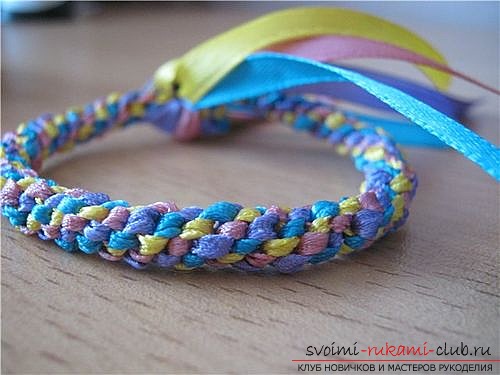 The best part is, you can not get twothe same banners. Each product is special. As well as the schemes differ, the finished products differ. The main criterion - a bracelet should like you. How to weave from satin ribbons? So, let's consider a separate master class on manufacturing bracelets from satin ribbons. For the future product, we need two fairly narrow ribbons (0.6 millimeters) of different colors about one meter in length. Tapes need to bend so that at the ends there are fifteen centimeters left, which will serve as a kind of clasp for the bracelet. More information on the production of baubles can be found from the photo to this master class. Tape should be placed one on one andsecure with pins. If you already have the skill of weaving, you can do without them. The upper band should be bent through the bottom, forming a kind of loop. Through this loop, you need to skip the bottom band. This procedure should be continued until the moment you get the bracelet of the desired length. This instruction can be the base. With its help, you can make any baubles. So, as you have already seen, having learned how to make a bracelet from ribbons, a bracelet easily suits anyone who wants to become familiar with the technique of weaving. In addition to the beauty of the product, the weaving itself will be a pleasant time for you. To quickly learn how to weave bracelets from ribbons, look through several photos and master classes, which detail how to make a baubles with your own hands. You will meet many master classes and instructions that will make the weaving of these ornaments a pleasant and easy process. Pay attention, on the photo the bracelet that you make can look quite different than in life.
Comments
Related posts:
 Free master class on weaving bracelets from beads with step-by-step photos.
 Weaving a beautiful basket of newspaper tubes, a master class for beginners with a step-by-step photo
 A beautiful tapestry of tapes can be made by yourself. A simple master class with a step-by-step photo.
 This master class with step-by-step photo and diagram will teach how to weave bracelets from beads.
 Master classes for the manufacture of beautiful crafts for the New Year 2016 with their own hands with photos and step by step instructions.