We will master the basic rules that will help to install the hood in the kitchen with your own hands, using step by step instructions
We install the hood in the kitchen with our own hands.the kitchen can do without many things and devices, but not without a ventilation system. Forced exhaust, installed above an electric or gas stove, very well cope with their work. Due to it, not only smells are removed, but there is a faster update of air in the house or apartment. "Stolovskie" smells without reliable ventilation very quickly go beyond the kitchen. However, an unpleasant odor is not the worst. If you often burn something in your kitchen, then you know that during these moments a lot of harmful substances are formed.  Studies of some scientists have shown that inthe average family consisting of 3-4 people, in the kitchen, along with the prepared dishes, about 9 kilograms of fats, liquid, smoke with elements of carcinogens are formed on the walls and surrounding objects. If you cook in these conditions without the presence of a ventilation system, these substances can settle on the airways. Cold weather further worsens the situation, because a rare hostess at this time opens the window in the kitchen. Having decided to equip the kitchen with a ventilation system, you will be faced with a choice: forced ventilation, natural ventilation or recirculation?
 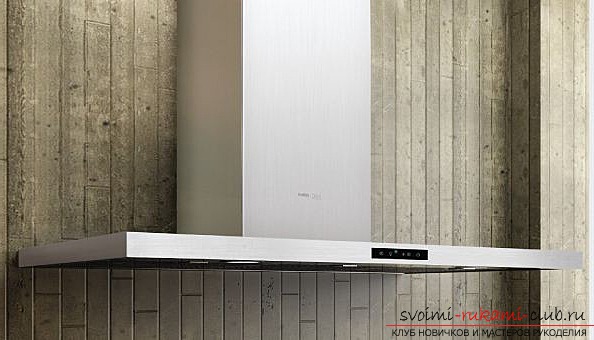 In the Soviet era, domestic multi-houses were universally equipped with natural ventilation systems. It is based on the process of displacing heated (ie, becoming more light) air masses, coming from outside with cold and heavier ones. This effect is easily achieved due to the presence of wide vertical ducts connecting the basements with attics. To these ventilation channels were joined the bathroom, toilet and kitchen of each apartment, which made it impossible to get foreign smells from neighbors. Modern residents of apartments do not care much about the correct attitude to their neighbors, therefore, in pursuit of permanent re-planning and repairs, they pay little attention to the risk of destruction or damage to ventilation ducts. Most of this affects tenants on the lower floors. In this case, only two solutions are possible for them: installation of a forced draft system or kitchen equipment with a special recirculation filter unit. The process of air mass recirculation consists in distilling them with the help of fans through a filter layer (a grid of metal or plastic and finely porous material), and then through a layer of activated carbon. Then the purified air returns to the room. As a means of air ozonization and its decontamination, such systems are additionally equipped with a quartz lamp. The average lifetime of a filter with activated carbon is about one year, the field of which should be changed, otherwise it will not purify, but, on the contrary, pollute the air.
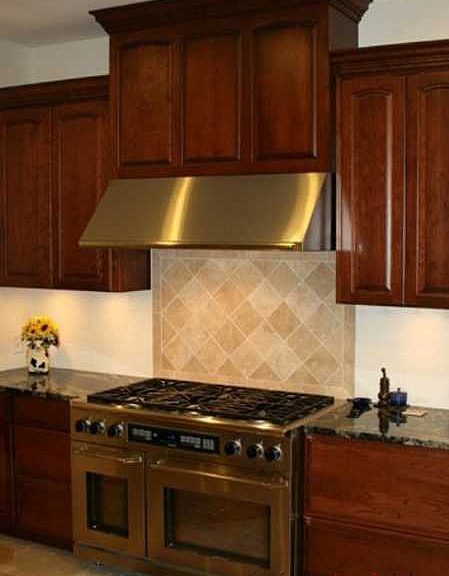
  Best for the kitchen will be when harmfulsubstances will be forcibly removed from it through the ventilation ducts. It is quite natural that the air masses removed from the kitchen should be replaced by something. Modern technologies for the production of metal-plastic windows provide them with a sufficiently reliable tightness, so they must be equipped with special windows. Before choosing a hood, you need to calculate its power, which should be more powerful the larger the room volume. The norm for air exchange is its tenfold replacement for an hour, or at least five times. In other words, fans with a capacity of 200-400 m3 / hr are ideal for a kitchen with a volume of 40 m3. Determine the main source of contaminated air masses is easy - it's an oven and an electric or gas stove. just above them are formed harmful substances, which then diverge through the kitchen and the rest of the rooms. To prevent this, an air intake hood is located on top of them. The area of the umbrella should completely cover the dimensions of the plate in order to maximally draw in the polluted streams. Modern hoods in width are no more than 60-90 centimeters. To calculate the height at which your hood will be located, you should take into account not only comfort and aesthetics, but also fire safety rules. When mounting the hood is less than 50-65 centimeters from the heat source, it is possible that the accumulated fat on the elements of the umbrella will catch fire.
  The air is driven bya fan powered by an electrical network, which is usually mounted inside the umbrella. Such ventilation devices are equipped with air speed controllers, a timer for setting the fan's operating time and lighting the plate. Another criterion that should be considered is the length of the ventilation duct. In excessively long boxes, a large resistance is created for the movement of air masses along them, which means that the fan power may not be enough. In such a situation, it is desirable to place a roof fan at the outlet of the box, or equip the system with an additional channel fan. To reduce the noise level created by the hood, it is necessary to connect the exhaust hood directly to the ventilation duct, and directly place the fan in a duct near the connection point with the hood. This option is very economical. The exhaust fan assembly consumes little power, but you should still make sure that the wiring and electrical protection withstand this device. If your own knowledge of electrical engineering is not enough, use the services of a professional electrician.
 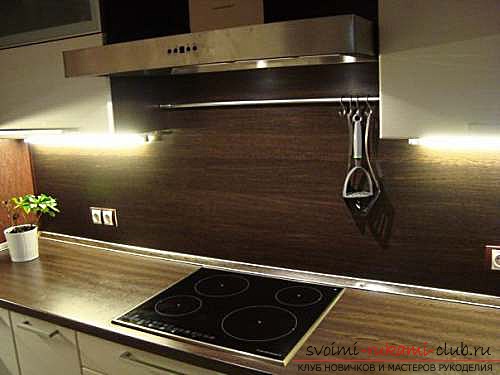 Stages of mounting the hood in a private house. The example below shows the installation of the hood above the hob located near the front wall. This allows you to mount the ventilation duct directly to the ceiling and attic, and through them to the roof. It would be possible to lay an air duct through the wall, but in this case the appearance of the facade would have deteriorated. In any case, the duct duct must be taken out of the house, but not to the attic. 1) Given the size of the plate, select the umbrella and the necessary section of the ventilation duct. Make markings on the wall in the place of future fixing. We remind you that the umbrella should not be located below 60-75 centimeters above the stove. 2) Using a carving saw, make a hole for the ventilation duct. To avoid clogging the plate, cover it with old newspapers in several layers and ask someone at the same time with sawing to immediately collect vacuuming flying dust. 3) Armed with a long drill 10 mm thick, in the center of the resulting hole, drill a hole in the roof, which will serve as a guide for the center of the duct on the roof. 4) The chimney outline is chalked out on the roof and with the help of a saw make a suitable hole in the roof and planking that is under it. 5) Place the fan in the hole on the roof and fix it, and on top fit the pipe. Attach the flange and slide the seal around the contour of the joint. 6) Connect the duct from the bottom to the fan connector, and power it from the mains by laying the cable through the ceiling to the kitchen. 7) Connect the hose connection to the flexible duct. Make sure that the connections are as strong as possible. Joints are recommended to wrap with foil. 8) Place the umbrella on the marked place and hang it on the brackets.
 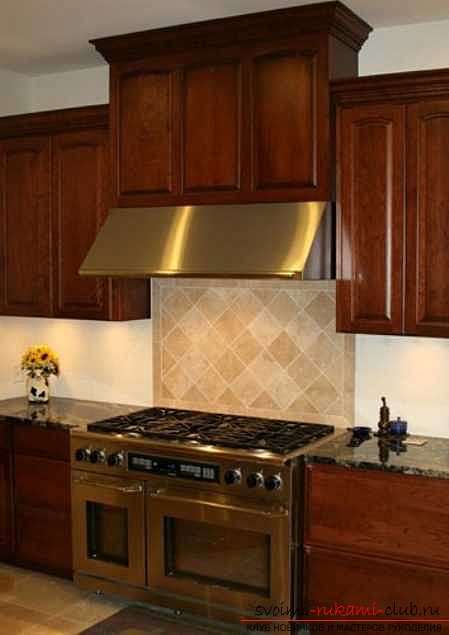 All! Your kitchen now will not have unpleasant odors and harmful substances.
Comments
Related posts:
 Create a pattern of a sports suit with an application for a child with your own hands, using a step-by-step instruction with a photo and description.
 Make a pattern of the carnival costume of Jack Sparrow with your own hands, using a step-by-step instruction with photo and description.
 Create a pattern of a bulldog suit yourself, using a step-by-step instruction with photo and description
 How to mesh a red cat with your own hands quickly and easily, using photos and step by step instructions.
 How to build a pattern of a long dress for a woman with your own hands, using step by step instructions with a photo and description.