Yin-yang bead wood in two colors master class (photo)
Content
- Required inventory
- Master-class on wood weaving Yin Yan from beads
- Video: Shamrock multi-colored trees Yin-Yan
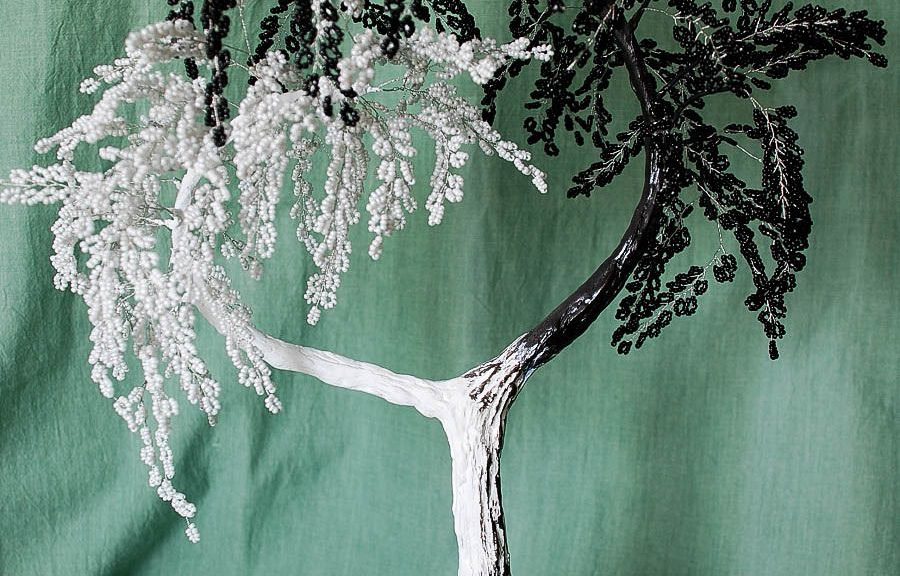
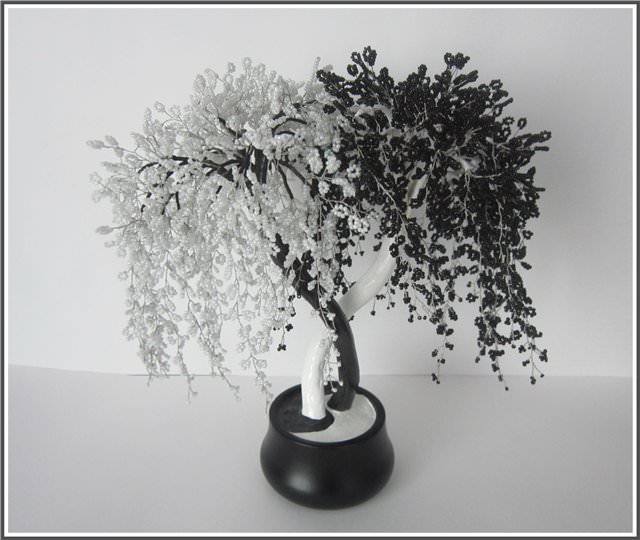
Two-colored tree Yin Yan from beads requires the masteress of assiduity and proper skill. A finished product can be safely "introduced" into the interior of a house or office or given to an expensive person.
Required inventory
- Beads (black, opaque) - 150 grams.
- Beads (white, opaque) - 150 grams.
- Wire (beaded) - three coils.
- Wire for the frame (copper or aluminum) - 1 meter.
- Mold for stand.
- Thread of a black mulberry.
- Thread of white mulina.
- Large white beads. - 20 grams.
- Large beads of black color. - 20 grams.
- PVA glue.
- Colors of white and black shades.
- gypsum.
- Brushes.
Master-class on wood weaving Yin Yan from beads
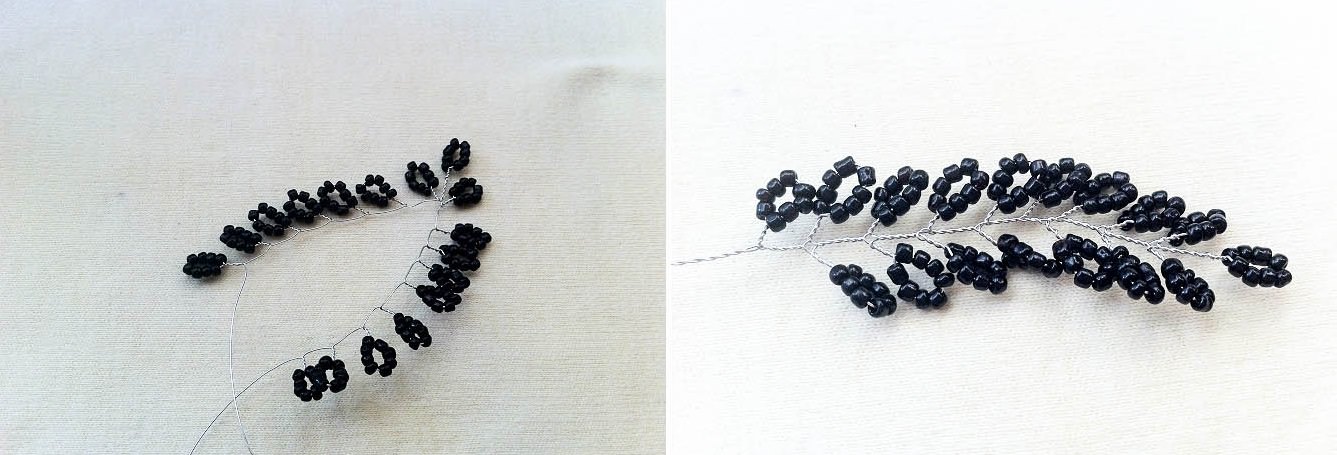
Manufacturing of twigs "Chinese" tree, photoWhich stimulates to action, is made with the help of the technique of loop weaving. How to correctly start the work and create an unusual and touching souvenir, our master class will tell:

Prepare the reels with beads. In order for the tree to look more effective, and its branches seemed airy, it is better to use a thin wire of silvery or any other neutral shade;
After you finish work on loops, you canTo take up the assembly of your workpiece for Yin Yan. In the photo, which is provided by our master class, it is clear that you need to start from the central element. Twist the wire, and after the last two loops, scroll it about three to four centimeters;
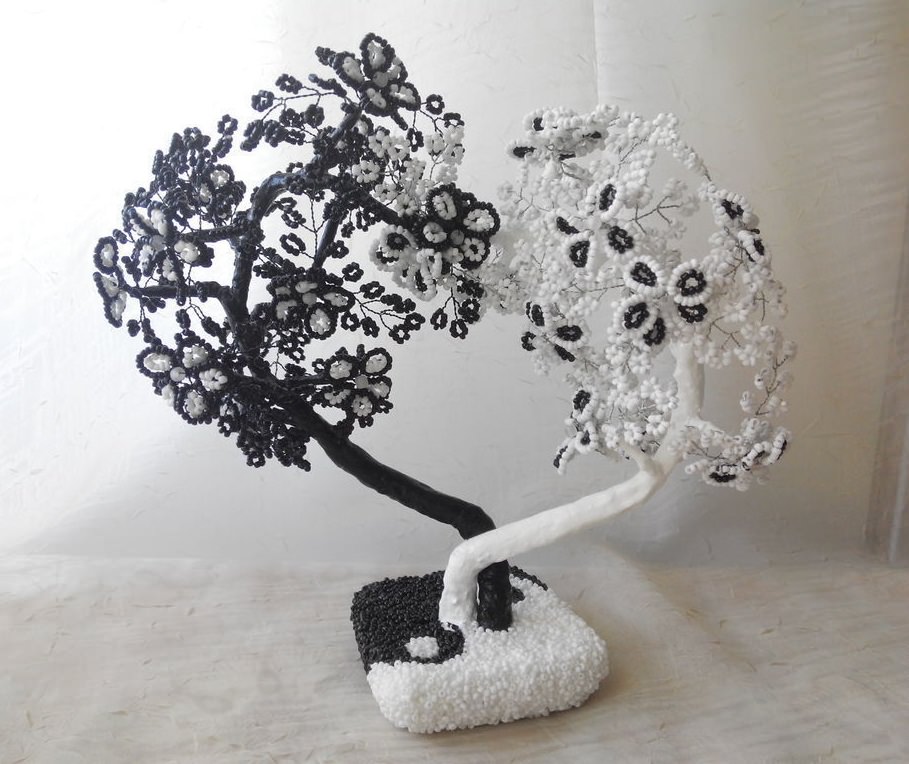
Making flowers If you want your tree Yin Yan to turn out more luxurious and elegant, then you can make it blossom. In the photo, such a product looks very advantageous.
Making the petals
In order to make cute leaves for your Yin Yan, you will need to make the following manipulations:
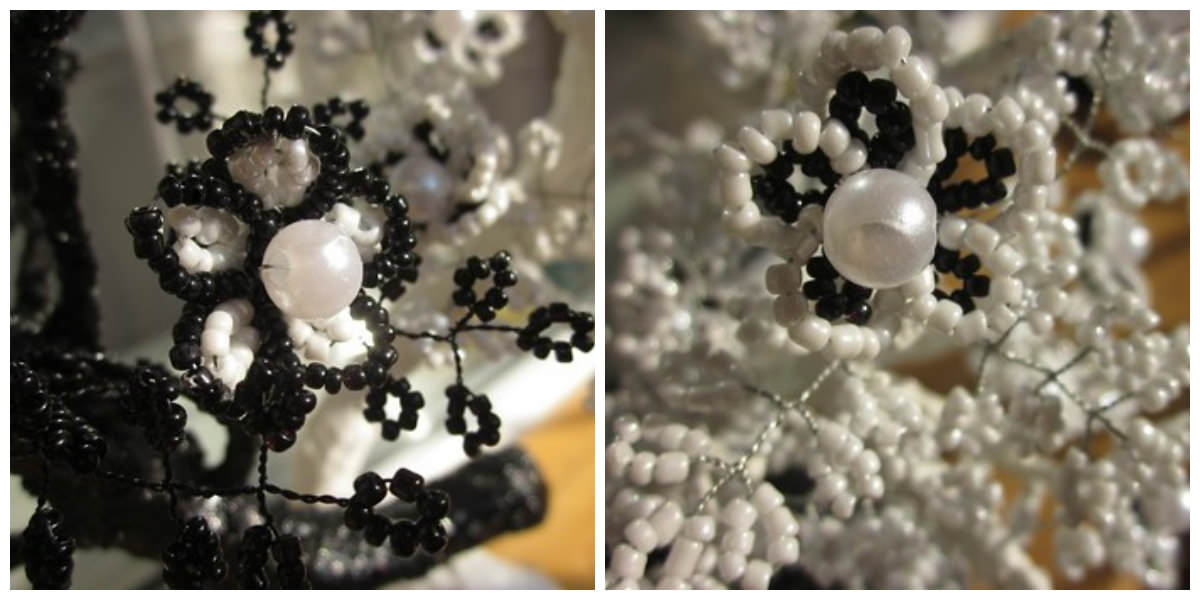
First, make a flower of black color. To do this, dial on the wire white (exactly white) beads number eight pieces and at the base twist the loop for two or three turns;
Making leaves
Assembling twigs 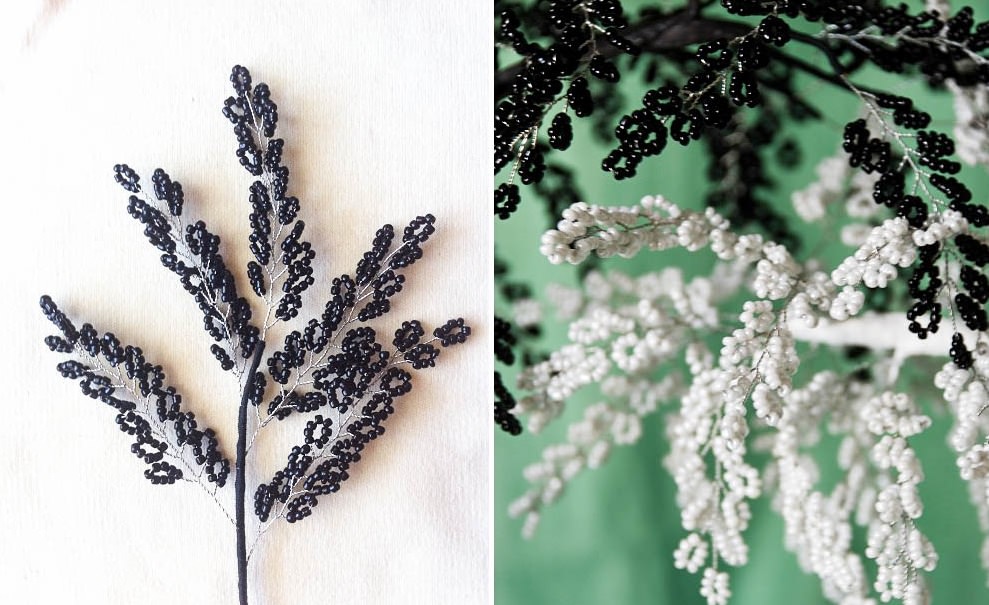
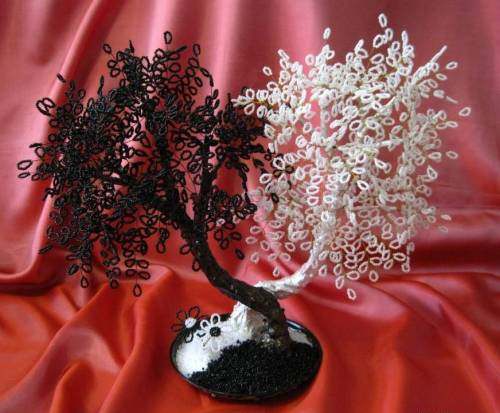
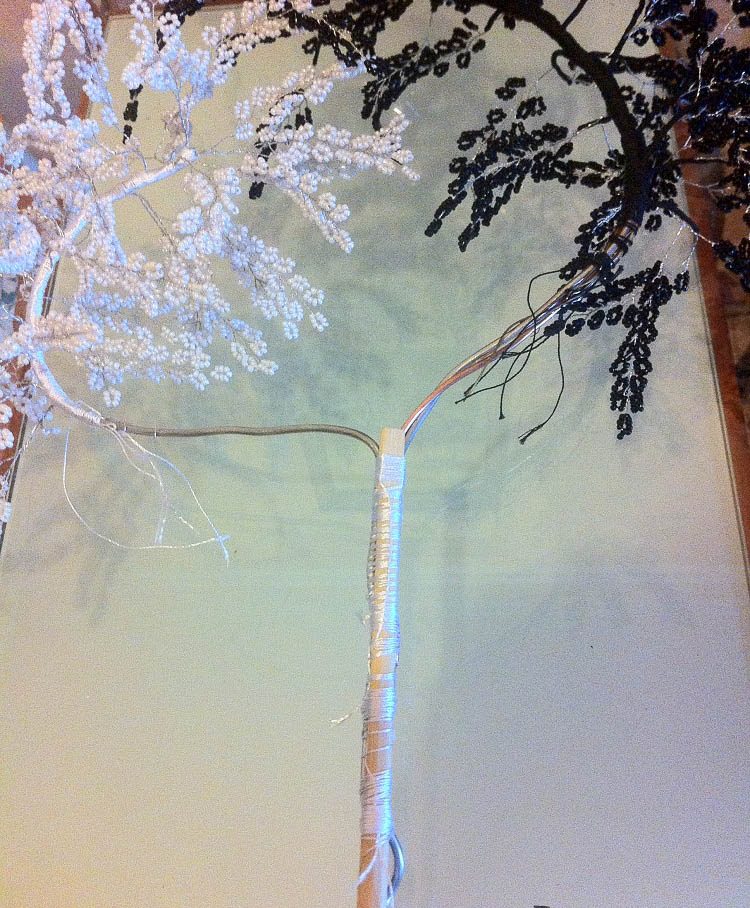
Tree Yin Yan assumes free flightFantasy of the artist. The classic option, which looks spectacularly on the photo, involves covering a lush black branch of a branch of white hue. Obi Yin branches are arranged in the form of a heart. How to fix the branches of a tree? Follow the tips that our master class offers:
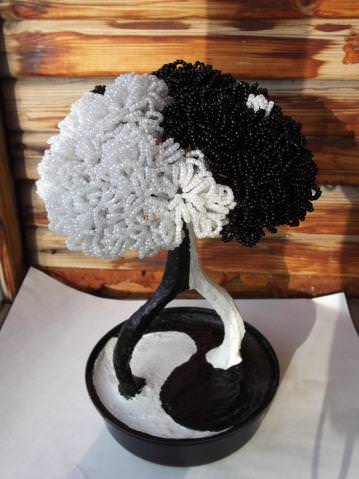
Assembling and planting the trunk Our master class will help you quickly assemble your Yin Yang tree. The photo shows that it is desirable to use copper wire segments. The product is assembled as follows:

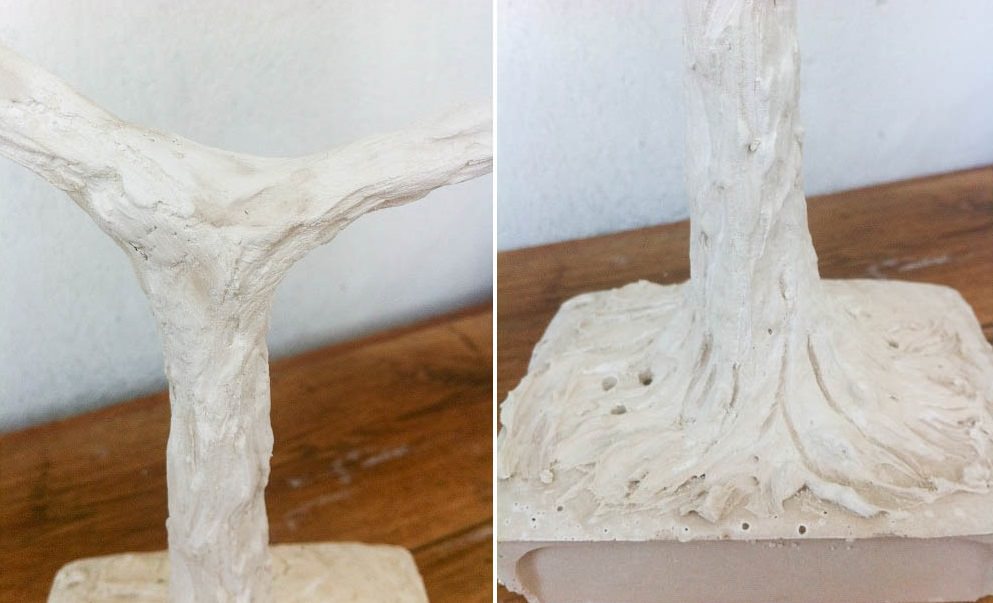
Decoration of the trunk In order that the tree Yin Yan in the photo and in the "real" looked no worse than the factory exhibit, its trunk must be "ennobled". How to do this, our master class will tell:

Painting 
And here came the most "creative" and interesting moment of the working process. To paint already almost finished product of Yin Yan you will also help our master class:
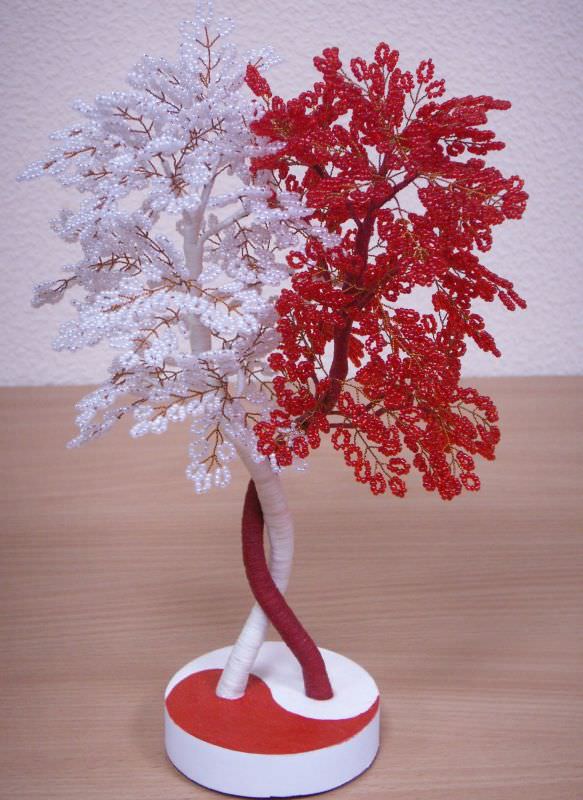
The finished tree can be put in the office or on the home desktop. Stylish and surprisingly beautiful, this product will always please you and your loved ones.
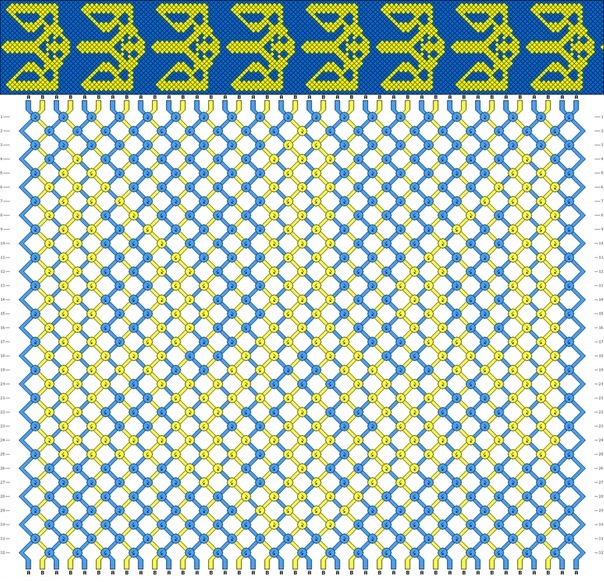
If you want your tree Yin Yan nothingDid not differ from those selling in boutiques and stores of cute souvenirs, then draw a picture of yin-yang on a plaster stand. Grease with glue first one halve and lay out the beads of black color. Then the same manipulations, only with the participation of white beads, do with the second part of the picture.
Video: Shamrock multi-colored trees Yin-Yan
Comments
Related posts:
 Sledkov two spokes seamless: knitting master class (photo)
 Booties on two spokes: step master class in the photo and video
 Herdan bead workshop creating unusual decorations (photo)
 Mimosa from beads master class creating gentle colors (photo and video)
 Flag of Ukraine Bead scheme and master class (photo)