With our own hands we make a bird made of cardboard and napkins, this simple and beautiful decoration can be a terrific gift for loved ones
If your child has free time,invite him to perform the fall bright and unusual crafts with his own hands. In this master class, we will describe how easy and simple the bird is made from cardboard and napkins with their own hands. Having executed a simple algorithm of actions, your child can independently make a colorful and funny bird, which will serve as an excellent decoration for the children's room. In addition, these birds can be made not just one, but several, and they can perfectly decorate your room or even the entire apartment. 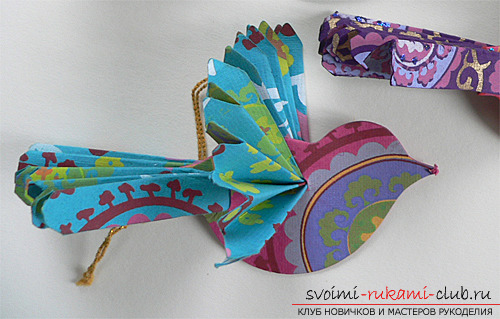 What we need for this wonderfulbirds? You will need cardboard, napkins with interesting patterns, scissors, colored paper and a punch. Also, you need glue for decoupage, which you can do yourself. For this, in a proportion of one to one, you need to mix water and PVA glue. We prepare for a fake unusual napkins, we will use them later.
  First of all we take the cardboard, on the back side of it we draw a bird. Bird can be of any size and shape, then you can dream up. Cut out the bird.
 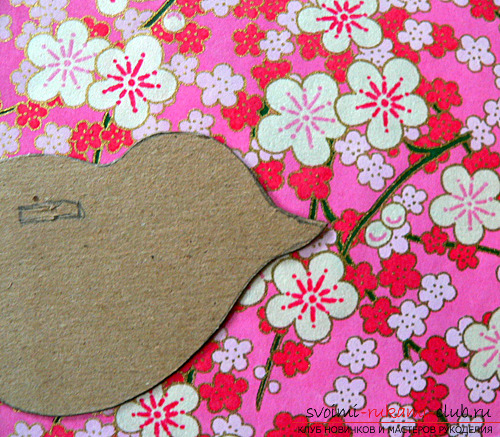 We put on the bird from the cardboard our homemadeglue, then we lay a napkin on it, carefully smooth out the folds, which can be formed and cut off the excess napkin remnants along the edges. Now our semi-finished handicraft for schoolchildren should dry up. After the cardboard bird has dried, turn it over and again apply glue, then lay the napkin, cut the edges and leave to dry.
  After waiting for the bird to dry, we cover the napkin with a layer of glue on one side, wait until it dries, and repeat the same thing with the other side.
  While our bird is drying, we will not waste timeand we will begin to make a tail and wings. We need two-sided colored paper or graph paper. To make wings we cut out a square, and for a tail - a rectangle.
  Then, the resulting pieces of paper fold fan and cut off the ends as well, as shown below in the picture.
  As a result, you have to get these zagotovochki.
  Each resulting piece is folded in half.
  Next, you need to carefully cut through small holes in the bird, through which we will stretch the tail and wings. For this we need a punch. If you do not have one, then for this business a stationery knife will do.
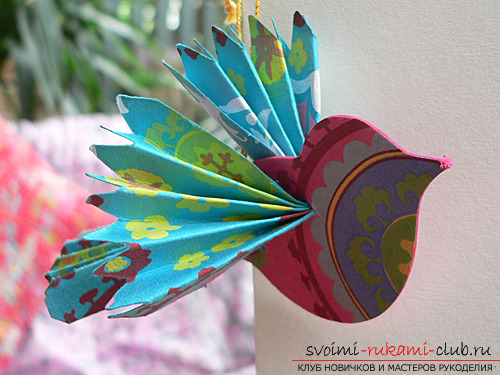
 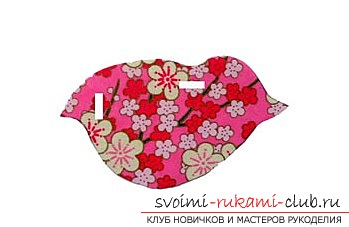 Now stretch the tail and wings through the holes made. Our bird for school children with their own hands is ready!
Comments
Related posts:
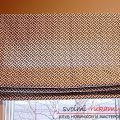 We sew simple but beautiful Roman curtains for the kitchen. Completely free of charge we make an excellent decoration by our own hands
 Master-class on making own hands the housekeeper in the technique of decoupage, which can become a practical New Year's gift.
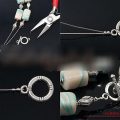 Create a beautiful decoration of polymer clay with your own hands - lesson
 We make a beautiful Christmas decoration of the snowflake with our own hands with the help of the "Quilling"
 A flower of napkins with your own hands - a lotus for the 2015 contest, hand-made napkin crafts