Creating decoupage on a plate with your own hands using a master class with a photo and detailed step by step instructions
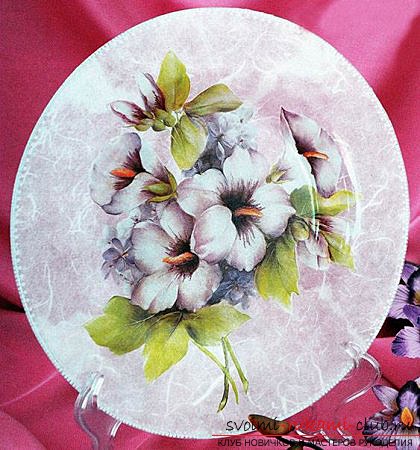
Reverse decoupage on a plate with your own hands Decoupage- this is a special kind of needlework, with which you can give kitchen utensils a second birth, and also update the interior of the kitchen. You can decorate everything with the help of decoupage: dishes, furniture, candles, bottles, etc. In this master class we will do decoupage on the back of the plate. For work we need: A plate of glass; Paper for decoupage; Rice card; Contour white for marking on glass and ceramics; Alcohol; PVA; A vessel with water; File; Decoupage varnish; A piece of cloth or a napkin; Artificial brush; Scissors. 1. Degrease the surface of the dish with alcohol. 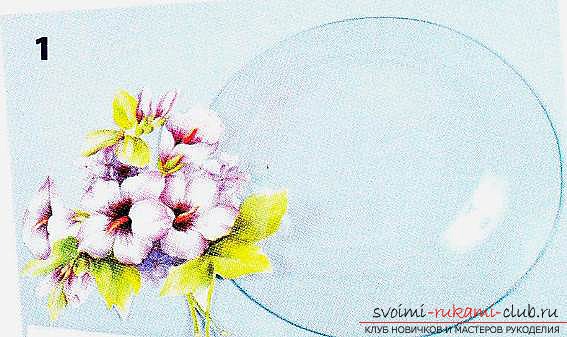 2. From the decoupage paper we cut out the pattern with scissors and lower it into the water for 20 - 30 seconds.
  3. We connect the adhesive PVA with water in a ratio of 1: 2 and this solution is applied to the plate.
 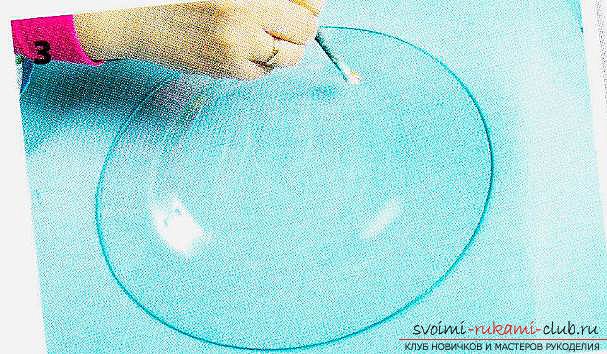 4. Get the pattern out of the water and put it on the file.
 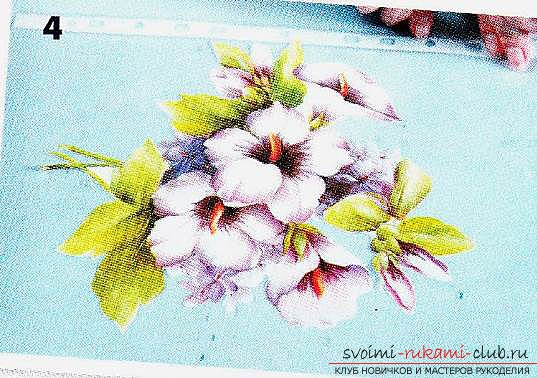 5. The file is turned upside down and applied to the plate.
 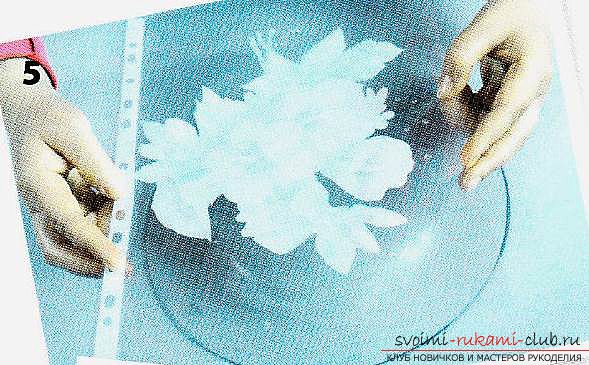 6. With a cloth, light movements, smooth and straighten the picture on the plate so that there is no air under the drawing.
 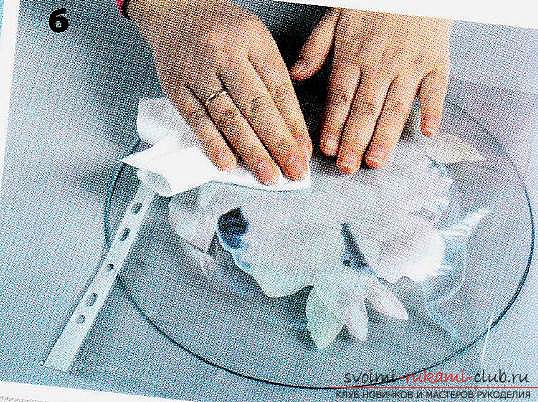 7. Remove the file and apply the varnish to the pattern. We remove the surplus varnish and wait for it to dry out.
 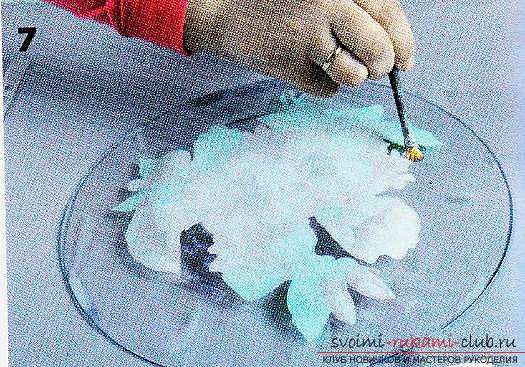 8. Apply a white contour along the edge of the plate and expect a complete drying.
 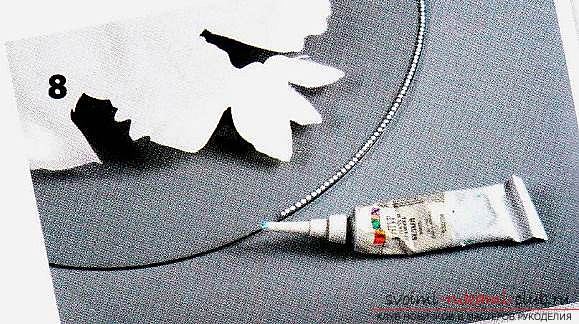 9. We take a brush and diluted glue PVA with water in a ratio of 1: 2 superimpose rice paper on the remaining uncovered parts of the plate. Remove excess paper with a scissors. Again, we expect when the PVA glue dries.
 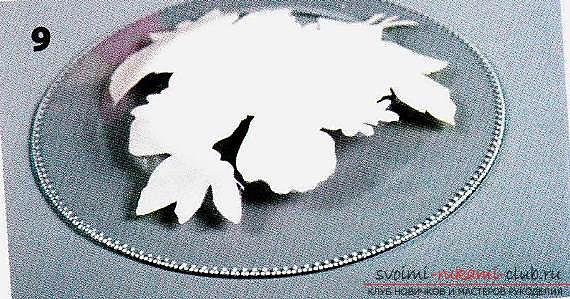 After that, we apply a varnish, at least 5 layers. Each individual layer must be completely dry. To the surface of the plate was smooth, it is necessary after applying the third layer of the varnish, to become a fine-grained emery. Good luck in creative work!
Comments
Related posts:
 Making flowers from plastic bottles with their own hands with detailed instructions and photo
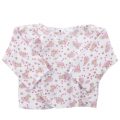 How to sew clothes for a newborn with their own hands? You will find the answers in our article with detailed instructions and photos
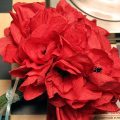 Making a bouquet of paper poppies with their own hands with step-by-step instruction and photo
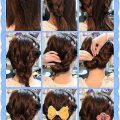 The most interesting hairstyles are their own hands on medium hair with step-by-step instructions and photos.
 Greeting cards with own hands, creating Christmas cards with children, two free master classes for making light cards with preschool children.