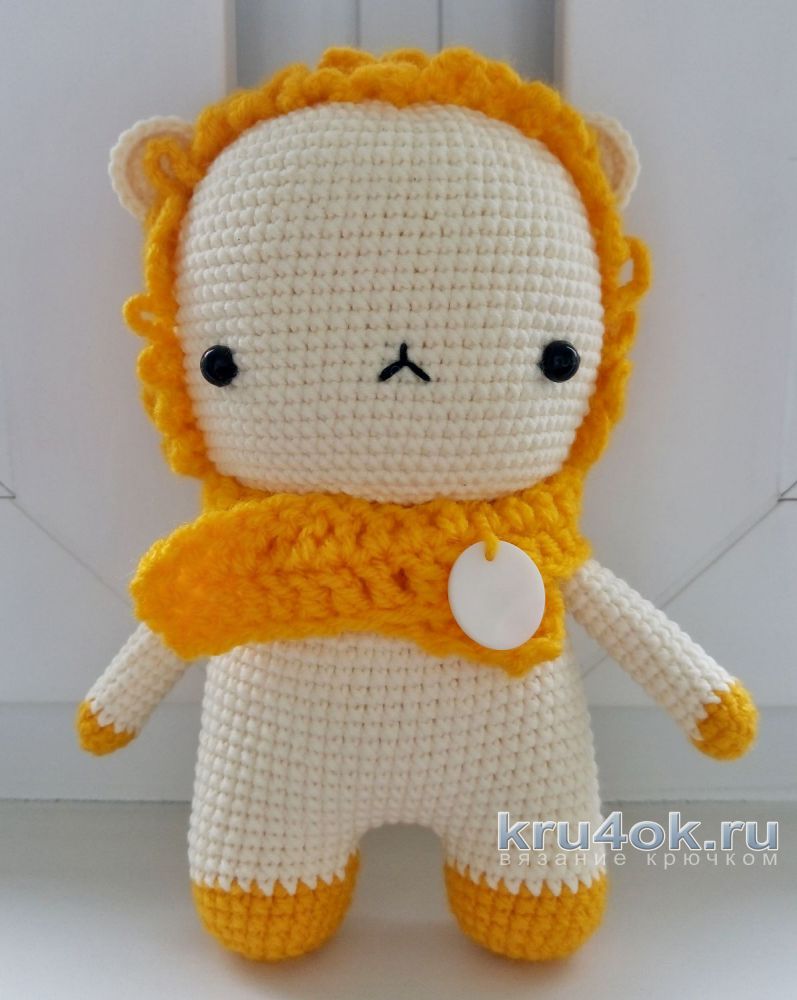
Crocheted toy Levushka. The work of Alexandra Jankowska
 The level of complexity of the master class is simple, i.e. Even a knitter can easily handle it. To associate a toy with this description, you need to know how to execute:
- adding / decreasing loops according to the rule of the circle
- ring amigurumi (or magic, sliding, magic ring)
- billets
- air loops
- decreases
- increases
- change of thread color
You will need the following tools:
When using the above materials and tools, your tail will be about 17-18 cm in height. Legend:
- sb - column without crochet
- Вп - air loop
- KA - amigurumi ring
- ub. - Decrease (tie two loops together, grasping their front walls)
- etc. - an increase (tie two posts without a crochet in place of one)
All parts are knitted in a spiral.
Toy crochet, description
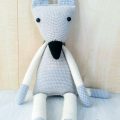
Begin knitting with LOWER LAC (LEG) (2 pcs). Use yarn of yellow color. 1. 6 sbn in KA = 6 sb 2. e. In each loop = 12 sb 3. [1 sb, 1 pr] x6 = 18 sb 4. [2 sb, 1 pr] x6 = 24 sb 5 - 7 (3 rows) = 24 сбн We change the thread to the dairy (main). 8-9 (2 rows) = 24 сбн On this knitting of a leg comes to an end; The thread must be cut, fastened and hidden. Tie the second leg in the same pattern, but do not cut the thread. Dial 5 bp and connect both legs in the following way: tie 24 sb along the perimeter of one leg, 5 sb on the bridge from the air loops, then 24 sb along the perimeter of the other leg and 5 more sb again along the bridge. In total, 58 sb on the perimeter of both legs are obtained. At the same time, try to leave the seam (the joint of the rows) behind or on the inside of the legs. This way you will get the tenth row that connects both legs. He is also the first series of the BODY. Continue to knit yarn dairy (main) yarn. 11 - 25 (15 rows) = 58 sbn 26. Cut 8 sbn = 50 sbn 27. 50 sb 28. Cut 8 sb = 42 sb 29. 42 sb 30. Cut 8 sb = 34 sb 31. 34 sb 32. Cut down the 8 sbn = 26 сбн 33. 26 сбн 34. [11 сбн, 1 уб.] x2 = 24 сбн This ends the knitting of the body. Cut the thread, fasten and hide. Now it's time to fill the "leg-body" detail with a filler. Let's go to the knitting of the HEAD. To do this, use yarn of the primary color. 1. 8 sbn in KA = 8 sb. 2. pr to each loop = 16 sb 3. [1 sb, 1 pr] x8 = 24 sb 4. [2 sb, 1 pr] x8 = 32 sb 5. [ 3 sb, 1 pr.] X8 = 40 sb 6. [4 sb, 1 pr] x8 = 48 sb 7. [5 sb, 1 pr] x8 = 56 sbn 8. [6 sb, 1 pr] x8 = 64 сбн 9. [7 сбн, 1 пр.] X8 = 72 сбн 10 - 30 (21 row) = 72 сбн 31. [7 сбн, 1 уб.] X8 = 64 сбн 32. [6 сбн, 1 уб. ] x8 = 56 сбн 33. [5 сбн, 1 уб.] x8 = 48 сбн 34. [4 сбн, 1 уб.] x8 = 40 сбн 35. [3 сбн, 1 уб.] x8 = 32 сбн 36. [ 2 sb, 1 ub.] X8 = 24 sb This ends the knitting of the head. Trim the thread, but do not forget to leave a long end for sewing the head to the body. Fill your head with filler. We will decorate the head with the GRIVO. To do this, attach a yellow thread to the loop on the head of your lap. Then, draw a chain of ten air loops. Pass the two hinges and attach a chain of air loops to the third hinge with the help of a connecting post. Result: you got the "arch". Again, draw a chain of ten air loops and make the next "arch". Such "arches" you need to cover the entire surface of the head of the lion, except the muzzle. Let's move on to the knitting of the UPPER LAP (2 pcs). Use yarn of yellow color. 1. 6 сбн in КА = 6 сбн 2. пр. In each loop = 12 сбн 3. 12 сбн Replace the thread with the milk (main). 4 - 20 (17 rows) = 12 сбн Sew the edges of the hand with the help of the sbn, cut the thread with a stock so that its length is enough to sew the hand to the body. Similarly, tie the second hand. Next in line is EARS (2 pcs). Use yarn of the primary color. 1. 6 sb in KA = 6 sb 2. pr in each loop = 12 sb 3. [1 sb, 1 pr] x6 = 18 sb Cut the thread with a stock for sewing the ears to the head. The final touch is SHARF. Take the No. 4 hook and yarn of yellow color. Type a chain of forty air loops. Spray the two rows of columns with a single crochet. Hide the ends of the threads. ASSEMBLY OF PARTS
Author of work Wait, download ...