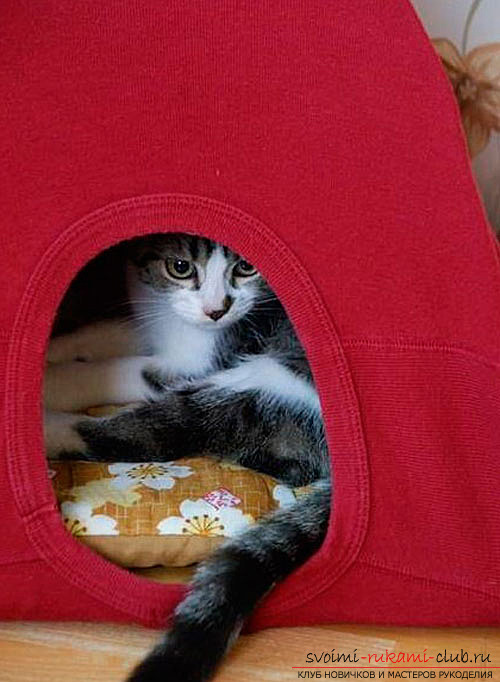
We learn how to make a house for a cat with our own hands by step-by-step instructions with a photo
Make a house for a cat with your own hands Catsare very arrogant and independent animals, who really need a "personal" space in the house. Pet stores offer a wide range of beds and cottages for cats, but it is much more pleasant and financially profitable to create a house for a cat with their own hands. 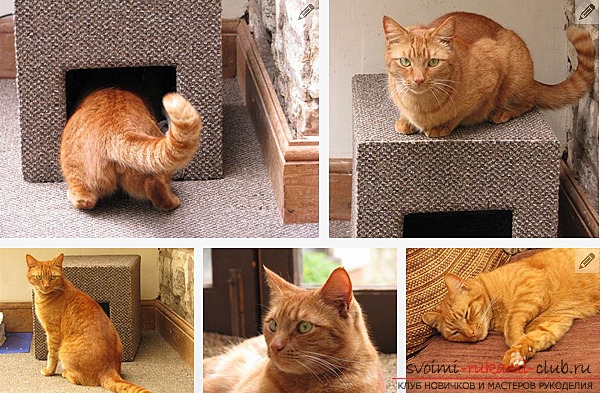 One of the most acceptable options will bemaking a small house from a cardboard box and an old carpet. Its undoubted advantage is that the cat will have both a housing and an object for honing its claws. So, let's begin. To do this you will need:
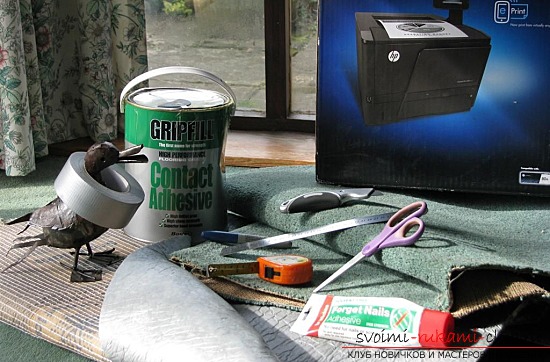
- dense cardboard box
- carpet
- a piece of waterproof material that will be used as a mat under the floor and roof
- hot glue
- universal sharp knife
- pencil
- ruler
- wide scotch.
 Take into account that the new carpet will bepartially to allocate a certain amount of chemicals. Therefore, if you intend to lay the newly purchased material, then you need to let him lie down for at least two weeks. For the cat's convenience, the entrance to the house needs to be made as spacious as possible, but at the same time not very wide, so that he feels comfort while in this hiding place. A box should be chosen in such a size that the pet can stand inside it in full growth and freely rotate. Step-by-step instruction: 1. Mark and cut the hole under the entrance to the one-piece wall of the cardboard box.
 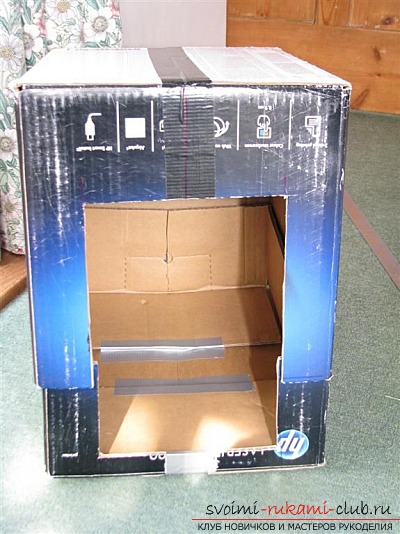 2. Connect the glue to the cardboard sashes that recline on the sides, so as not to interfere with your further work, opening.
 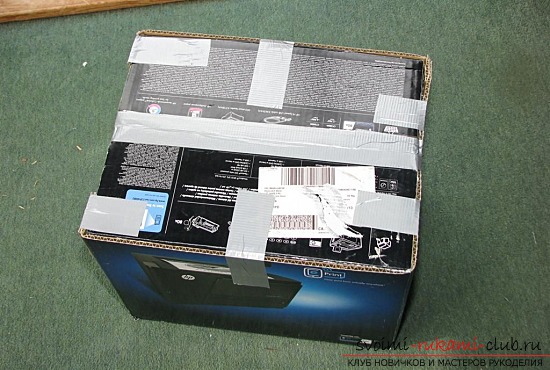 3. Now you need to make some effort. Cut out a piece of insulating material in the form of a rectangle. The width and length of it should be such that you can wrap the side walls and the bottom of the cardboard box. A piece of material in width should correspond to the dimensions of the box. We push the folded flap of material through the entrance door of the house, we unfold it inside the room, alternately cover the surface of the walls and floor with glue, fasten them.
 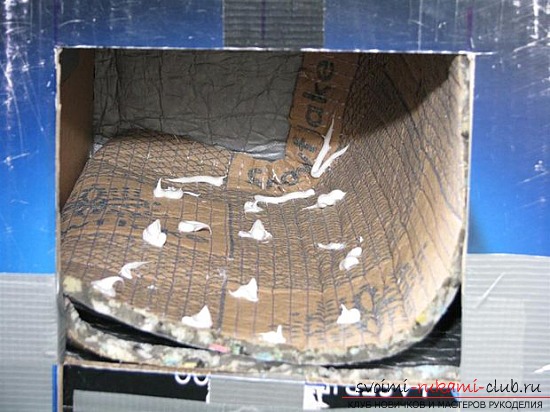 4. Cut out three pieces of a rectangular shape from the selected material. One of the pieces obtained is glued to the ceiling of our house inside, the other - to a blank wall, and the remaining one - to the floor, creating an increased insulation from the liquid. Then we glue the necessary places for the size of the pieces near the entrance and attach a tape of this material at the junction of the back wall and the floor covering of the house. Insulating material will prevent the floor in the house from unwanted traces of liquid, and also become a kind of thermal insulation inside the kitten's house.
 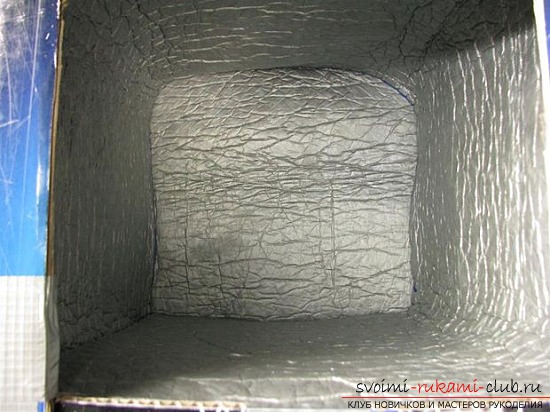 5. We attach to the outer walls of the house pieces of synthetic carpet or "resting" carpet.
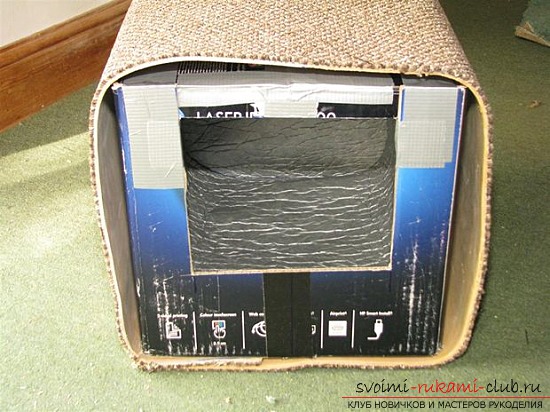
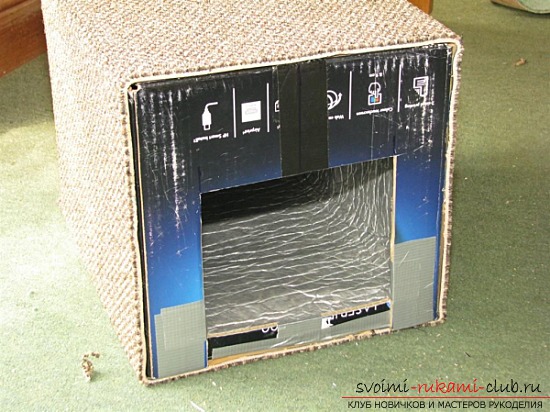 6. After gluing pieces of cloth to the front of the house, leave it for a while to dry, then with a sharp knife cut out the hole under the entrance, slightly receding from the intended edges. We cut the diagonals along the corners of the outlined contour, bend the top and both sides of the carpet into the house, fasten them firmly to the walls.
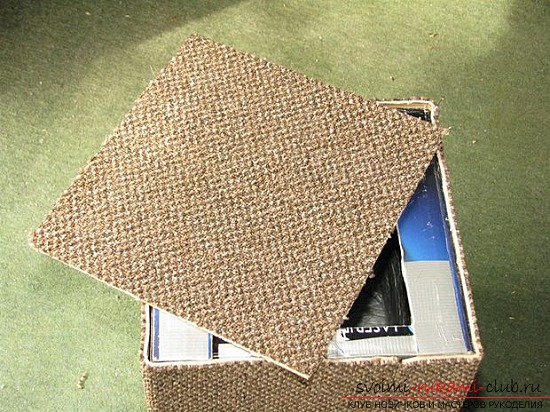
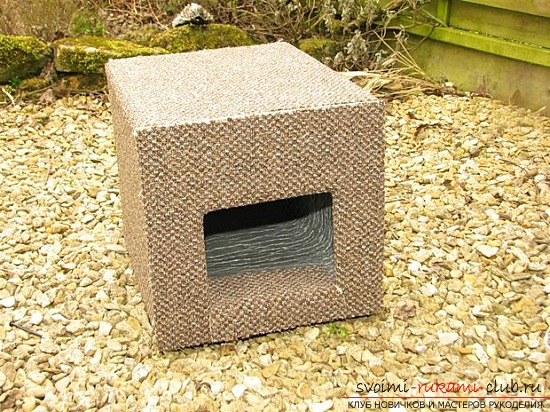
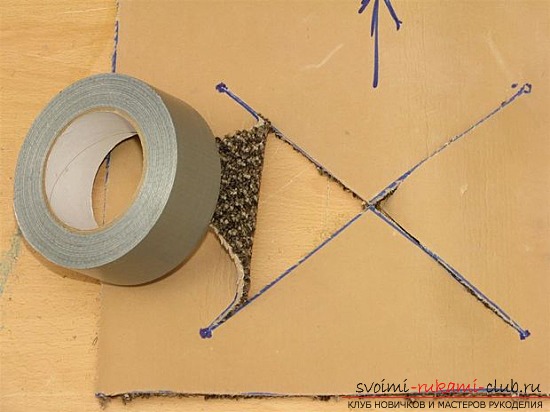 7. Cut the bottom strip with a knife. In order to close the threshold, cut off a sufficient width of a piece of carpet cloth, attach it with glue, as you can see in the photo: Leave the house to dry for a couple of days. Check that there is no residual glue inside which the cat can poison! Put in the middle of the house a warm soft cushion or bedding to ensure the cat maximum comfort.
  Another material from which it is beneficialmake a house for a cat with your own hands, can be plastic. If your cat is very active, you can build for her a two-story house with an internal connection. But for multi-storey buildings, cardboard will not be the best material. A more correct and convenient material will be plastic containers that have even walls and covers. Produced as follows: 1. After removing the lids from the containers, pasted from the inside of the carpet or insulating material. Leave a little of the area above at the edges of the container, so that then, once the glue dries, you can close the lids. 2. After that, we plan a plan for our future building-house. Each container can serve as a separate room, which can be connected to other premises of the house, cutting a passage in the side walls; or put in several floors, making a passage in the lid of the lower container and in the bottom of the top. 3. As soon as the plan has been formulated, we return the covers to their place, make the necessary passages, connect the "rooms" among themselves, firmly fasten them together with adhesive tape or glue. 4. Externally, you can process the house in one of the ways described above.
 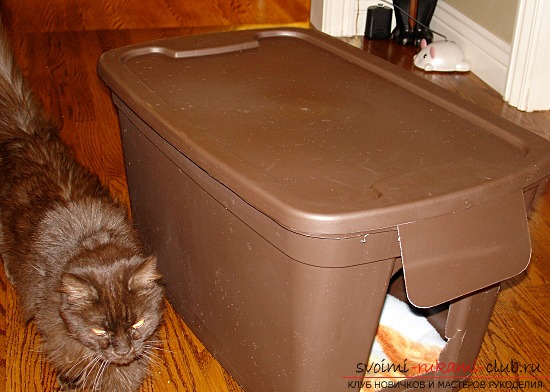 Note that the house, consisting oftwo or more rooms, you need to make a separate entrance. But these passages should not be made through - the room may lose its privacy. We advise you to cut one outlet on the side wall of one plastic container, and in the other, make a hole for the entrance to the front wall. Take care that your pet can freely pass into all the "doors" of his house, not being afraid to get injured or get stuck.