Amigurumi Ring

Amigurumi Ring

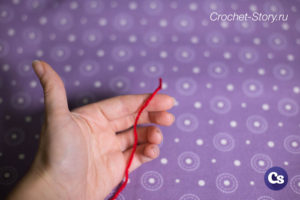
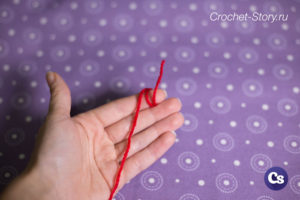
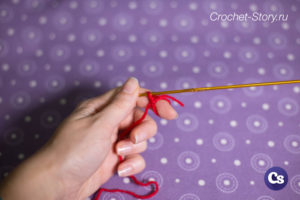
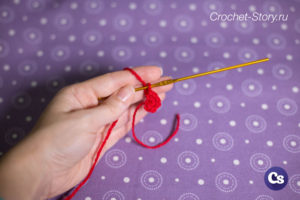
Amigurumi ring is an element used forstart knitting amigurumi toys and not only. Very useful and practical element, which is exactly worth it to understand all needlewomen. The amigurumi ring can still be called a puffy starting ring in a round knit. Its essence is that when performing the columns, it is very wide, but after knitting them we very simply tighten the threads and continue to work. Using the Amigurumi Ring You can start knitting with the Amigurumi ring in such works as: toys, hats, napkins. In general, all products in which you may need a very narrow initial opening. One caution, when knitting with the use of the amigurumi ring, to cut off the tail immediately after it is not recommended, otherwise the first row will be dismissed. We either leave the tail as it is, just hide it in the center of work, this is a toy, and therefore no one will see the tail inside, or fix it with a knot, hide another part with a needle, and only then cut the thread. Well, that's all the features of the initial ring, now proceed.

  • We take the thread in the hand, the tail hangs down Amigurumi Ring
  • We twist the thread on the finger in 2 turns We twist the thread on the finger in 2 turns
  • We put the hook under the thread wound on the finger from the tip of the finger to the palm. Some at this point are stripped off their finger. I prefer to first secure, and then remove We put the hook under the thread wound on the finger from the tip of the finger to the palm
  • Grab the working thread and stretch it under the wound threads. The result was a working loop Grab the working thread and stretch it under the wound threads
  • Version with single crochets. Making 1 air loop. Now you can remove from the finger Making 1 air loop
  • We knit the required number of columns with a hook in the center of the circle We knit the required number of columns with a hook in the center of the circle
  • Pulling the tip of the thread, which we still have to hang, we tighten the canvas. It turned out the first row with a very small hole in the center. Pulling the tip of the thread that we still have to hang
  • Version with single crochets. For knitting the initial circle with one double crochet, we make 2 air loopsFor knitting the initial circle with one double crochet, we make 2 air loops
  • Knitting the required number of columns in the center of the circle Knitting the required number of columns in the center of the circle
  • Tightening the ring pulling the thread. Note that if the thread is fleecy, it may not immediately give way and in order to tighten the ring, you must first pull up one part of the wound thread, and then pull the tail. Tightening the ring pulling the thread
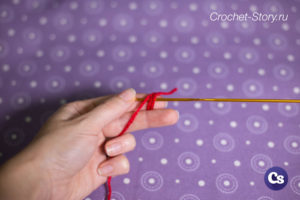
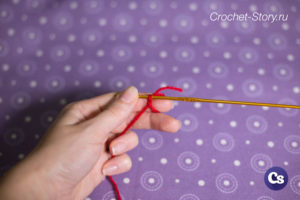
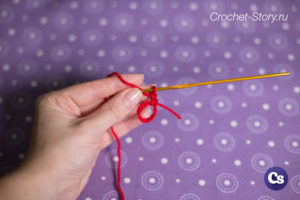
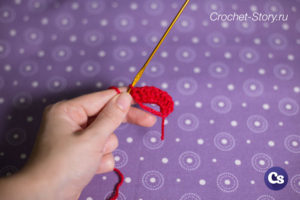
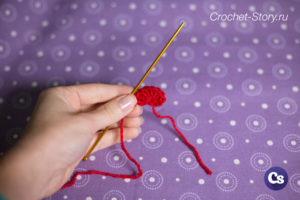
  • Depending on the yarn used, obtainedAmigurumi ring requires additional fixation or not. If the yarn is fleecy, then it is very unlikely to disperse. If the yarn is “slippery”, there is a possibility that the ring may become weaker and it is worth making a knot for fixing. And do not forget about the nuance with the tail, which is described at the beginning of the lesson. Amigurumi ring is very useful to you in order to carefully Thank you for your attention and light eyelets.

    Comments

    comments