How to make a unique three-dimensional picture of cardboard and paper with your own hands. Step-by-step description of the process of making an unusual picture
A hobby that can become quite exciting iscutting out pictures from paper. With some skill, you can achieve excellent results in the form of multi-layered pictures. To begin with, it is worth starting with simpler images to understand all the subtleties of this craft. And then, feeling confident, try to make more complex works.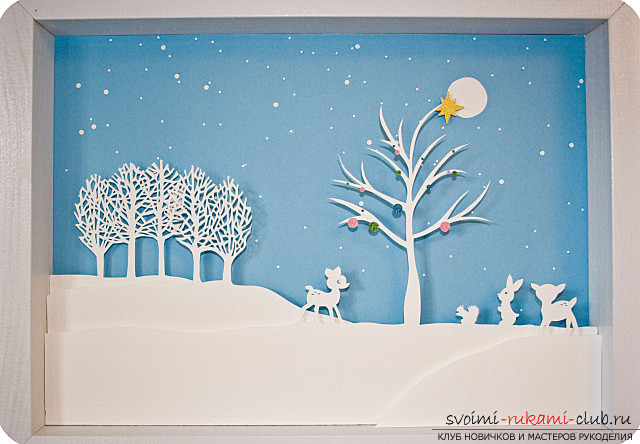 Let's consider where to start making your firstpicture, and how to move towards the desired result. The whole process will not take much time, and the material you need, anyone can find at home.
- Colored paper: blue, white and golden.
- The gloss is liquid.
- Styrofoam.
- Wire.
- Knife - stationery.
- Double sided tape.
- Glue.
 You need a frame on which to buildpicture. It needs to be painted white, it is better to use aerosol paint. It is worth considering that the picture will be located on the back side of the frame. While the frame is drying, start creating the background. It is necessary to cut out a rectangle from blue paper according to the internal size of the frame, which will become the background where the entire composition will be located.
 Draw trees on a sheet of paper, and for ease of cutting, carefully draw the spaces between the branches. This way, you won't get confused when cutting out a lot of details.
 Place another sheet of paper under the tree drawing and cut out the shaded elements. After that, you will only need to more finely trim the errors in the finished tree images.
 For more realism and volume, fold it overedges of the sheets. On tree trunks, make cuts, bend them and fix them with glue. All such actions are most conveniently done with an awl or a thin crochet hook.
 Glue the pieces of foam onto the first sheet, andthen, after spreading them with glue, glue the next sheet on top. In this way, the foam will create space between the two sheets of paper, creating a multi-layered image.
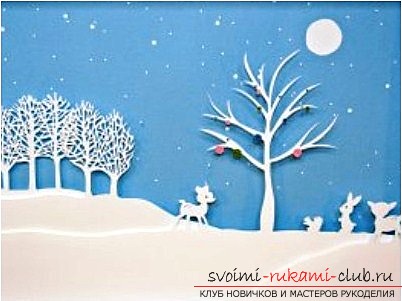
 Cut out round snowflakes of different sizes from colored paper. You can also make them using liquid glitter.
 Now add animals and the moon to the landscape by cutting them out of a white sheet of paper.
 Also cut out a star from yellow paper.

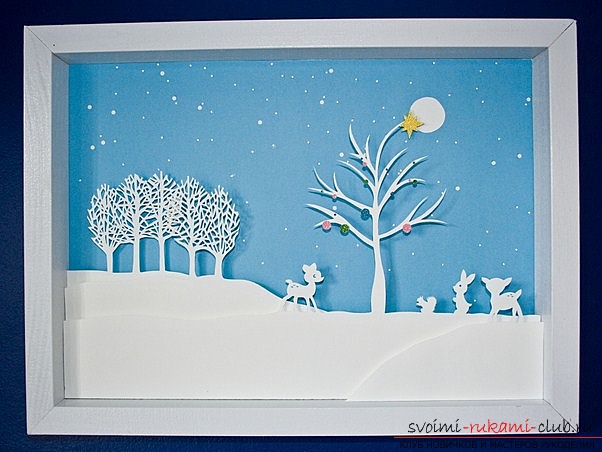
 The multi-plane paper picture is ready, all that's left is to frame it. Take the frame and insert a loop of wire into its upper part, with which the picture will be hung on the wall.
 You can also just glue a piece of nylonthreads that you can hang it on. After that, glue a few pieces of double-sided tape inside the frame, onto which carefully glue your masterpiece in the form of a painting.
 So, your first work is completely ready, and now with an understanding of all the nuances, you can continue to improve.
Comments
Related posts:
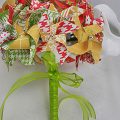
 How to make a unique oriental lily kanzashi with your own hands from a usual satin fabric. Description of the process of making an unusual flower
 How to make an original picture of plasticine. Step-by-step manufacturing of an unusual picture by one's own hands
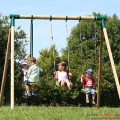 How to make a children's swing by yourself. Step-by-step description of the process of making children's swings
 How to make a boat out of paper or cardboard with your own hands
 An uncomplicated cardboard gift for a child. What to make of cardboard and paper with your own hands