
An interesting Master class on assembling six-sided motifs with a hook without breaking the thread
When working with motifs, there are two assembly options:connect the motifs immediately during knitting in the last row. Or first knit all the motifs, and then combine them into a single piece. The first option is suitable if you have a good idea of the finished product and the location of the motifs in it. The second option allows you to change the pattern and layout during the work. This is especially convenient if you have multi-colored motifs and need to choose their optimal color combination. But it is especially good because the number of "tails" is reduced to only two - at the beginning and at the end of the binding, which means the fabric will hold better and look neater. Suitable for both flat and circular products.
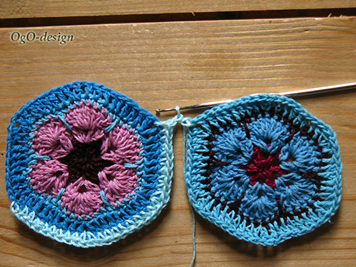
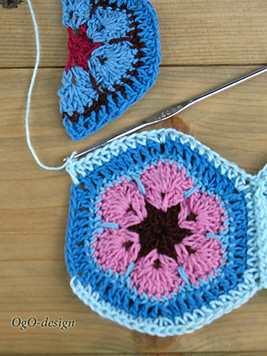
- Tie the motives, arrange them on a pattern, and you need to leave a small allowance for the width of the row of straps between the motives.
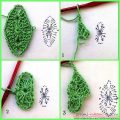
- Assembly begins with the bottom row. Take the bottom left bottom motif. We tie it from three sides. Important! The left side of all the extreme motifs on the left remains unbonded and tied at the very end of the knitting, when all the cloth is already assembled.

- We take the following motive. We begin to tie it with columns with a crochet, simultaneously connecting it with the first motive.
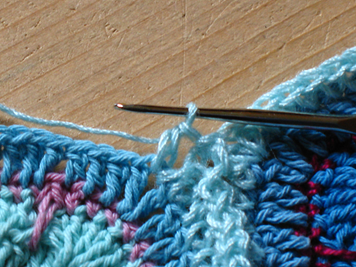
 To make the edge thin and neat enoughconnect the motifs only by the upper loop (as in the photo). To make the motifs hold more firmly and stretch less under heavy weight, for example in a coat, it is worth knitting by both upper loops.
- Having reached the end of the first bound side, we make an air loop and conduct it into the corner loops of the previous motive to form an angle.
- We bind three more sides of the second motive (totalthe hexagonal motif in the first row has four strapped sides) and we attach a new motif. For all motifs up to the end of the row, the two upper sides remain unbound.
- We reach the end of the series, we tie the right side of the canvas and now we tie the upper row at once for all the motives, moving from the right side of the canvas to the left.
 In this case, I knitted a vest with even fronts and I have halves of motifs on the edge.
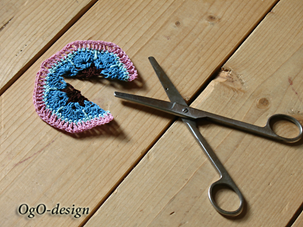 Just kidding, just knit half motifs)
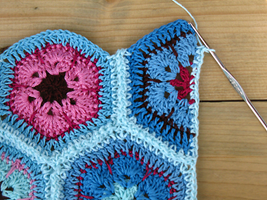
- We take the first motif of the second row.
 We tie it on both sides, simultaneously connecting it to the first row.
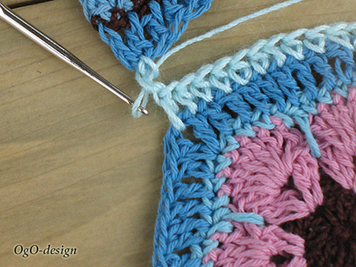
- We continue to add new motives, acting according to the above scheme.
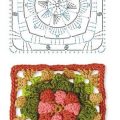
 Once you have collected all the motifs into a single canvas,then you will have its left side left untied, which you knit in the last row. For circular items (skirts, dresses) you need to simultaneously connect the left and right sides of the item. African Flower motif pattern
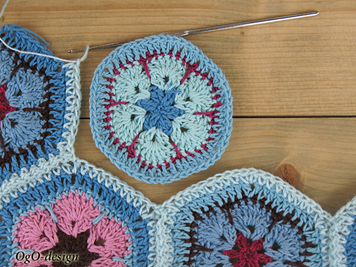
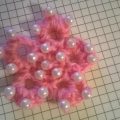
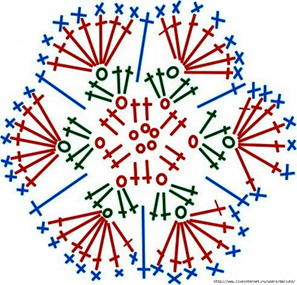 Well, here's a photo of the final result.All the master's works can be seen at the Fair
Comments
Related posts:
 This master class crochet with a detailed description will teach you how to knit crochet flowers
 Schemes and description of crochet square motifs
 This master class on crochet will teach you how to create a beautiful frame for your photos.
 How to tie a summer plaid from the crochet motifs for children, a scheme and a description of the work, photos of finished products
 Interesting author's master class on felting hedgehog with photo and step by step instruction