
How to make a cute needle bed from felt "Sweet pride" with your own hands? Detailed instructions, necessary materials and tools and photo process
Each needlewoman tries to keep all hertools in perfect order, allocate for them a special place, and necessarily puts everything to the last detail on certain boxes, sachets, boxes and jars. Particular attention is usually given to needles and sewing pins, since they are the smallest and least secure parts. It is best to keep them stuck, sharp end in something soft, for example, in a special bed, which is quite easy to manufacture independently in a variety of ways. How to sew a needle bed from felt in the form of a sweet appetizing cake will tell this master class. So, the needle bed of felt with his own hands "Sweet cake".
Materials and tools
For work we need:
- sheet felt of pink, crimson, white and green hue;
- sintepon or any other suitable excipient;
- sewing needle;
- threads "mulina";
- a sheet of paper in a box;
- A simple pencil;
- line;
- scissors.
Description of work
1.Let's start with the fact that on a standard notebook paper in a box with a simple pencil and ruler, we will sketch the top and bottom of the cake in the form of a triangle. Since both parts will be exactly the same, it's enough to draw only one triangle. It must be sharp with equal sides. Next, cut the drawn triangle on the contour and using the resulting pattern, we cut out two necessary details from the pink felt. 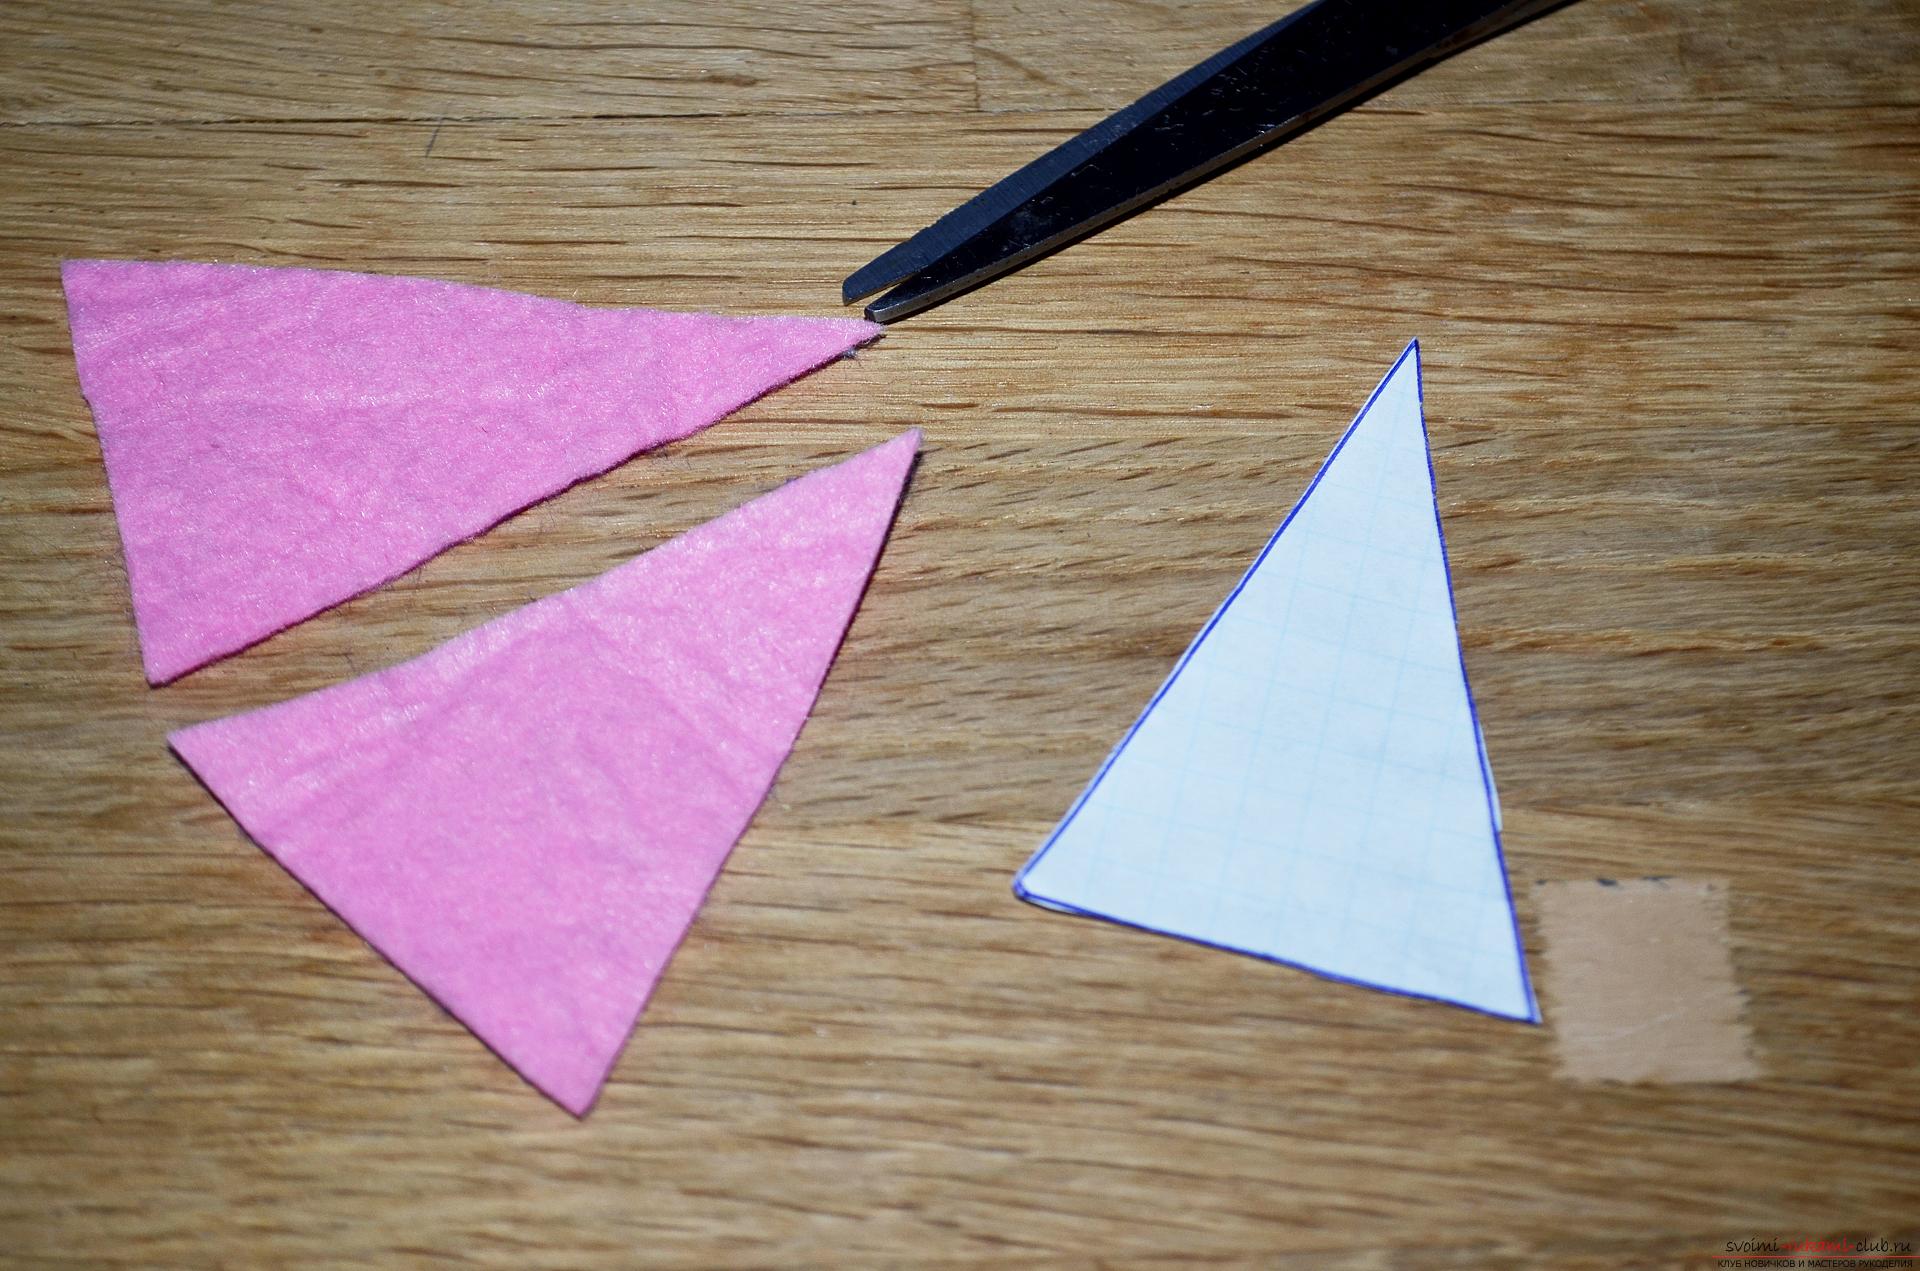 2.Then take the crimson felt and cut out of it a strip 2.5-3 cm wide and long equal to the length of all three sides of the previously made triangles. Fold such a strip in half in width and stitched from the wrong side with a suture seam.
 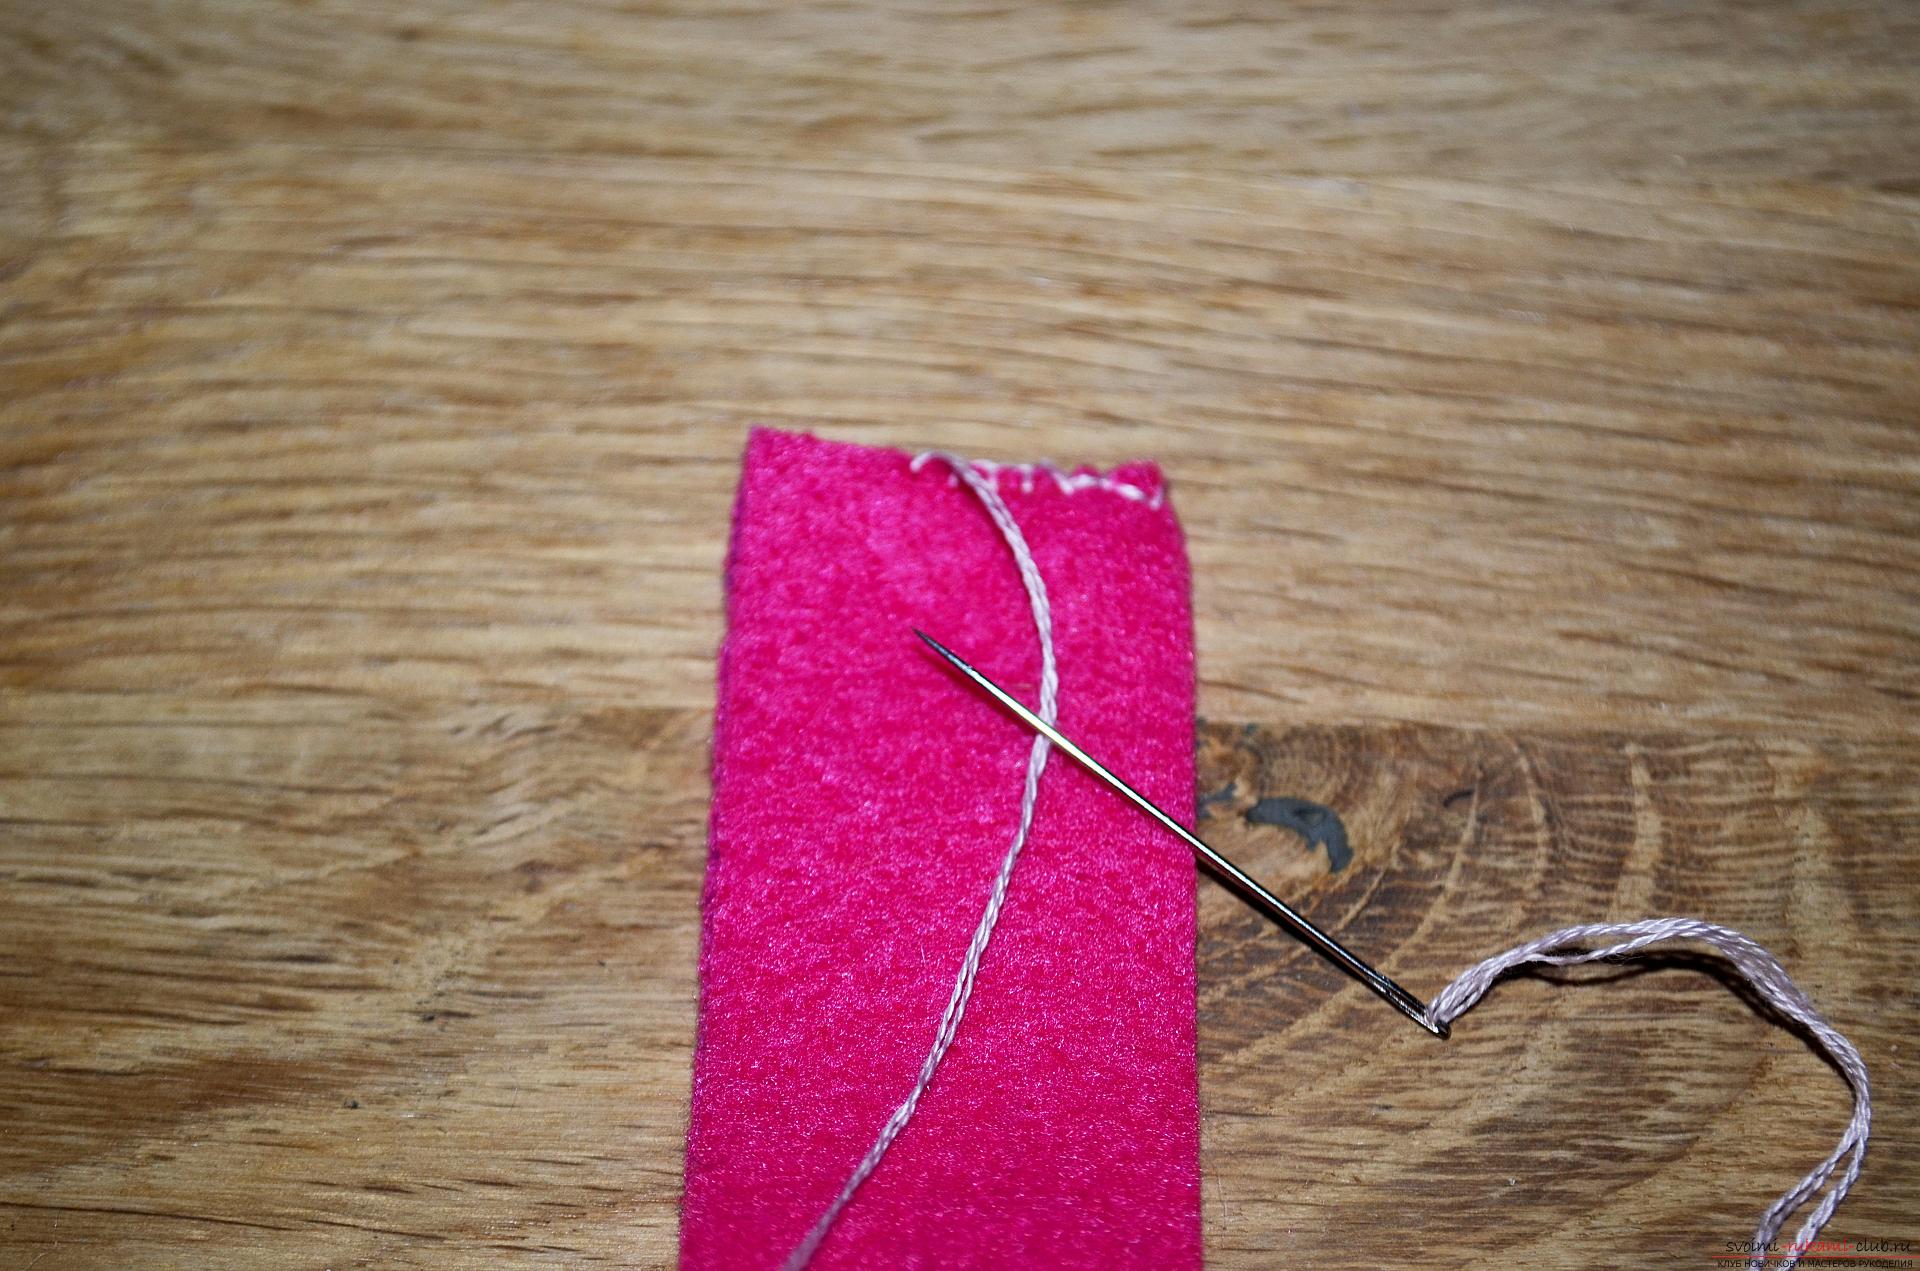 3.Now proceed to assemble our cake, first take the first triangle and apply to one of its sides, a previously stitched strip of crimson felt. So that the lower corner of the triangle and the inner seam of the strip coincide. After that, armed with a needle and threads of a mulina of pale pink shade, sew the edge of the strip and one of the sides of the triangular part together, using small stitches of the suture seam.
 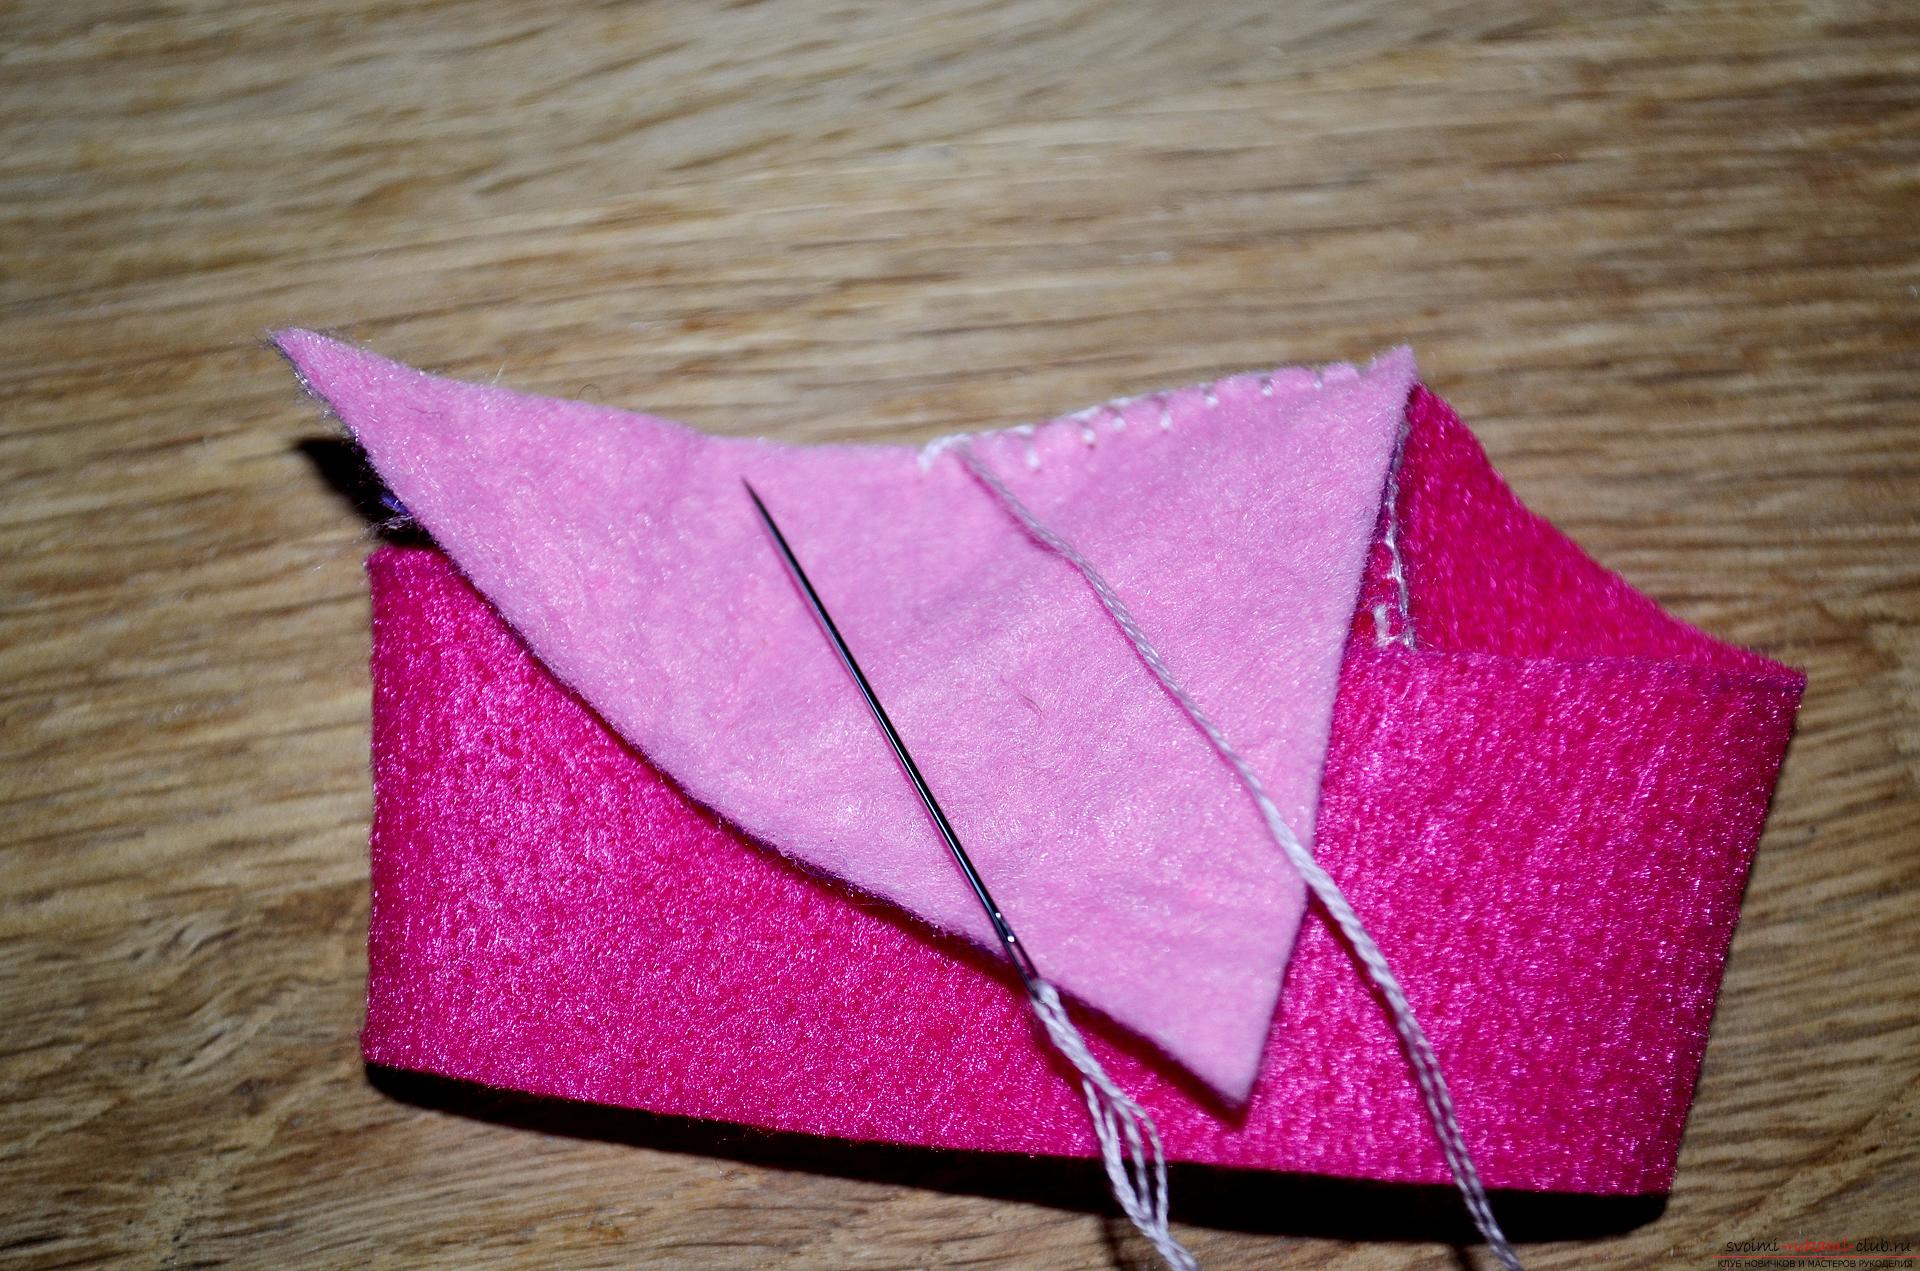 4.On the same principle, we sew the other sides of the triangle with a strip, resulting in the bottom of the cake.
 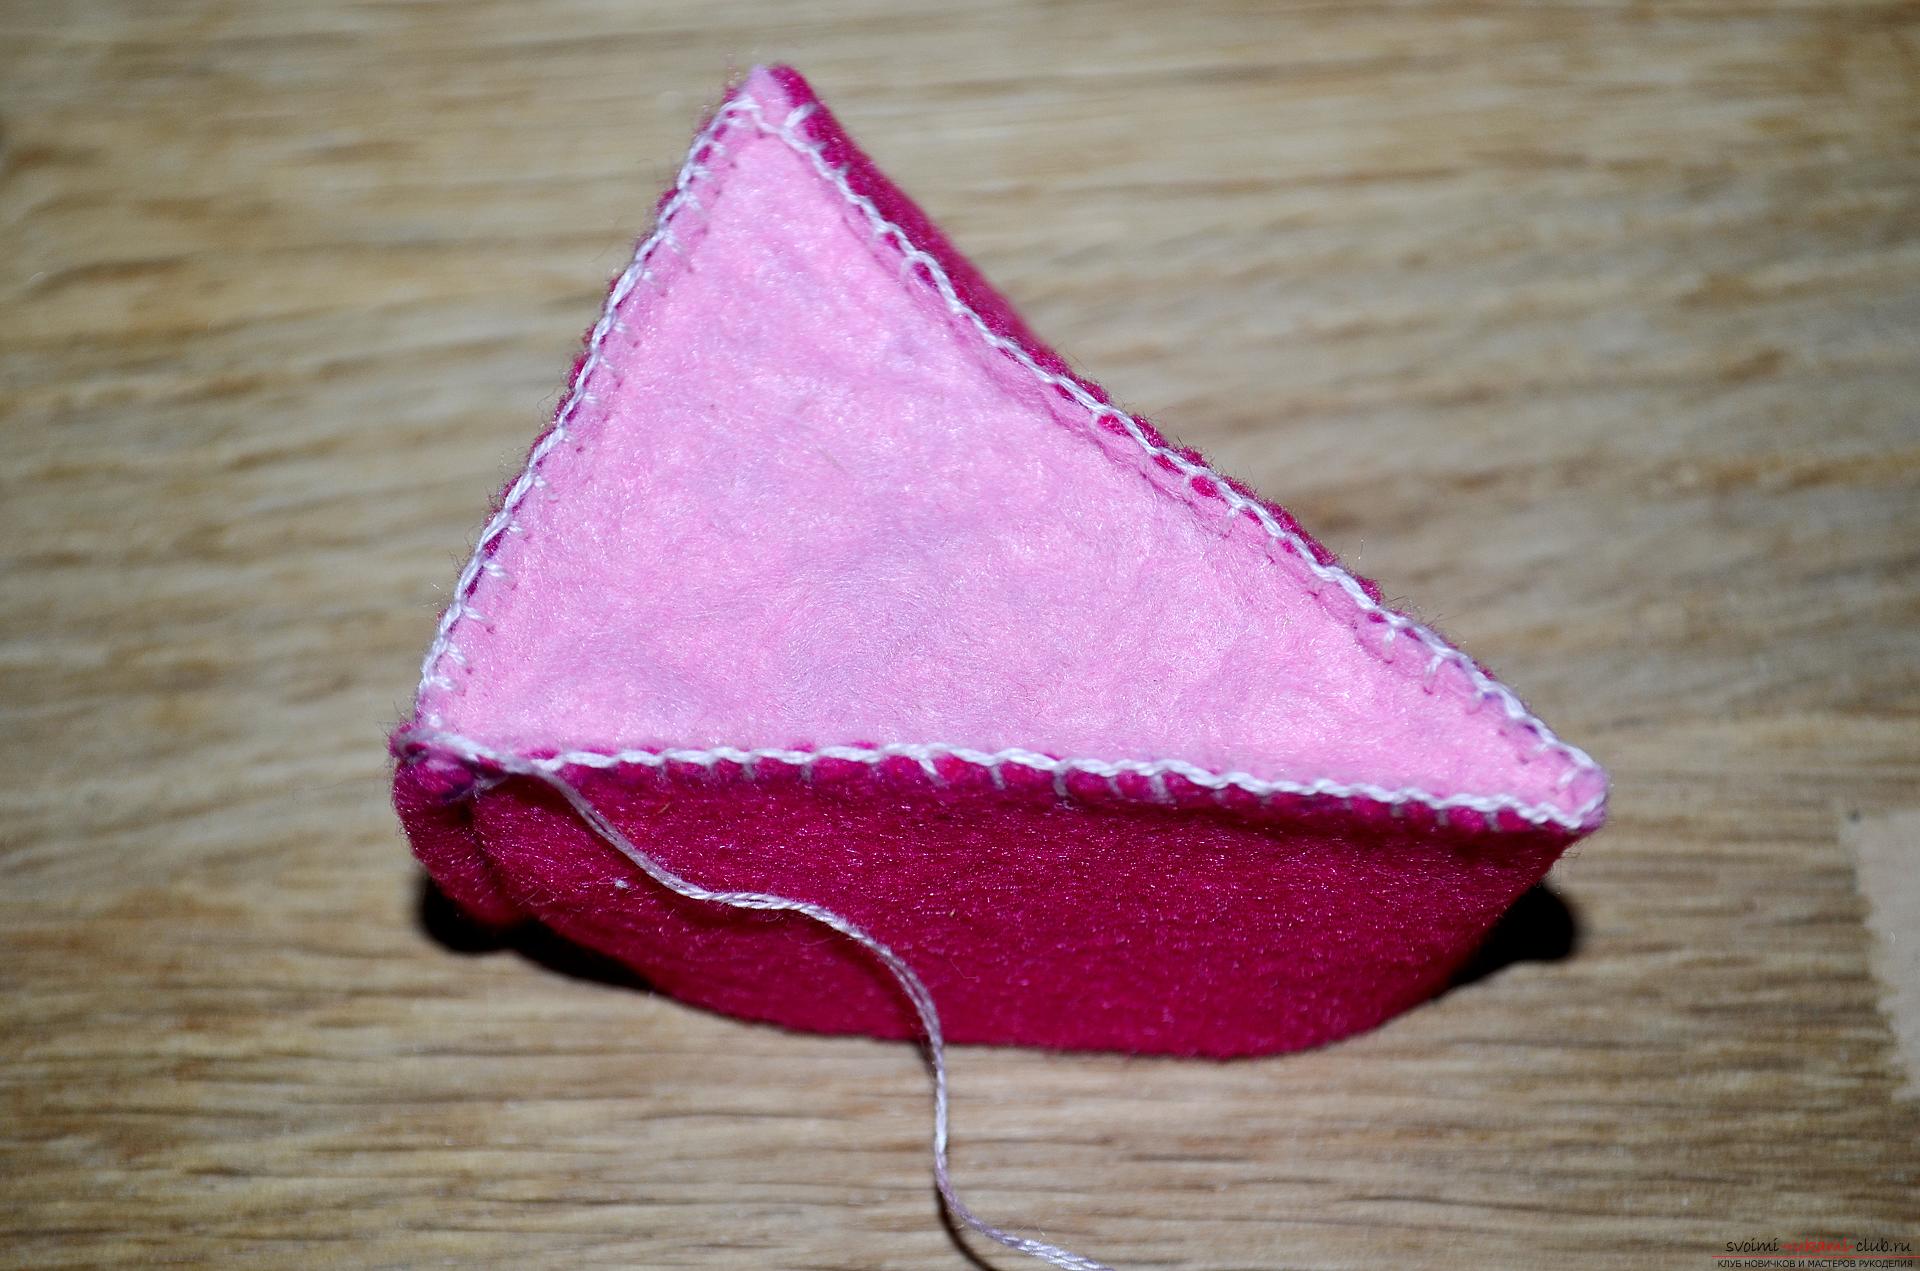 5.Before sewing the upper part of the needle bed, we cut out of white felt, a strip long equal to three sides of the triangle, and a width of about 1 cm and folding it several times cut out on one side along the edge in the form of waves. Then we apply the resulting part along the entire length of the crimson strip, connect it all to one side of the second triangular part and sew, using also the pale pink threads of the mulina with a suture seam.
 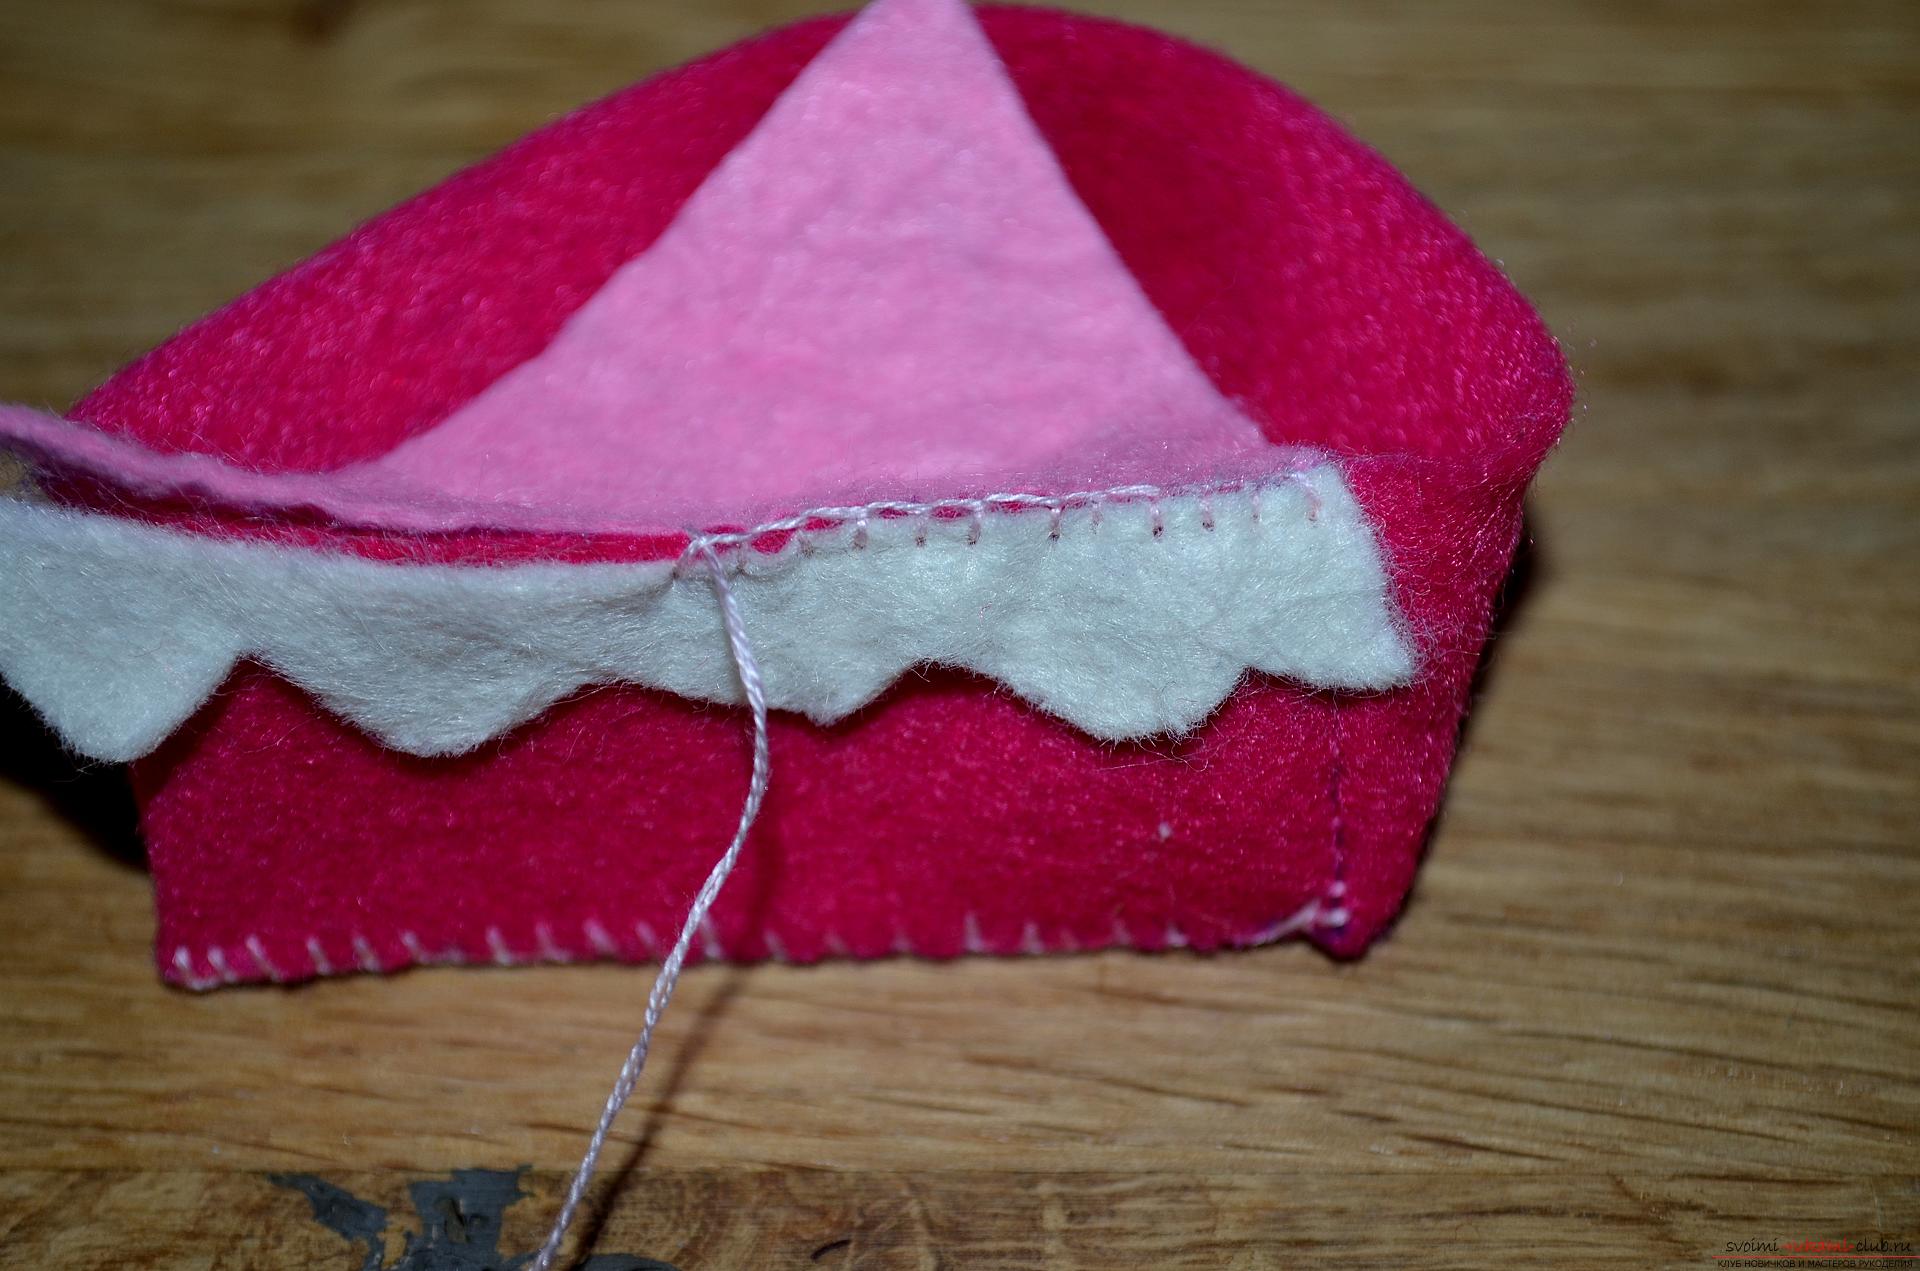 6.Before sewing the last side of the needle bed, we fill it with sintepon, we try to distribute filler inside as evenly as possible so that our cake has the right shape. Then sew the remaining hole.
 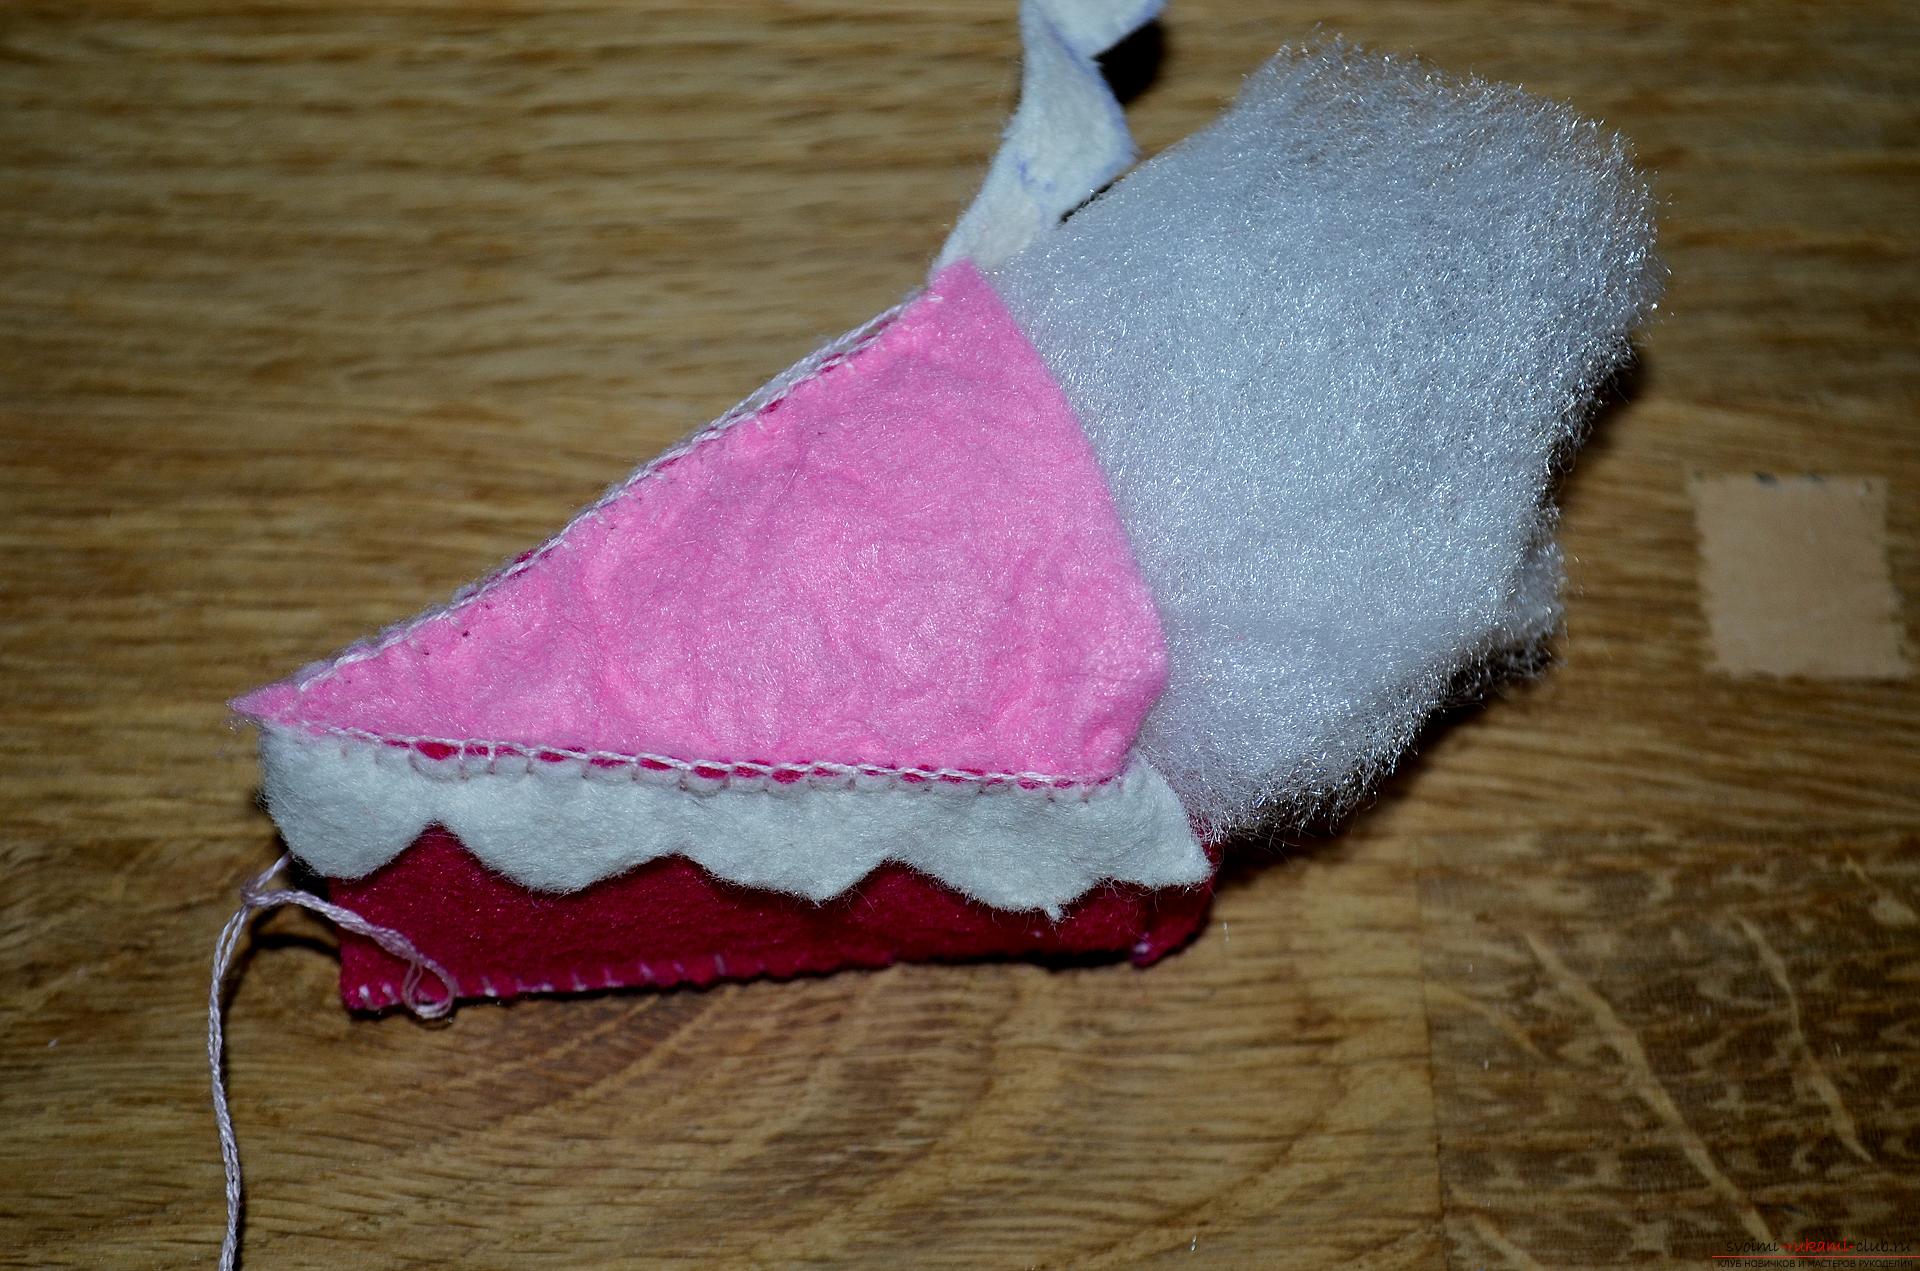 7. Here is an appetizing cake-needle bed made of felt from us.
 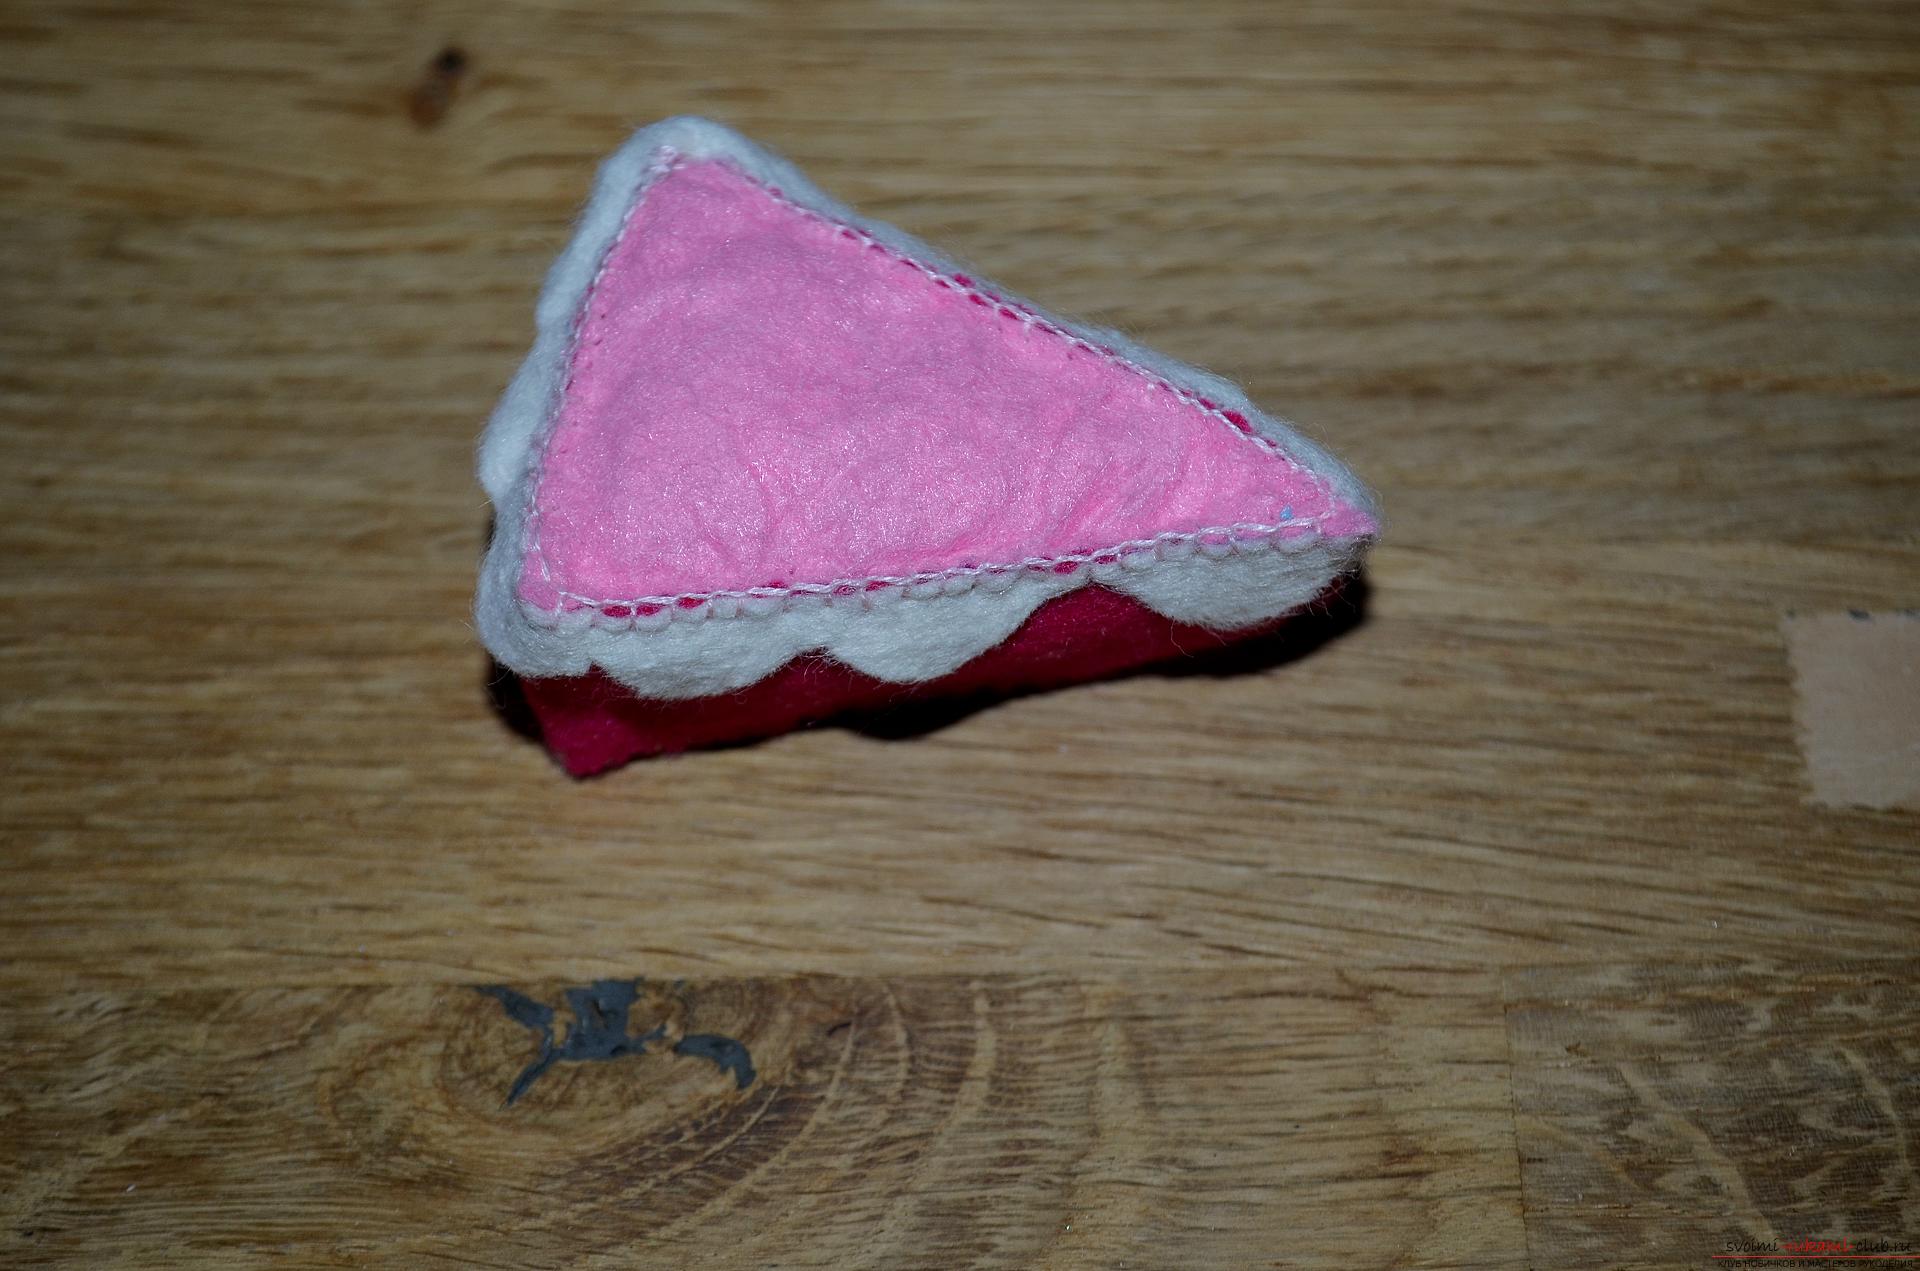 8.To decorate the cake, we will make a beautiful rose, for this we take a crimson felt, cut out a circle about 5 cm in diameter, and then make a notch on the circle, 7-9 mm long, and cut out a strip of the same width around the circle.
 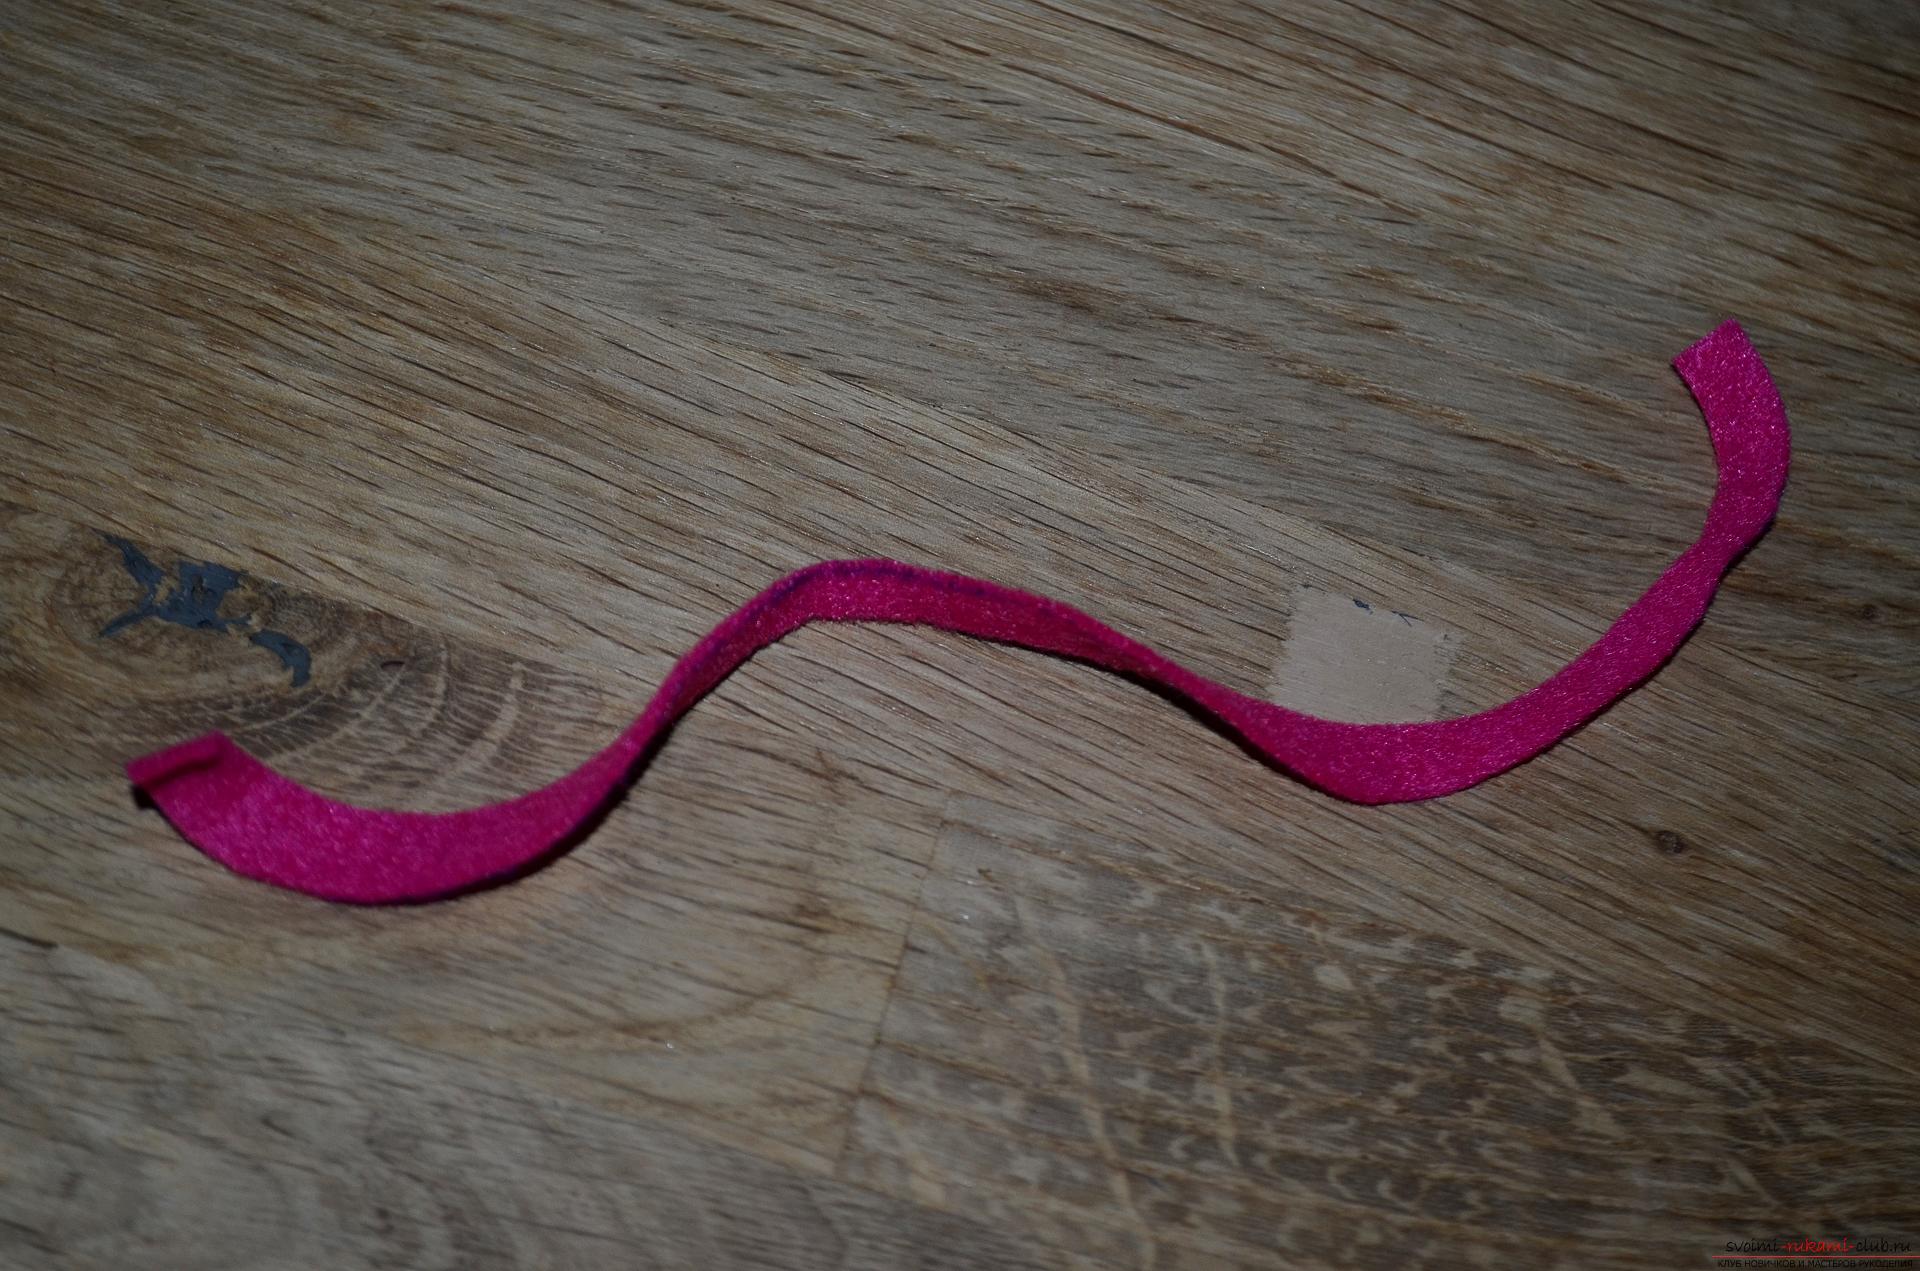 9.Fold the cut strip into a roll, resulting in a rosebud, which we will attach from the lower side with a needle and thread several wide stitches. Also we will cut out pieces of green felt, in our case it has two shades, leaves for the flower.
 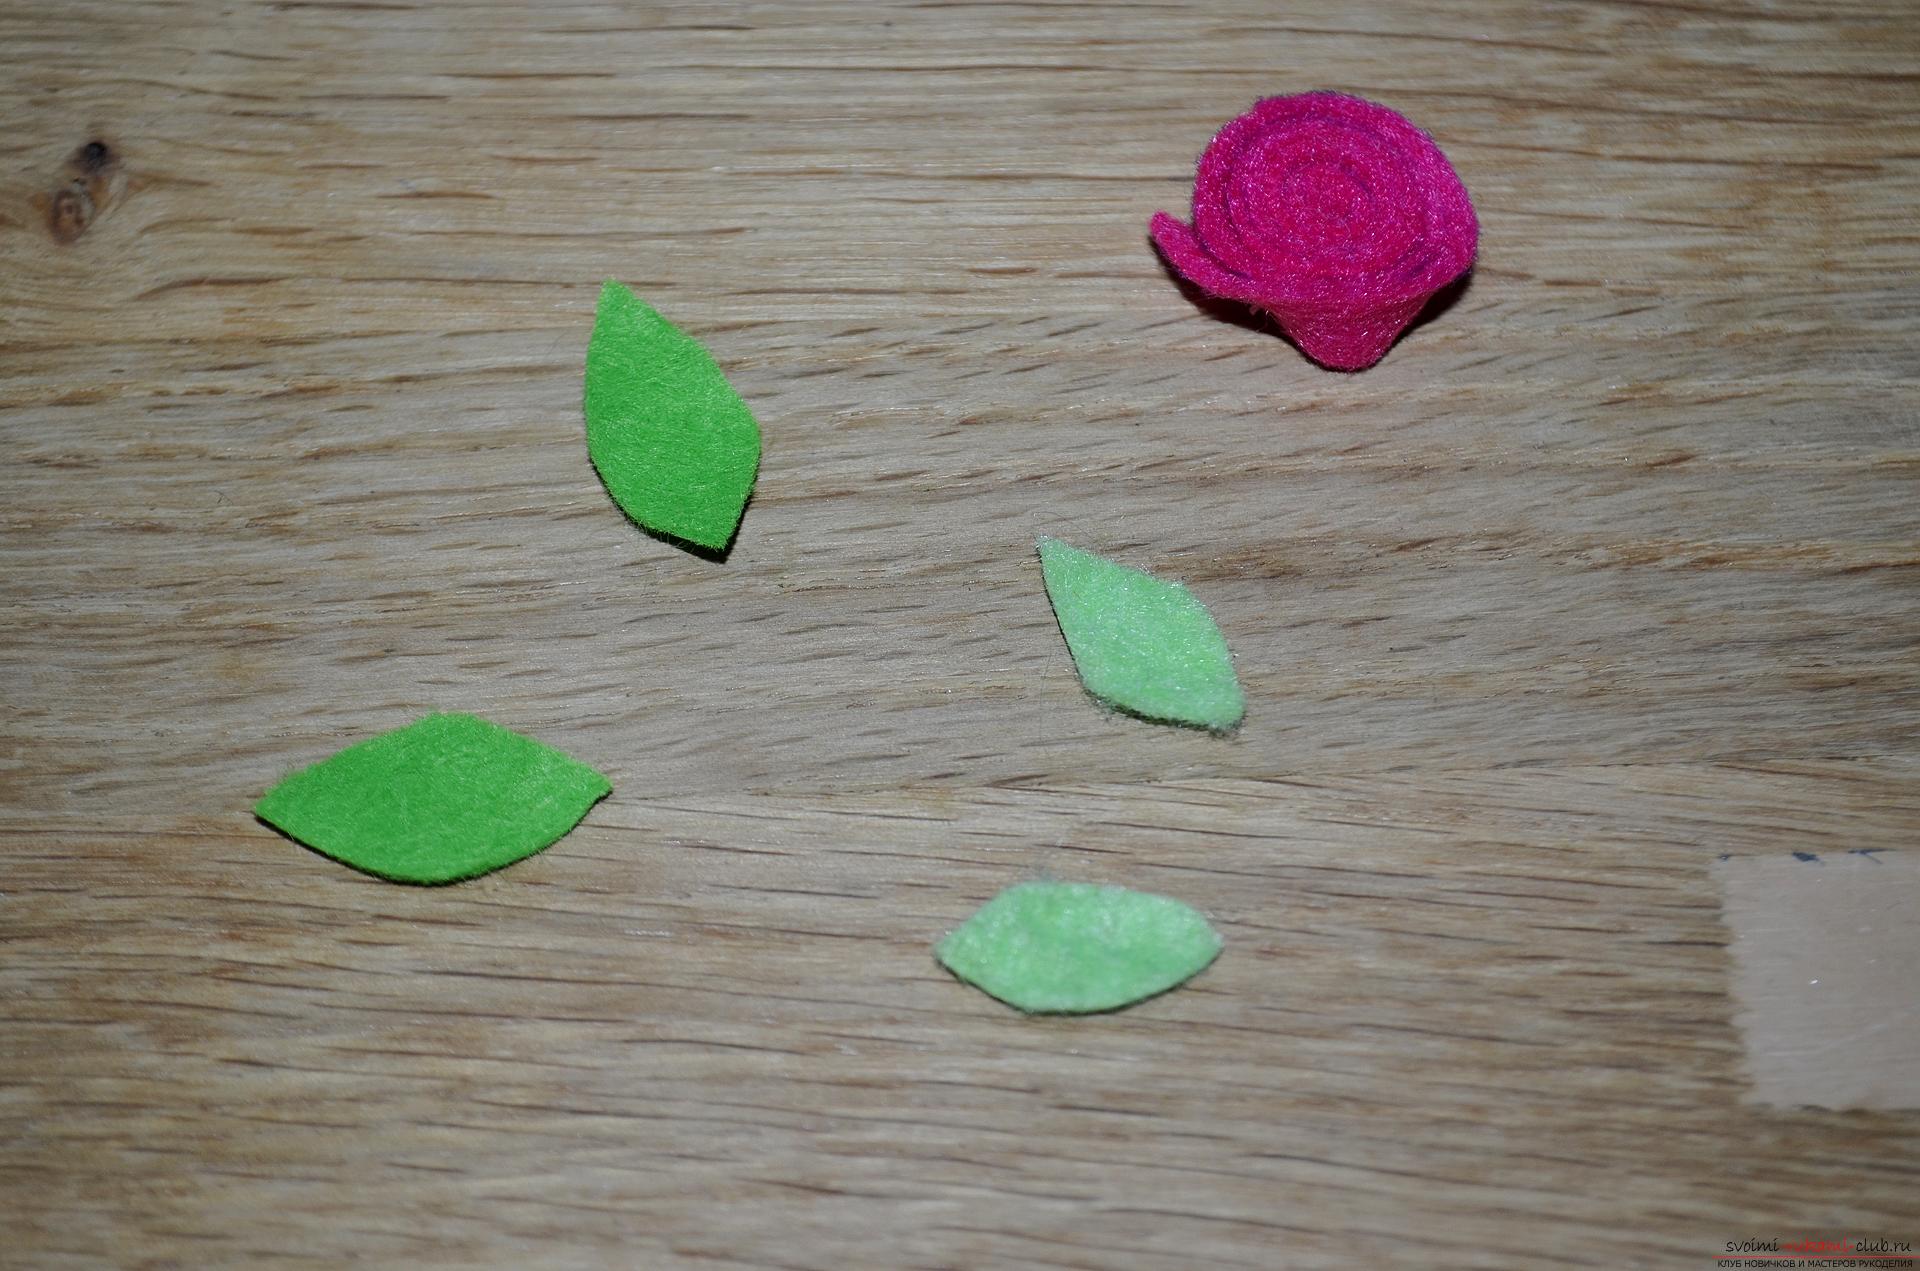 10. We sew a rose with leaves to the cupcake with secret stitches. To place a flower, as you like, we decided that it will look good in the narrow part of the triangle.
 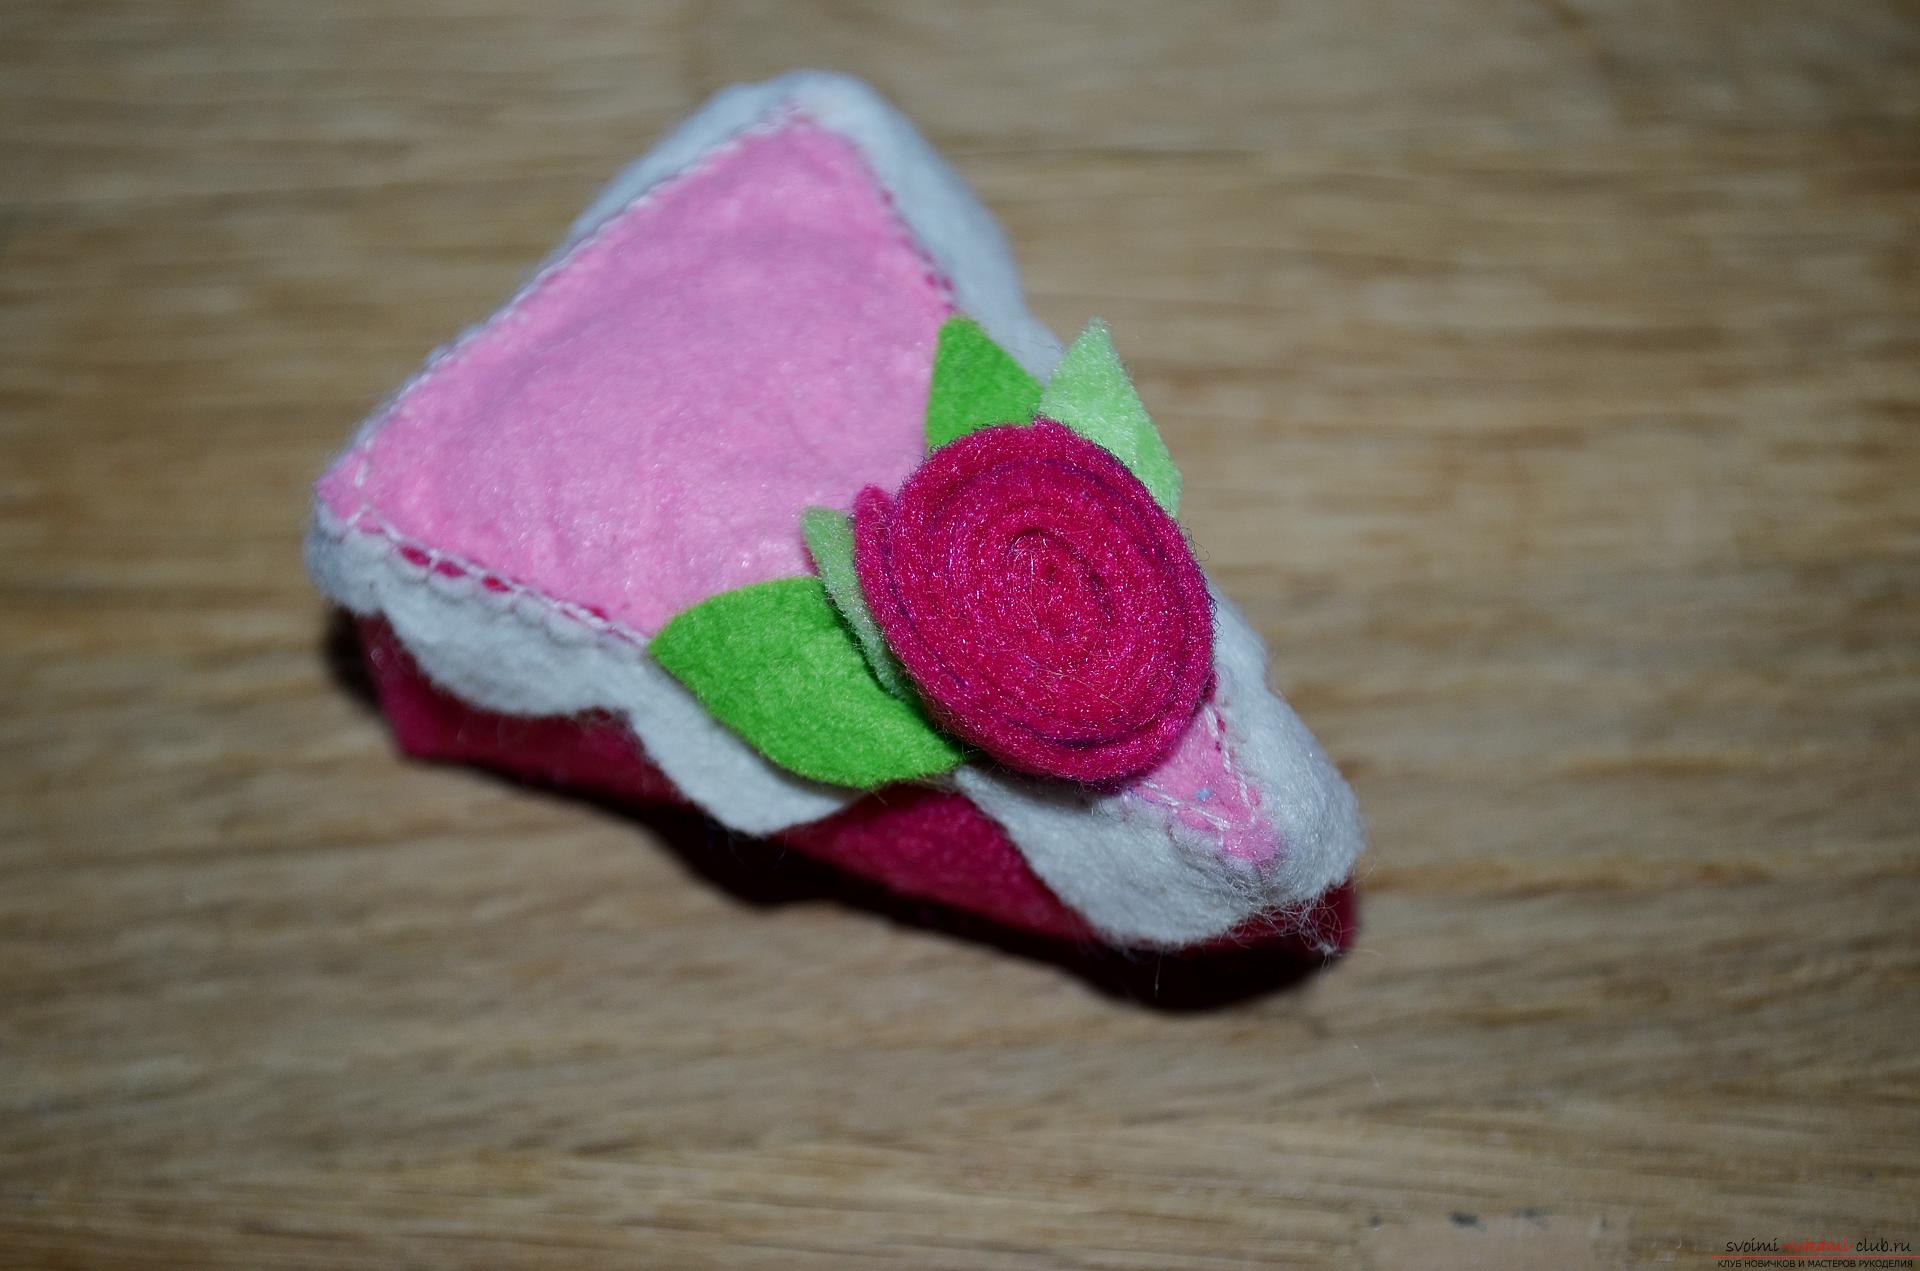 11. Here we have such an original needle bed made of felt "Sweet cake". Now your needles and pins will always be in place.
Comments
Related posts:
 How to make an original bookmark with the symbol of 2016 "Monkey" of felt with your own hands? Step-by-step instructions and photos
 Fast hairstyles for the holiday with their own hands, step by step photos and detailed instructions.
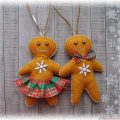
 How to sew a horse out of felt with your own hands, step-by-step photos and detailed descriptions of the work, several different sewing options, both manually and on a typewriter
 This master class with a description and photo will teach you how to make crafts from felt by yourself.
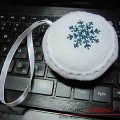 To embroider a pillow-needle with a cross with your own hands, a master class with a step-by-step description, a photo.