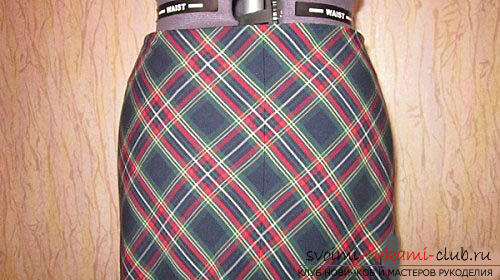
How to sew a skirt-crochet skirt with a description for a pattern
Flared skirts fit quite tightly due toless expansion than other classic skirts. To construct such a skirt, it is necessary to set aside the segment OB from point O, which will determine the level of the hips. You can make a design with only a side dart, as well as with a side and back darts. Let's describe the construction of the drawing. Set aside the line OB, which will determine the level of the hips. OB equals K x (Sb + PB), where K equals 1.4; Sb equals half the hip circumference; PB equals 5 centimeters.
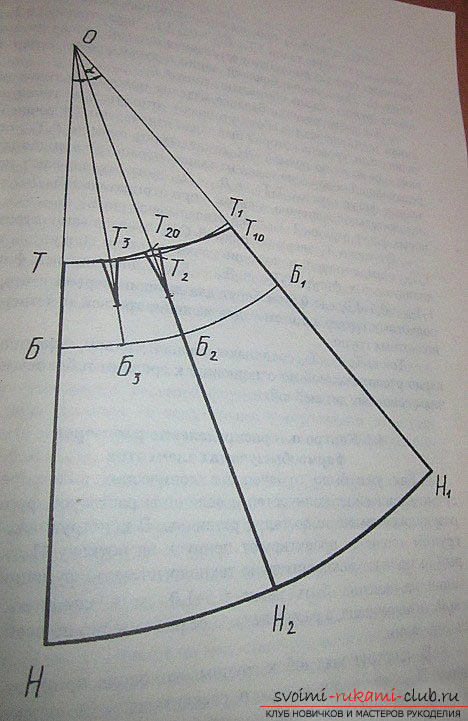 The Pb parameter decreases by one to three centimeters,if the difference between the hip circumference and the waist circumference is more than thirty centimeters. If this difference is less than thirty centimeters – the Pb parameter increases by one to three centimeters.
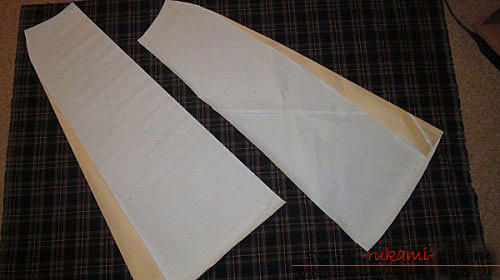 If further combination of cells in the middlepanels are not included in your plans, cut them out whole. It is worth considering that you will need a lot of fabric for a bias cut, and with whole panels - an order of magnitude more. Do not forget that the lines of the cells do not form a square, but rather a rectangle, so you will get a connection only of cells close to the horizontal lines.
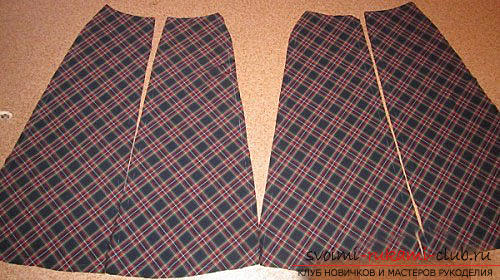 Fold, baste and stitch the center seams on the front and back panels. We recommend using pins while stitching – they will help the pattern not to shift and the seam not to fray.
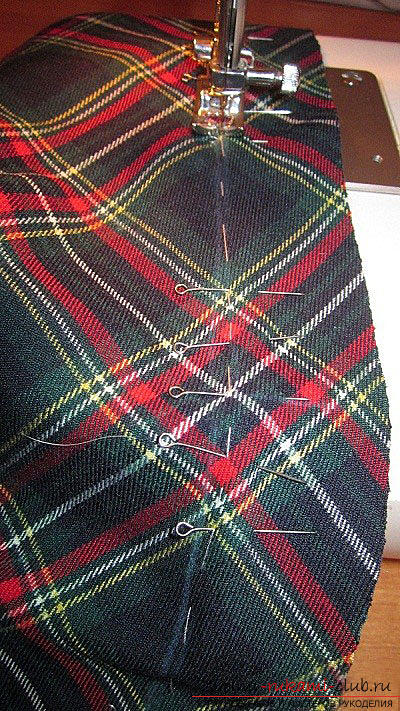 Cut out the facing pieces and duplicate them together withallowances of the side seam at the distance where the zipper is located. This is done in order to prevent further stretching of this area during sewing in the zipper. Again, pin, baste, stitch the seams on the sides. Neaten the seam allowances of the center on the front and back panels, the seam allowances on the sides - iron everything apart.
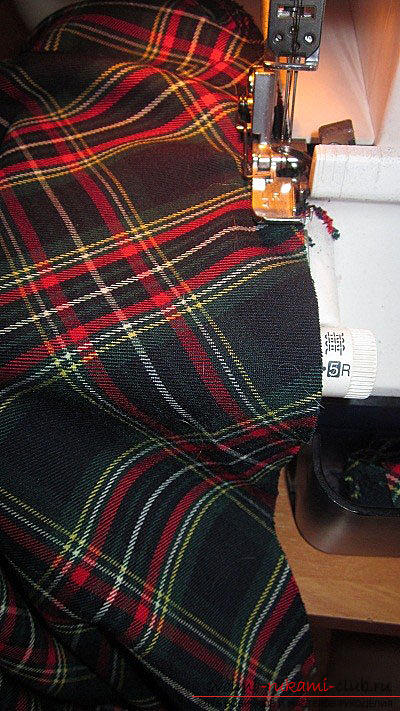 Let's move on to sewing in the zipper.If the seam has stretched a little, it should be ironed. The cuts of the top and bottom of the skirt should be aligned. Lay a stabilizing seam, pull the ends of the threads together to achieve the desired fit. Now you should pin the facing to the cut at the top of the skirt, mark the line along which we will stitch the seam of the facing parts. Stitch the seam, cut out the interlining on the overlaps, trim them and iron them apart. Next, you need to overcast the cut of the facing at the bottom and the cut of the skirt at the bottom as well. Pin the facing to the cut of the skirt at the top, mark the line along which we will stitch on the zipper section.
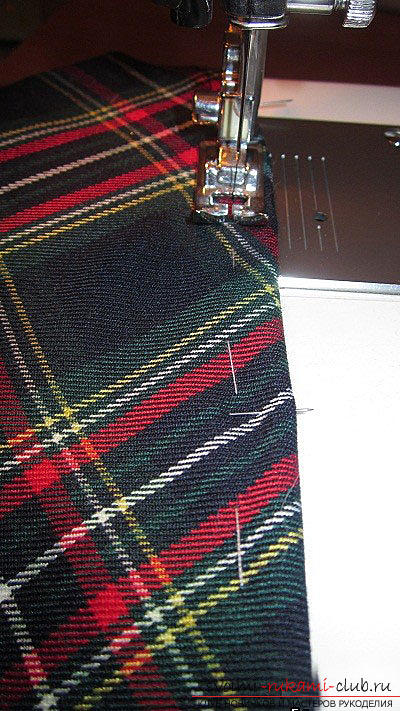 Now you need to sew the facing onzipper section and stitching the facing to the cut at the top; trim the overlaps, cut out the interlining. Next, we stitch along the facing, stepping back 10-20 millimeters from the seam with which we stitched. This procedure is carried out in order to fix the placement of the facing (this will not allow it to turn inside out) and in order to reduce the thickness of the fabrics in this area. Using satin ribbon, sew on the hangers.
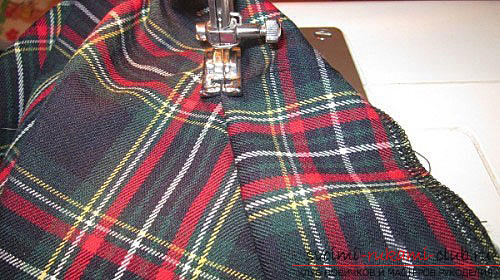 Sweep the piping along the top of the skirt and sew it onfacing on the seam overlap areas. Drive the overlap of the lower part of the skirt by seven to ten millimeters, pin it, baste it, sew it by hand or stitch it with a machine. Finally, iron the resulting skirt. The following illustration shows the middle seam on the front panel:If you follow our tutorial correctly, sewing a skirt will not take you more than 1 day (even for beginners). Go for it!
Comments
Related posts:
 Create a skirt for a two-in-one doll. As a result, the skirt can be turned out and there will be a completely different pattern
 How to sew a pajamas for a child. The first clothes of a little man, made by mother's hands
 How to sew a skirt into a crease with your own hands, the result will surprise you
 How to sew a beach skirt with your own hands from a bandanna or scarf - an interesting summer master class with phased photos
 This detailed master class of sewing children's clothes will tell how to sew a smart skirt for a girl with her own hands.