
Cat tilde master class, pattern, photo, ideas / toys with their own hands, patterns, video, MK
This cute doll, which was invented by the Norwegianartist Tony Finnanger, has long and firmly won the hearts of needlewomen around the world. The tilde cat is made in the simplest, most primitive style. Therefore, sewing it yourself is very simple. 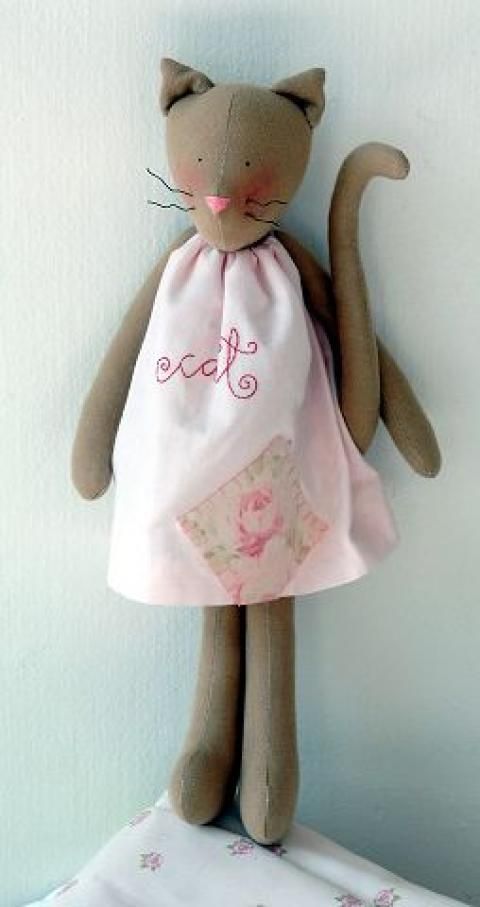


 Preparing materials for the master class
- trimming rags of desired colors (preferably linen, natural shades);
- silk or cotton cloth for a dress;
- Threads (and coinciding in color with scraps, and contrasting);
- scissors;
- holofayber or cotton wool (for giving elasticity and rigidity to the paws of the toy);
- beads (our tilde is a cat, her eyes should shine.) A bead can be made from a bead);
- Buttons;
- cosmetics or rigid thick threads (they can make a mustache);
- cotton buds;
- rag-heart;
But our practical master class begins withThe fact that you need to find a pattern on the Internet. It's simple - a tilde cat is a very popular character on the net. Just in case, here's our option. And if you need a "boy", then 
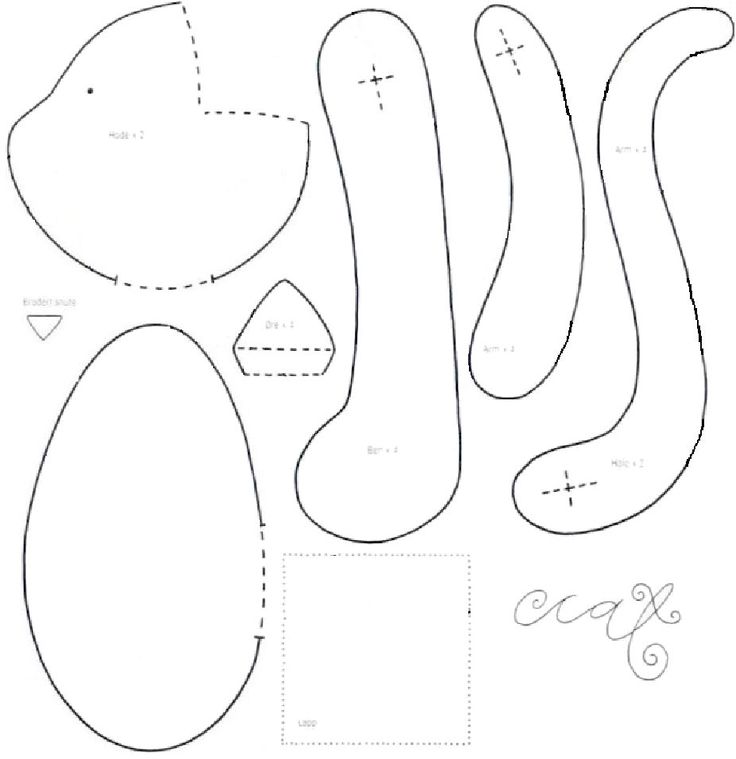 So, the first stage of our master class: print the pattern. Then cut out the details from the paper. Usually a tilde cat is sewn in a miniature, about 15-20 cm in height. Based on your preferences, calculate how much natural value you need the details. We lay out the paper parts on the fabric from which our tilde is sewn, we circle, cut out the details from the fabric, without forgetting leaving 1-2 mm for the stitching. All the details - trunk, head, legs, tail, ears - paired. That is, they need two pieces each.


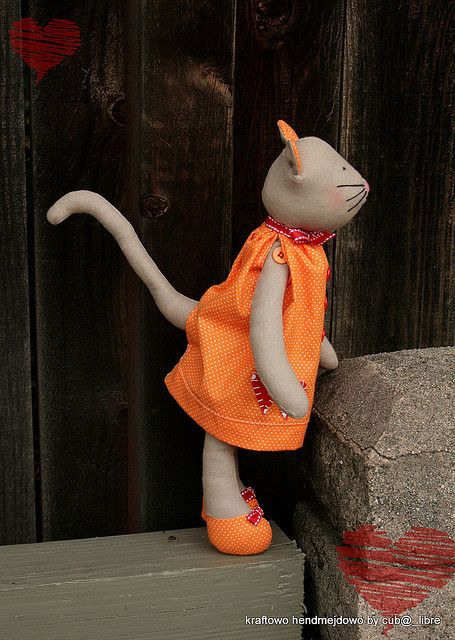
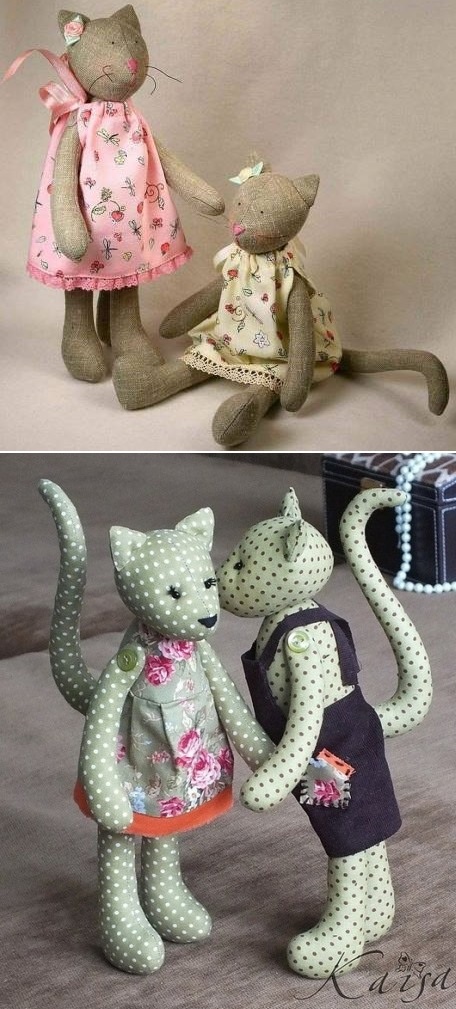
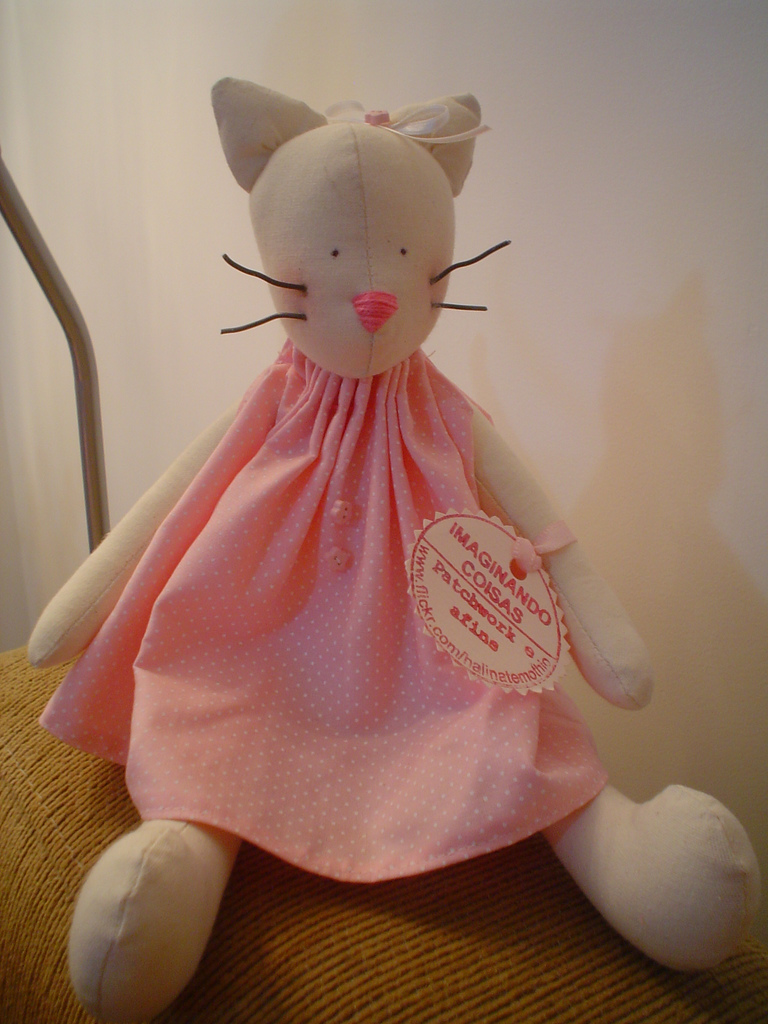
 Second phase: Sew the details, but do not completely stop them, leaving cracks for stuffing with holofayber or cotton wool! The first is best to sew a head. Be careful - any tilde doll, although it is distinguished by external primitiveness, but the muzzle of our cat should be symmetrical. To the head sew the ears. By the way, they can be of a contrasting color, or sewn with contrasting threads. Then you will shave the trunk, then - all four paws, and lastly - the tail. If possible, you can sew a sewing machine. If you sew by hand tightly and qualitatively, then it is possible. Do not forget to leave the filling slots for filling. The third stage: turn the parts to the front and iron well. The fourth stage: fill the parts with cotton wool or holofayber. Then sew all the details tightly in a secret seam. Fifth stage: our tilde cat is almost ready. It remains to connect all the details of the trunk with each other. The paws should be sewn on buttons, so they will be mobile. The sixth stage: the tilde cat acquires eye-beads. The nose can also be made from a bead, or you can embroider a mule with a seam. And a smile too. Seventh stage we make a dress. We measure the volume of the toy, add two pieces of cloth, spend it on the sides, leaving cracks for the upper paws, the head and neck of the toy. We sew a rag heart - you can ready, you can make yourself. Instead of a heart, you can make a pocket. For example, as in this picture. The eighth stage of the master class: our tilde cat will be whiskered. If the mustache is not embroidered with a mulina, then draw them with eyeliner. And you can with ink. Gently remove imperfections with a cotton swab. As a mustache, you can use rigid, thick threads. The tilde doll - the cat is ready! Video advice from Marina Sheromov - how to sew a tilde neatly:
Comments
Related posts:
 Sheep Tilda master class, photo, video, pattern / Toys with own hands, patterns, video, MK
 Tilda hare standing, pattern, master class, video / Toys yourself, patterns, video, MK
Tilda monkey master class, patterns / Toys yourself, patterns, video, MK
Tilda hare standing, pattern, master class, video / Toys yourself, patterns, video, MK
Tilda monkey master class, patterns / Toys yourself, patterns, video, MK
 Tilda giraffe pattern, how to sew, master class / Toys with own hands, patterns, video, MK
 Goat tilde with your own hands, pattern, ideas how to sew / Toys with your own hands, patterns, video, MK