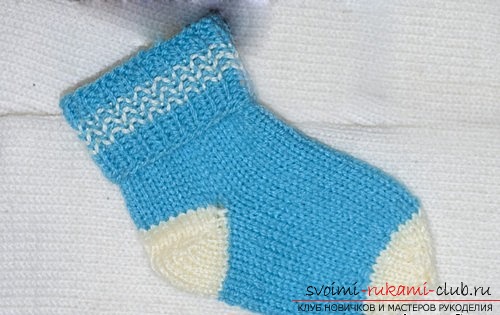
Classics of knitting socks. We learn to knit children according to the proposed schemes with simple models
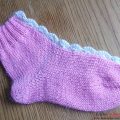
As winter approaches, knitters are increasingly looking for newpatterns and examples of knitting warm socks for children. We offer you step-by-step instructions for knitting classic milky – blue socks with a turn up. In practice, the product is not complicated, so even beginners can handle it.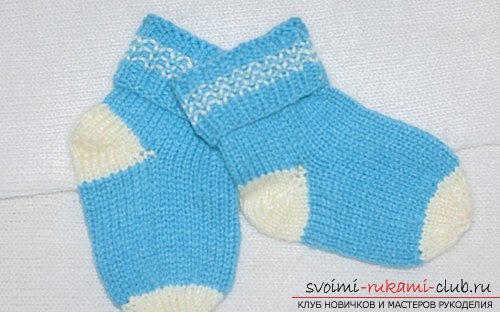 Let's get started!The size of knitted socks is approximately for a child from seven months to a year. For work we need 2 skeins of children's acrylic – blue and milky. Let's start knitting a sock with an elastic band. To do this, 36 loops are cast on – 12 stitches for each needle.
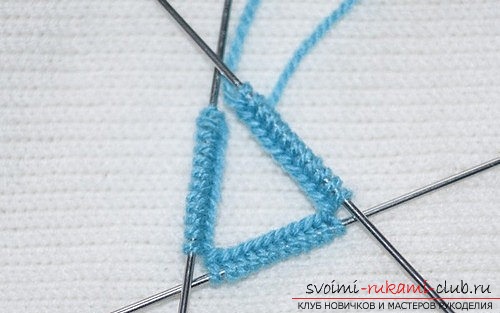 Four full rows are knitted with a regular elastic band – 1 back, 1 face. Then we introduce a milky thread and continue knitting with an elastic band.
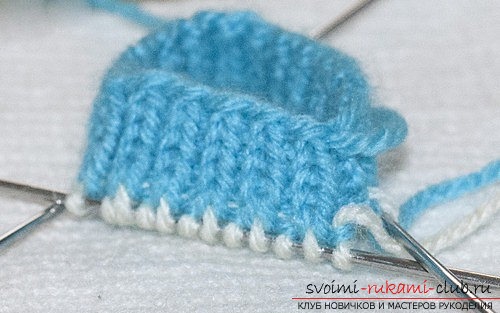 Next we knit like this – 1 row milk, thenrelease the thread, take the blue one, knit a row, then again milky, again blue and 1 more row milky. After that, we knit five rows only in blue. The elastic band is ready.
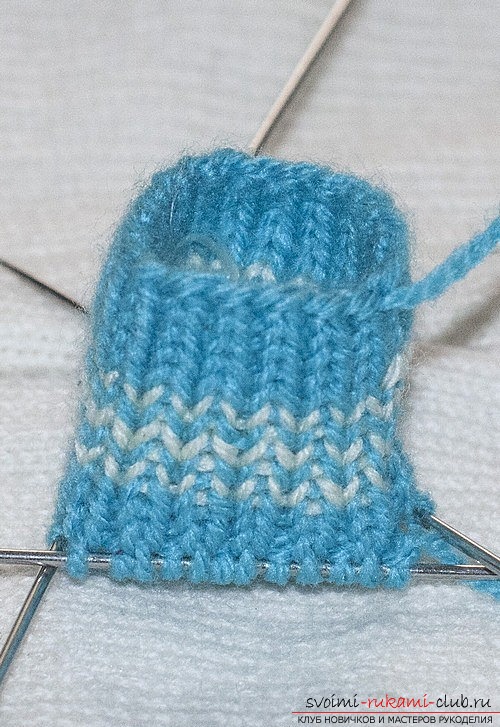 Let's start knitting the stocking. We knit 22 rows in classic stockinette stitch.
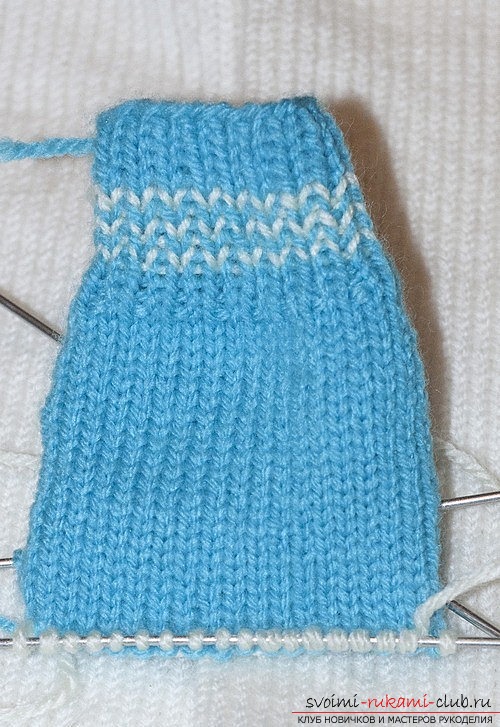 Now we knit the heel. We change the blue thread to milk thread and knit 18 loops.
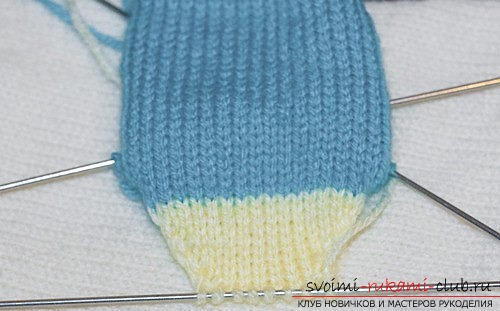 Next, we turn around, and at the end of each, 2 small loops are knitted together until you have eight loops left on one knitting needle.
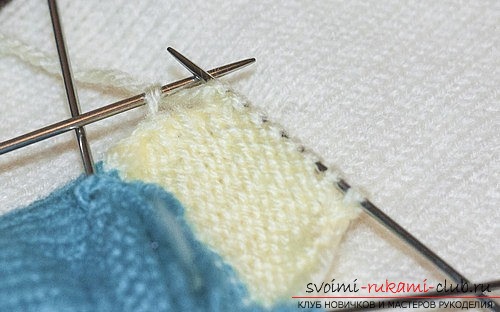 Then we add loops and knit the ones we cut.
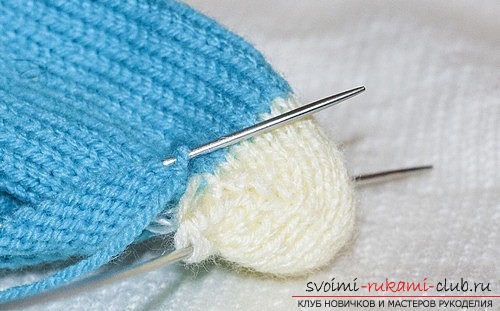 We again have 18 loops on the knitting needle, and the finished heel of the sock.
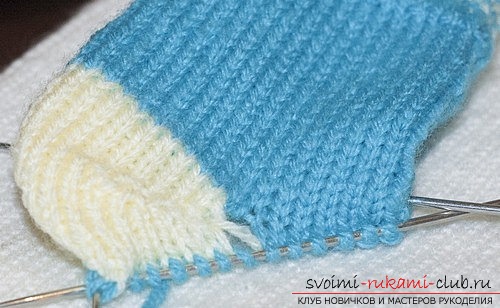 Then we continue knitting in blue.
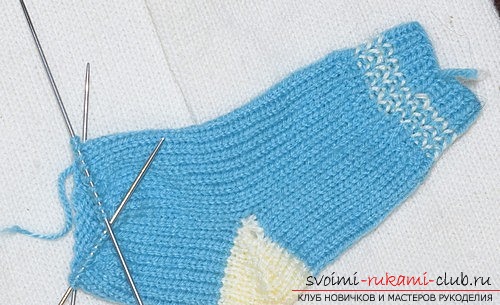 22 rows are knitted. We do not decrease the loops; 36 loops remain on the knitting needles.
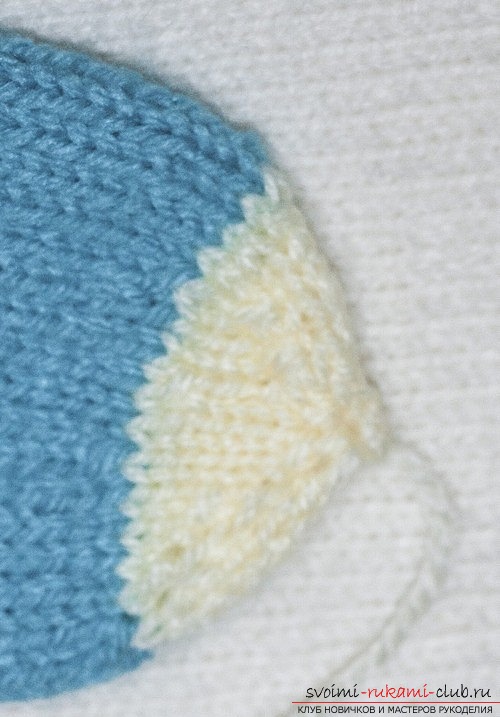 The base of the sock is ready.We start knitting a sock. To do this, knit with milk thread: 1 row – 4p. face, two of them are knitted together; 2nd row – whole face, loops are not shortened; 3rd and 5th row – repeat as the first row; 4th and 6th rows – repeat as the second row; 7th row – 3p. face, and knit two loops together; row 8 – repeat as the second row; 9th row – 2 regular loops are knitted together; row 10 – three loops are knitted together. Then we tighten the remaining loops and tie them into a knot.Your sock is ready.The elastic is tucked up, and thanks to this, the sock will better stay on the child’s foot and not slip off. All the “tails” are hidden on the wrong side. and threads, all excess is tied into knots and cut off. The second sock is knitted in exactly the same way. We advise you to knit carefully so that the socks are symmetrical and the same size. Here we are again practicing knitting for children. Agree, it is very easy and exciting, and does not take much time. Good luck with your knitting sessions!
Comments
Related posts:
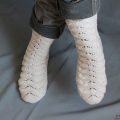
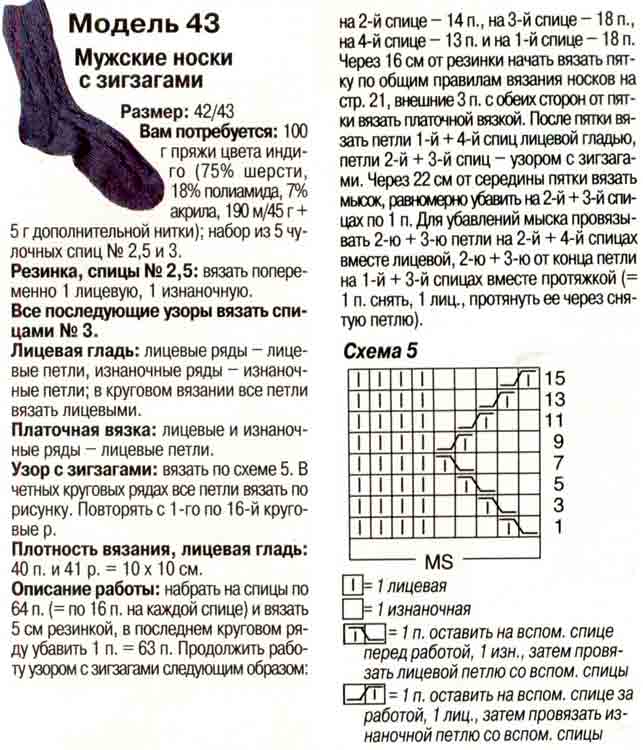 We knit men's socks models according to the schemes with the description
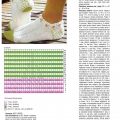
 Knitting the original openwork socks with knitting needles. Knitting pattern of knitted fishnet socks with a description
 We learn to knit socks with two spokes according to the scheme with the description, and also knitting the heels of socks with knitting needles for beginners
 We learn to knit beautiful knitting with knitting needles. Example of a luxurious scarf with detailed description
 Link your own hands, you can easily use the knitting needles according to the proposed schemes and descriptions