Create a beautiful mosquito from acorns and plasticine for decorating yourself
Do not know what to do with a child in the fall? Autumn crafts one of the best ways of healthy entertainment! You can create interesting, unique and simply magical things from the handy material presented to you by nature itself! All kinds of leaves, spikes, twigs and skins of trees, "wings" of maple seeds, chestnut nuts, autumn berries and everything that fits in your imagination. The simplest and most common material in autumn parks is, of course, acorns. It is ideal for the basis of almost any insect or animal. Just a drop of imagination, a bit of plasticine or glue and in your hands the original decoration of a home interior or a decent craft for school children and kids! 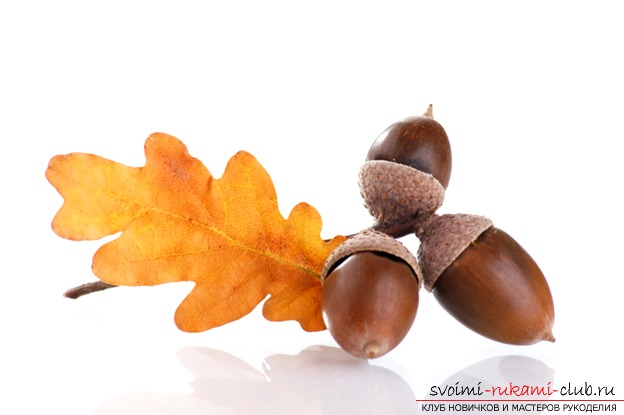 Komarik from plasticine and acorns To make a mosquito from acorns and plasticine, you will need:
- 4 thin little branches;
- 2 thick and long branches;
- a pair of acorns;
- 2 dried berries of red color (you can, for example, berries of mountain ash or Kalina);
- "Wings" from seeds or two small oblong dry leaves
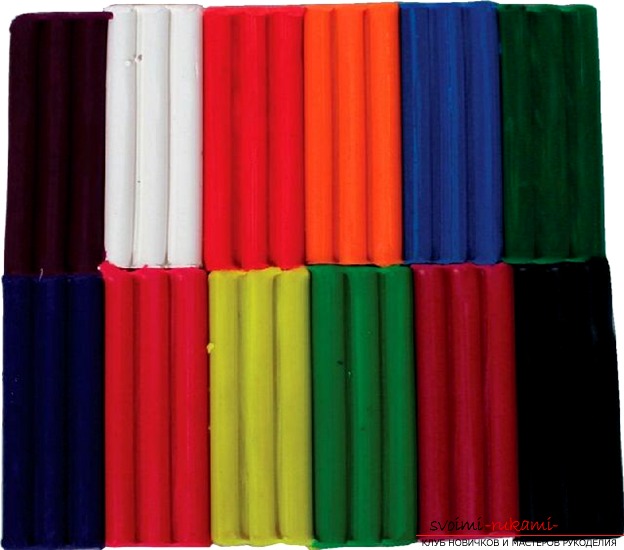
- Plasticine.
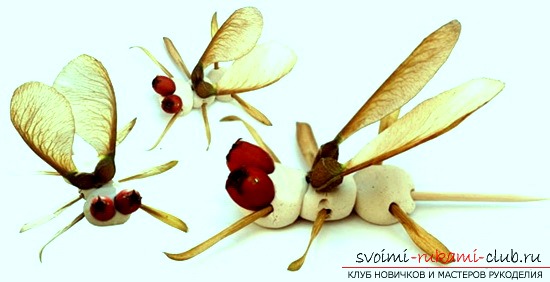
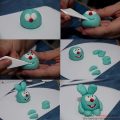
 For the basis of the mosquito body, connect clay,Two acorns, horizontally located, separating them from their hats beforehand. A piece of plasticine should be quite impressive in size so that it could withstand the hind legs of a mosquito with wings. The head of this insect is too small, soyou do not need to do it separately. It will be enough to mold a piece of clay from a piece of clay, slightly smaller than for the fastening of the calf, with a neck with a slight thickening and immediately attach two eyes from the berries to it. Plant eyes closely so that the bottom of the berries pupils - black dots looked forward. Wings of leaves stick into the middle attachment of the calf, so that the cuttings disappear in the clay, and the leaves themselves were slightly retracted. At the same fastening, you now need to insert two sticks from both sides. You have the hind legs of a mosquito. The first acorn closest to the head is covered with two small stripes of clay and attach to them the remaining four legs from the thinner twigs. For reliability, you can break two or one sticks to make your legs seem to bend. On each sticks-paws of an insect, attach a small piece of plasticine. Then plant your mosquito on a stand or artificial flower. Congratulations! The mosquito is ready and deserves admiration!
Comments
Related posts:
 Crafts made of chestnuts and acorns with their own hands.
 We create unique autumn crafts made of acorns with our own hands. Original ideas and photos.
 Create interesting crafts from the acorns for your baby with your own hands, using natural materials
 Molding of plasticine in kindergarten. Create crafts from clay with your own hands.
 Modern methods of molding from plasticine. Flowers from plasticine with their own hands.