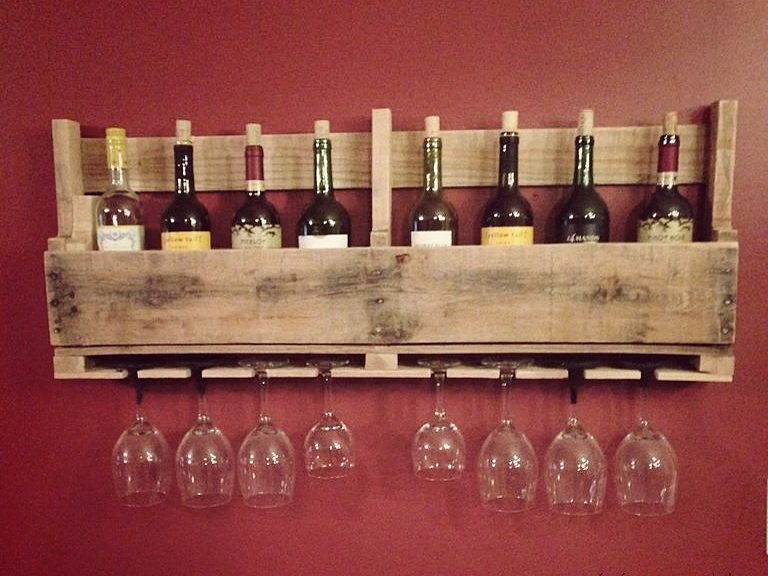
Create an interesting wine cabinet in retro style with your own hands from a conventional wooden pallet. A unique accessory for the kitchen is easy
From ancient times wine was considered nobledrink. He was drunk by the ancient Greek gods and Roman Caesars, English lords and French kings, Russian nobles and American merchants. Every self-respecting person should keep a bottle of good wine (not for himself) in the house, so that, if necessary, it should be shared with a meal in the circle of friends. But very few modern kitchen sets offer ready-made solutions for wine placement, and this is also very important. After all, to drink late at night a glass of a noble drink brought pleasure, it must first be treated with due respect and respect. Otherwise, it can lose, its exquisite taste and aroma and will not bring long-awaited pleasure. So, what will help, to protect yourself from such undesirable problems with the storage of wine? The answer is simple - an interesting wine cabinet made by own hands. For manufacturing, we will need: 1) An ordinary wooden pallet in which the fruit is transported. This you can absolutely free to get in any nearby warehouse. 2) 3 short wooden bars. The diameter is about 1 cm. 3) A set of tools. 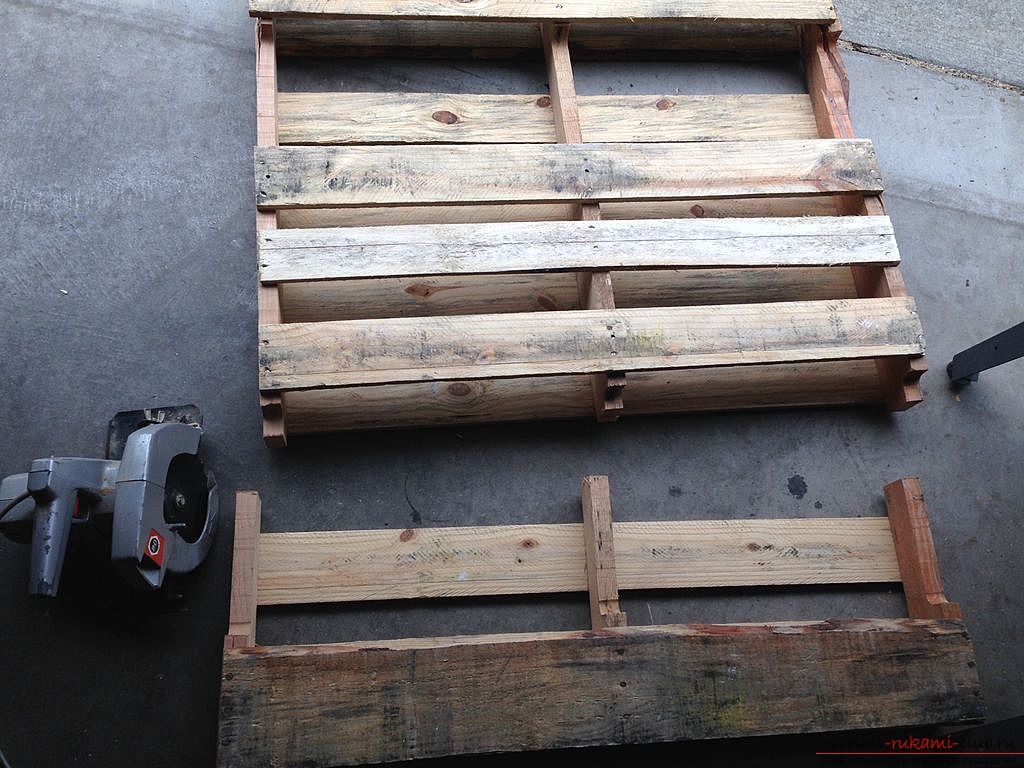 First you need to saw off the side of the box. The height of the saw should be approximately 16-17 cm. This height is ideal for standard wine bottles.
 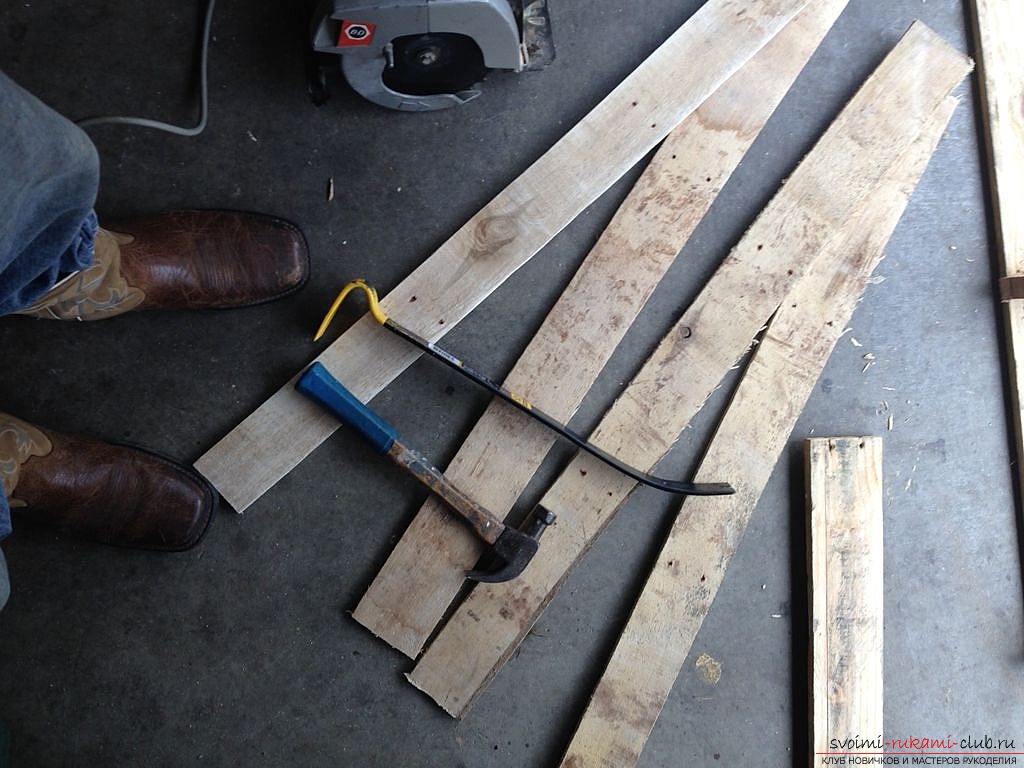 The next step you need two boards, theyare necessary for creating the bottom of our wine cabinet. The boards from the bottom of the pallet are best for this purpose. You can extract them with a simple nail and hammer, but you need to be extremely accurate, because the edges of the boards, nailed, have a negative tendency to burst and break, when you try to extract and accordingly become unusable for later use. If you can not extract the boards from the tray by some unfortunate accident, you can always use the identical ones from your home arsenal, the main thing is that they should fit all parameters to your future shelf.
 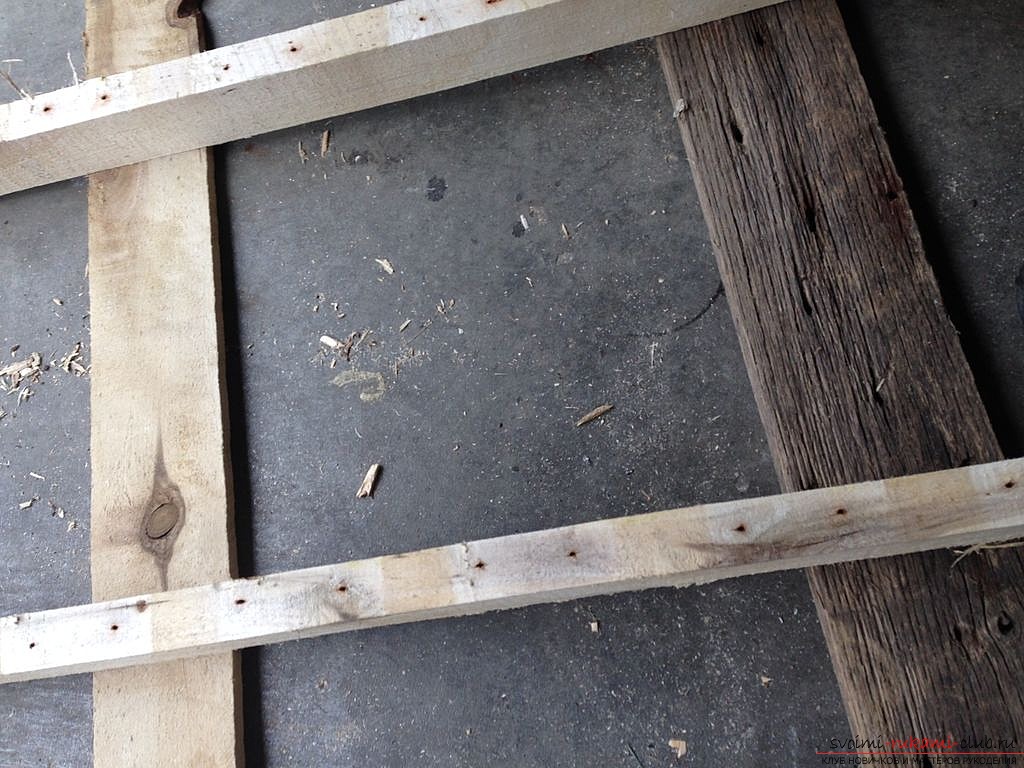 Next we take the previously prepared bars. They are necessary in order to make a gap between the bottom of the wine shelf and the base of the shelf for glasses. To do this, just enough to nail all the bars to the bottom of the wine cabinet. The next step is to create a fastener for the glasses here, too, everything is elementary. With the help of a jigsaw in the board (it can also be taken from the bottom of the pallet), we cut out several gaps (depending on how many glasses you plan to place). Next, just nail the stand to our uneven bars at the bottom of the wine cabinet.
  At the end of the work, please grind everything offside of the resulting wine cabinet. This is necessary to avoid splinters during its operation. If you wish, you can, of course, cover it with varnish or glue it with a sticker, but this will lead to loss of retro entourage.
 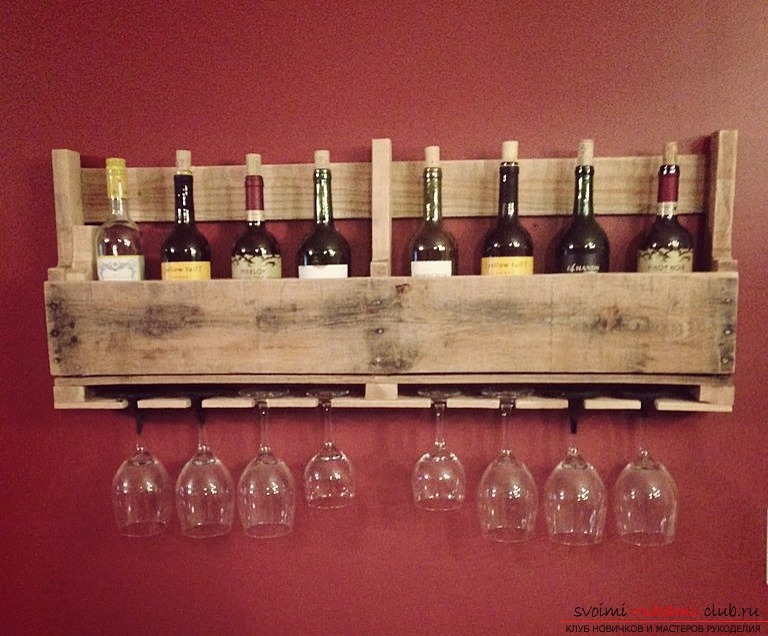 That's all simple and at the same time interestingwine cabinet in retro style ready! Thus, in just a few hours you get an excellent wine stand, additionally supplemented with a holder for glasses. Such a convenient device for home not only very practical and original solution to the problem of storing a noble drink, but also perfectly fit into the interior of your kitchen, living room, and perhaps even a small wine cellar. And unforgettable, that all this got to you completely free of charge and without much difficulty. Enjoy pleasant autumn evenings in the circle of friends for a bottle of excellent wine and surprise everyone with an interesting wine cabinet, also made by own hands. And let everyone admire your skill and resourcefulness!
Comments
Related posts:
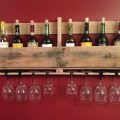 Shelves for wine and glasses from a wooden pallet for cargo transportation
 Create an interesting mushroom suit with your own hands
 We plan and create the kitchen decor by our own hands
 Create a knitted dog with a skirt with your own hands - an interesting master class
 How to make an unusual Christmas tree costume for a girl on a holiday. With our own hands we create a unique outfit without serious expenses