Hangers towel holders in the bathroom with their own hands
Today in stores representedA large number of different towel holders, but if you want to make your bathroom original, you can make a towel hanger in the bathroom quite simply with your own hands, especially since it will not take long. 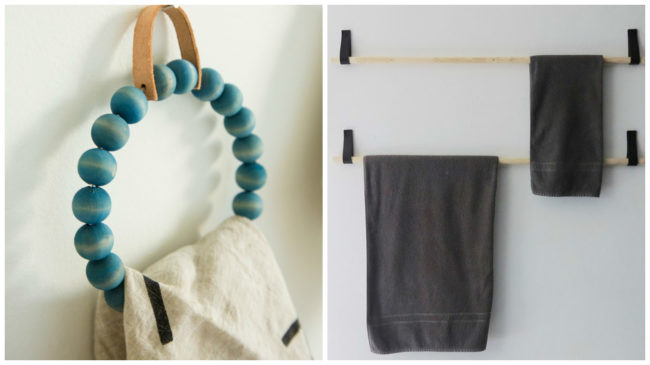 We offer you 2 wonderful workshopshow you can easily make original holders with your own hands. How to make the kitchen - we considered in the last article, and now disassembled for the bathroom. The content of the article:
Leather and wood
Very simple and stylish towel rack from the old belt. Especially beneficial it will look in a minimalist and modern interior. 
 Materials And so, in the first version, to create an unusual holder, we need:
- Two wooden sticks of the same size with a diameter of 2.5 cm.
- Old leather belt.
- Screws and dowels.
- Drill.
Towel Rack Assembly Orderyou need to cut the belt into 4 equal lengths and make a hole at each end of the lengths so that you can attach them to the wall with a screw. 
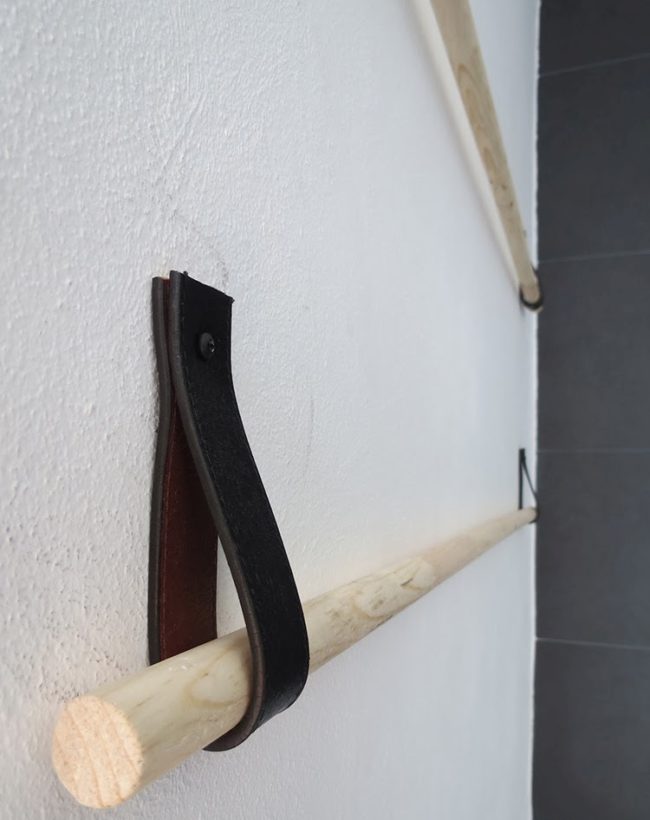 And our towel holders are ready!
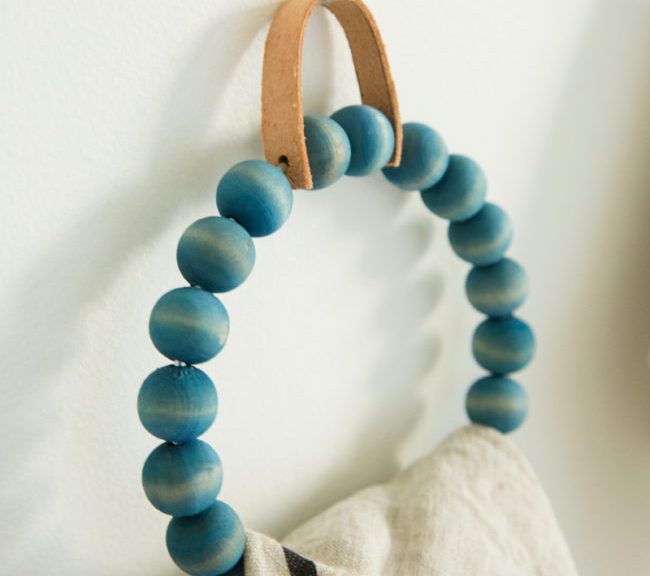
Towel Ring Holder
In the second option, we suggest making a towel holder in the form of a beautiful ring.  Materials and tools:
- A metal ring (it can be made independently from a wire or you can buy ready-made blanks in a craft store).
- Wooden beads with a diameter of 20mm.
- Liquid dye, suitable color.
- A piece of skin.
- Ruler.
- Scissors or shaving knife.
- Clay moment.
- Plastic container for dye.
- Spoon.
- Rubber gloves.
- Paper towels.
- Screw.
 Instructions for making STEP 1: Preparing the rings If you bought ready-made rings, then most likely they will be soldered, so they need to be cut with pliers and a little bit to separate. Then on the ring you need to wear wooden beads so that it is completely filled.
 STEP 2: Coloring Now turn to painting. The working surface is covered with paper towels or newspaper. Wear rubber gloves and mix the dye with water, stirring it thoroughly with a spoon so that it dissolves completely.
  TIP: We recommend that before dyeing the whole holder, try painting one bead to make sure that the color will turn out really the way you need it.
Immerse the entire ring in the container with the dye and leave for a few minutes, the longer you leave it, the richer the color will be.  After a while, remove the ring from the dye andHold it over the container a little to make the glass excess paint. Put the ring on a paper towel and let it dry a little. Then rinse it in running water and leave to dry for several hours.
 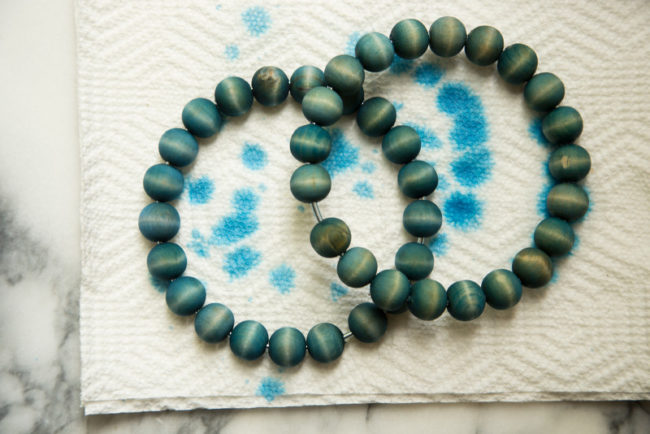 STEP 3: Mounting
 That's all our beautiful holder in the formrings ready! As you can see, there is nothing difficult in making yourself incredibly beautiful and original towel holders in the bathroom with your own hands.