
How to make soft Christmas toys made of fabric, ribbons and beads. Description of the process of making unique toys on the Christmas tree
During the New Year holidays, the theme of decorations inin the form of Christmas tree toys is very relevant. But how to make a beautiful Christmas tree toy yourself? We all remember from childhood paper homemade lanterns and chains on the Christmas tree. But what if you make a more complex and at the same time cute toy for the Christmas tree! Today we will start making Christmas tree toys. And no matter what time of year, believe me, such a unique thing can please even in the hot summer and serve as an excellent gift. We decided to start by making toys consisting of two volumetric parts. Materials for work:
- in the form of various flaps of different colors
- beads,
- multicolored ribbons,
- lace.
It is worth noting that for these unique crafts, everyone chooses the decorations themselves.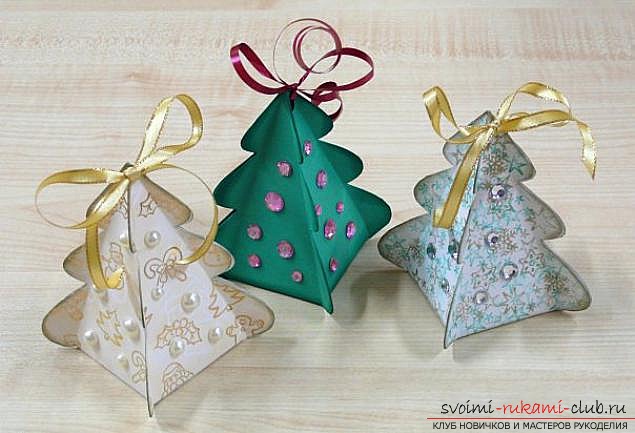 Here are some simple and beautiful Christmas tree toyscan be made of paper and fittings! But our goal is to make unique soft toys for our Christmas tree. So, let's continue. The following materials were used to make a soft toy: - a template (in the form of a piece of cardboard, cut out in the shape of the future toy) - two fabric scraps, preferably of different colors - a needle and thread - a colored loop of satin - any soft filler (cotton wool, for example) - and of course, but also material for decoration.
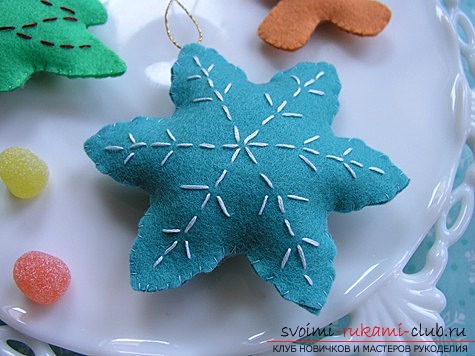 Now let's look at the process itself.manufacturing: Place the template in the form of the future toy on a piece of fabric and trace the outline using a piece of soap. Then step back 50 mm from the drawn line to create an allowance and draw the line again. Using scissors, carefully cut out the future product along the outer contour line. Decorate one side of the future toy as desired using the materials that were prepared for this.
 Pin a satin ribbon in the form of a loop to one of the parts from above. Place the ribbon tails on the inside of the workpiece.
 Place two parts of the toy next to each otherwrong side and sew. The kids especially liked the loop stitch. Make sure that the width of the seam is no more than 50 mm. Leave an unsewn section of approximately 200 mm in length. Fill the toy with cotton wool and then sew up the previously left section.
 Look at the cute toys we got! You can make toys with your own theme, bring in your own personal style. Cute little toys sewn from felt look great.
Comments
Related posts:
 How to make a unique oriental lily kanzashi with your own hands from a usual satin fabric. Description of the process of making an unusual flower
 How to make a colorful, bright lilac from ordinary paper. Description of the process of creating unique paper colors
 How to make Christmas-tree toys: balls, snowflakes and much more by yourself, master classes on creating Christmas tree toys with step-by-step photos and descriptions
 Master-class of making their own toys for decorating a Christmas tree - Christmas ribbons made of ribbons.
 Volumetric schemes of crafts made of beads for the manufacture of toys and souvenirs by different techniques of beading.