Master class kanzashi flower, master himself
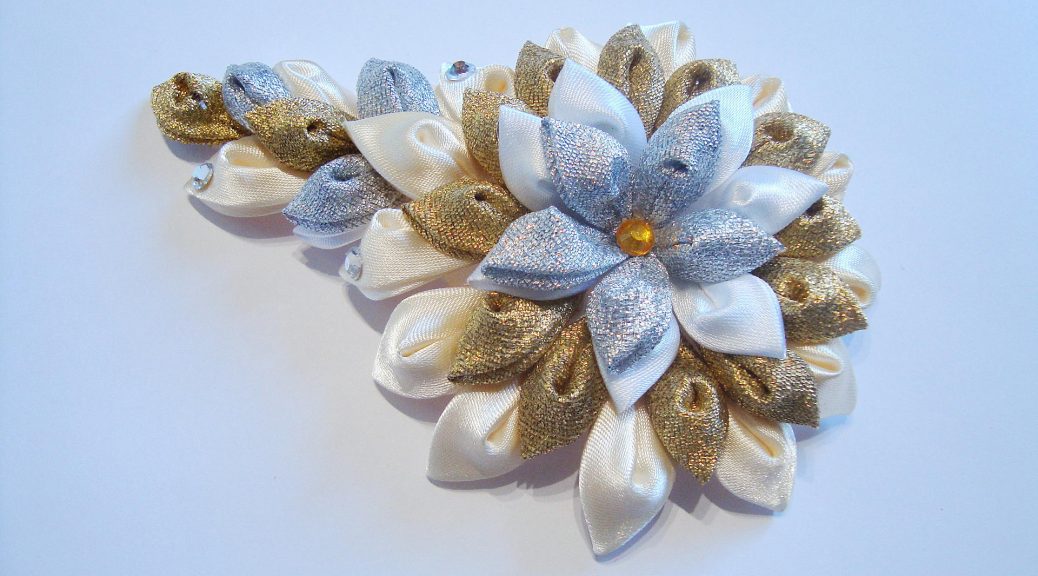
This master class is clearly demonstratedthe creation of an amazing flower in a golden-silver color. Each tier of a lush product is formed by an inverted petal in Kansas technique. Such an original flower is suitable for decoration of the rim, a long clasp or it can be worn in the form of an iridescent brooch, since the product combines not only satin, but also brocade, which gives a unique gentle shine. 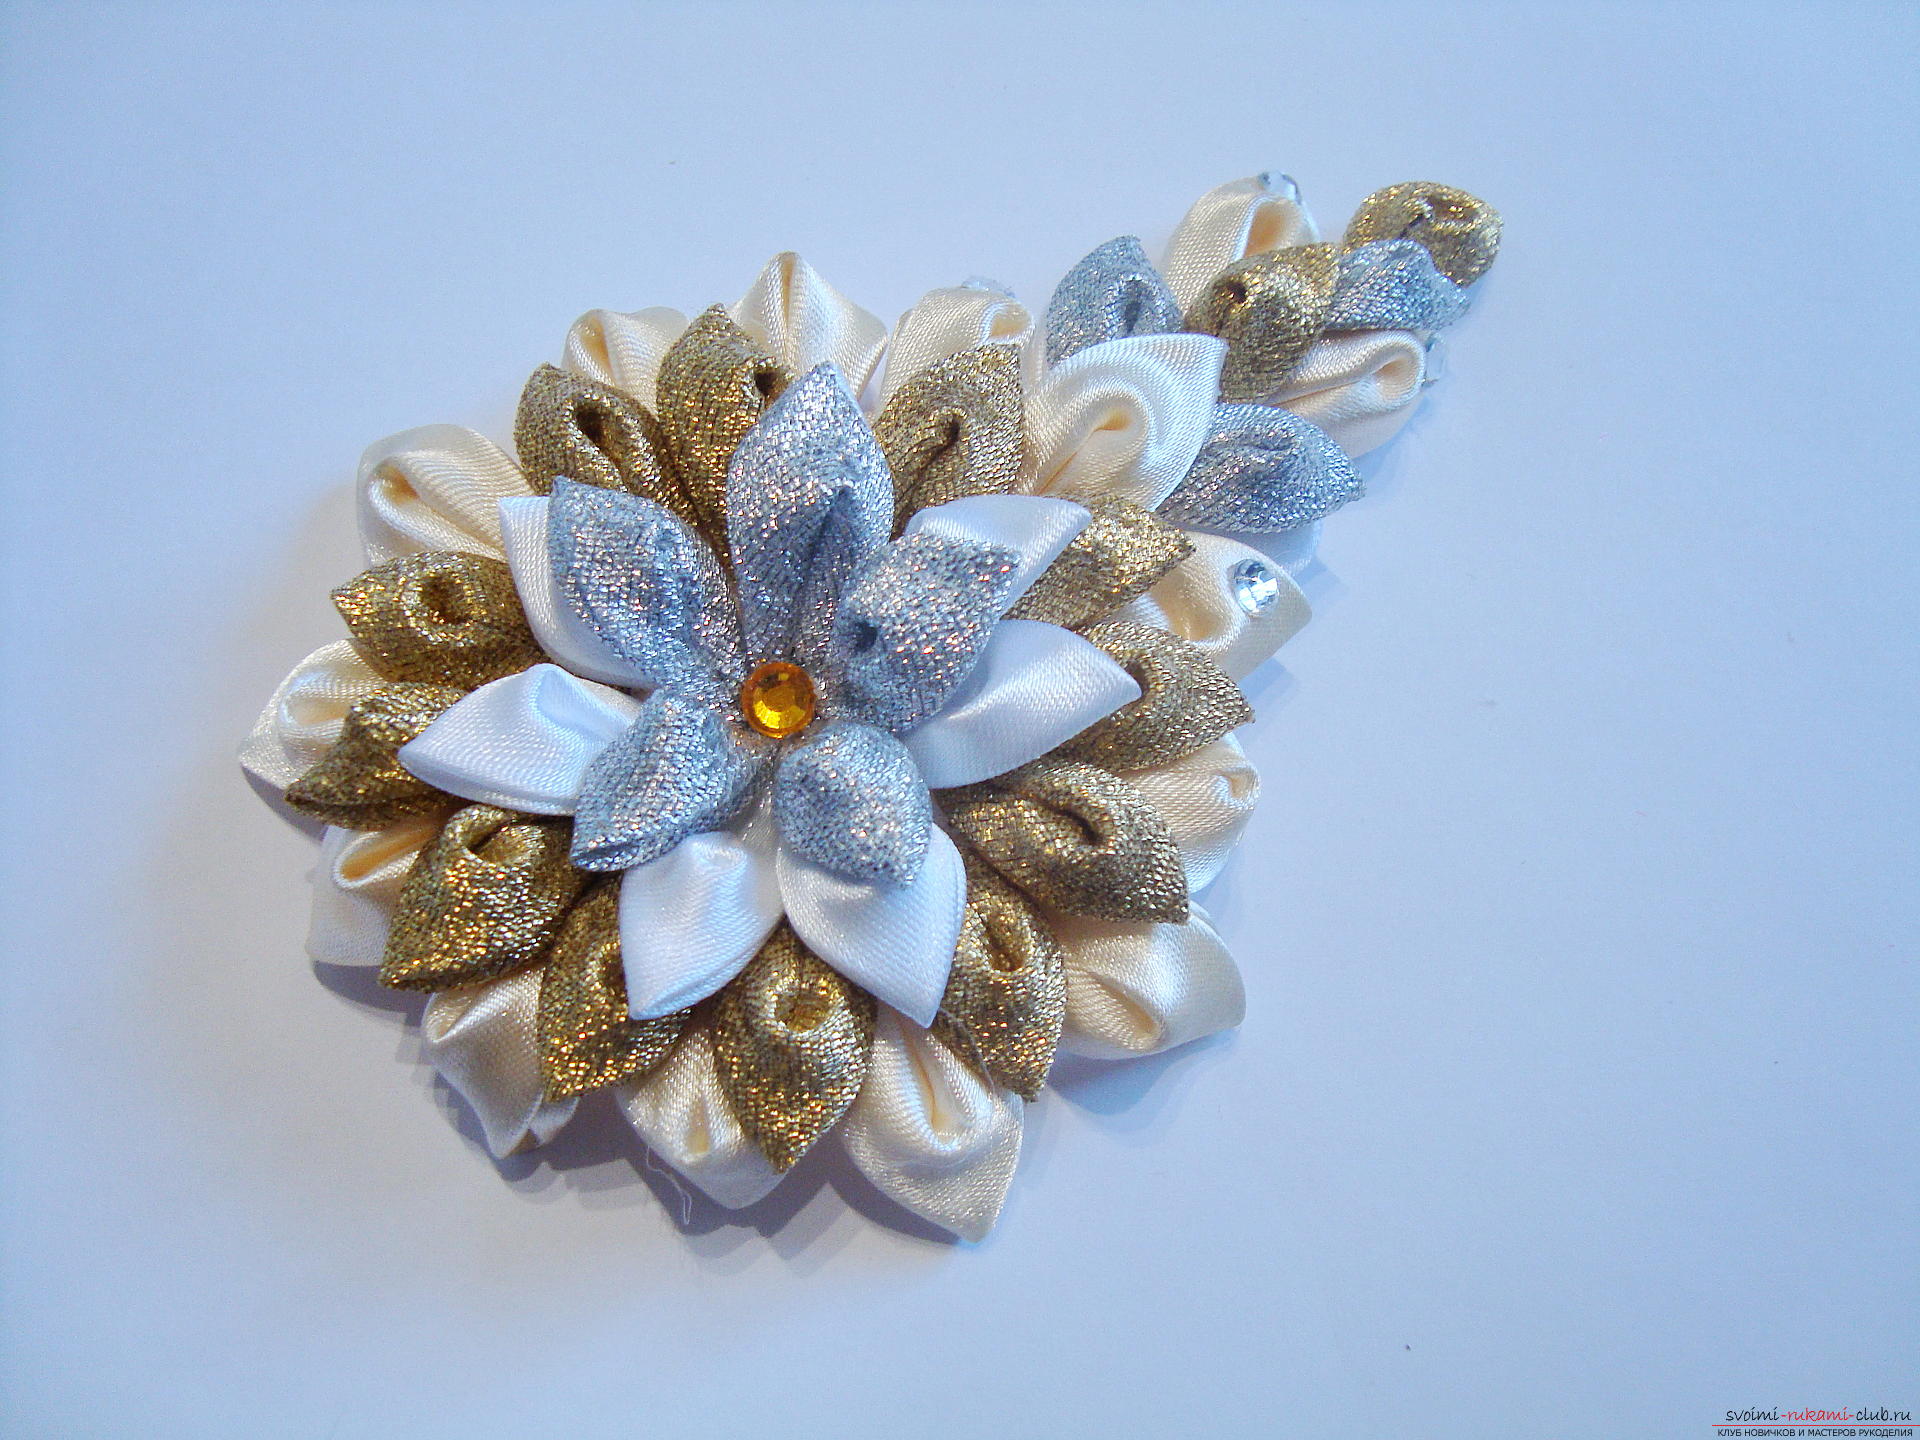
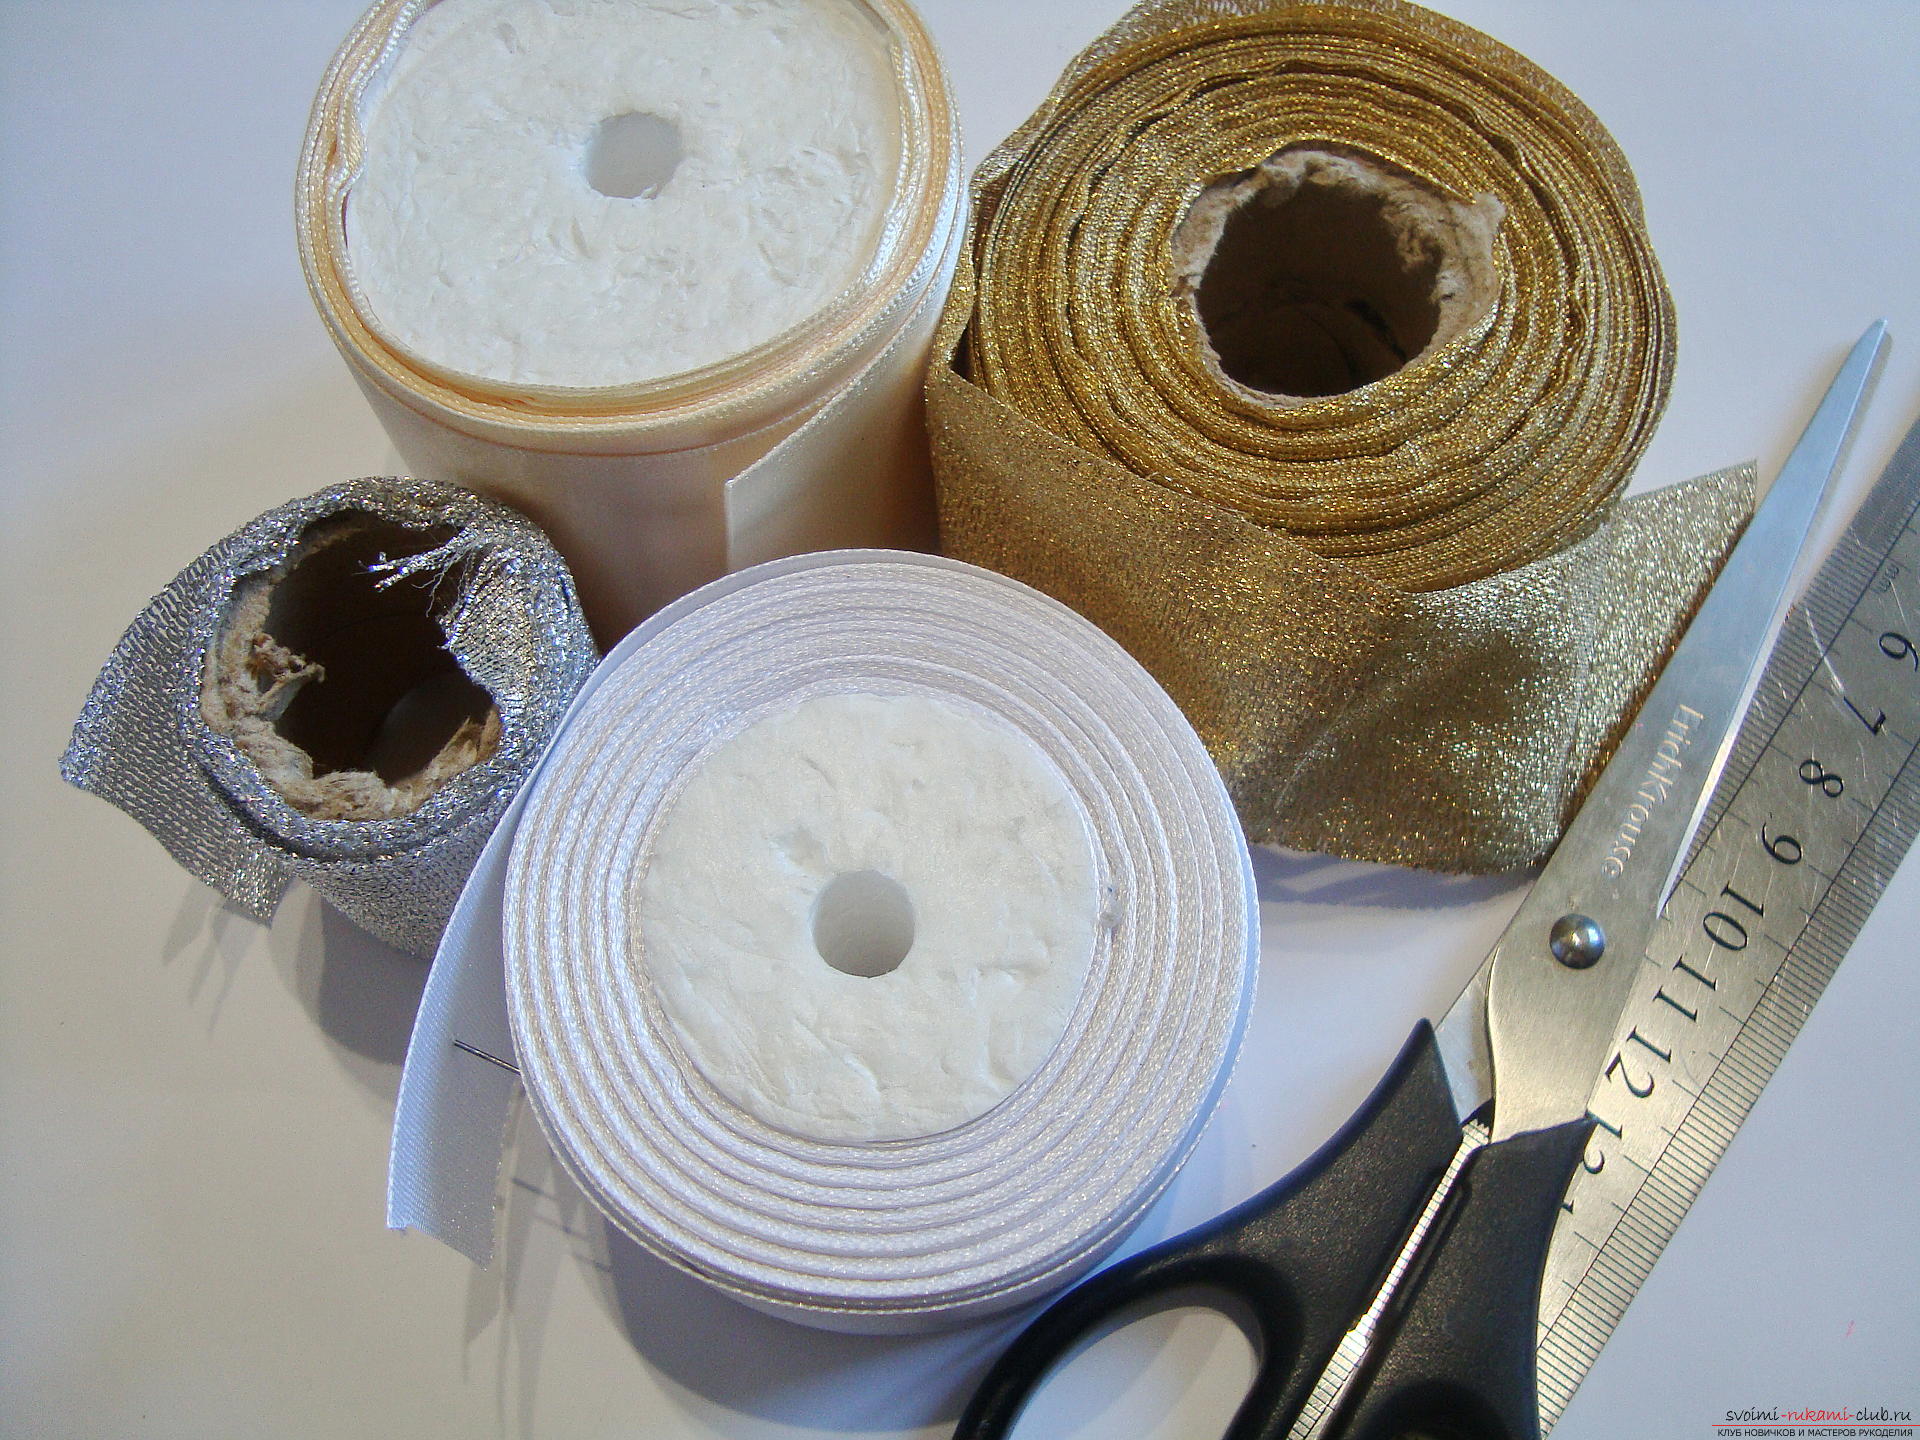
To create a hair clip in Kansas technique, you will need:
 In the first step, go to the choice of colors. Over the years of practice, I repeatedly convinced myself that, as if the needlewoman did not sharpen the technique of creating elements, without a harmonious combination of colors, the work looks dull or naggy, so the combination of shades solves a lot. The creation of the product begins with work on the petals. This flower requires a lot of petals (13 cream, 13 gold, 7 white and 5 silver, plus a few details for the twig), but all of them are created according to the same principle and are sharp turned up petals that provide the shape of the flower and its three-dimensional appearance.
Detailed video on master class Kanzash flowers
At the first stage, you need to cut the ribbons intosquare blanks. The satin beige tape has a width of 5 cm, so squares of 5 by 5 cm are created from it. These elements will be the largest, such petals form the bottom layer, the main form of the product is added from them. The satin white tape needs to be divided into squares with a side size of 4 cm, because this is the width of the braid. Tapes dense, poured from the brocade are cut into billets in accordance with their width, that is 4 by 4 cm. 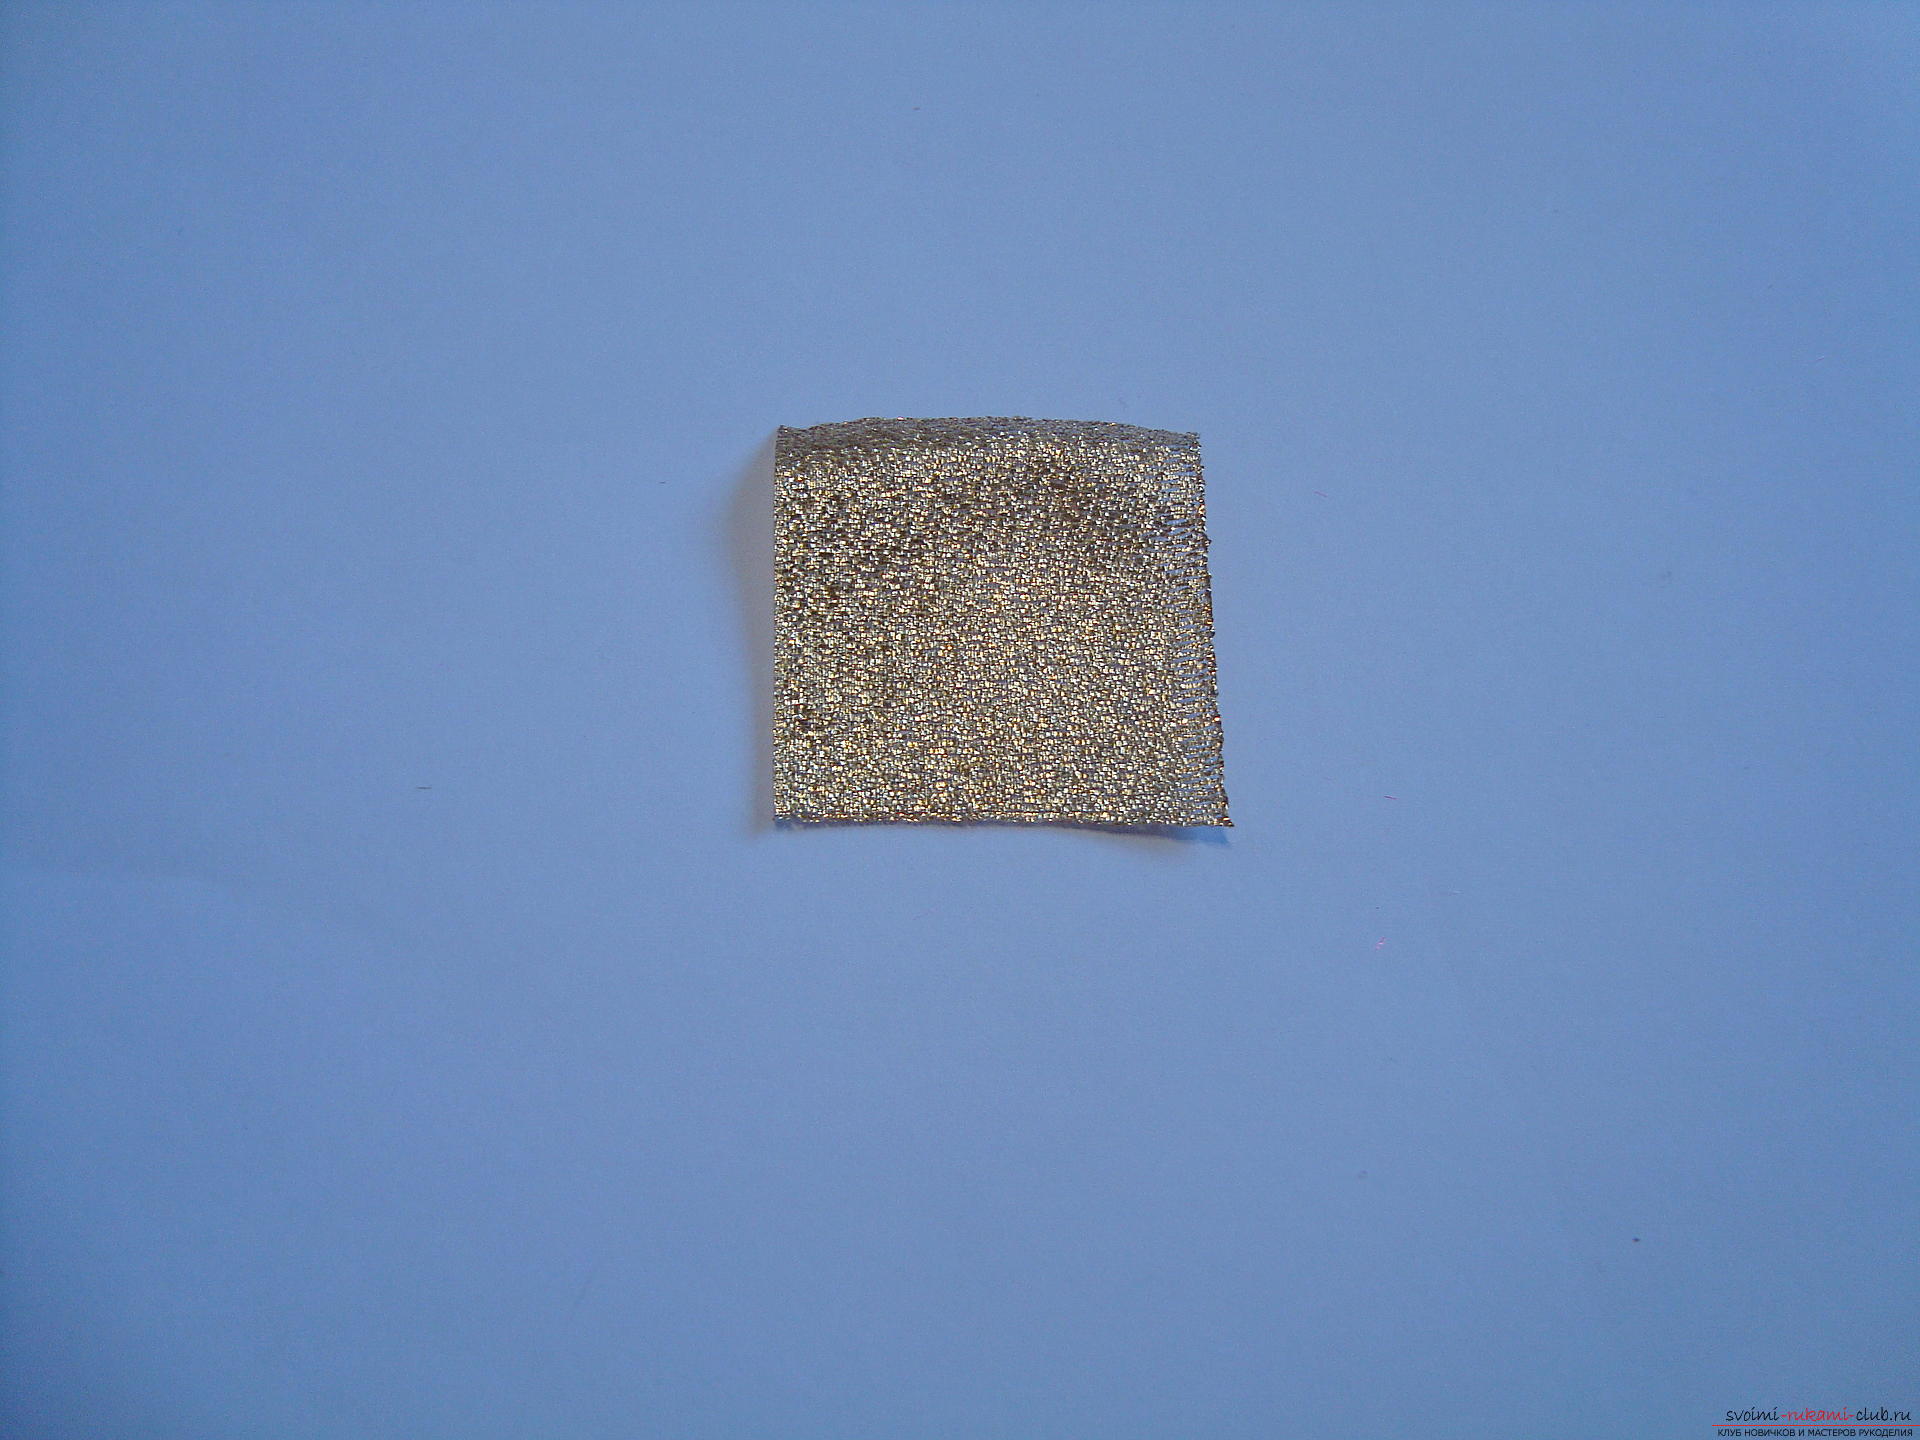 Each square element must be bent along a diagonal line and shift the two opposite corners into a single one.
 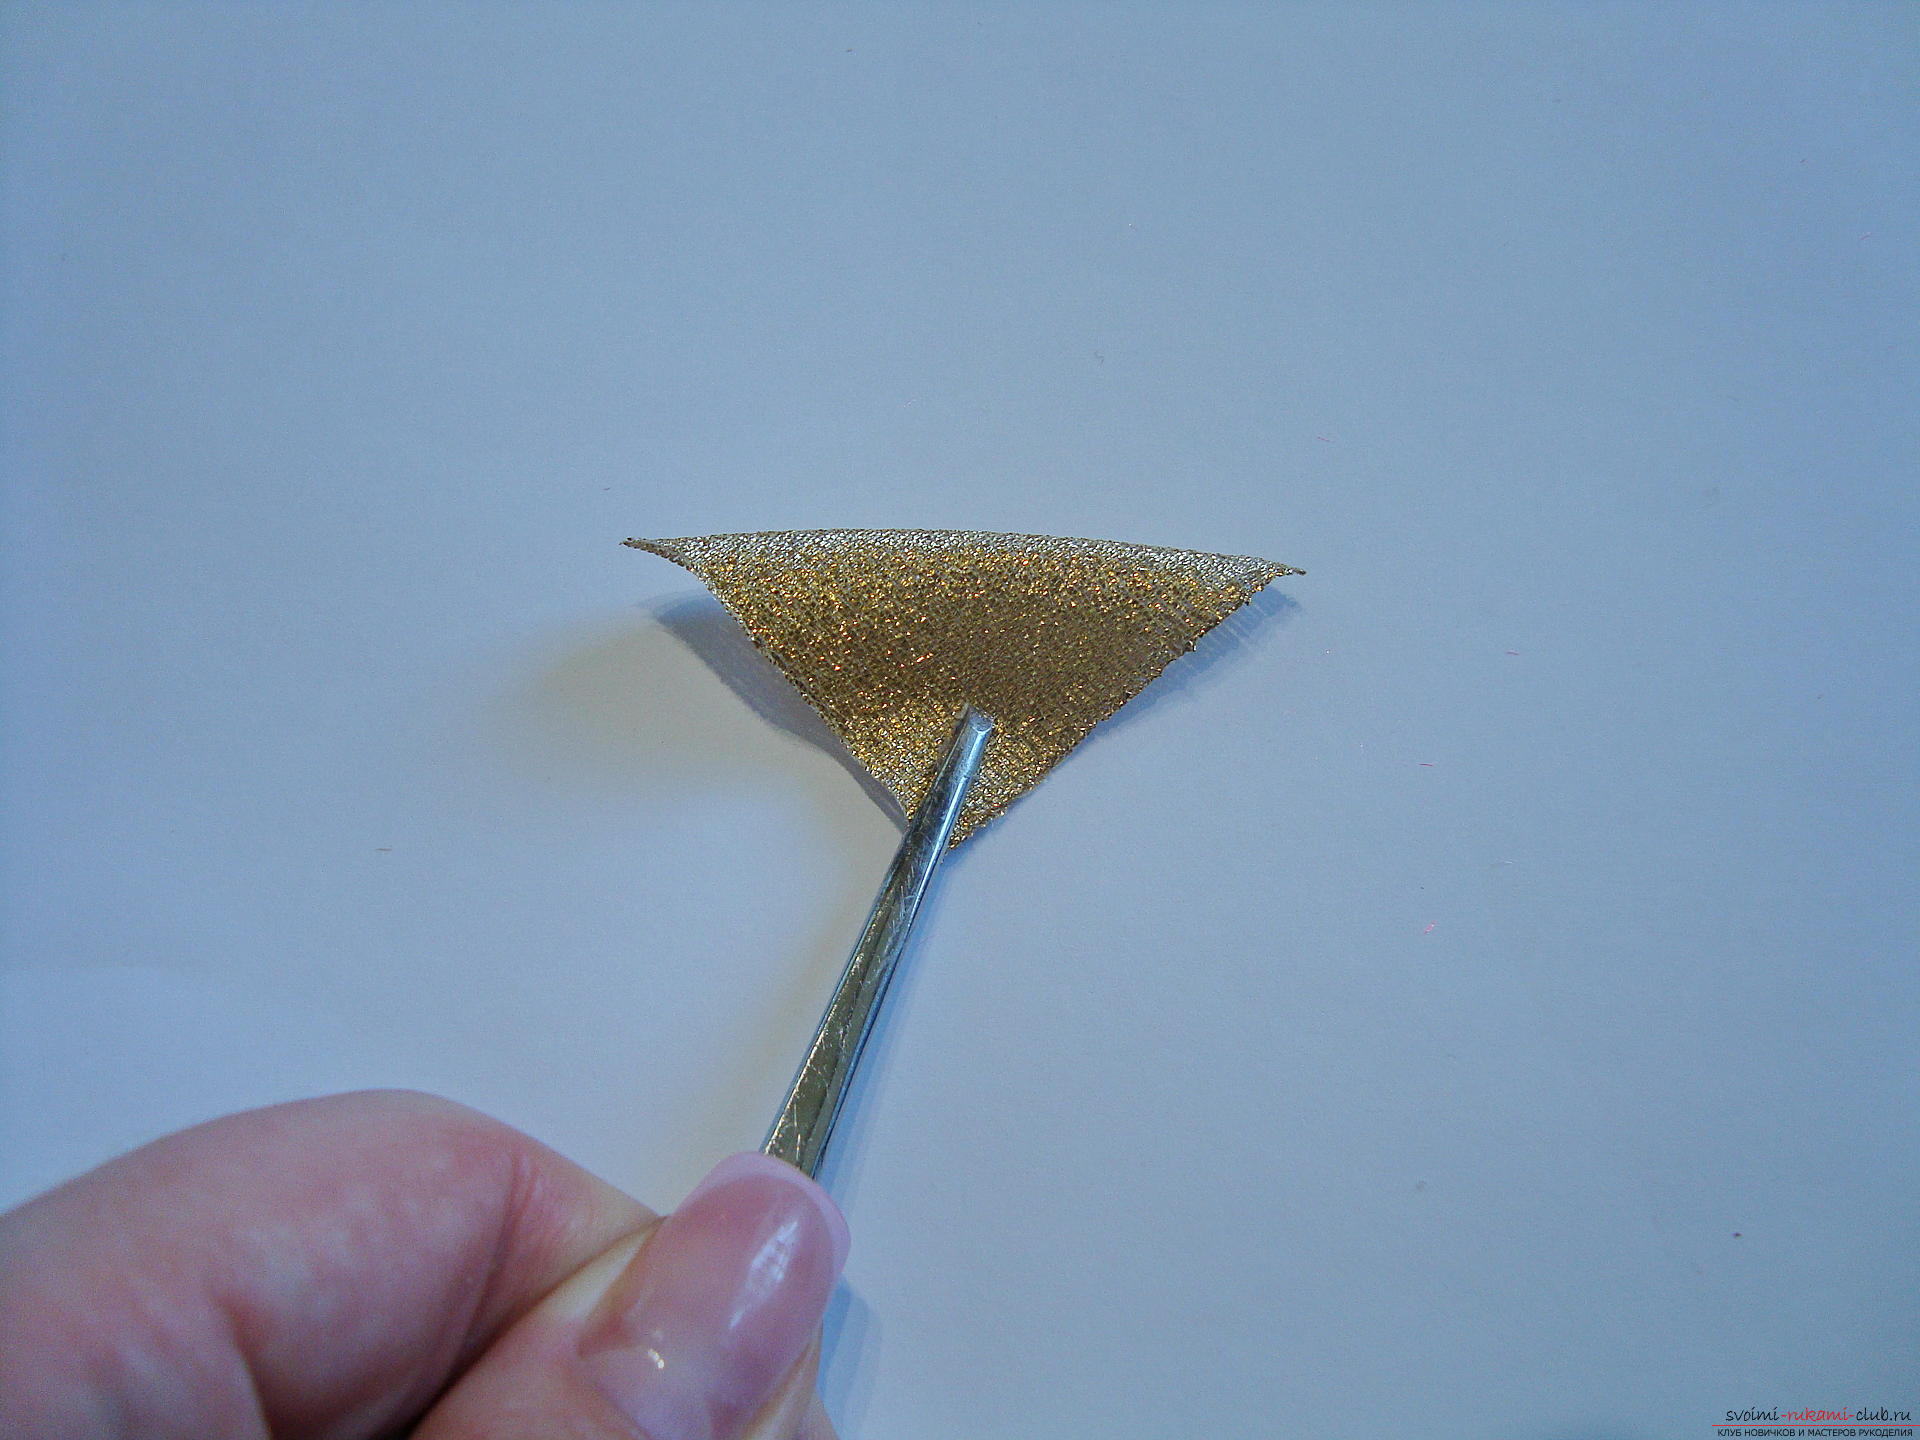 At the next stage, the triangle bendsthe second time along the median line, that is, from the center of the right angle to the opposite middle. After the created inflection, a small triangle is formed in four layers.
  Now create the last kink along the center line, that is, from the right angle to the center of the opposite line. Thus, the usual acute angle of Kanzash is formed.
 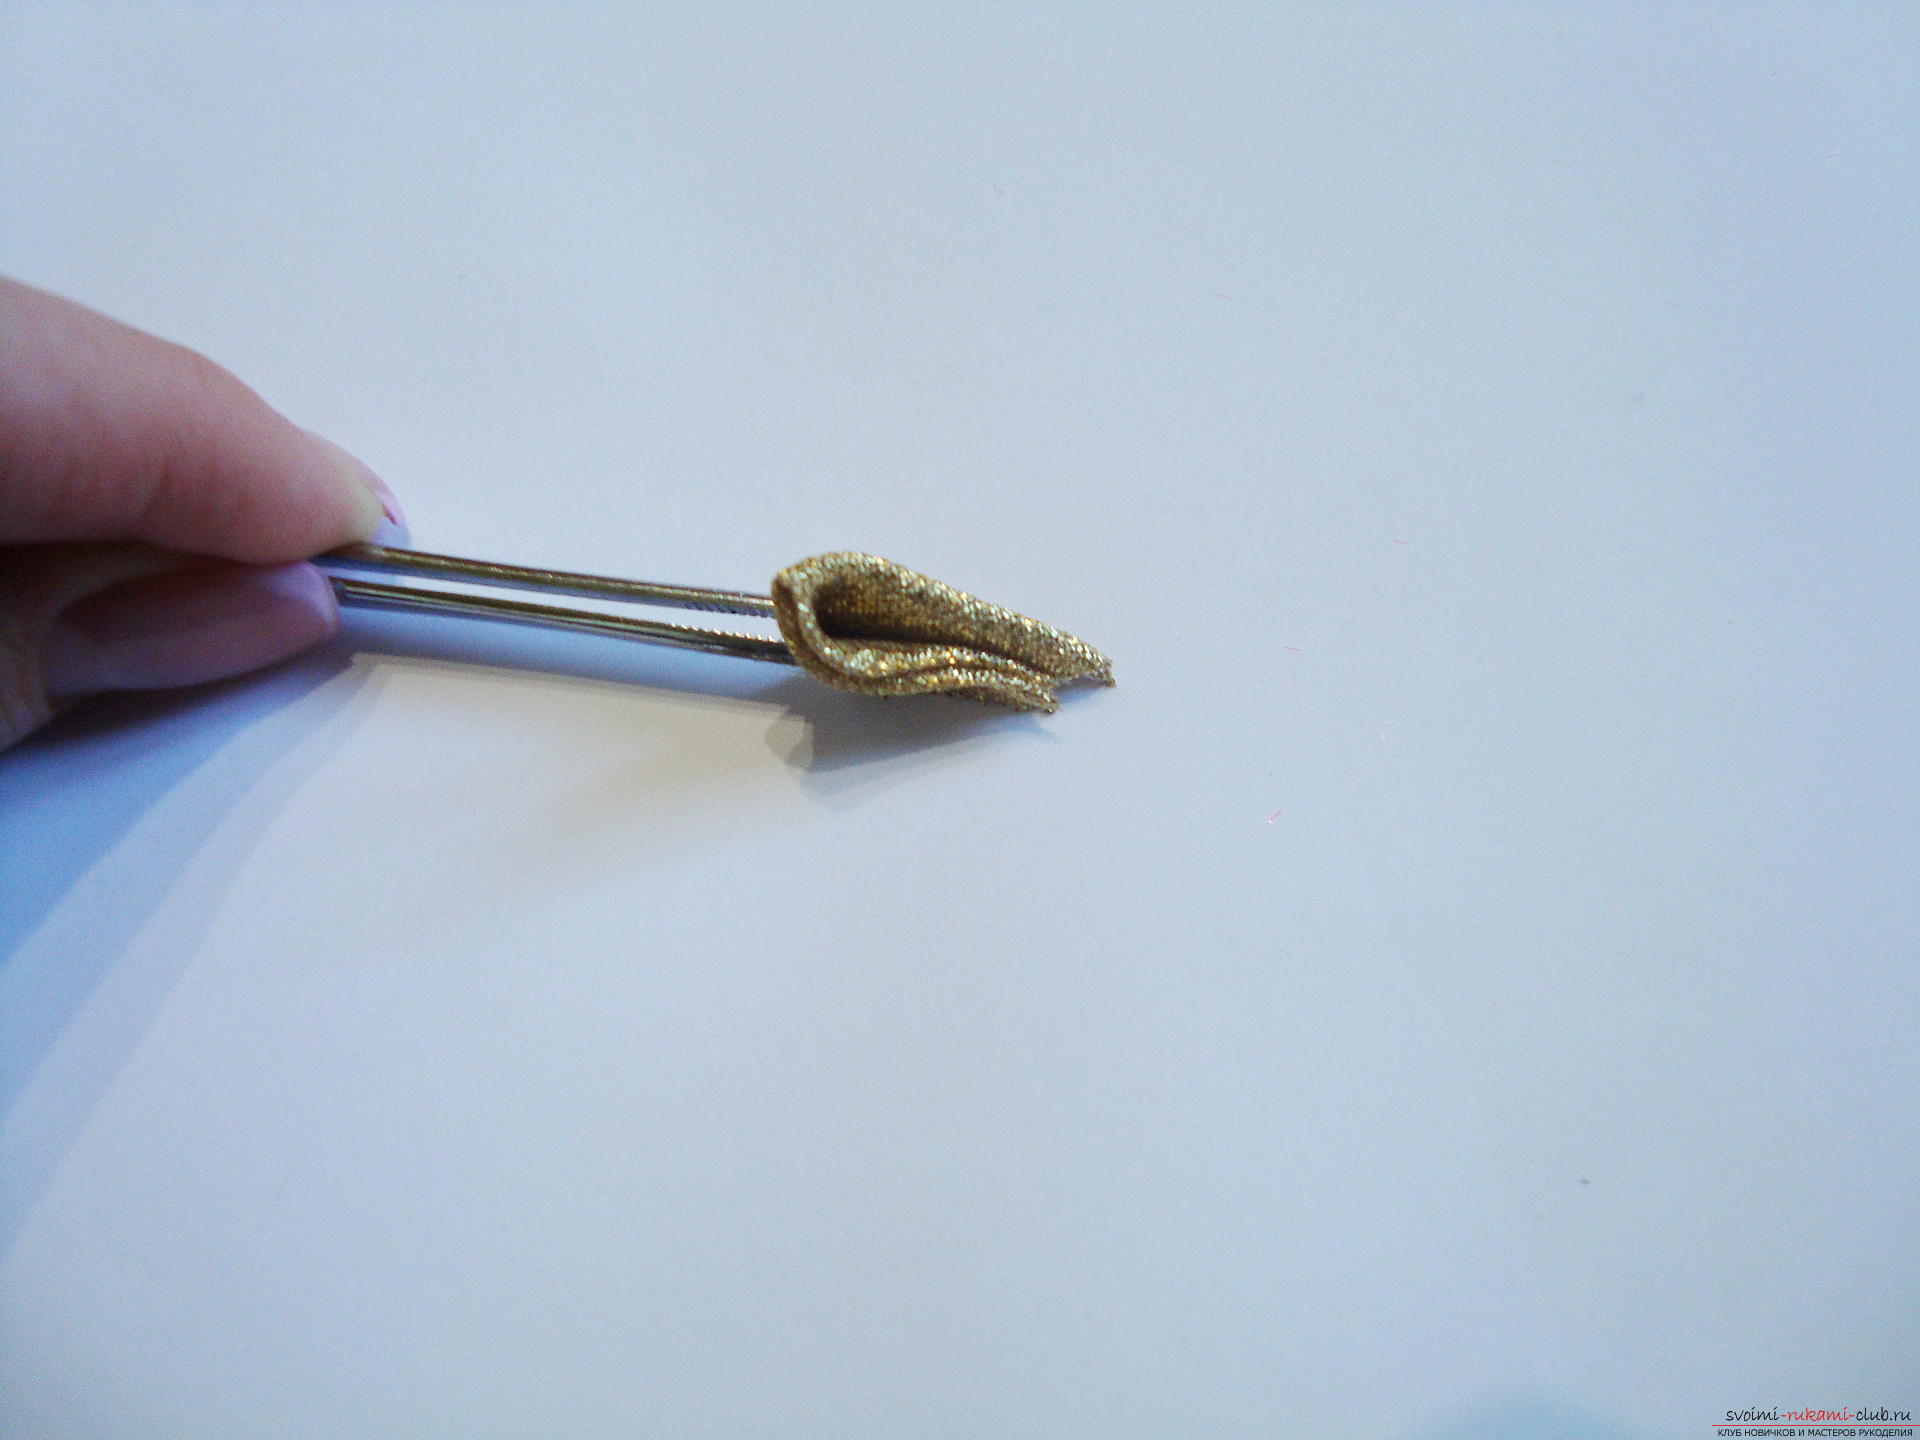 When forming a classical petalit is necessary for the burner to cut the base, soldering all the layers. But we need to unscrew the element, so with a ruler, press the part so that the base points (where the "petal" grows) and the middle of the edge of the element are connected. With a hot burner, draw one line, anneal excess material and fuse all the layers together.
 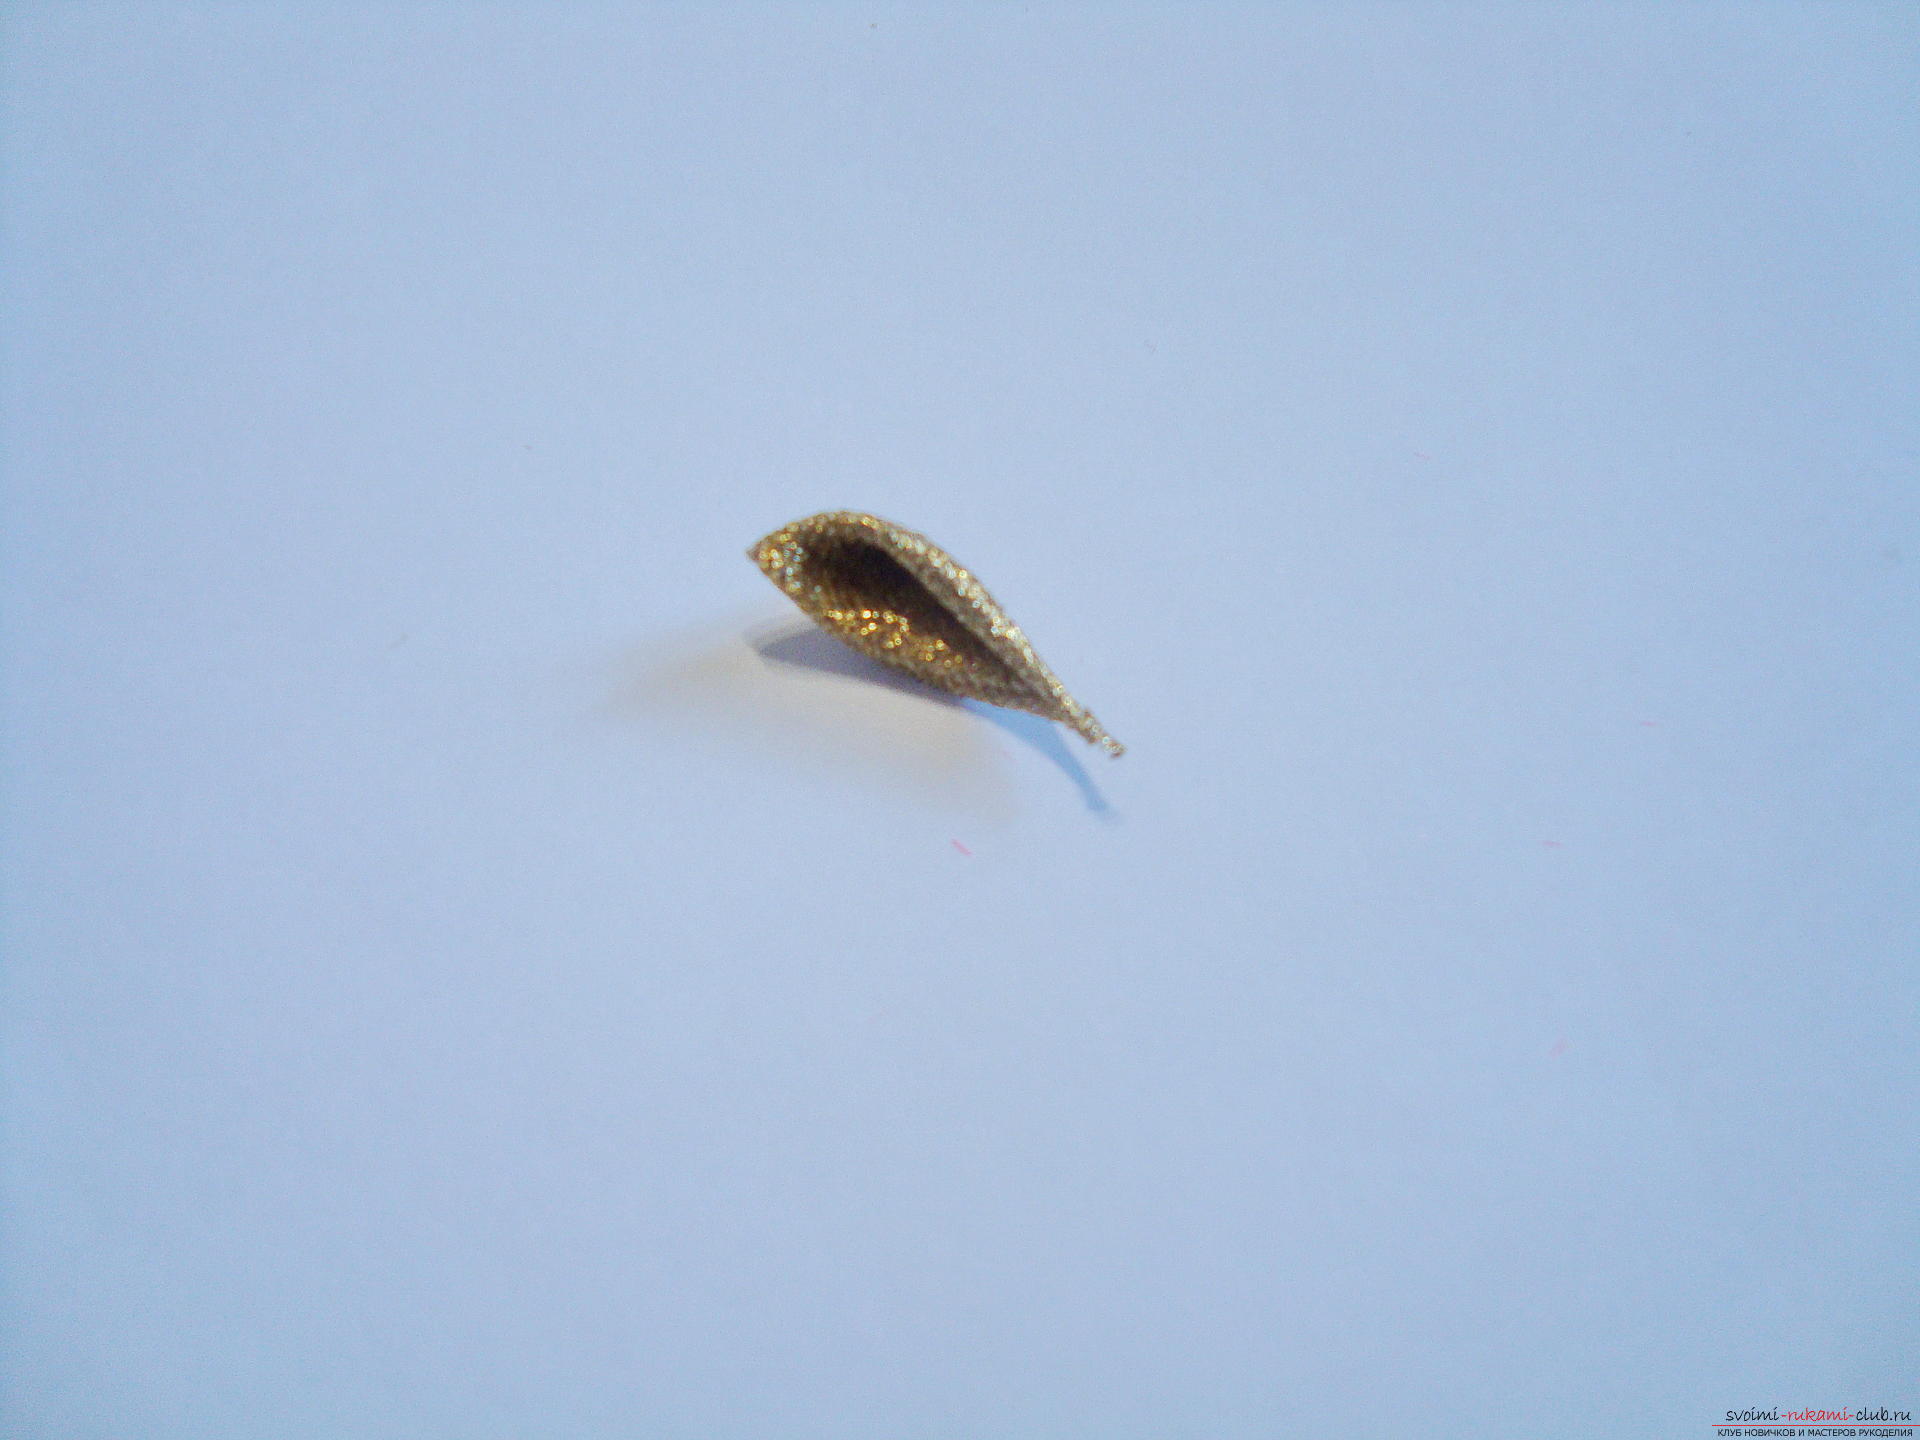 Turn out the petal and lightly scorch it hot.tool its foundation. If you leave a very sharp base, then when gluing such parts, more glue will be required, since it is necessary to fix the petal almost to the inflection line, still sharp edges prevent to bring the elements closer to the center of the product.
 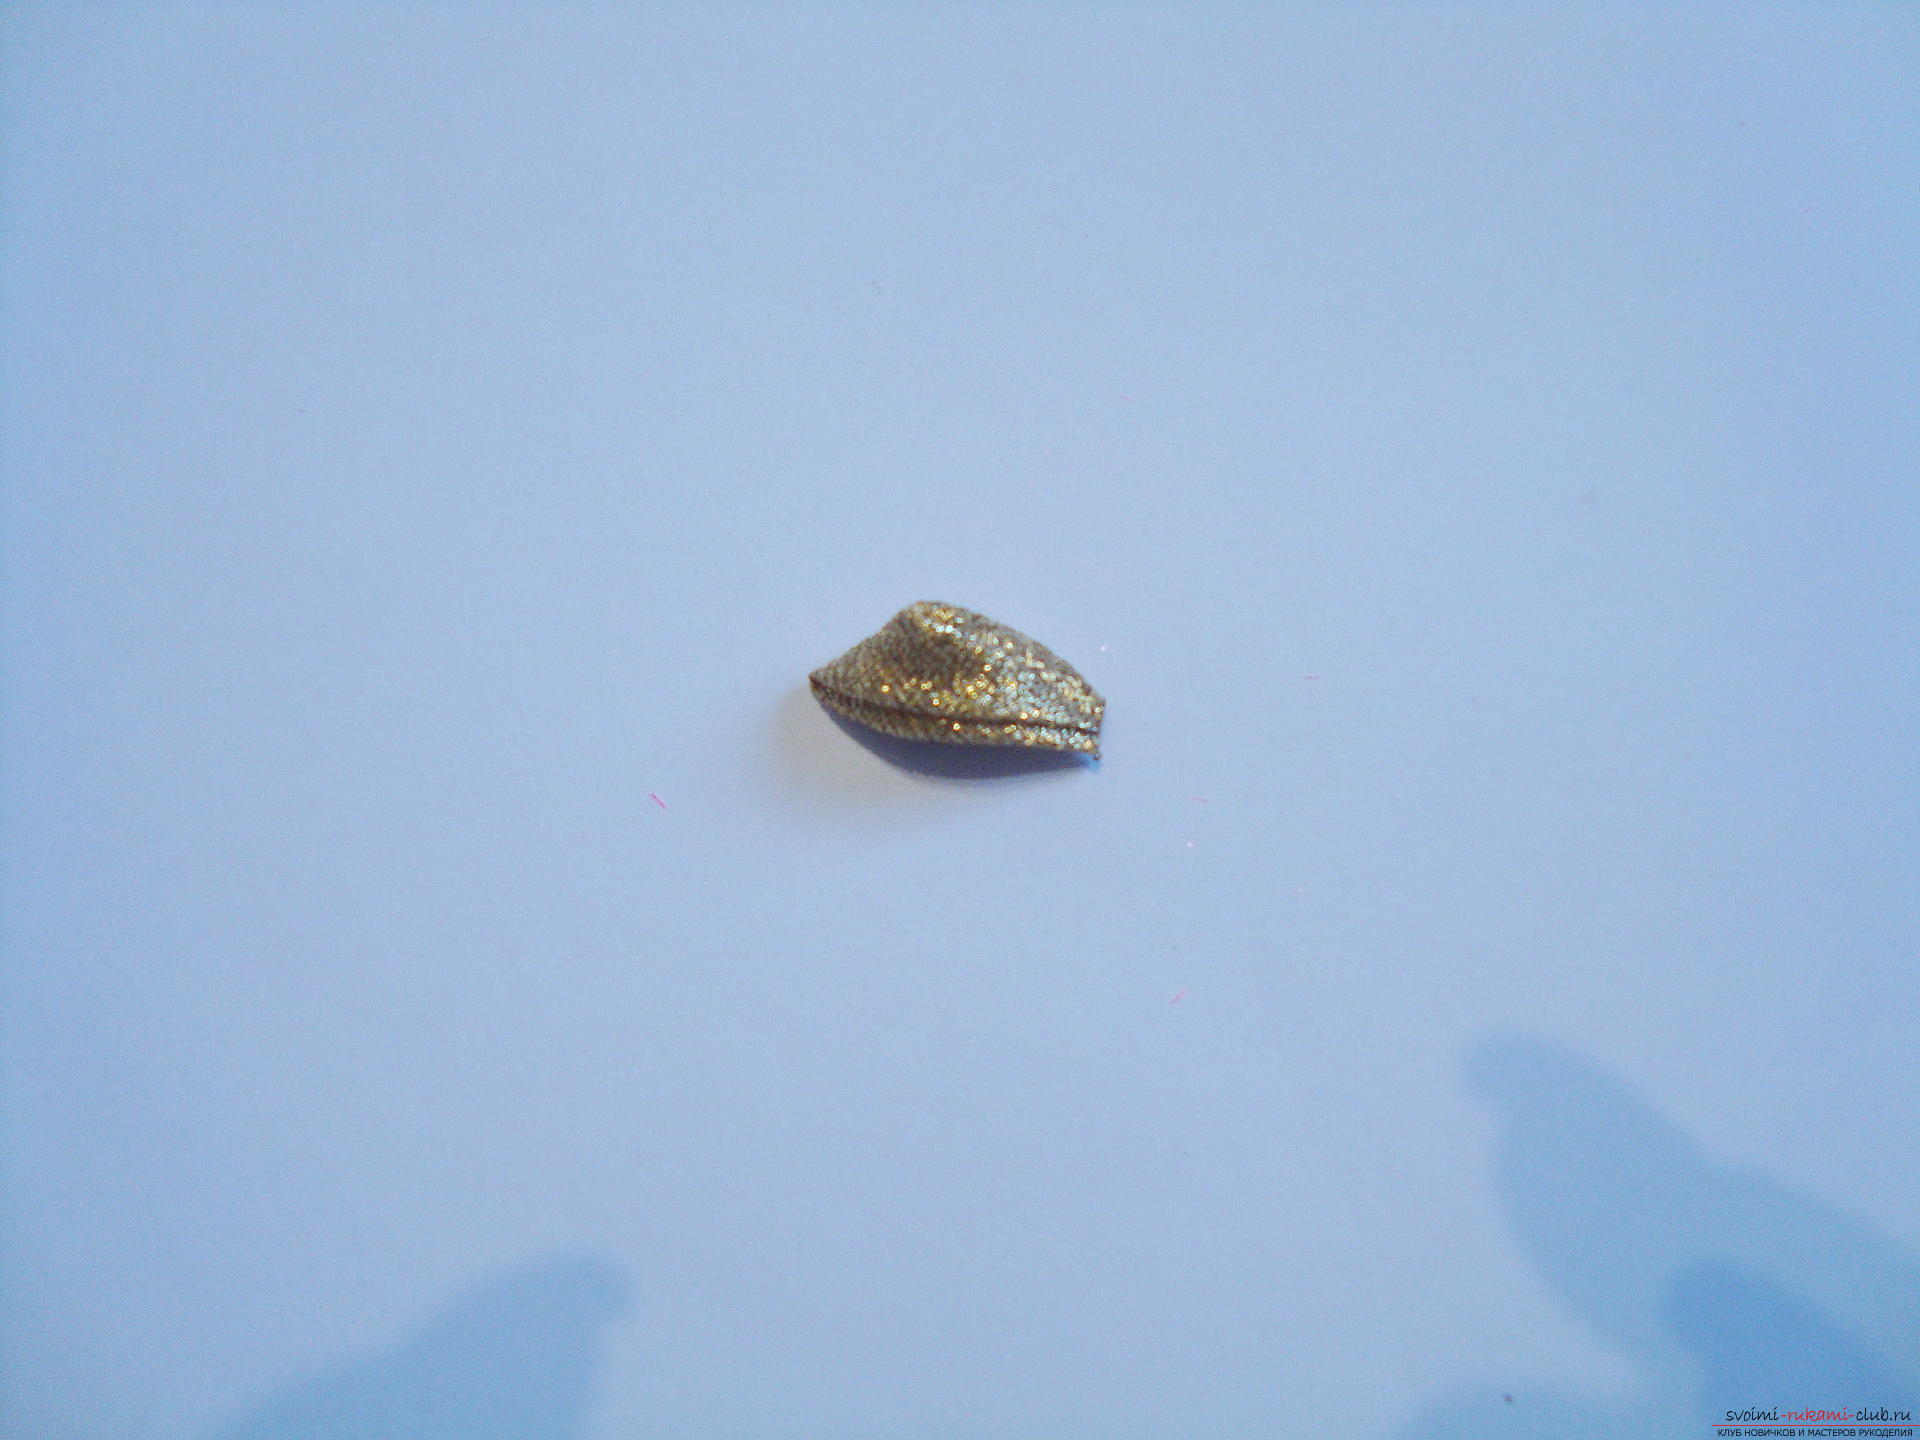 The satin circle serves as the basis of the petal. If you want to make a composition with a twig, add another base in the form of an elongated oval.
 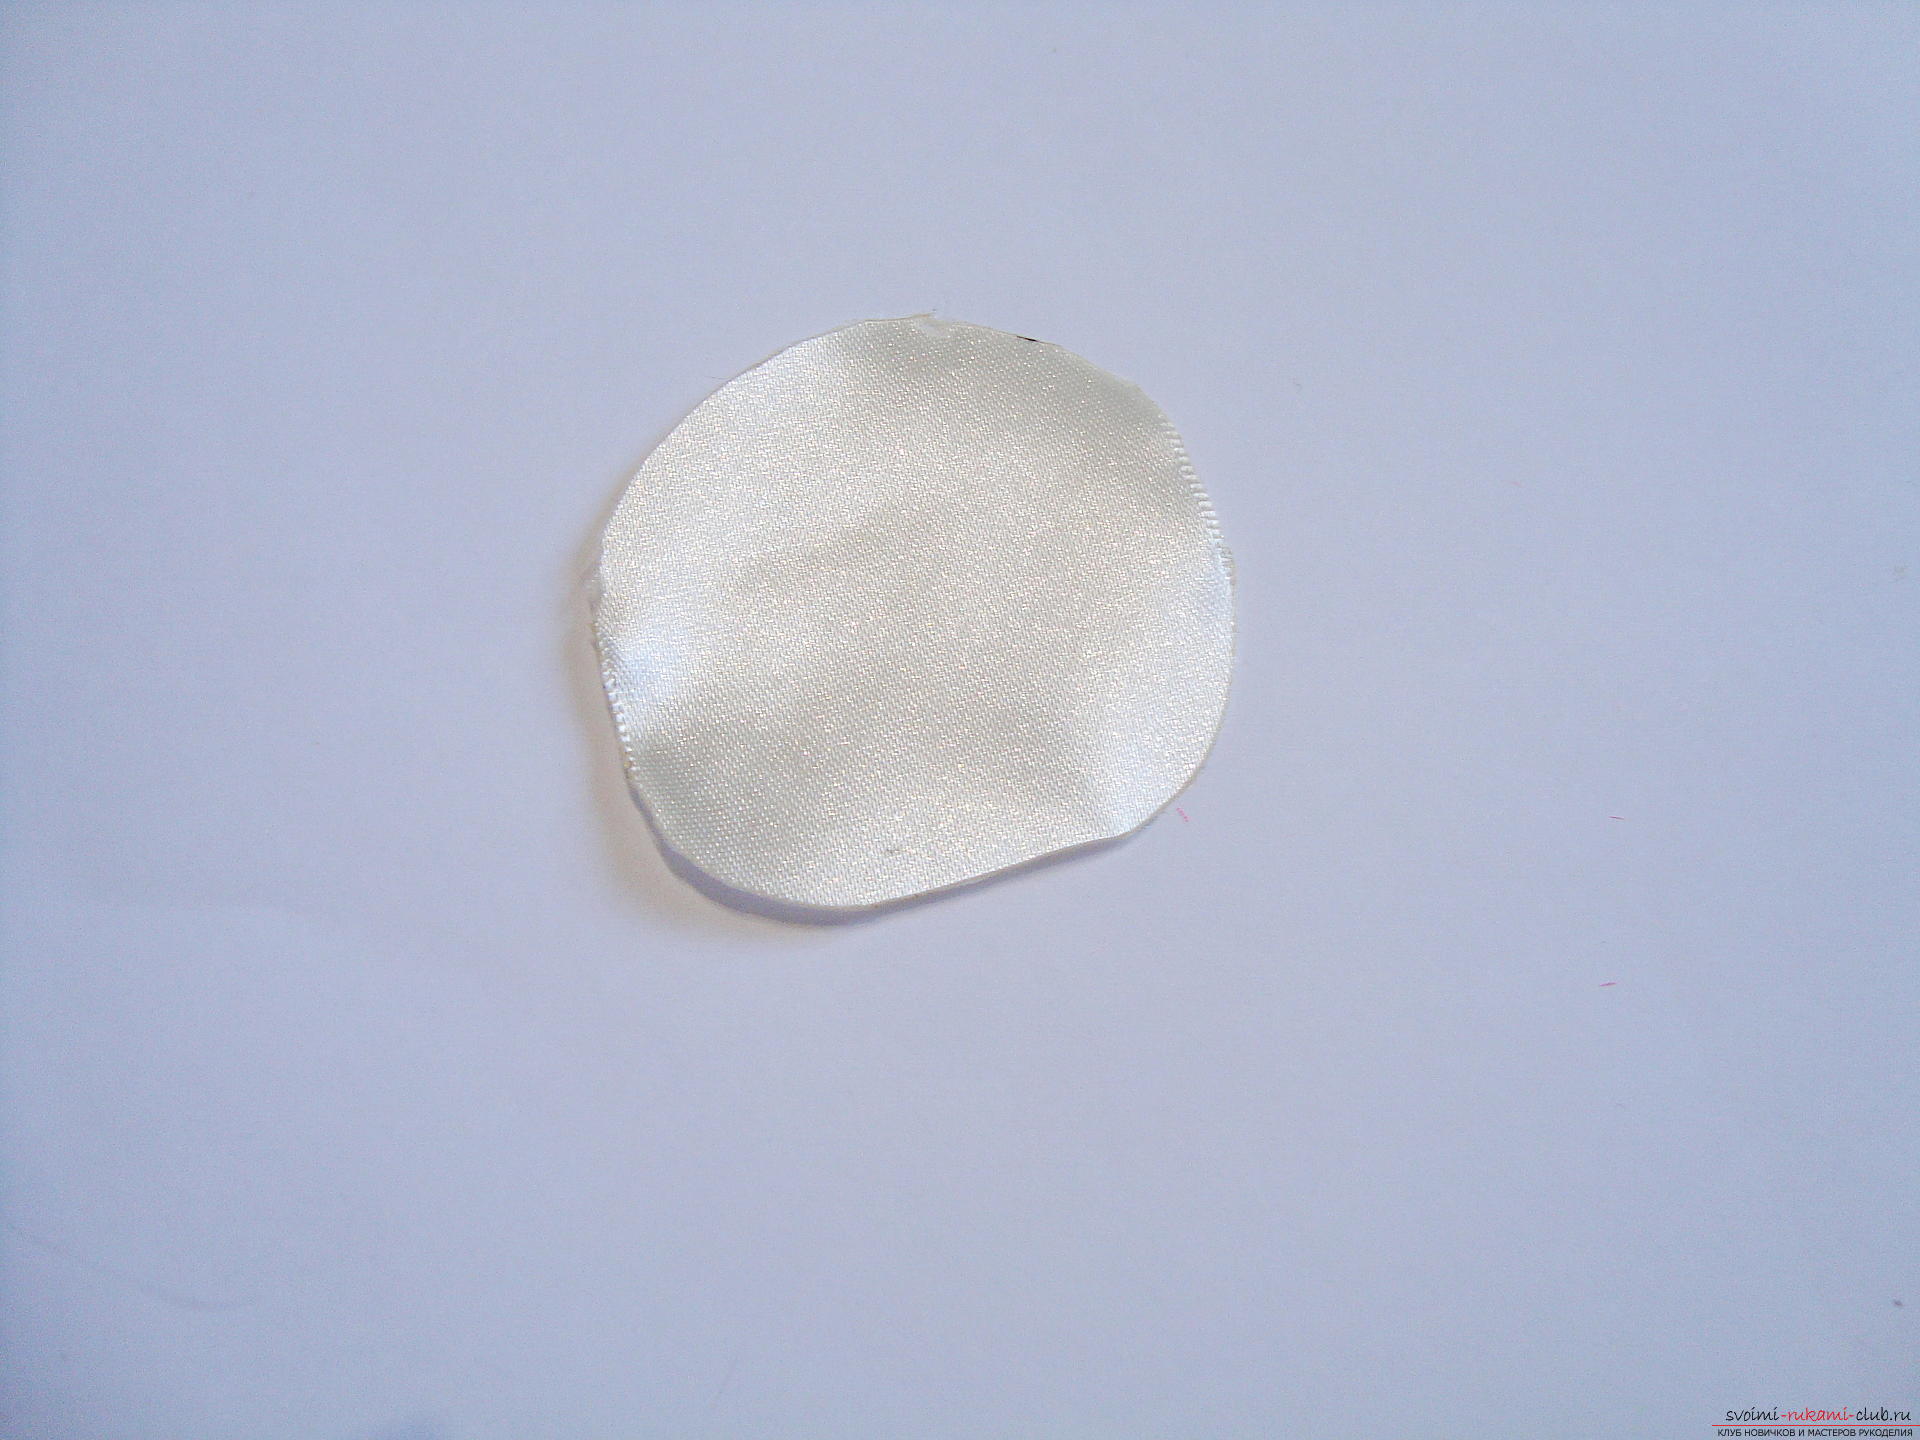 At the edge of the circle, start fixing the large elements in beige color. They must completely cover the circumference of the base, forming the first row of the flower.
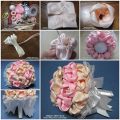
 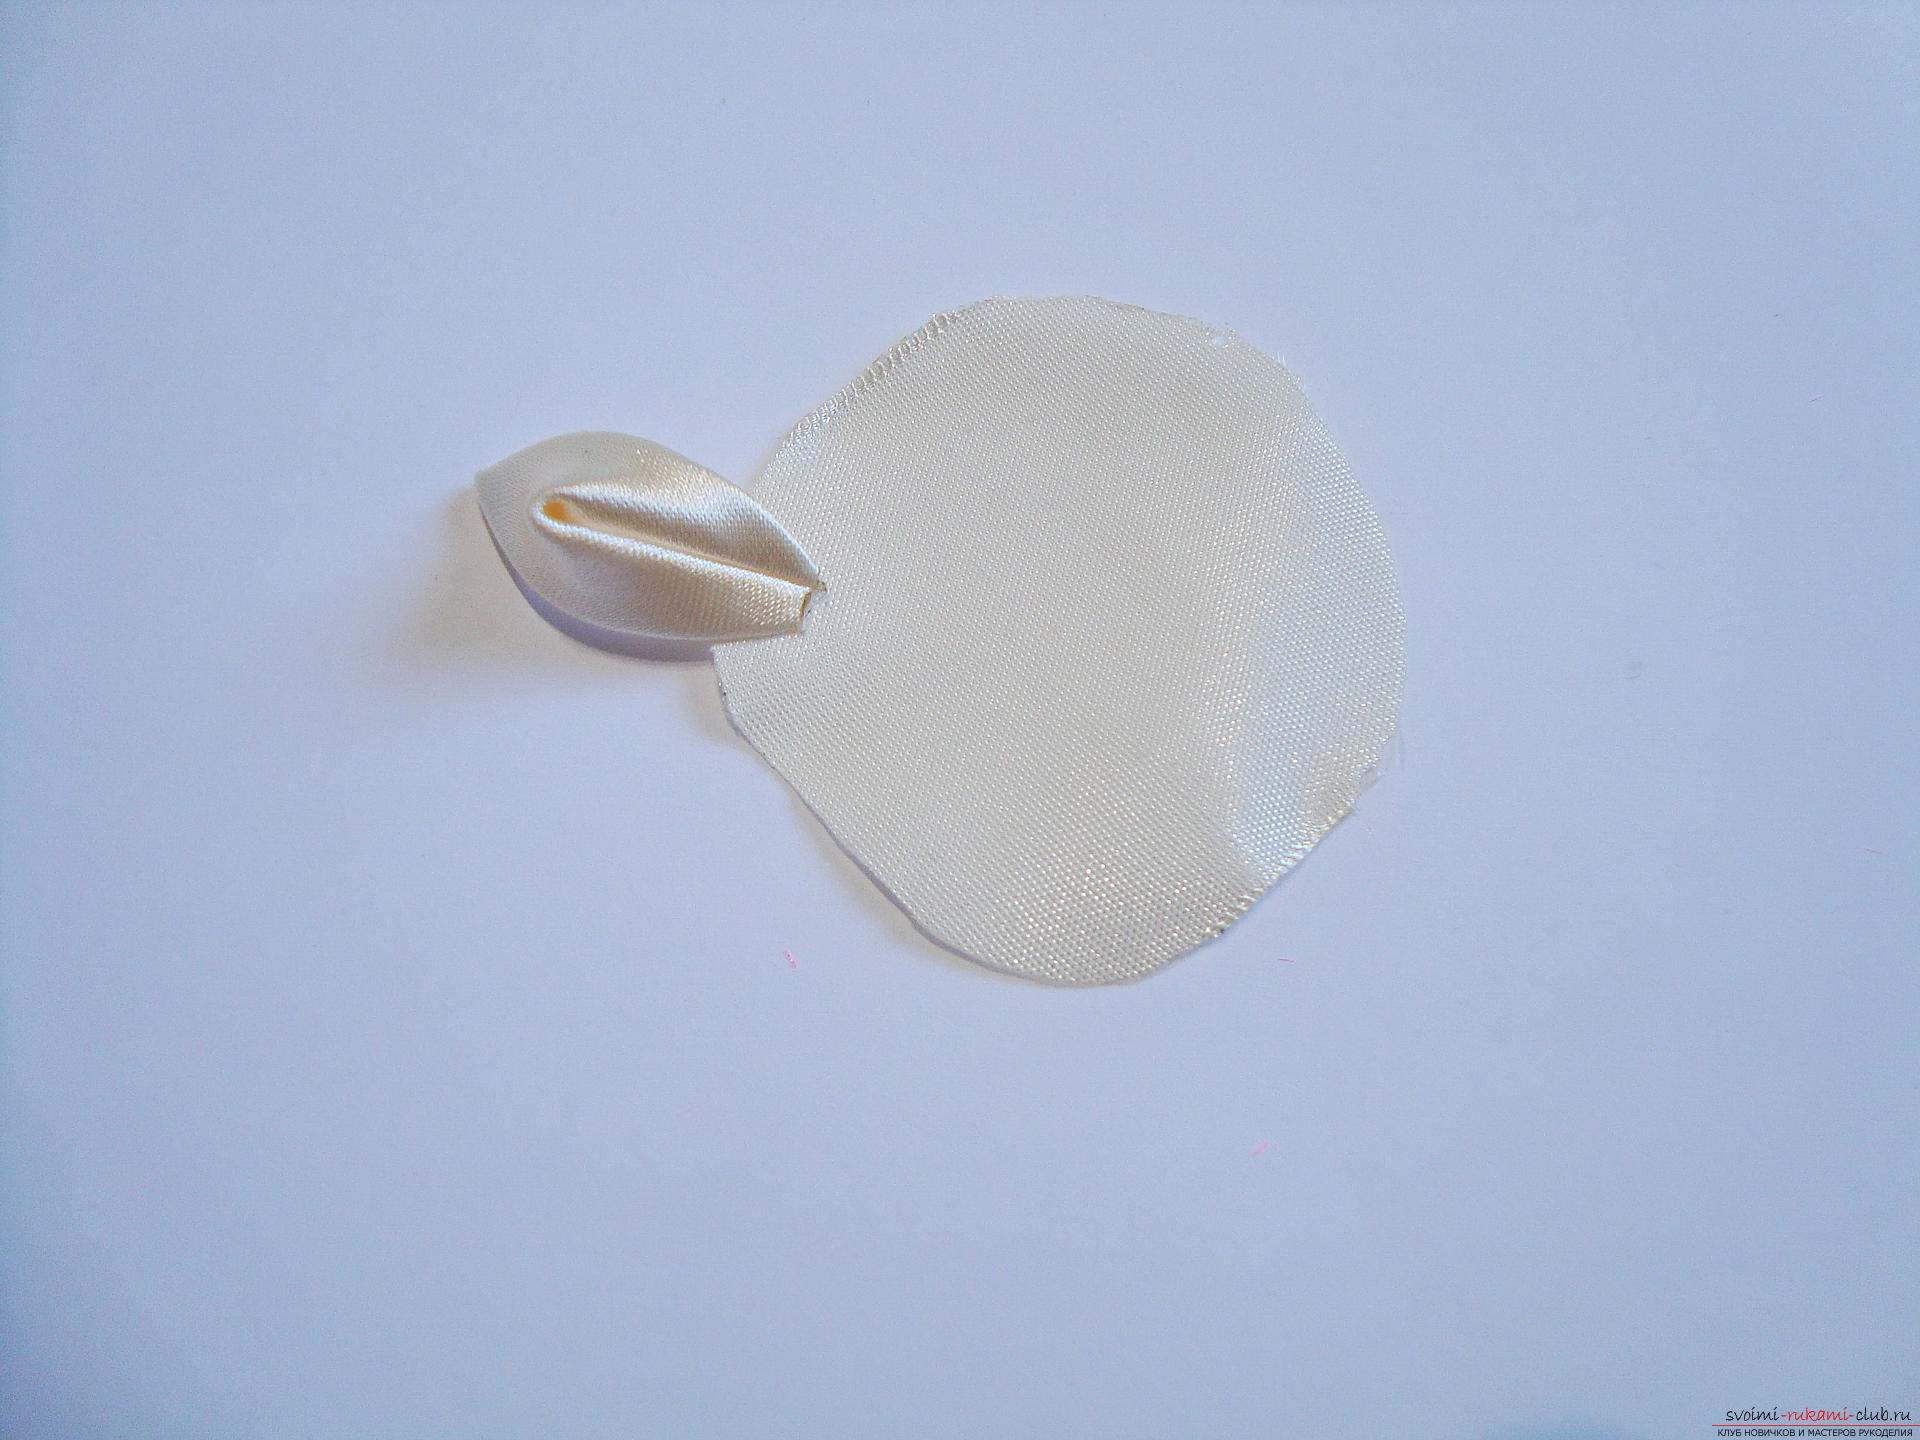 The second tier is created from gold details. These petals lie in each lumen of the lower tier, and from them a second row emerges that protrudes above the first elements. Try to only slightly shift the elements to the center, since the size of the beige and gold pieces is different. Moving half a centimeter closer to the center, the next level of snow-white elements is formed. The diameter of this circle is smaller than that of the solid beige elements, so it will be possible to fix the elements in a smaller amount. The central tier forms delicate silver elements. They need to be fixed in such a state that all the petals densely meet in the middle and symmetrically lie in the form of a five-pointed star. The middle of the flower still requires a supplement, so put a rhinestone or a tiny iridescent bead there. Arrange this element exactly in the middle and press it lightly, fixing it on the adhesive. If you remove the central decoration, then all the work will look like a curve.
 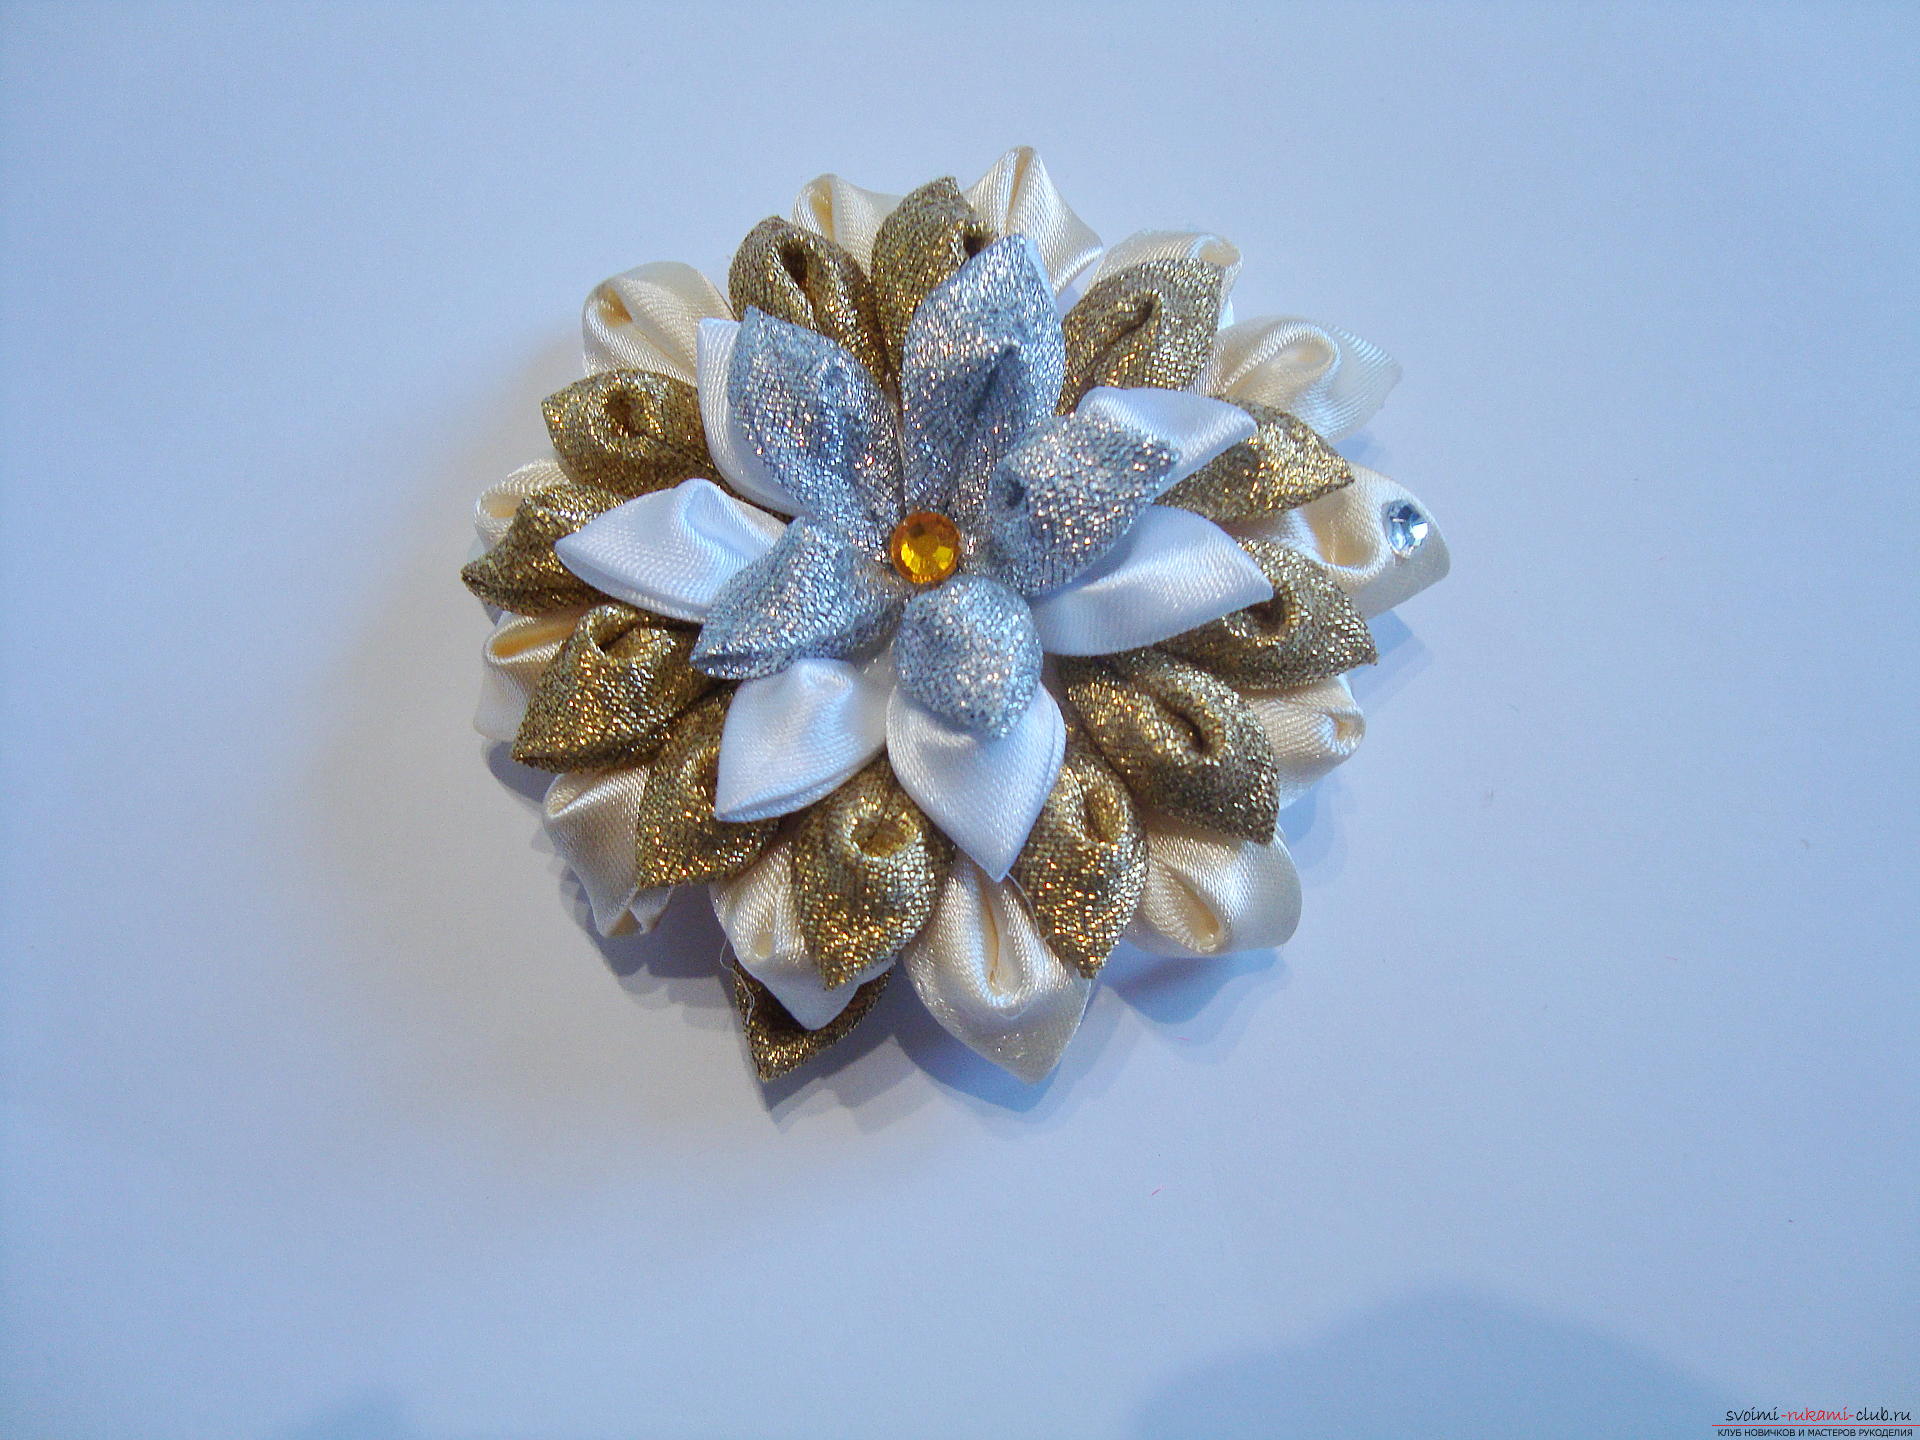 The branch is formed in a similar way by means of layers of petals, but already the elements are glued not in a circle, but have one direction and form a branch sideways.
 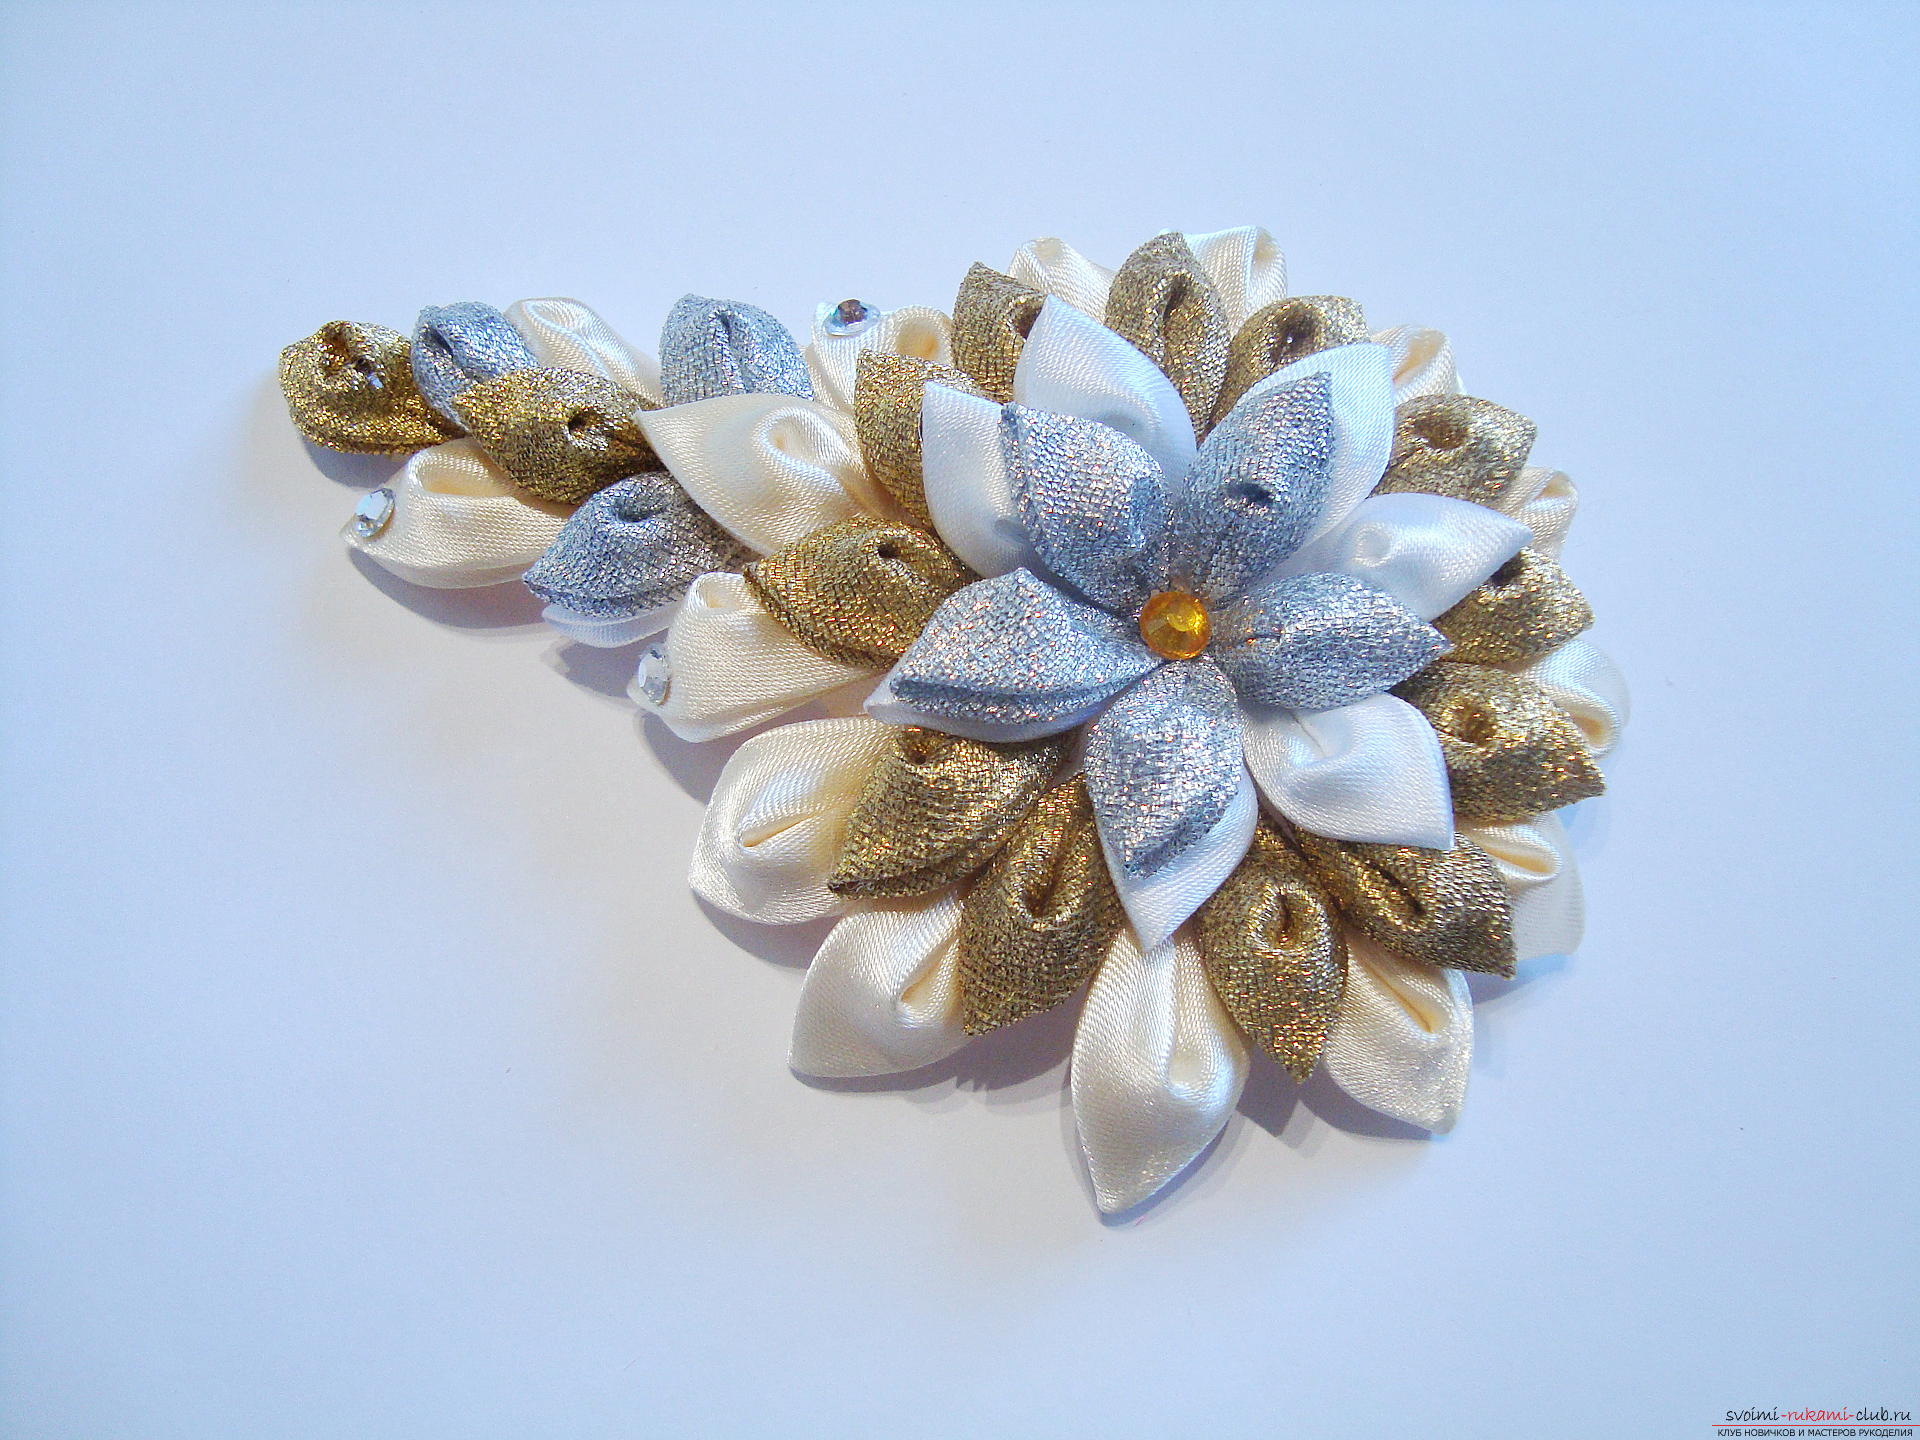 Overflowing brocade fabric is wonderfullooks both in daylight, and with artificial lighting, so this flower will beautify the hair or the jacket of the floor for any occasion. Add the overflow and brightness can be with the help of rhinestones, which are easily fixed with glue on several petals. To pick up the rhinestones, it is more convenient to use tweezers, turn over the overflowing part, apply hot melt gloves and immediately gently insert the element on a suitable place, lightly press the rhinestones to the fabric with two fingers. From this master class you learned how to create a wonderful three-dimensional flower with a twig. Changing the color of the product, you can create your own unique accessory according to the described technique. The most difficult moment in bending the workpiece and forming a Kansashe petal is presented in the video lesson above.
Comments
Related posts:
 Kanzashi is a master class. Flowers from satin ribbons with their own hands.
 Master-class hair clips Kanzashi own hands - the original decoration for hair in the form of snowflakes.
 Master the magnet organizer yourself - free master class
 We make master house-kitty for packages with own hands - interesting and detailed master class
 Technique of a quilling flower "Fantasy" with their own hands - a master class