Master-class on knitting of universal children's sweaters on knits
Caring mother's hands can do anything, even tie upA sweater for your child that will warm the baby in the autumn coolness and will be unlike the rest of the wardrobe. Things created by themselves, are especially gentle and pleasant for the child. This sweater is bound by a universal pattern, which is suitable for both the boy and the girl, the purpose of the product determines its color and additional elements. If you tie a sweater in blue and white, then it is more suitable for the boy, but the pullover in gentle colors, and with the addition of ribbons and bows, will fit only for the nice little girl. 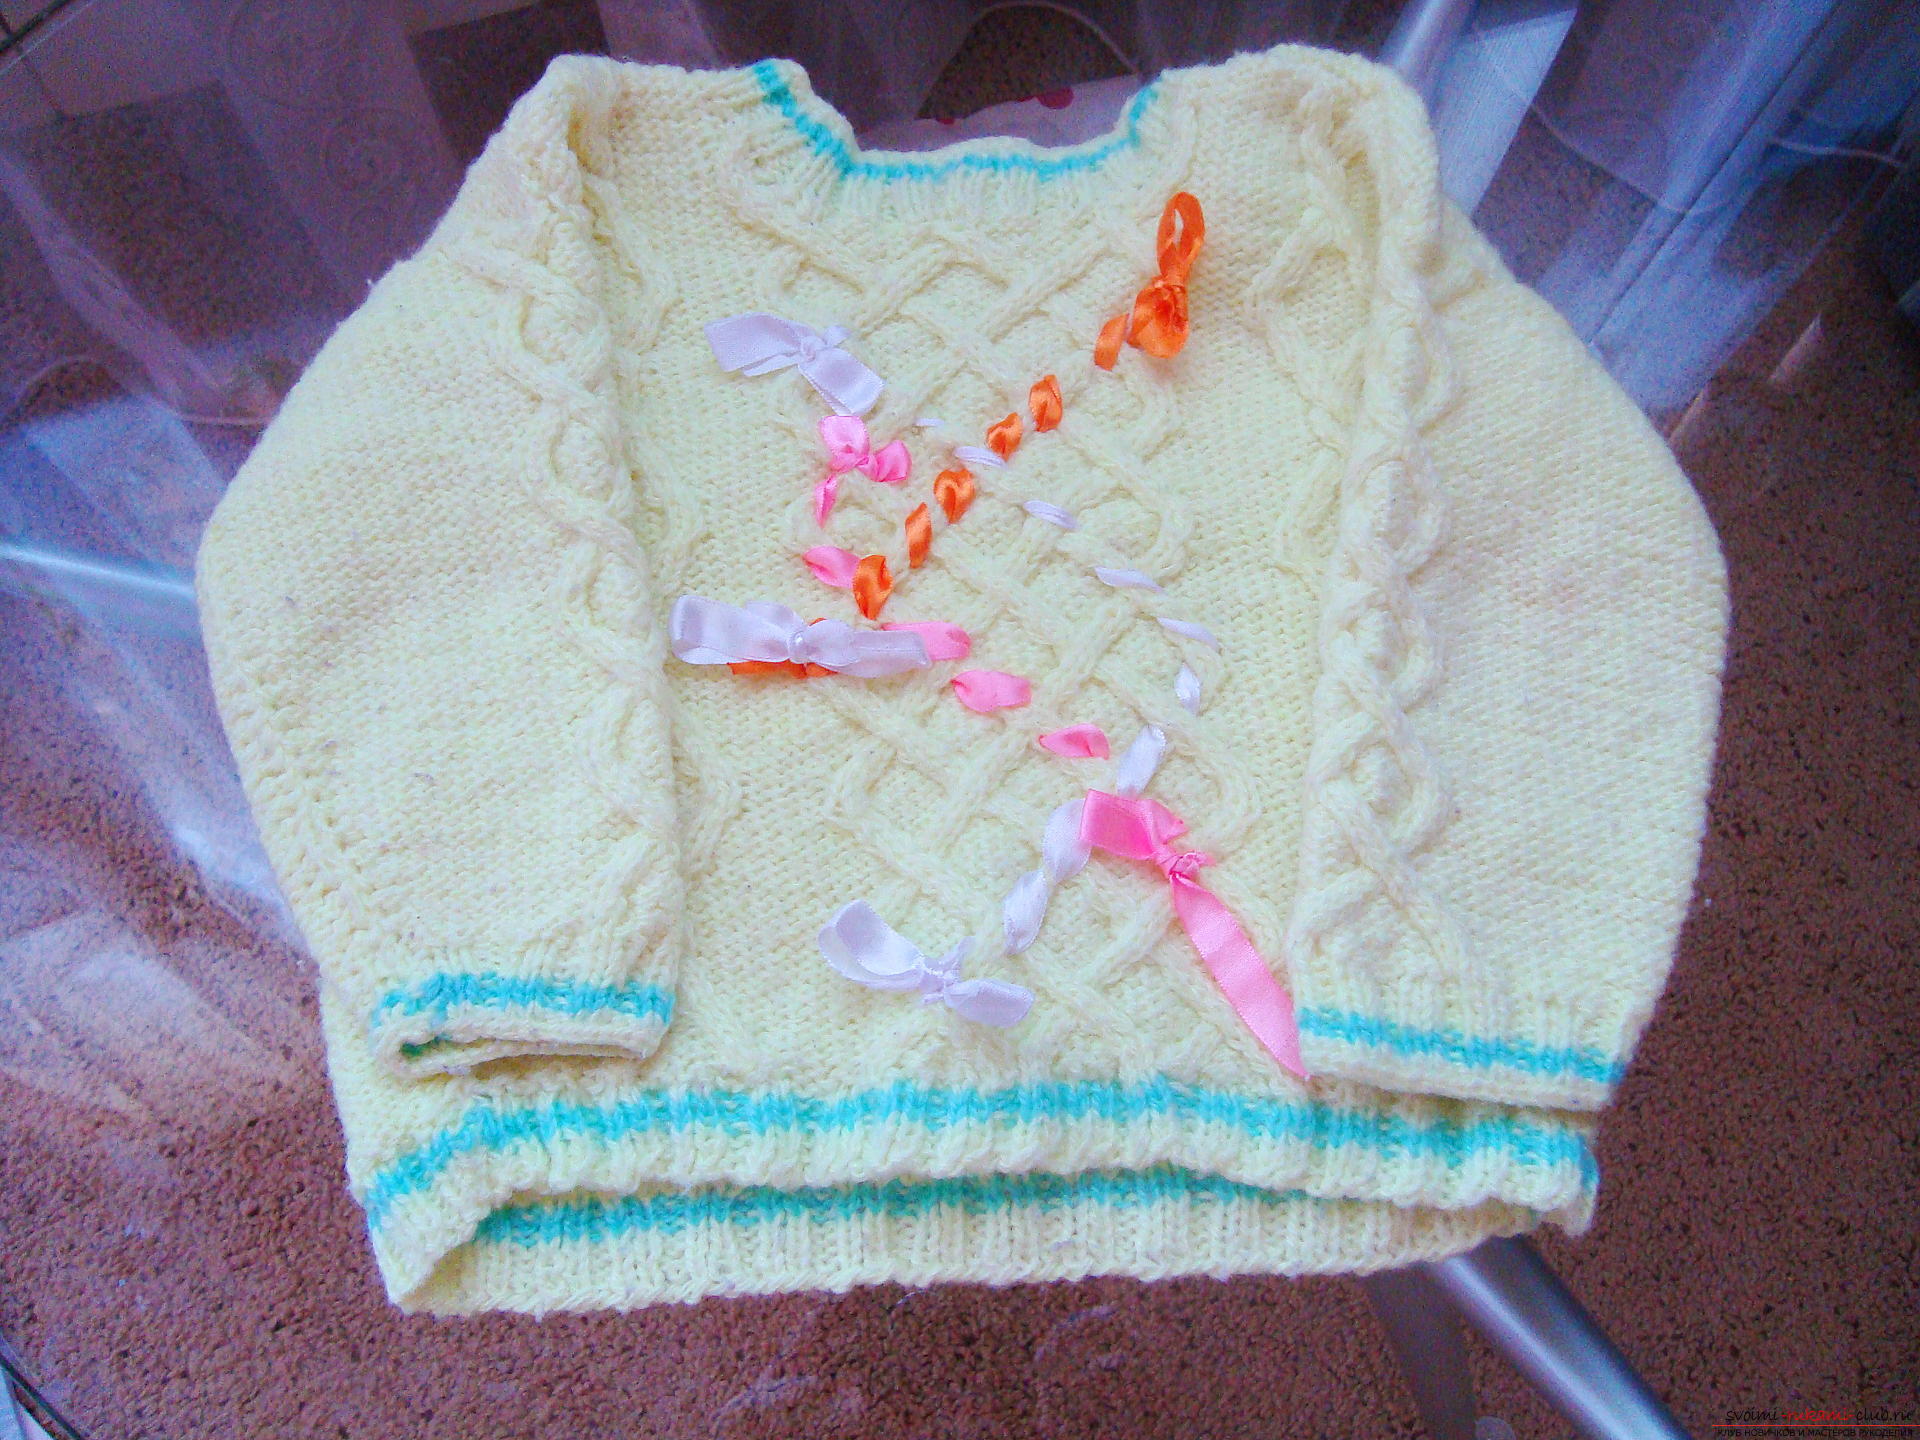 In the creation of the sweater involved different weavefrom the braids, which are made with the help of an auxiliary knitting needle, but still this is a simple drawing that can be repeated by a beginner with minimal knitting skills.
 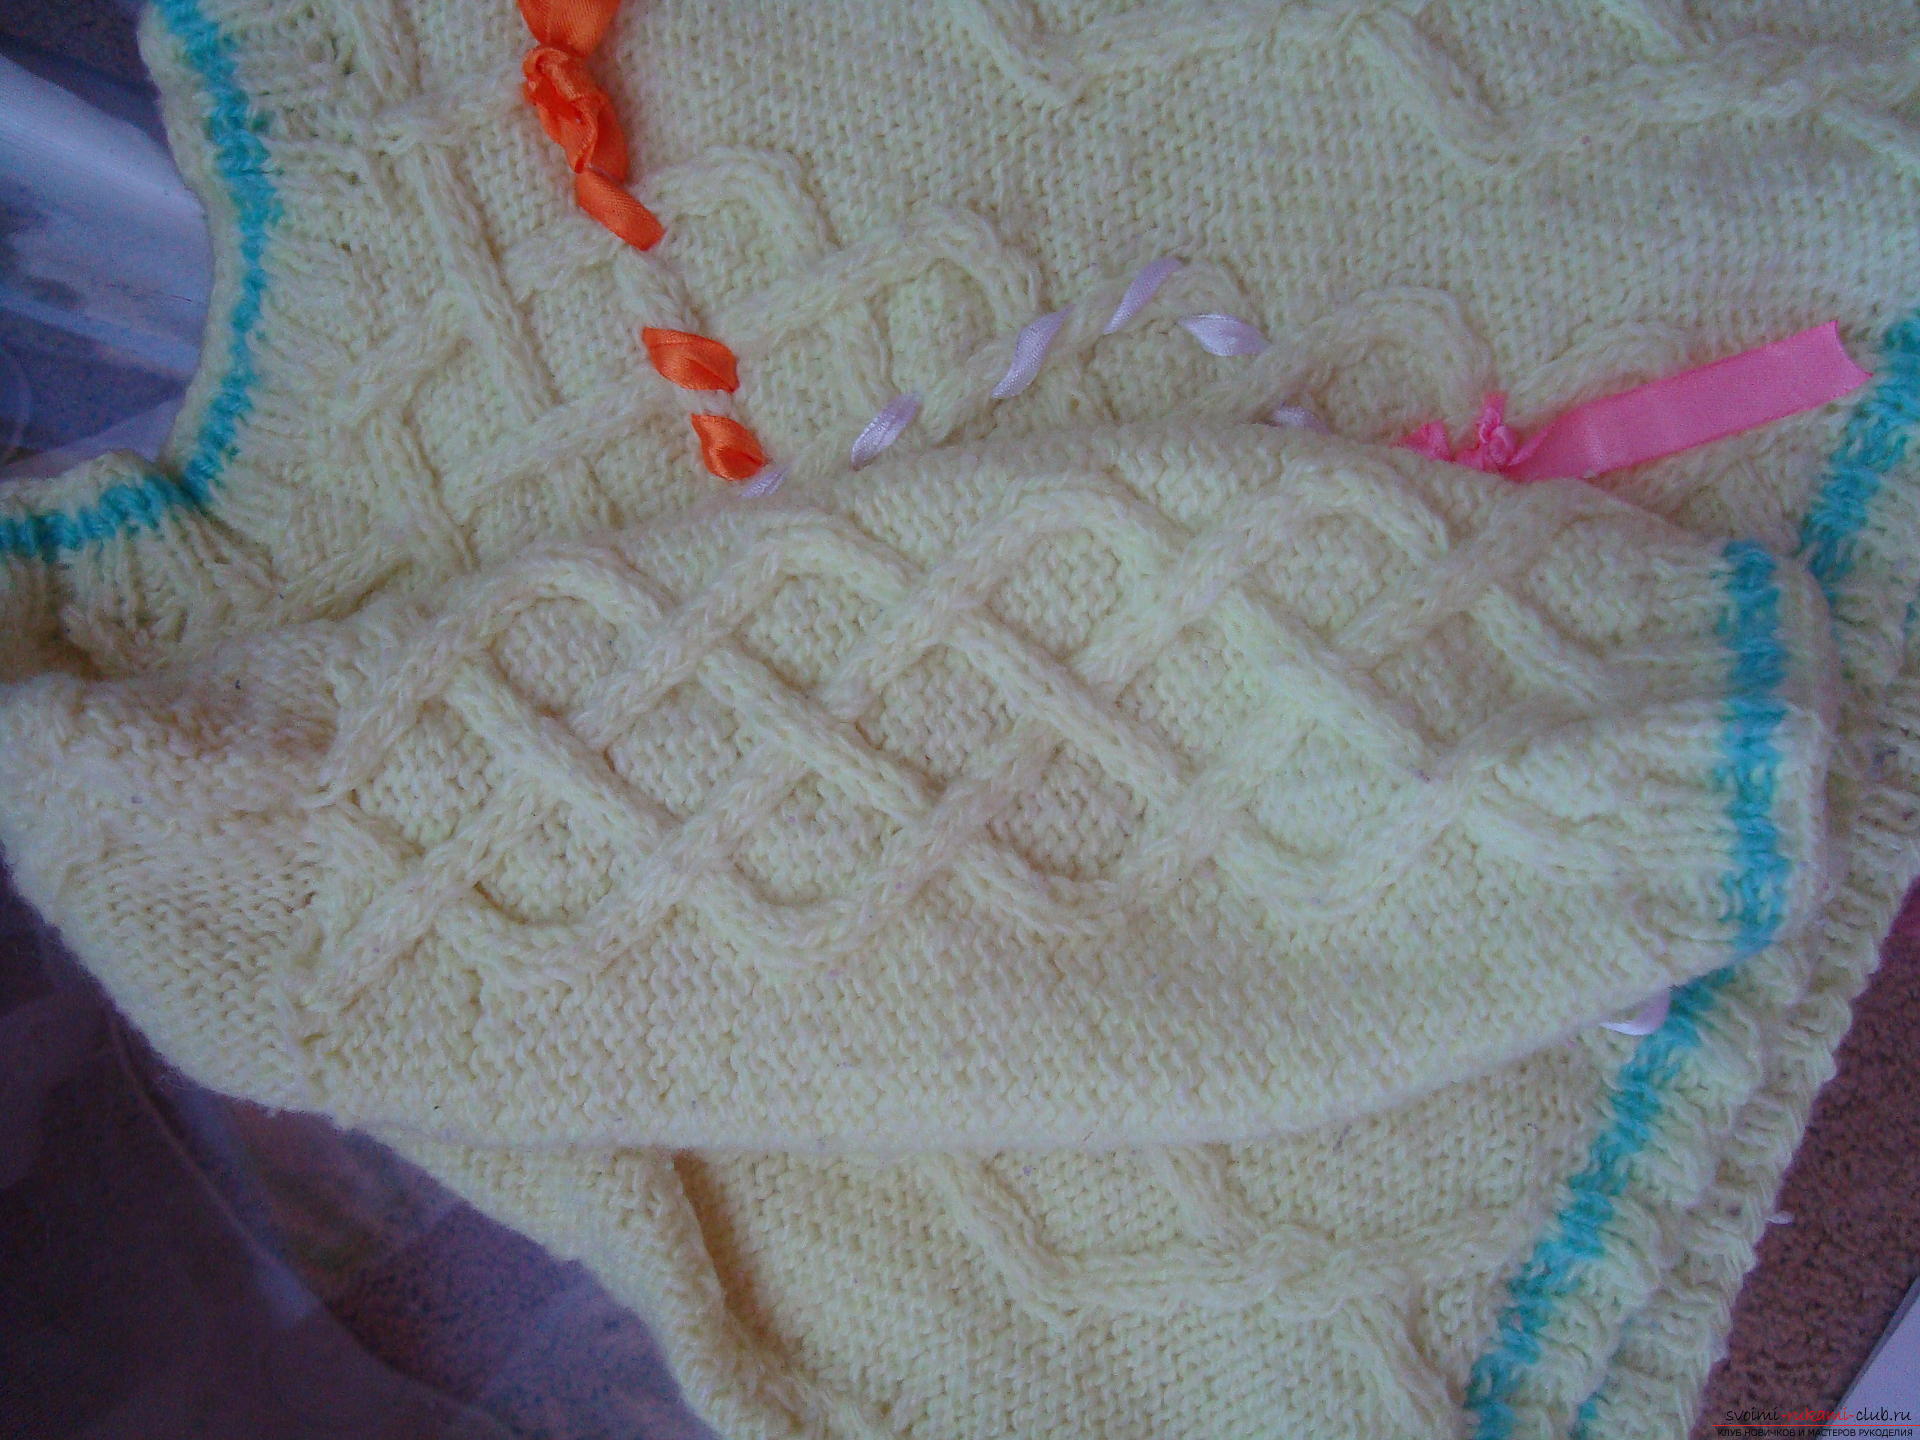 For a sweater, 200 grams of basic yarn will be required. Choose a wool blend or a different thread that will be soft, not snap to the touch and like your baby. Still need a bit of a different color thread to add to the cuff of the product. Prepare the main pair of spokes and one additional, which will be sharpened on both sides, because you have to remove the loops on one side of the knitting needles, and tie them on the other side. To calculate the number of loops, you need to tie the sample from the selected yarn with the knitting needles and only then will you know how many loops you need. This sweater knitted from the middle thread, knitting needles No. 2, the size of the product per child of two years, so for the back and front part, there were 70 main loops and two side loops. The loops between the thumb and forefinger are drawn from the stretch of the thread. Two knitting needles participate in the set, which allows not to tighten the elements, then one spoke is removed and knitting begins to be performed. The lower part is knitted with an elastic band to form a pull-up cuff that will allow you to shape the sweater. For her, tie two eye loops and two loops at once. This pattern of knitting alternates throughout the first row.
  Turn the work over and knit alongindicated by the loops, that is, if the pair of loops looks like a braid - you are tying them on the front loops, and the transverse pattern is sewn with a back loop. The next row is tied with the same yarn and strictly according to the pattern, observing the algorithm of creating a rubber band "two by two", that is, alternate a pair of face loops and a pair of purlins. The wrong side will be knitted according to the pattern unchanged. The fifth row is tying another yarn to create a bright strip on the lower elastic band. The sixth level is tied by the second yarn in the same algorithm - a pair of purlins and a pair of facial loops. The main picture begins with the seventh row. To create even braids, you must first calculate the center of the product, that is, mark the 35 loop, this will be the middle of the main drawing, which is depicted in Scheme # 2; at the edges of the front part of the sweater, the pattern shown in Scheme # 1 will be created. Scheme 1
 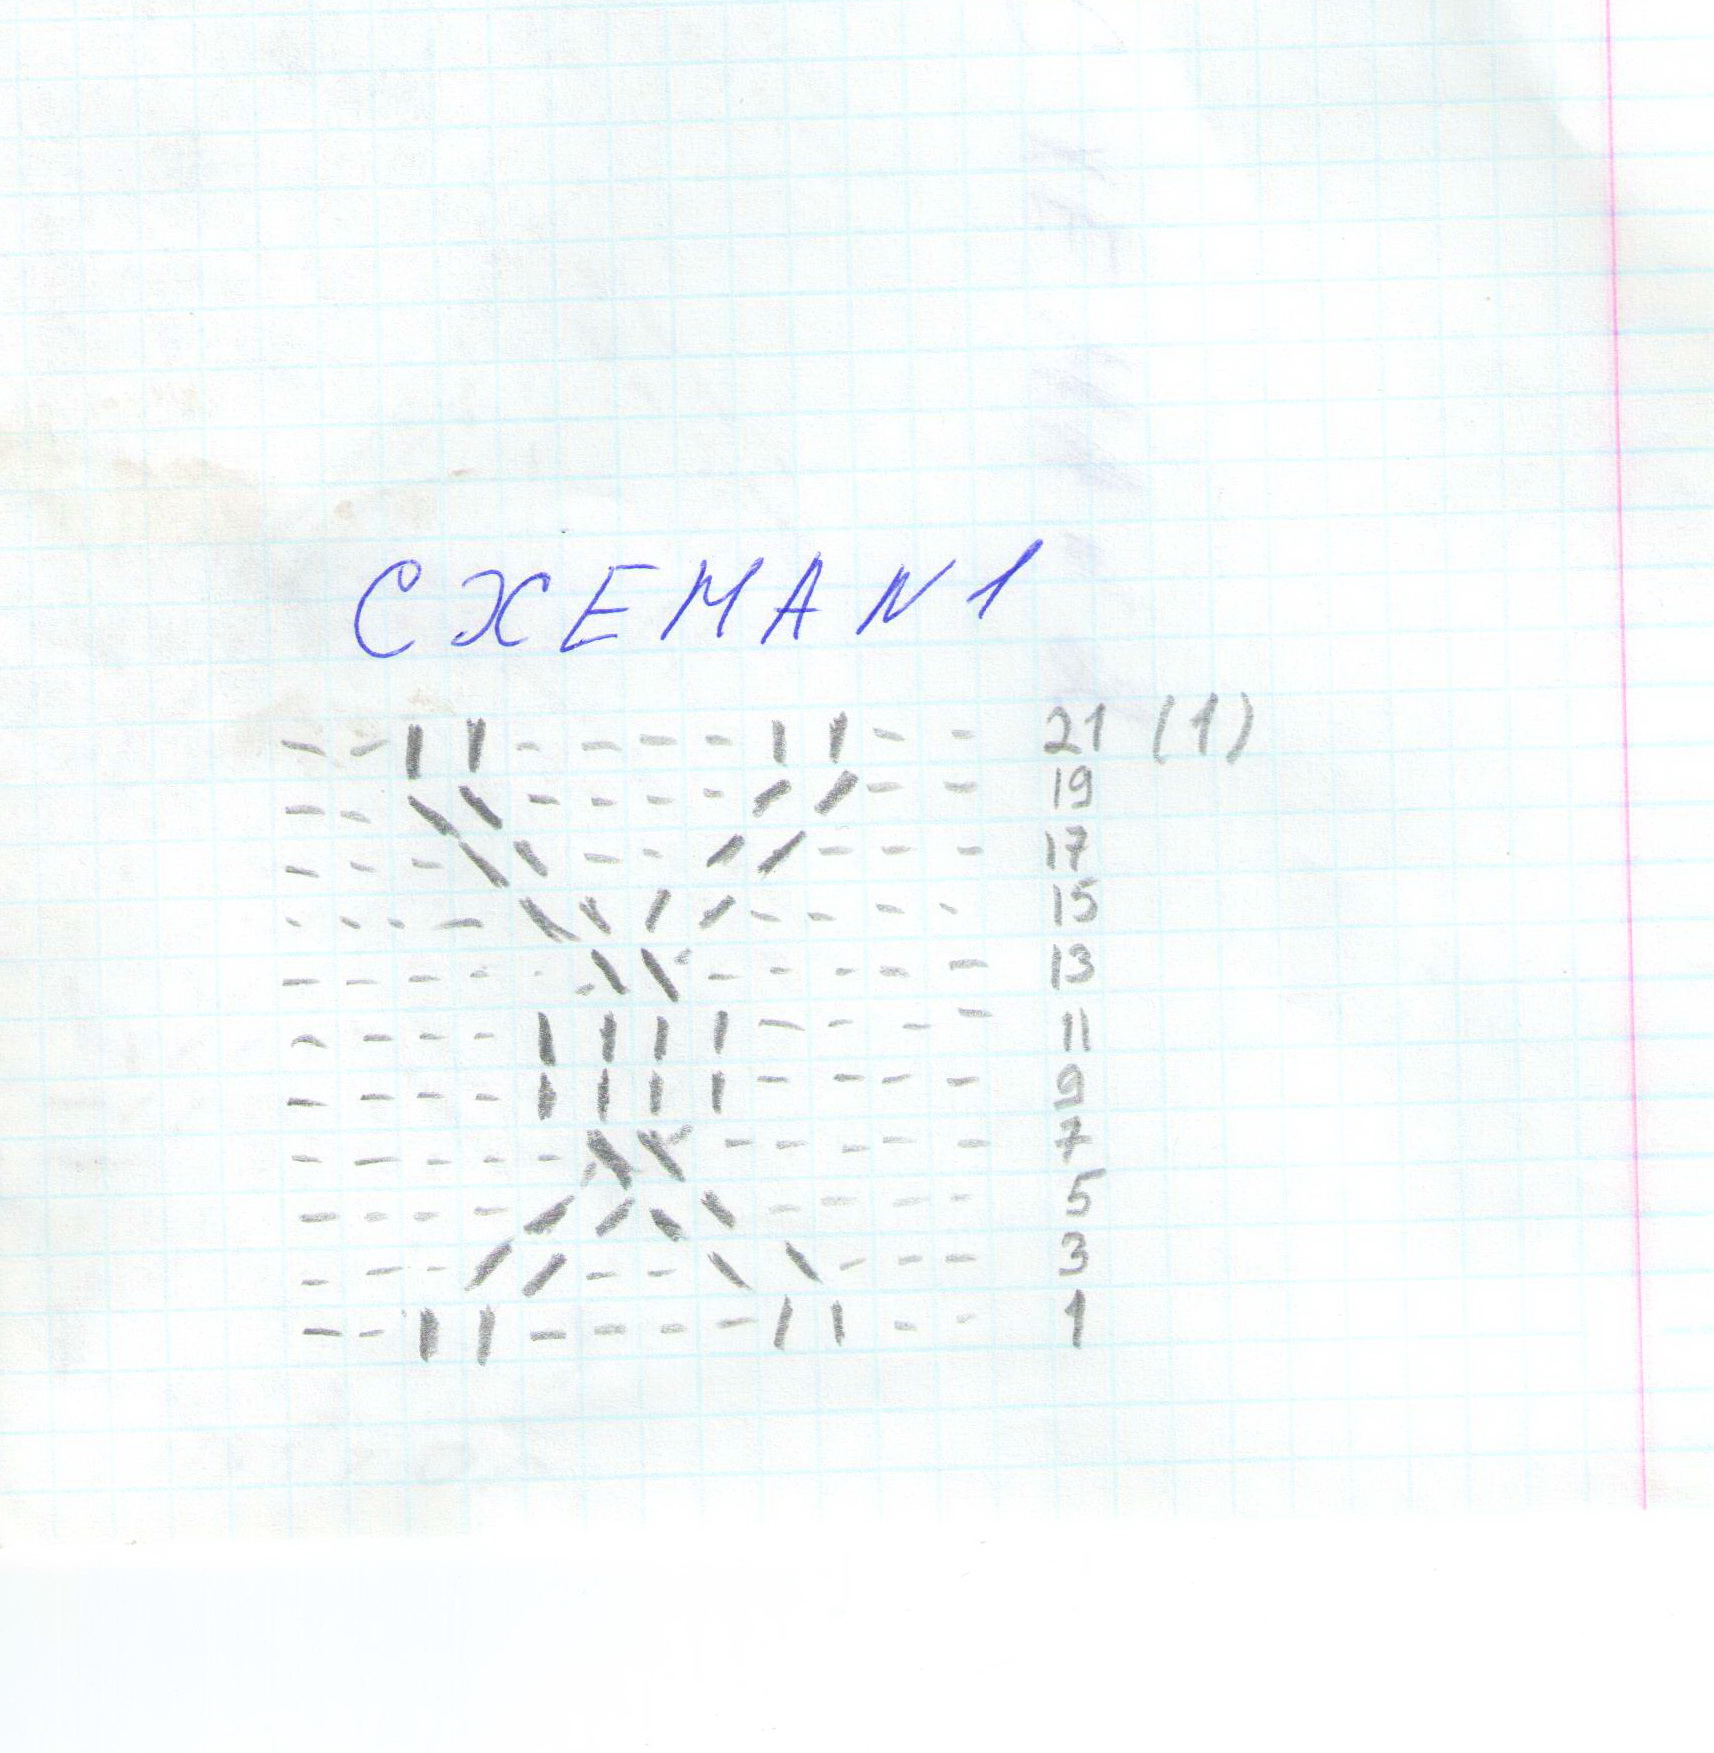 The first six loops are tied in the wrong waysmooth, this will allow you to select the braids, which are knit by the principle of facial loops. 7 and 8, the loops are tied with facial ones and begin to form the first tourniquet, then knit according to the scheme: 4 loops on the back and again two facial loops. Then you need to create a background for the central drawing. Therefore, another four elements are sewn on the opposite surface. Scheme 2
 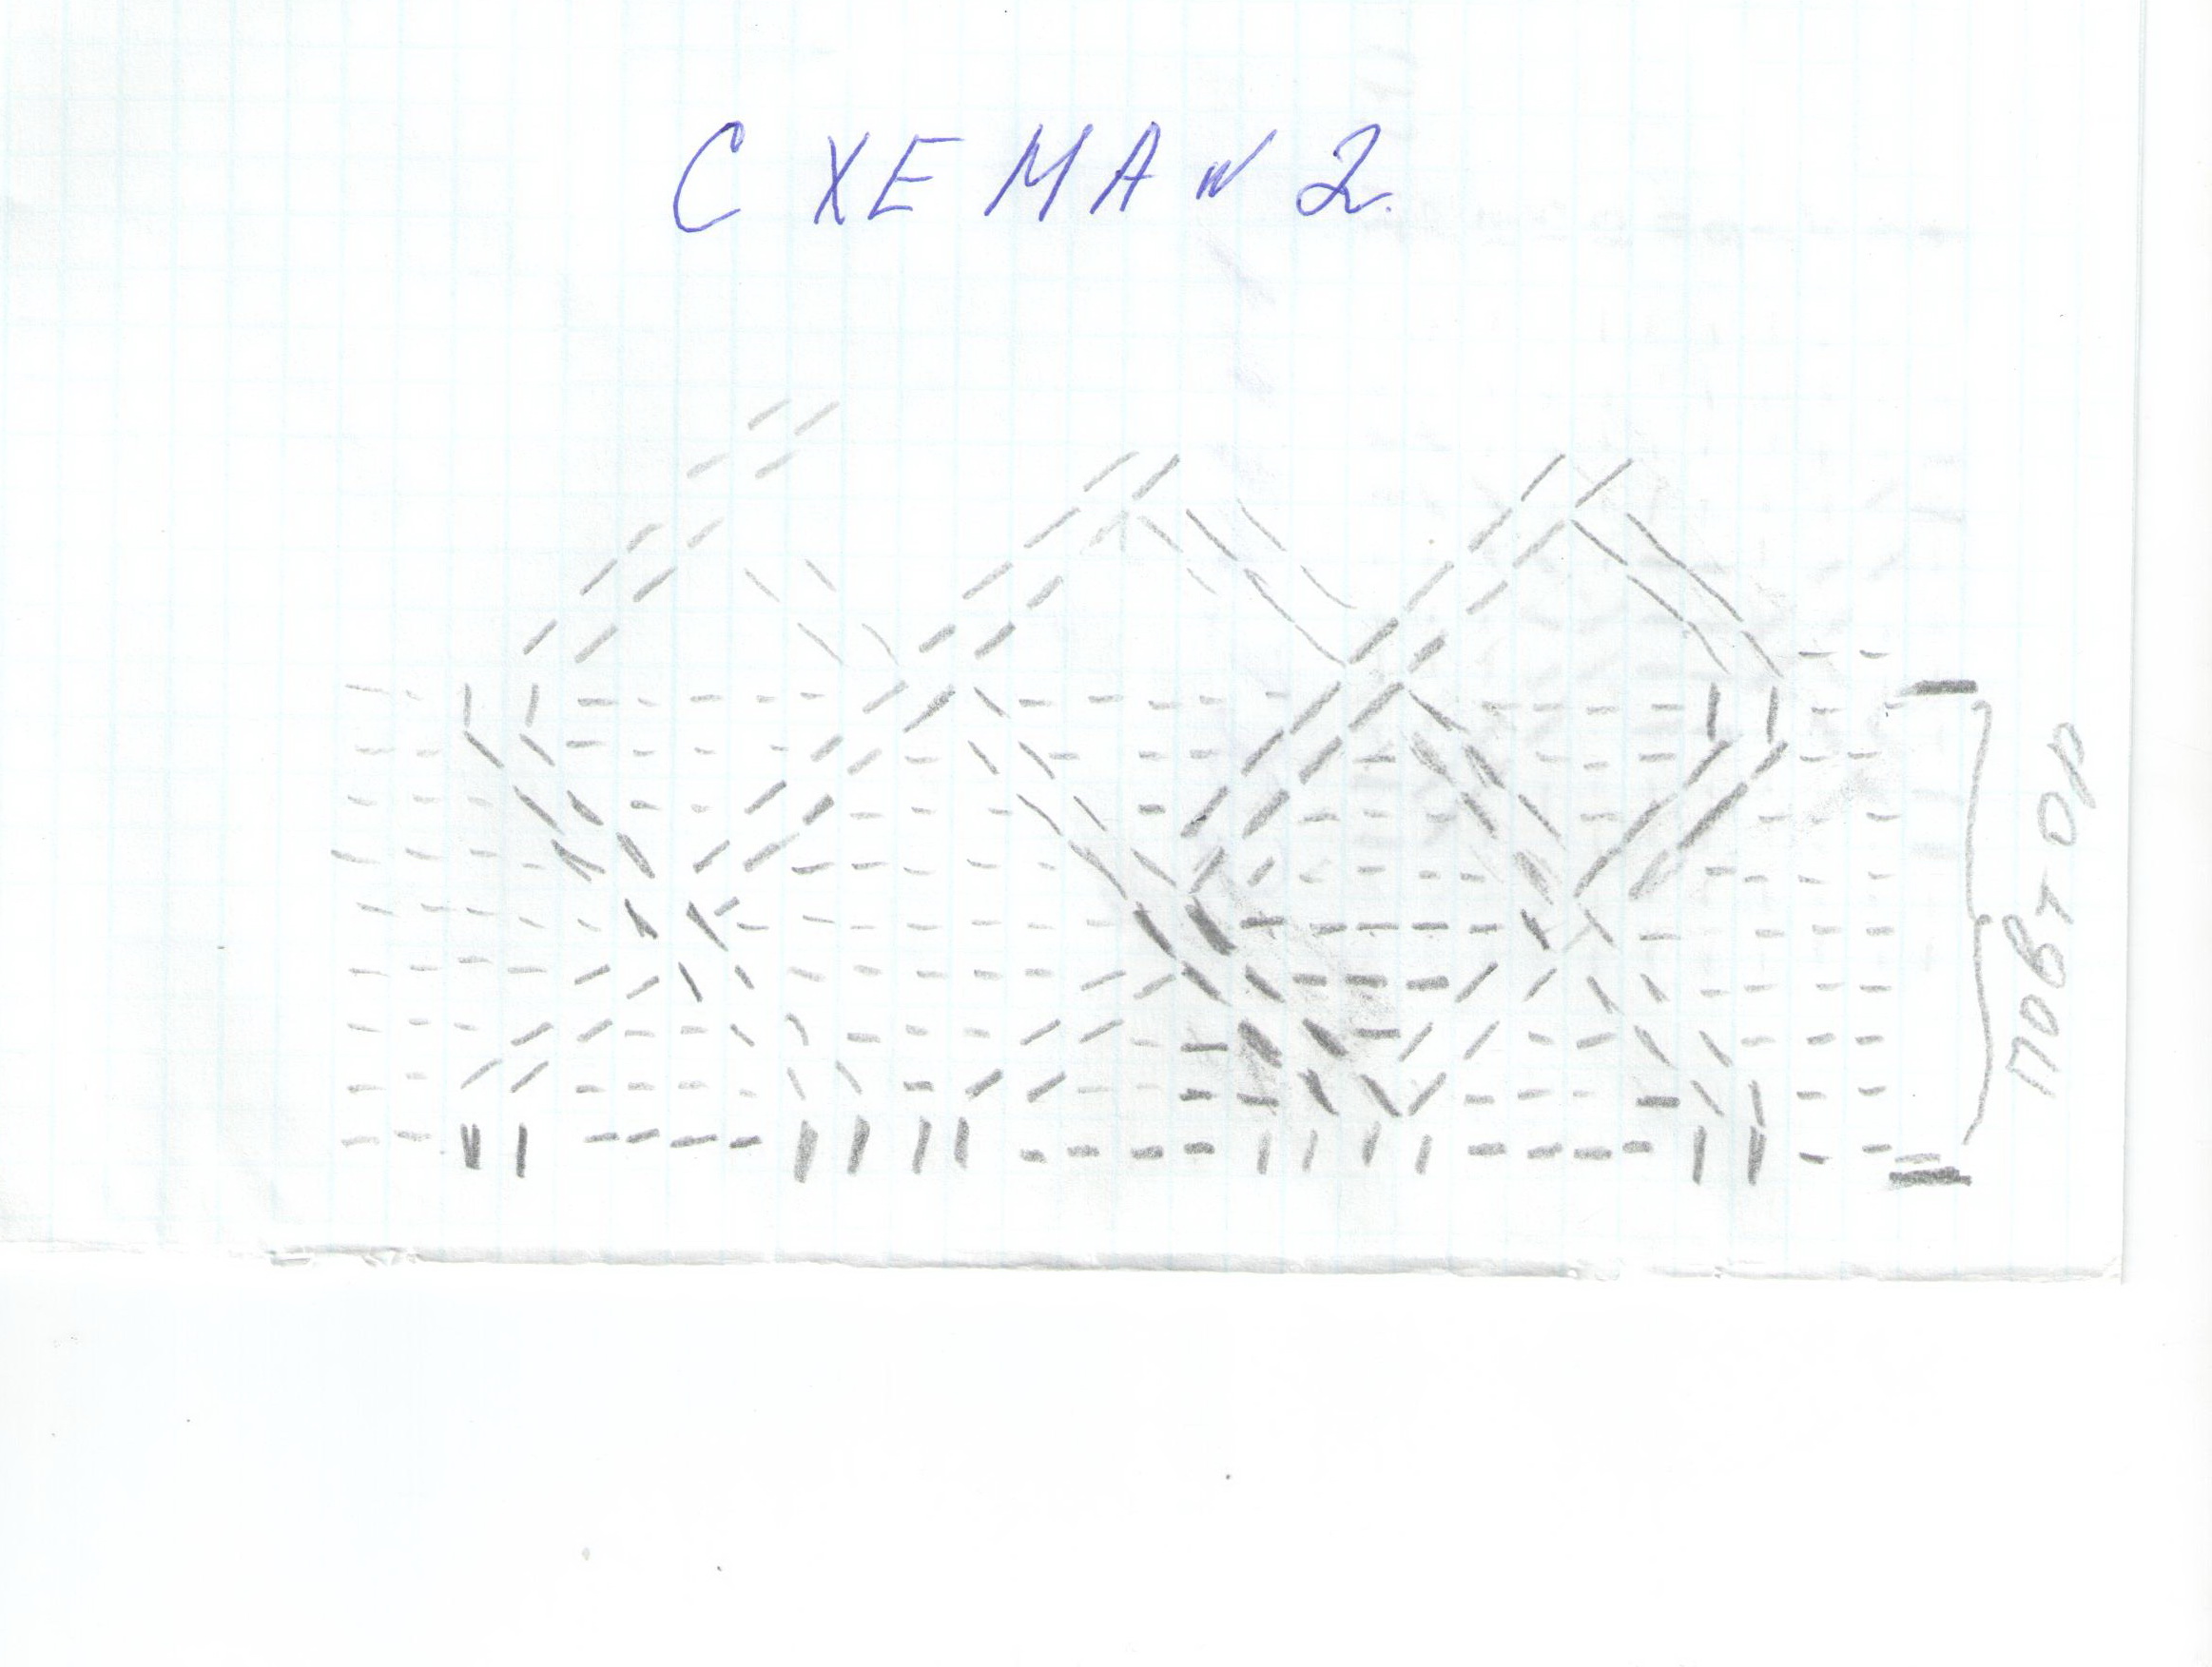 Proceed to create a large binding of braids,which is depicted in the second scheme. Begin in this row to knit two facial loops, four purlins, then four face elements are tied, which will be the basis for the two branching braids, then again create four purl loops, four face loops, again four purlins and finish the pair of facial loops. Through the four purl loops, the creation of the second braid begins, which is the symmetry of the first pattern and is also knitted according to the scheme No. 1. The final loops are tied according to the purl back. Turn the work over and continue knitting. The second row matches the pattern without any displacements or changes. That is, where the braids are located - this will be the purl loops, the rest of the surface is tied with facial loops and on the indicative side it will be purl straight. The next row, knit on the pattern, observing the displacement of the loops for this, replace the loops. That is, remove the eyelet in front of the scythe on the third spoke, then tie the loops out of the braid, and then just return the loops to the left knitting needle and tie these elements. It is important to observe the direction of displacement, because some braids wander to the right, others to the left. Create the entire front part of the sweater according to the patterns. To work turned out beautiful, try not to tighten the elements, gently carry the loop loops. After 25-27 cm of the front, proceed to the rounding of the neck. To do this, designate the middle 35th loop, close up to it and then after 4 loops, that is, all 9 elements will be reduced. Further, the right and left parts are knit separately, that is, first one side is bound to the shoulder, and then you return to the creation of another part. Every two rows, cut the edge loop, tie it with the previous one, so that the bend of the neck is smooth and beautiful. The second side is created by the exact symmetry to the first part.
 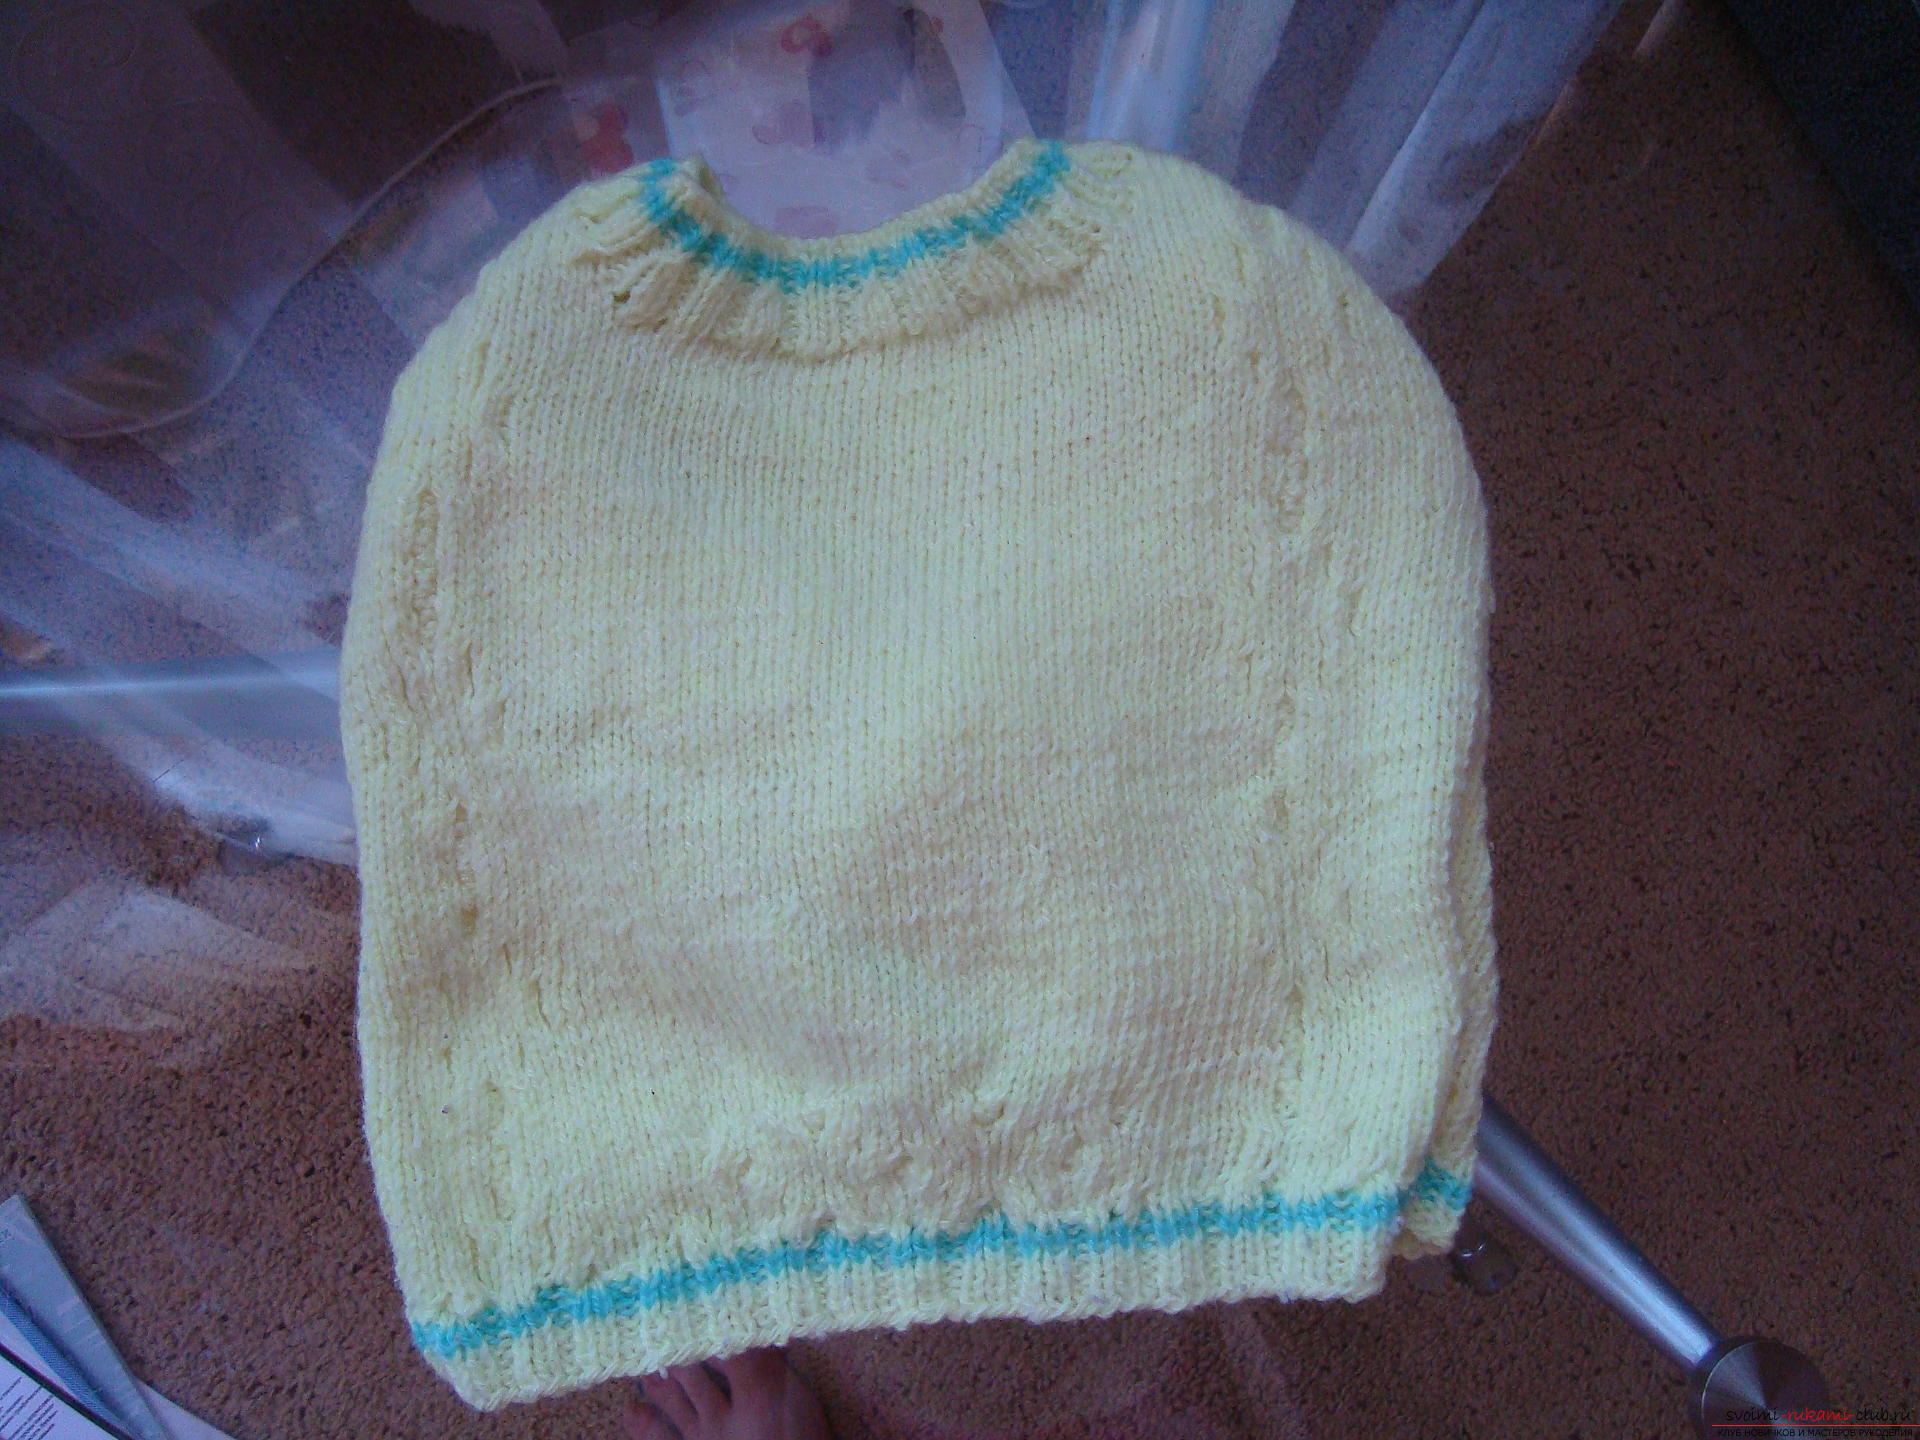 The back is knitted approximately, like the front part, butonly two side scythes are involved in it (for them scheme No. 1 is attached), the central part of the back is only tied by braids at the bottom to slightly pull off the bordering part of the belt and give it a beautiful shape.
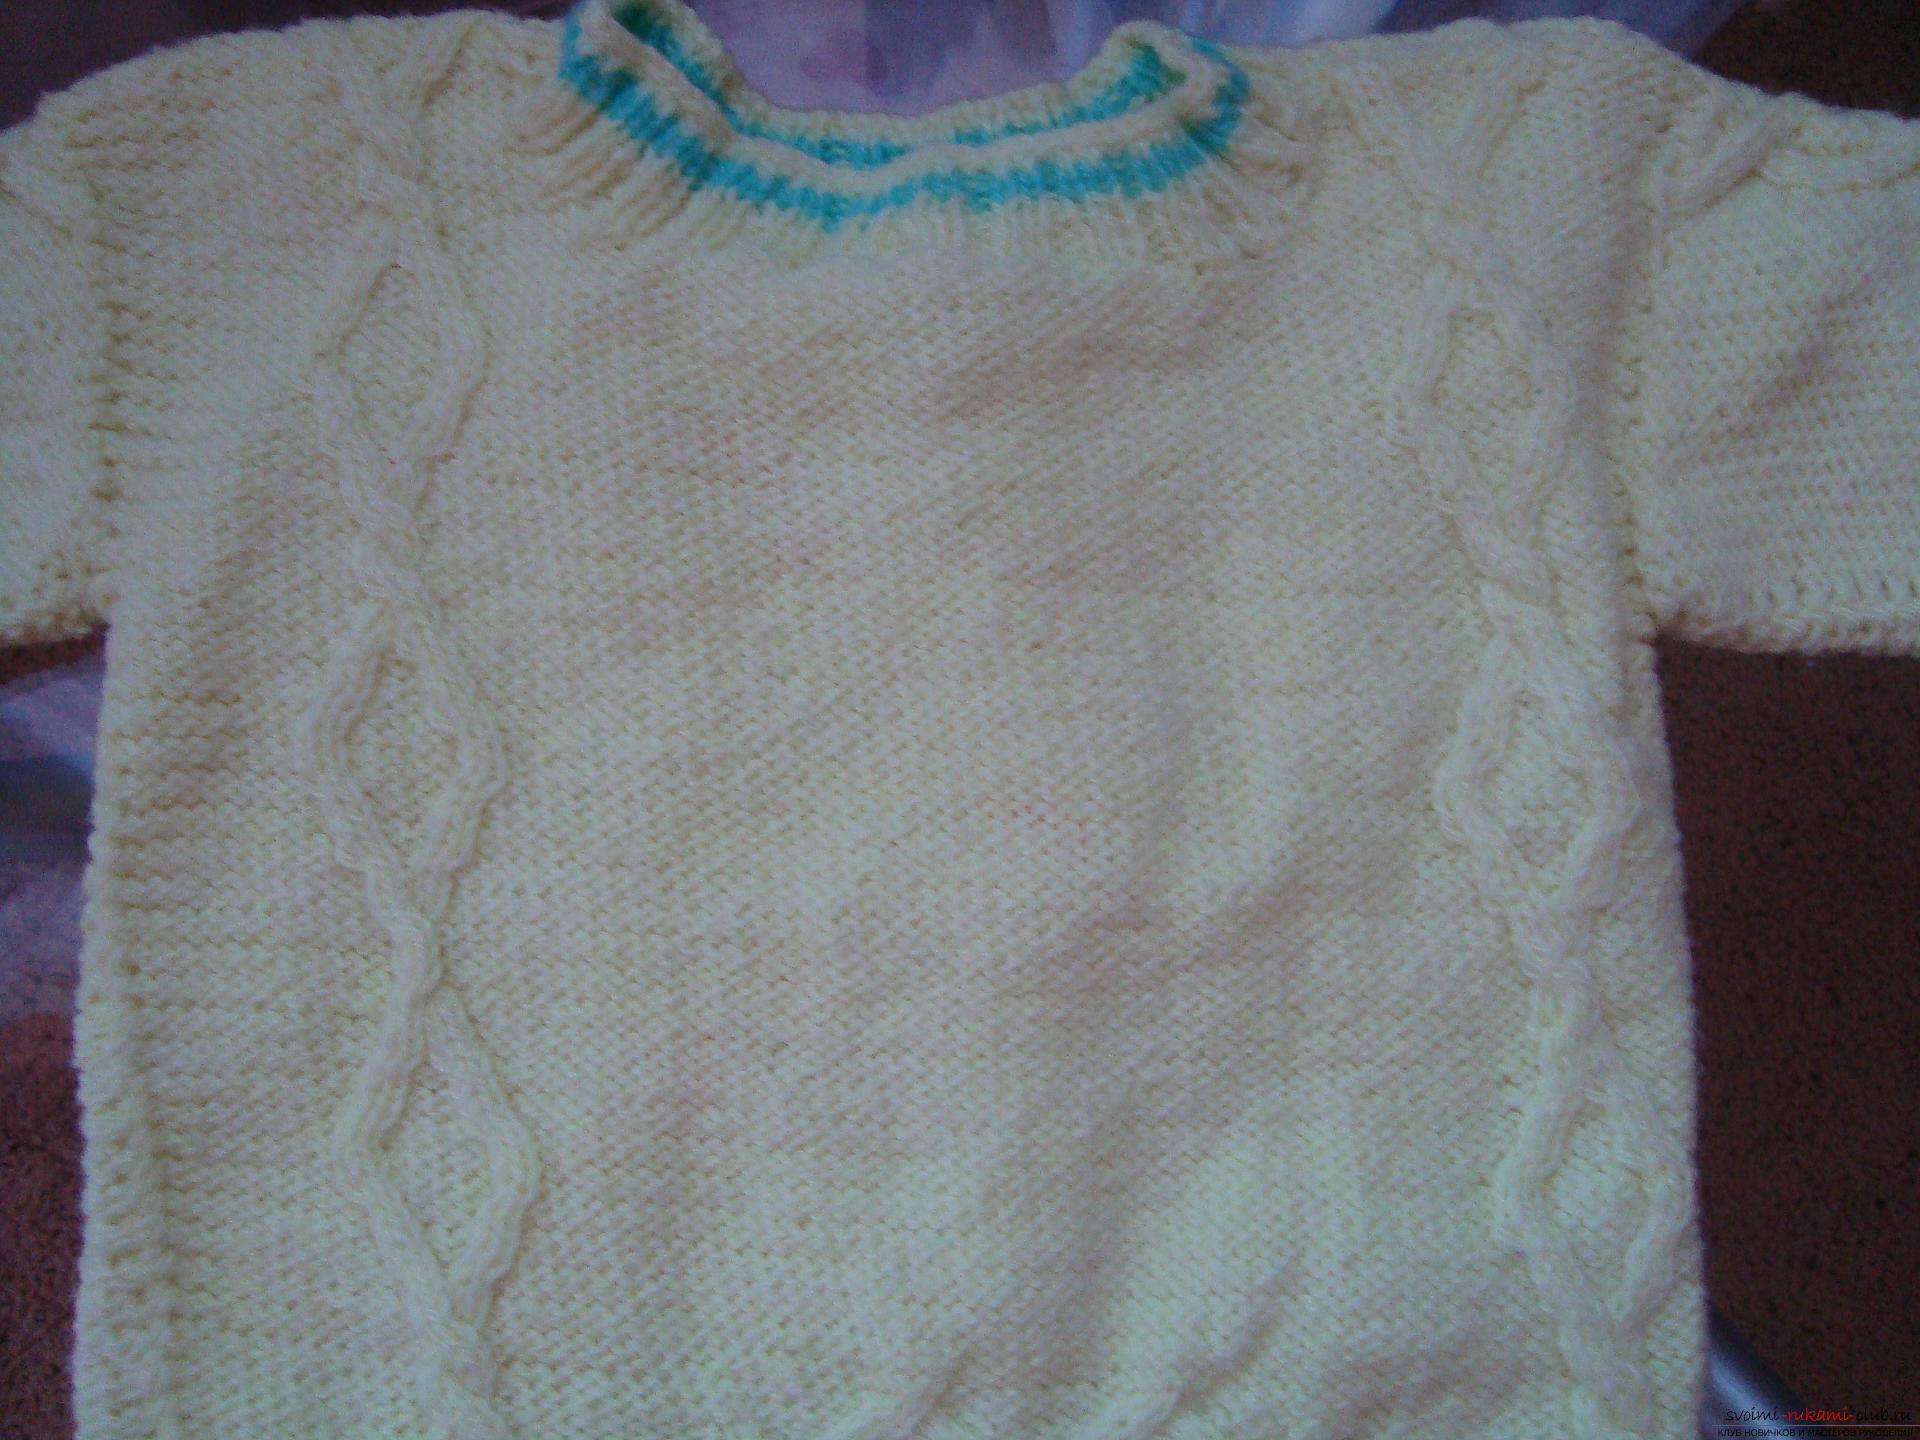
 When both canvases are connected, they must be sewn along the upper part in the shoulder area. The stitches are sewn or threaded, or it is tied through both parts of the half-loops using a crochet hook.
 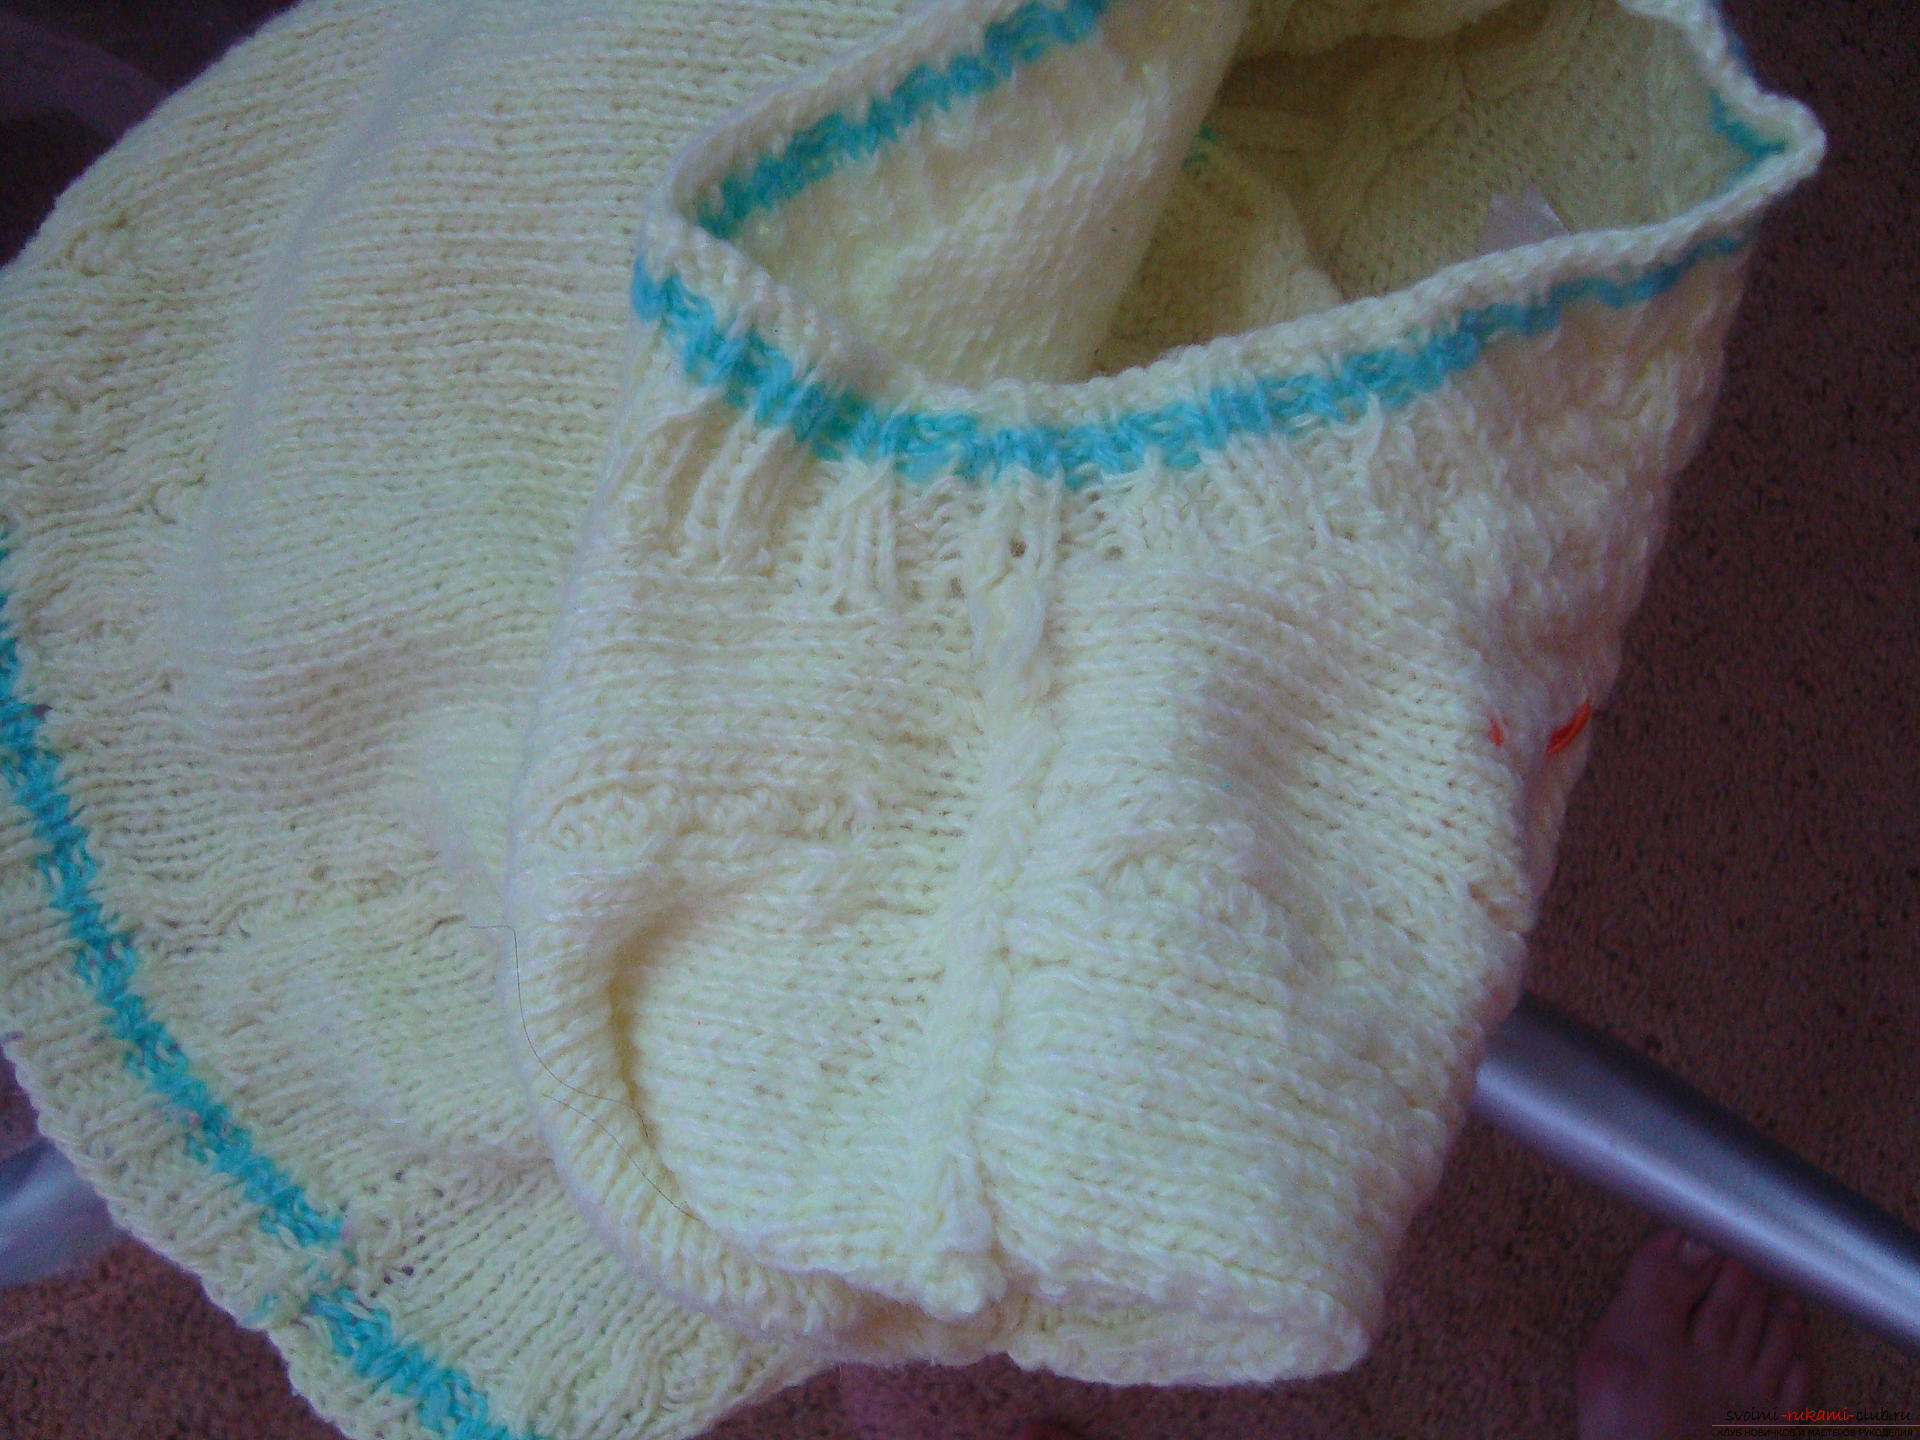 At the next stage, tie the neck. To do this, take the circular knitting needles and type the loops in the cutout area under the neck. All loops are tied with an elastic band: 2 facial loops and 2 purlins, so try to type a certain number of loops divisible by four. At the neckline, bind six rows according to the lower elastic band and cuffs on the sleeves. Spread the backrest and the front of the blade in the same plane. Measure from the shoulder seam of 10 cm and directly along the armhole line, start crocheting a new thread of yarn to create loops that are typed to knit the sleeve. Hinges should not be close, they cling to the edge. Make a set of 20 cm, that is 10 cm will be typed on the front of the sweater and 10 cm on the back of the product. Begin to tie the purl loops and in the middle form a braid pattern as in Scheme No. 2, but reduce by one position, that is, the strands will be intertwined so that one, then two rhombuses are formed (not 2 and 3 as on the front of the waistcoat).
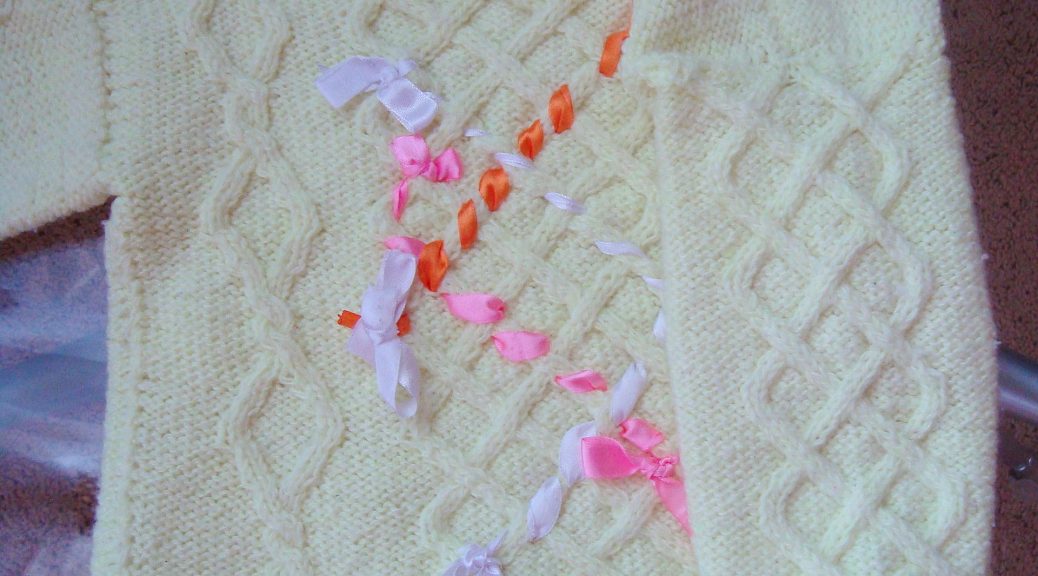
 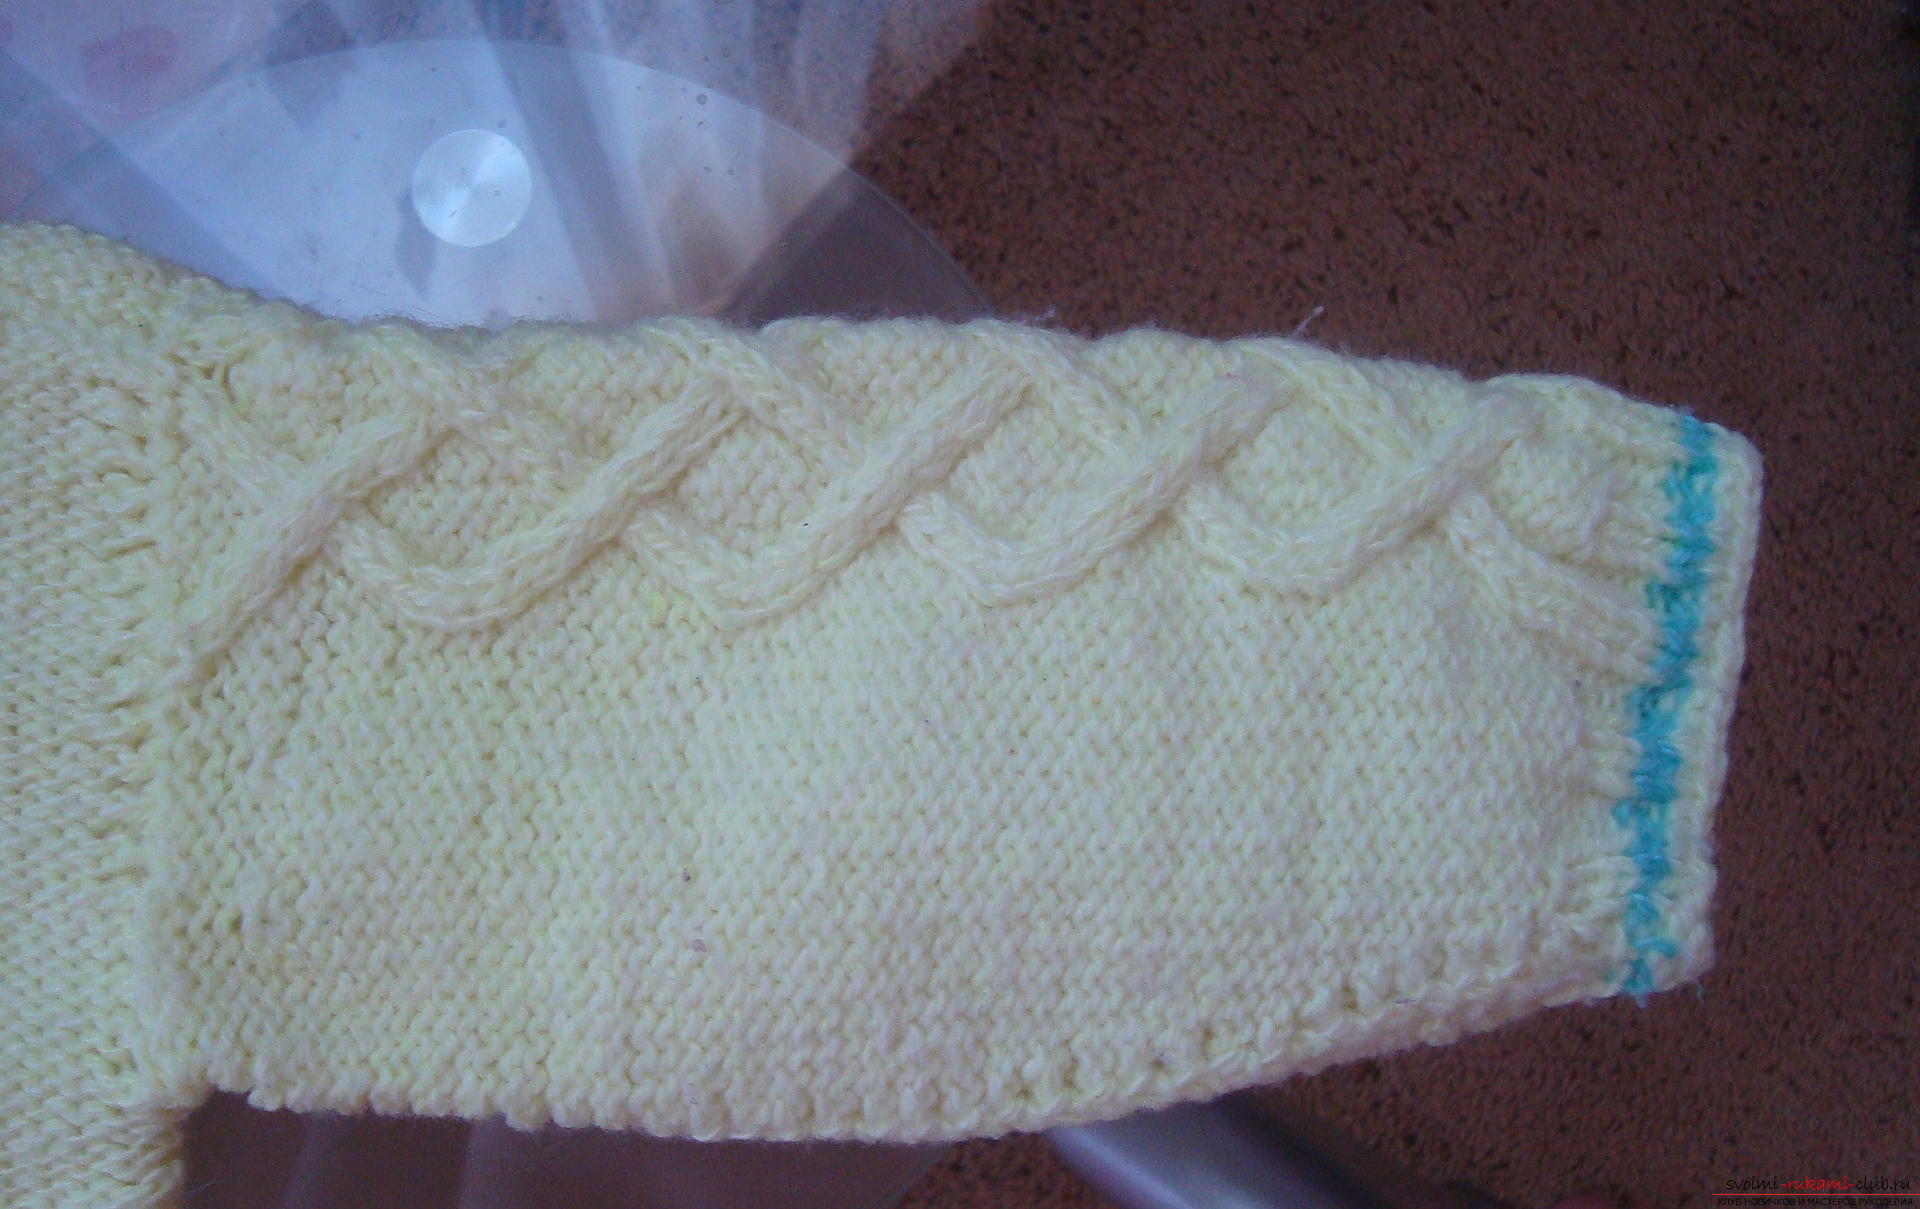 Every 2-3 cm, do a reduction on the sides by 2loop to the sleeve tapered. After a certain distance, the cuff will be just the size of a child's hand. To decorate a sweater for a charming girl, take a few cuts of bright or delicate ribbons and braid them around any harnesses (it's more convenient to use the hook and pull the braid from the face, then from the underside of the product).
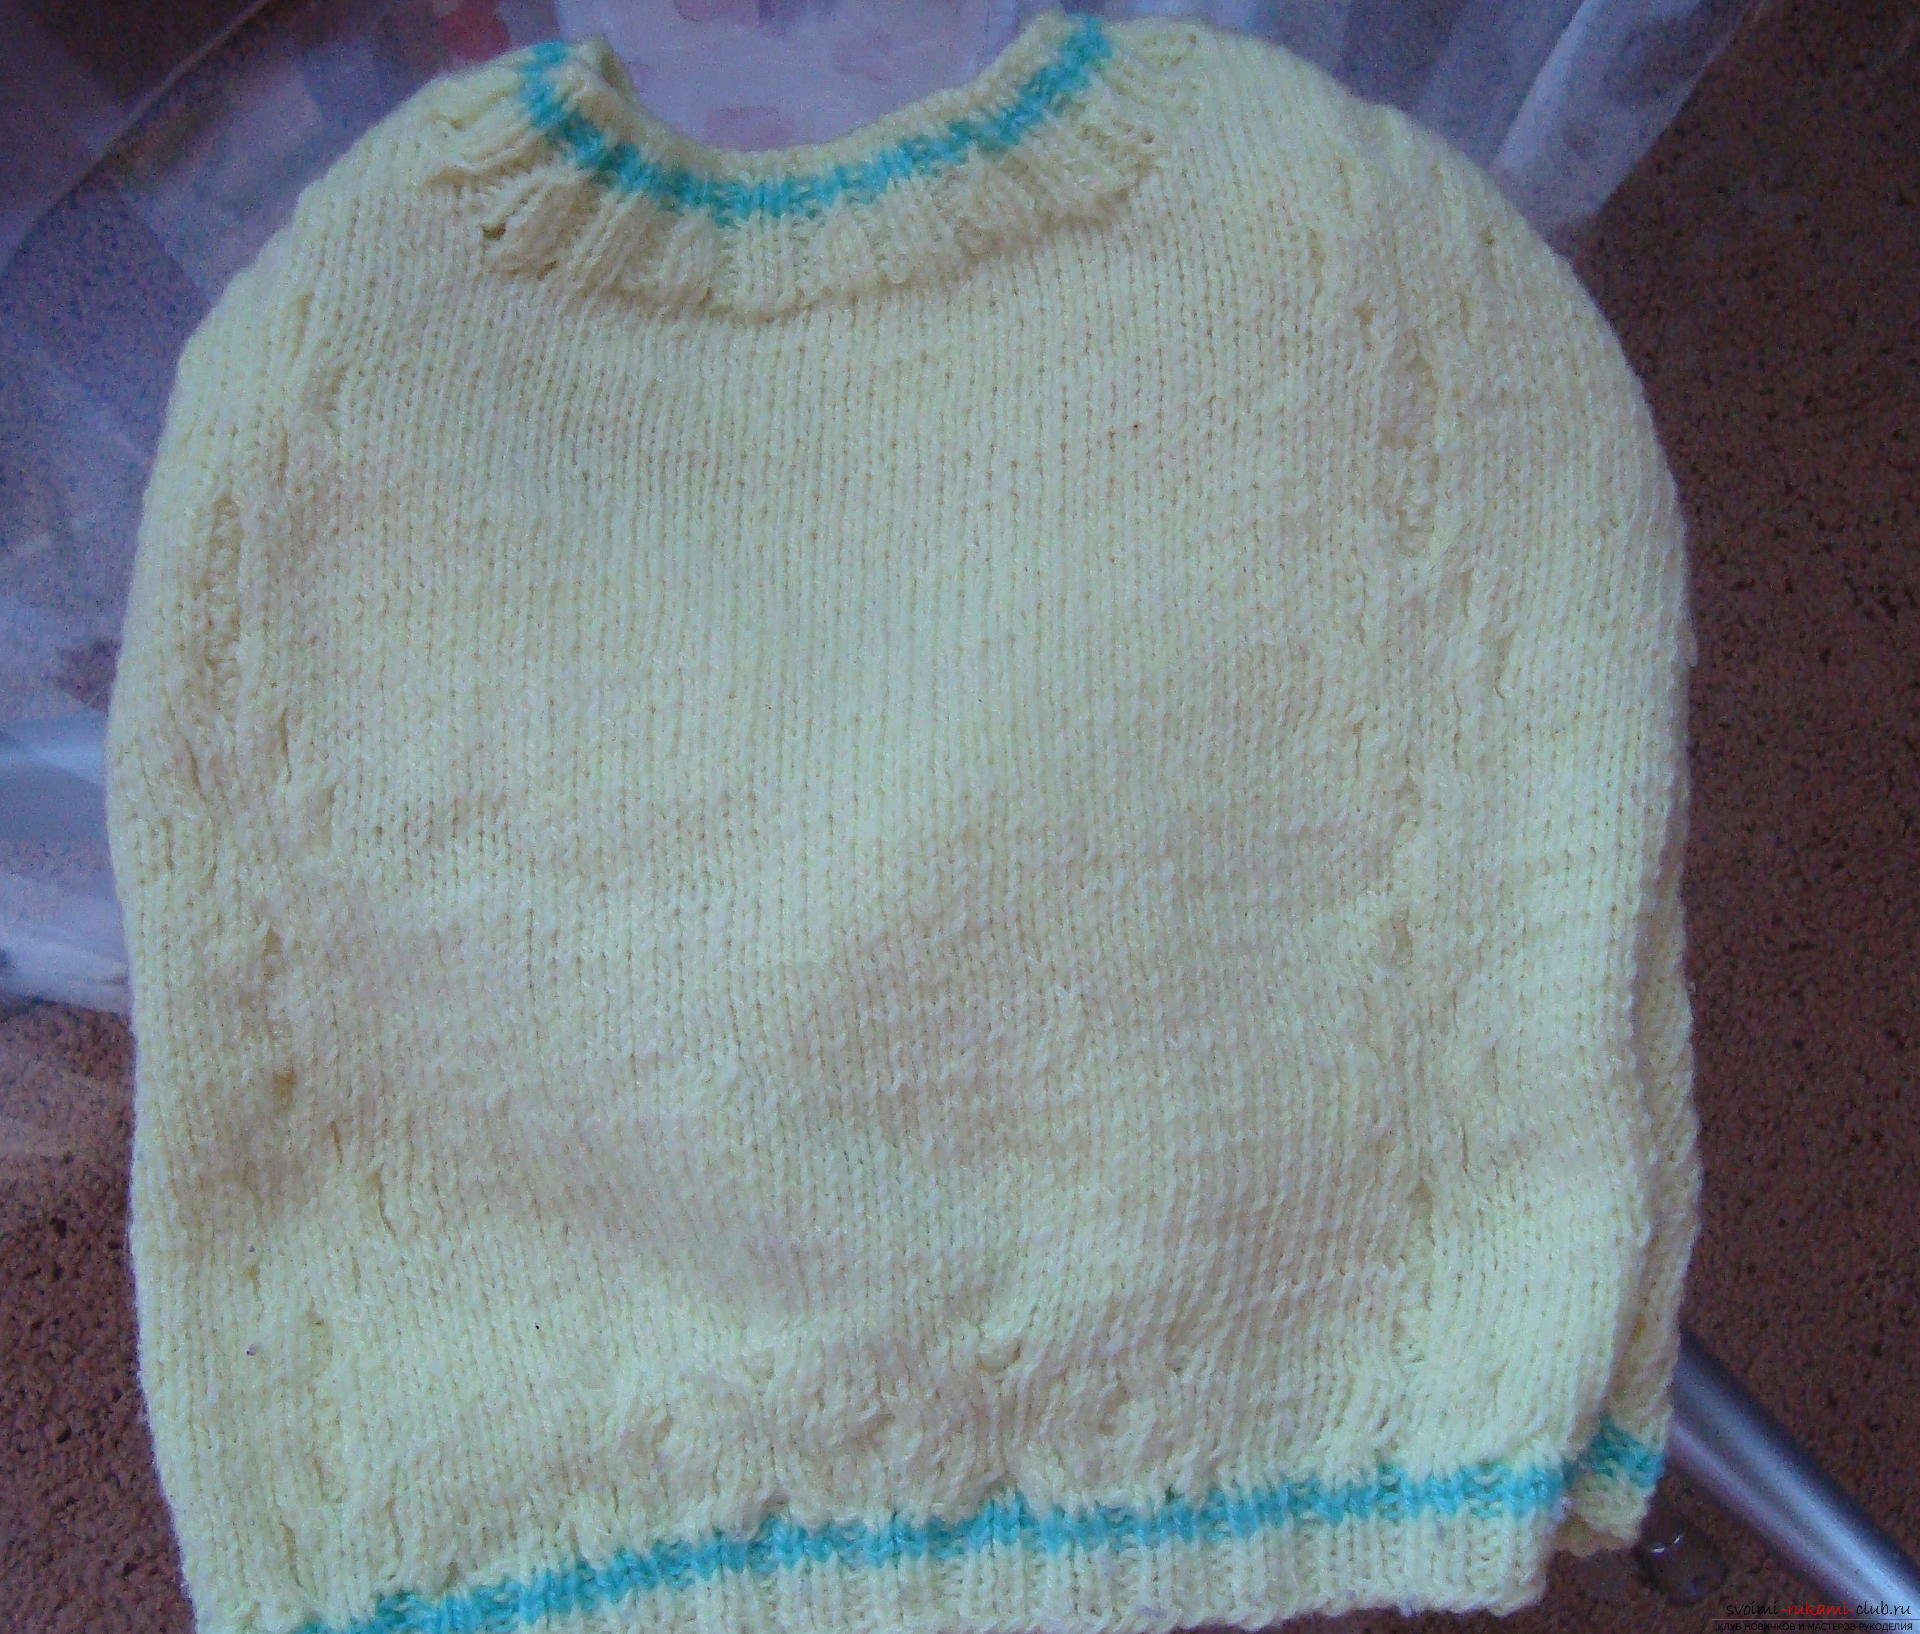
 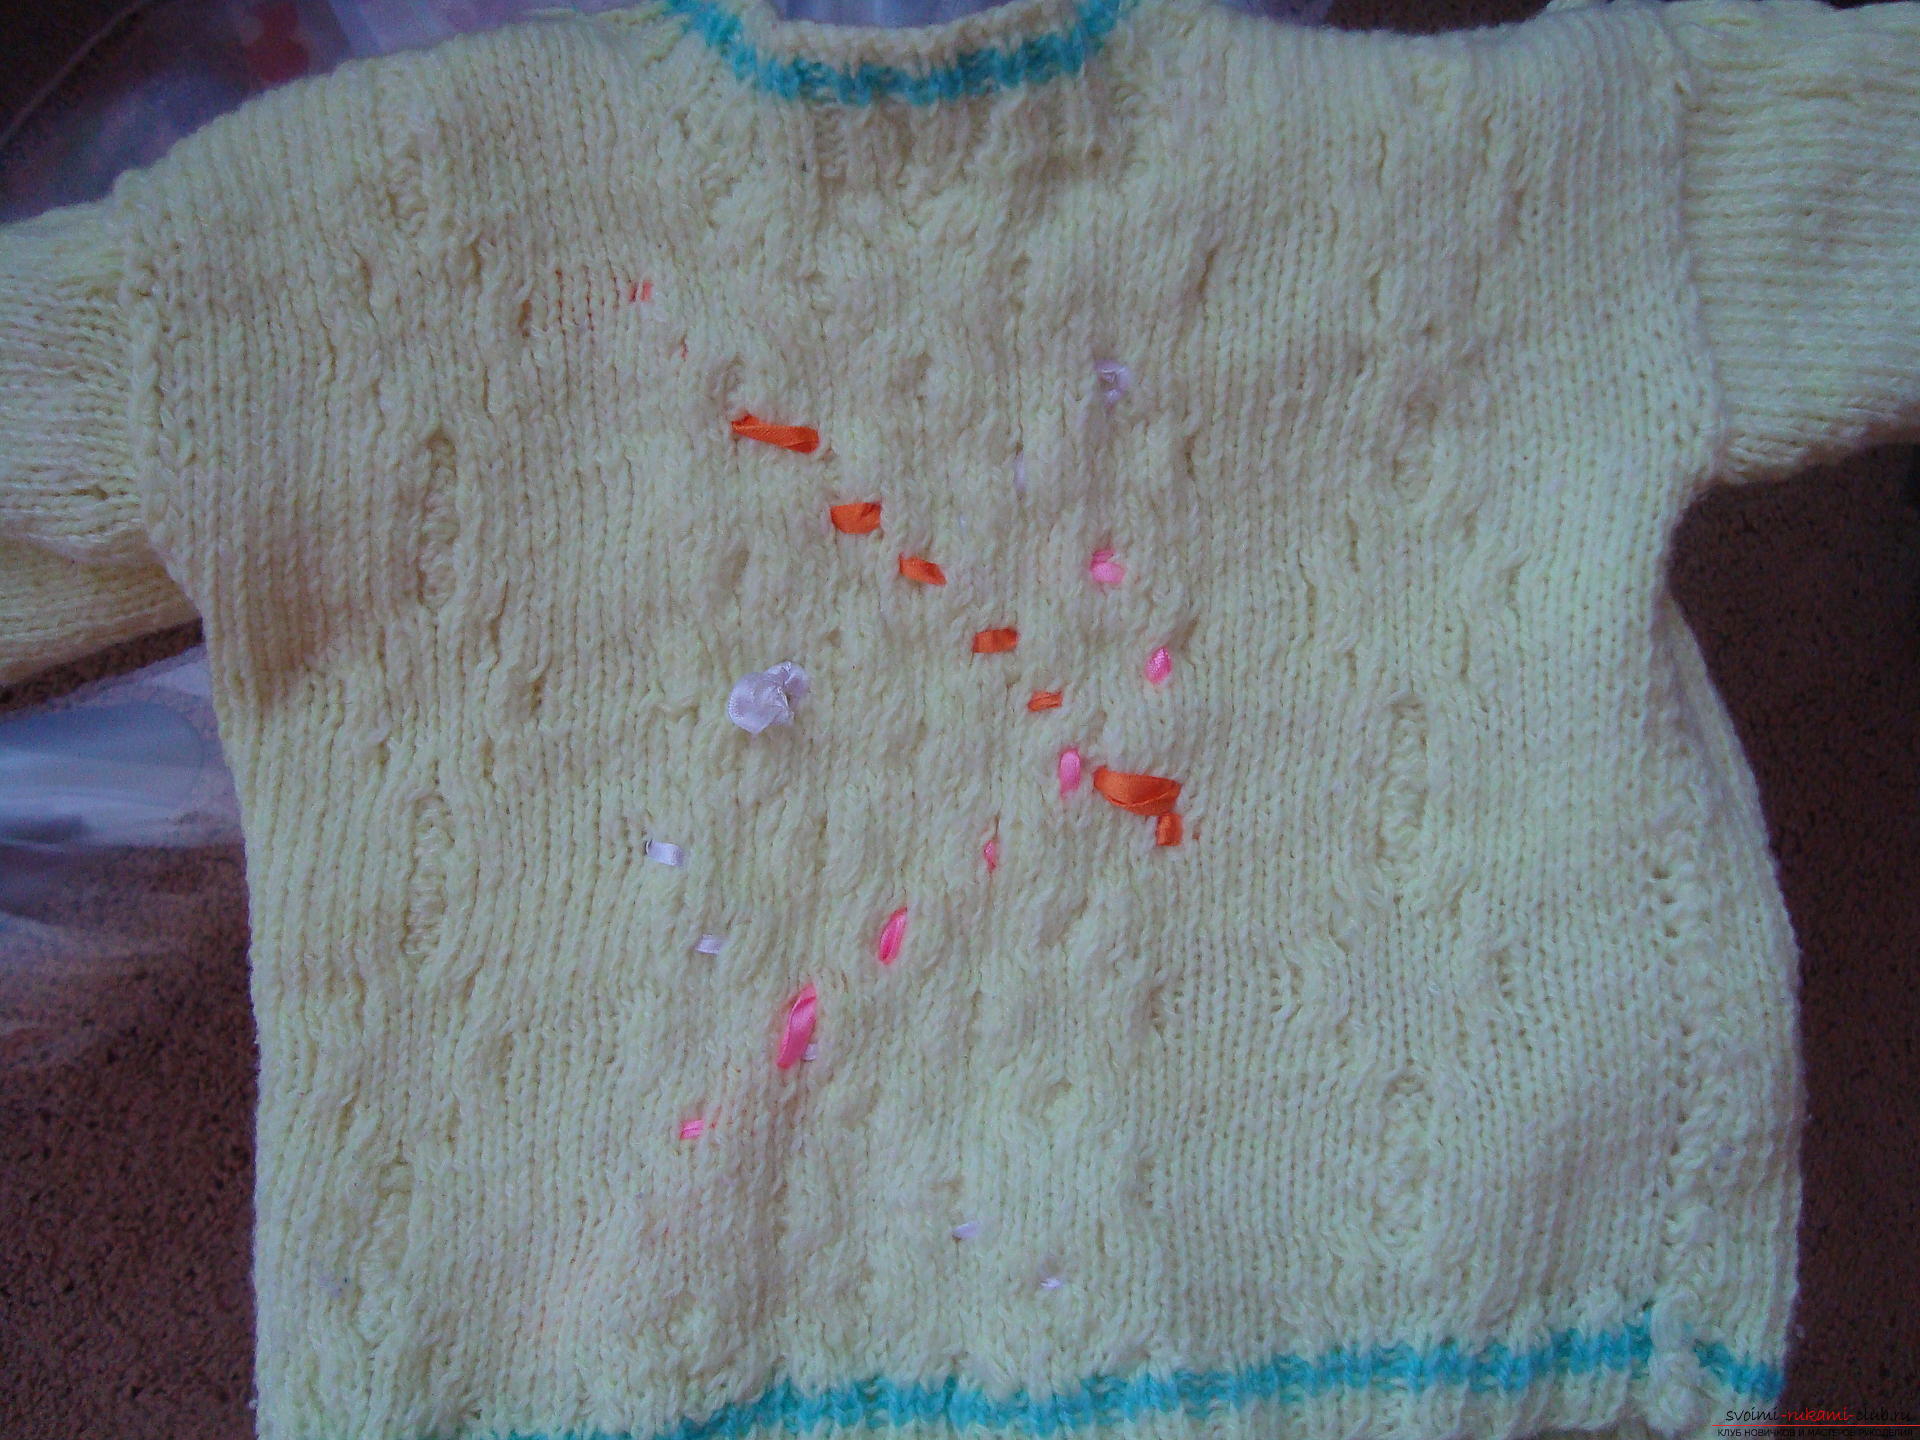 Strip off the sweater and it will take the final form. Such a sweet thing will not only please your child, but also will warm on cool days.
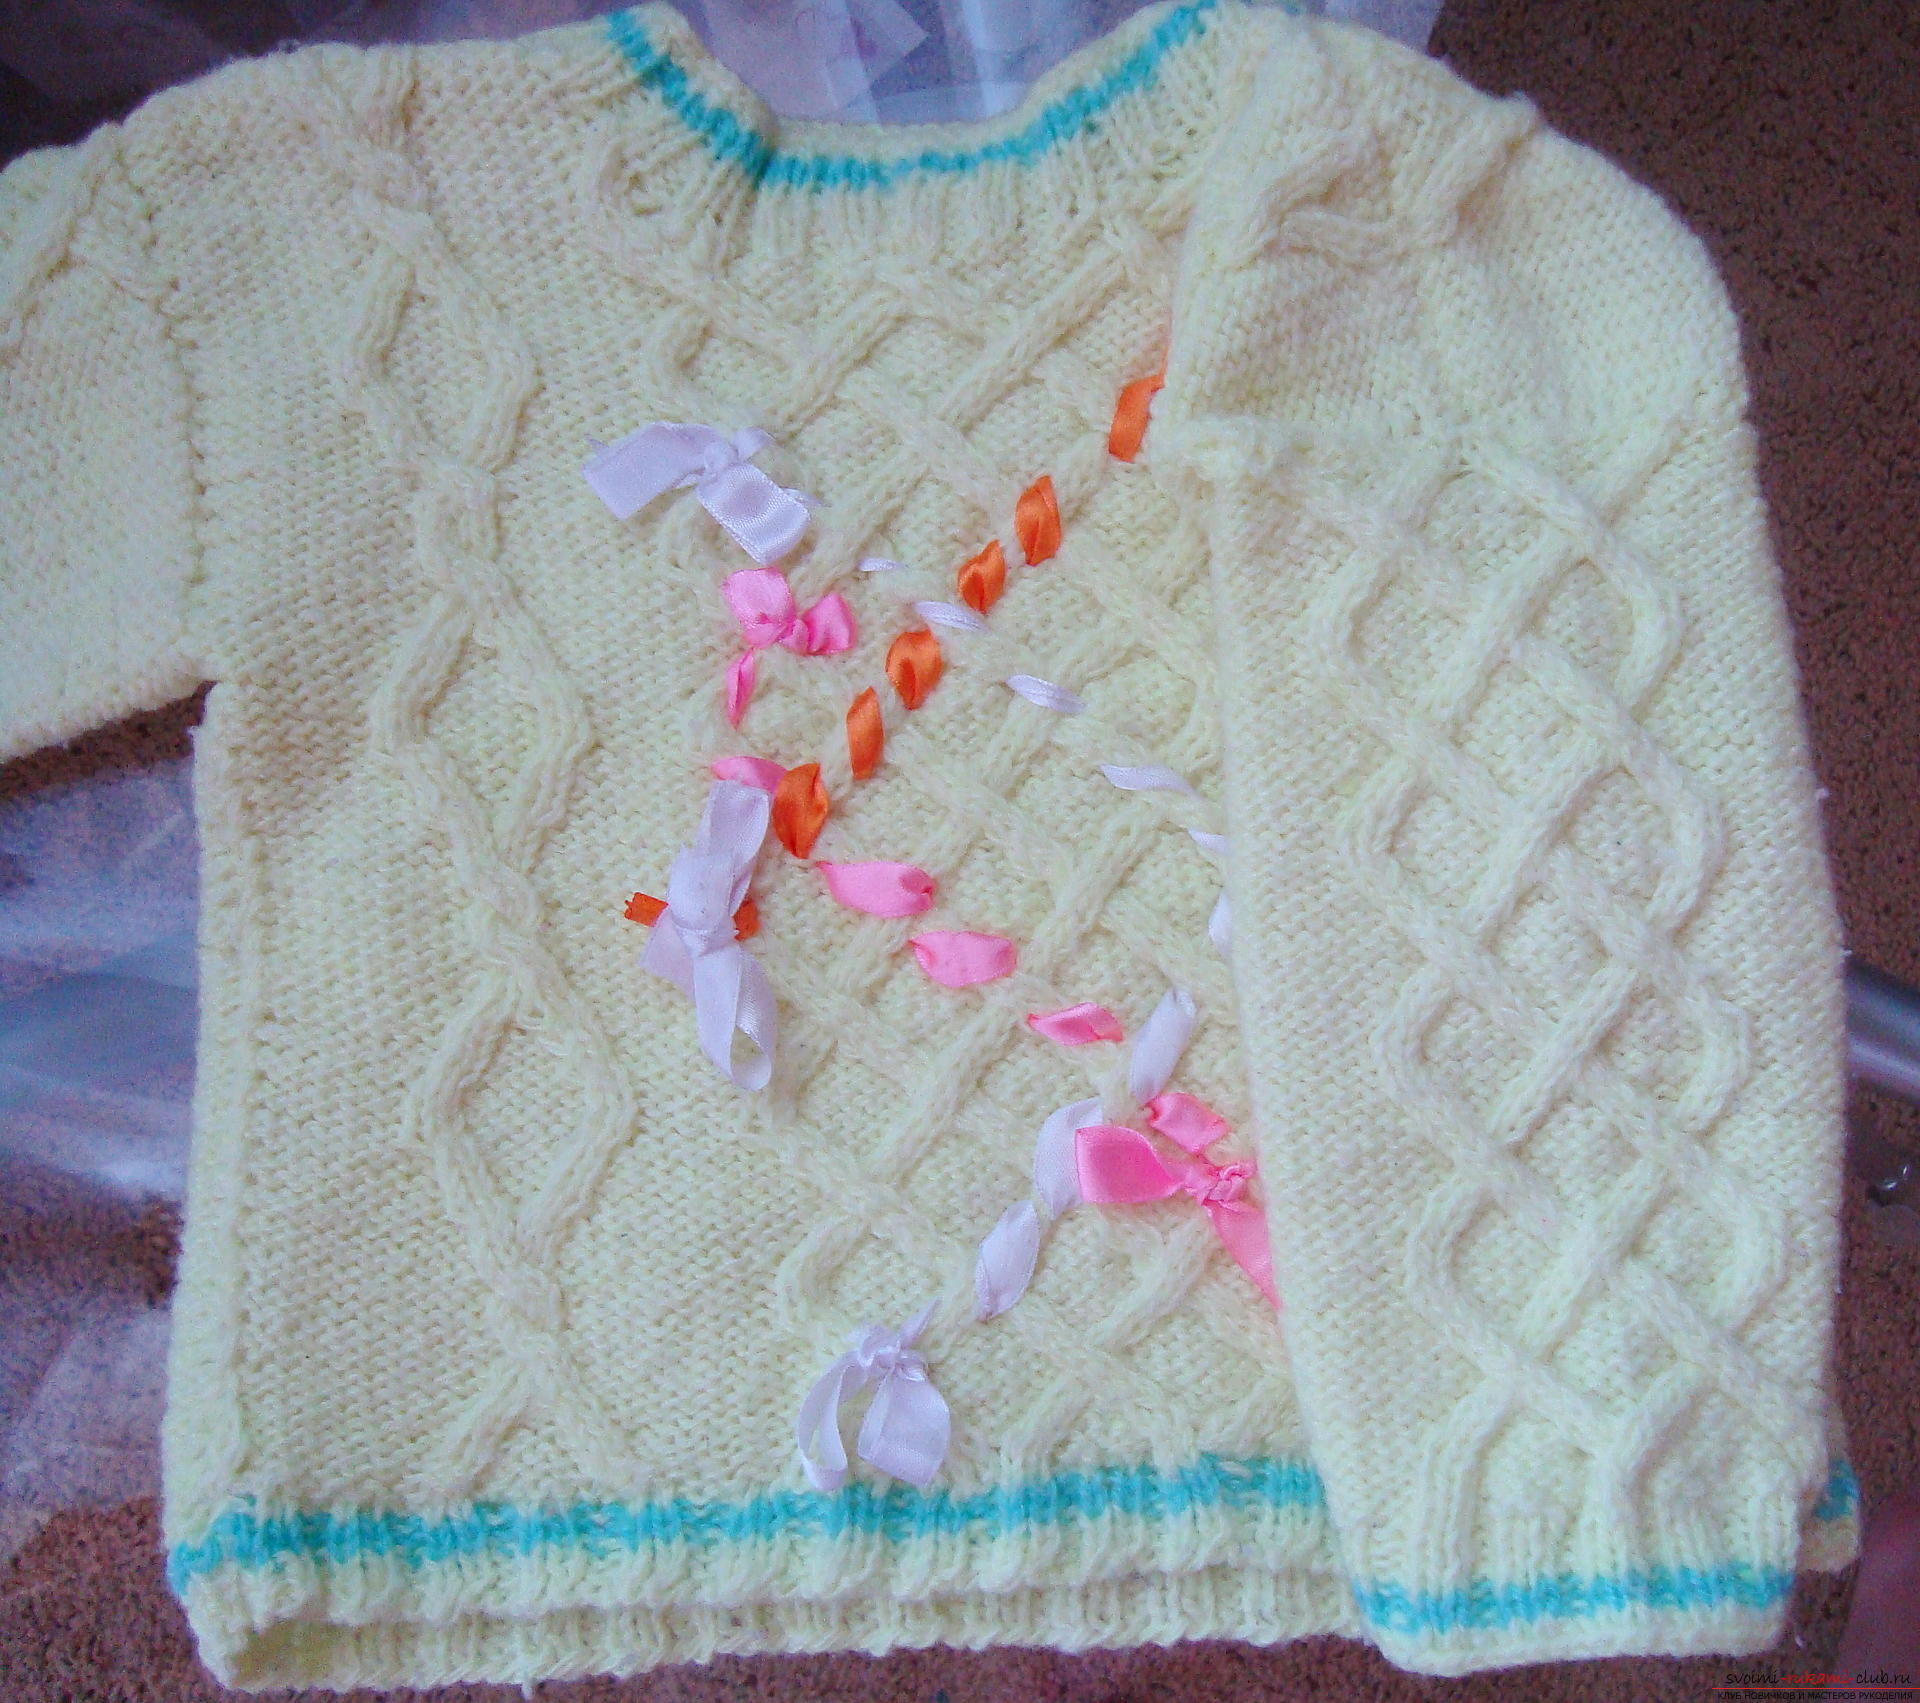
Comments
Related posts:
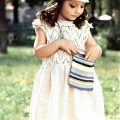 Master-class on crochet of children's dresses, handbags and hats according to the schemes with description and photo for free
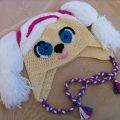 Master class on crocheting hats for children "Rose Barboskina"
 Master class of making a children's clothing set - a crocheted suit
 Methods of dialing loops on spokes. A simple master class will allow you to learn how to type loops on different spokes using different methods
 Master-class on crocheting with photo and description will teach knitting of children's pinets