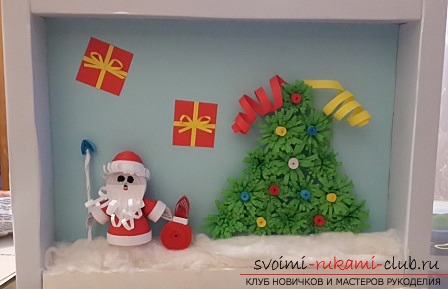
We master together with the kid an unusual New Year's picture in the quilling technique. A wonderful gift for the coming 2015 is free of charge
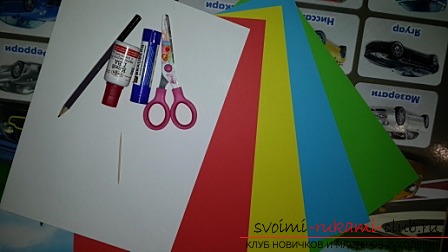
Here comes the long-awaited New Year's holiday. Your baby was looking forward to it all year. Morning, vacation, a great holiday, and of course gifts. But it is very important to educate in your child a sense of gratitude starting from the smallest years. Therefore it is necessary that the baby also present gifts to his relatives. And what a gift can be better than a wonderful hand-made craft. Therefore, we bring to your attention an unusual New Year picture made in the quilling technique. Such a product baby can do with your help and it will be a perfect gift for loved ones. In order to make an unusual New Year's picture in the quilling technique you will need:
We make the Christmas tree.
In order to make a Christmas tree you willgreen paper is needed. Cut it with strips on one side 2 cm wide, on the other 1 cm. In total, 15 pieces will be needed for such bands. Use scissors to make fringe on each strip, the less it will be the better. 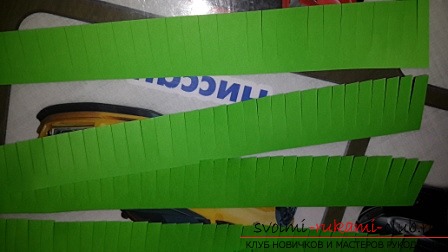 With a quilling tool or toothpick, start rolling the roll. It is necessary to do this from a narrow side. After you have finished, glue the edge of the roll and remove it from the tool.
 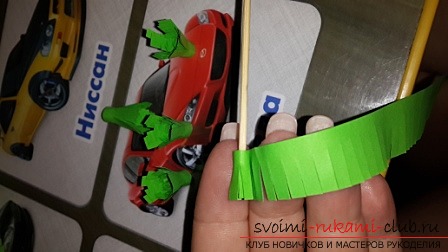 Using the same tool, straighten the fringe and bend it back. You should get green flowers - the branches of your future tree.
 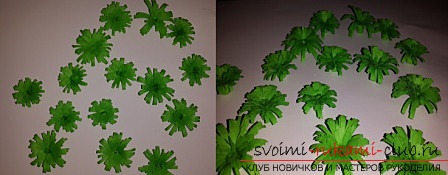 Next, you need to take a sheet of blue paper and glue each flower to it alternately. It is necessary to start from the lower row, it should consist of 5 branches and gradually narrow in the direction of the vertex.
 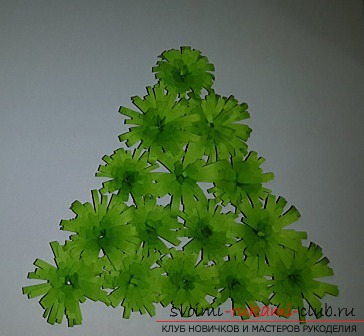 We let the glue dry out and while we leave our New Year's tree alone.
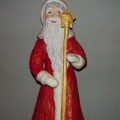
We make Santa Claus.
Take the white stripes 5 mm wide. and begin to make the head of Santa Claus. To do this, twist the white roll to the desired size. 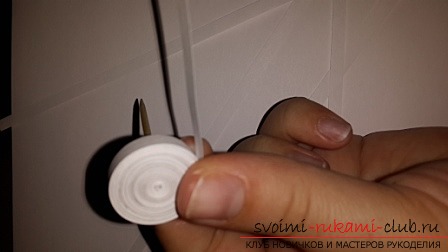 Now remove it from the toothpick and glue the ends. After that, you need to take the stripes of red and white colors. Red bands should be much more in number.
 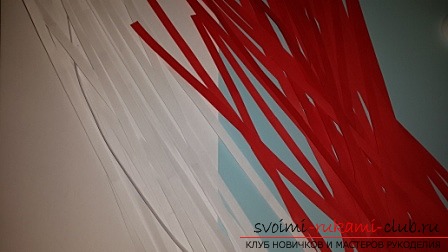 Start to roll a roll of red color. It should be slightly less than the size of the head made earlier. At the edge of the resulting roll, glue a white strip. After that it will be necessary to twist a roll bigger for the torso of Father Frost and two smaller for sleeves.
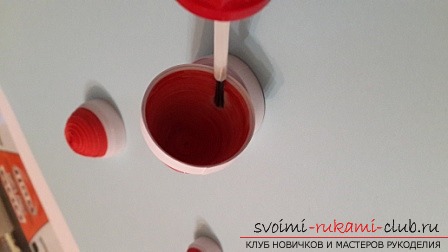
 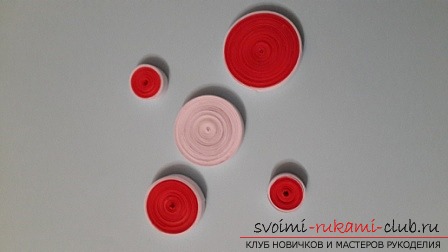 The next step using a pencil is to roll a rollfrom the outside to the outside. In this case, it is necessary to try not to dissolve it completely. To prevent the parts from losing their shape, disassemble the inner side with glue and allow it to dry.
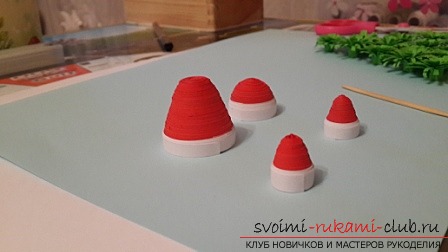
 Next, make fringe for the cap. Take a strip 1.5 cm wide and cut it from one side. Twist it, using a toothpick, twist it, and glue it to the cap from the inside.
 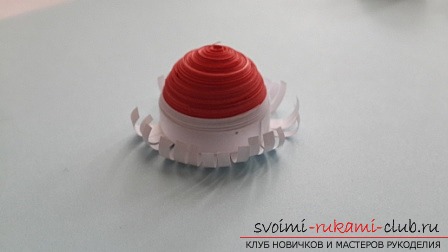 The main part of Santa Claus is, of course,ford. To make it you will need a piece of paraboloid paper and several cut strips with the parameters 3 by 3 cm. From one end we glue the strips to our beard, and the other end is twisted using a quilling tool.
 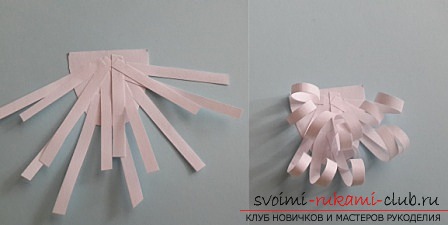 Collect our Santa Claus in such asequence: draw on the roll, which will be the head, the black marker of the eye and nose, the red mouth let down. After glue to the head cap, and then attach the trunk. Allow the glue to dry thoroughly. While the bulk of Santa Claus is drying, make a palm. To do this, twist the small loose roll and glue the loose end. On the one hand, grip the paper with two fingers and you will have a figure in the form of a drop.
 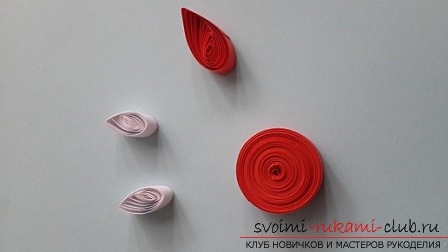 By the same principle, we will also make a bag forgifts. Twist the tight roll and roll a little less in the form of a drop. Glue both parts together. At the place of gluing the details decorate the pouch with a white strip. For the staff your grandfather also needs a decoration so twist the small blue roll and give it the shape of an arrow. After that, glue all the parts to the Christmas tree on the background sheet. First, we attach Grandfather Frost, then hands, a staff and a sack.
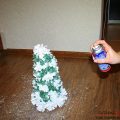
 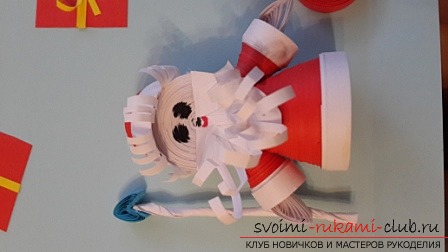 The last step is for the resultingthe picture looked more elegantly twist several small rolls of different colors and attach them to the branches of our Christmas tree. At the top of the tree also add serpentine. Also an excellent option would be a litter of cotton wool, which will resemble snow. For a basis of a picture it is best to take an ordinary cardboard box from under sweets. That's all the unusual New Year's picture in technologyQuilling is ready. Thus, in just a few hours, together with your baby, you were able to make an entertaining article in a popular technique in 2014. This picture will be an excellent and original gift for your loved ones and plus you will get absolutely free of charge. Also, similar work can be done in junior classes with schoolchildren or in kindergartens. Therefore, arm yourself with paper and forward to create magnificent winter paintings. Received results and useful comments do not forget to share in the comments.
Comments
Related posts:
 We make a picture in the technique of quilling, a master class in a photo lesson and free of charge
 We master a unique New Year's garland of cones with our own hands. Completely free using natural material decorate the house for the 2015 meeting
 We master the beautiful Santa Claus from papier-mache with our own hands. It is easy and absolutely free to make an actual handicraft for the New Year holiday in 2015
 Asterim with the baby is a simple postcard for the pope with their own hands. Actual in 2014 and an excellent looking nice work
 Completely free of charge and without difficulty we make the original Christmas tree with our own hands. A simple instruction with a lot of photos