Pattern and recommendations with a phased photo on the making of a bird.
Since ancient times, birds have been considered divine creatures.and have always been associated with endless distant dreams, freedom and strength of spirit. The image of a bird corresponds to many meanings and embodies the idea of beauty, vital energy and the desire for new heights. Therefore, a bird in all its manifestations will be a good symbol and amulet for the home and the people living in it. And a bird made with your own hands will become the best and most sincere gift that will embody all the meaning that the master wants to put into it.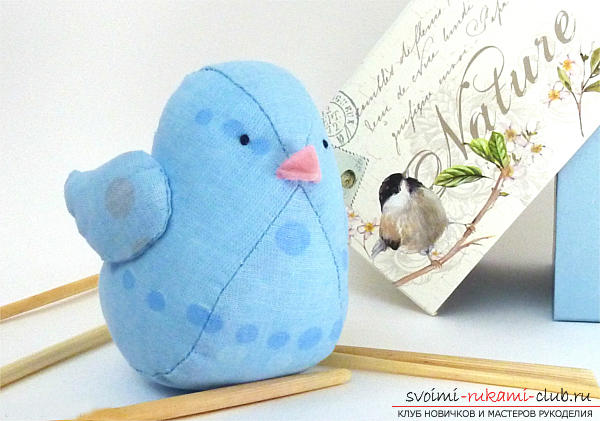 And today put aside all your affairs, findany cute "fabric" that is lying around somewhere in your closet, and start sewing such a fabric bird. And the master class on making a textile bird, presented in this article, will come in very handy. Such a beautiful thing will suit any holiday, and also as an interior decoration: and hang it in a secluded place, and plant it on a flower or window - it will look very beautiful everywhere. There are many patterns of various birds on the Internet for every taste and for craftsmen with different skill levels. And here is one of the alternative patterns that can be used to make a bird that brings good luck and happiness.
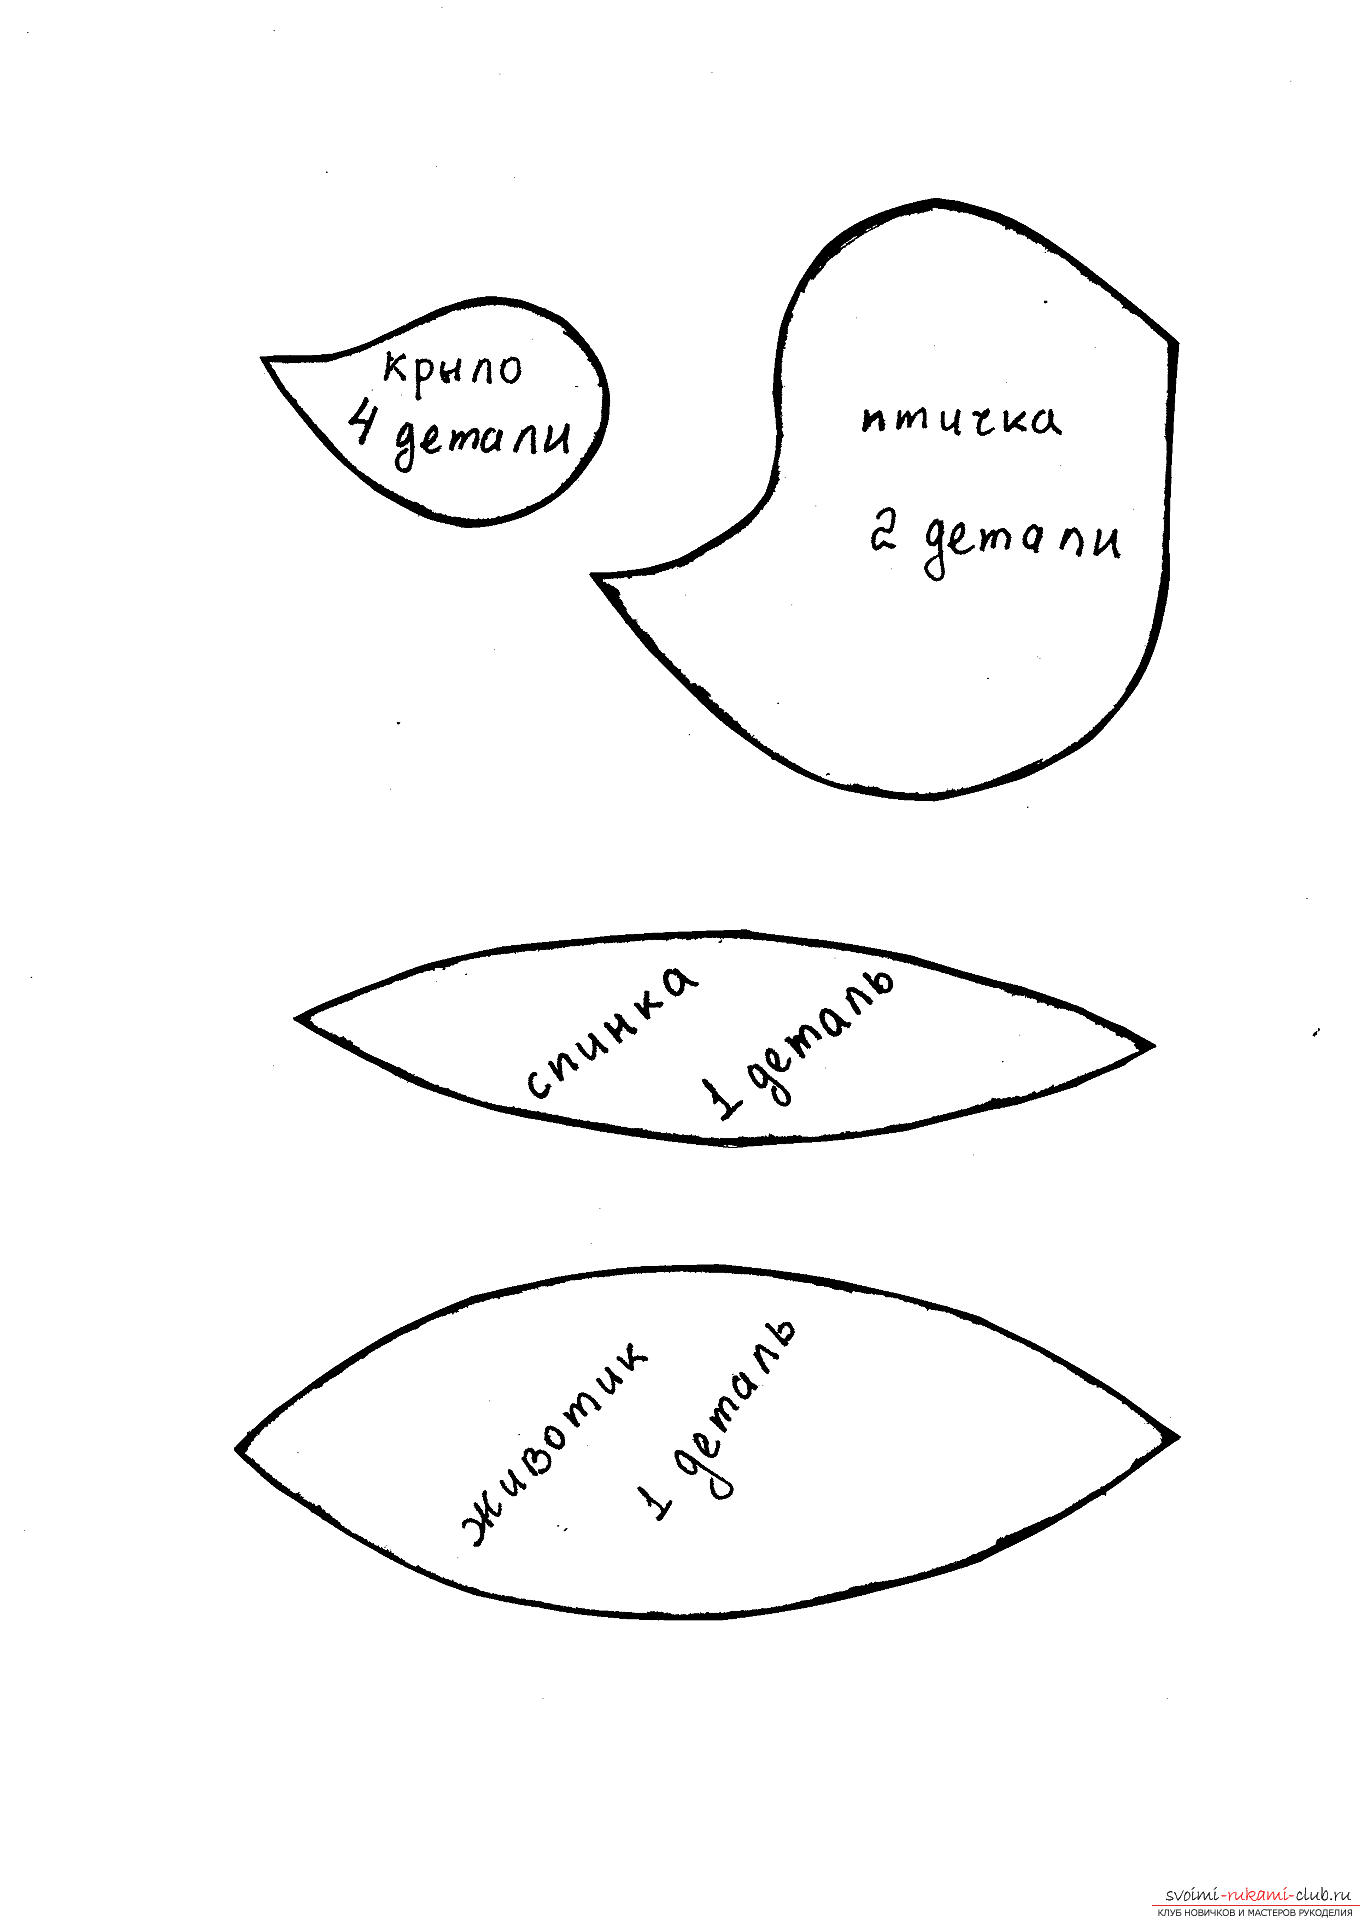 Print out the suggested pattern orredraw it, adjusting the size to the desired one. Cut out the resulting pattern on the selected fabric and carefully cut out all the details. It is up to you to decide whether to make seam allowances. Depending on this, the dimensions of the future bird will change slightly.
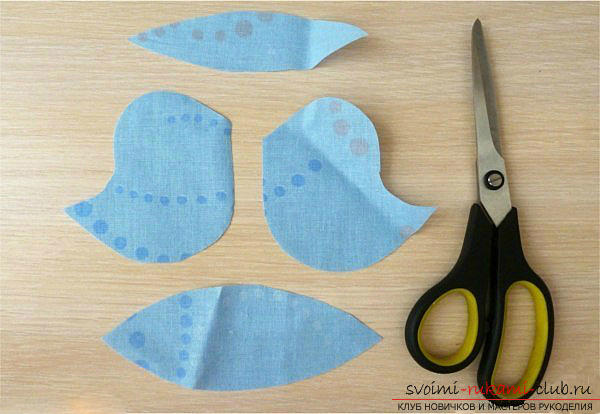 Sweep the body parts, leaving an opening,to then turn the toy right side out and stuff it (all this is easier to do with any handy stick). At the end, the hole needs to be sewn up with a blind stitch.
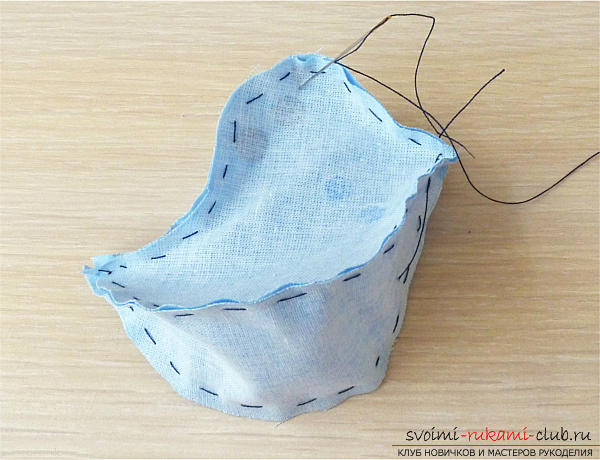 Once the body is ready, proceed tothe bird's wings. You need to do the same thing with them as with the body, but you need to use a little stuffing. Only to give the wings shape. They are sewn to the body using a blind stitch, and to make it much easier, fasten the parts with pins beforehand.
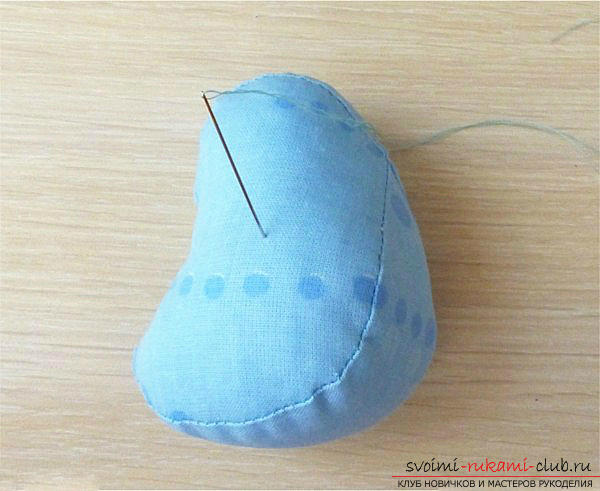 The last touches remain: design the bird's face. Embroider the eyes with threads, and you can use felt to make the beak.
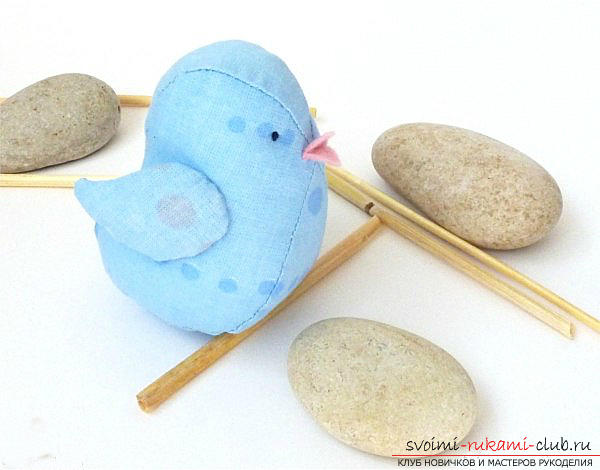
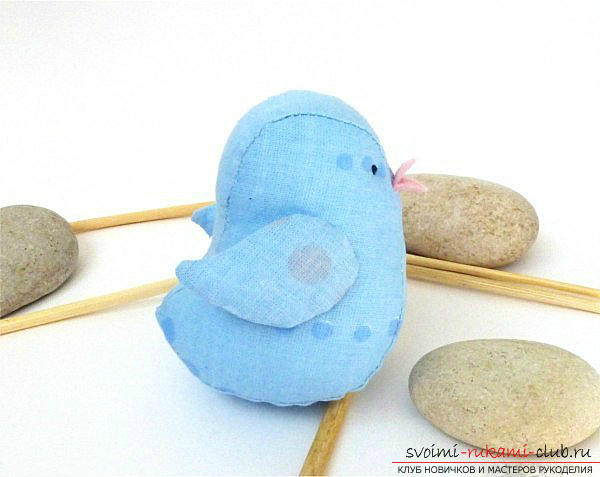 This is how cute the bird turns out ifuse this pattern. It is perfect for decorative purposes, interior decoration, and even for a small child to play with. Just make sure that all the parts are firmly sewn together.
Comments
Related posts:
 Festive decorations with their own hands, tips and advice on making pumpkin out of cloth.
 Tips and recommendations and phased photos on making a postcard for my grandmother.
 Quilling technique, various flowers in technologyquilling with your own hands, creating compositions using colors, quilling techniques, tips, recommendations and instructions for creating them with phased photos.
 How to sew fashionable jeans by yourself. Professional pattern of fashionable jeans with step-by-step steps of their sewing
 Recommendations for making a tiger-pillow with your own hands.