We sew a stylish and warm fur vest on our own. Step-by-step guide to tailoring a vest from fur
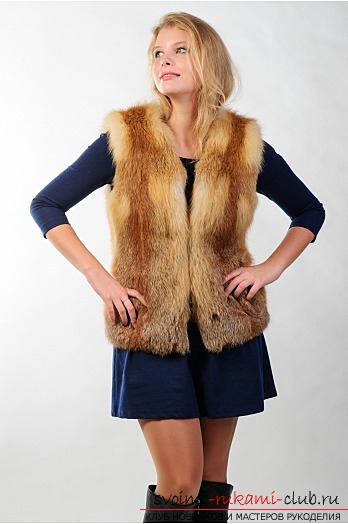
Fur Vest - a popular attribute inwardrobe of any woman. Today, fur vests can be seen on many celebrities. They can be purchased in specialized stores for a fairly high price, but there is an alternative to look stylish, but do not spend a lot of money. It's to sew a fur vest herself. People who are striving for a unique image and want to stand out from the crowd, this kind of clothing will help create a unique style. So safely run to the store and buy the necessary materials. Fur vests perfectly combined with jeans, trousers, and various skirts, including miniskirts, regardless of their color and fur. 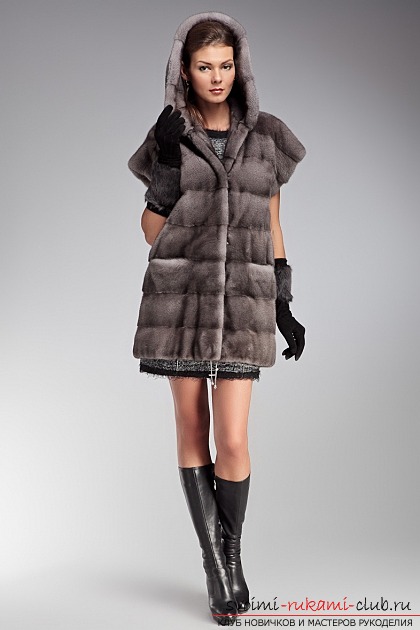 Work process:
 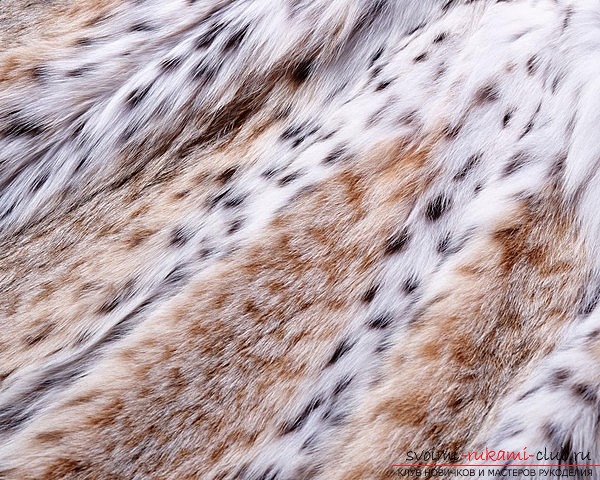 1. You need 70-80 cm of any fur and one meter of fabric for the lining. It is better to choose a natural cloth, and the color preference depends only on your taste. We recommend choosing a soft artificial and pleasant to the touch fur, having a base of elastic fabric. It will be easier for you to sew a vest. The vest fur of the vest should be down directed, therefore correctly lay out the fabric. 2. Make all necessary measurements
 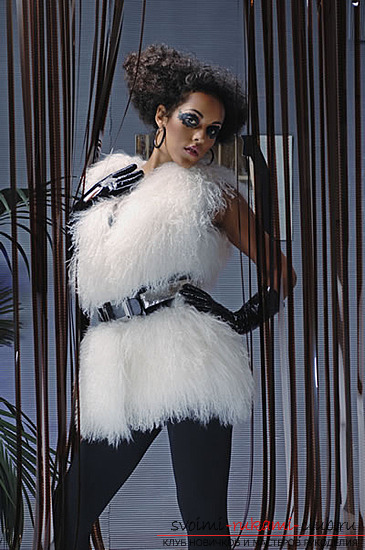 3. First we need to draw a pattern. Draw a rectangular shape on a large paper sheet (the width of the paper should be equal to the chest girth enlarged by 2 cm, and the length is any). Cut the resulting pattern and put it in two. Mark the main contours of the measurements made on the main points: chest, waist, hips, referring to the drawing. Pattern can be both a fitted silhouette, and a straight shape or flared 5. Then we measure 75 centimeters to the bottom and get the center of the shelf and back. From above we lay 7 cm and get a line of neck on the back. We draw a smooth line for the neck of the back. Set aside about 13.5 cm and draw an inclined straight line at 3 cm and get a seam on the shoulder.
  6. From the end point on the shoulder, lay the vertical line down about 22 cm, and then about 3 cm to the right side and round out, making out the armhole. From the resulting point, measure 17 cm to the waist. If you do not cut the side seam, then you can continue the line and the end down. Draw the bottom of the vest, while connecting the point at the bottom of the middle and the end point of the seam on the side. 7. Tie the points where the shoulder seam begins and the waist line. As a result, we get a cutout on the front. 8. Cut out the pattern and draw it on the underside of the fur, and then make a cut according to the pre-made pattern. In the same way, make a cut on the fabric for the lining.
 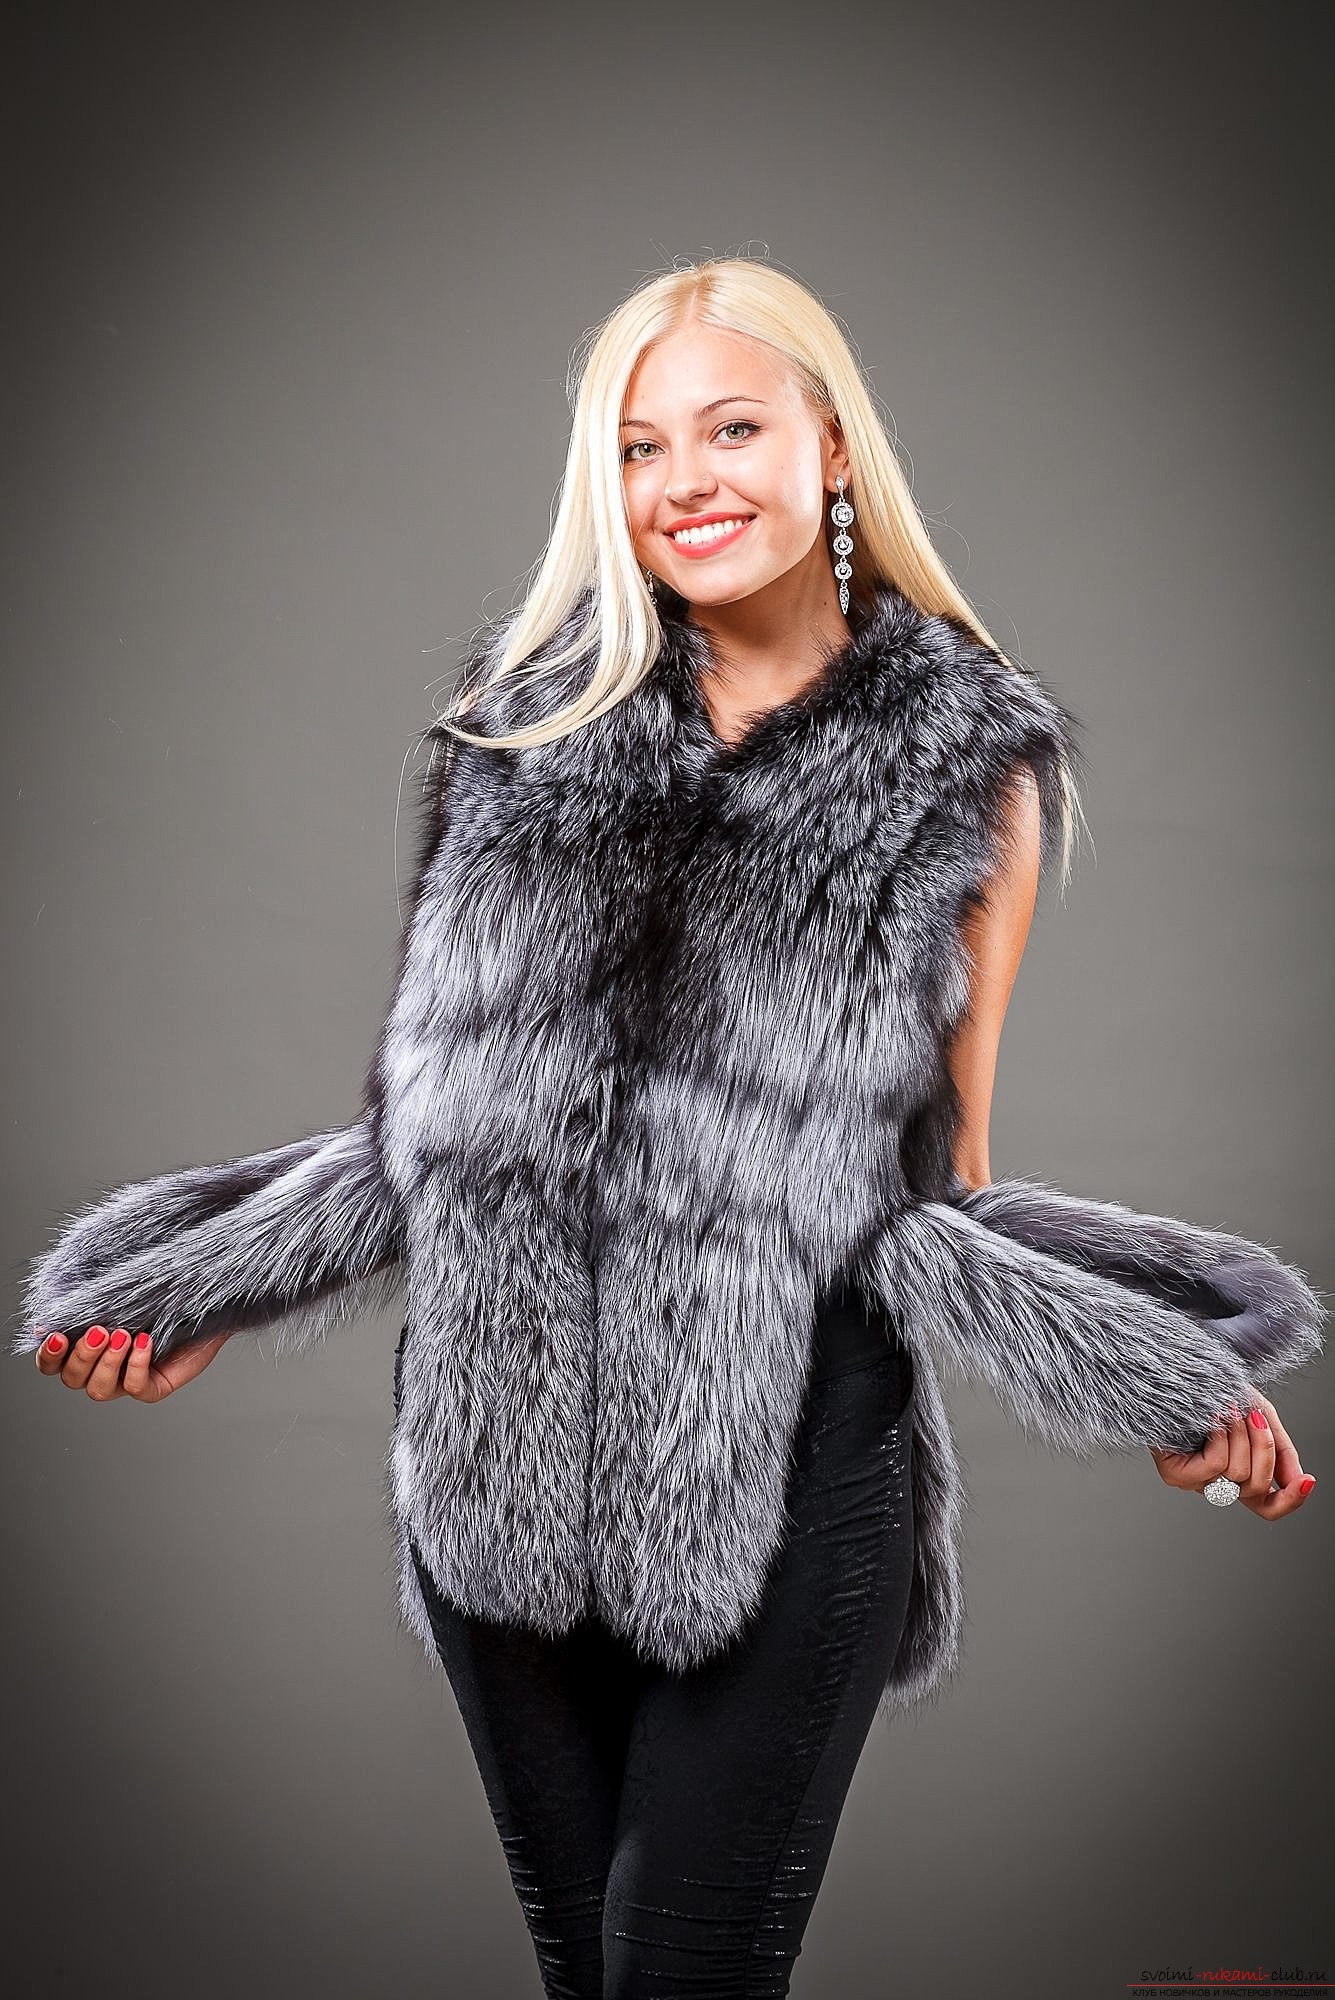 9. Sew the elements from the fur and lining together. Then, stitch the seams on the shoulders of the front and back. Turn the elements of the product over your face through the neck. Manually sew the neck with an inconspicuous stitching. 10. You can make a cut from the fur of the collar - the rack, cutting out of the fur fabric flaps width of 10 cm and a length that is equal to the girth of the neck, sew them together and turn them to the front side, and after sewing the gate into the neck. Decorate the finished waistcoat with different decorations and clasps. You can also decorate the fur vest with a belt.
Comments
Related posts:
 How to sew on your own pattern stylish, warm beret. Tips of professional craftsmen will help you
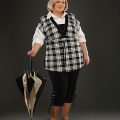 How to sew an elegant waistcoat for a full woman. A vest for a full woman and tips for sewing
 Dress-case as a special choice: The history of the model, beautiful, sew yourself
 How to sew sliders for a child yourself. Pattern of children's sliders with a description of the process of tailoring their own hands
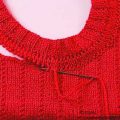 How to connect a beautiful female waistcoat with knitting needles with the help of a step-by-step guide. Knitting scheme for women's waistcoat on needles from professional craftsmen