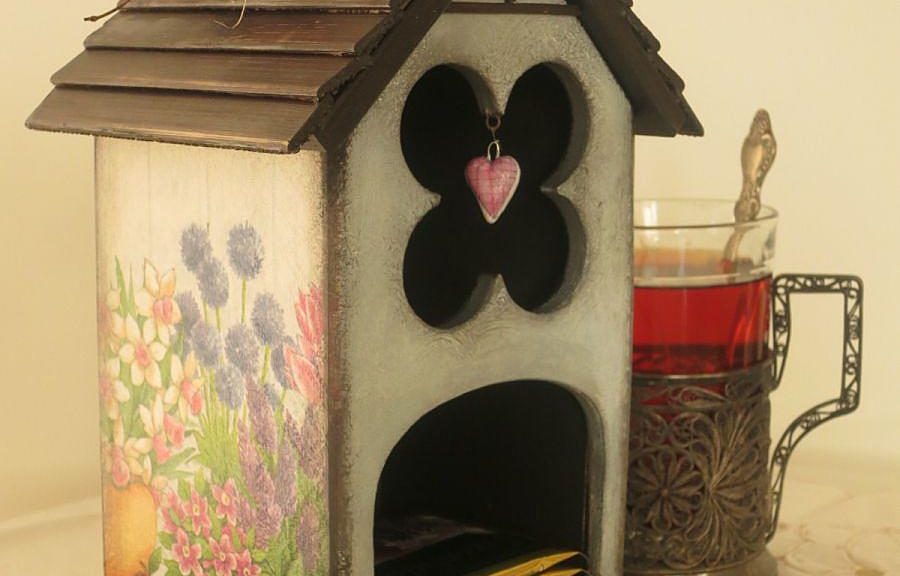
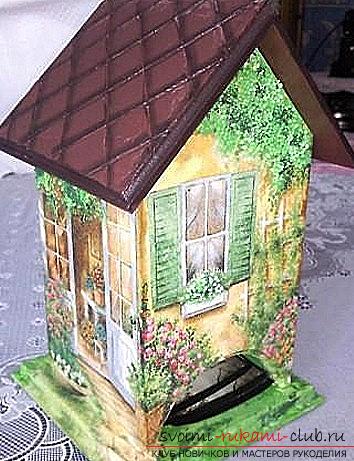
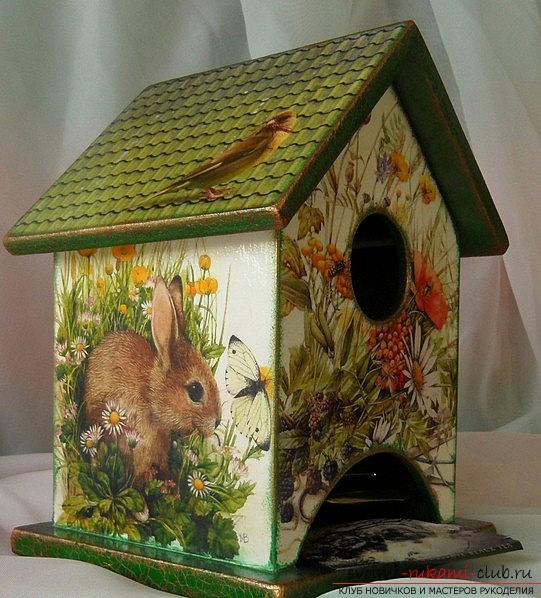
Volumetric and simple decoupage for a tea house: photo and master class
Decoupage is a popular topic, and therefore, ina variety of handicrafts are welcome, even children's. This version of the tea house is perfect for those who want to decorate their kitchen and put their store for tea in it. The option of simple and voluminous decoupage of a tea house To make such a house you can independently, or buy. In our case, we will try to make a model of a tea house on our own.
Materials
In order to make a simple tea house, we need some material:
- Billet from a tree
- Napkin for decoupage, or a map for decoupage with an image
- Acrylic paints
- PVA glue
- Varnish (acrylic)
- Sandpaper
Surface treatment
 It is necessary to take a wooden blank and in caseIf necessary, treat it with sandpaper. After this, it is necessary to cover our artwork with a white acrylic primer. After this, you must wait until the model dries. We ground the workpiece with a second layer and also expect the paint to dry. It is necessary to separate the second fifth of the height and glue it with paint tape. Then, the top part needs to be whitened one more time.
The effect of "Vintage"
After that, you need to wait until the glue dries. After that, apply the adhesive tape on the other side, and then paint the lower part of the workpiece in a dark color. We use ubru as a material. For the upper part - acrylic gold color, which is wiped with a candle. Thus, we get the effect of rubbing, which is guaranteed to give out the craft in the style of "Vintage".
Dye the lid
 Next, we paint the lid in the color of the base. To do this, use one coat of paint, then use gold paint. Also, you can add whitewash and umber, then you will get a shade of cream. After, cover the upper part of the house. If there is a desire, the house can also be processed inside. Also, do not forget to paint the bottom.
Decoupage for the picture
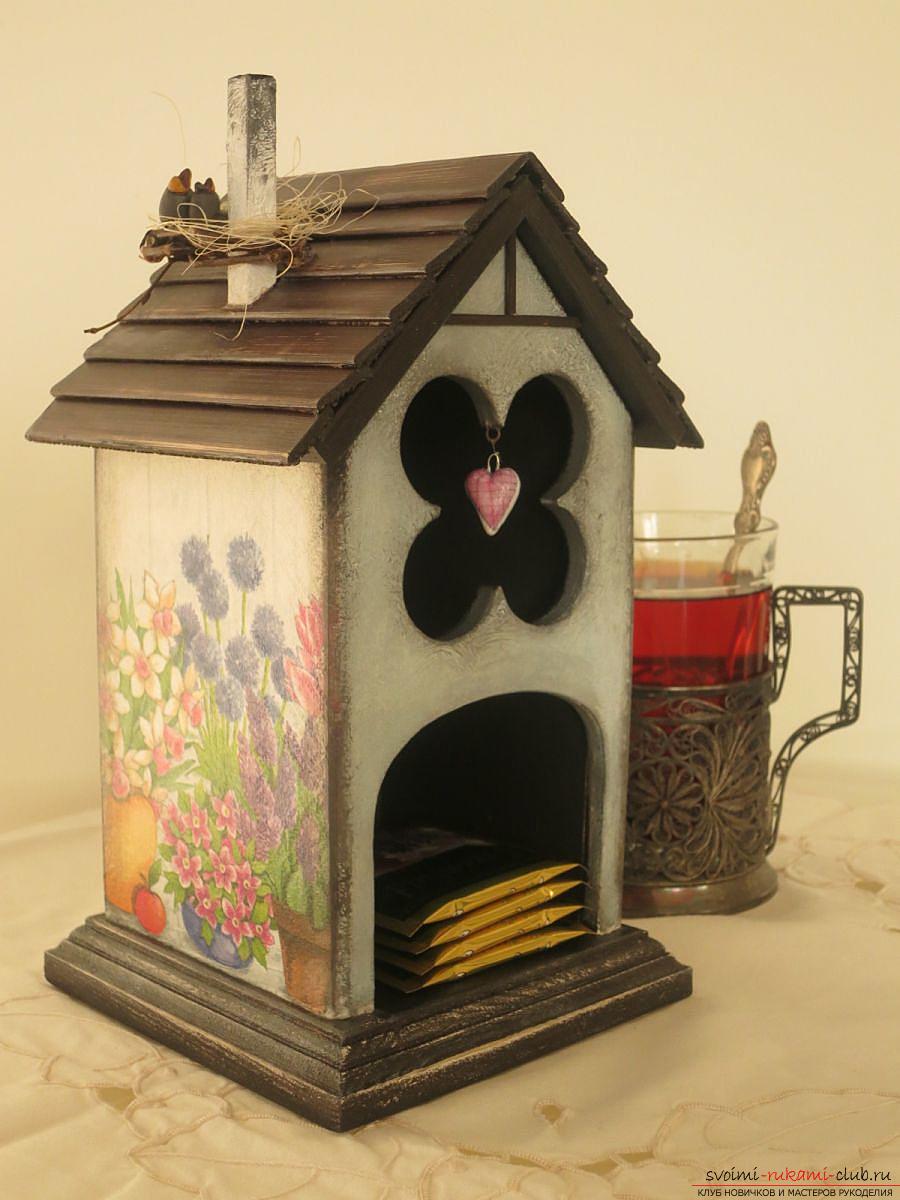 Next, make decoupage pictures. Tear out the desired element or a fragment of the picture from the image, and then glue it with PVA-glue. Next, treat the surface with a varnish and then add lace or tape from satin for the beauty of a future craft. Our workpiece is done!
Comments
Related posts:
 Decoupage of the table with your own hands with the help of photos, master class for the interior
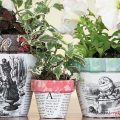 Decoupage pot for flowers with their own hands, decoupage of flower pots, master class
 Master class with photo and description will teach how to make a decoupage of bottles of champagne for the New Year
 Volumetric decoupage with their hands in the workshops (photo)
 Volumetric Kanzashi flower master class, photo and description.