Volumetric Kanzashi flower master class, photo and description.
Kanzash flowers are JapaneseThe original hair décor used by geisha. However, recently such decoration can often be found in the hair and Slavic women. In this article, we will describe in detail how to create a bulk Kanzash flower with our own hands. 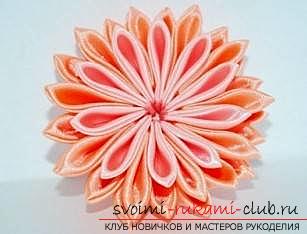
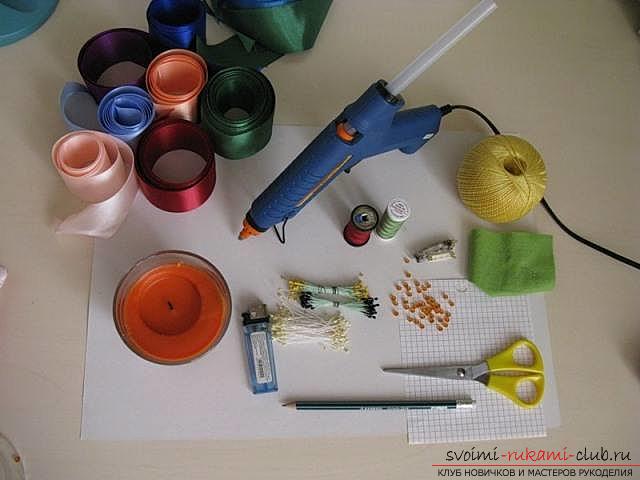
 For our lesson you should purchase:
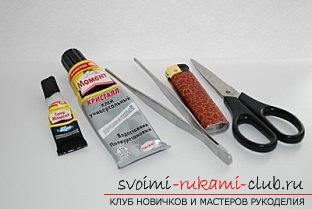
- quick-drying glue;
- beads, beads, strassics;
- tweezers (for convenience);
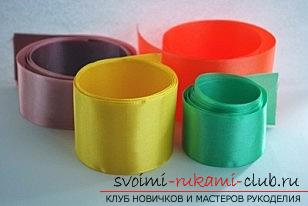
- ribbons made from any fabric;
- tape satin width of 3, 4, and 5 centimeters;
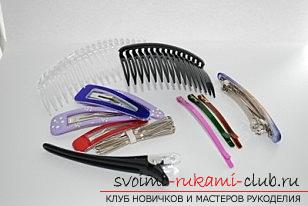
- hairpins, hairpins or "invisible".
 First you need to cut out the material squares.
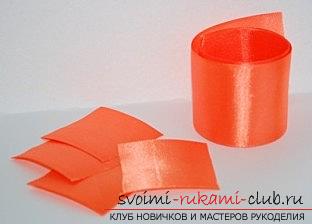
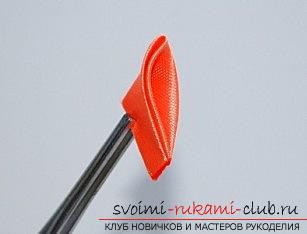
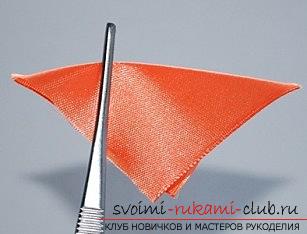 We put all the squares along the diagonal line. The resulting triangle folds up twice.
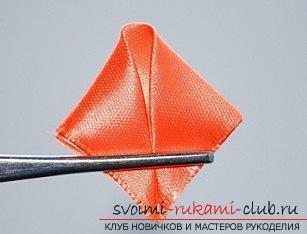
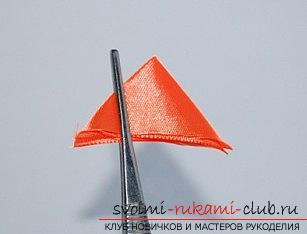
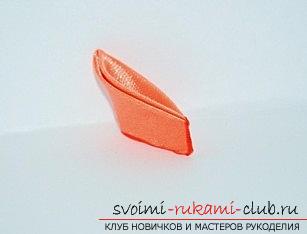
 The ends of the tissue must be cut and burnedCarefully above the flame, while holding the petals. This way you will have a sharp little petal. A number of similar petals are assembled on a thread with a needle and binds.
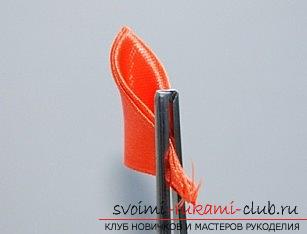
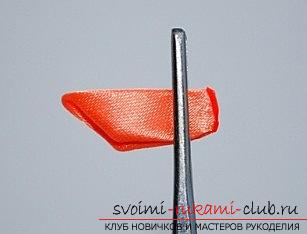
 The second option for creating Kansas is making rounded petals. We begin similarly to the first method.
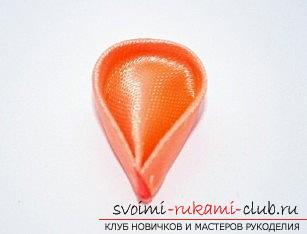
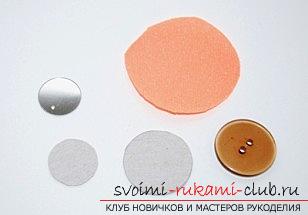
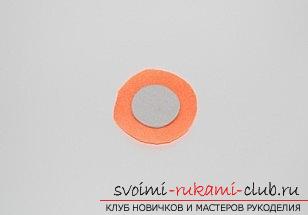
- You need to cut out a circle from the cardboard (you can replace it with buttons);
- it is necessary to wrap or glue the base with a cloth and then glue the flower to it.
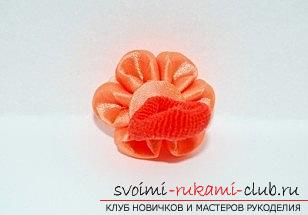
Create 2 such flowers: smaller and bigger. We paste them into each other and carefully sew together. We bring to your attention one more variant of making a nice flower of Kanzash. 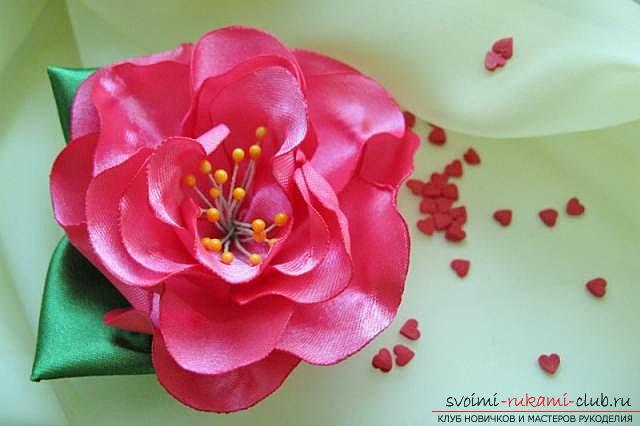 To create it, acquire the following materials and tools:
- scissors;
- a 100 cm long satin ribbon of any color;
- a piece of paper;
- a green satin ribbon equal in width to 50 millimeters and a length of 100 millimeters;
- thread and needle;
- pin, hairpin or hair dye;
- a candle or a lighter.
 At your discretion, this list can be supplemented by:
- a small piece of felt cloth;
- Glue gun;
- several beads.
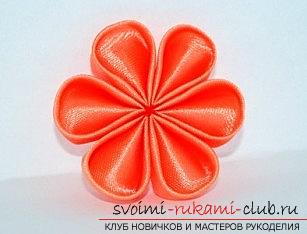
- prepare two lobes of the same size and add them as shown in the illustration. Then sew them with a suture forward the needle;
- we continue stitching in staggered order all six lobes;
- similarly we make two more rows of petals;
- we make stamens and insert them in the center into the hole, fix with a thread;
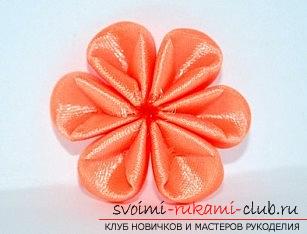
- all the rows are tightened and sewed together.
- we prepare a piece of a ribbon 100 mm long;
- singing its tips;
- we add and sew according to the illustration.
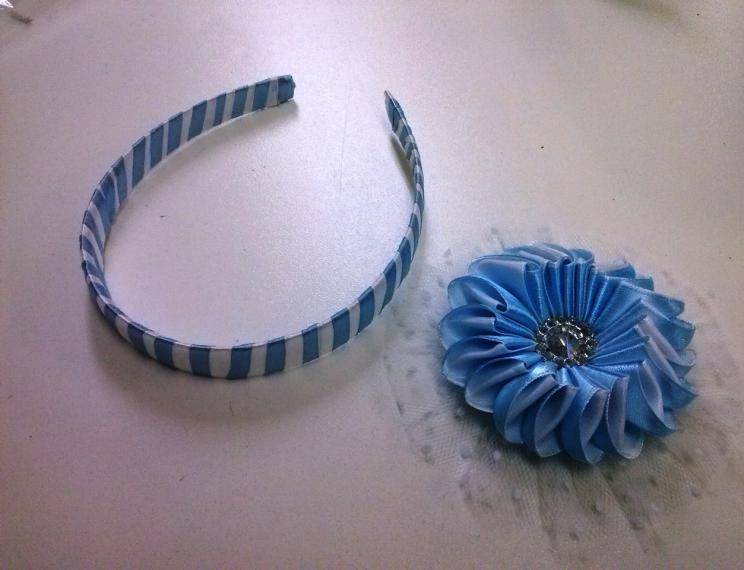
- cut out of a felt fabric circle;
- glue on it leaflets and a flower;
- glue to the felt pin.
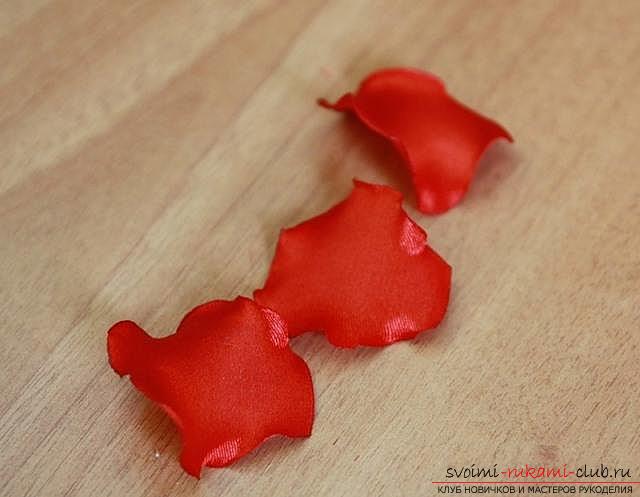
We make a pattern petal. By illustrations, you can determine the dimensions (50 millimeters in length and 25 millimeters in width). The width at the base should be no more than 2.5 cells. Since the tape width is 50 millimeters, the height of the petal should be smaller. Fold it in half and cut it out. The pattern is put on the ribbon and the shape is cut out. Cut the upper edge of the ribbon, for which you may need to lower the pattern below. Note that the base of the petal is edentified.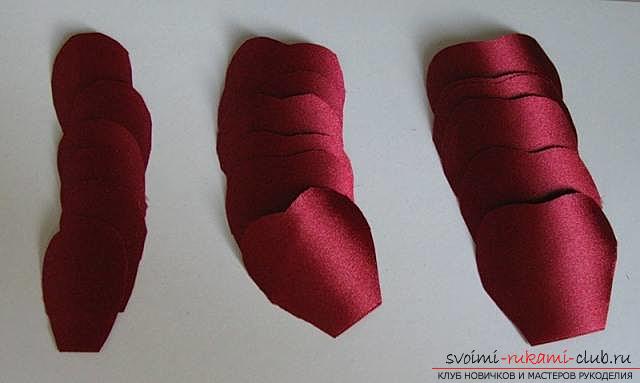 We cut out the petals from the ribbon. To do this, the ribbon is folded and cut out a few petals immediately. To make it more convenient, the tape is fastened with clerical clamps. Pattern is reduced by 50 millimeters from eachside, excluding the base. After cutting out three groups of six petals, proceed to carefully firing the edges of each petal, but you should not sing the lower lip. Next, we give each petal a shape. For this purpose, carefully and for a short time, place the petal under the flame, in order to slightly bend it. Build the flower.
Comments
Related posts:
 A master class with a photo will teach how to make a headband for girls in Kansas technique
 Kanzashi: a flower for your beloved daughter, Kanzash for beginners ideas and master classes
 Master class kanzashi dahlia ribbons (photo)
 Zephyrki Kanzashi master class from satin ribbons (photo)
 Master-class knitting with a diagram and a photo will teach crochet an openwork flower