
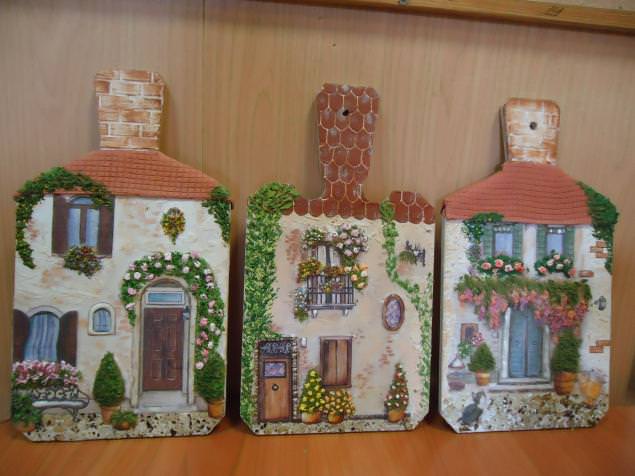
Volumetric decoupage with their hands in the workshops (photo)
Content
- Volume decoupage for beginners
- Make decoupage structural paste
- How to apply the egg shell in decoupage
- Video: We make a volume decoupage with our own hands
Volume decoupage, is a masterfulThe process of producing a three-dimensional drawing with a napkin, a gel that is easily glued and a structural paste or polymer clay that settles on any surface. Volumetric decoupage, has other names, such as 3D decoupage, parapetol, as well as art franchise.
You might think that such a job will beComplex and not feasible. But this is not so, it is not necessary to be an experienced master in decoupage, it is enough to carefully consider and study the master class with step-by-step photos, with which you will unerringly create your masterpiece in such subjects.


Volume decoupage for beginners
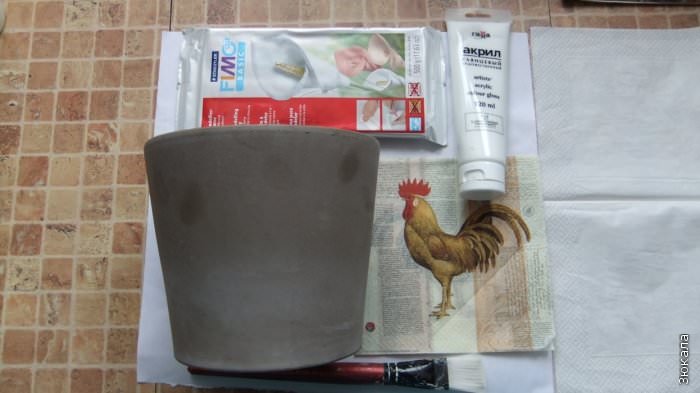
The presented three-dimensional master class will beConsider work for beginners, of which you will learn how to decorate a ceramic pot at home. Here is a list of those materials that will certainly be useful in the work, namely:
- priming;
- acrylic lacquer;
- PVA glue;
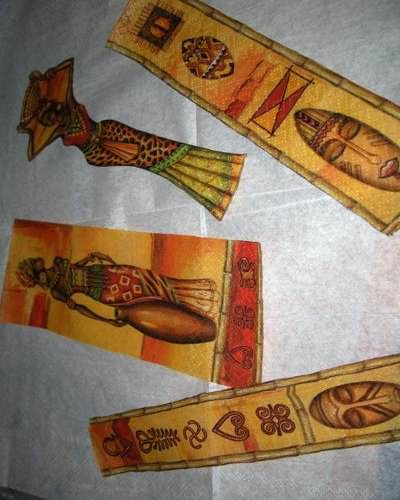
- napkins;
- scissors;
- structural paste;
- brush;
- sandpaper.
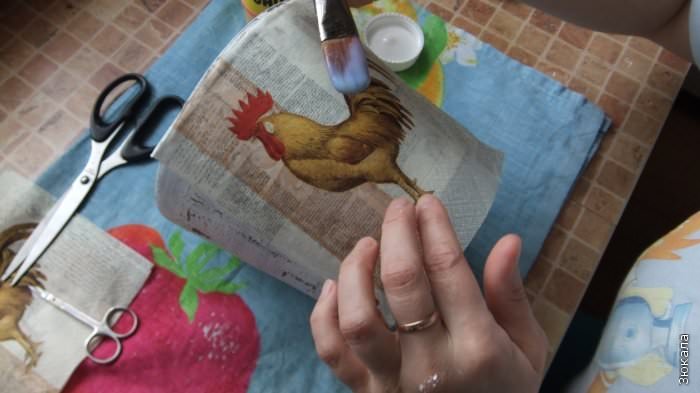
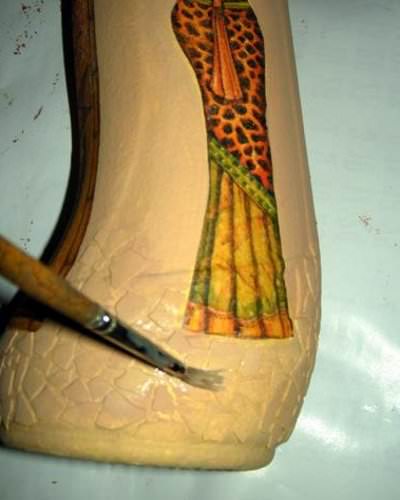
The master class begins with what you needPriming the flower pot and leaving it to dry completely. After that, sand it with sandpaper. Cut out the scissors, the appropriate motif of the pattern and paste it on the pot. In the photo it turned out, an excellent result.
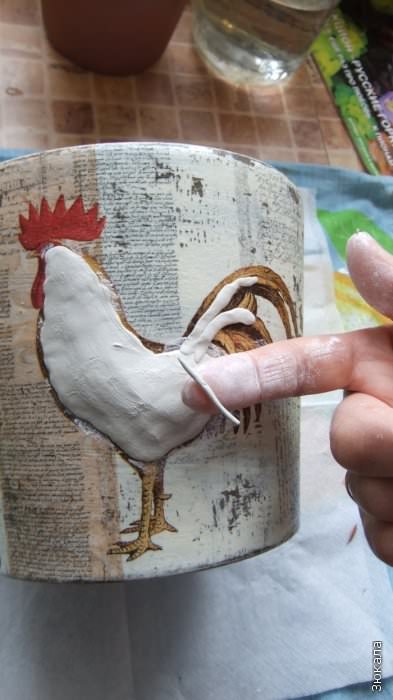
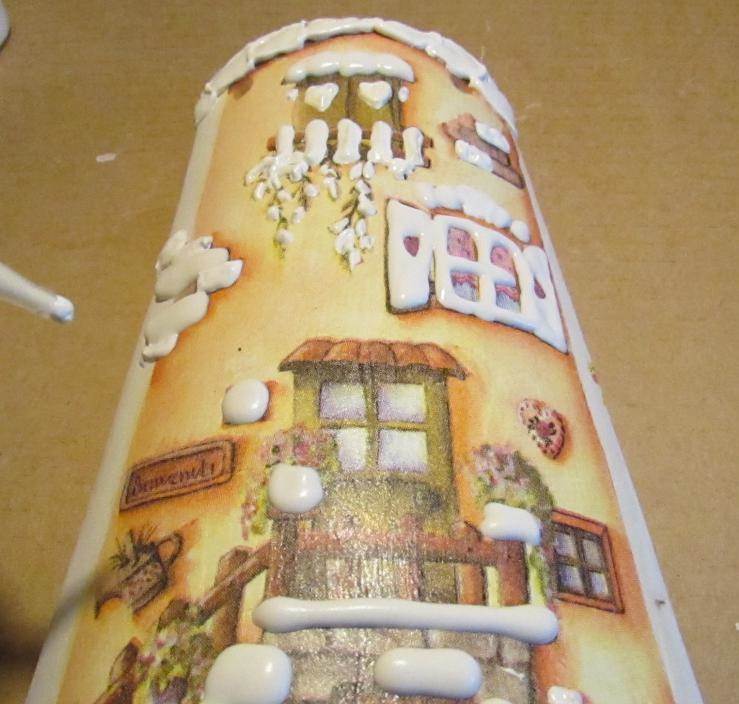
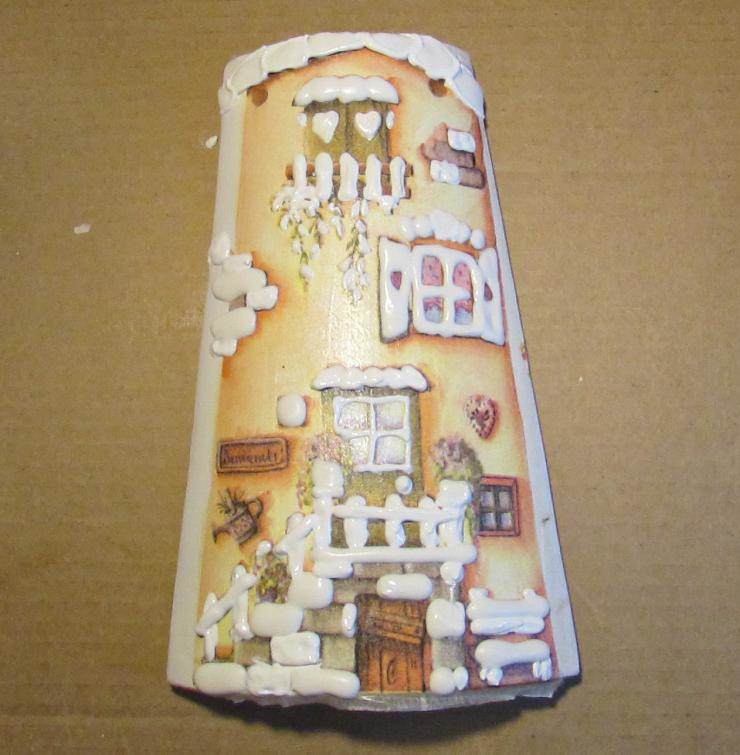
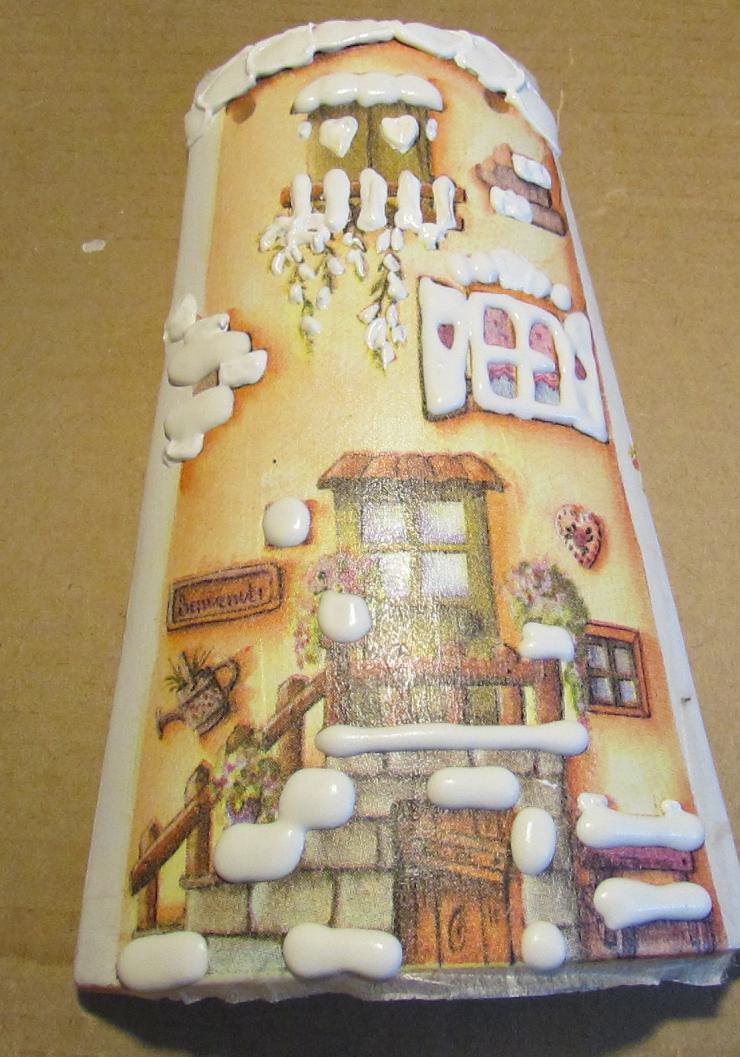
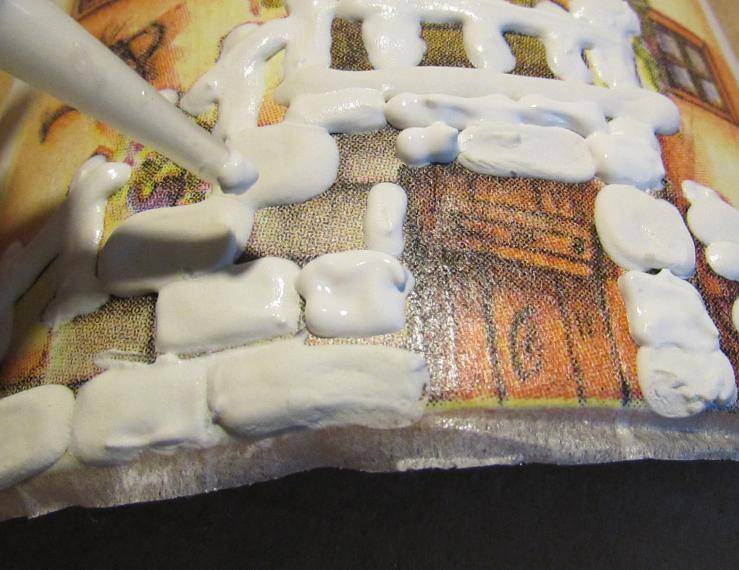
The next step is to add volume. For this, a special paste is perfect. It is required to put, without going beyond the contour, the supposed image of the cockerel, including even its tail. The edges are smoothed out with their own hands. The photo shows the whole process.
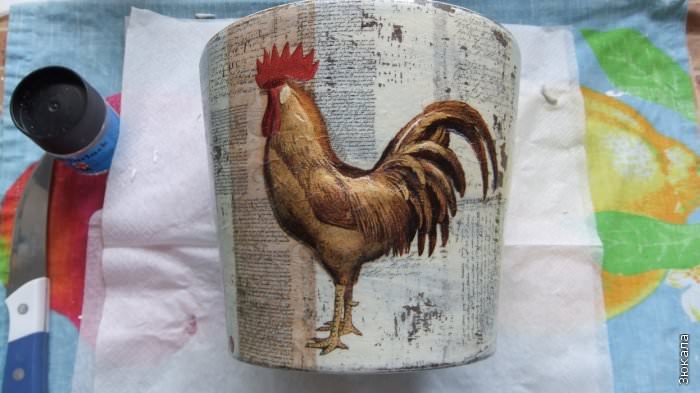
From a spare napkin, you need to cut anotherCockerel and paste it, using PVA glue on the structural paste. Such creativity must be completed. Therefore, apply a varnish based on acrylic, on the entire surface of the flower pots. It will help the product to last a long time and not be susceptible to various damages. Do not spare the varnish, make several layers. Do not forget to take a break for drying, between each coating.
This master class, which is greatFor beginners, showed you that with their own hands, you can easily create beautiful and original, decorative products that perfectly complement the interior of your apartment.
Make decoupage structural paste
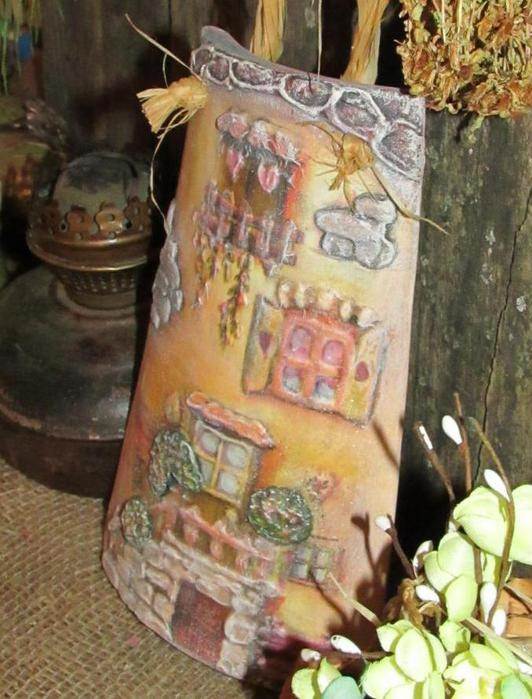
This master class will show you how toUsing a structural paste, you can make a very beautiful decoupage. Its image will be convex with a sensation of 3D measurement. This means that from whatever side you are looking at the craft, you will always see its main components. You will need these materials:
- Tiles;
- Paints and varnish on the basis of acrylic;
- Cards for decoupage and the same napkins;
- Brush and scissors;
- A skin;
- clay;
- primer;
- Foam wool;
- pin;
- Antique medium;
- A small amount of structural paste;
- PVA glue.
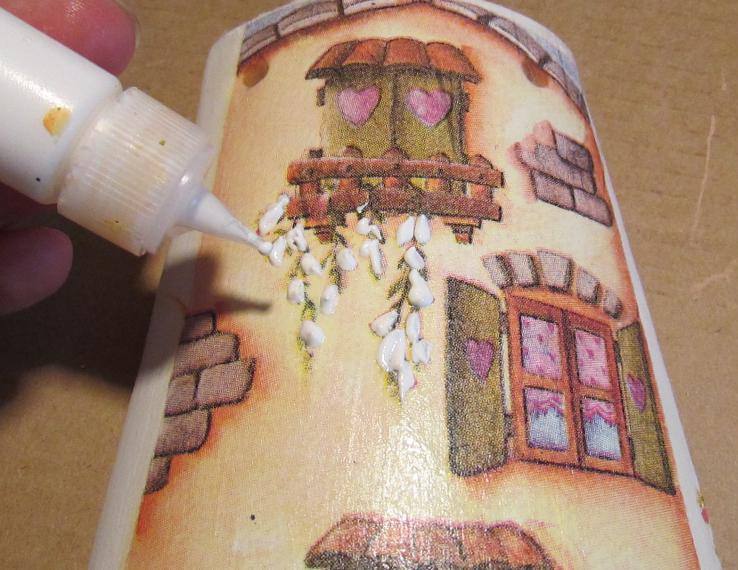
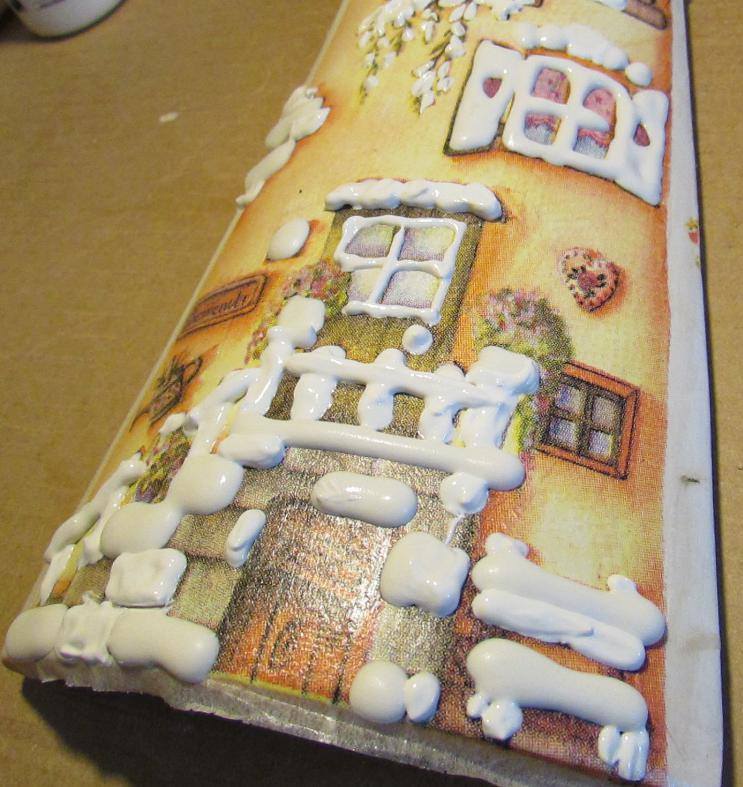
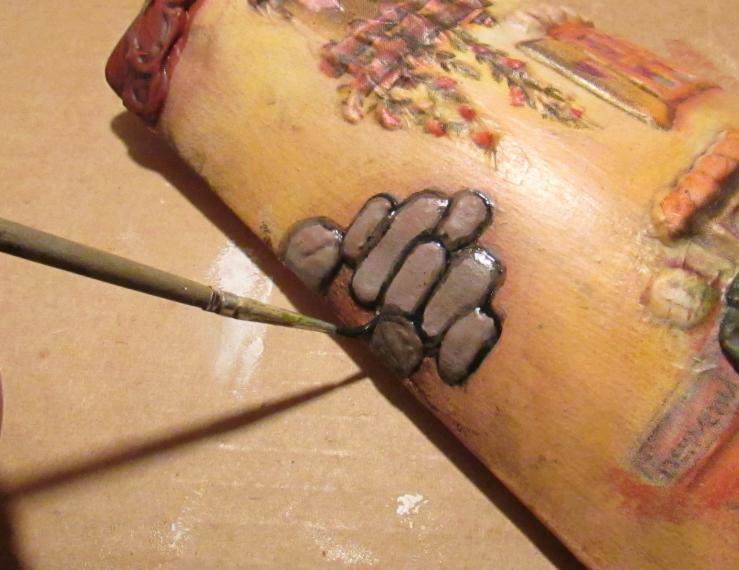
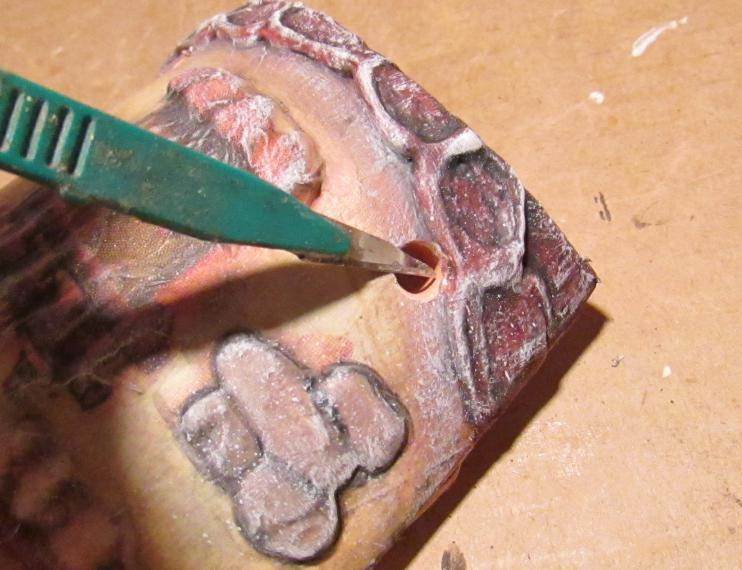
Take used containers with thinSpouts, they will help scrupulously create three-dimensional elements. Fill them with pre-prepared pastes, namely, a relief and structural paste, which is recommended to dilute with a small amount of PVA glue.


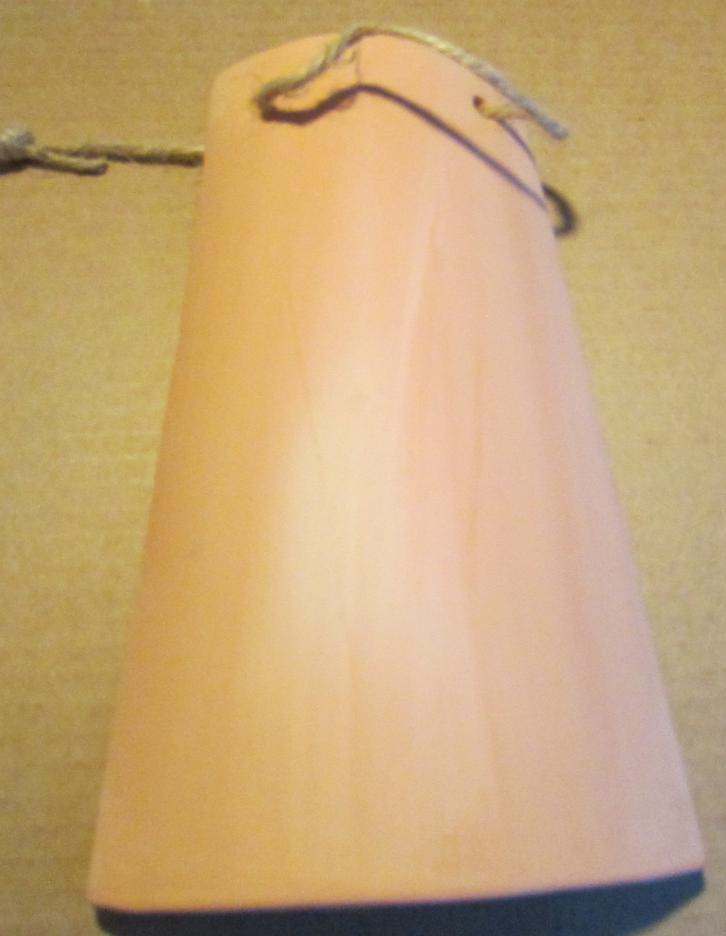
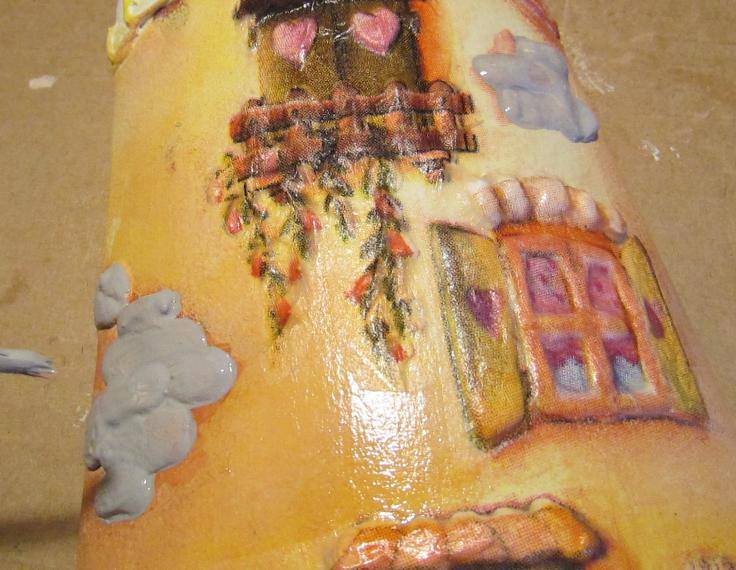
To conduct such a lesson,Tiles with a small rope are prepared. It must be removed for a while, and the whole surface must be covered with a primer. For certainty, apply a few tiers, taking breaks between drying.


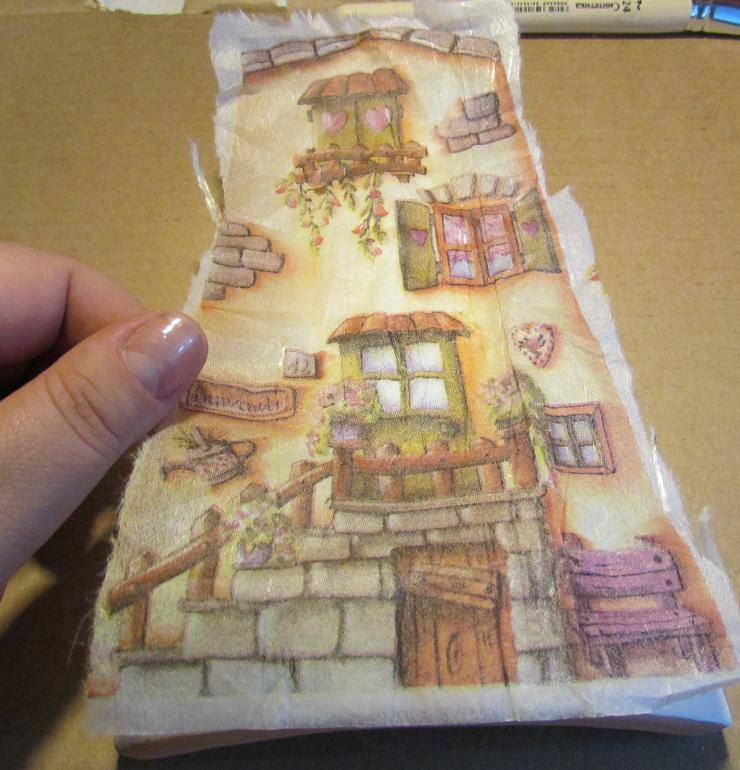
Now, take
Card and with your own hand, pull out the right oneMotive. Approximately try it on the shingles so that your motif will fit the size. It is necessary to smear the entire plane with glue, and on top of it, attach a picture. After you have fixed the napkin, let the artifact dry out.


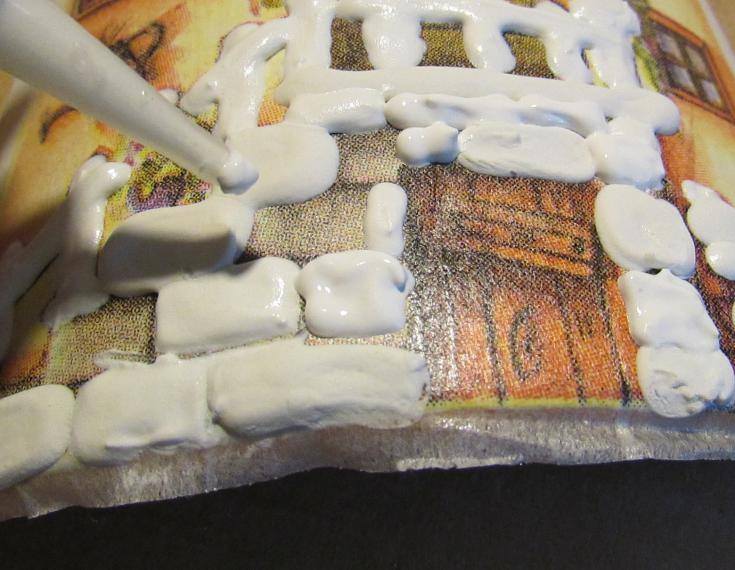
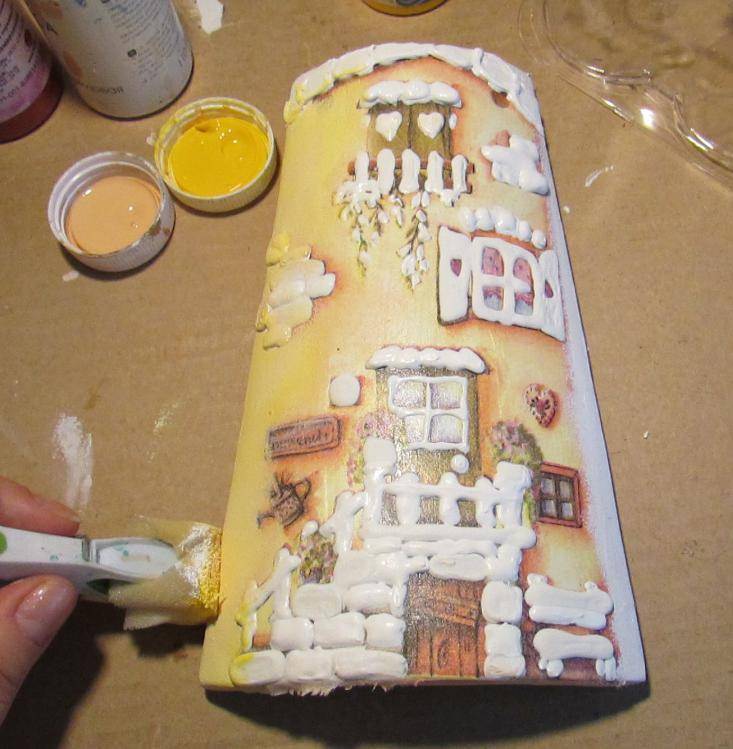
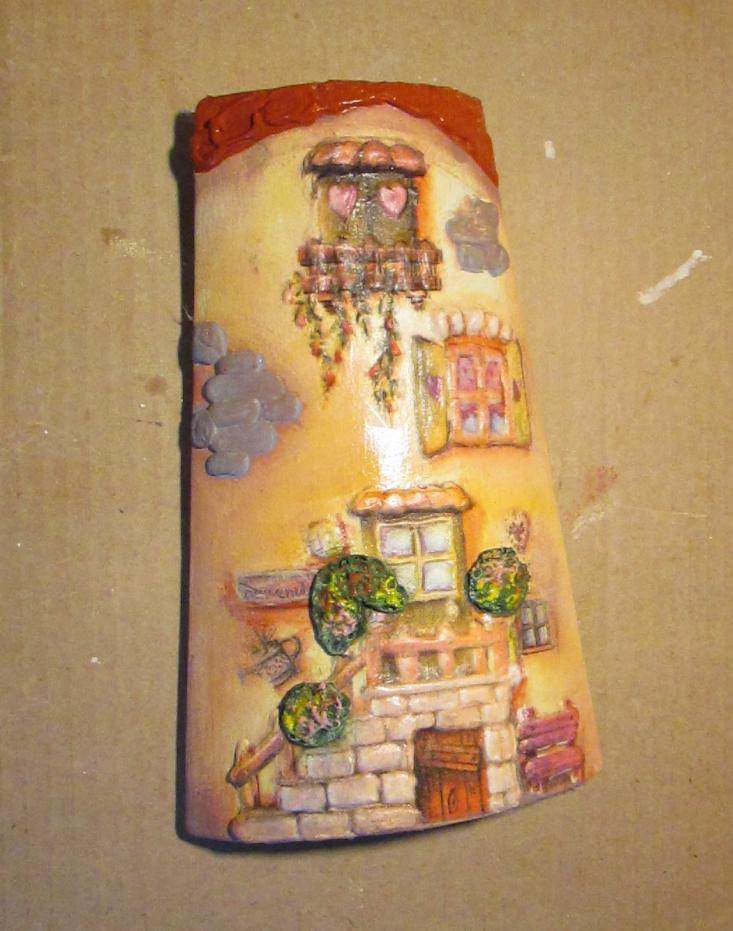
Further, when everything has dried up, it is necessary to drawCooked pastes, all images. So that the bricks do not mix with each other, they need to be drawn in the order of the queue. That is, take breaks between each part. Only in this case, they will look exactly and neatly. When you finish such manipulations, safely leave the product for the whole night, so that it will dry out thoroughly.
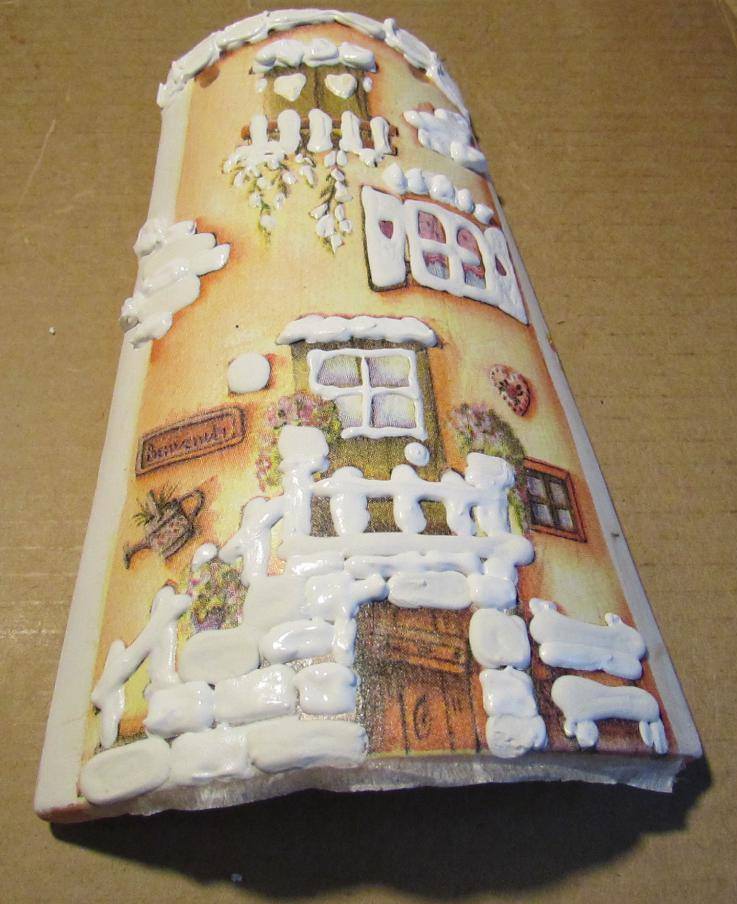
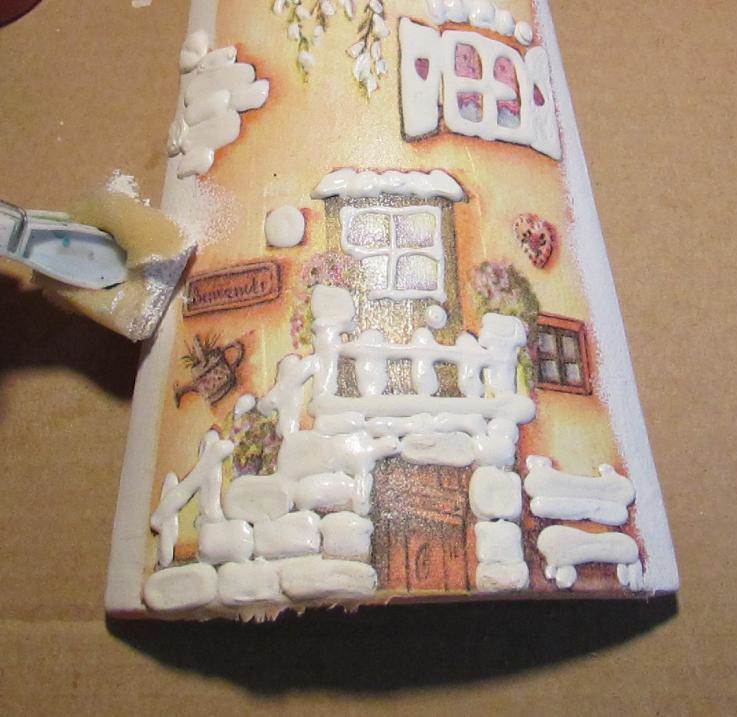
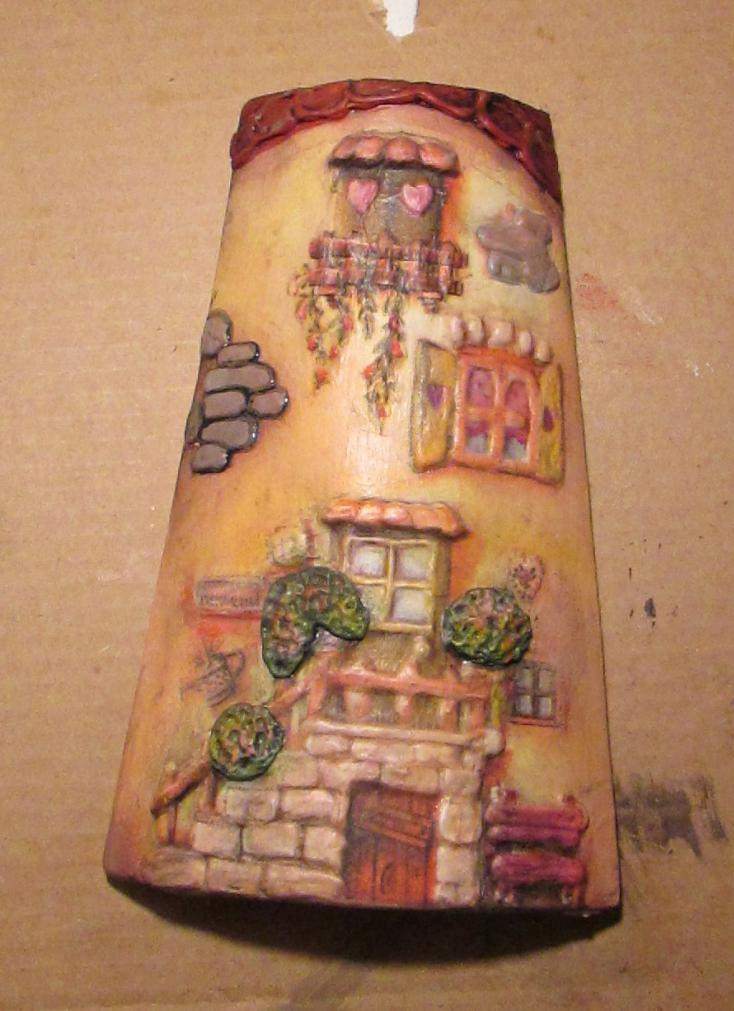
The next phase of the master class,That white paint and a primer are necessary, to put on hand crafts. Thus, you erase the boundaries between the pattern and the tile. We are waiting for the drying. Foam sponge with yellow and peach paint, it is necessary to paint the wall of the house.
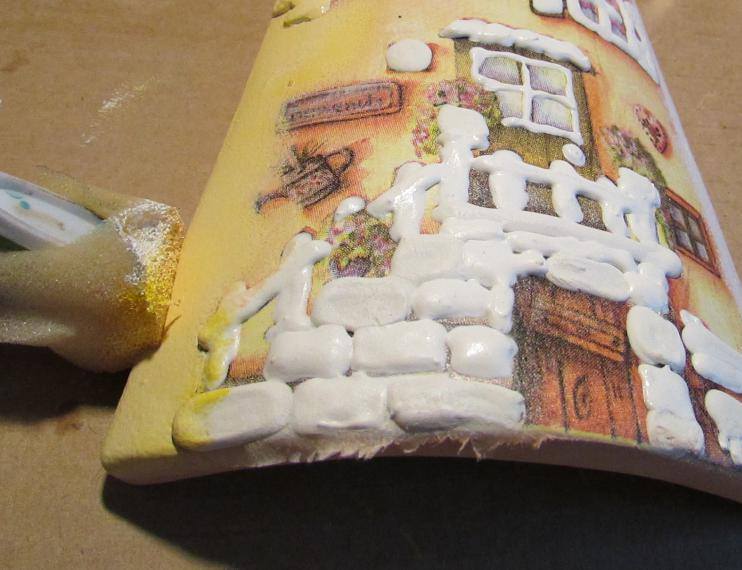

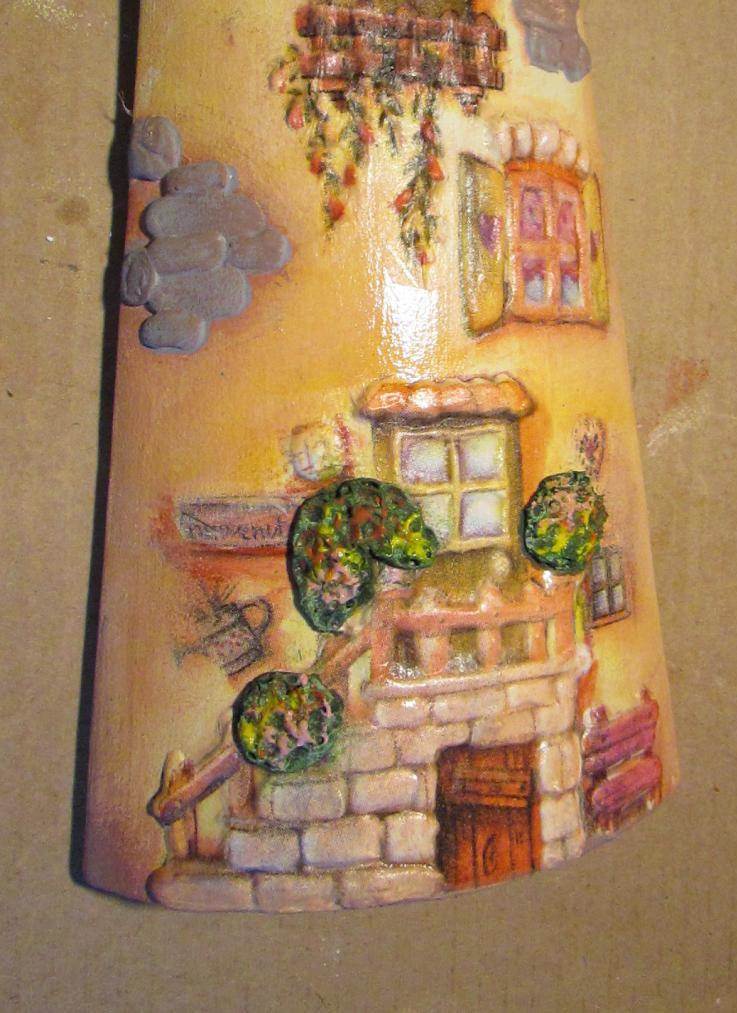
Pay attention to the photo, you have to cut out the suitable motif and paste it. After that, walk on the surface, brush with a lubricated varnish and leave the craft dry.

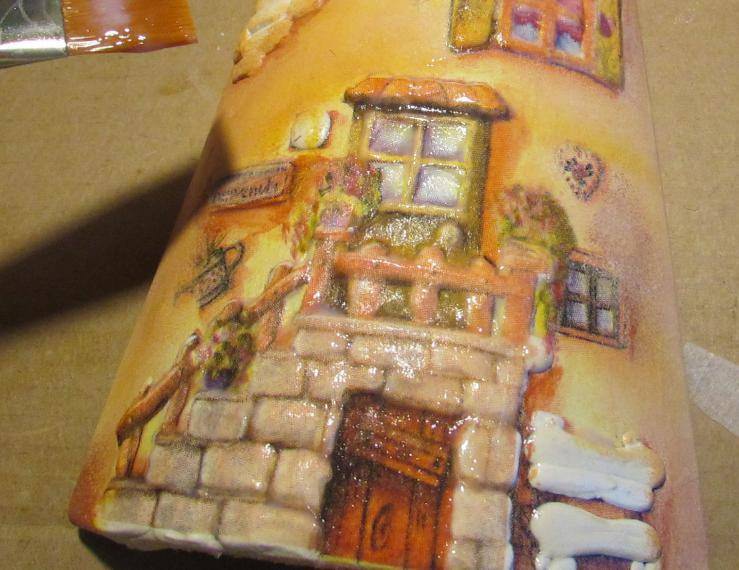
Now, take a small amount of clay andIs fitted in some places, in the form of a tree crown, as shown in the photo. The leaves are imitated with those materials that will be at hand. Expect when the drying will occur.
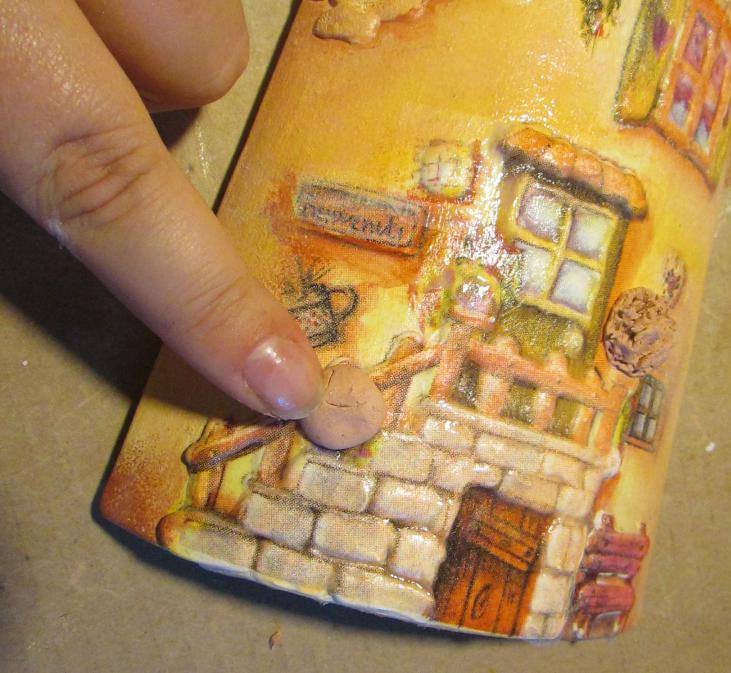

Take colors of colors such as gray and greenAnd start painting them with bricks and bushes. On the crown, apply colored glare. The roof must be painted in a terracotta shade. All work is treated with varnish on the basis of acrylic and left for complete drying.


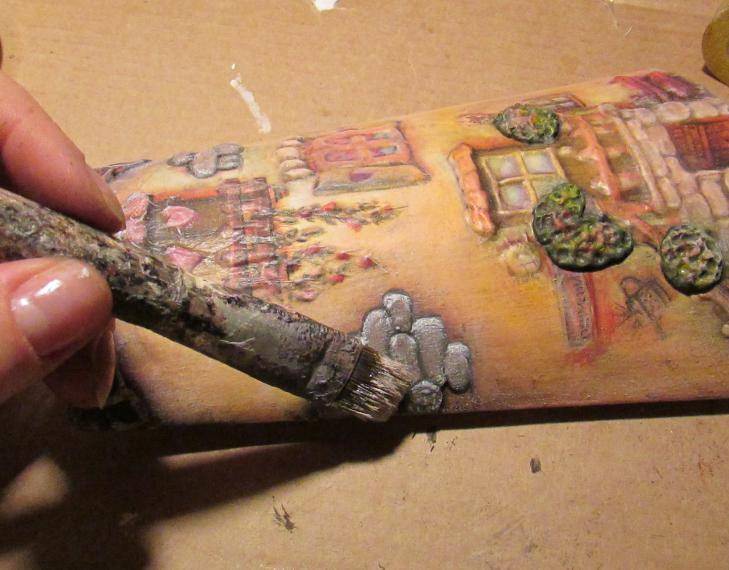
Completing the volume decoupage with structural paste,We must prepare a medium of antiquity. If you could not buy it, then replace this product with acrylic paint, diluted with a special diluent. It must be applied with a brush. And the excess should be removed with a soft cloth.
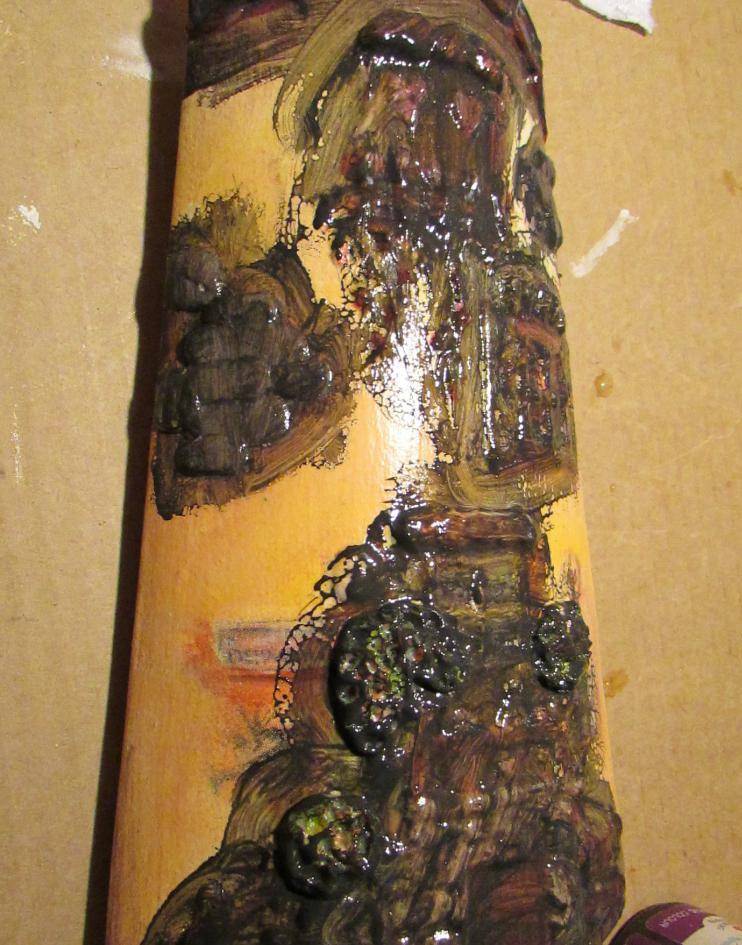
You need to paint a brick with a brush. With a dry brush dampened in paint, walk through the thick places, leaving room for glare.
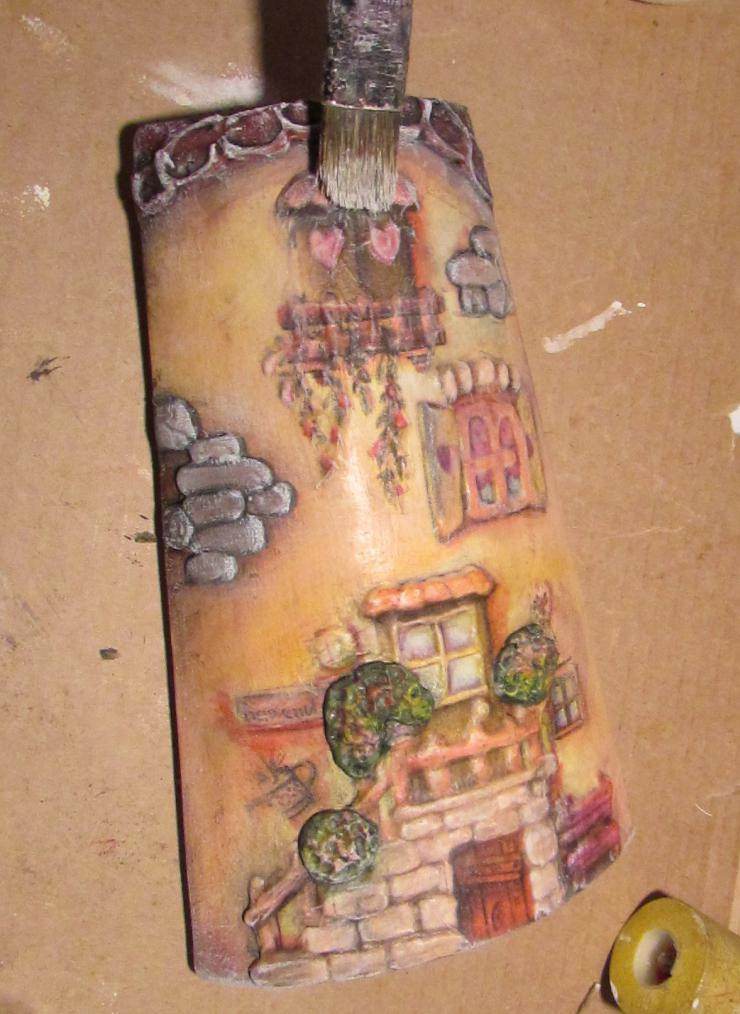
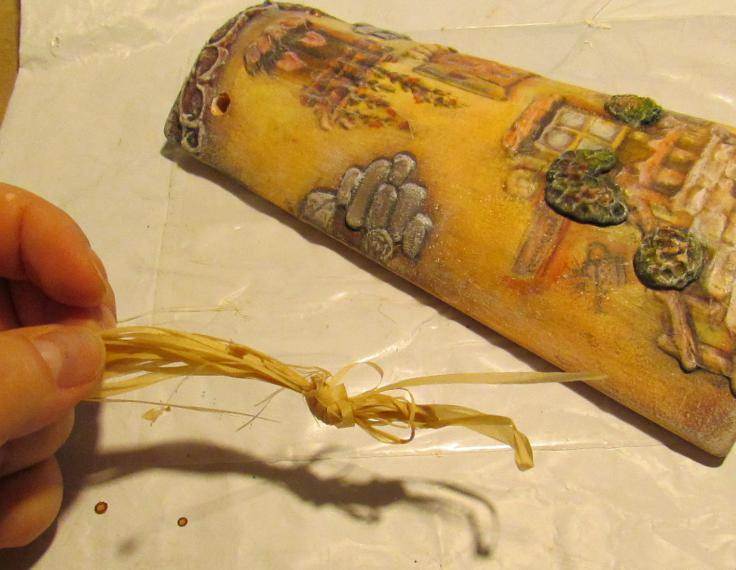
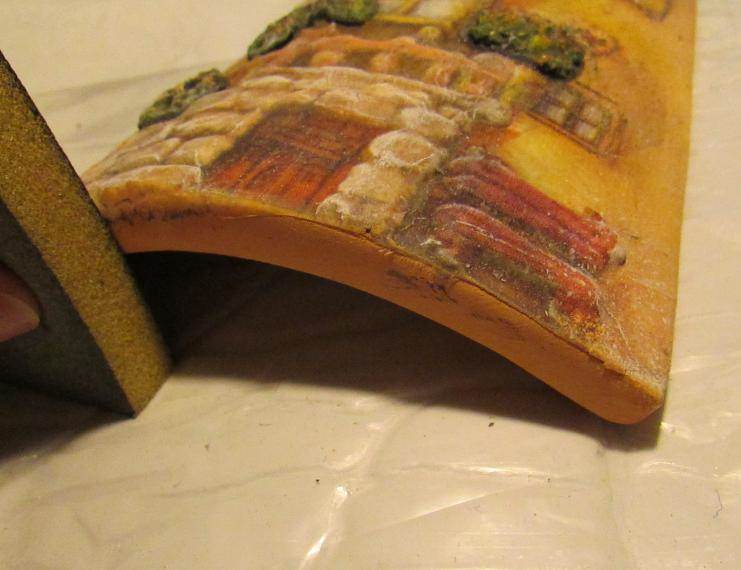
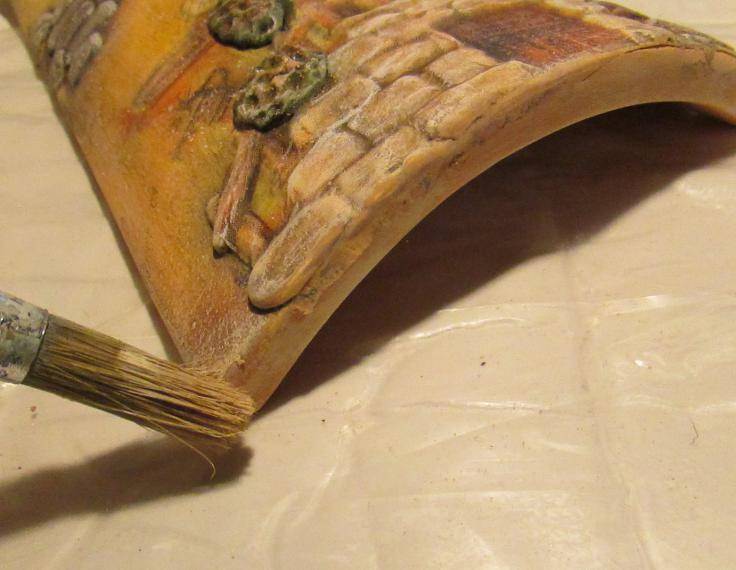
After you create holes in the shingles, you can insert a rope. Clean the sides with sandpaper. Thus, you will remove excess paint and paper. Then, paint the edges.
The master class is finished. Based on this lesson, you can do it yourself, something original. And, volumetric decoupage, using a structural paste, will turn out to be the most beautiful.
How to apply the egg shell in decoupage
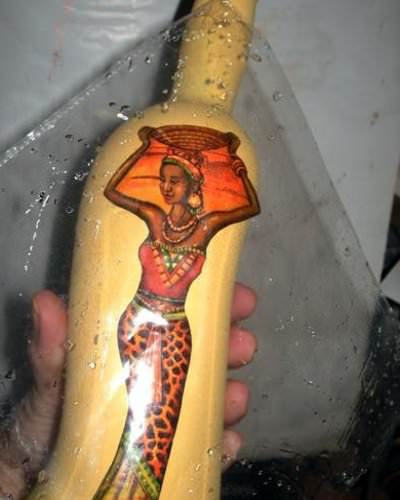
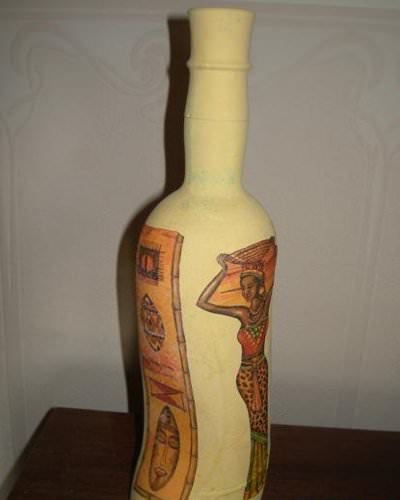
Virtually every hostess can be found onKitchen is not necessary items, starting from the box and ending with a bottle of wine. And every time, it's a pity to throw it away, but there's nowhere to use it. We offer you, a variant of the design of a glass product, namely, to create a decoupage on the eggshell. As a result, you can decorate the kitchen or give it as a souvenir.
In this case, useful materials that are easy to buy in a specialized store, or rather:
- Empty wine bottle;
- alcohol;
- Eggshell;
- Napkins, PVA glue and brush;
- primer.
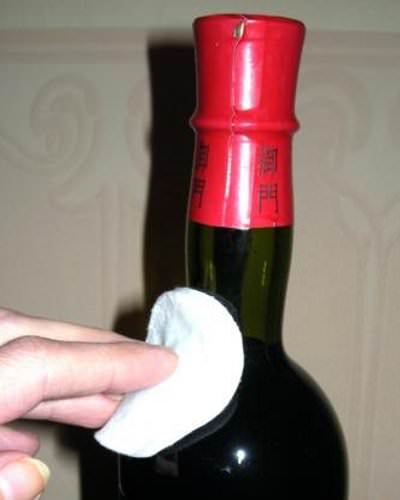
First of all, we wash the bottle and wipe it with alcohol for degreasing. If there is no alcohol, then a detergent or window cleaner is ideal.

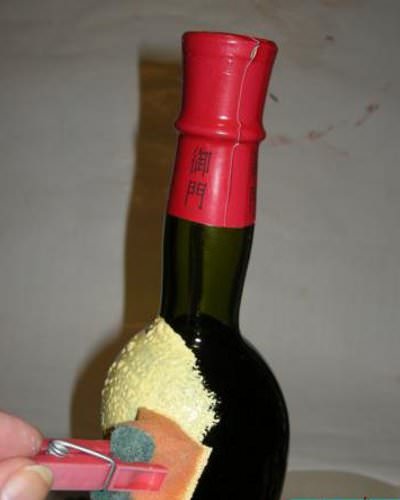
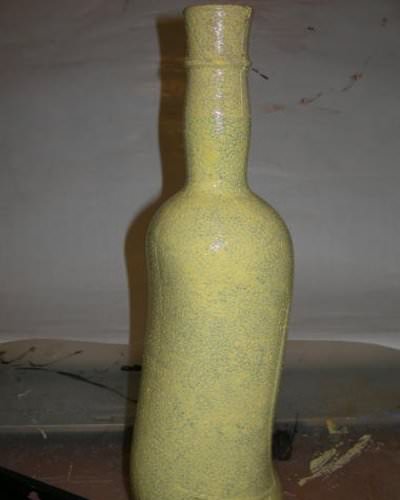
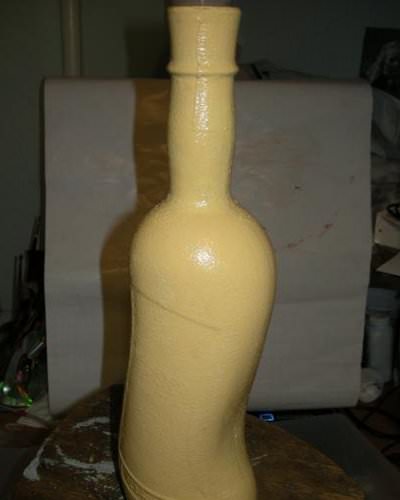
For priming, you can useWater-based paint, as well as acrylic-based paint. Foam sponge, which is used in the kitchen, paint the entire surface of the glass product. Now, it takes time for the bottle to dry. Approximately, half an hour. In order for the craft plane to get a more even structure, apply another layer on it. Leave to dry for one hour.


And at this time, take up a napkin. Cut out the necessary motif. Put it on the clerical file and moisten with a little water. Next, you need to attach a picture to the product. The following manipulations are made, as in the usual decoupage. Procurement after this, remains for the whole night untethered.
The egg krike begins with its preparation. Wash the shell under the water flow, clean from the unnecessary film and dry it on a towel. Egg krakle will occur in two phases. First of all, spread the surface with glue, and then, with the help of tweezers, lay out in a mosaic fashion, the shell. The eggs must be glued to the top and bottom of the glass material.

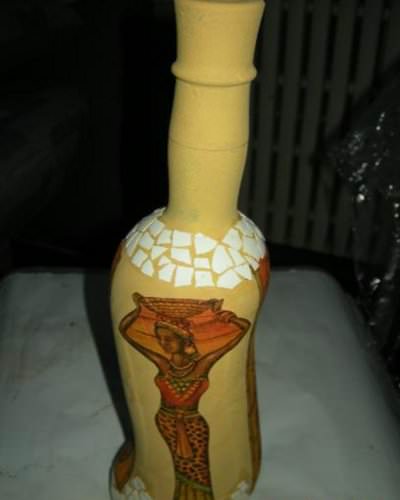
Wait twenty minutes and apply the paint that was used for the background. In hard-to-reach places, a brush is useful.
In practice, at the end of this master class, you need to cover the shell, a darker tone of paint.


The final stage is the application of acrylic based varnish. Now, we can assume that the master class with the egg shell is fully completed.
Video: We make a volume decoupage with our own hands
Comments
Related posts:
 The flowers of satin ribbons with their hands in master classes
 Diadem of beads with your hands in the master class (photo)
 Decoupage Wallets: decor items with their hands (photo)
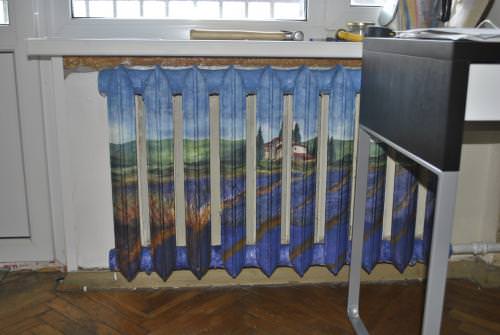 Decoupage battery heating with their own hands (photo and video)
 Magnolia beads with your hands in the master class (photo)