
This master class with a descriptive scheme will teach how to crochet a ribbon lace.
I really love the ribbon lace associatedcrocheted. After all, it is very universal in use and extraordinarily beautiful. From the finished tapes you can form a piece of clothing - top, skirt or dress. You can make a tablecloth, napkin or even curtains. Well, if you do not have time to knit for a long time, but you really want something new and original - you can, by attaching one or two ribbons, decorate the already existing thing. 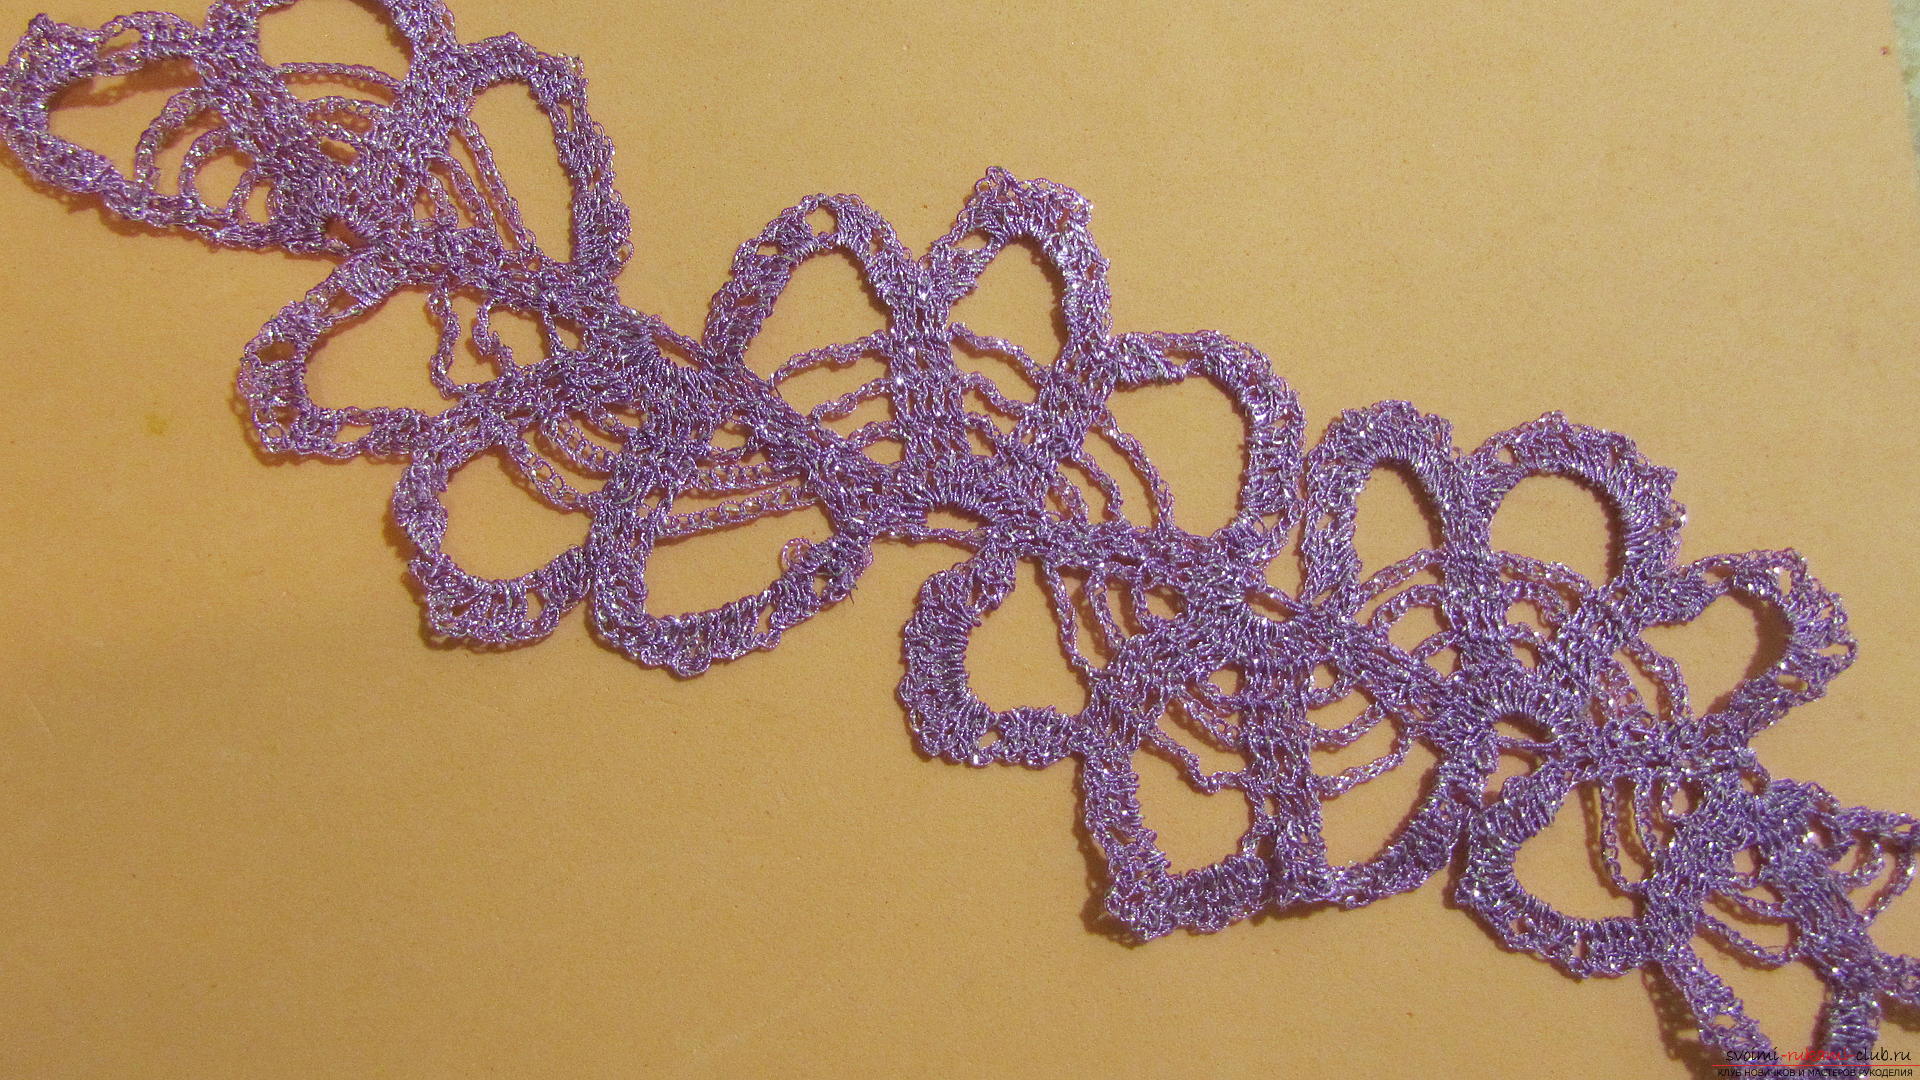 For knitting we only need a thread and a hook. In order to tie our ribbon tie a ring of nine air loops.
 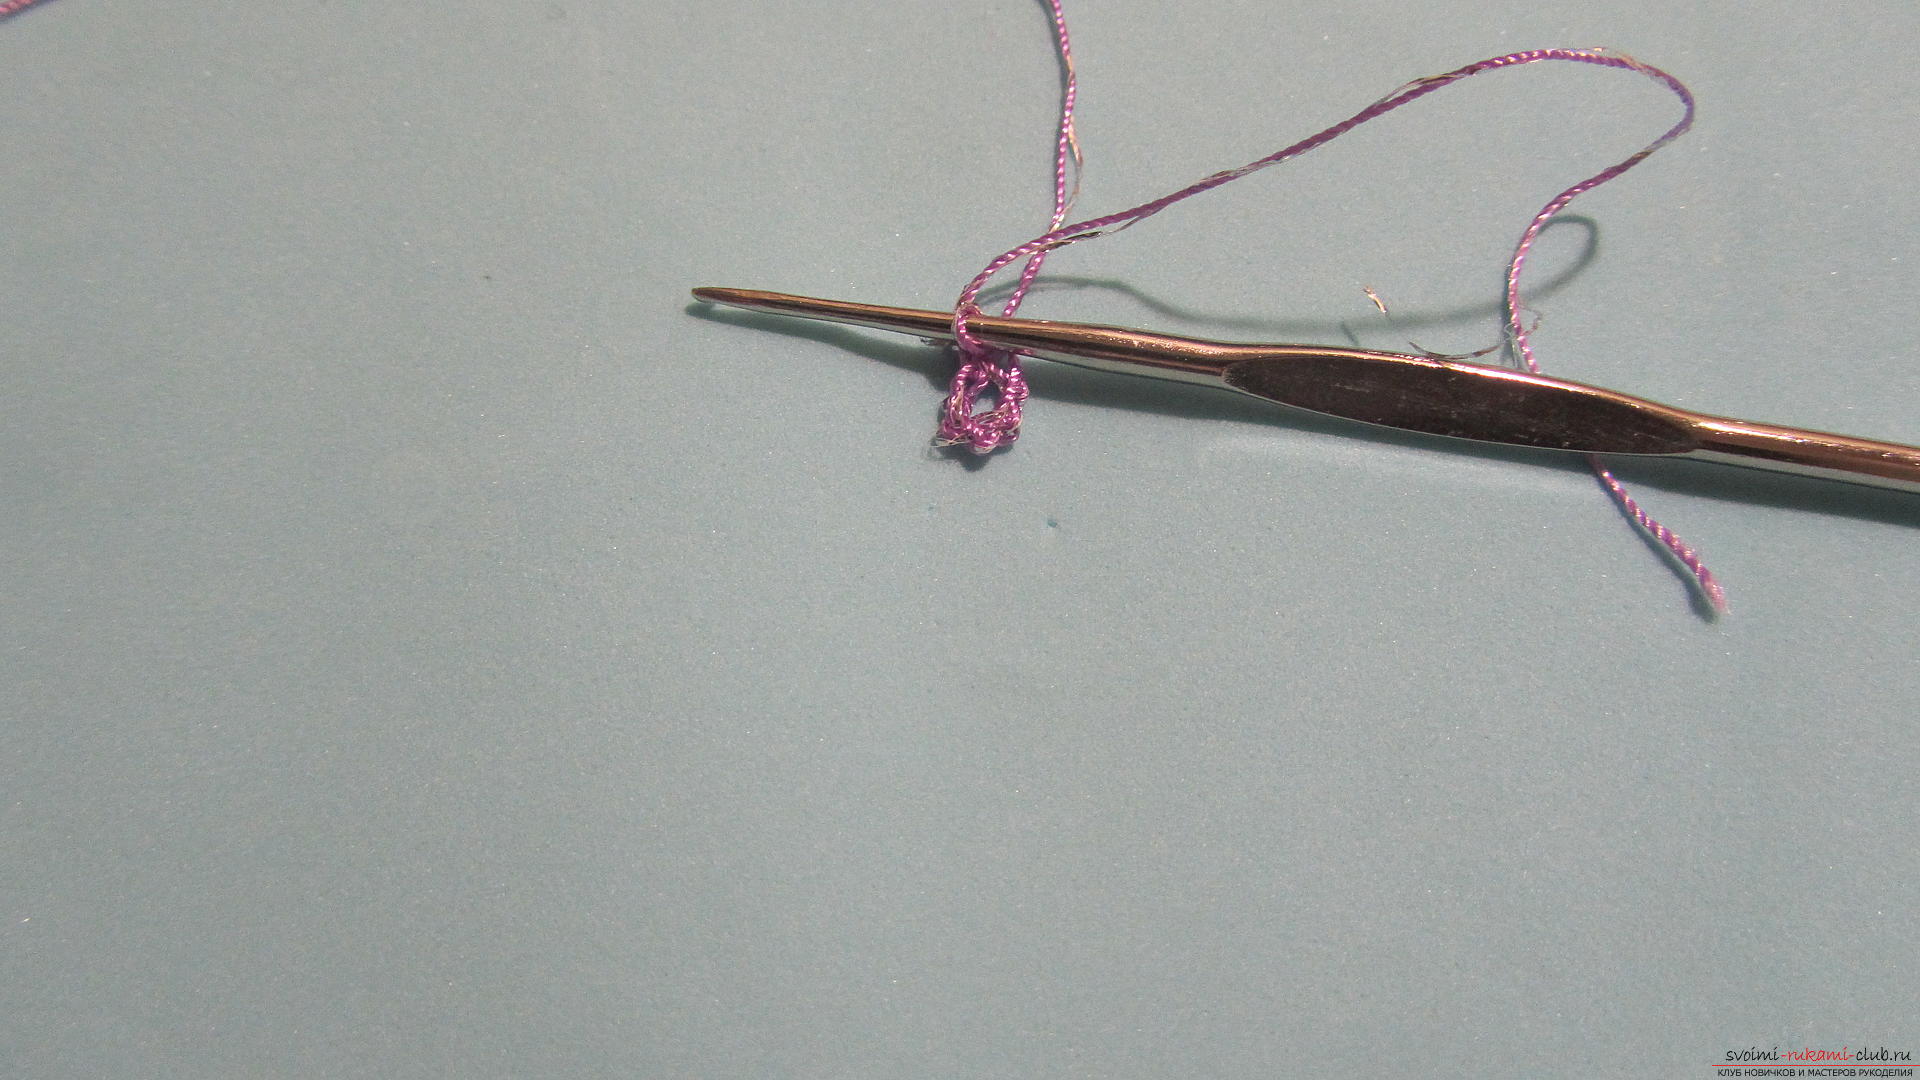 We will mainly knit the ribbon inwhich are one cassock. Therefore, for lifting in each row, the initial column should be replaced by a chain of three loops. So, for the second row, we connect three loops and 11 columns, in which one is a nakid. But just do not distribute the columns across the ringlet - we need the half ring to remain empty.
 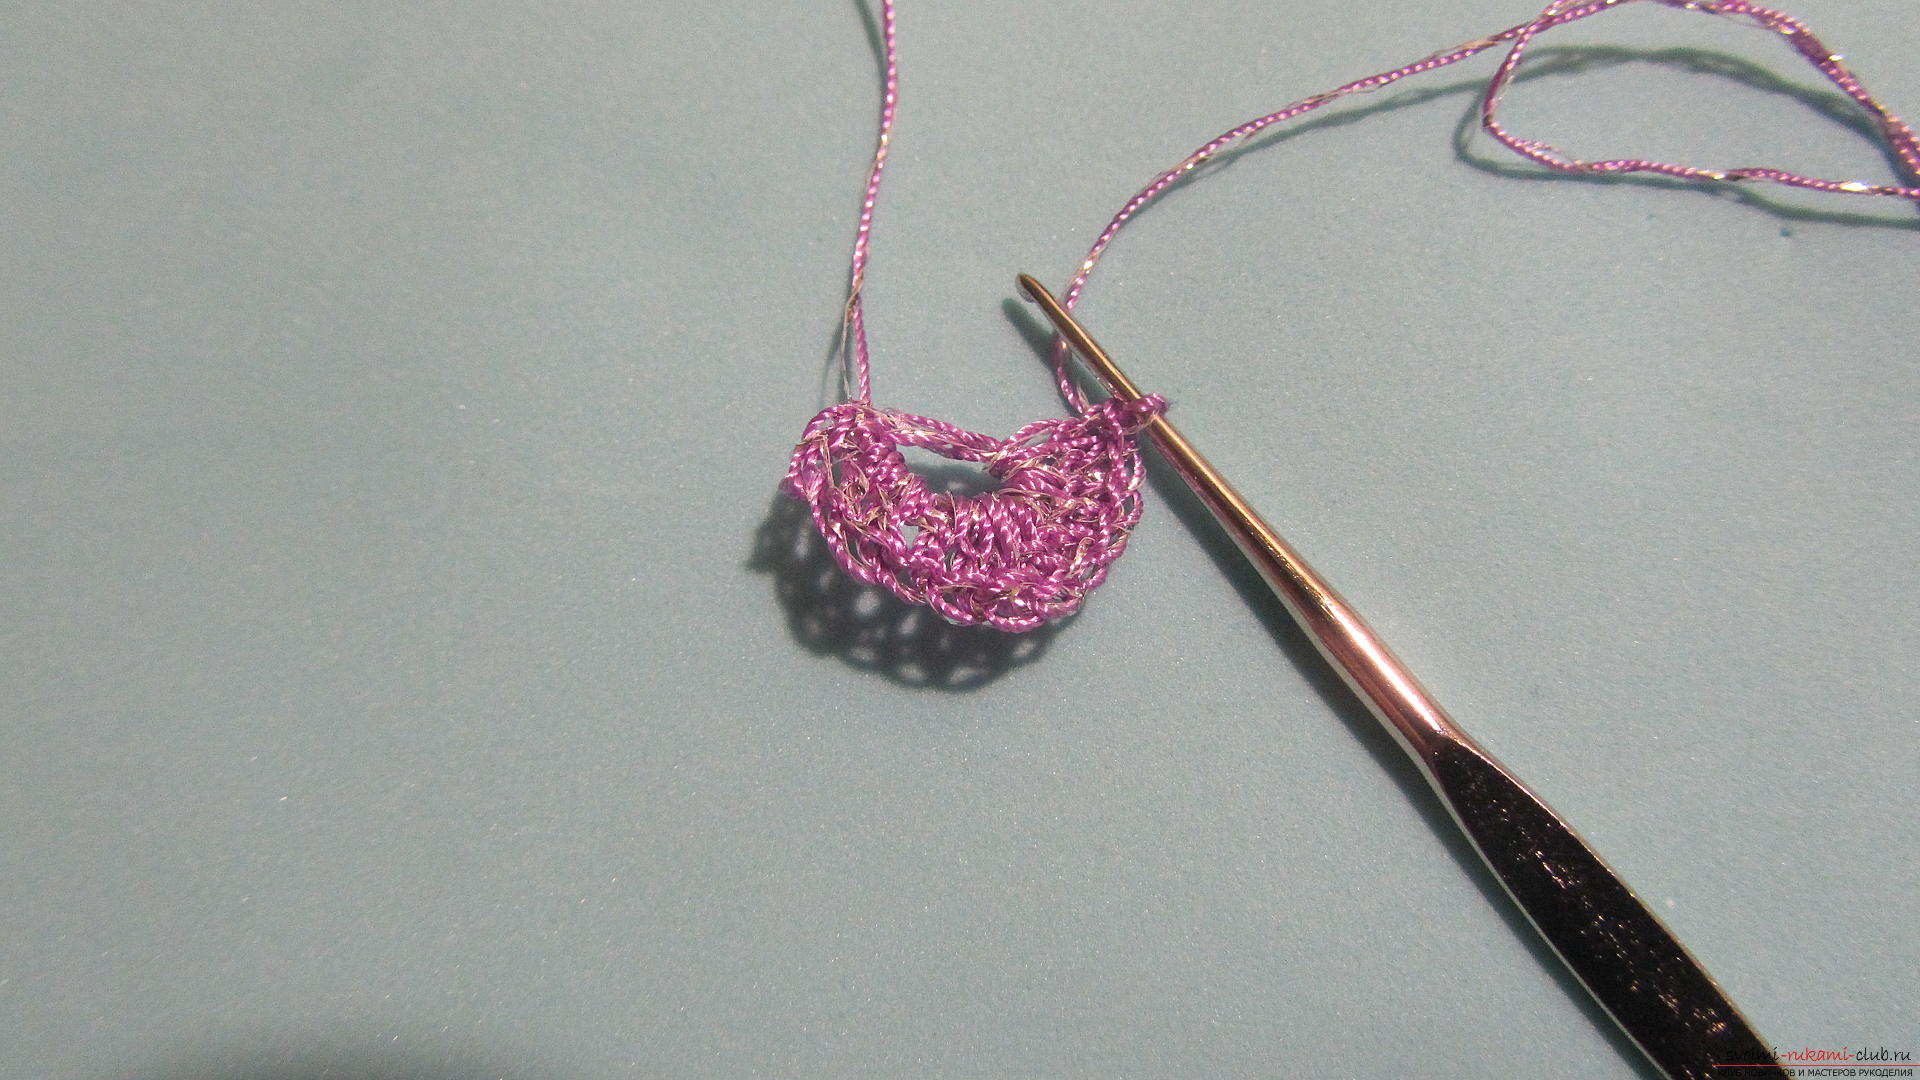 Turn knitting. Again, make three loops to raise the row. And we'll tie another bar next to it.
 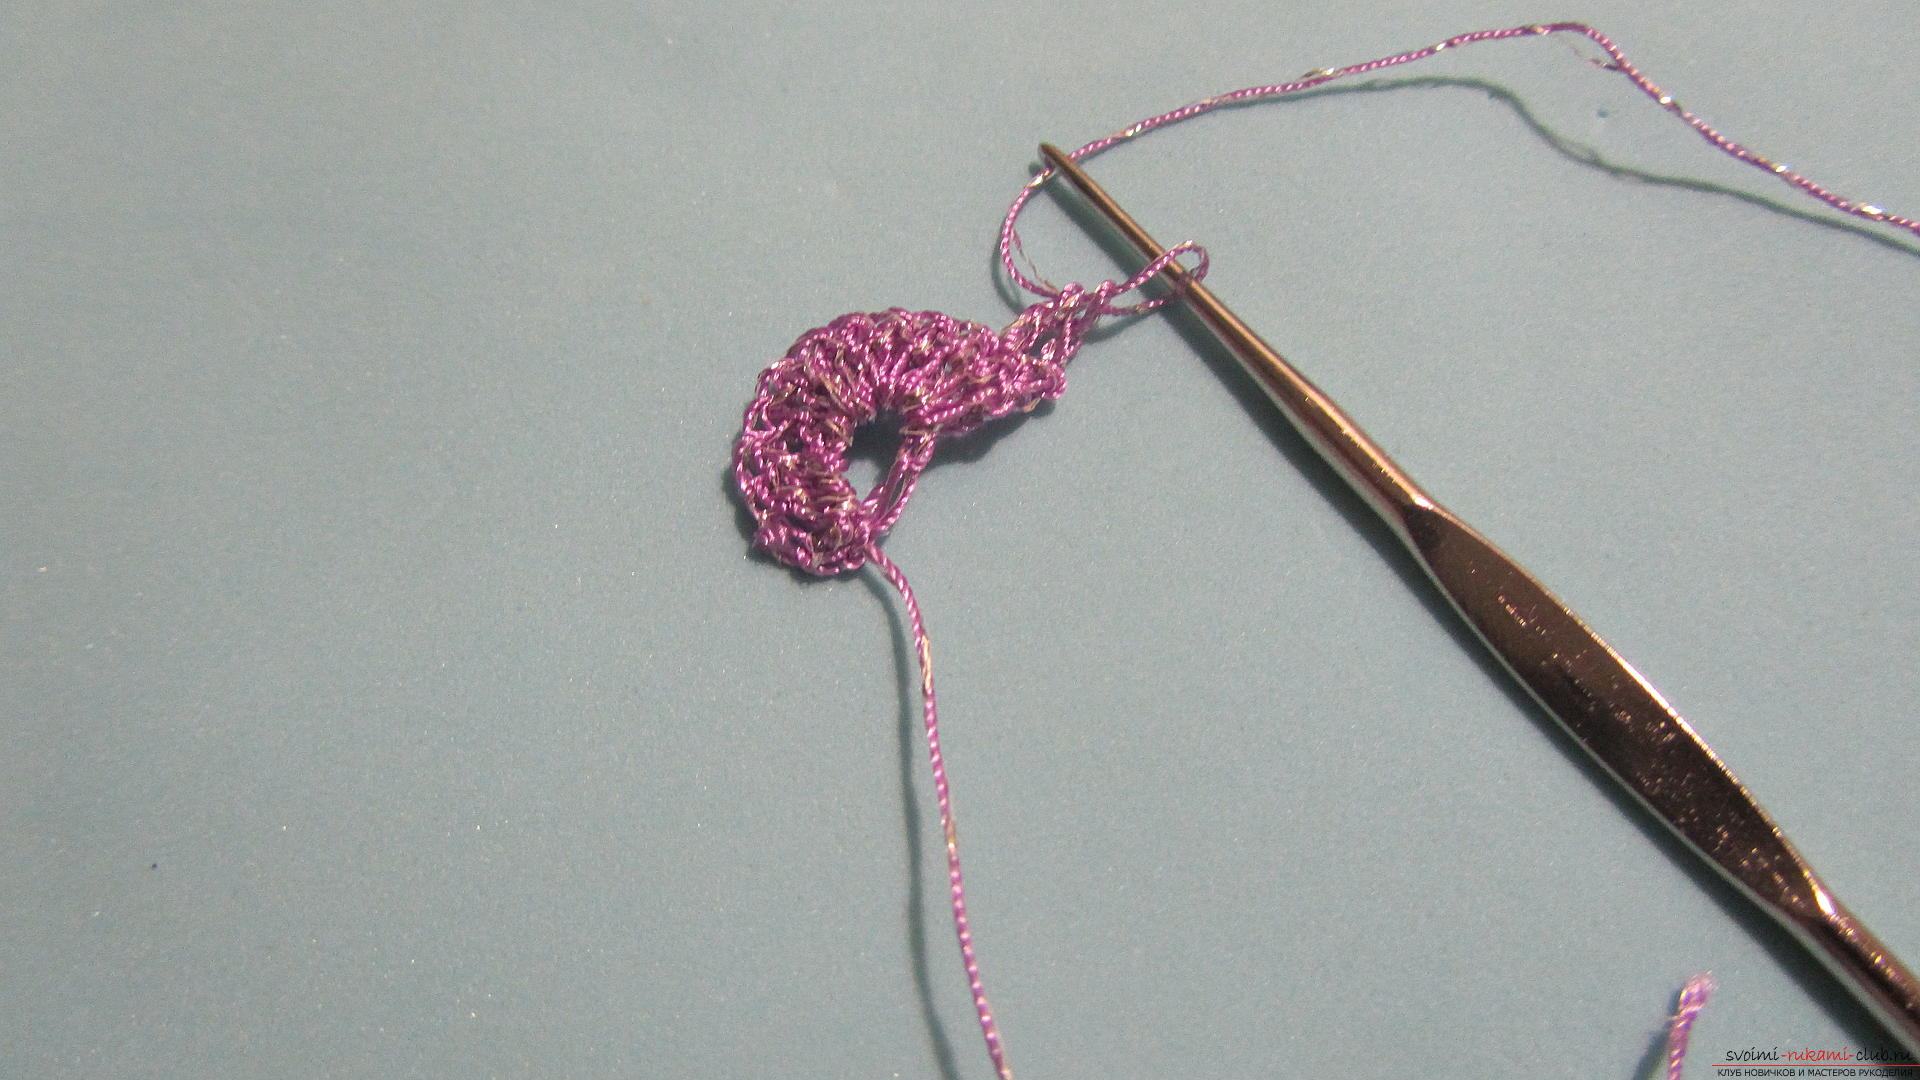 Now we will type three air loops.
  And not missing a single column of the second row we will connect 4 columns, in which there is also one cape.
 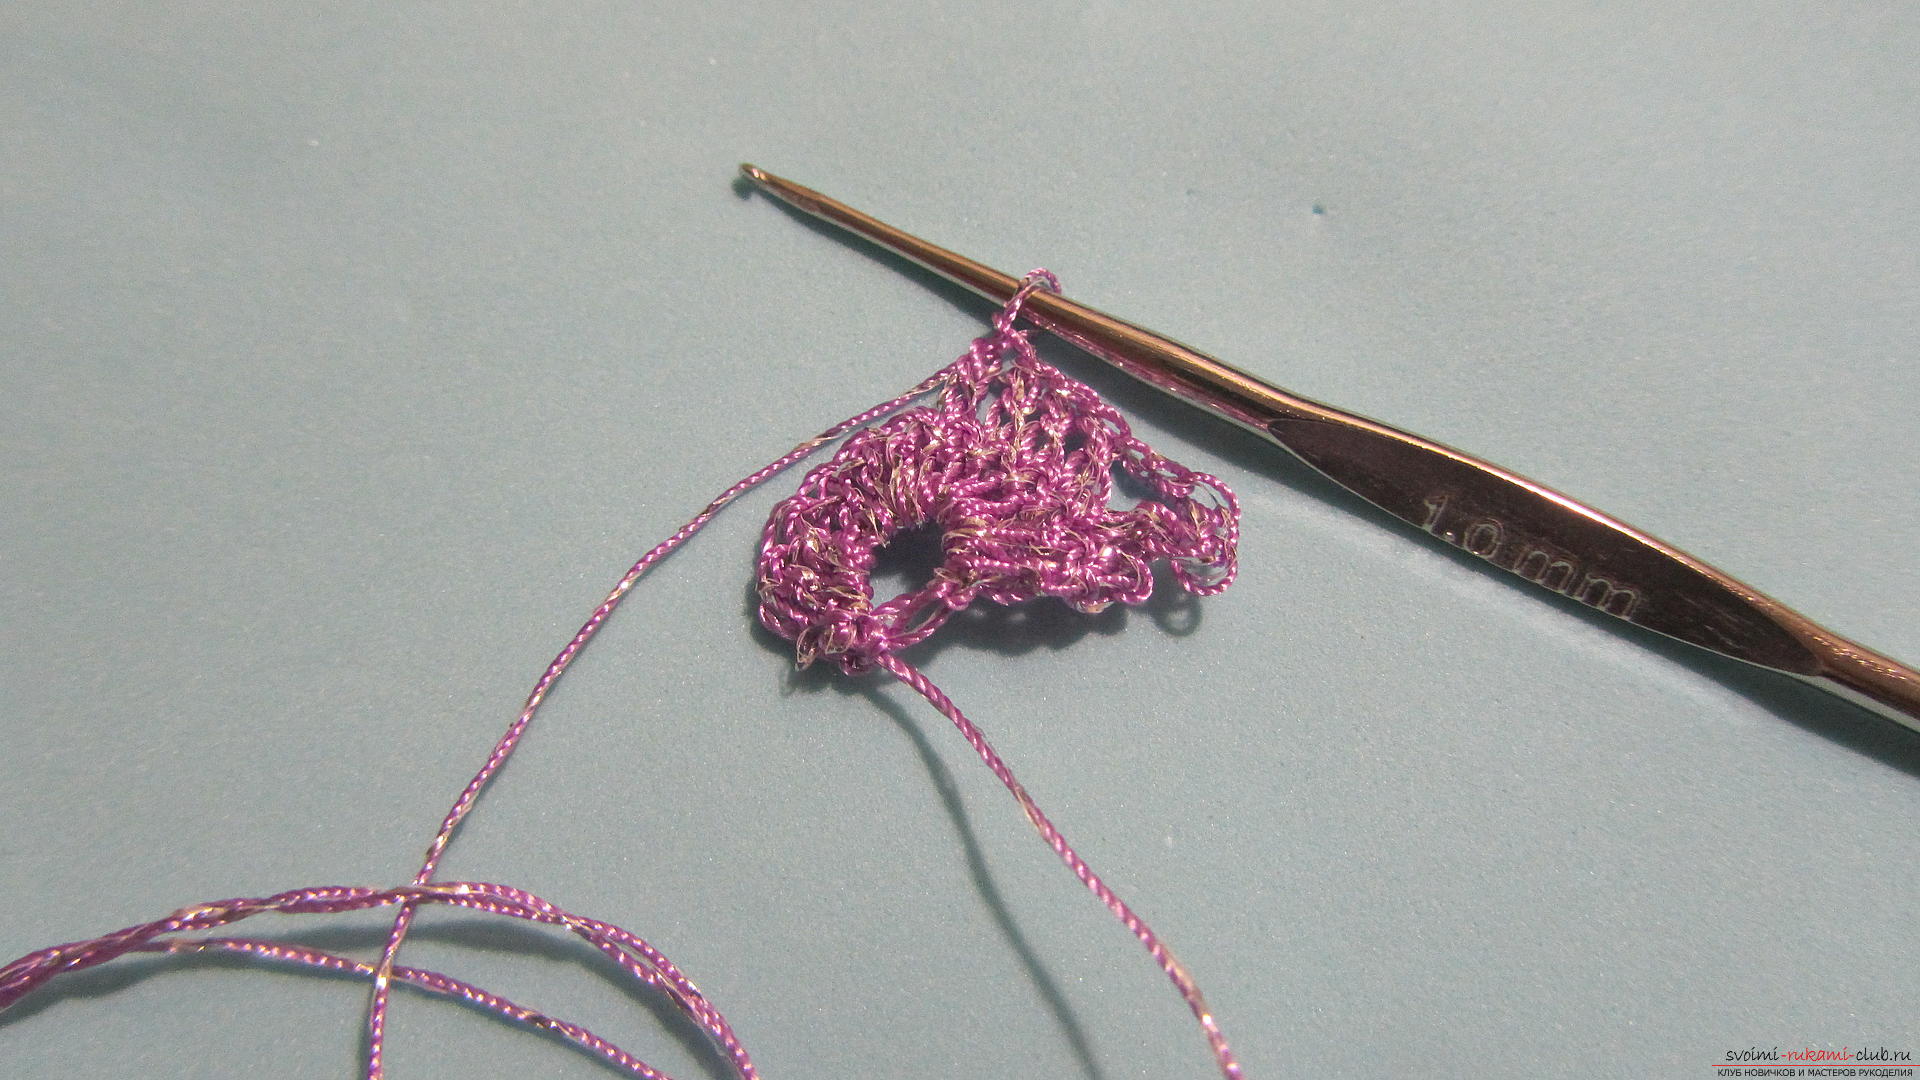 Again, connect the chain of air loops - 3 pieces.
 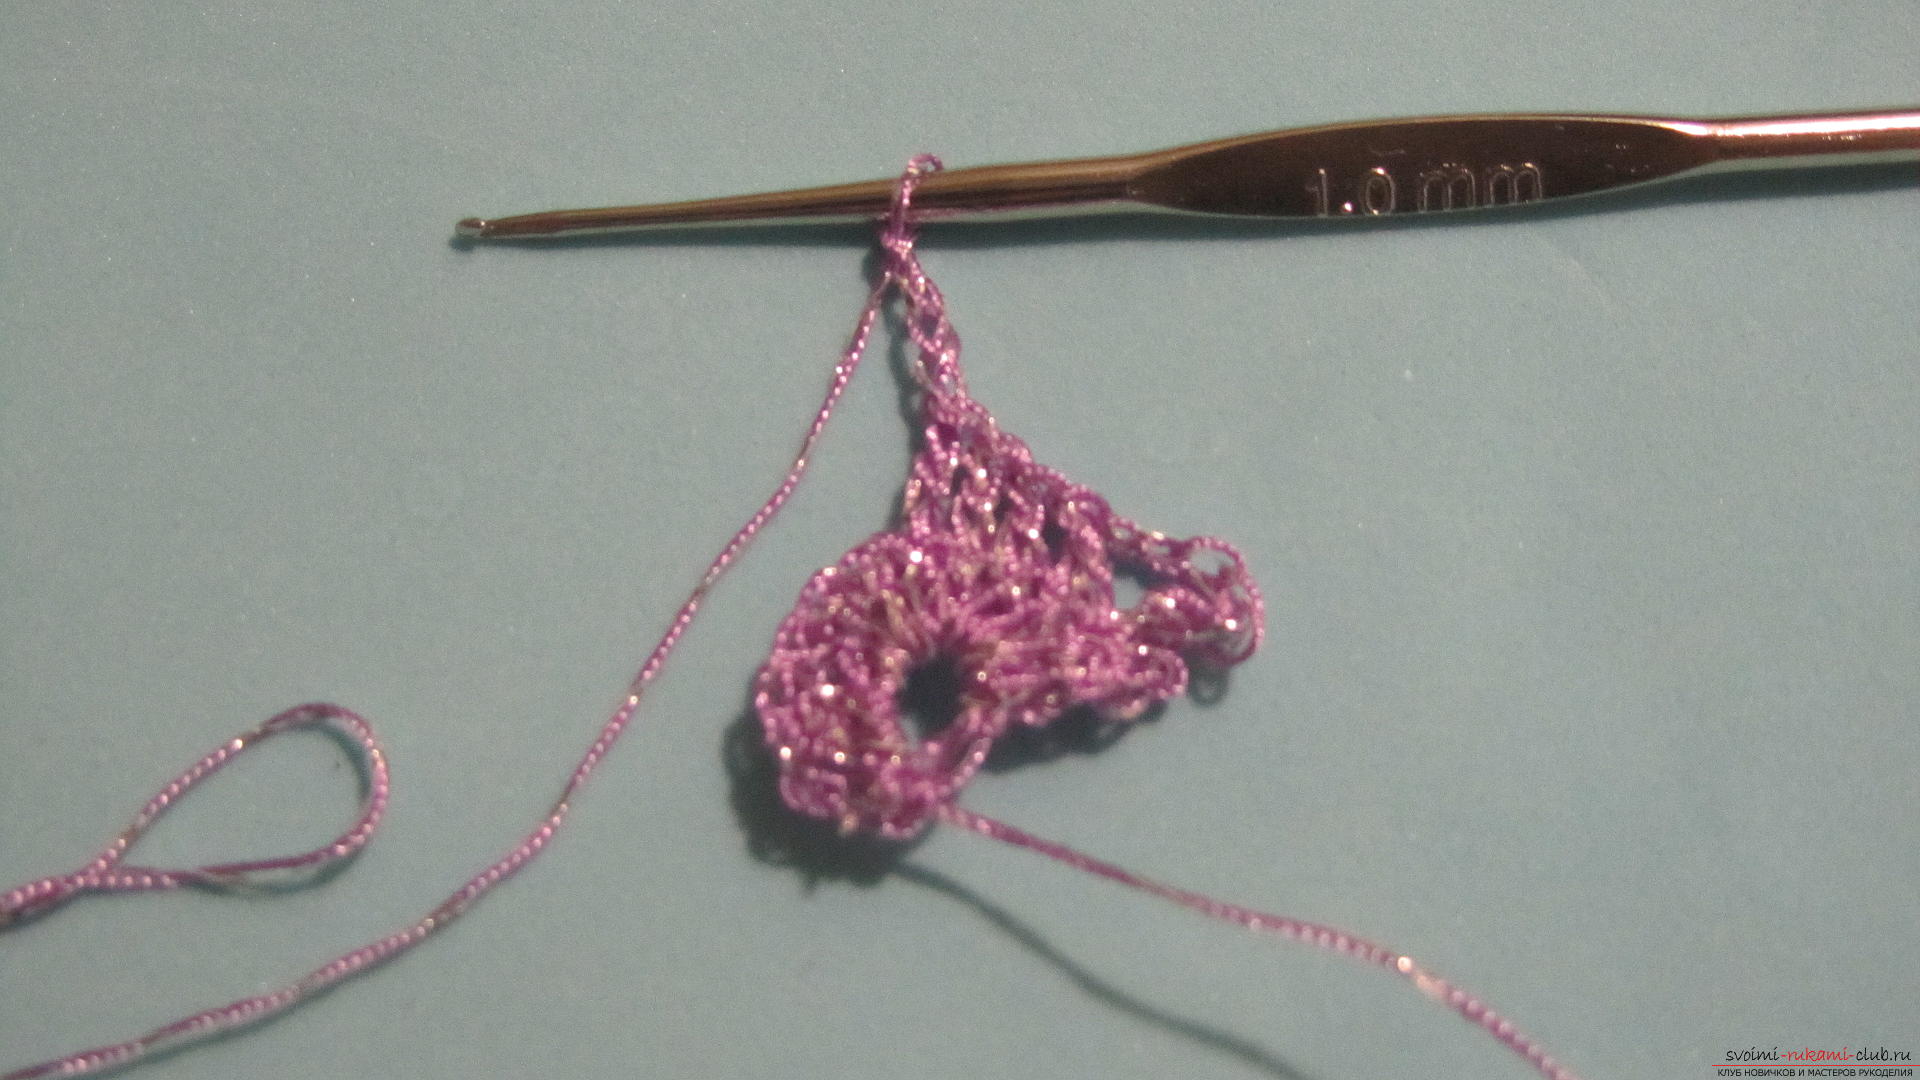 And again we will make 4 columns, not missing a single column of the previous row.
 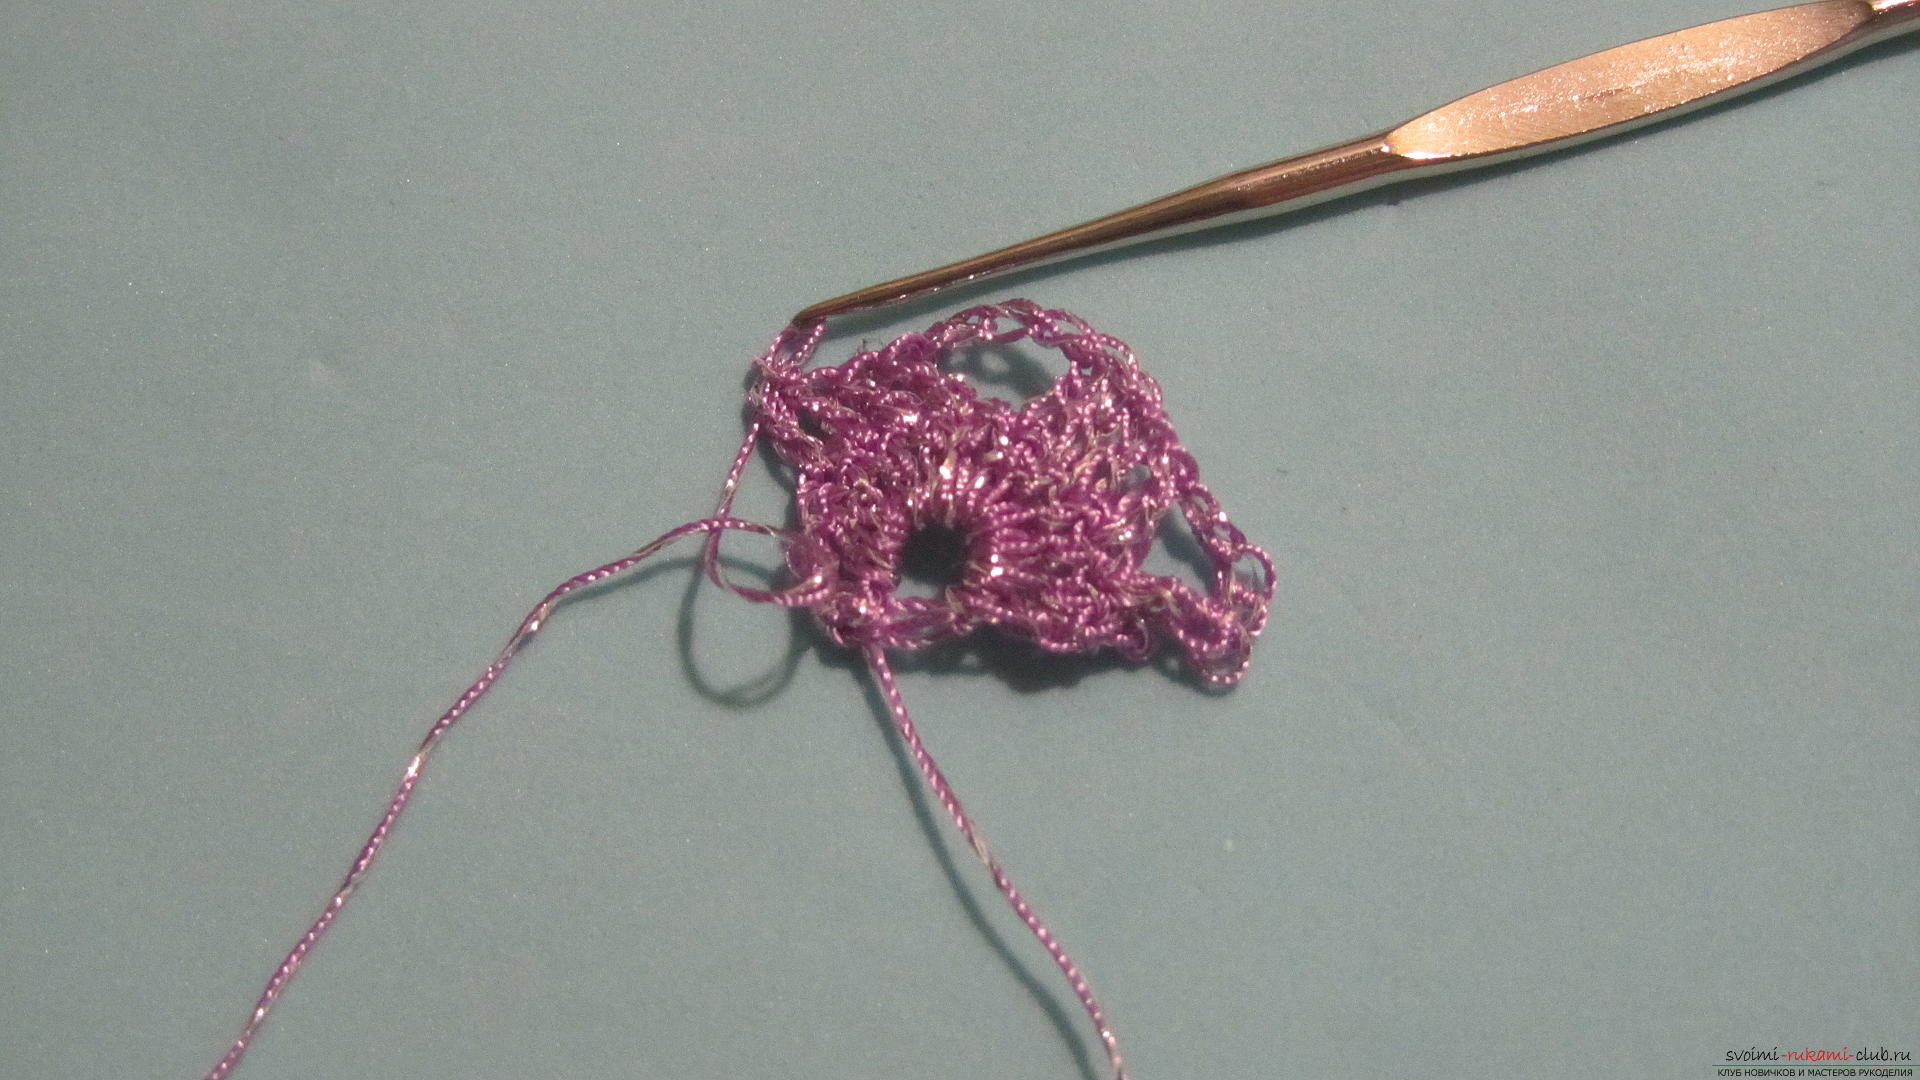 Again, make a chain and finish the series with twobars. So the number of columns we have always remains 11 + chain of 3 loops. Only now they are grouped together. Two groups of four bars and two groups - two bars each.
 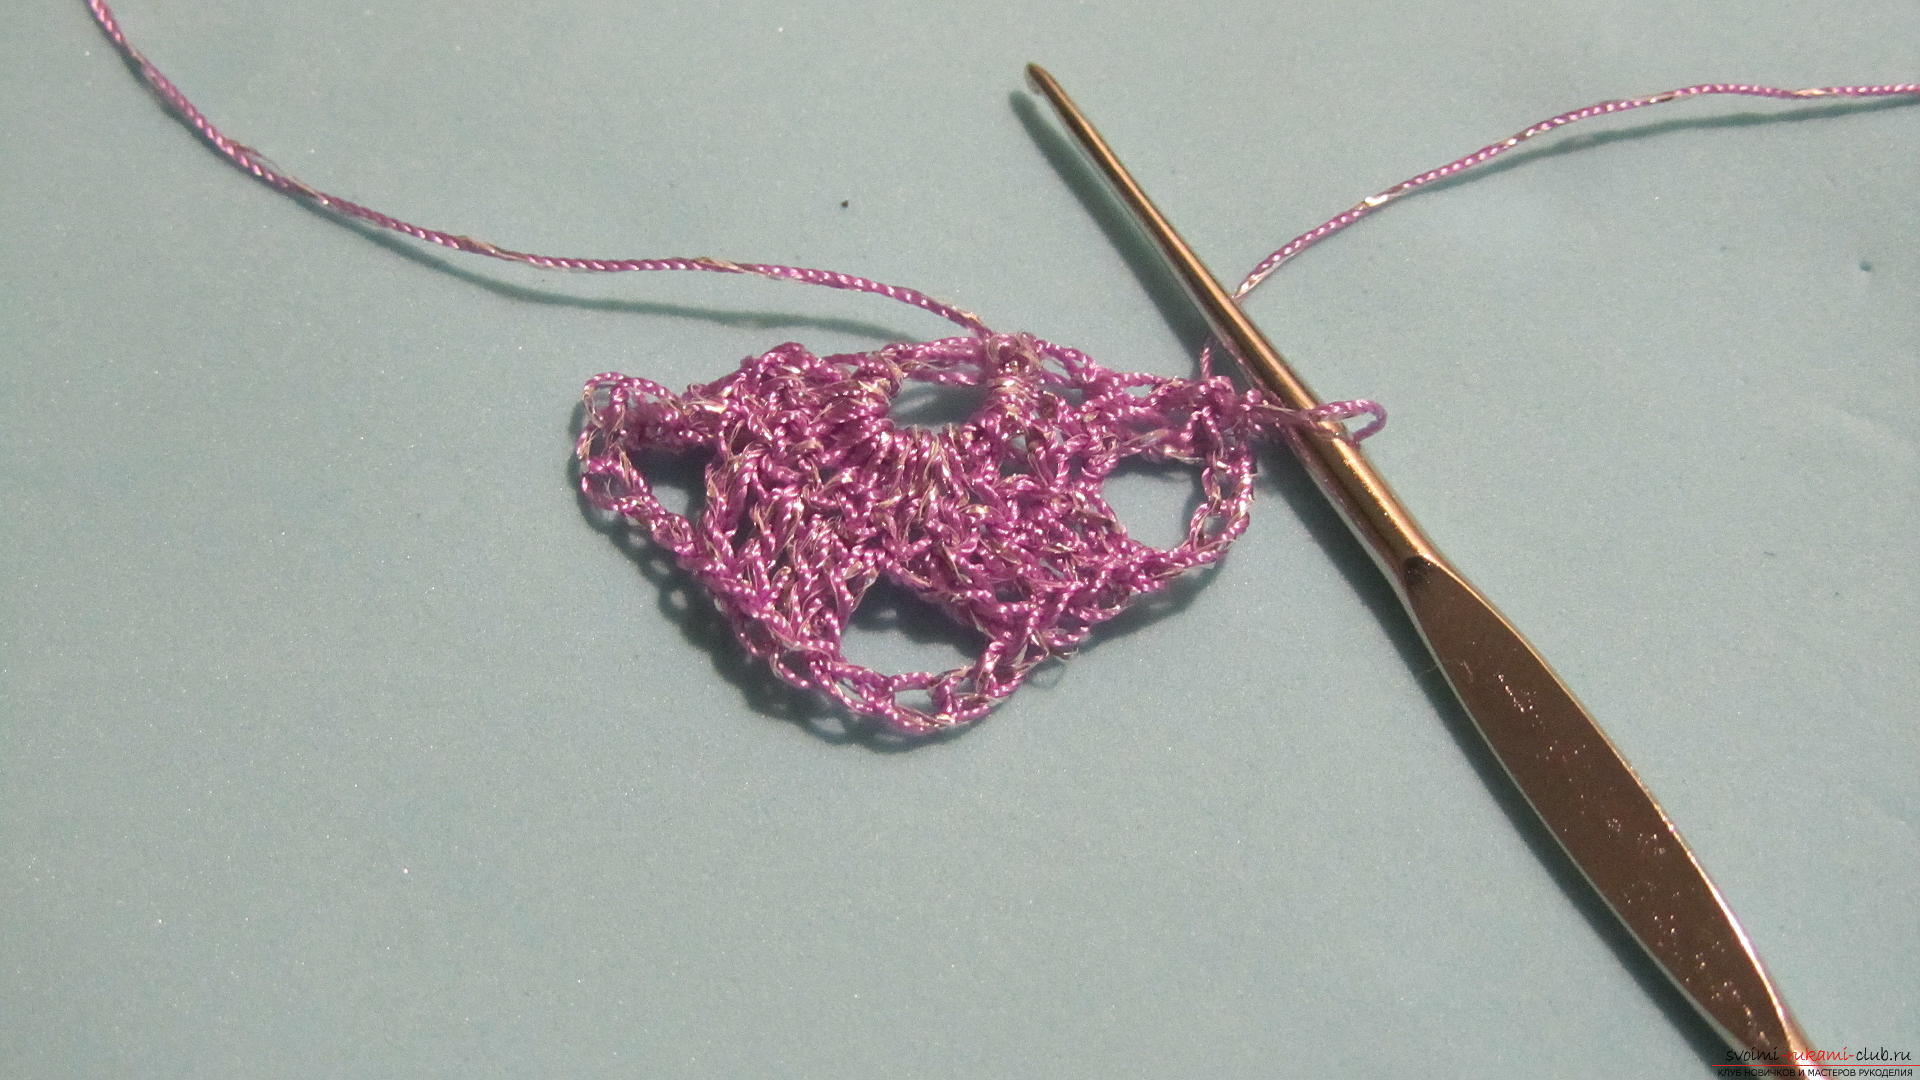 We turn knitting. This series is different from the previous one only by the number of air loops between the groups of columns. Here they will be 6 pieces each. And we begin to knit a number similarly - three loops and a column.
 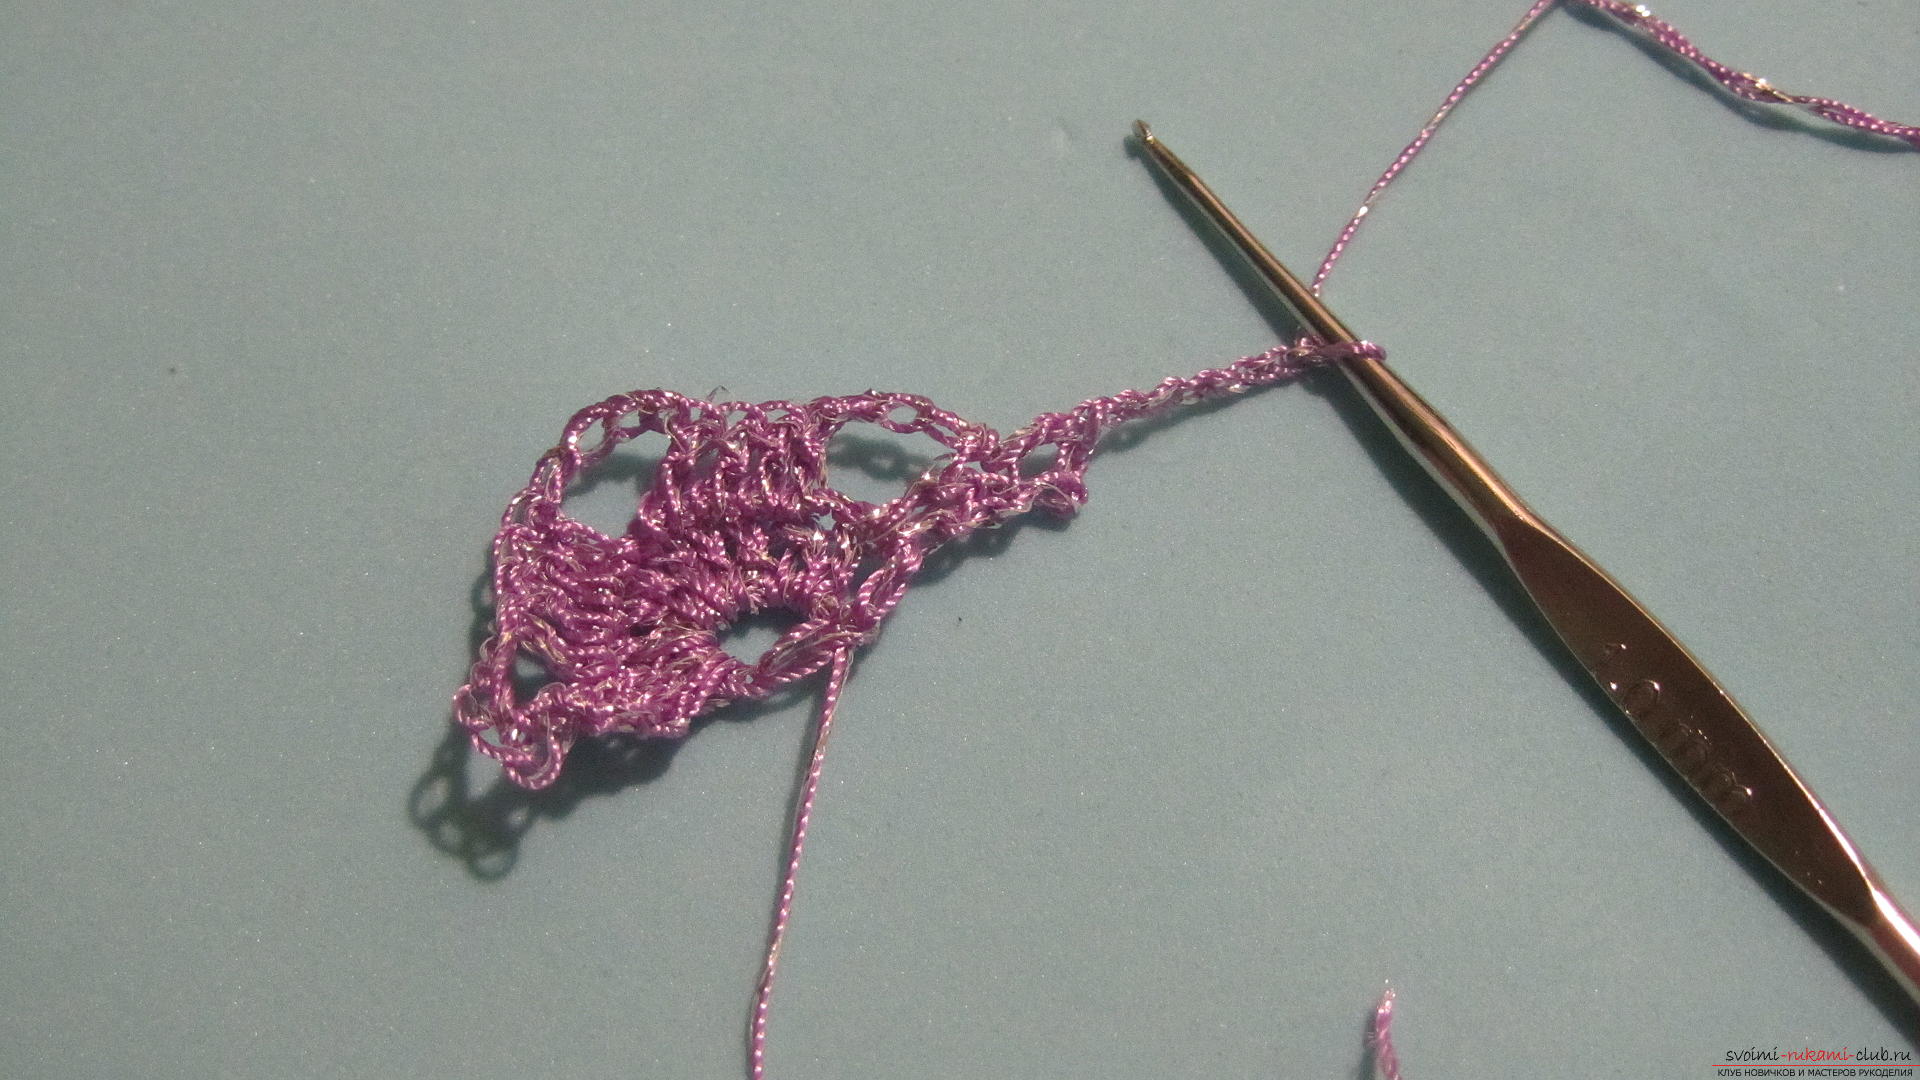 Then we make six air loops and again four bars.
 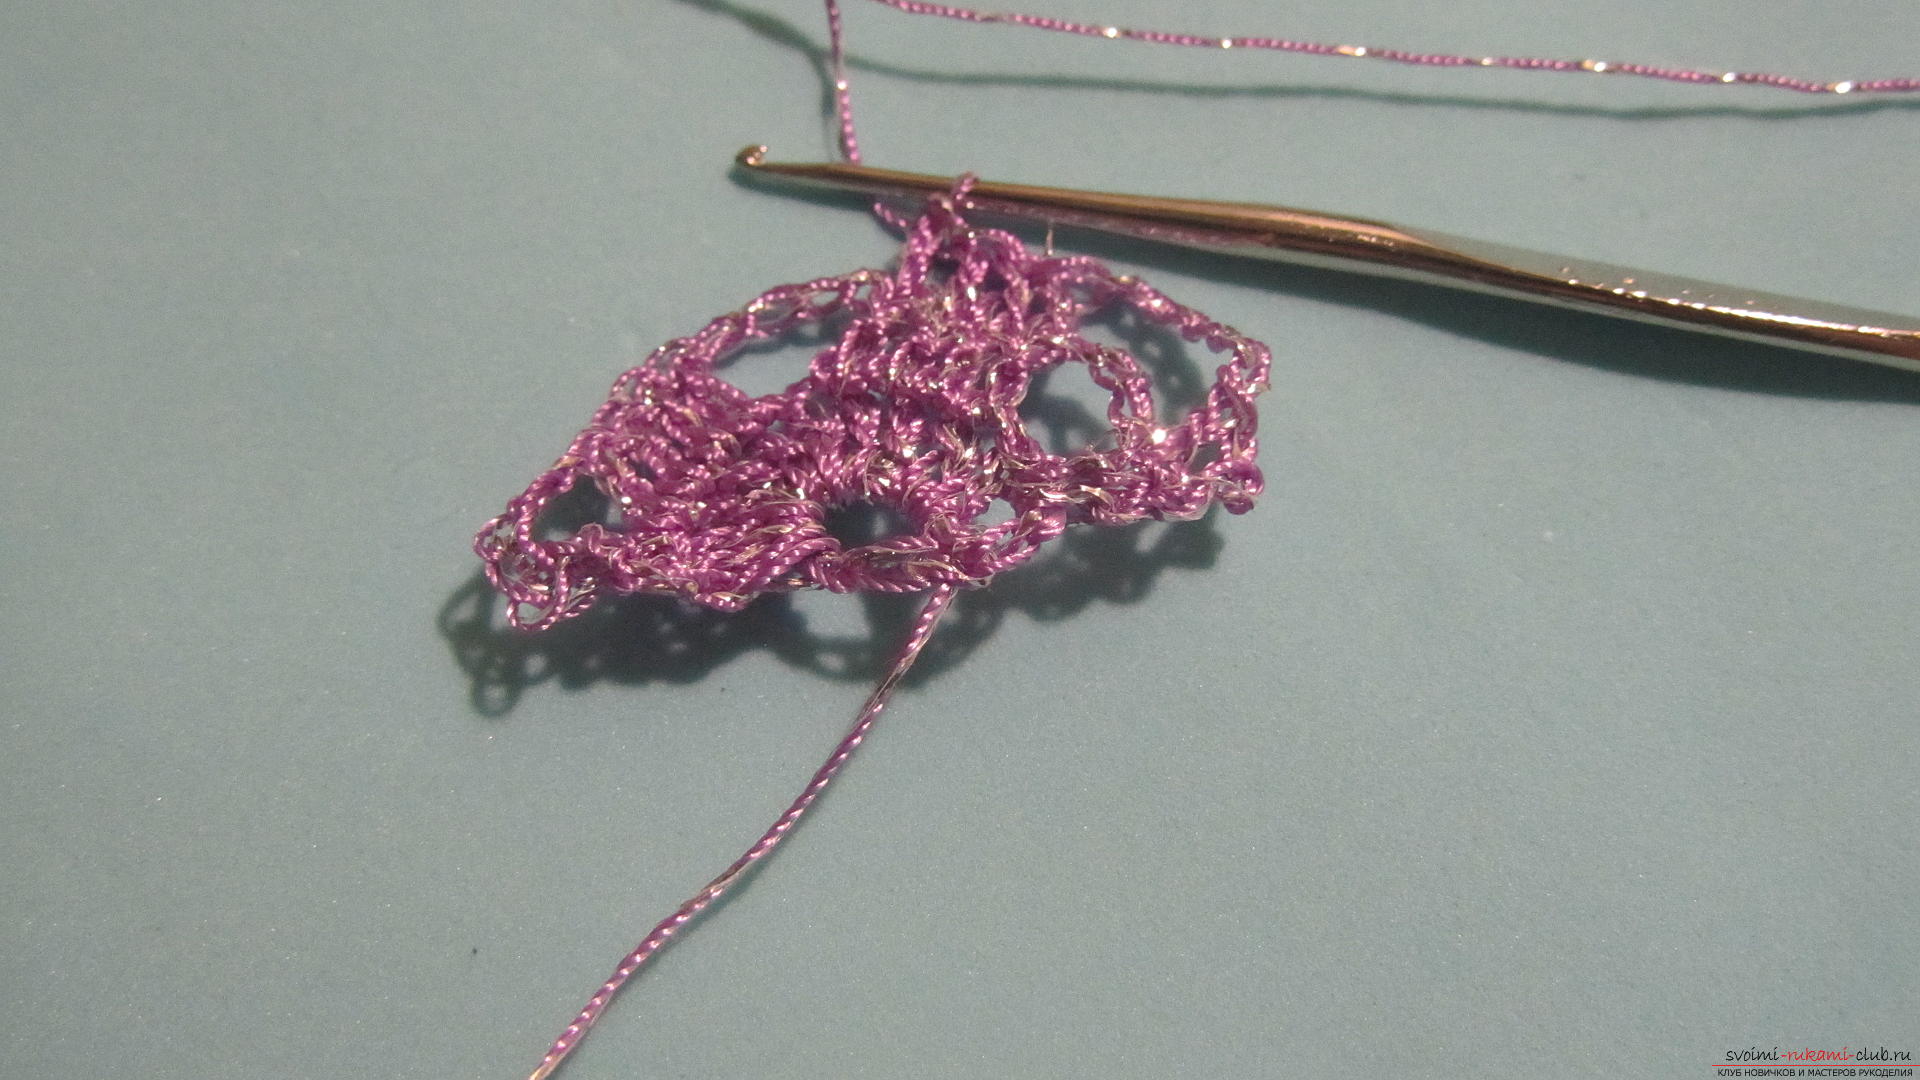 We knit so to the end of the row - six loops, four sticks, six loops - two sticks.
 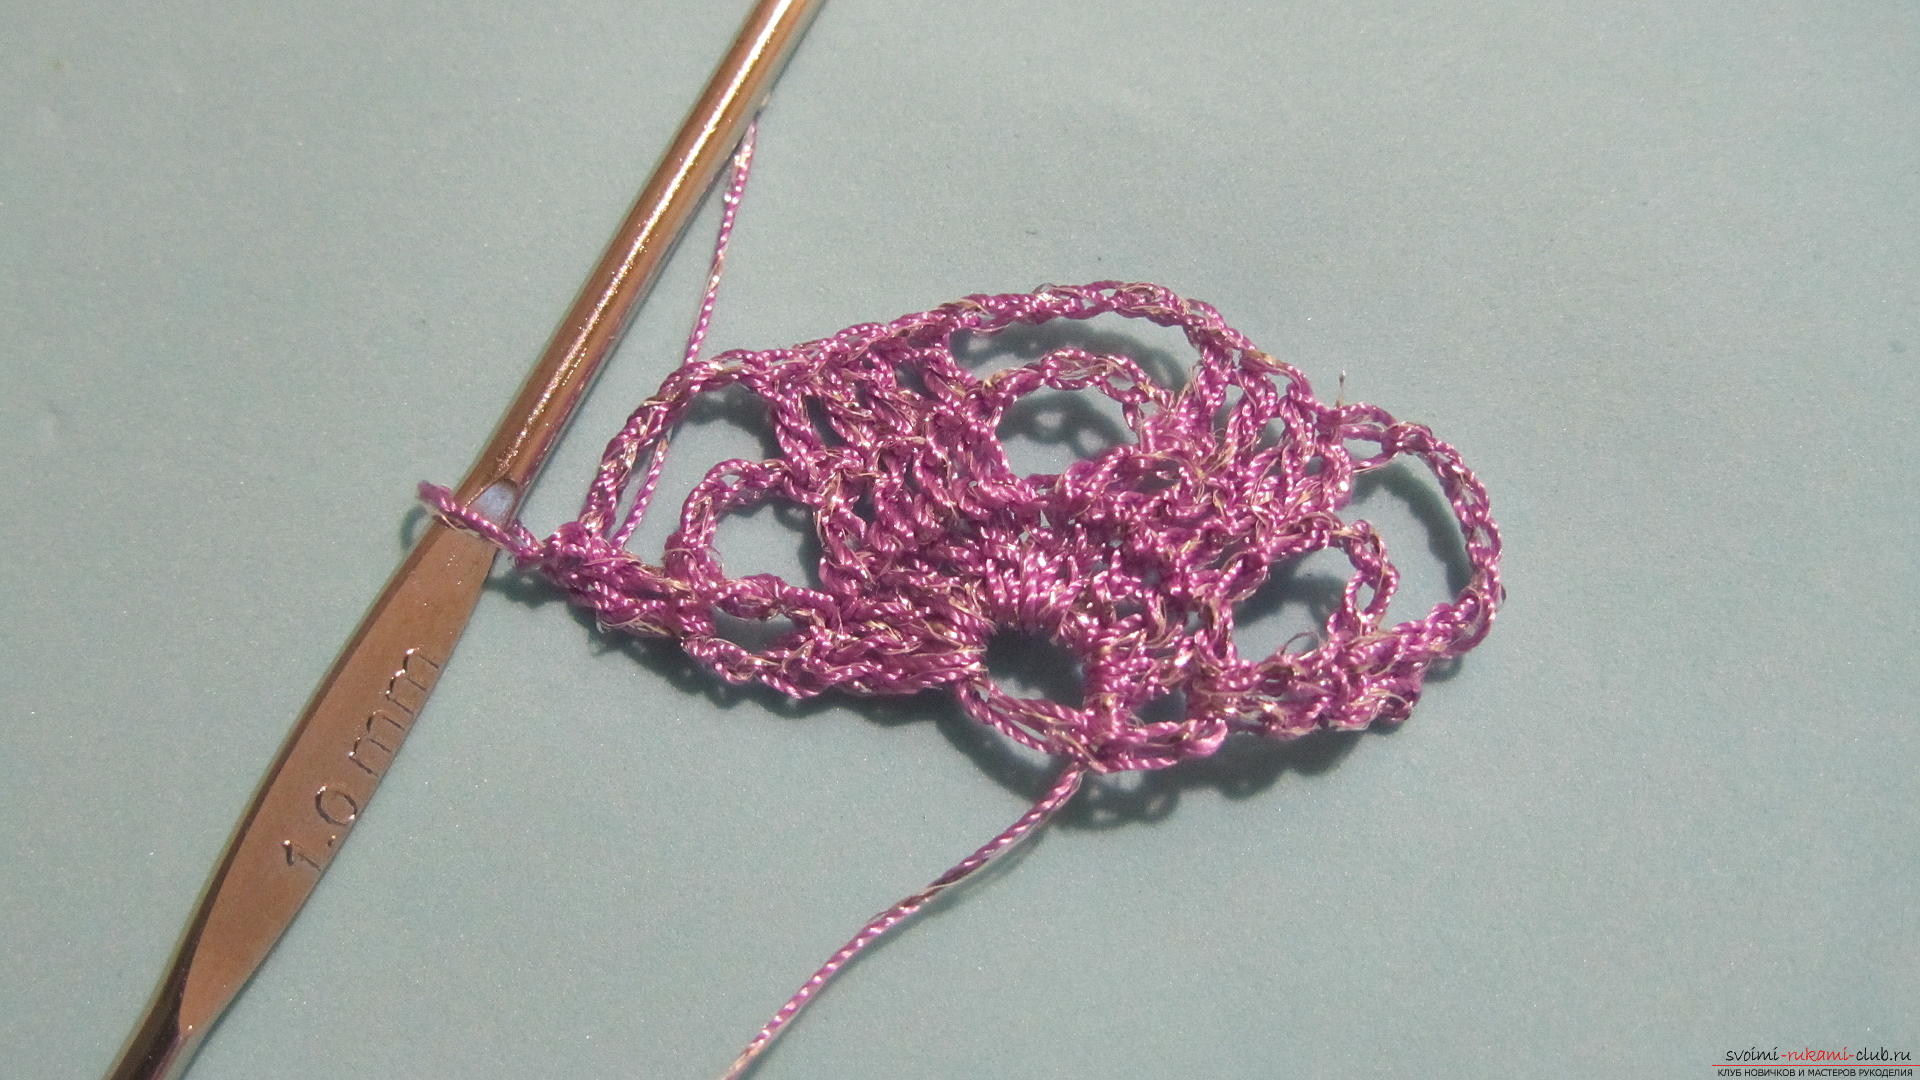 In the fourth row, we will increase the number of loops in the air chain - there will be 9 of them.
 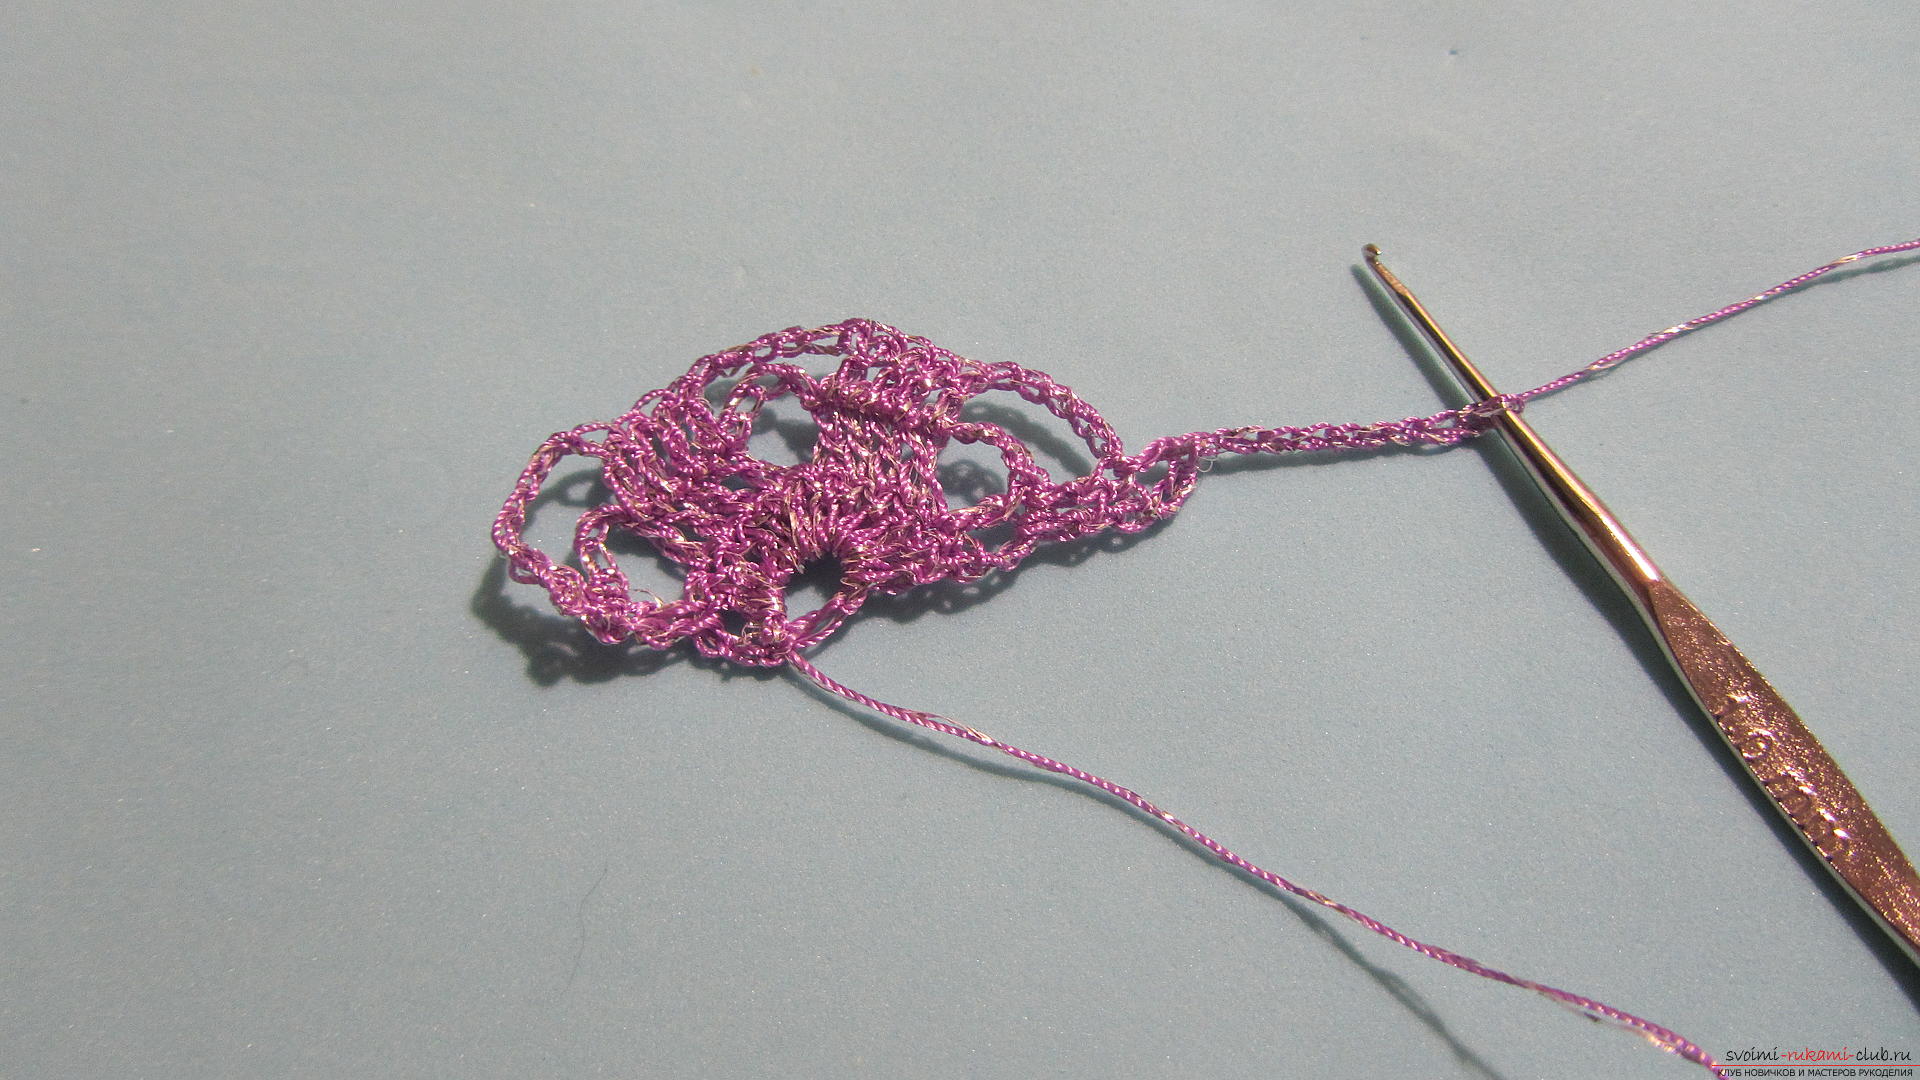 Next we knit everything, as in the two previous rows - the bars - the chain, the bars - the chain.
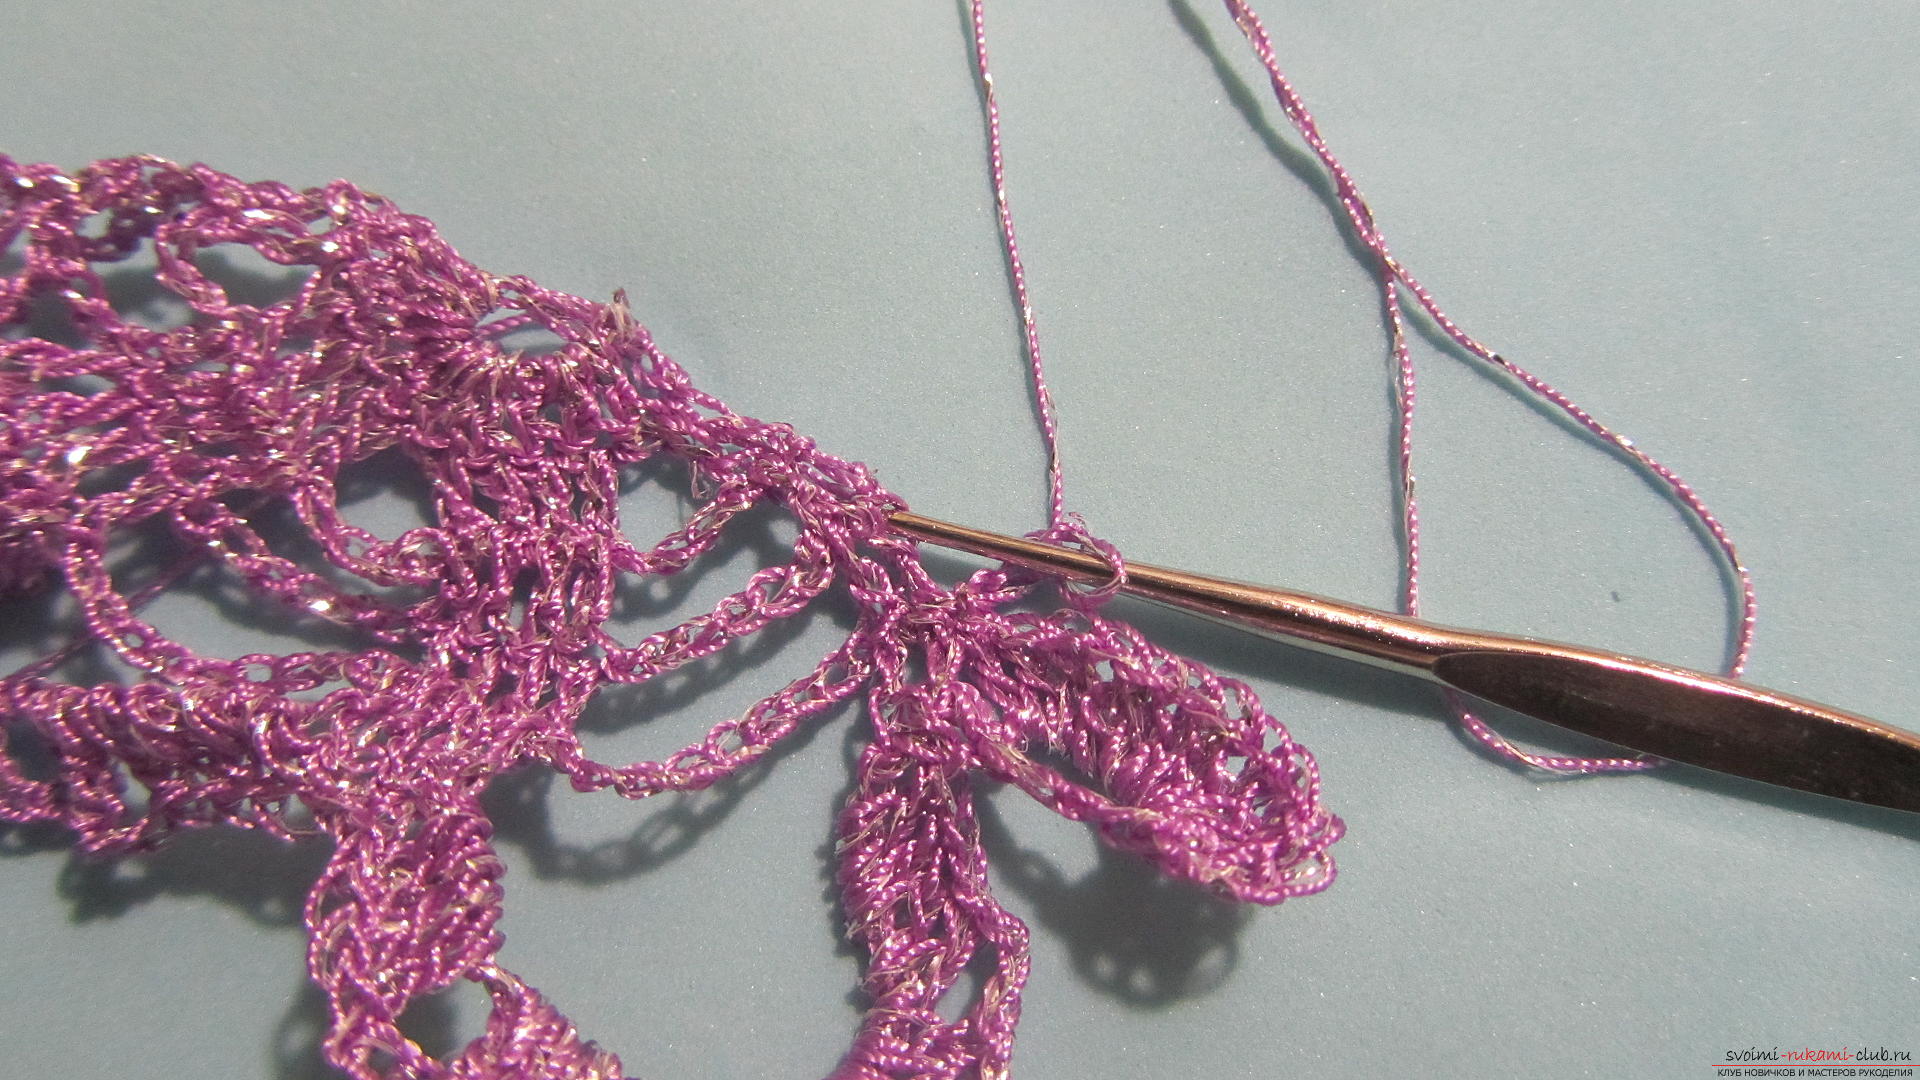
 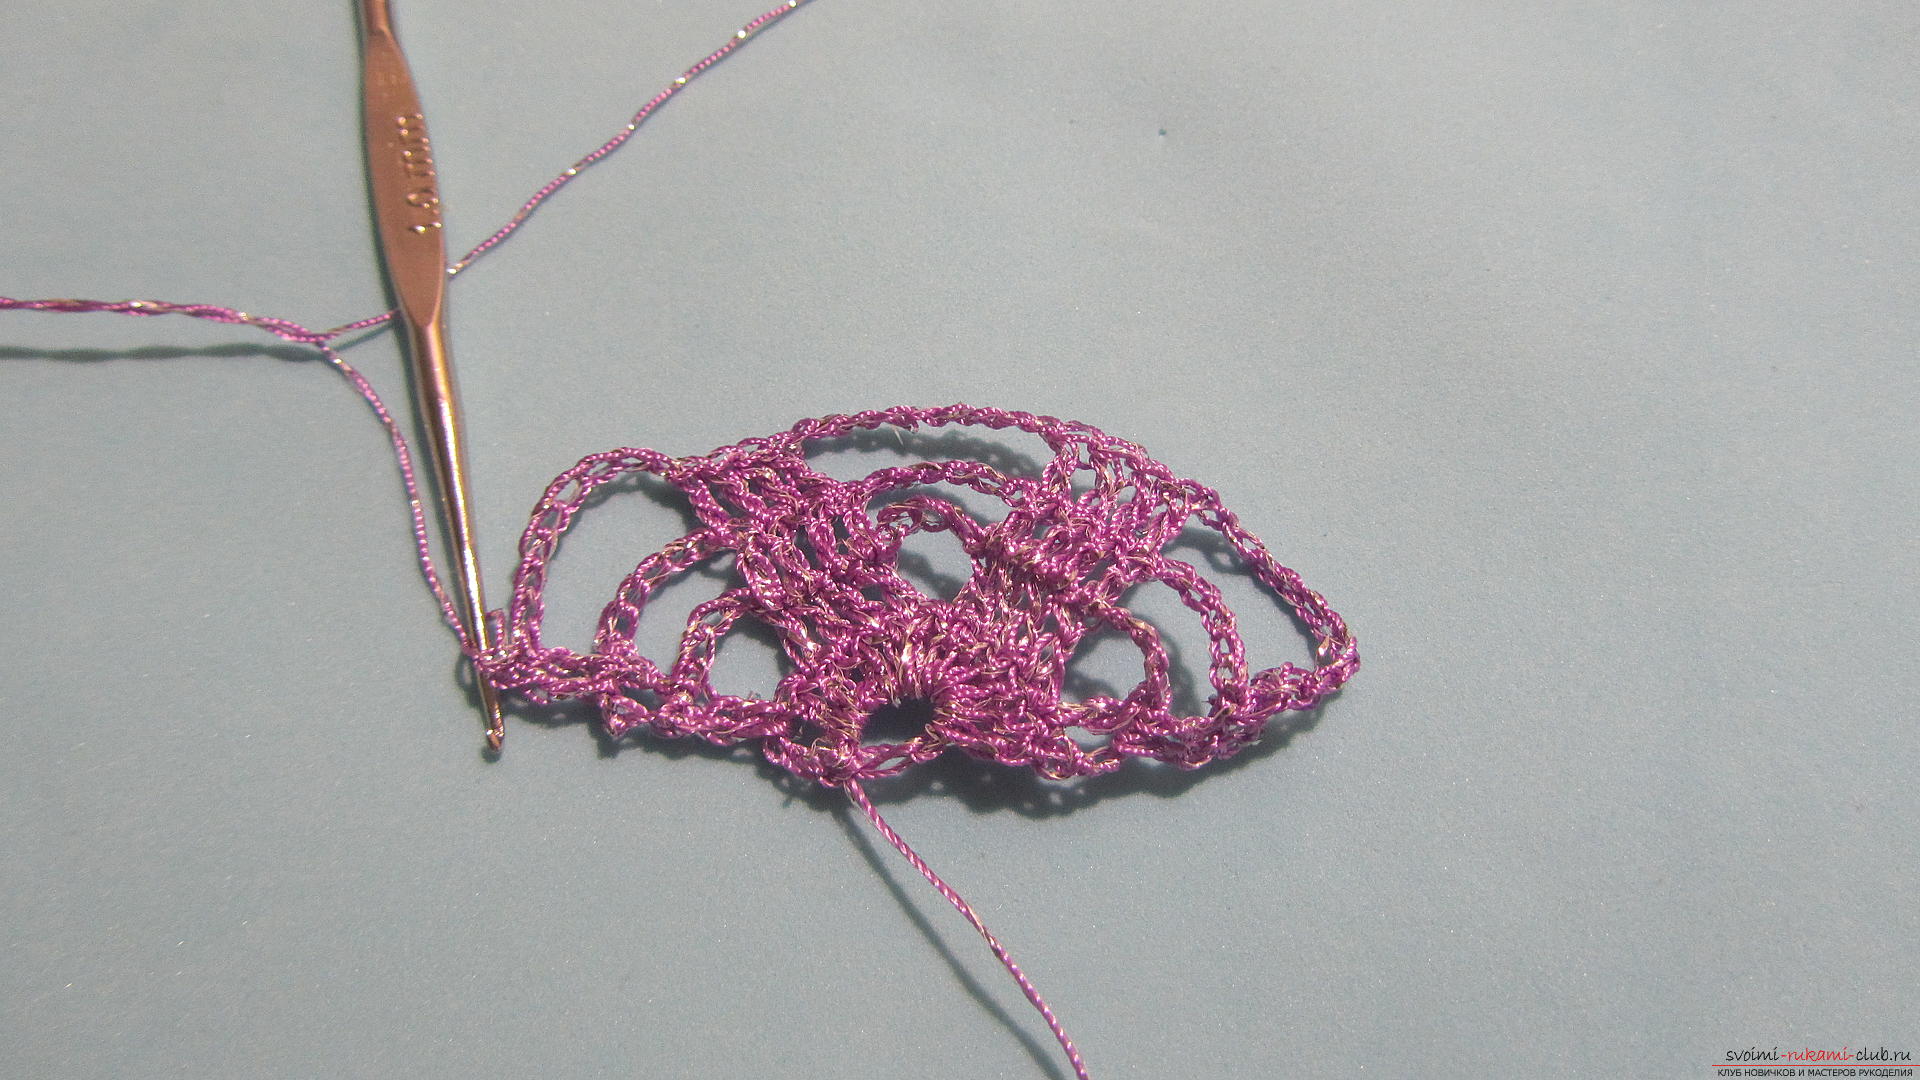 And one more row of bars with a chain of air loops between them. Only in this series we will have 15 air loops.
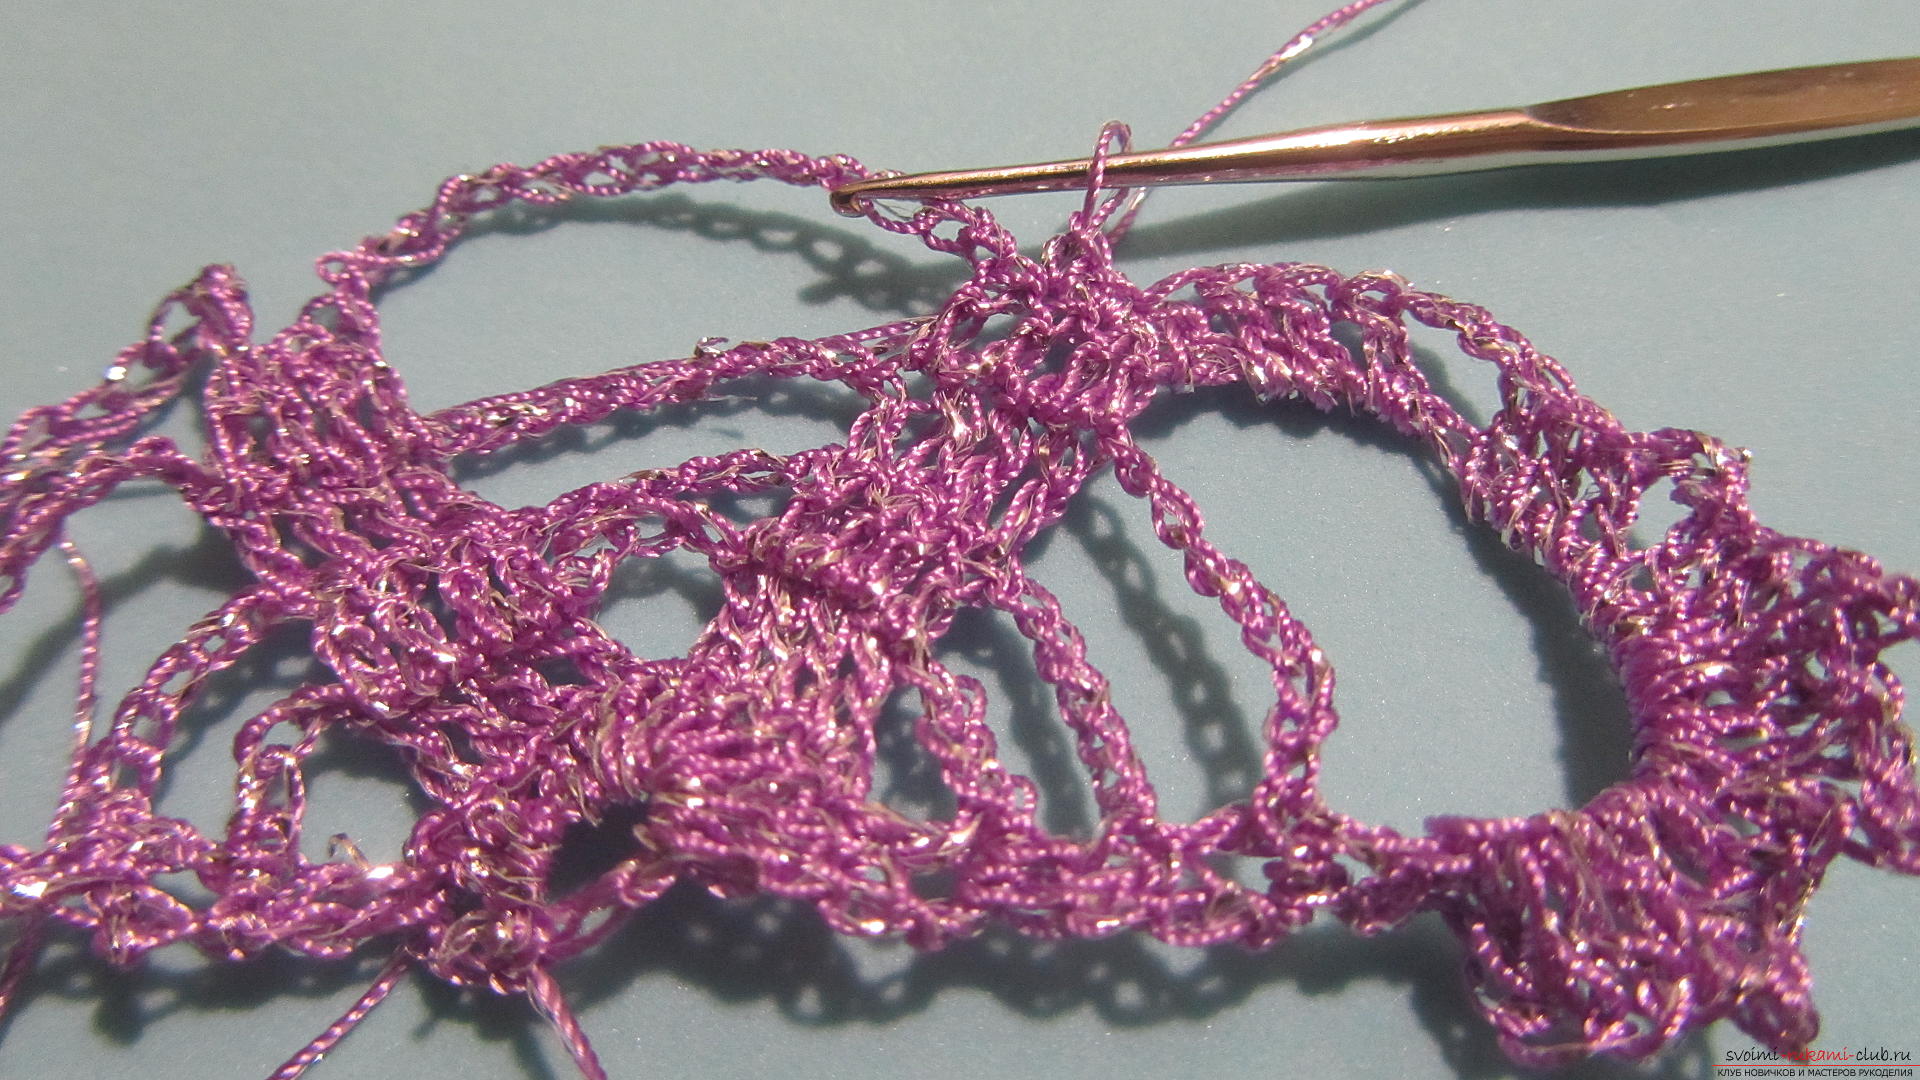
 The next, last, a series of halves of a flowerwill differ from the previous ones. Here we will knit groups of columns into the resulting arches of 15 loops. But in the groups of columns it will be necessary to bind simple posts, without crochet. So, let's start knitting the last row. We make one air loop for lifting. Now, in the arch, we'll fasten a group of 3 posts, in which one is a cape.
 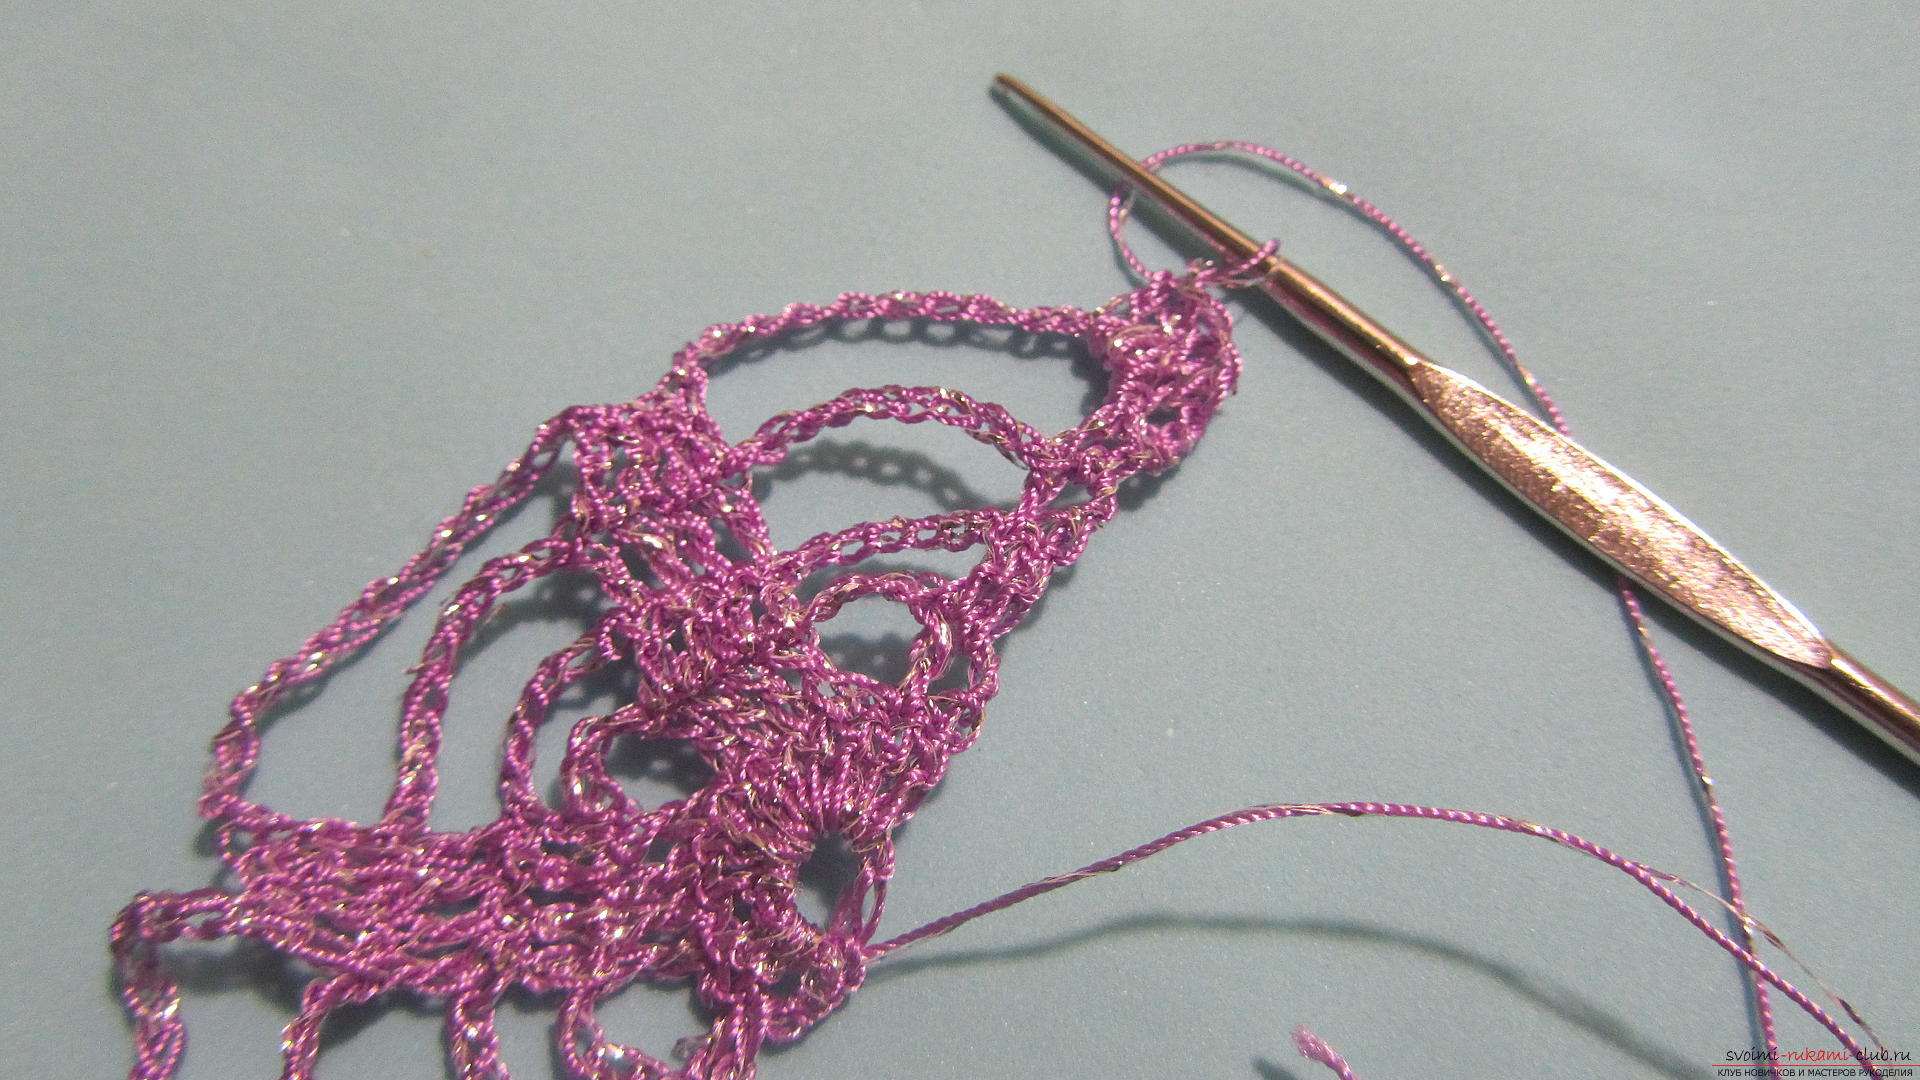 We make three air loops.
 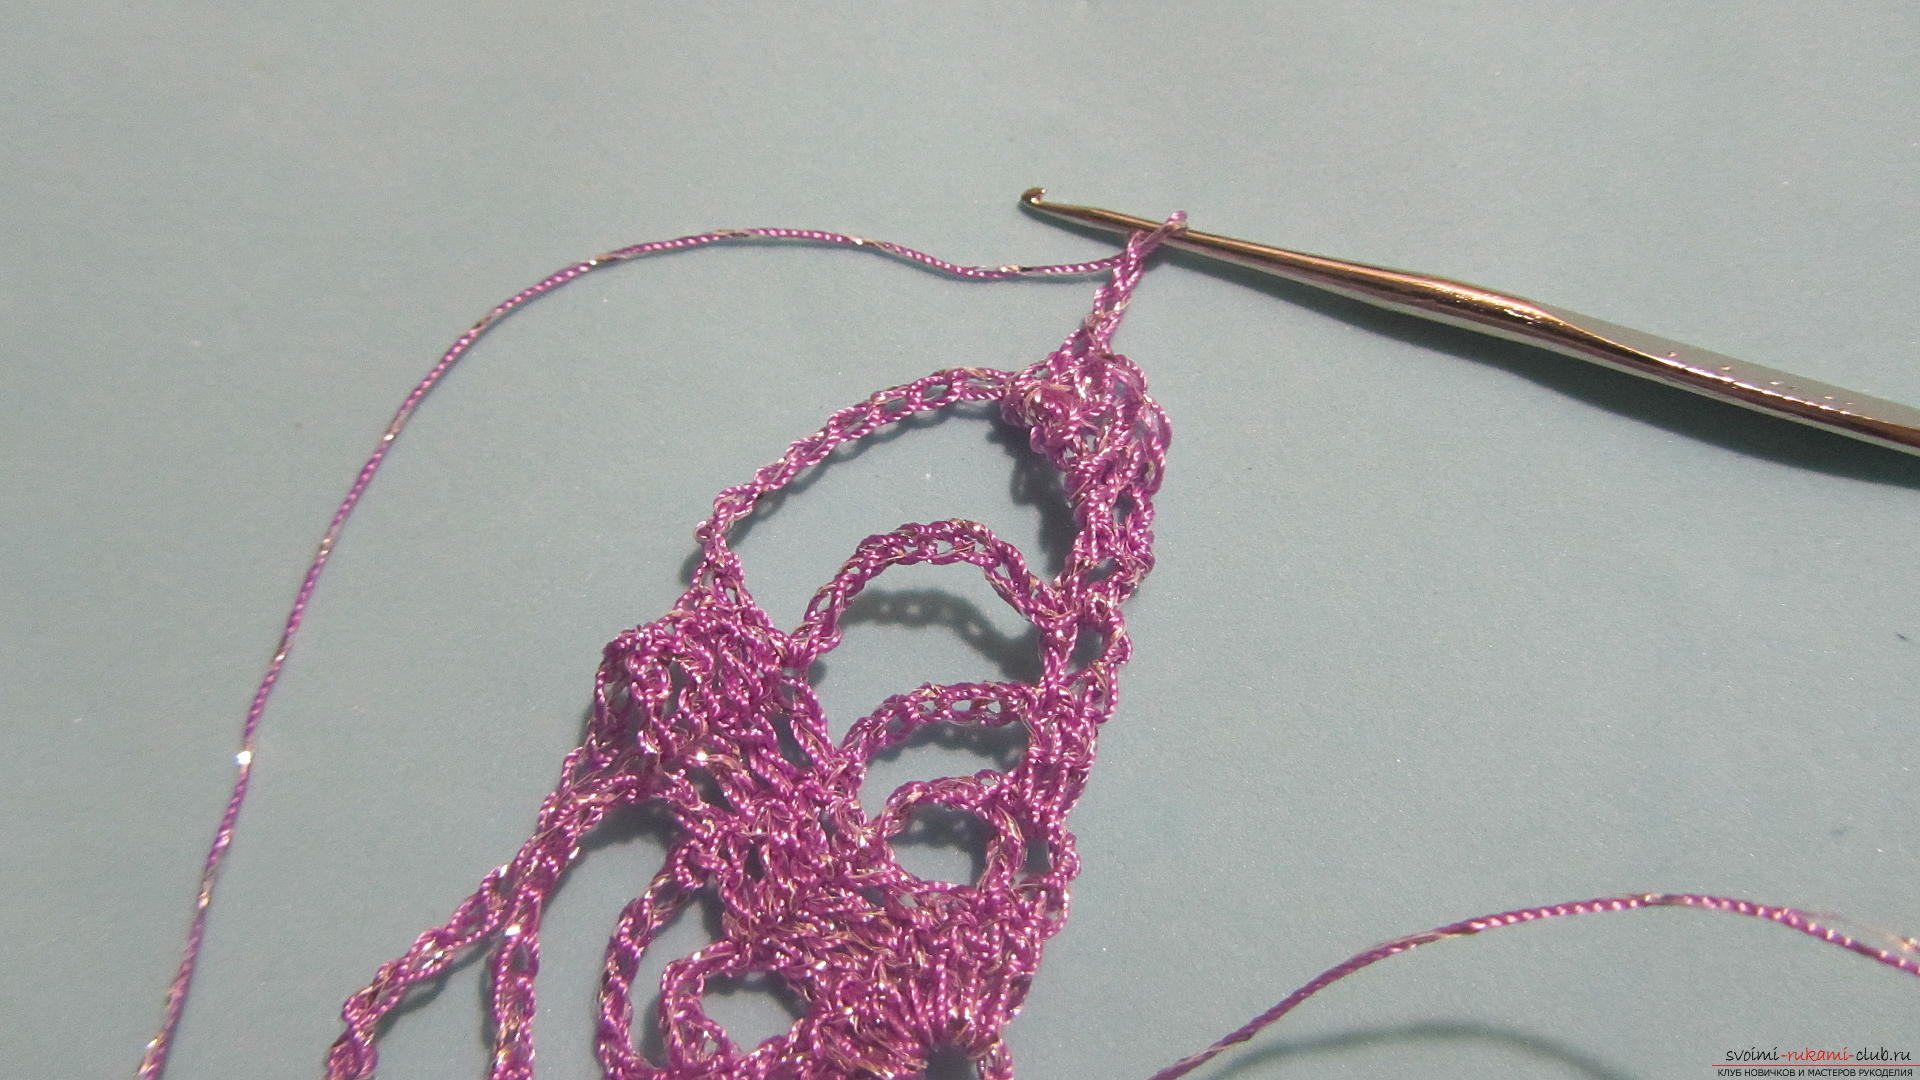 And again three bars.
 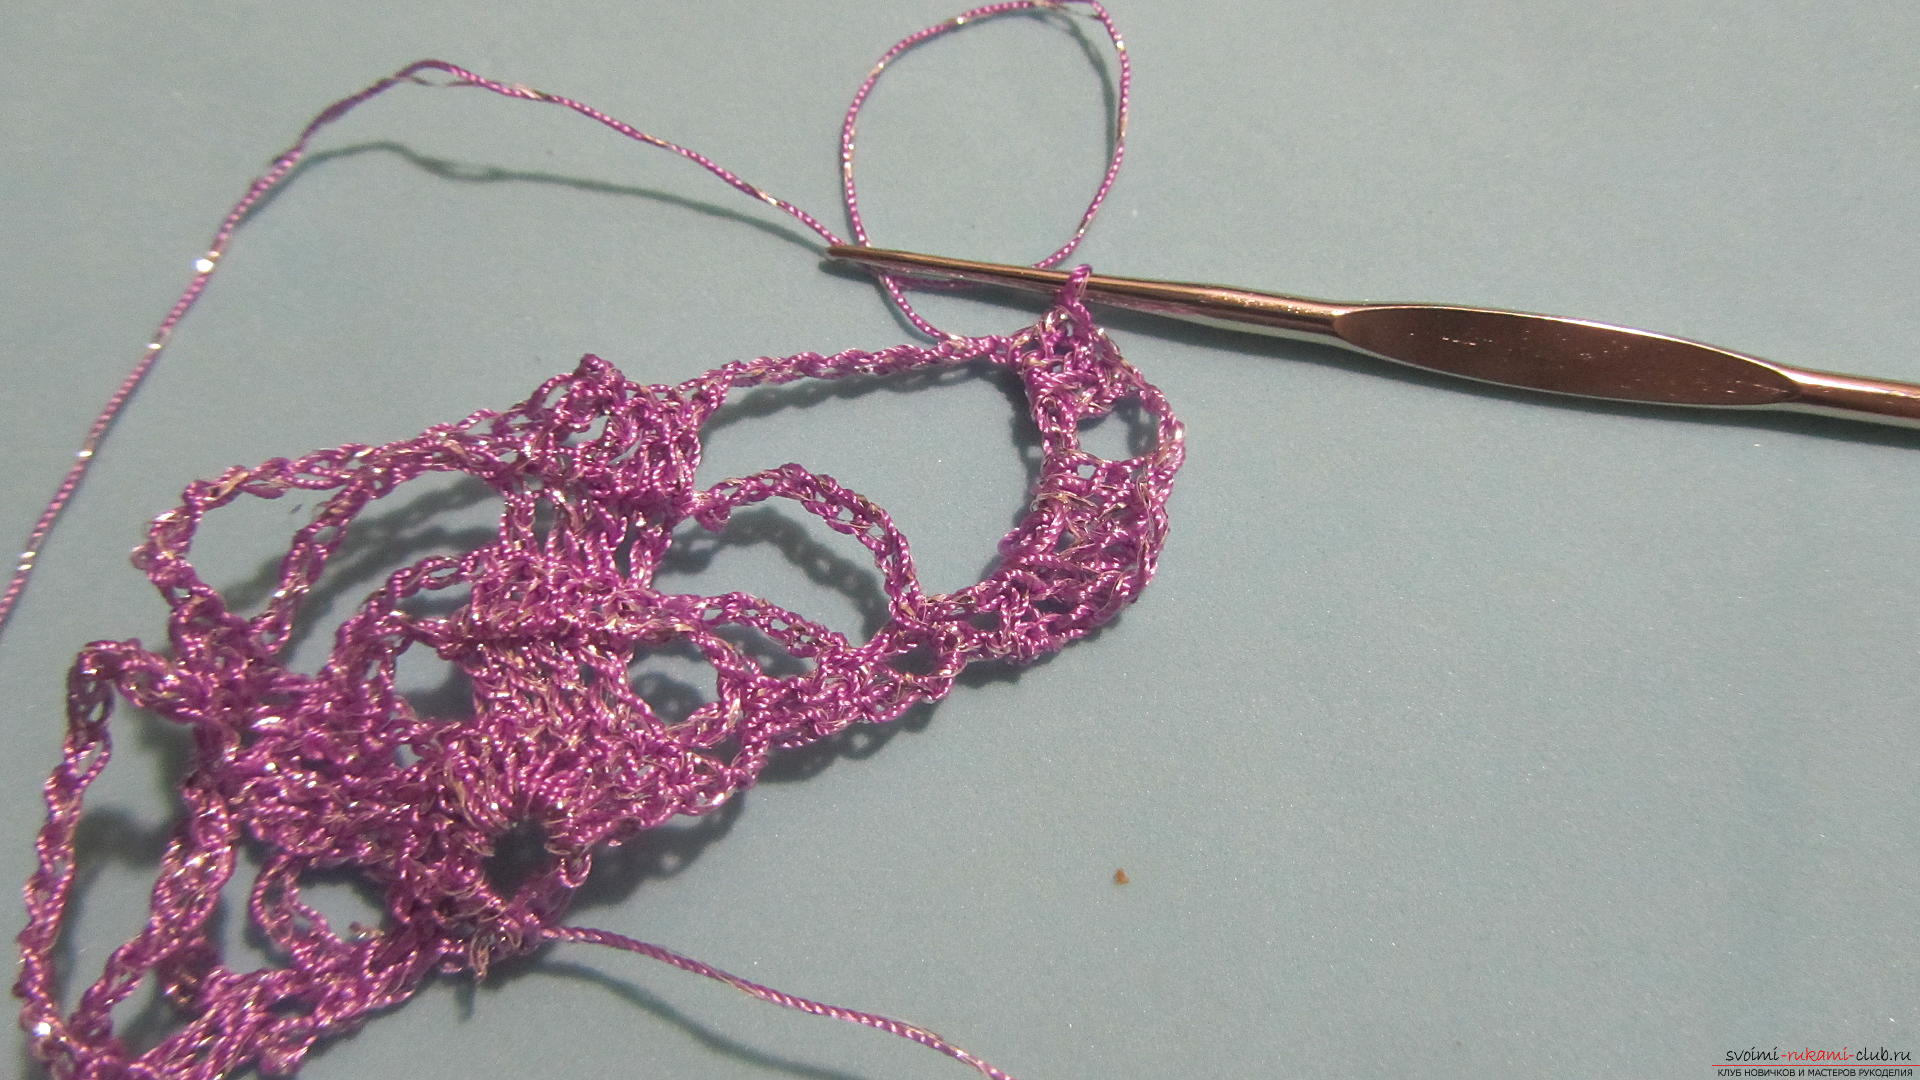 We repeat again.
 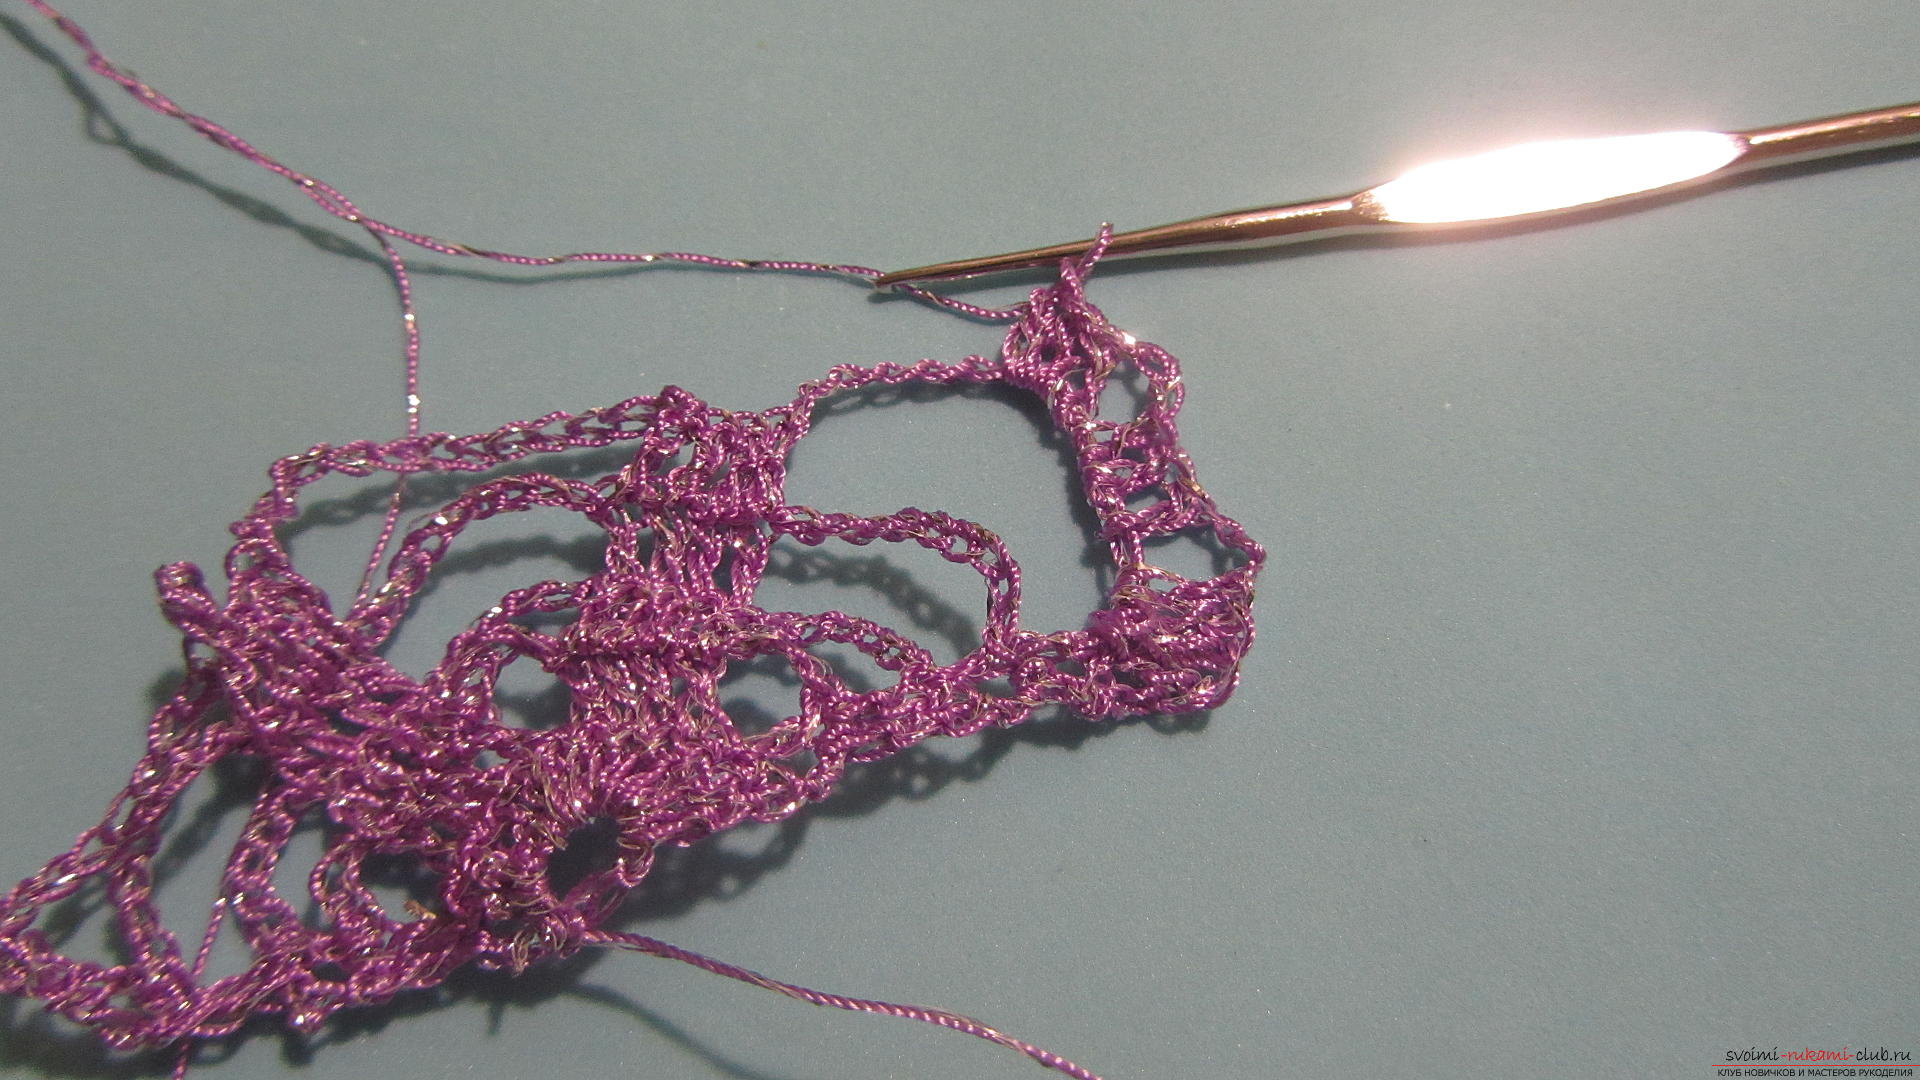 And further. In total, there should be 6 groups of three columns in the arch.
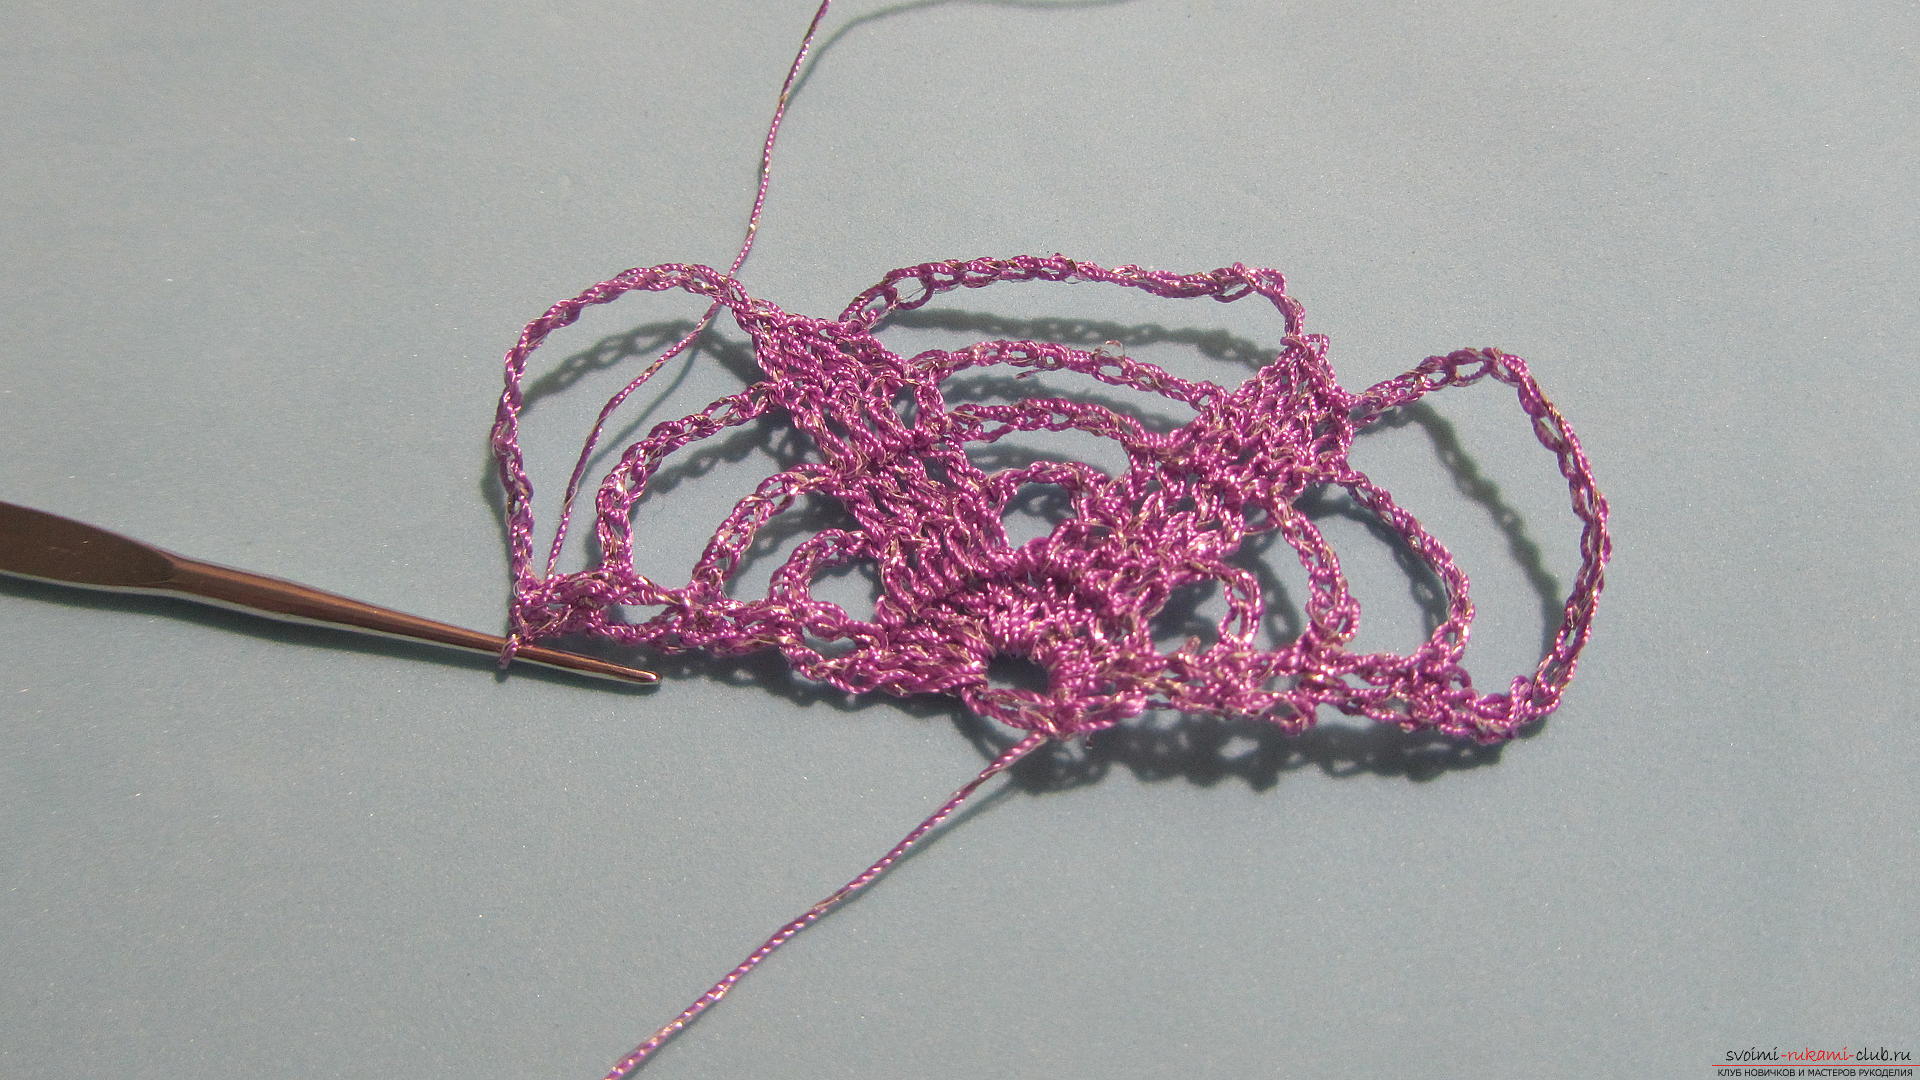
 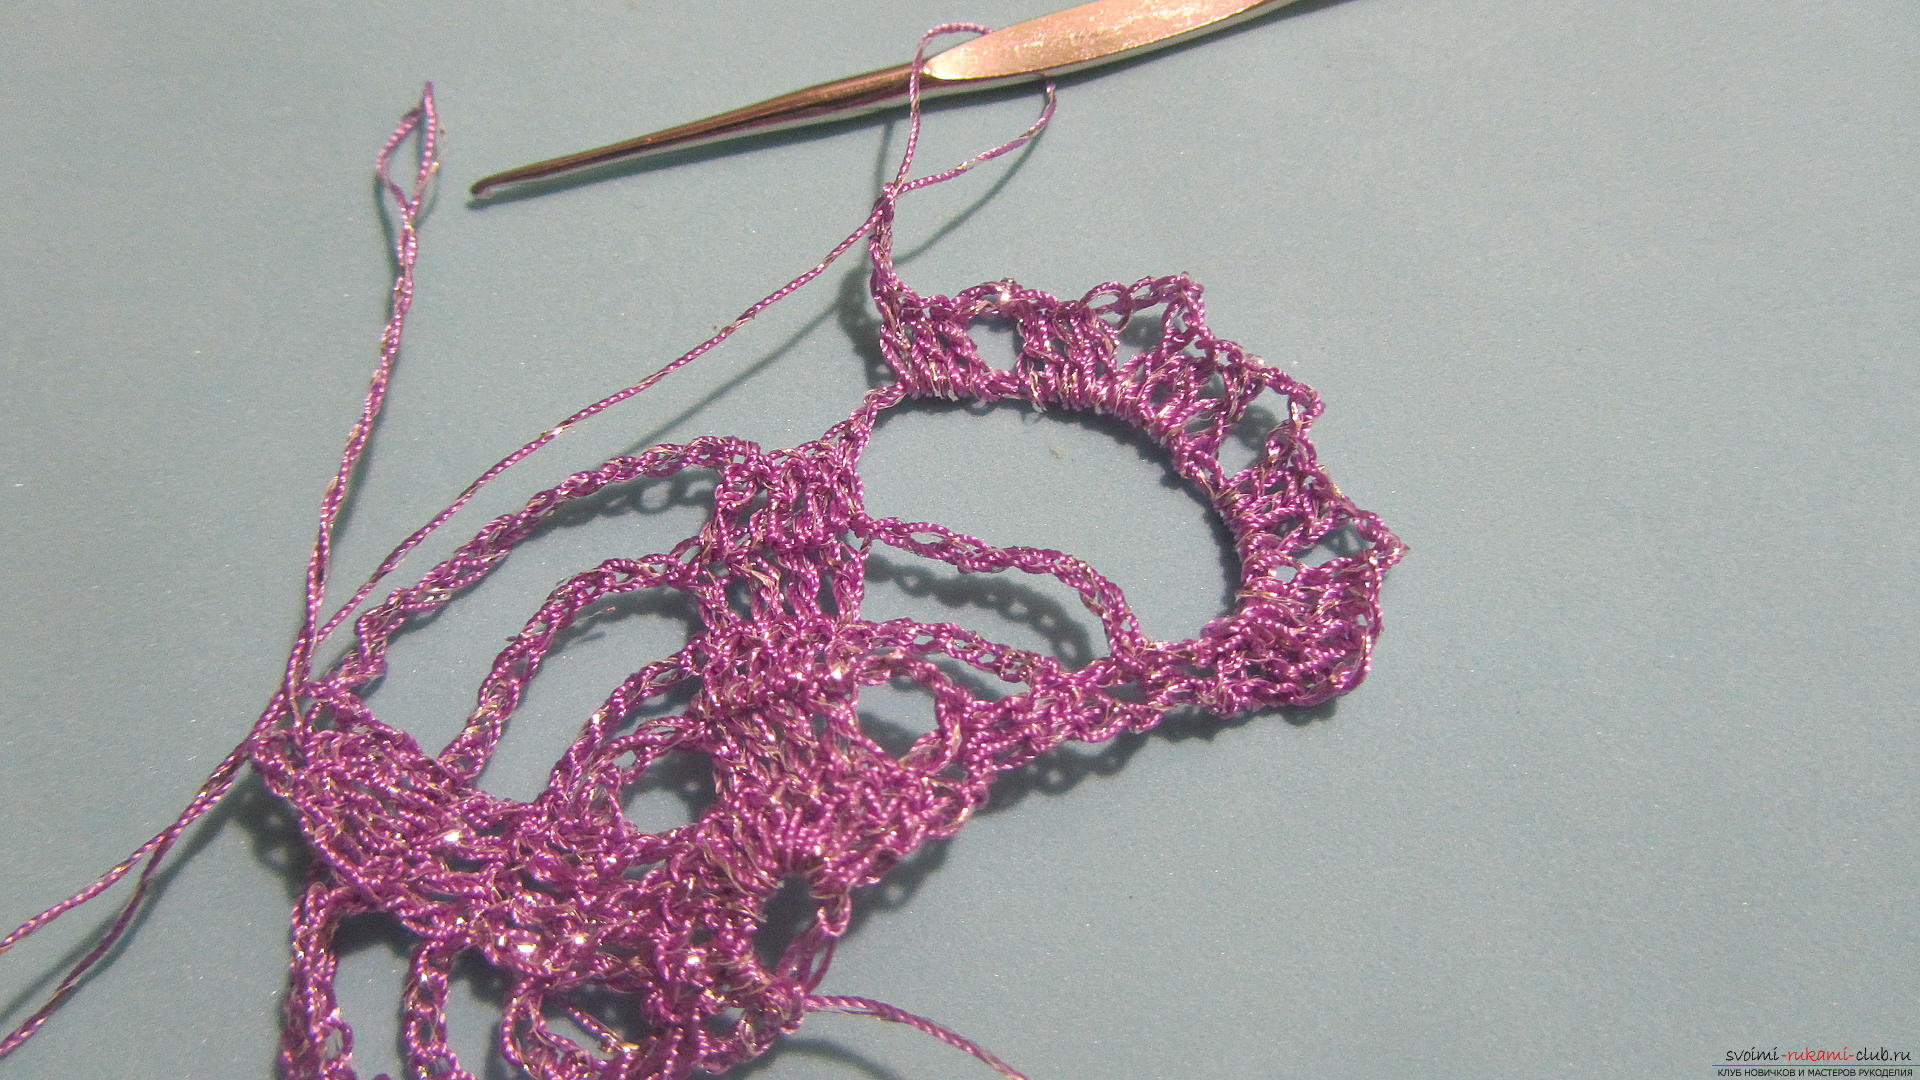 After the last group, the chain of the loops is not knit. Immediately make two simple bars in the second and third columns of the previous row.
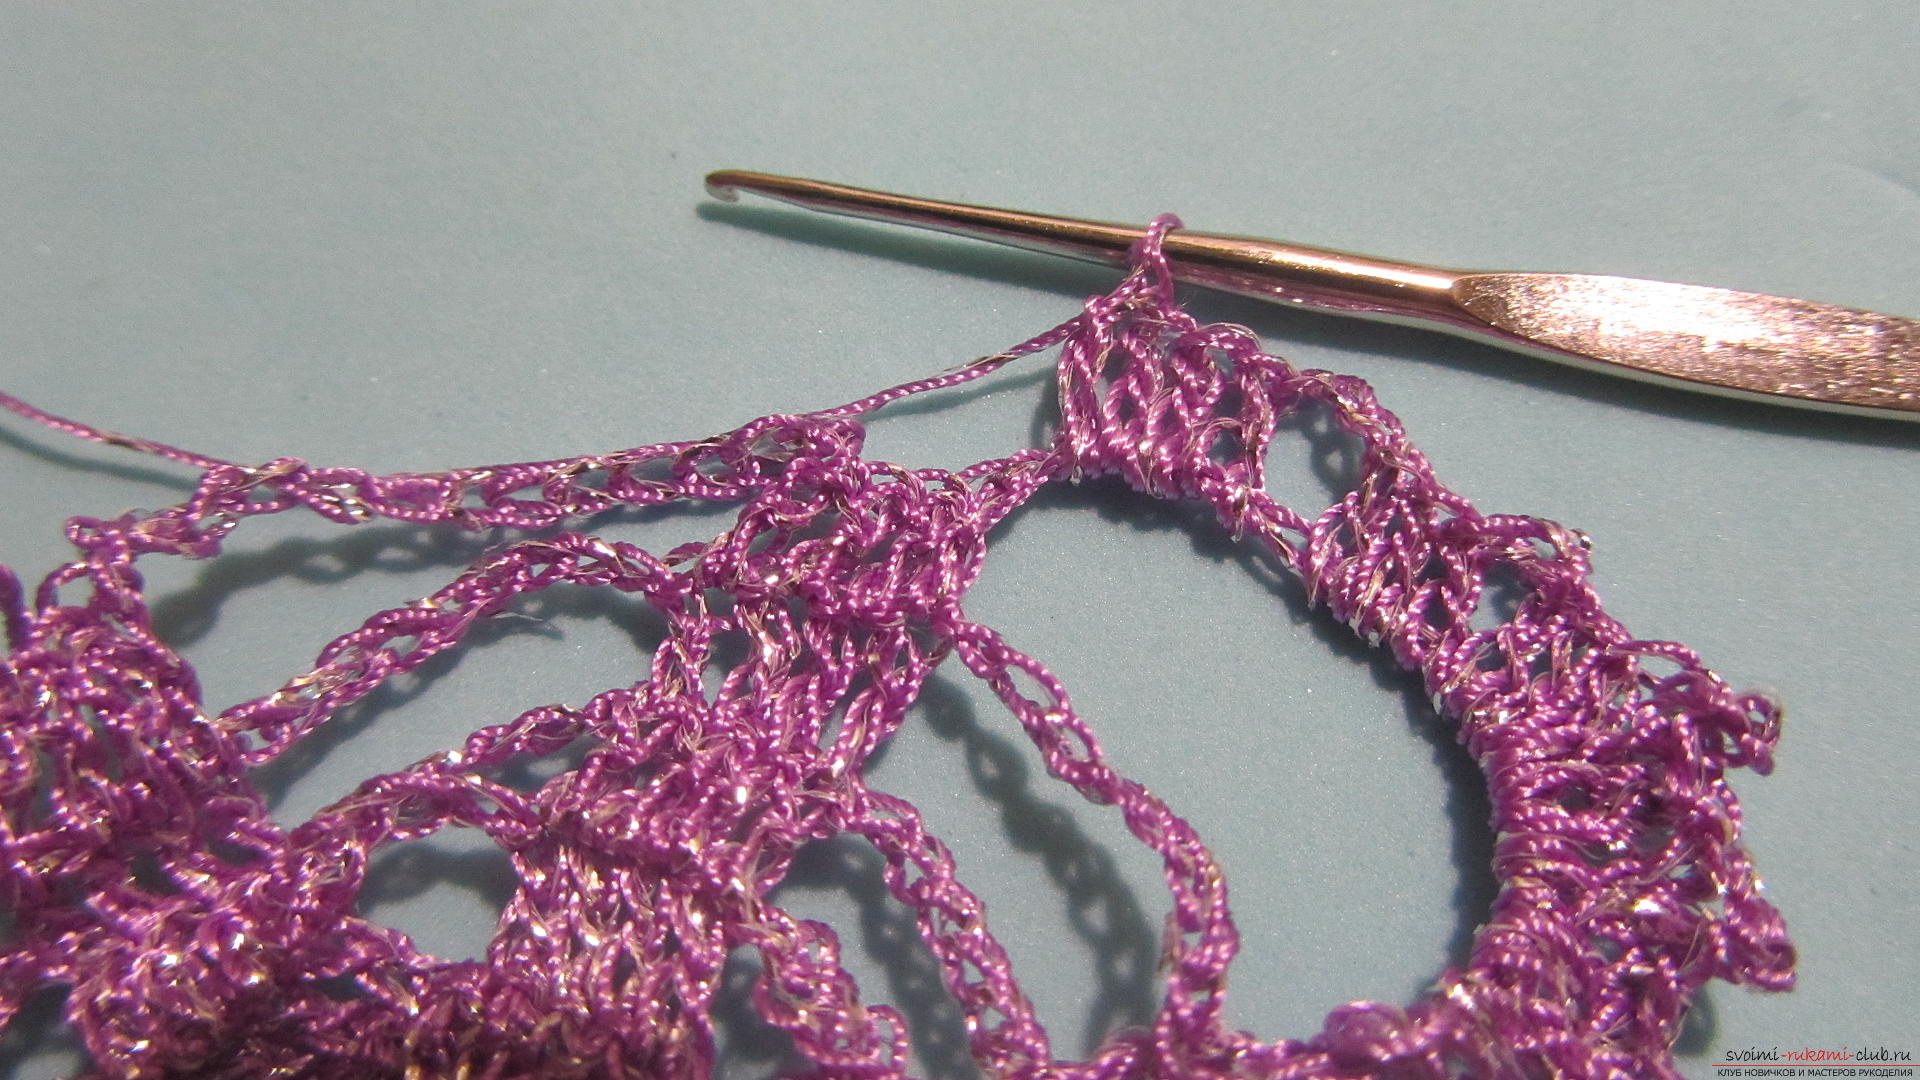
 Also we tie two remaining arches.
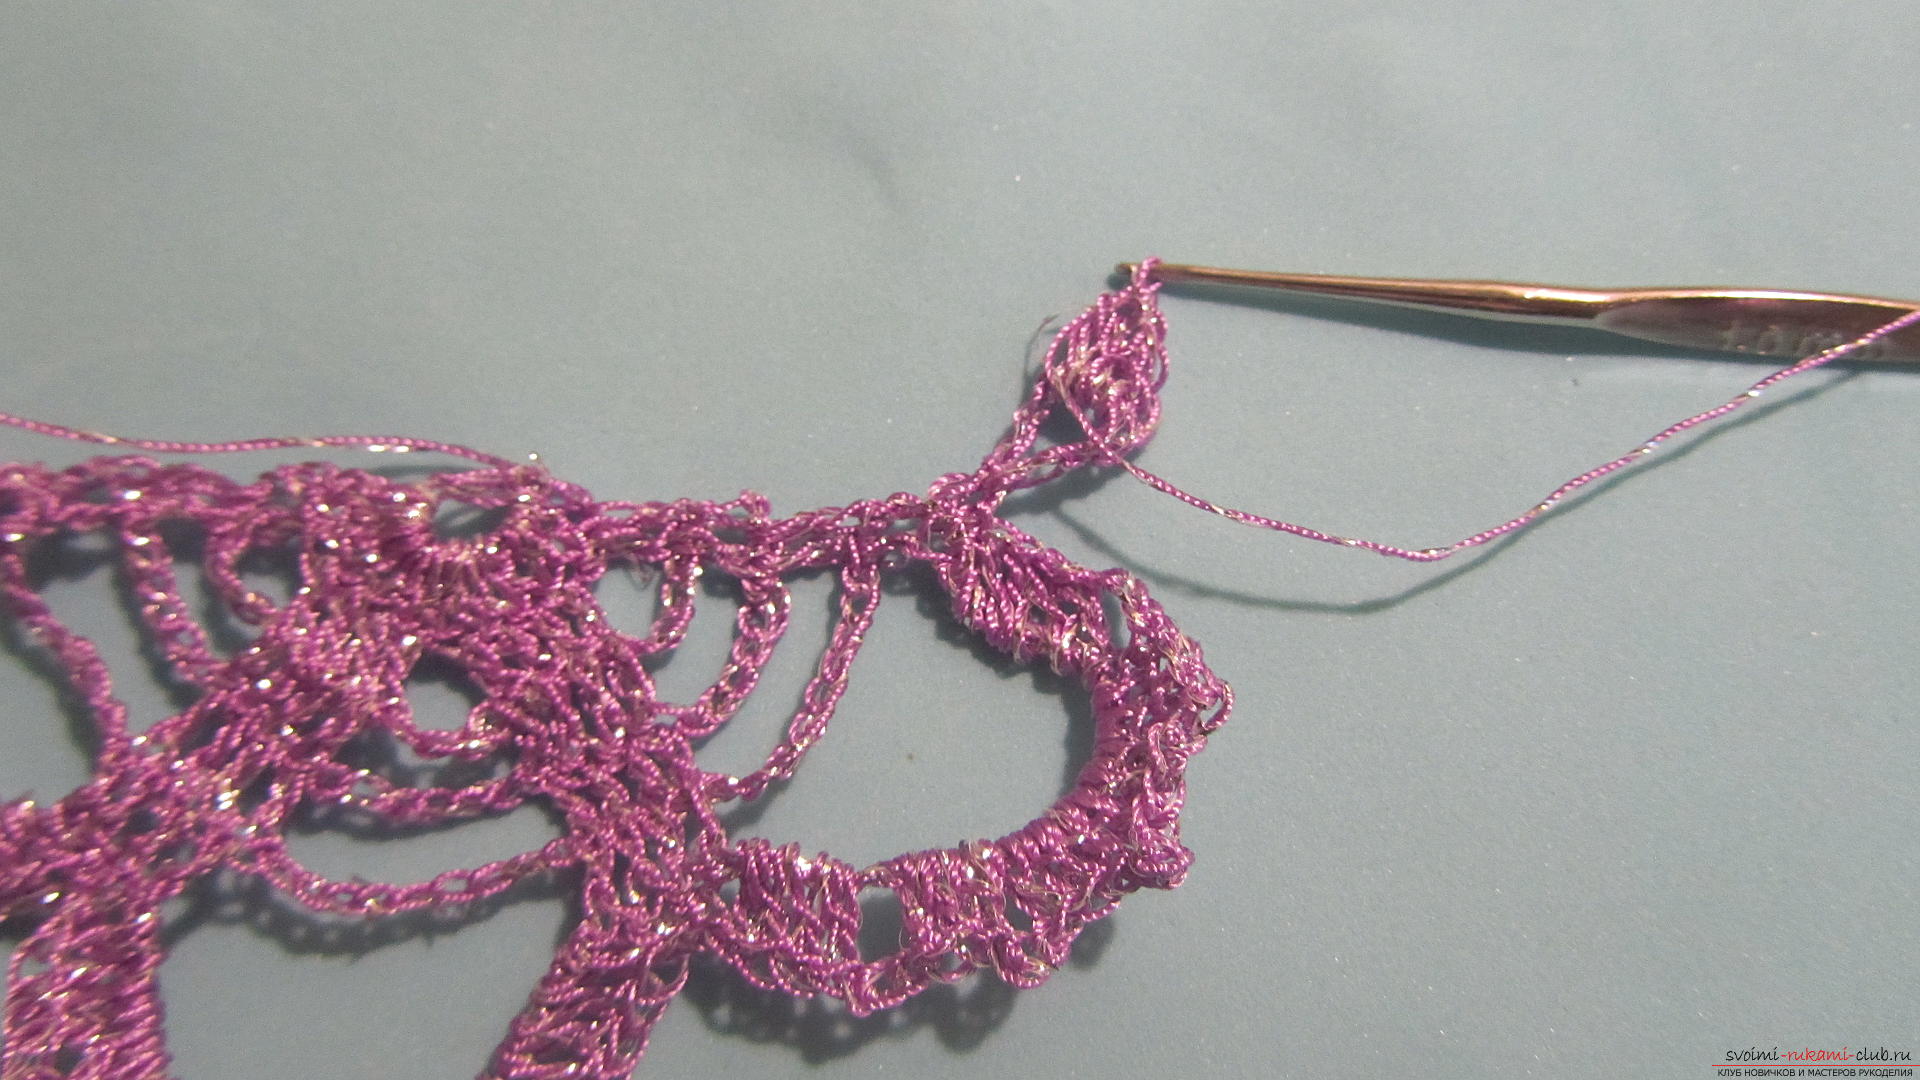
 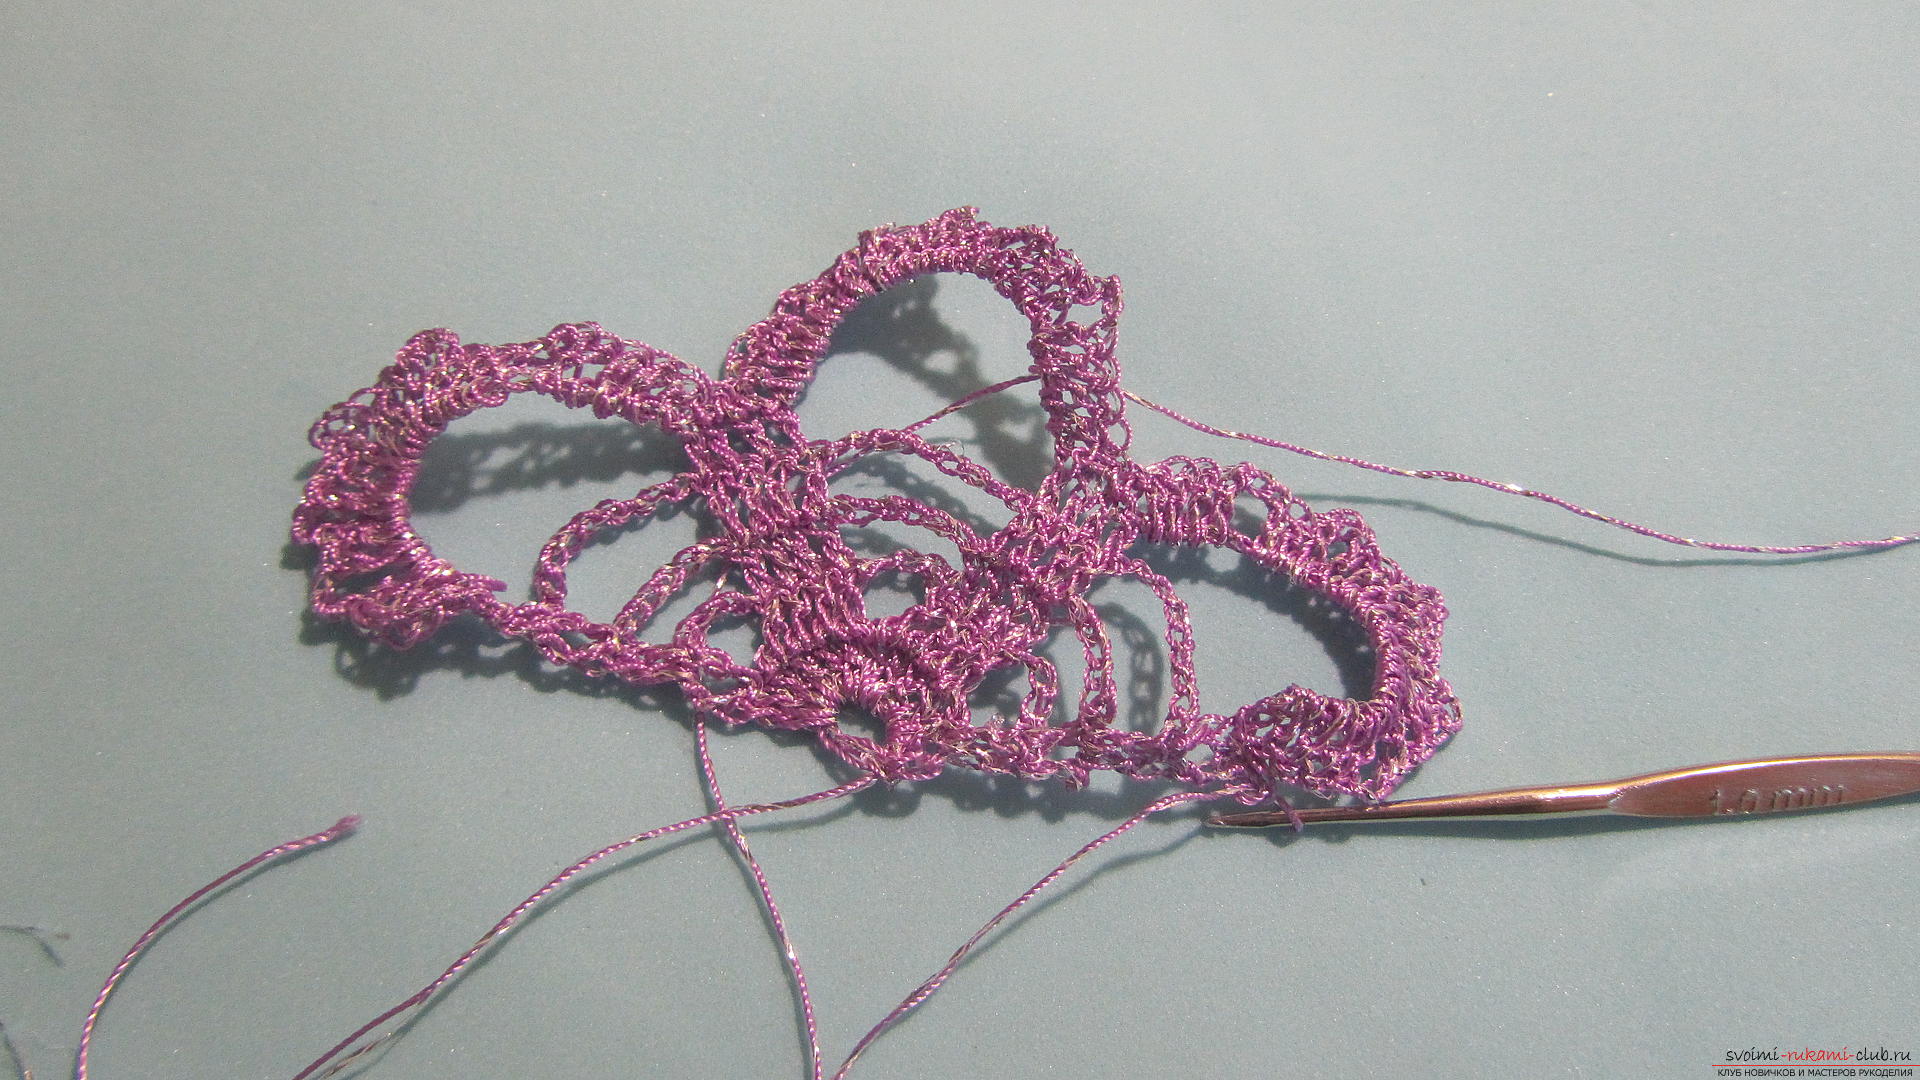 Now go to the second flower. We knit 6 air loops.
 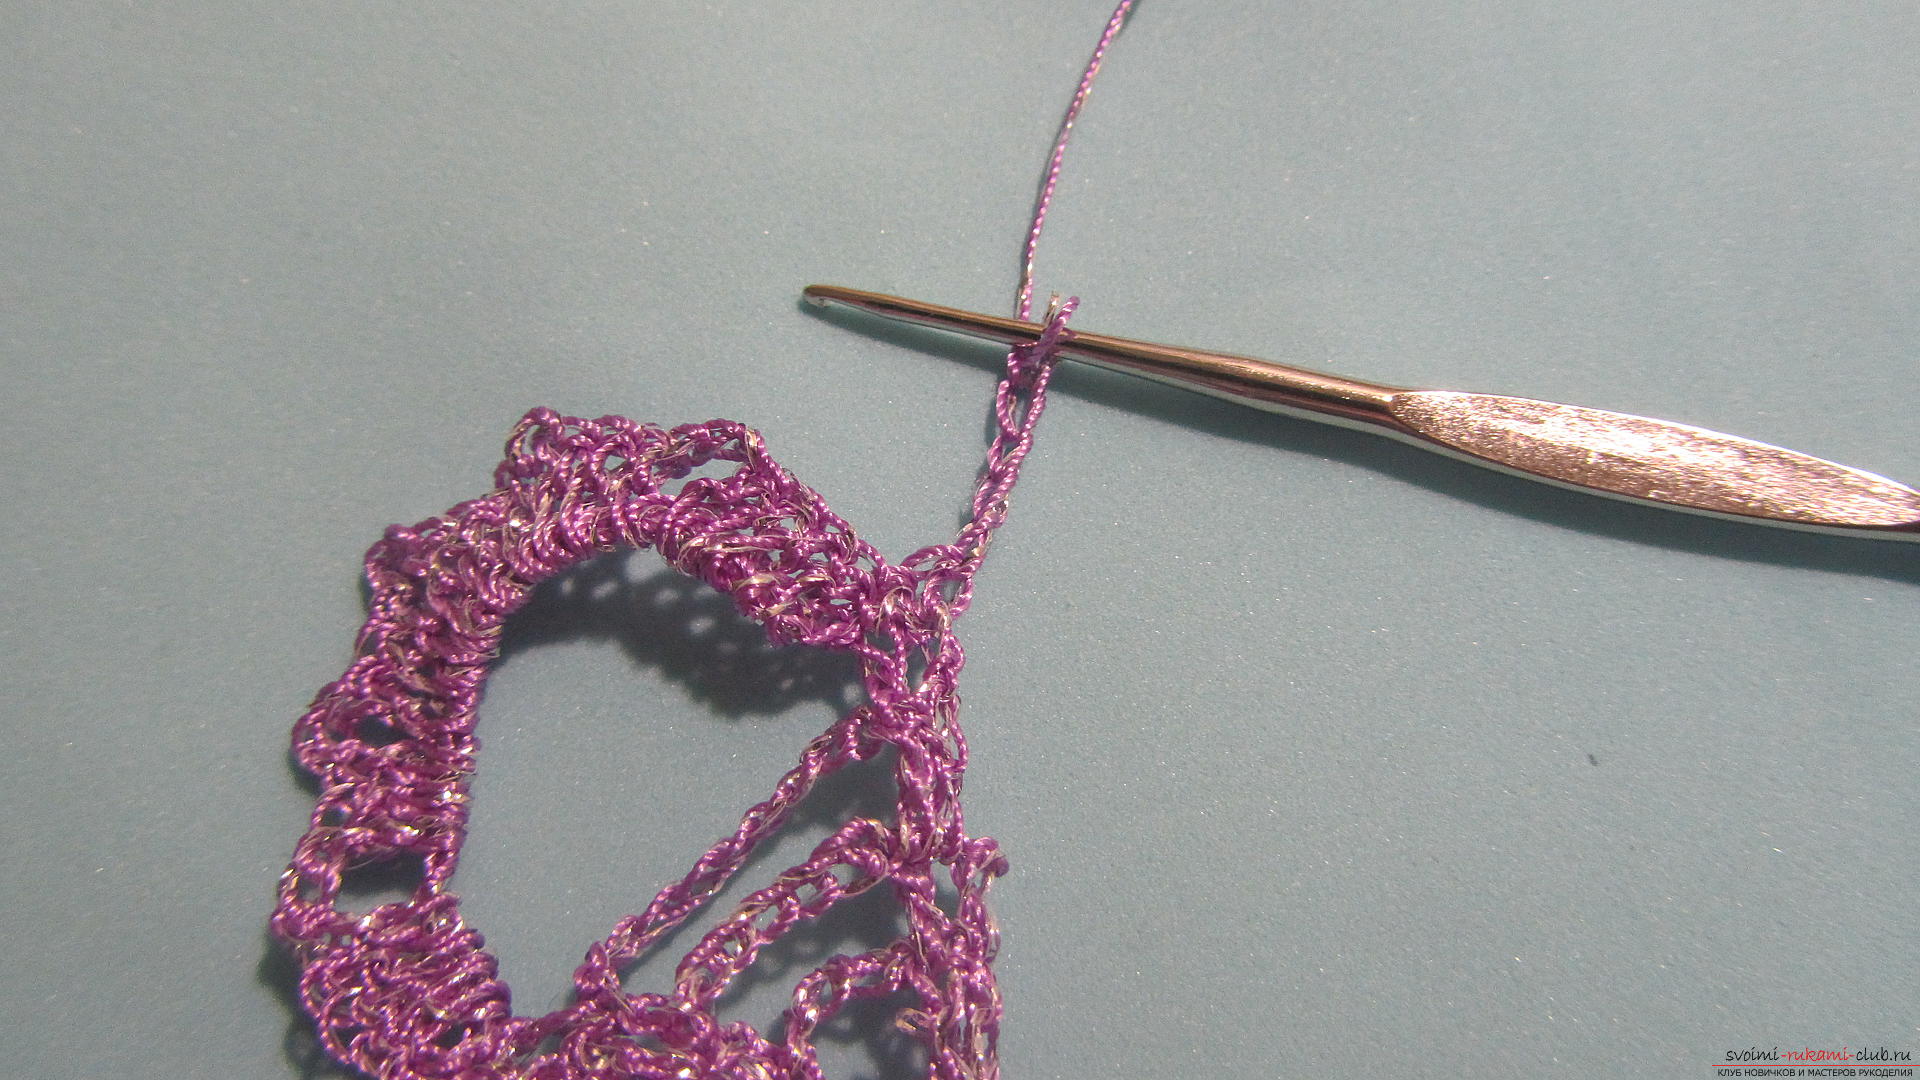 And we tie a column with one crochet to the outer column without the cake of the first flower.
 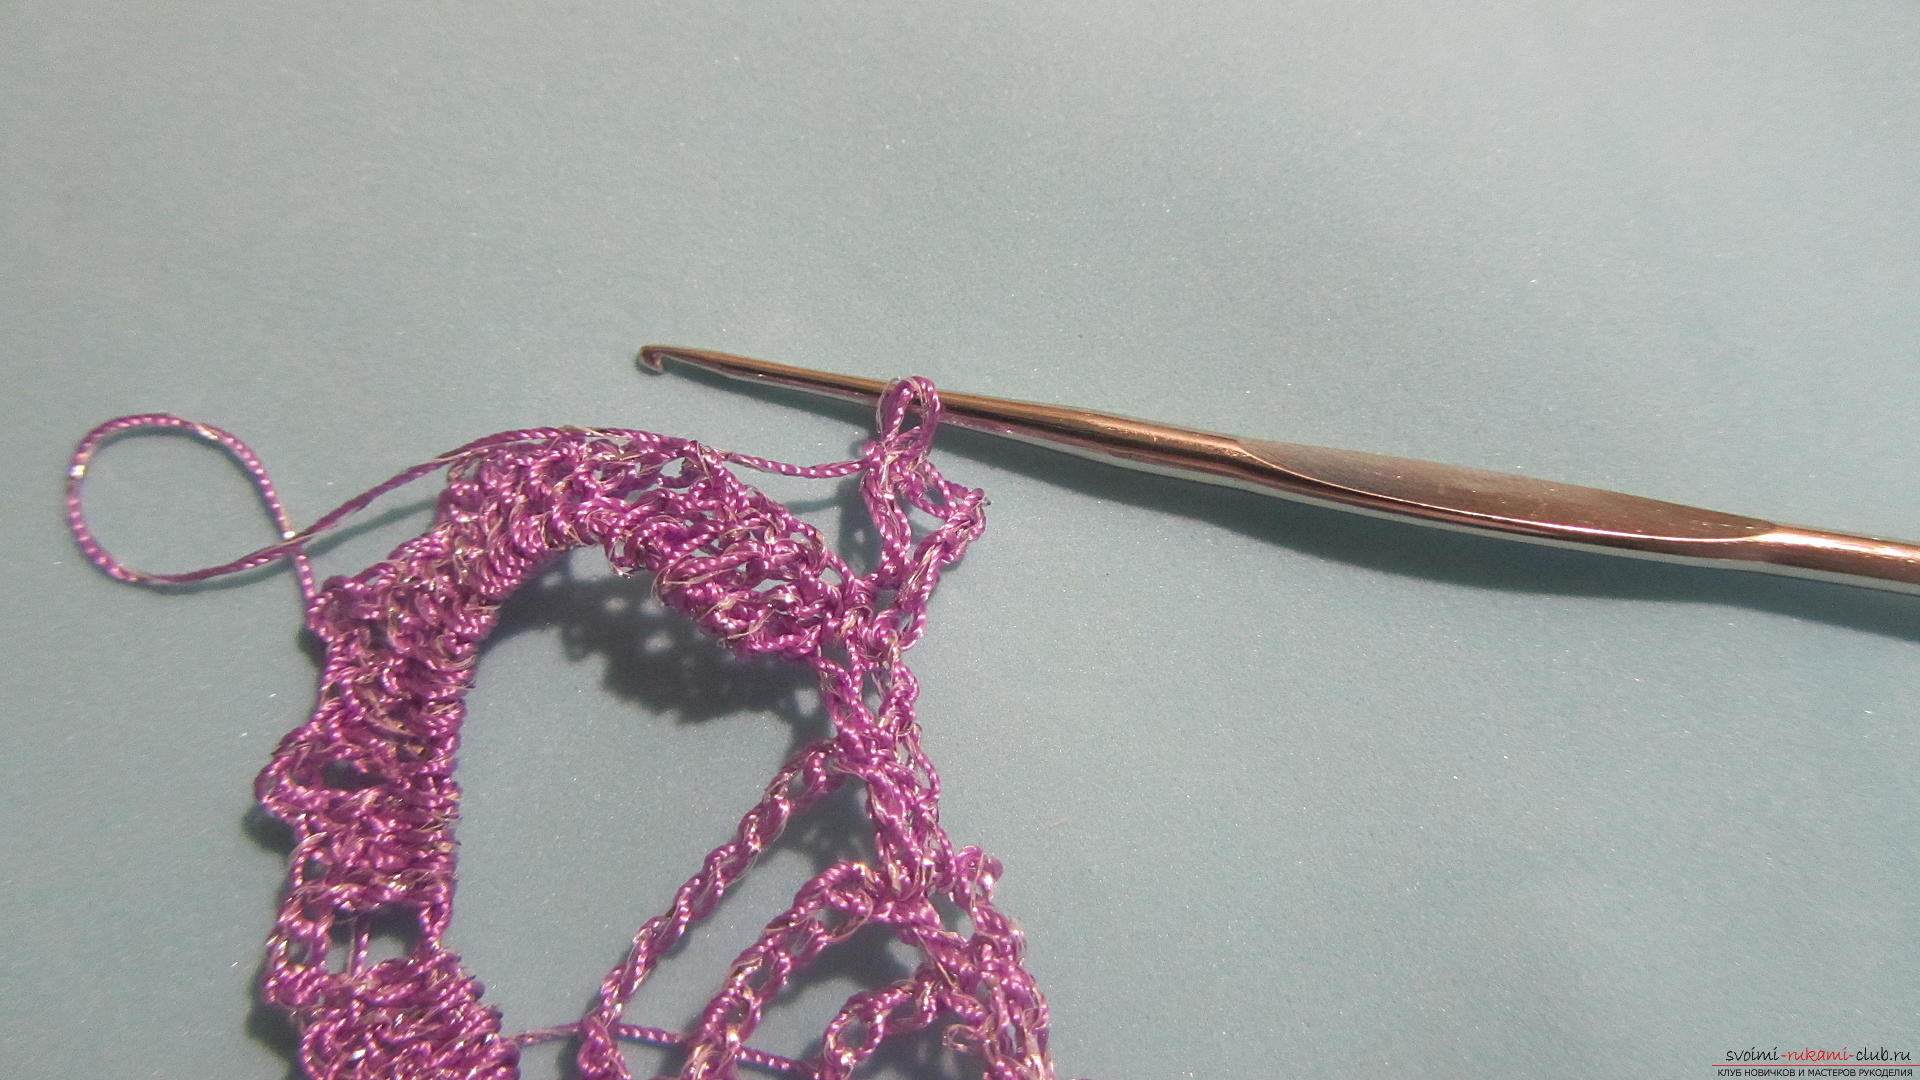 Next, we knit the first row of 3 loops and 11 sticks, the same as the first floret.
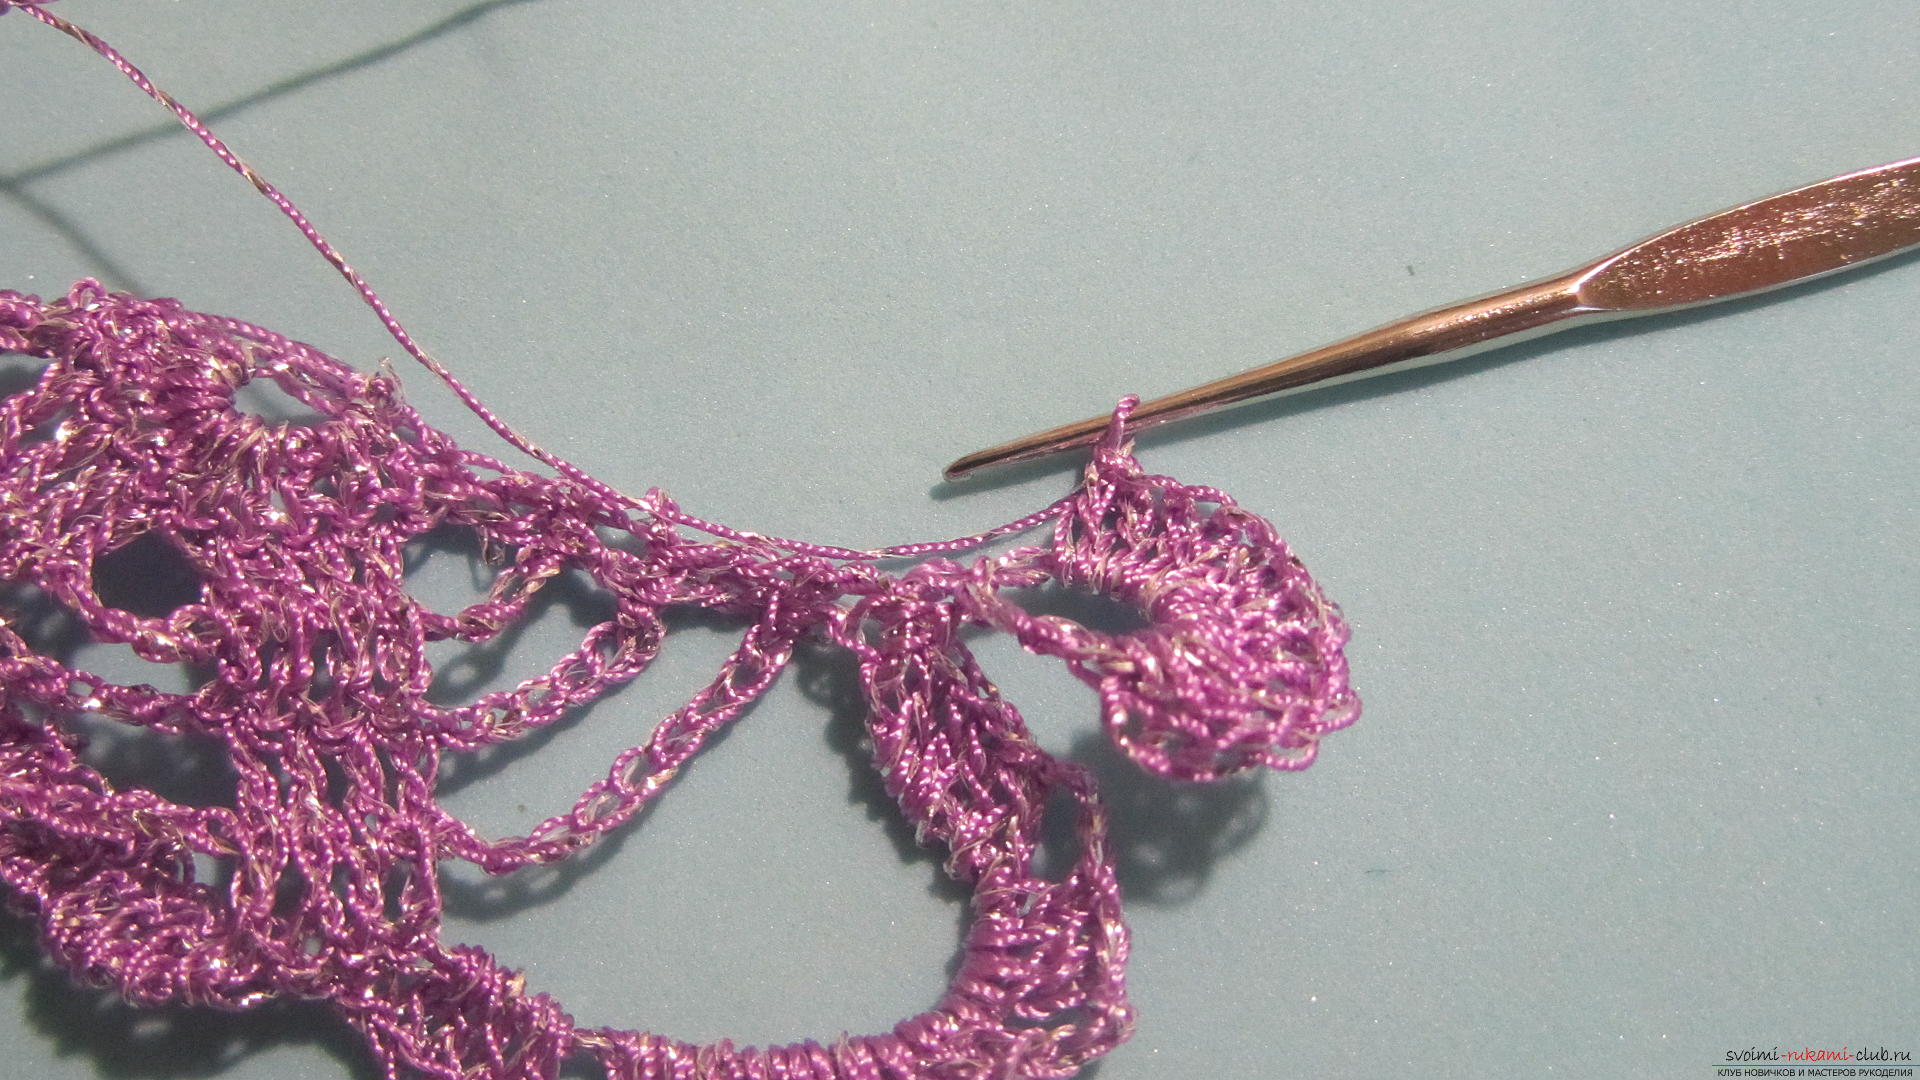 The last column of the first row is fastened with a connecting column to the first flower, namely to the apex of the fifth row.
 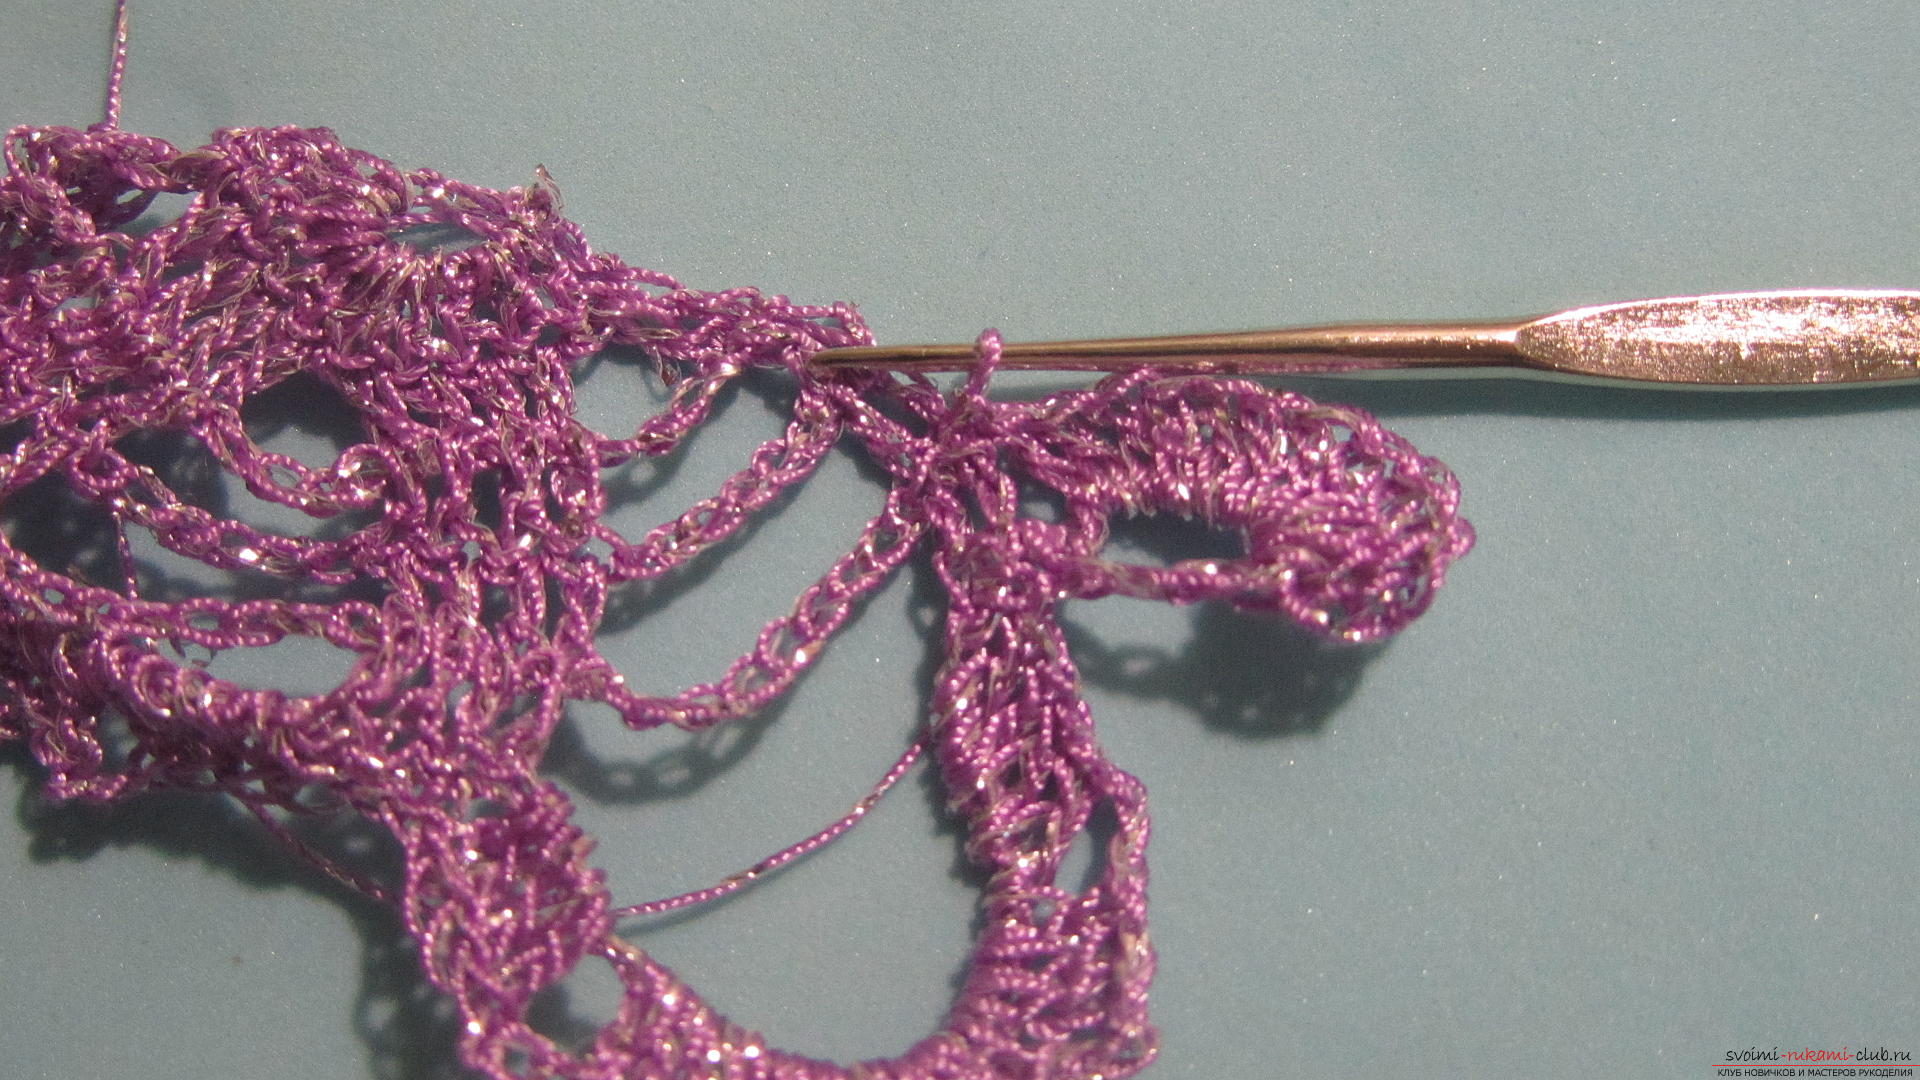 Turn knitting. We make three loops and connect them to the top of the fourth row of the first flower.
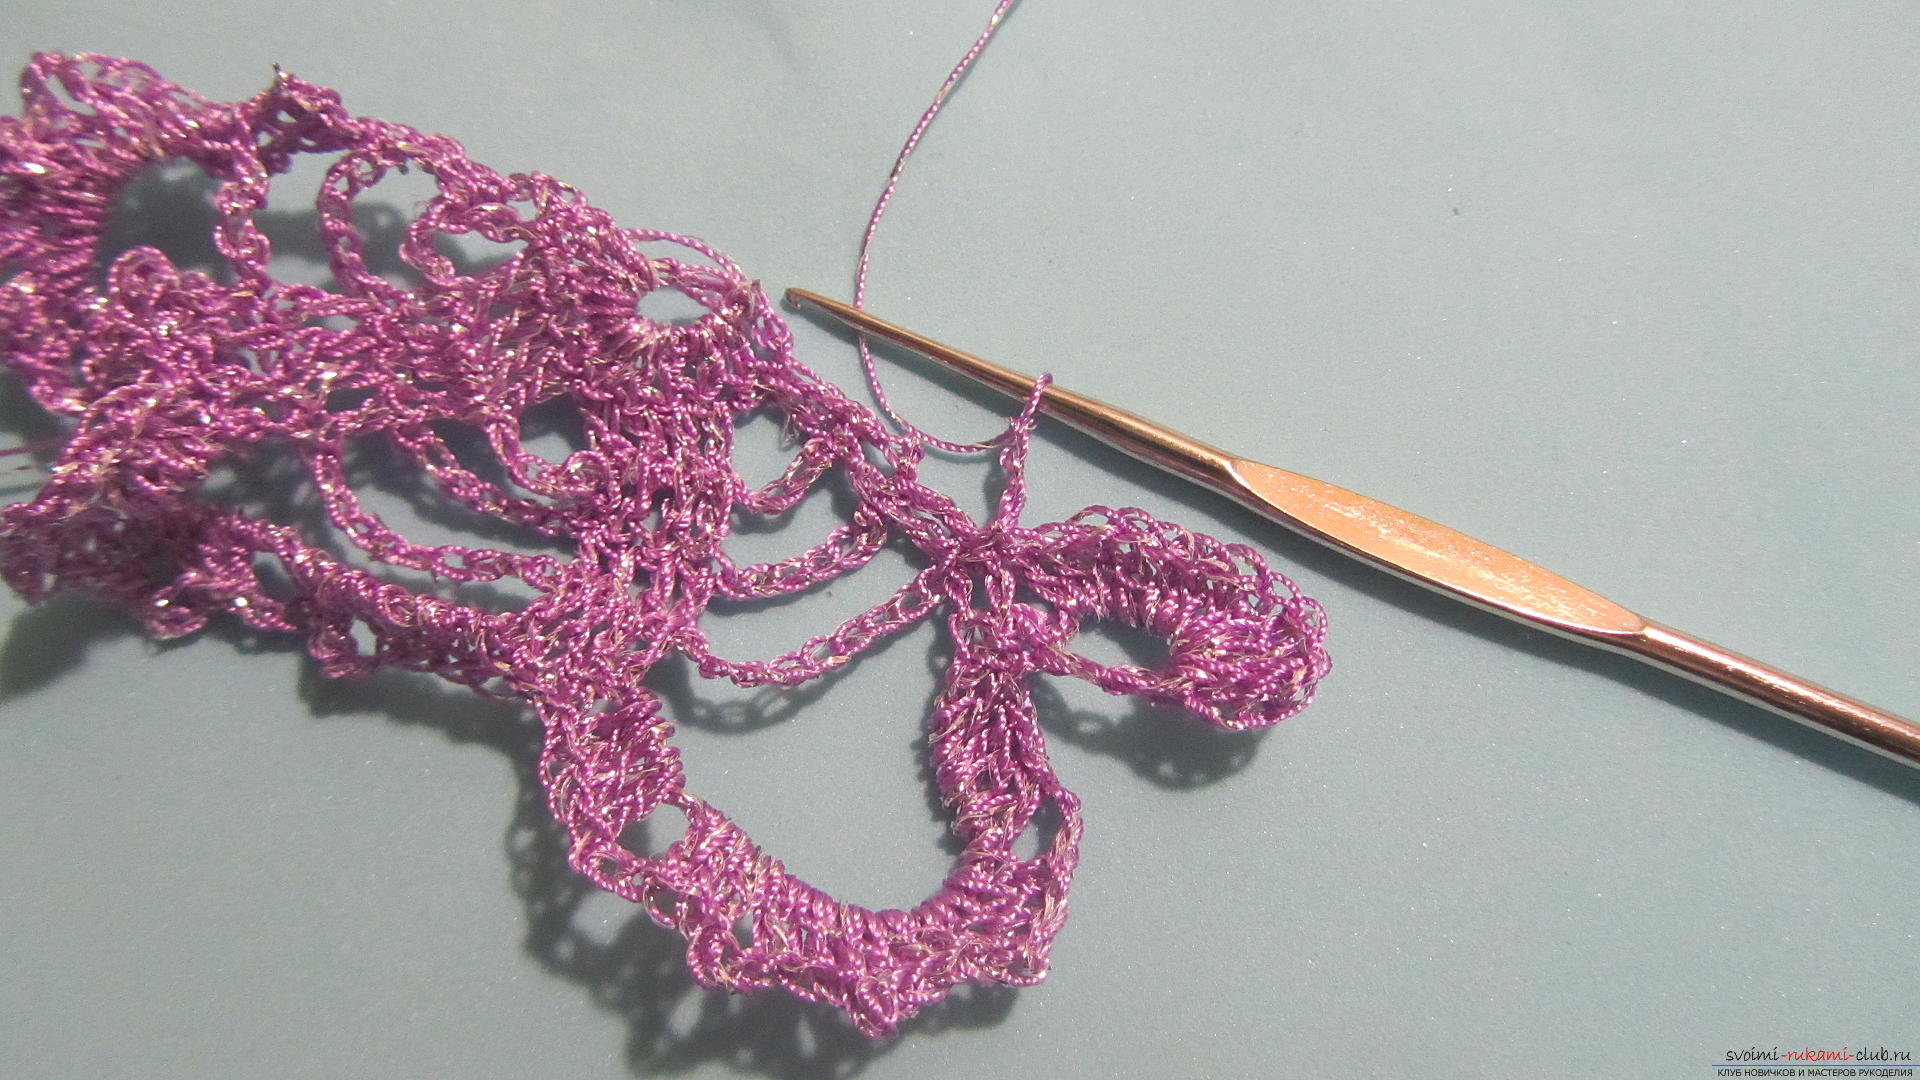
 Further we continue knitting, as well as in the first flower - one more column with a crochet.
 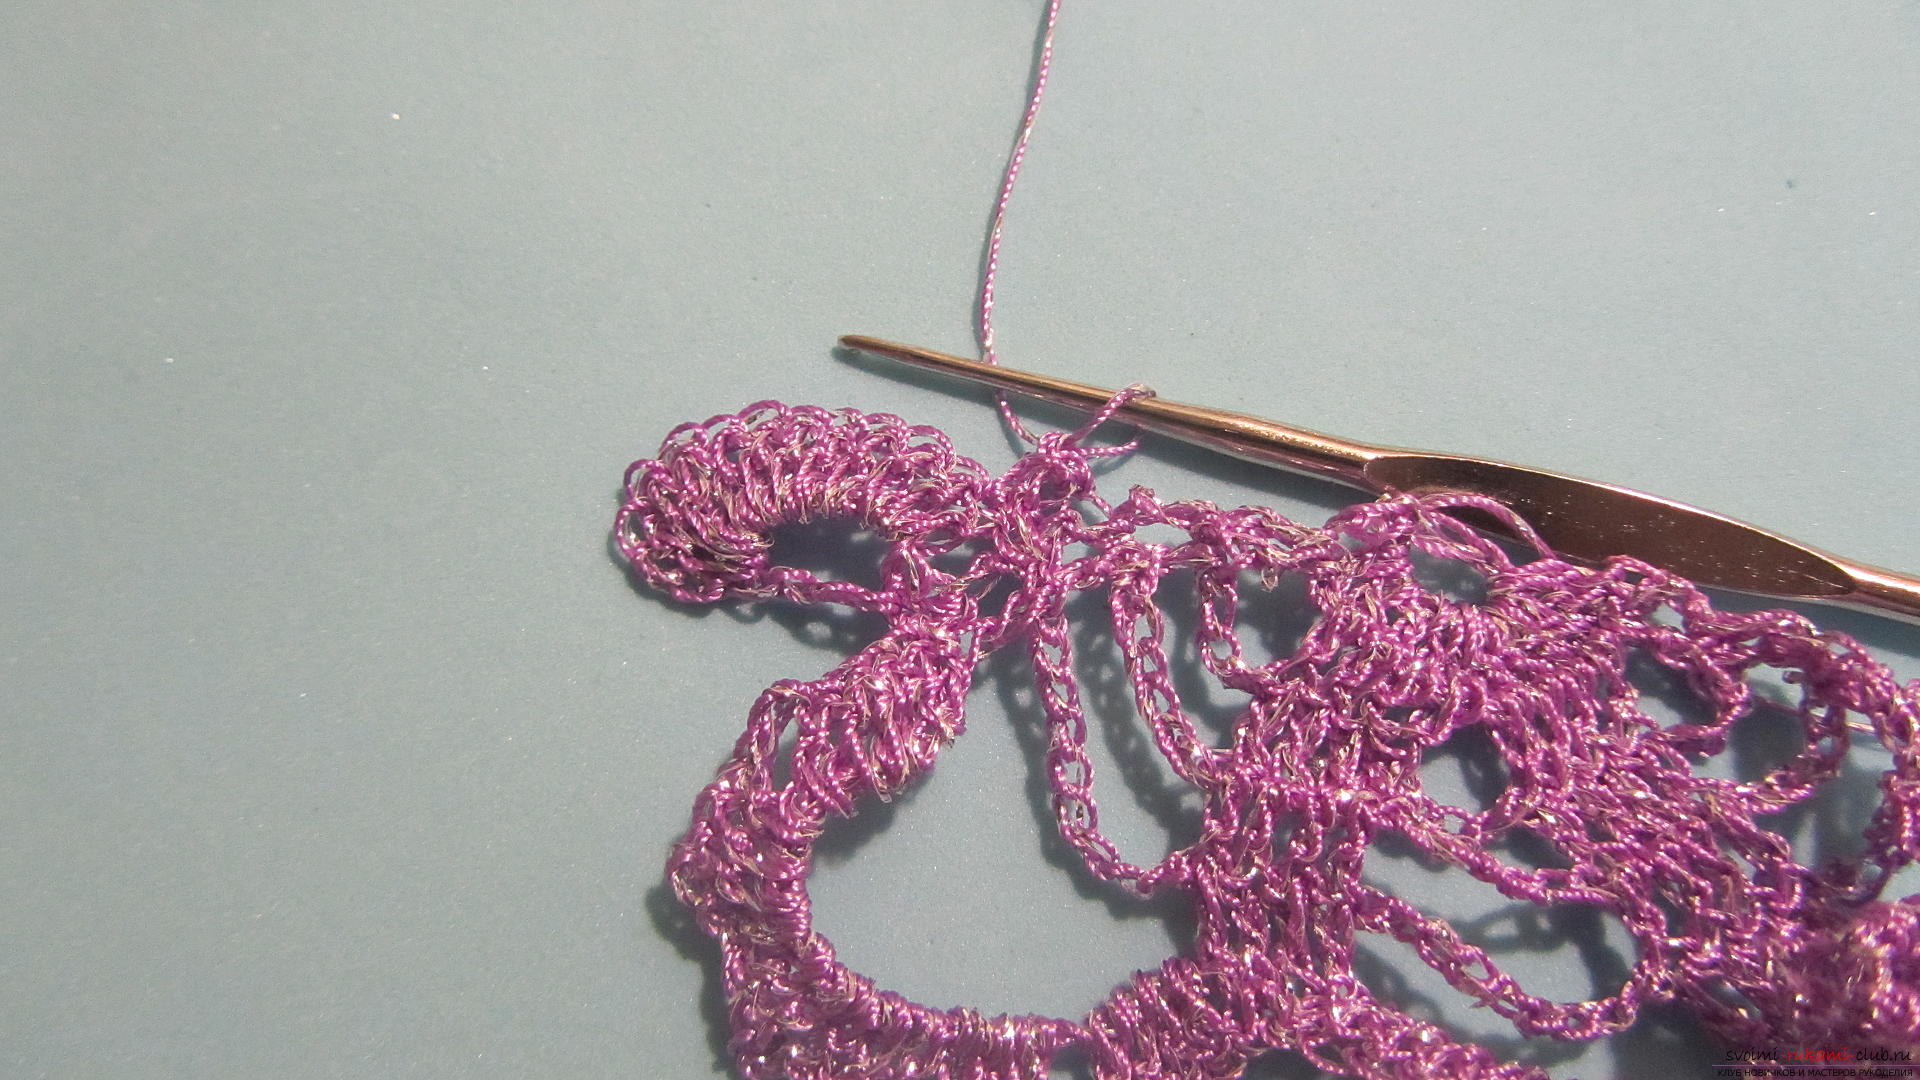 And groups of 4 and two bars, connected by chains of three air loops.
 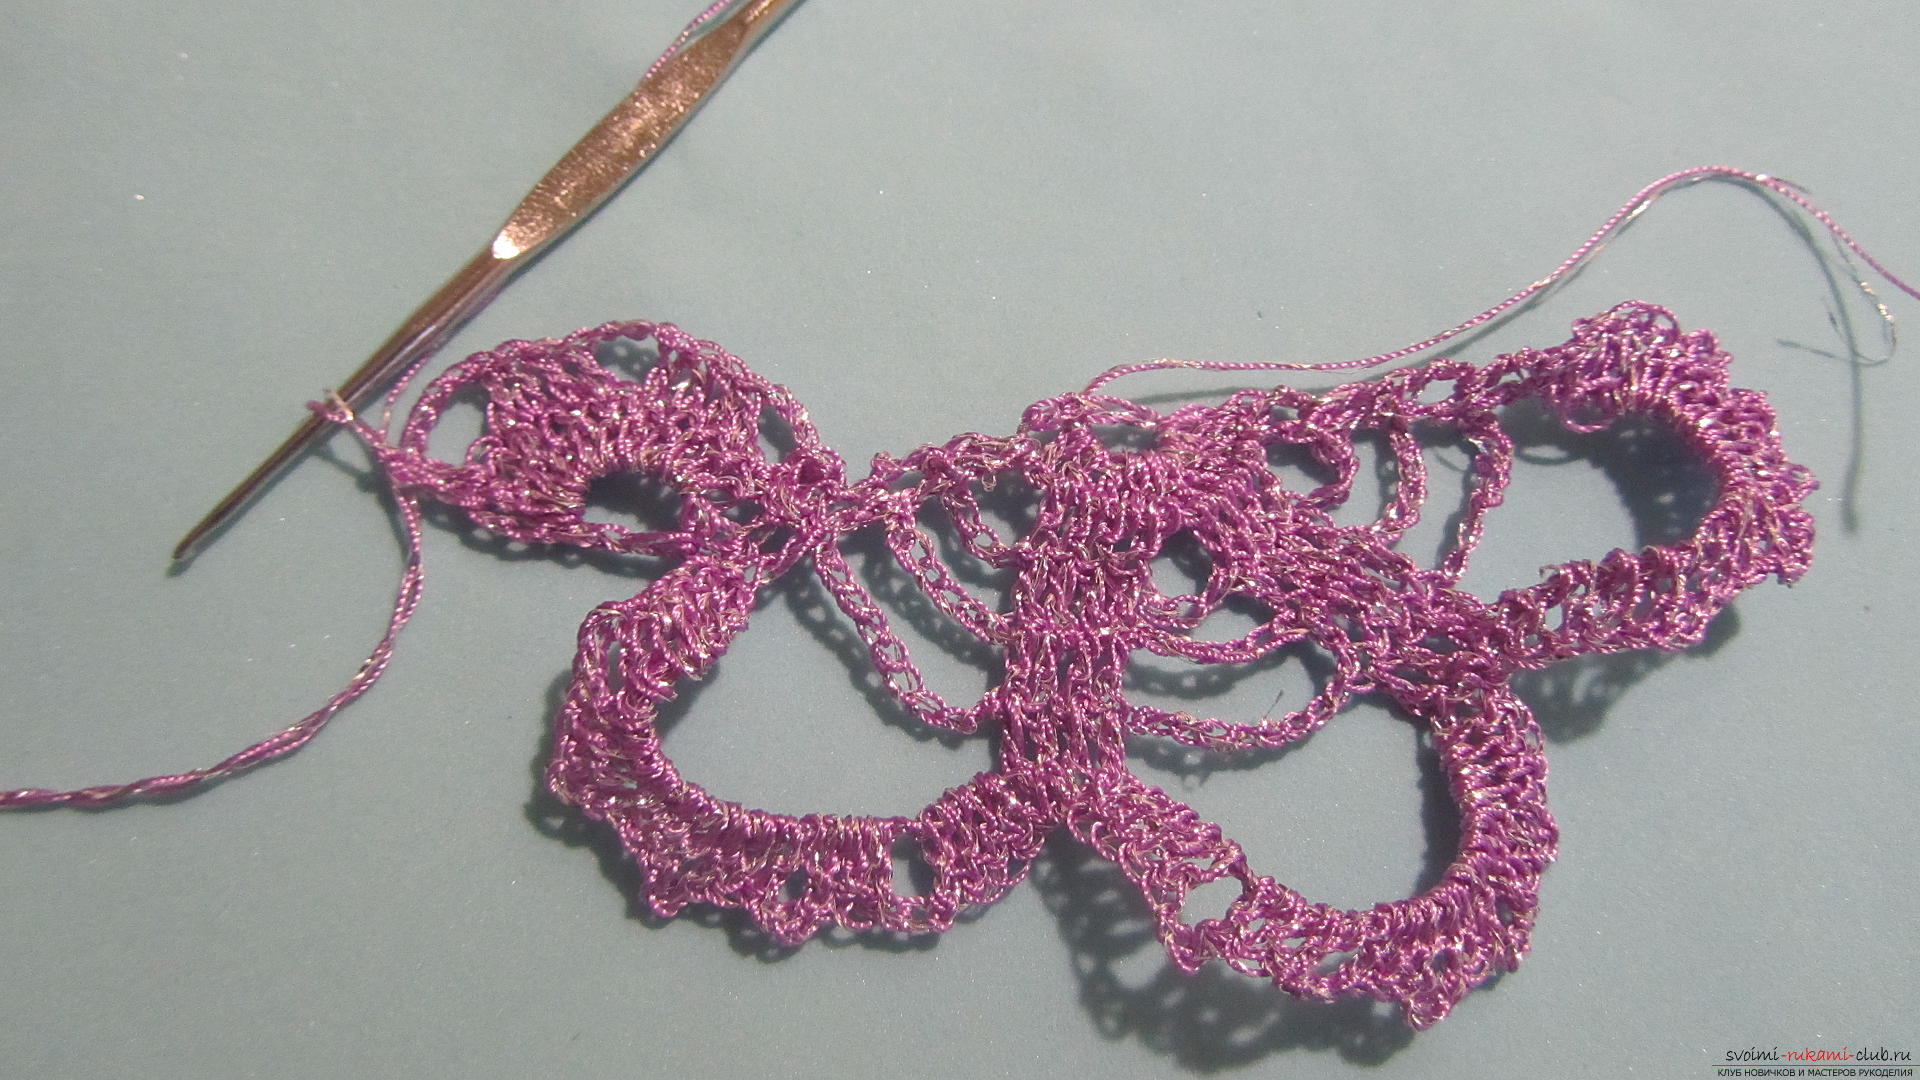 We knit the fourth row and connect it with the first flower.
 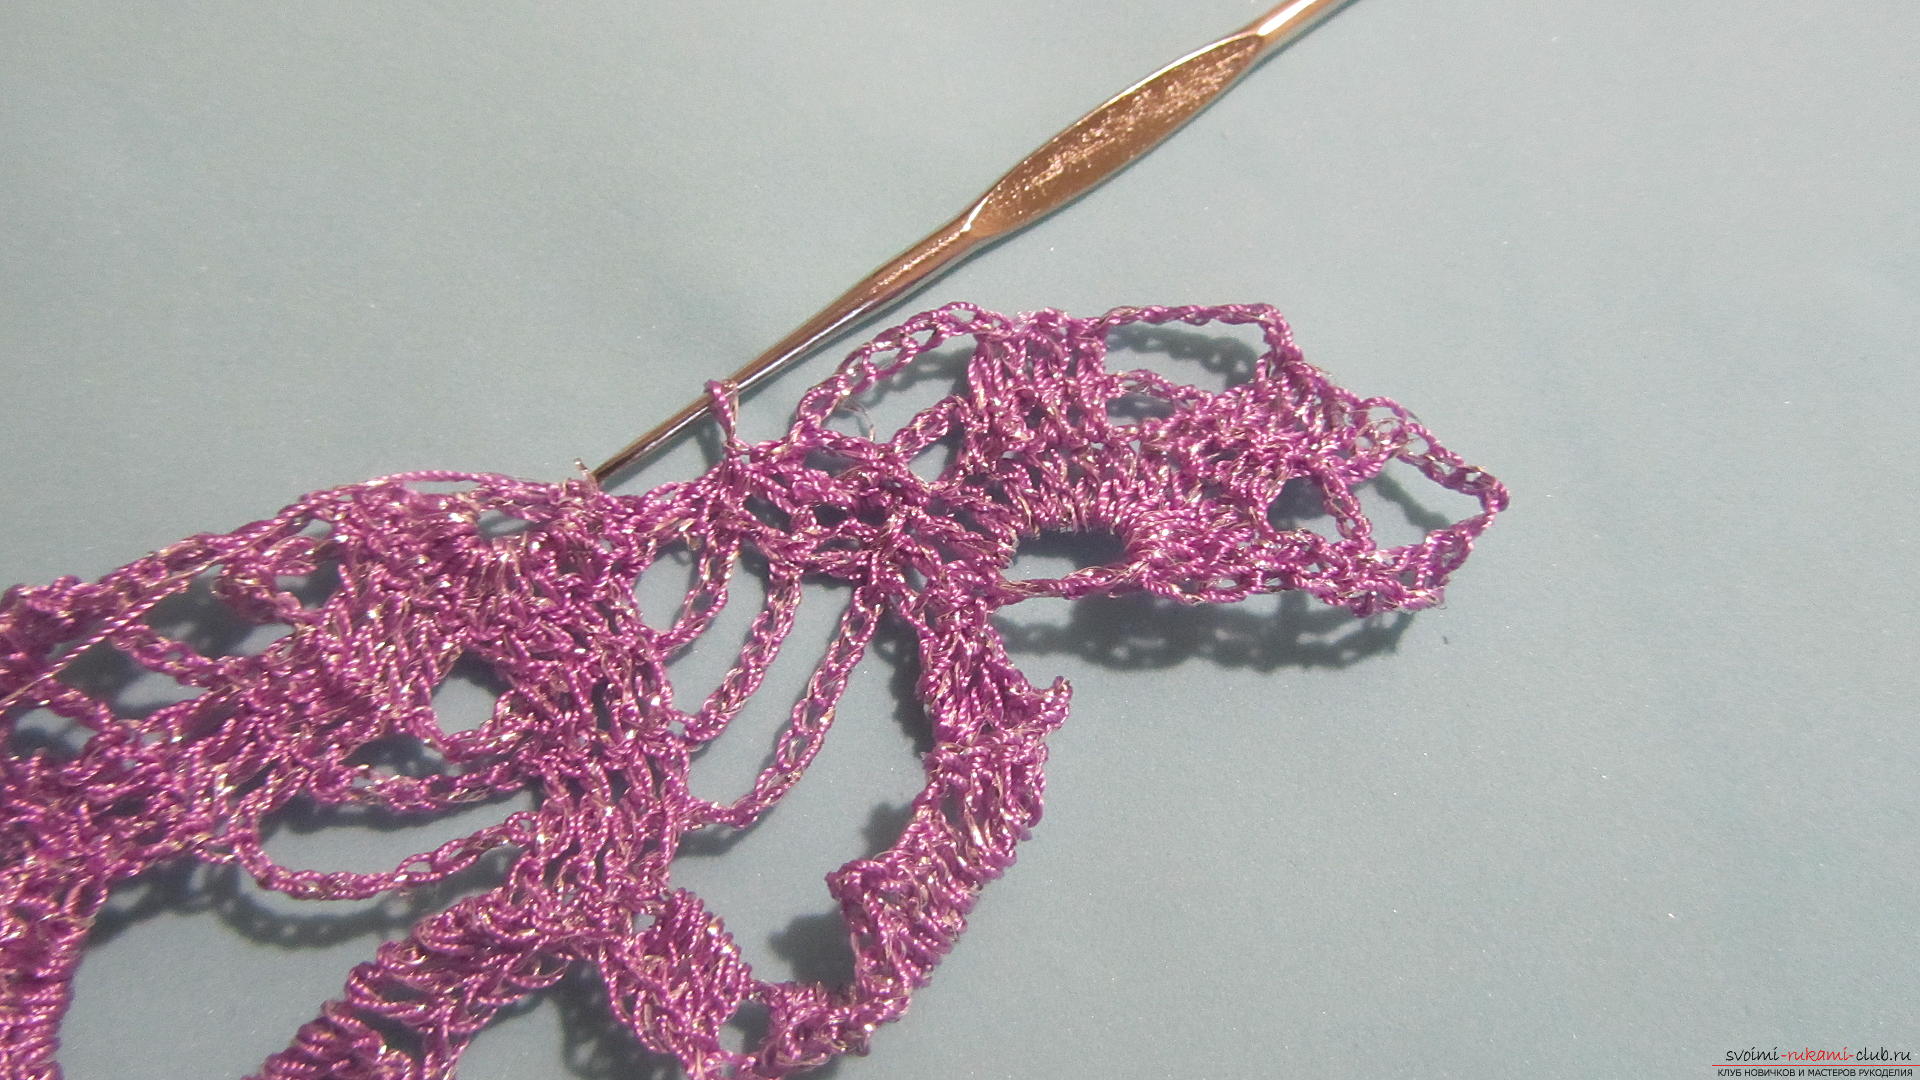 Turn the knitting and make the next row, in which 9 loops between the columns.
 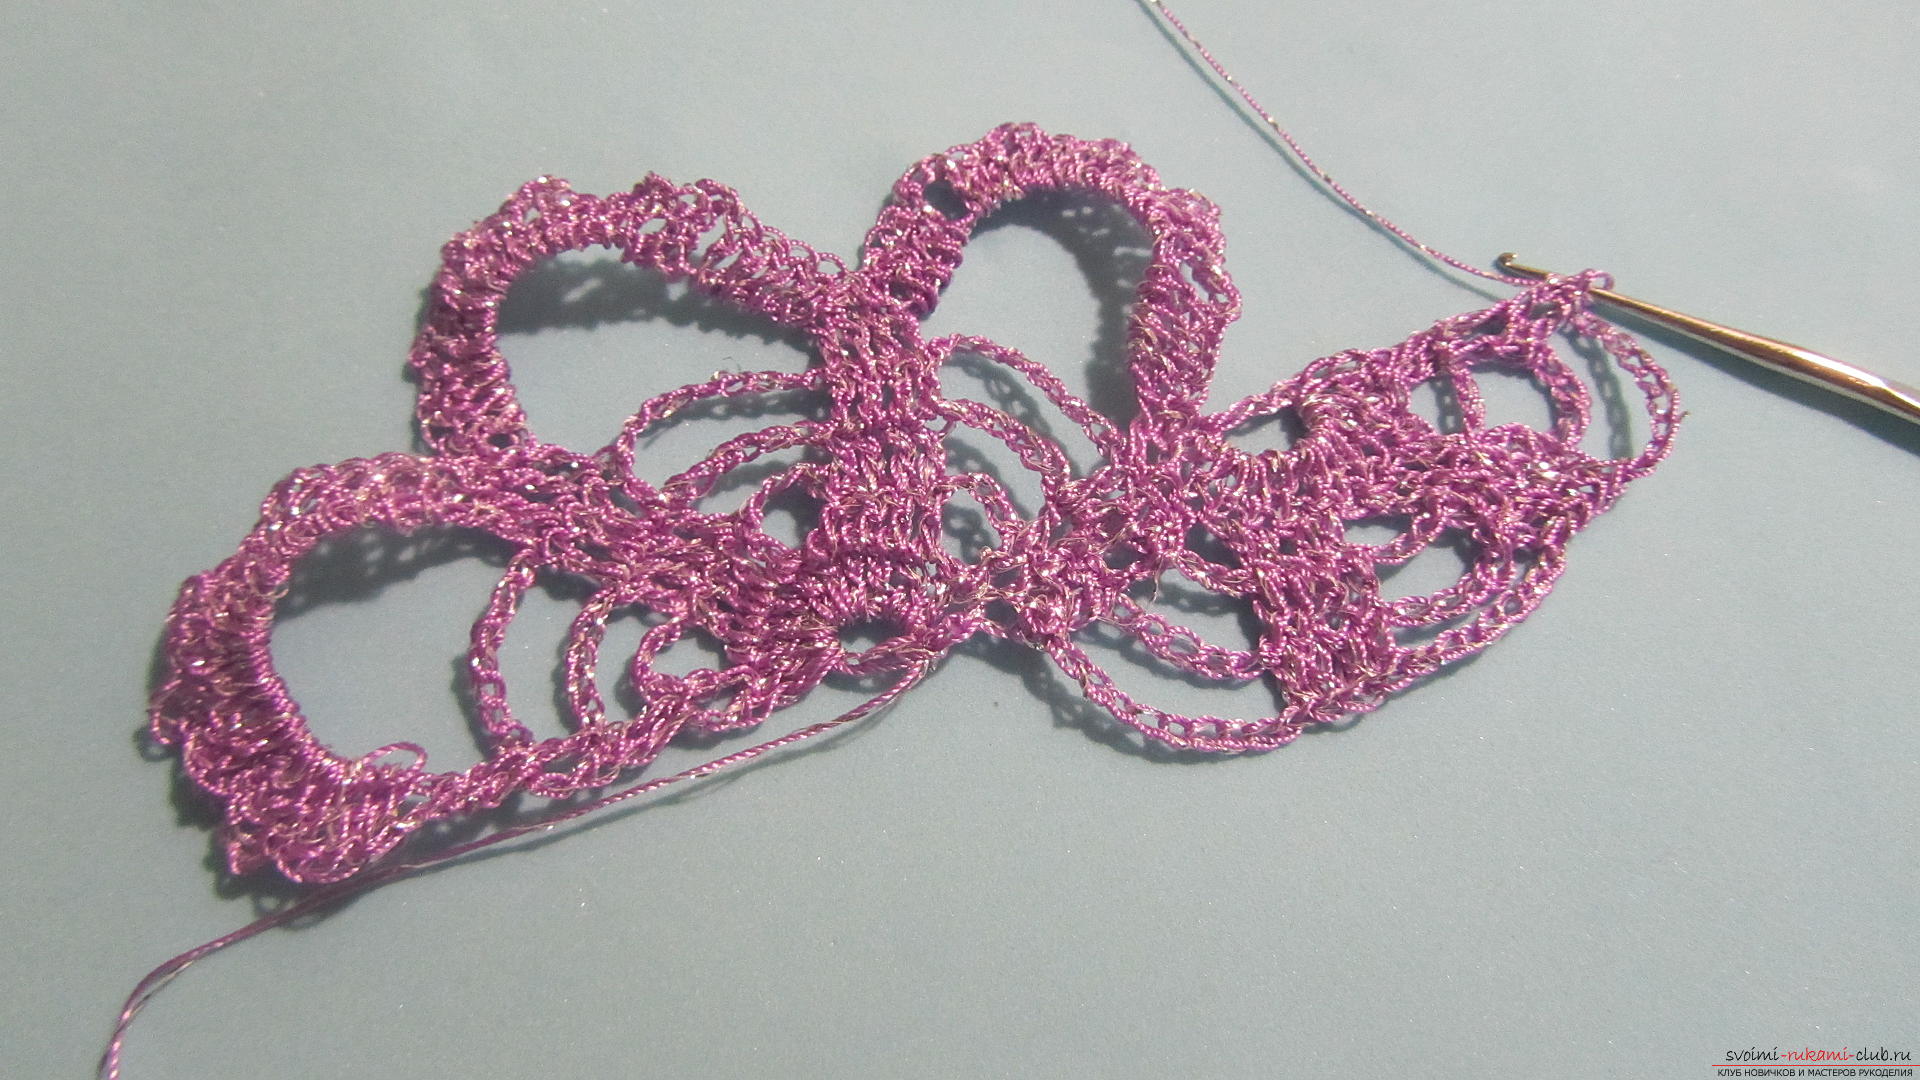 And a row with 15 loops between groups of columns. We connect it with the center of the first flower.
 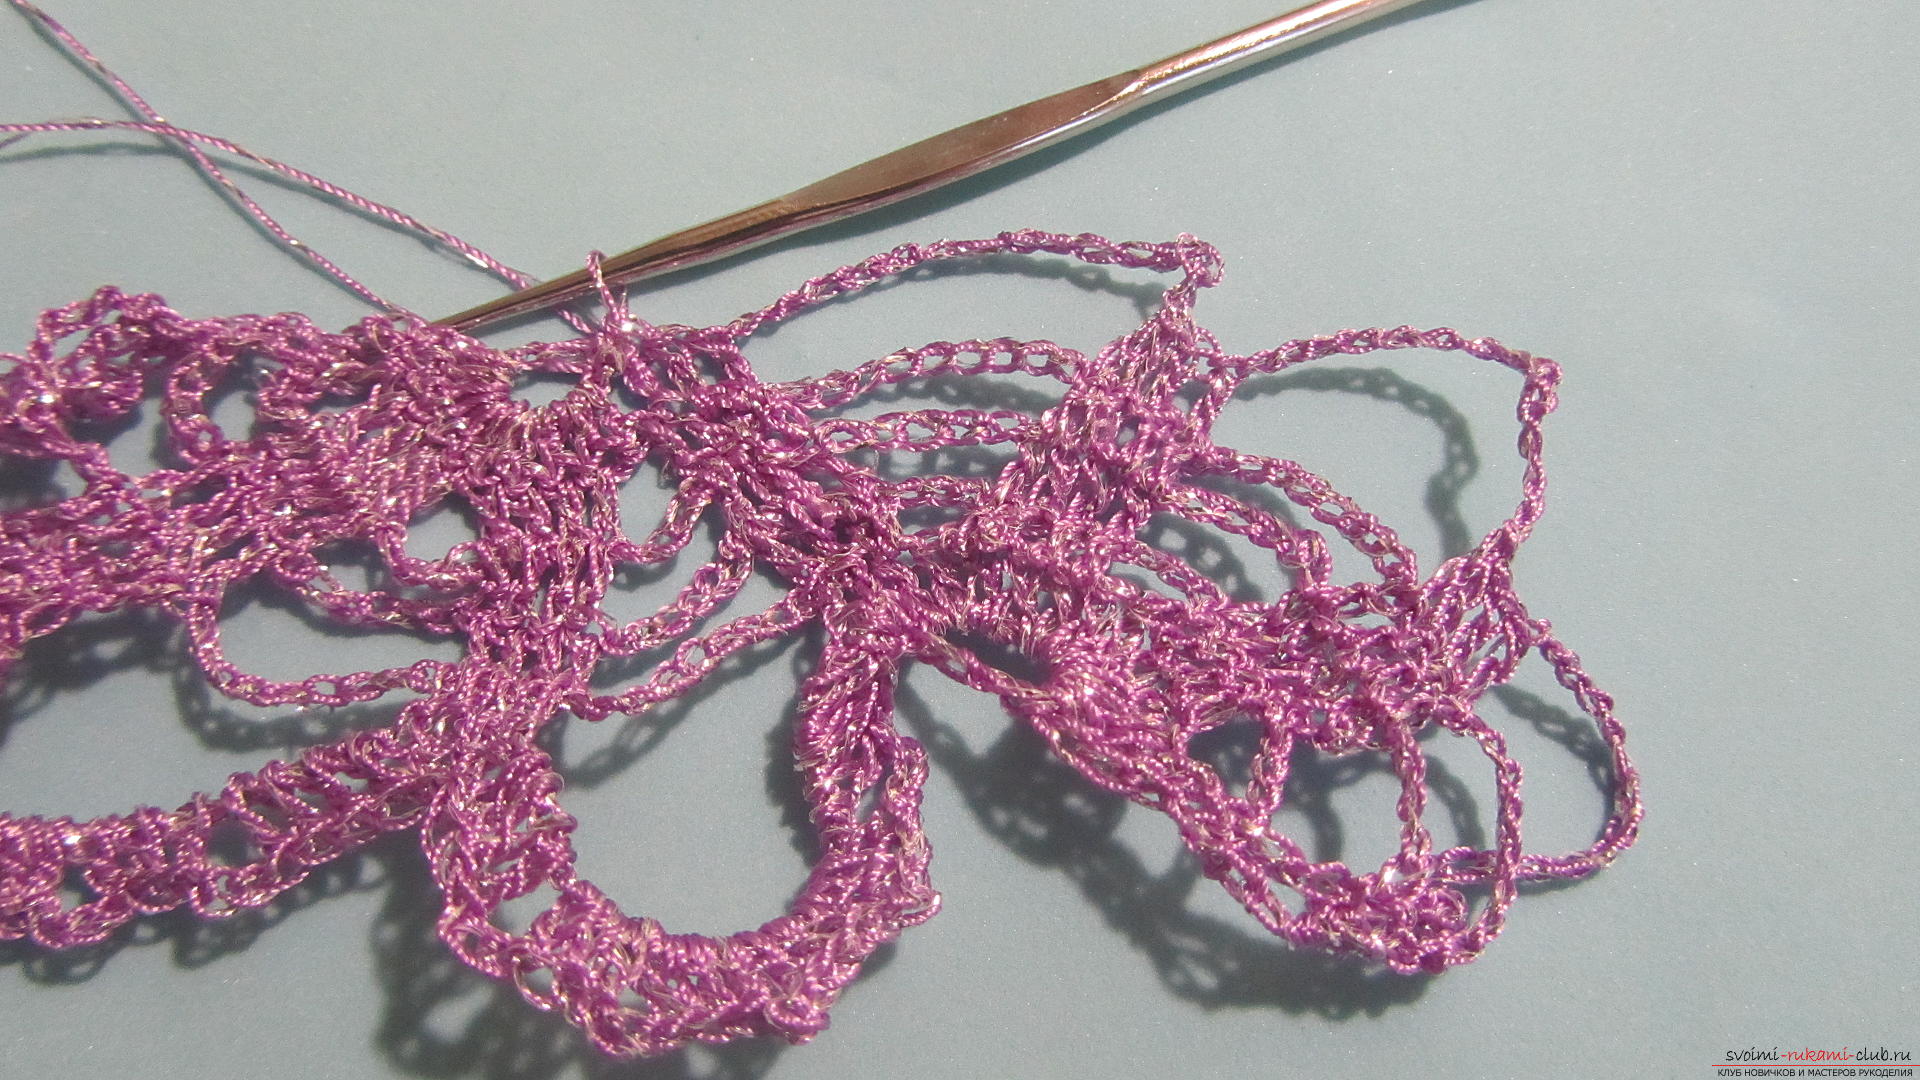 We make the binding of the second flower.
 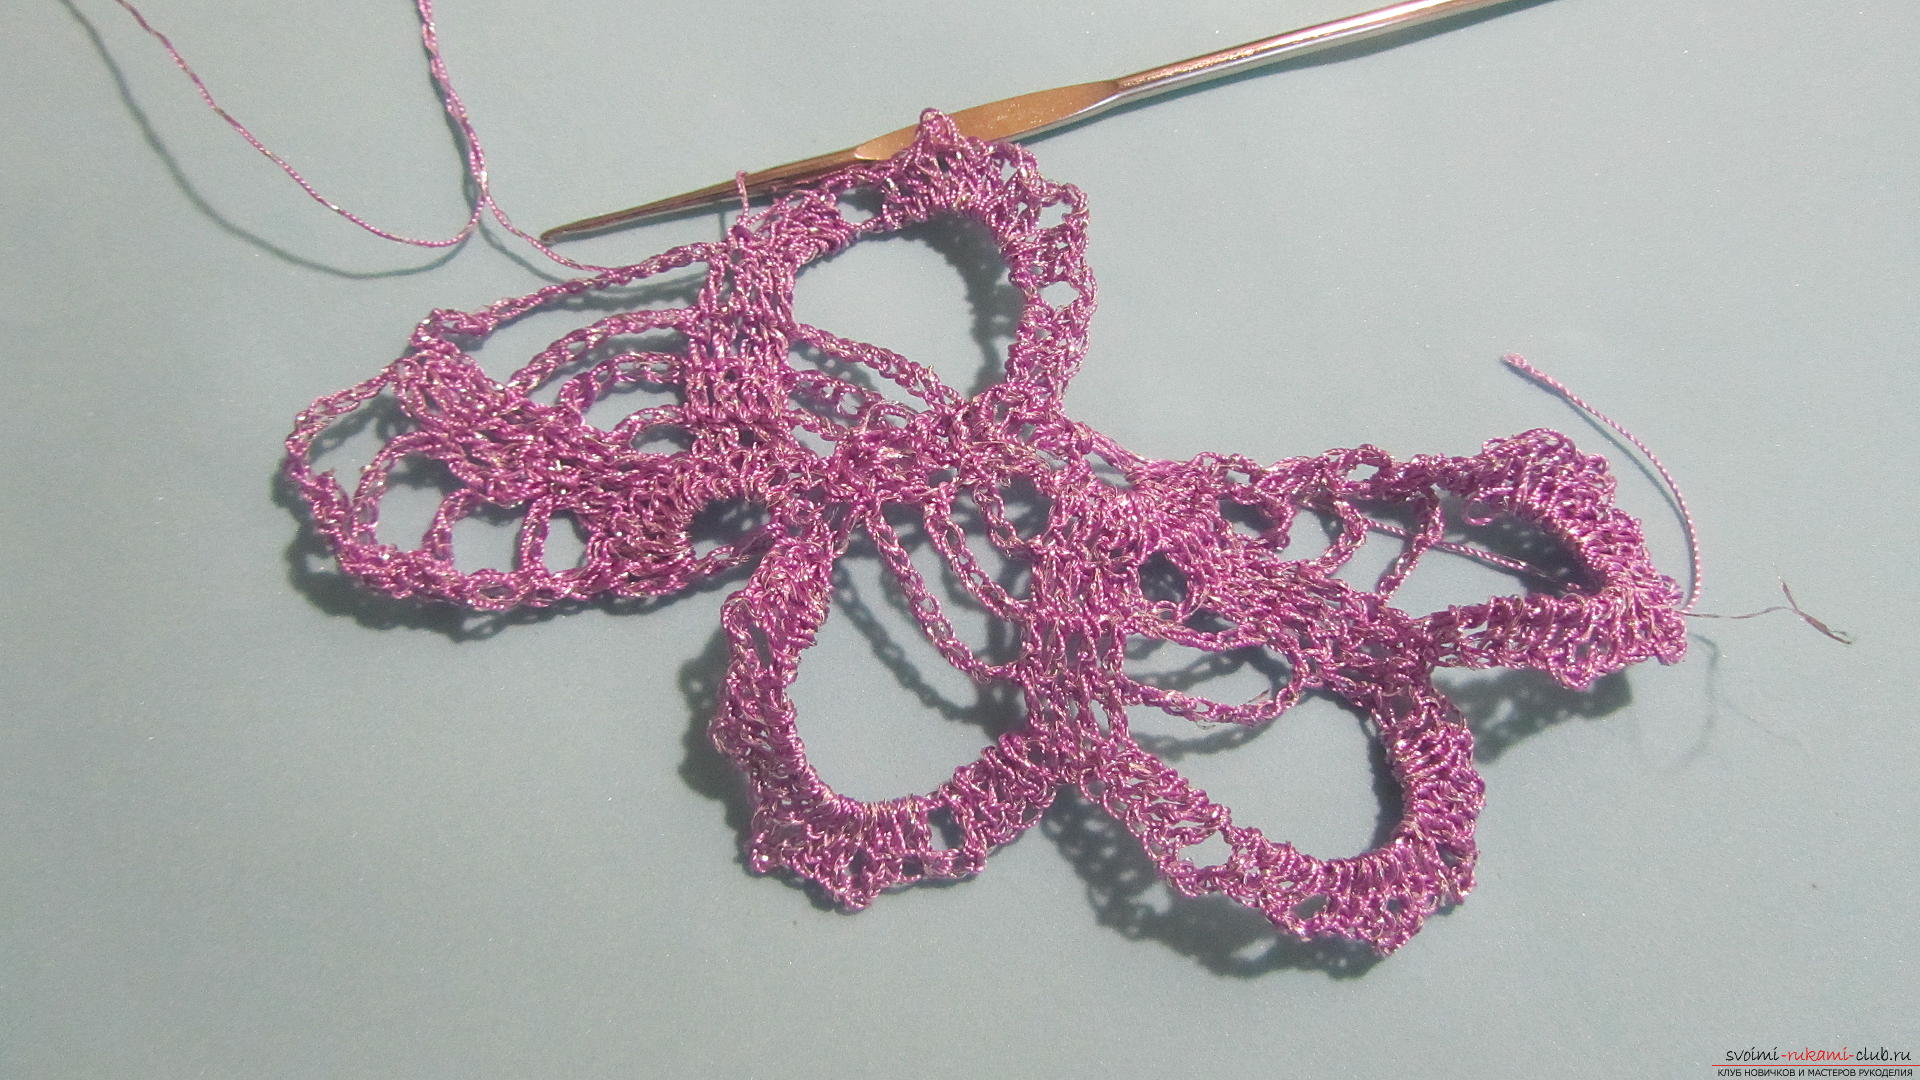 Then we continue knitting until the desired length of lace.
Comments
Related posts:
 This master class with a pattern and description of crochet will teach you how to knit lace with hearts.
 This master class with a description, diagram and video will teach how to knit booties crocheted.
 This detailed master class with a description and scheme will teach you how to crochet a hat-owl.
 This master class crochet with a detailed description will teach you how to knit crochet flowers
 Master-class knitting with a diagram and a photo will teach crochet an openwork flower